My Pinspiration

Planning a dream kitchen isn’t as easy as you think it would be…you spend a lot of time, well, dreaming, and then when you have to start thinking about the reality of actually doing your dreams suddenly change 😉

Our concern numero uno is making sure that our new kitchen has a definite vintage vibe. I want it to feel like it is a part of the rest of the house.  Currently the kitchen is the only room with painted doors, laminate flooring, and new construction windows.  It is missing the charm that every other room in this house has. The space feels cut off from the rest of the house because it just doesn’t flow with the rest of the design.  All the original trimwork, for instance,  has been stripped off and landed in some burn pile 20 years ago.  Our goal is to give this room that WOW factor and incorporate it into the design plan of the rest of the house.

And, let’s be honest our second concern is $$$

Kitchen remodels are very, very costly.  The appliances alone can run thousands of dollars. Once you start factoring in other costs like flooring, countertops, paint, moldings, cabinets…well, you get the idea.  My tax return is disappearing before I ever receive it. Luckily, we will be doing a lot of the labor ourselves and for the tasks that we can’t do I am able to turn to my father DAN SHEETS HOME REPAIR.  And on another note, I am really good at budgeting and getting good deals (or having friends who know how to get good deals- shoutout to Inna!).  I am prepared for this remodel to take a few months…and I am mostly okay with that. Stretching this project out over several paychecks will make it a lot easier to finance.  For the past few weeks I have been steadily buying supplies in order to ease the burden of having to sink all my resources in at once. So far, it’s worked out pretty well.

That being said, I have been researching ideas for several months.  The best part about being out of college is that all my research is done on Pinterest.  It’s a lot more fun than reading peer reviewed scholarly journals 😉 I think you guys would probably agree.

Feel free to click on the picture below if you want to check out some of my pins.

pinterest pg

We are leaning towards a well lit, open, airy kitchen.  I would like to have painted cabinets that extend all of the way to the ceiling. We will be installing a herringbone pattern floor and adding tons of molding to bring back the historic flavor. I also have a few surprises tucked up my sleeve.

I have wished on several occasions for a magic wand. It would make remodeling SO much easier. Alas, no magic wand yet. Although I do have a pointer finger and 2 men at my disposal. So, it’s practically the same thing, right?! 😉

Check back next time as we dive into the demolition process!

Kitchen remodel- the Before

One thing that you will notice as you walk through our house is a distinctive “vintage vibe”…that is, everywhere except the kitchen. Thus far, the kitchen is the only room in the entire house that we haven’t touched at all.  When we first looked at the house the realtor told us that the kitchen had been redone recently; the decorating style and fixtures are distinctly modern…and not our taste at all.  We have been anxious to give this room a makeover since day 1.

UGH…more yellow!! This is probably my least favorite color and with our cool color scheme going on in the dining room and living room, well this kitchen just clashes horribly.  Also, what’s up with the fabric covered cabinets?! This shot is taken walking in from the front foyer into the kitchen itself. The door you see is currently used as our catch-all utility closet and gives us access to the back porch.

Image


The door that you see on the left below leads into our dining room. I love that it is a swinging door!

Image

Make sure you take a second to check out the backsplash.  This is a one of a kind feature- it is made from shattered Fiestaware plates.  When the house was on the Holiday Home Tour in 2012 we had the kitchen roped off. SO many people peeked their head in and they LOVED the backsplash. Us, not so much. It was very poorly designed with many rough edges and practically impossible to clean. It’s gotta go.

Image


Imageo

Oh, soffit why must you exist?! I can’t wait for cabinets that extend all the way to the ceiling!


Image


At some point the original window/s were removed from this room and we were left with these two, huge modern windows. Although probably more energy efficient they contrast so hideously with all of our other gorgeous leaded windows.

ImageImage


On the plus side, we DO have lots of space to work with.  We’ve decided that when we rebuild everything that we can even afford to make the new island a bit smaller. Also, track lighting…never a good thing. Especially when you can see exposed wires and only half of the bulbs work.


Image

So this is our jumping off point. We have a total kitchen rehab planned- new flooring, new ceiling, new walls, new appliances, new lighting, new layout.

Check back to see our progress in the next couple of months!

Guest Bedroom- Part 1

UPDATE: AFTER READING THIS POST RAUL INFORMED ME THAT HE HAD A BUNCH OF BEFORE PICS ON HIS COMPUTER THAT I HAD FORGOTTEN ABOUT (GUESS WHEN YOU WRITE A POST 5 MONTHS AFTER THE FACT THAT MIGHT HAPPEN!). THESE PICS ARE MUCH BETTER QUALITY, CHECK THEM OUT!

Soooooo long time, no see right?! We have had the busiest spring and summer! I’ve been so neglectful with this blog but that means that there are lots of new updates and things to share about our house. Looks like it’s been a whole 7 months (wth!?!?) since my last post and even then I was sharing pictures from Christmas 2012. Just last weekend I was sorting through all my decorations for the upcoming holiday which thankfully were all purchased last year when we were preparing for the Holiday Home Tour.  Nothing really to prepare for this year which means less time spent in that dangerous place that they call Hobby Lobby.

We jumped into remodeling the guest bedroom this May. I don’t think I have ever shared any pictures of this room…but suffice it to say that it was hideous. And yellow…which basically equals hideous. The house has a third story partially finished attic that is accessed from this guest bedroom and it is a really cool space so we were torn for a long time about how to use this room.  In the end we decided to go ahead and finish the room as a bedroom and then finish off the attic completely and make it a library of sorts with lots of space for storage and big comfy seating.  If we ever decide to change this room into the master bedroom, the walk up attic could easily be converted into a giant closet/dressing room (drool!) and possibly we could even add a bathroom up there as well.

And so, without further ado, here are some pictures of what we started with:

As you can see the walls are the same color as a banana Starburst.

CSC_3213

DSC_3167

The middle of the floor was painted.  There also used to be a piece of green outdoor carpet covering the middle of the floor when we moved in (it goes from bad to worse!) The perimeter of the floor was covered with newer hardwood.

DSC_3172

All of the trim had been painted white. Since we have worked hard to return all of our floors and trim to wood stain this meant lots of stripping in our future :/

DSC_3169

The walkup stairs leading to the 3rd floor attic were originally enclosed and behind a door (which we luckily found in the basement).

DSC_3168

DSC_3188

Looking down into the bedroom below.

DSC_3186

This is the “turret” that makes up the front of our house. Here’s a pic in case you forgot. I’m nice like that 😉

1

DSC_3184

I love the shape of this nook and the skylight.

DSC_3178

DSC_3179

Sooo no that is not your eyes deceiving you, the chimney really does get a bit crooked as it goes up. The realtor showing us the house claims that this is “how things were done then.”  Apparently, the builders started the chimney in the basement and built upwards, adjusting the chimney as they built to make sure it came out of the center of the roof.

DSC_3174

These two awesome skylights are north facing and let in a lot of awesome light. Can you picture reading your book here?

DSC_3176

More chimney crookedness…and a great show of the multiple types of floors that were have to deal with up here.

As you can see we really had our work cut out for us trying to make this space livable and beautiful. Check back next time for the after photos!

Before…and AFTER!!

Wow! It has been months without an update posted on here about our progress…and yet it seems as if the entire holiday season passed in the blink of an eye! We worked at full speed for several months in order to get the house ready for the Holiday Home tour. The two day tour was a complete success bringing in over 1300 guests and lots of exposure for our great neighborhood as well as The Reclamation Project, a community initiative to create a center for refugee immigrants which occupies the space at the former Rialto Theater on Calhoun Street. The two days of the tour were absolutely exhausting but hearing so many people say nice things about the work that we have done made it totally worth it. We opened up the foyer, the living room, the dining room, the master bedroom, the bathroom, and Raul’s office for the tour.  I thought it would be fun to show all of you just how far we have come since purchasing this home last March (wow, 1 year already!).  I’ve been seriously procrastinating as it is now almost Spring and I am just now getting around to editing and posting pictures of our house decorated for Christmas but better late than never! I was so fortunate to have the help of my mother and gram who helped me decorate for the tour. Also, my grandmother even asked some of her friends to donate some Christmas decorations which just looked absolutely beautiful in our home. I am so thankful! With everyone’s help I was able to do so much more than I could have managed on my own.

So without further ado please take a look at the colorful before and the marvelous after! (click on each picture to see it bigger)

Foyer BEFORE:

Entryway before

Foyer AFTER:

Entryway afterentryway after 2entryway after 3

Living Room BEFORE:


living room before

Living Room AFTER:

living room after living room after 2

Dining Room BEFORE:

Dining Room before

Dining Room AFTER:

dining room after dining room after 2

Master Bedroom BEFORE:

master bedroom before

Master Bedroom AFTER:

master bedroom after master bedroom after 2 master bedroom after 3

master bedroom after 4

Bathroom BEFORE:

bathroom before

Bathroom AFTER:

bathroom after bathroom after 2 bathroom after 3


Steampunkin’

This has been a rough last few months. Raul has been at school most nights every week trying to get closer to finishing his Bachelor’s degree in Graphic Design. One of the classes that he had to take this semester was a photography class. He convinced me to be his model for his final project (it took a LOT of bribery hehe). Anyways, in the midst of all the Holiday Home tour chaos he was busy planning a Steampunk themed photoshoot. If you don’t know what Steampunk the best way that I can explain it is that it is an artistic form that combines science fiction, machinery, and either Victorian stylings or the American Wild West. What this means is lots of guns, gears, and really tight corsets (oy!). What this also means is that our house was basically the perfect setting for his shoot. He scoured the secondhand stores for some additional props and clothes to make my outfit and we were set to go. The shoot was a grueling 5 hours (!!!!) but the end product was worth it. Check out this link to his photography Facebook page to see all the photos!


http://www.facebook.com/media/set/?set=a.445060075554068.102064.228738967186181&type=1

Steampunk-4 w logo

Holiday announcement!

I have been keeping a secret for the past couple of months but now I feel like I can finally share it with all of you without dying of anxiety. Every year our neighborhood hosts a Holiday Home Tour on the first weekend of December…and we are honored to have one of the homes featured on the tour!!

At first I was kinda, totally freaking the freak out! When we were approached about being on the tour I kind of let my excitement bubble over and I just blurted out YES!!!! Anyone who knows me, knows that this is 100% atypical. I’m the kind of girl who doesn’t make decisions for weeks! So basically the whole thing went down like this. I answered the door, listened to a 30 second schpiel (?) about how they needed homeowners to volunteer their homes for the tour, said YES, and then I closed the door, turned around, and saw our 1/2 finished, unfurnished, huge, money-guzzling, back-breaking, 100-year-old house. :/

I admit there was a time period where I thought there was no way this house would be in any kind of condition to have a thousand people walking through and admiring (critiquing) it…but we have really made a lot of progress in the past few weeks. And although the house is nowhere near done I feel okay with people seeing it. It will be advertised as a “work in progress” and that it truly is. There will be no room that is 100% done but I hope people can understand the general vibe I am going for. We are trying very hard to restore the old, charming features of the house while still maintaining something of a modern feel to the decor. This is surprisingly hard to do on a budget. Thank God for second hand stores and Pinterest! Oh and a bit of crafting skills don’t hurt either! So basically we are opening the entry way, living room, dining room, master bedroom, upstairs hall, bathroom, and office to the public. The deal is that the house can be featured again in a few years once we have completed all of the progress we intend to make. There are a lot of people who return to the Holiday Tour and who would remember the home and appreciate the progress we make.

Here is a great article in the newspaper about one of the other homes on the tour. The homeowners, Jeremy and Ashley, have been working on their house for seven (!!!) years and it really shows. I was in awe when I got the chance to see the inside. Trust me you will be, too.

http://www.journalgazette.net/apps/pbcs.dll/gallery?Site=JG&Date=20121104&Category=FEAT&ArtNo=102309998&Ref=PH

Anyways, the tour is on Sat and Sun December 1st and 2nd. It is an awesome time and great for date night or girls night or family fun night…you get the picture! Tickets are $10 pre-sale or $12 the day of the tour. Or make it an event for 4 and you get all tickets for $36. Pick up yours at Nature’s Corner, Bittersweet Gifts, Antiques on Broadway, Candlelight Antiques or any Lake City Bank Location ahead of time or at Simpson United Methodist Church on the days of the tour. For more info visit www.WilliamsWoodlandPark.com.

If you have been reading the blog with interest or are just curious to see the house I would love to see you! Come check it out!

Creating furniture!

Now that we’ve finally got the walls painted and floors refinished we can start finding and buying furniture. Although we have purchased a few new pieces of furniture for the house, we have really had a fun time finding old pieces at thrift stores, garage sales, etc and turning them into unique pieces for our house. The best part about this (besides the cheap price!) is that we get to style the furniture to fit our tastes and match the decor of the house as well. We keep a sharp eye out for pieces with curved lines or ornate carvings that fit the time period of the house and present a good canvas for our furniture creation. Check out two of the pieces that we have restyled. Both were missing parts and/or damaged. With a little vision and a bit of paint we were able to make these two pieces into something fully functional and stylish as well!

My first project was a white cubby hole bookshelf that only needed a bit of paint to hide the scratches on its surface. We assembled the bookshelf on the front porch (and by we, I mean my dad 😉

The next step was to paint the bookshelf a glossy cream color to match the rest of the bedroom furniture.

I wanted to alter this piece of furniture and add a back to it so that I could add some fabric for a pop of color.  I purchase a large sheet of wood to create a backing and cut it down to the size of the bookshelf.

My original thought was to cover the backing in the wallpaper that I had leftover from our master bedroom nook. Unfortunately there was not enough left over so I went on the the next best idea- fabric! Joann Fabric was having a nice sale on their whole selection  so I chose a material with neutral color and a pattern similar to that of the aforementioned wallpaper. The fabric I chose was actually drapery fabric and had a great sheen to it as well as a cool, velvety texture.

We cut the fabric to size and attached it with duct tape to the wooden backing. Although staples may have been a sturdier form of attaching the fabric, duct tape allowed us to easily switch out the covering if we choose to alter our decor down the road. It also eliminates damage to the fabric piece which means we can use it other projects should we wish to.


Next we had to lug this thing up our L-shaped stairs and into the master bedroom.

I added a few books and knick-knacks anddddd project complete!

Our next project was creating a coffee table for the living room. I was fortunate enough to come into a table frame but not table top :/ No worries though, the frame of the table was absolutely too gorgeous to pass up!

We debated over whether to make the top of this out of wood or perhaps mosaic tiles or even a painted watercolor top. I was informed that the original top was made of marble that was cracked in shipping.

We decided to go with a wood top. We cut it to size and sanded it down. I also purchased a strip of trim to cover the crack between the table top and the frame.

After we assembled the trim and the table top we stained everything to match the existing frame.

Lastly, we added a protective coating on top to keep the surface looking nice.

All in all, two DIY projects that left our house looking a bit more homey! 🙂

Lions and Tigers and Wall Fabric?! (oh my!)

Now that we are nicely settled in the house it was high time for some decorating! I have always been (and always will be!) the DIY kinda girl! I love crazy, weird ideas and I love, LOVE making something from nothing (I mean, just look at what I’ve done with Raul 😉 xoxo just kiddin’ babe)

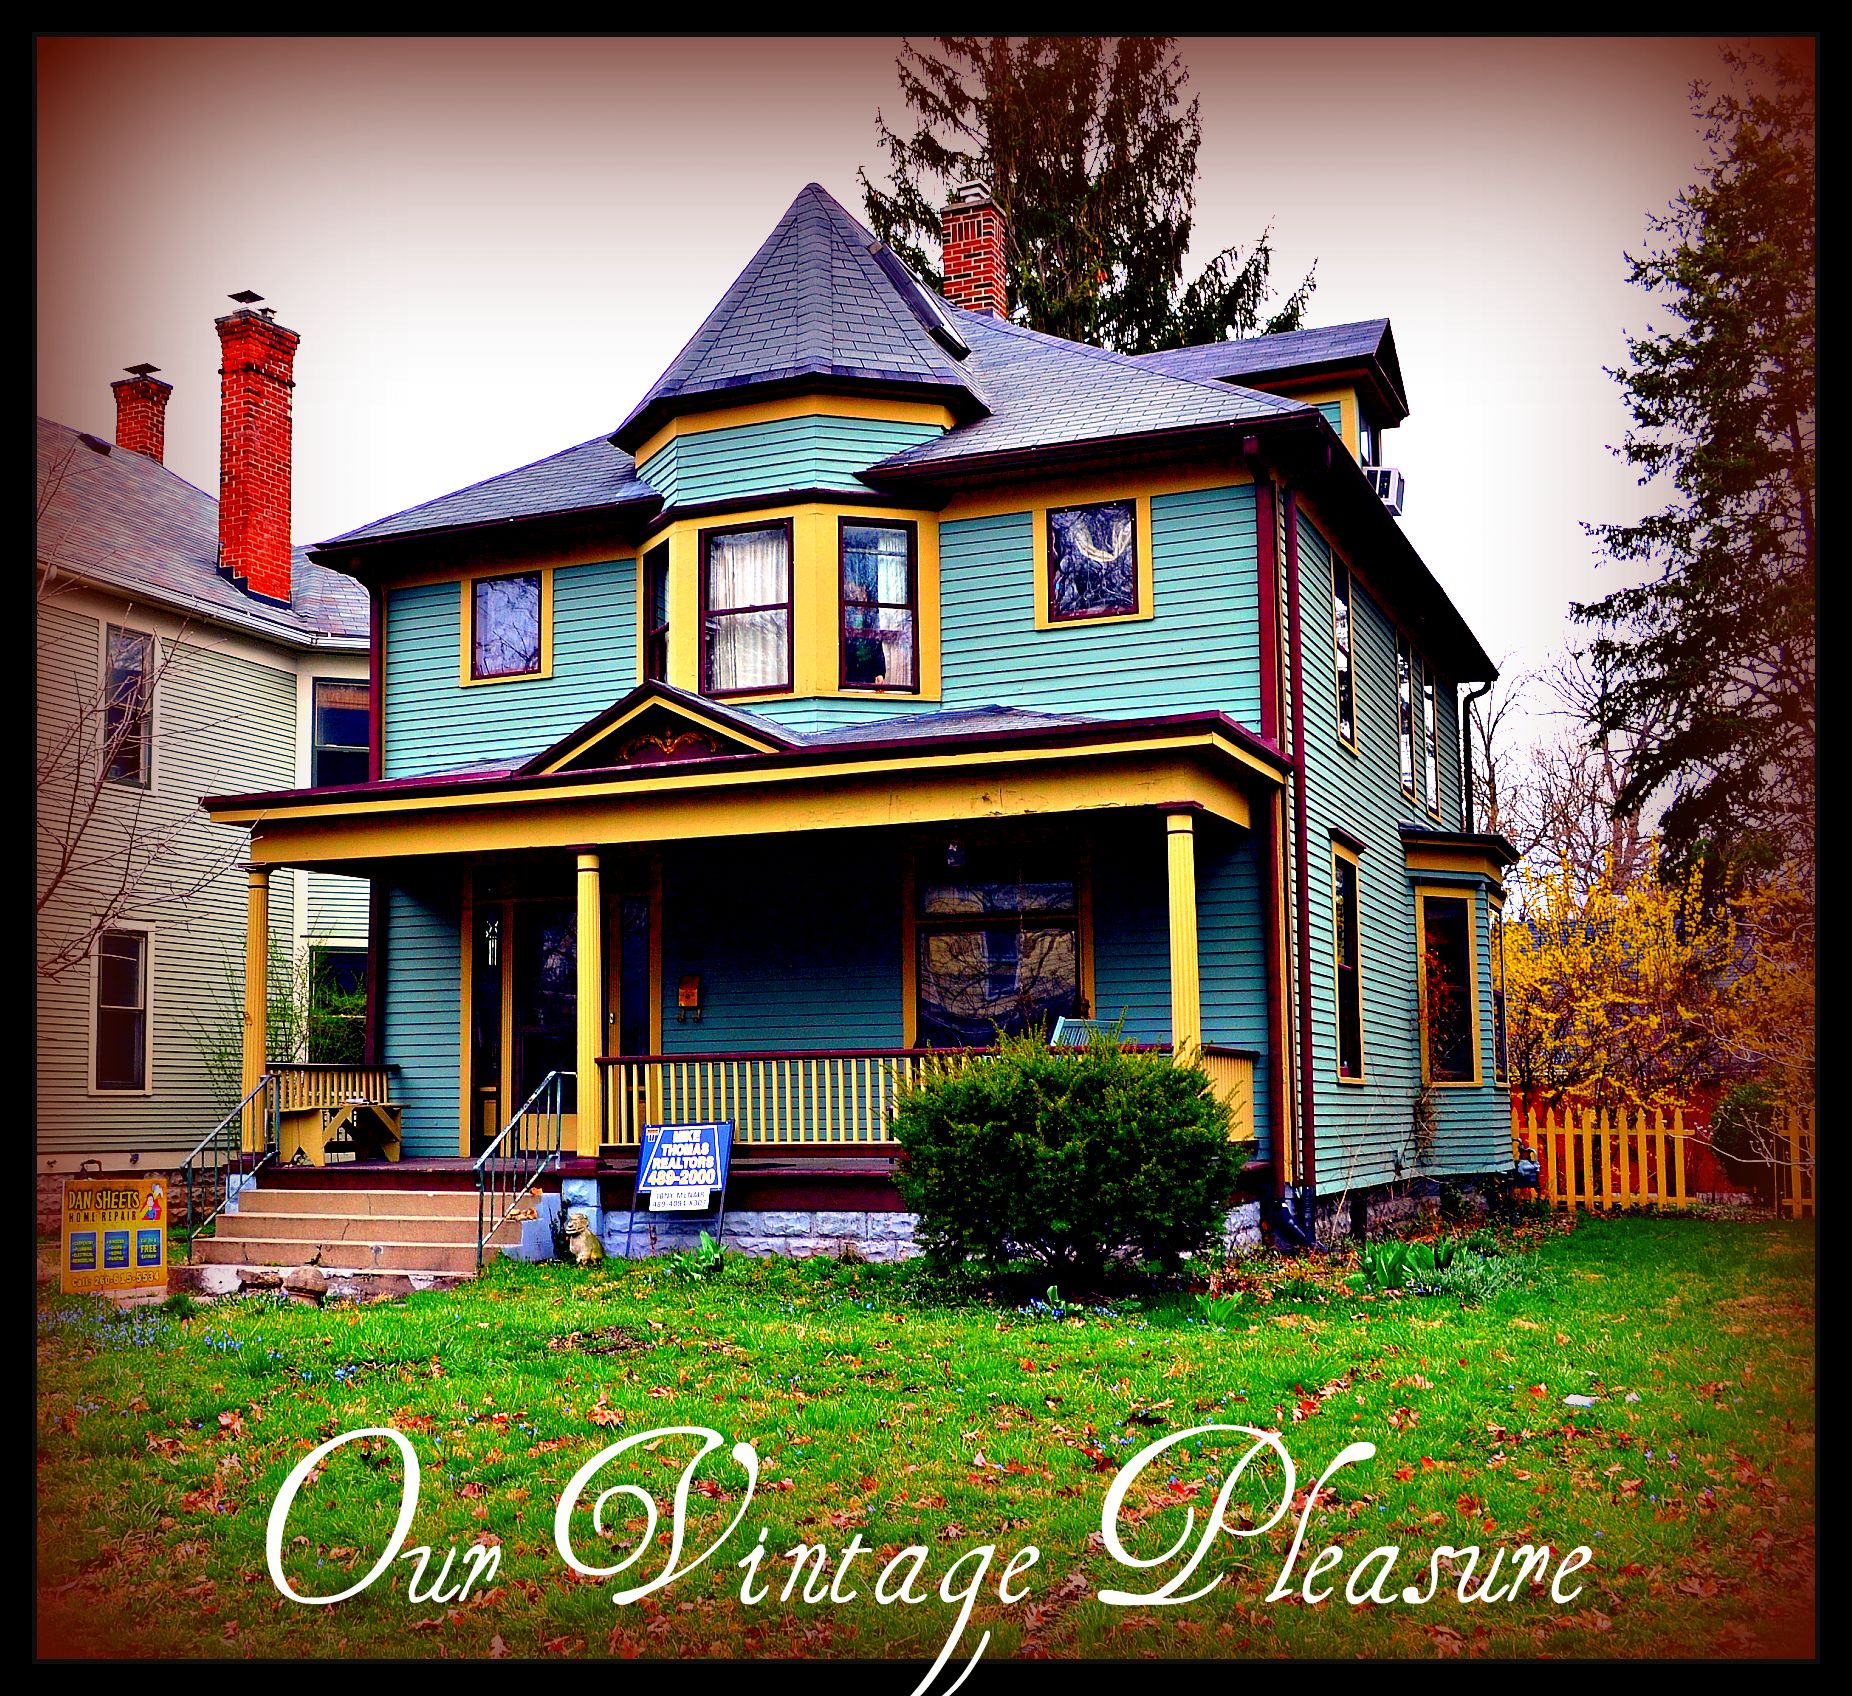
Over the past couple of years we have had the opportunity to look inside several historic homes in different areas around town. There are a couple of different home tours that we like to frequent to check out what other people are doing with big, old houses. And we always walk away with a favorite out of the bunch. The “favorite” house always has something unique and special about it. Although our house has plenty of character and charm on its own a little help from my handy hands can’t hurt, right?!

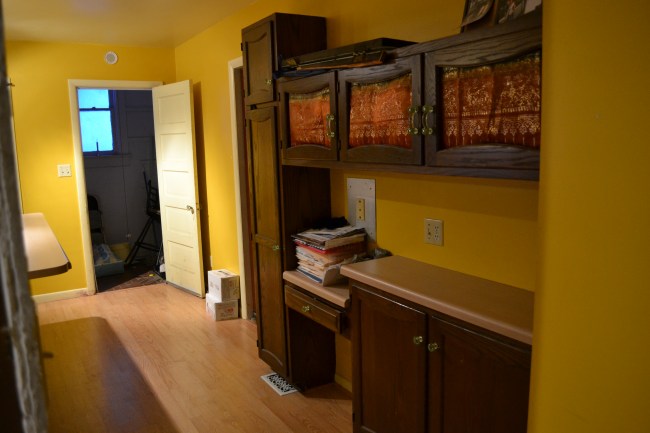
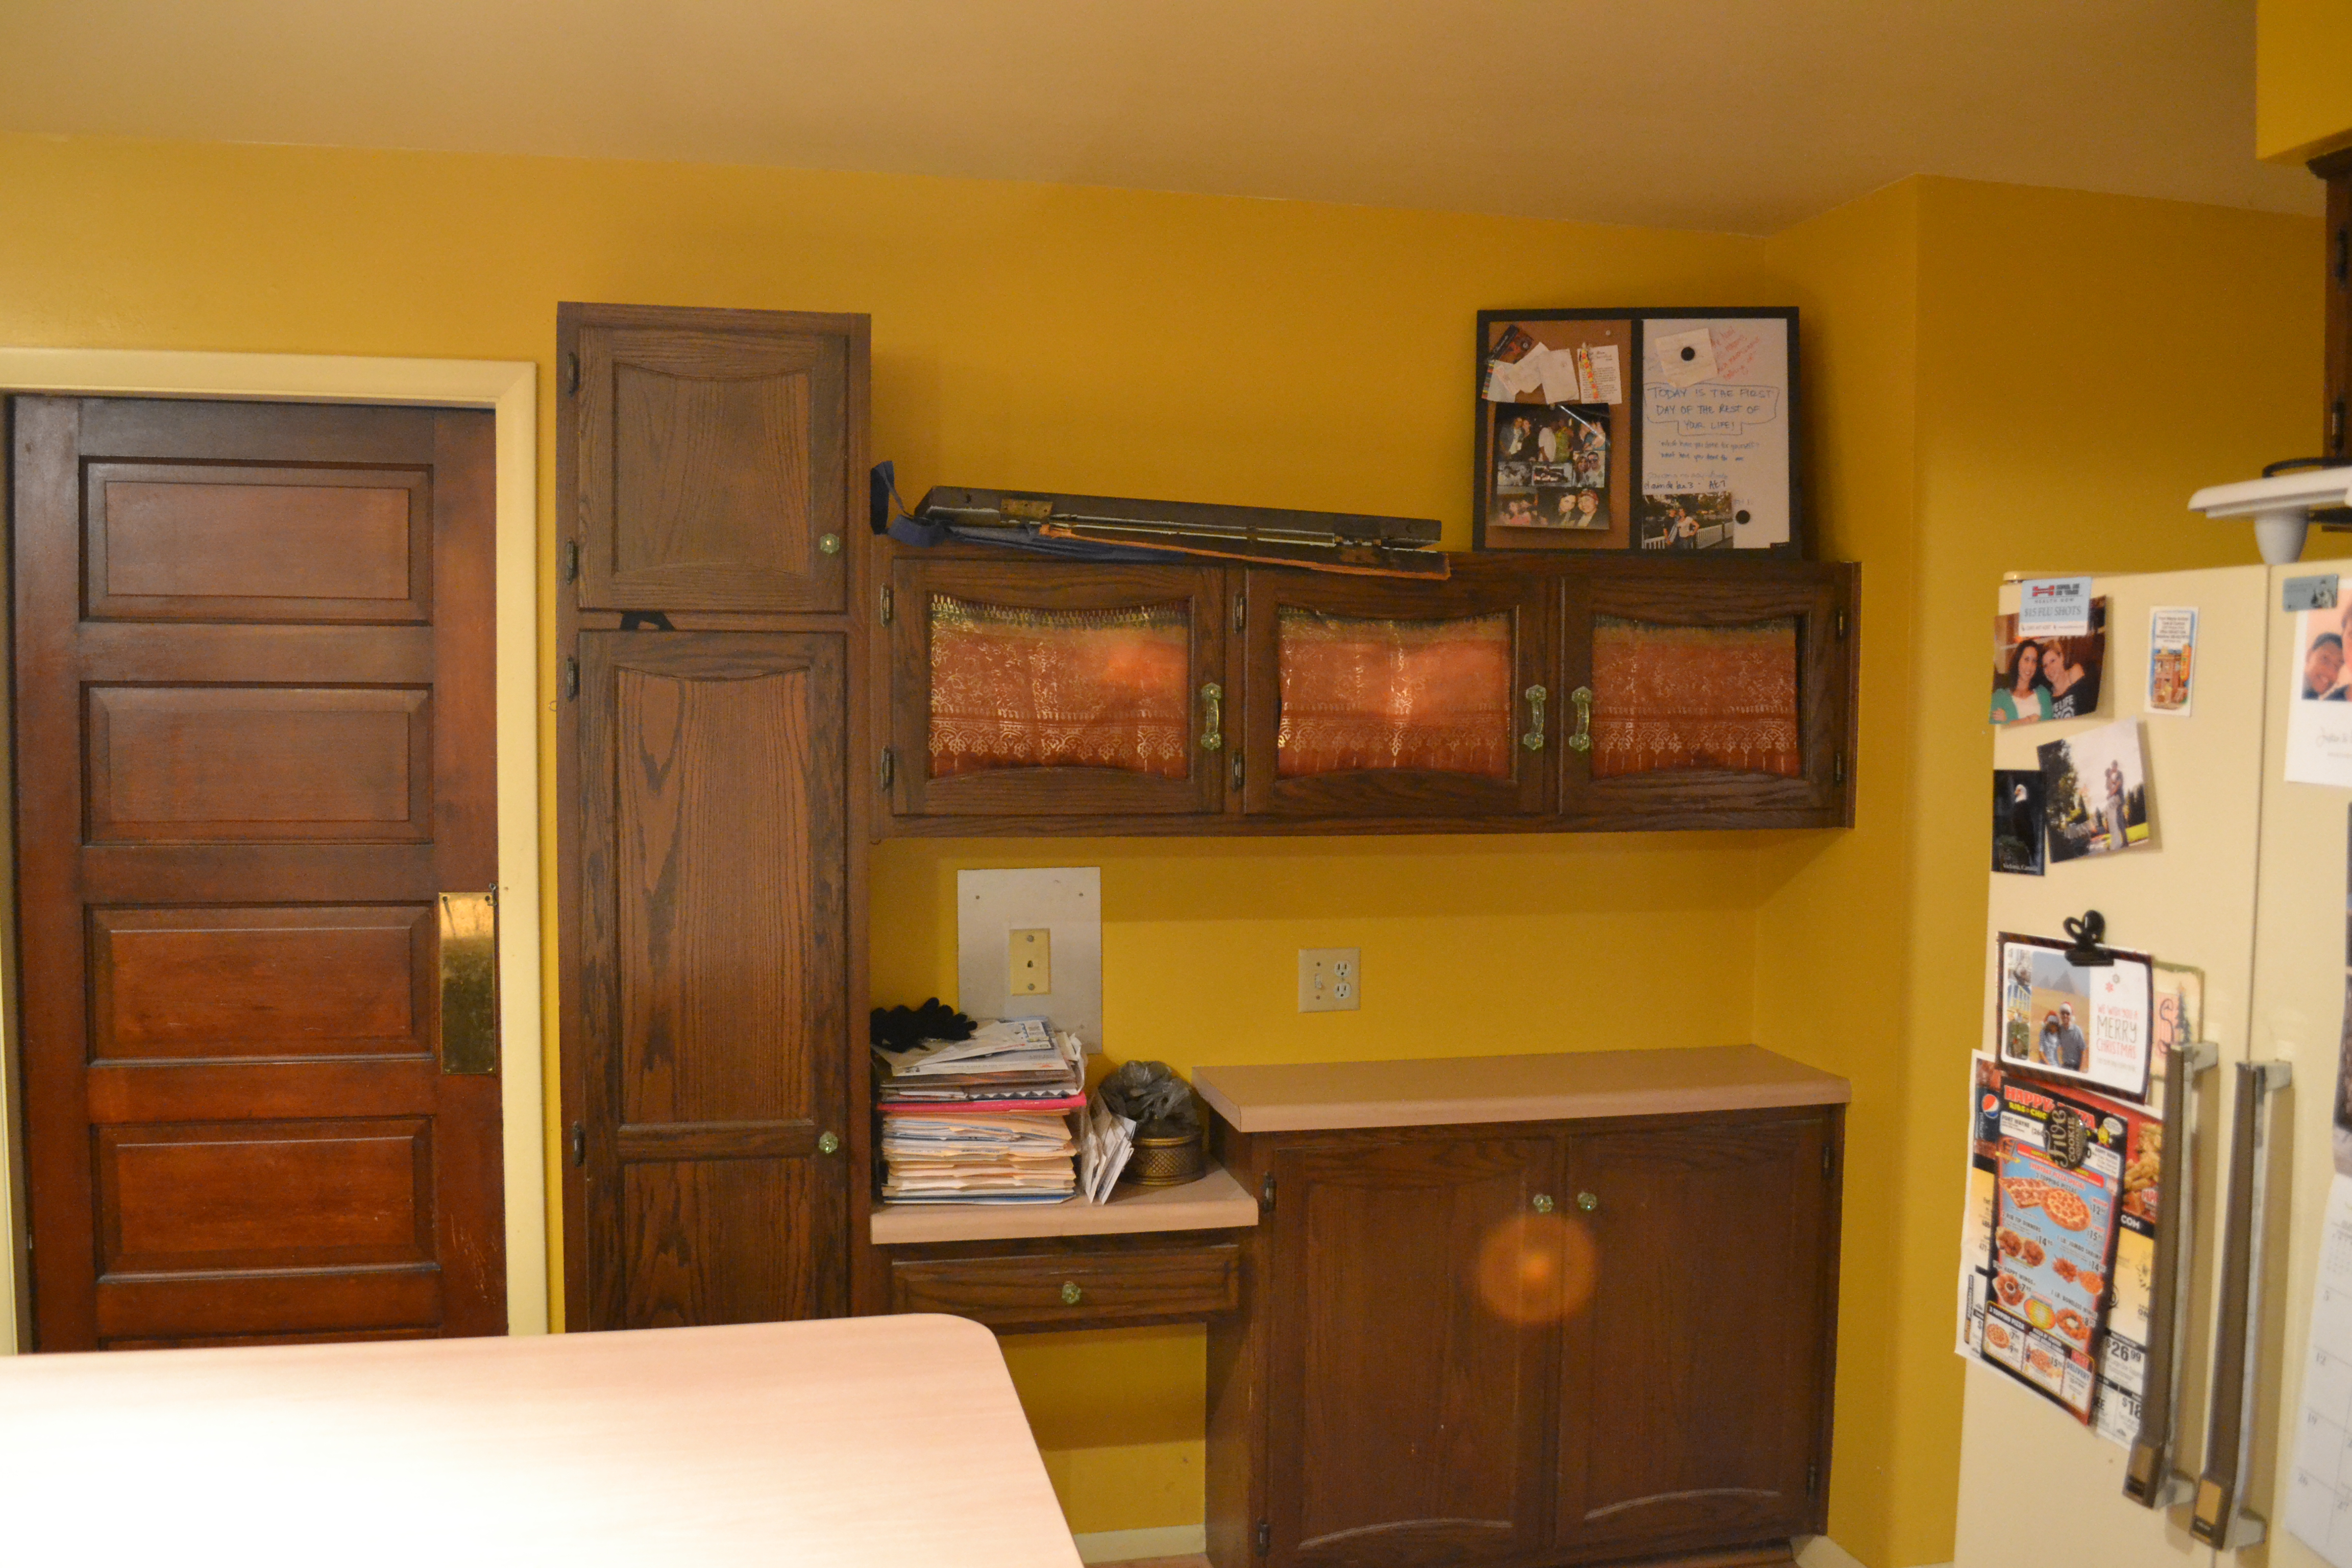
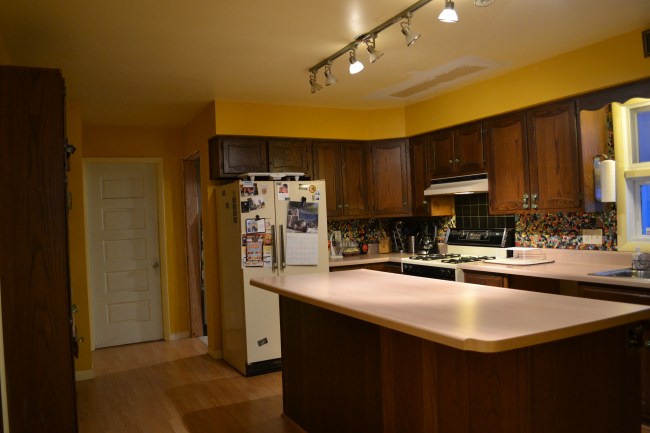
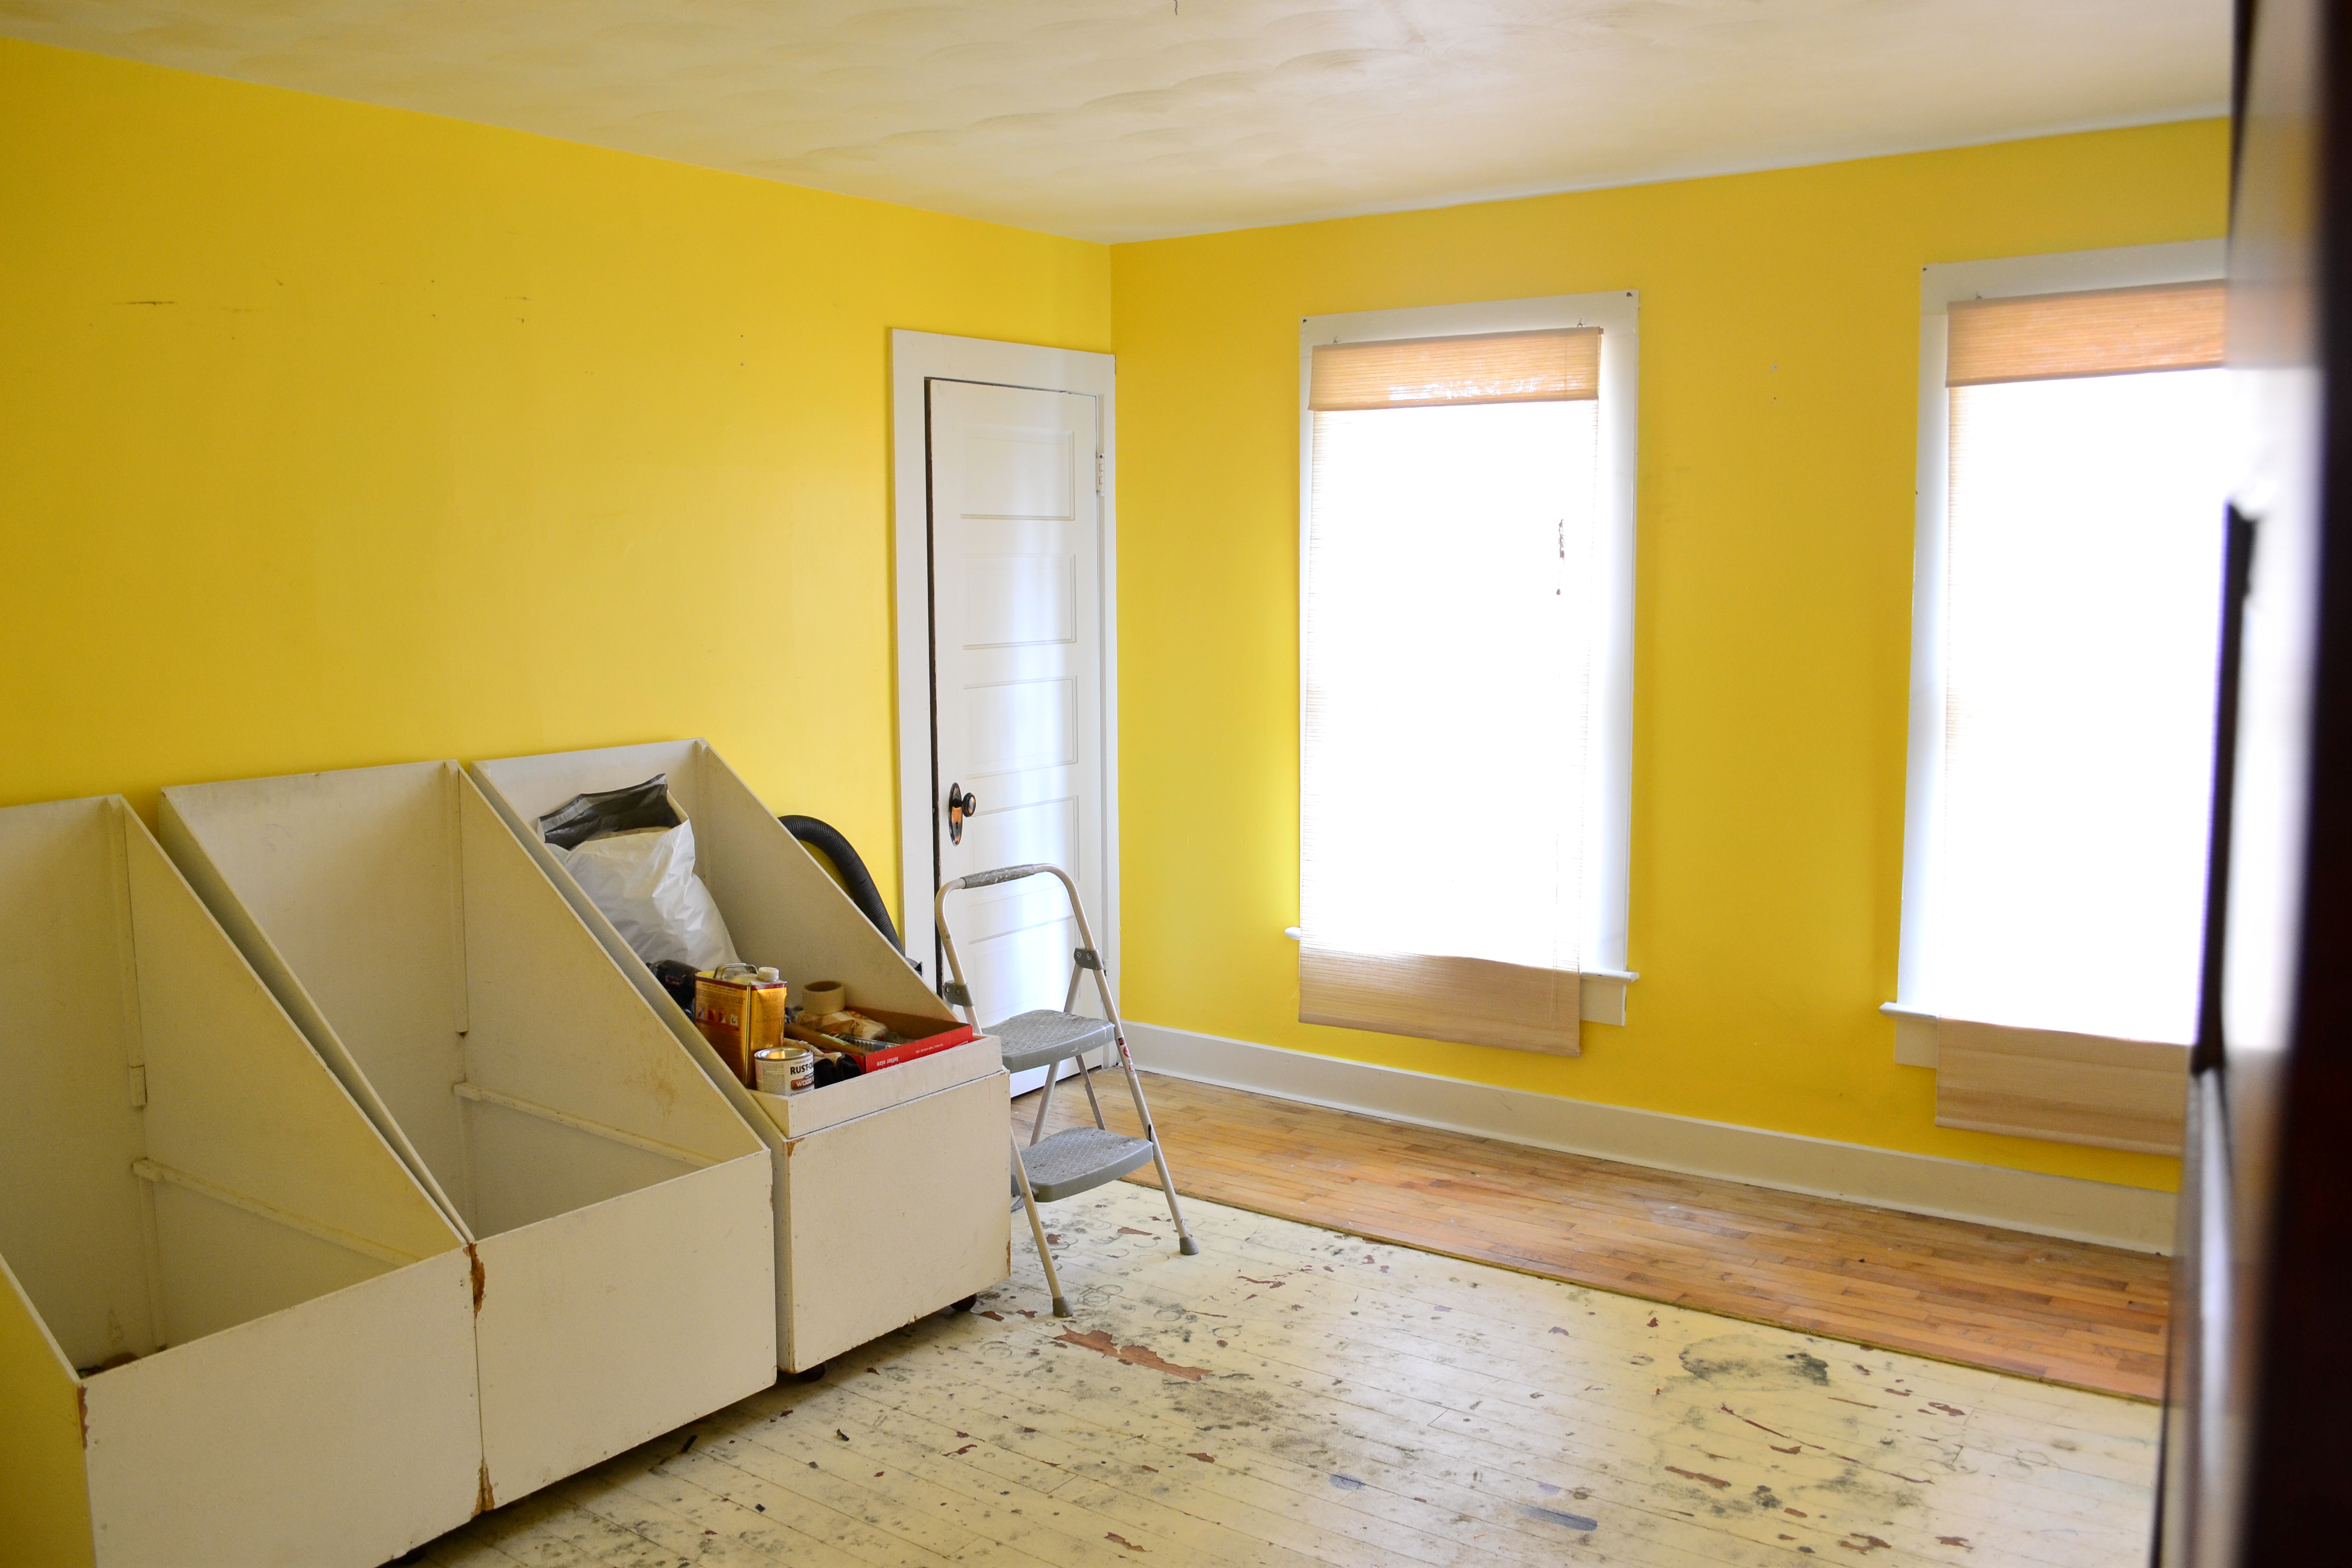
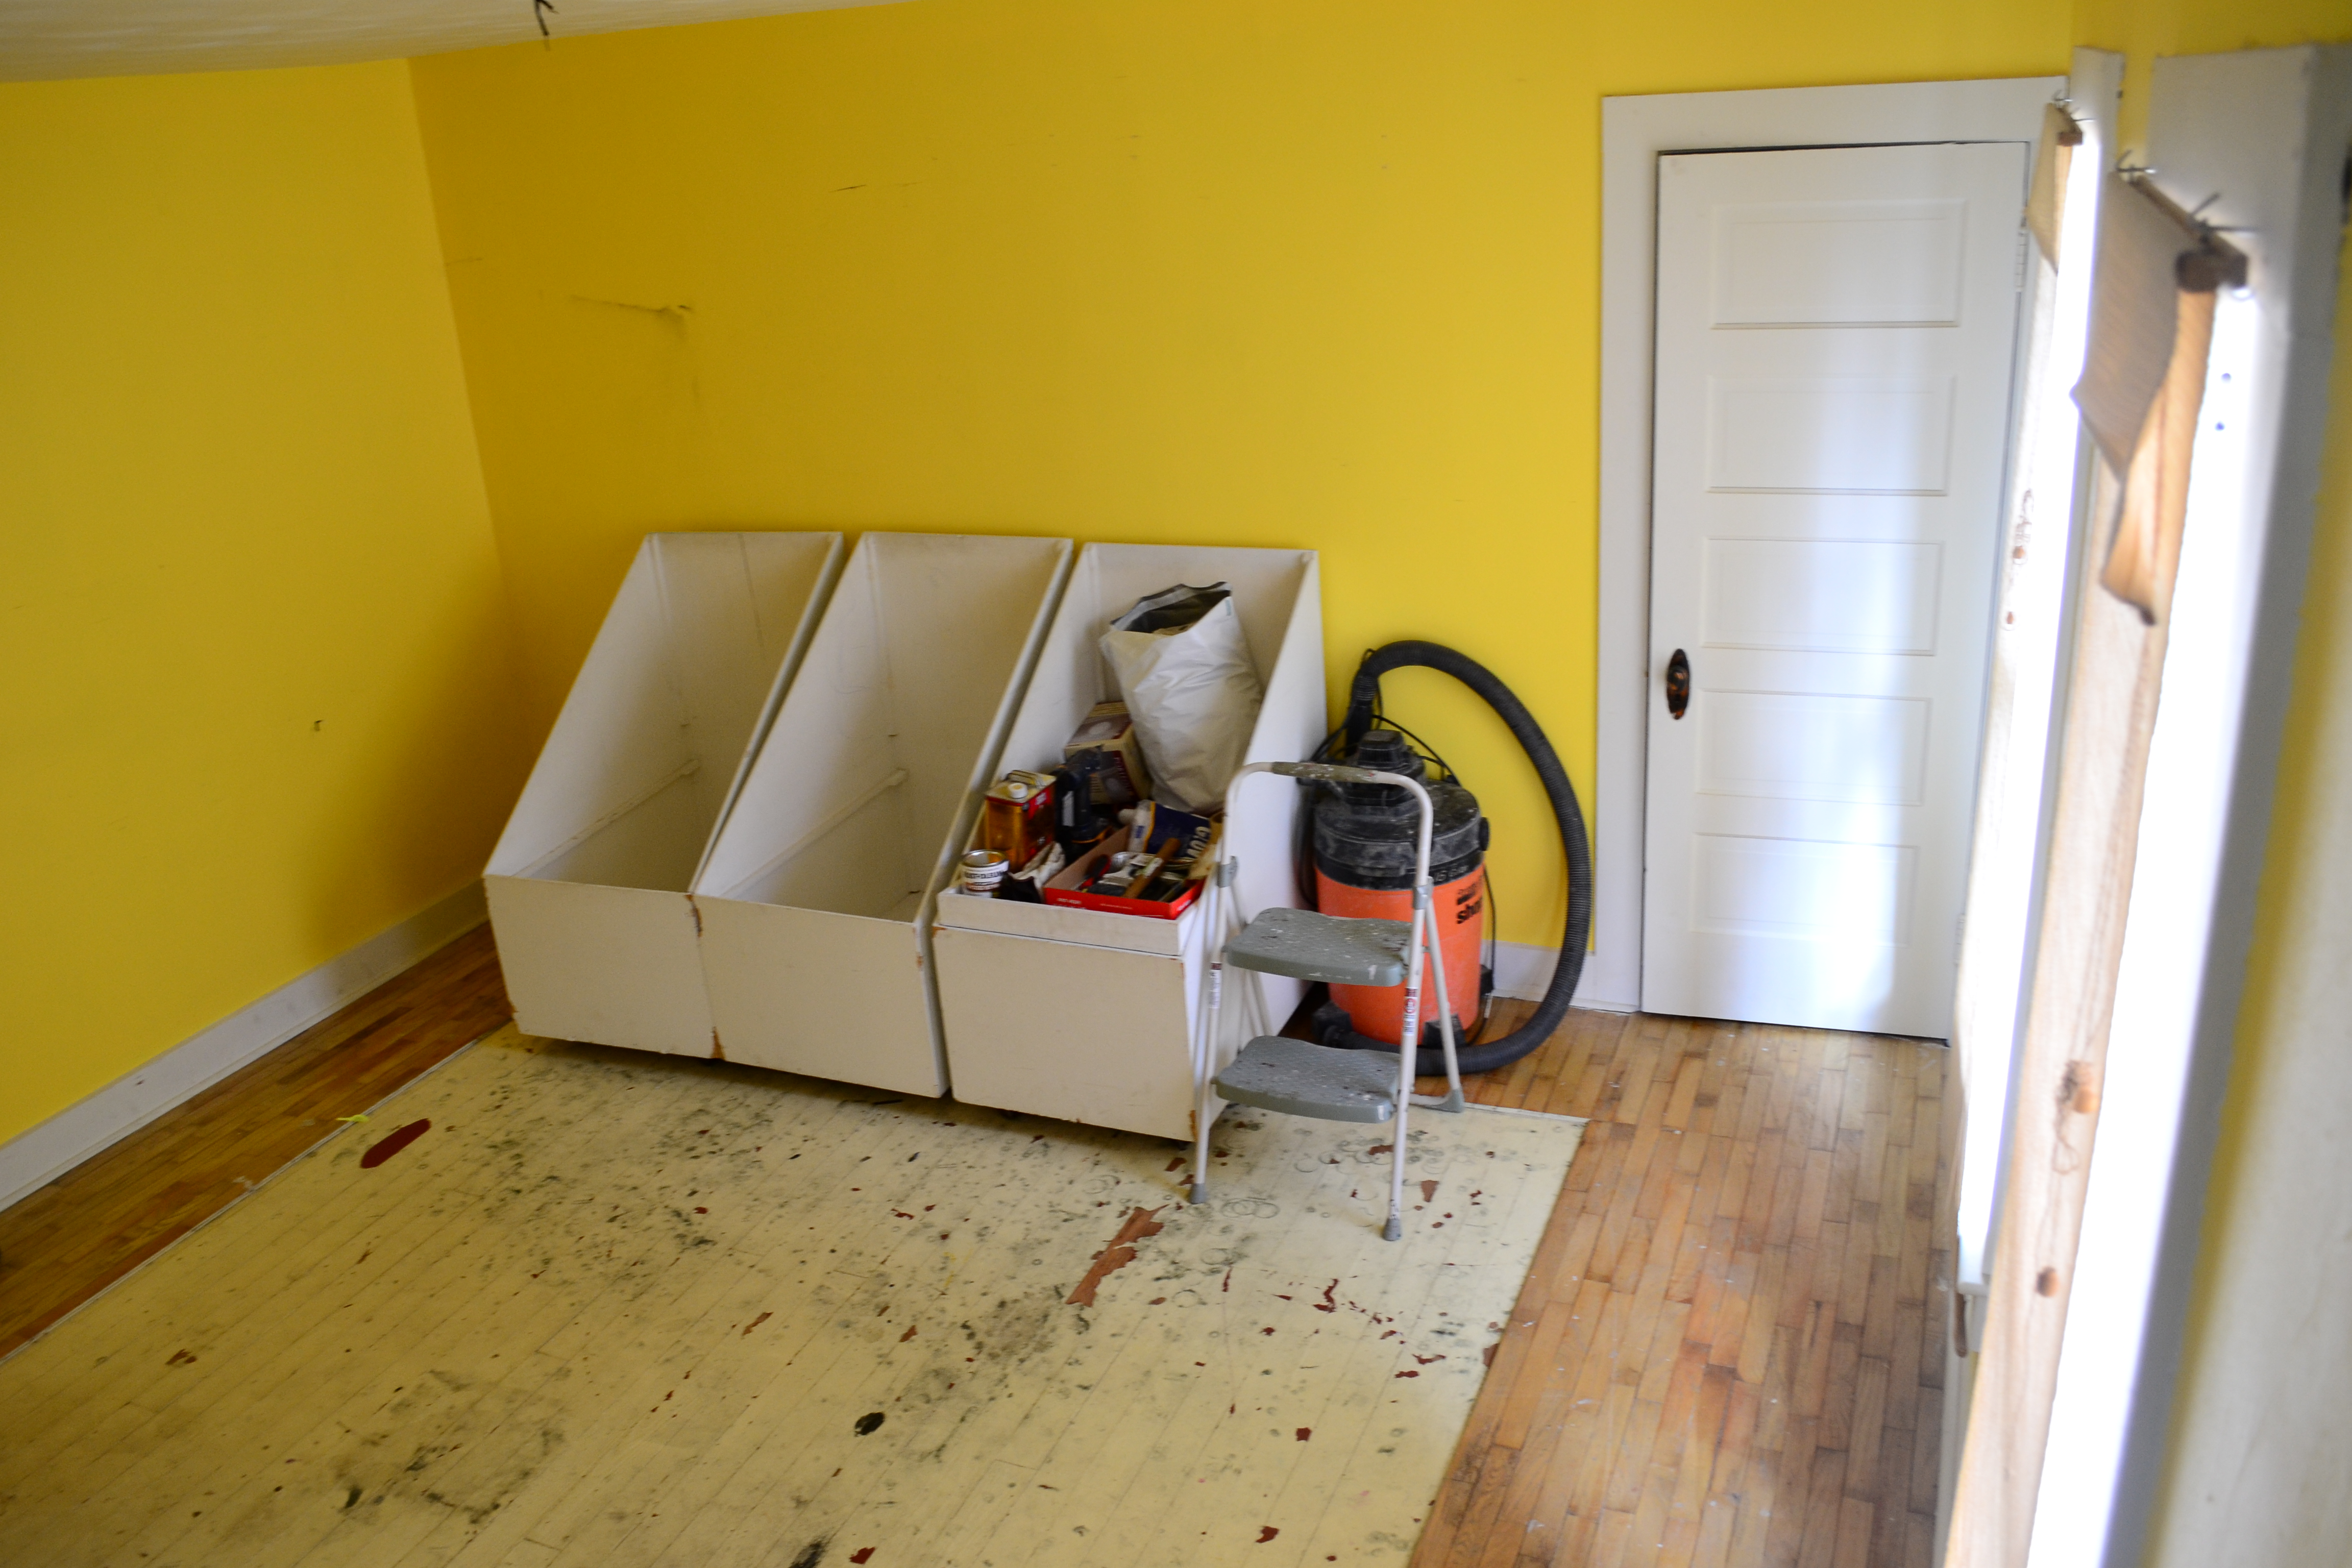
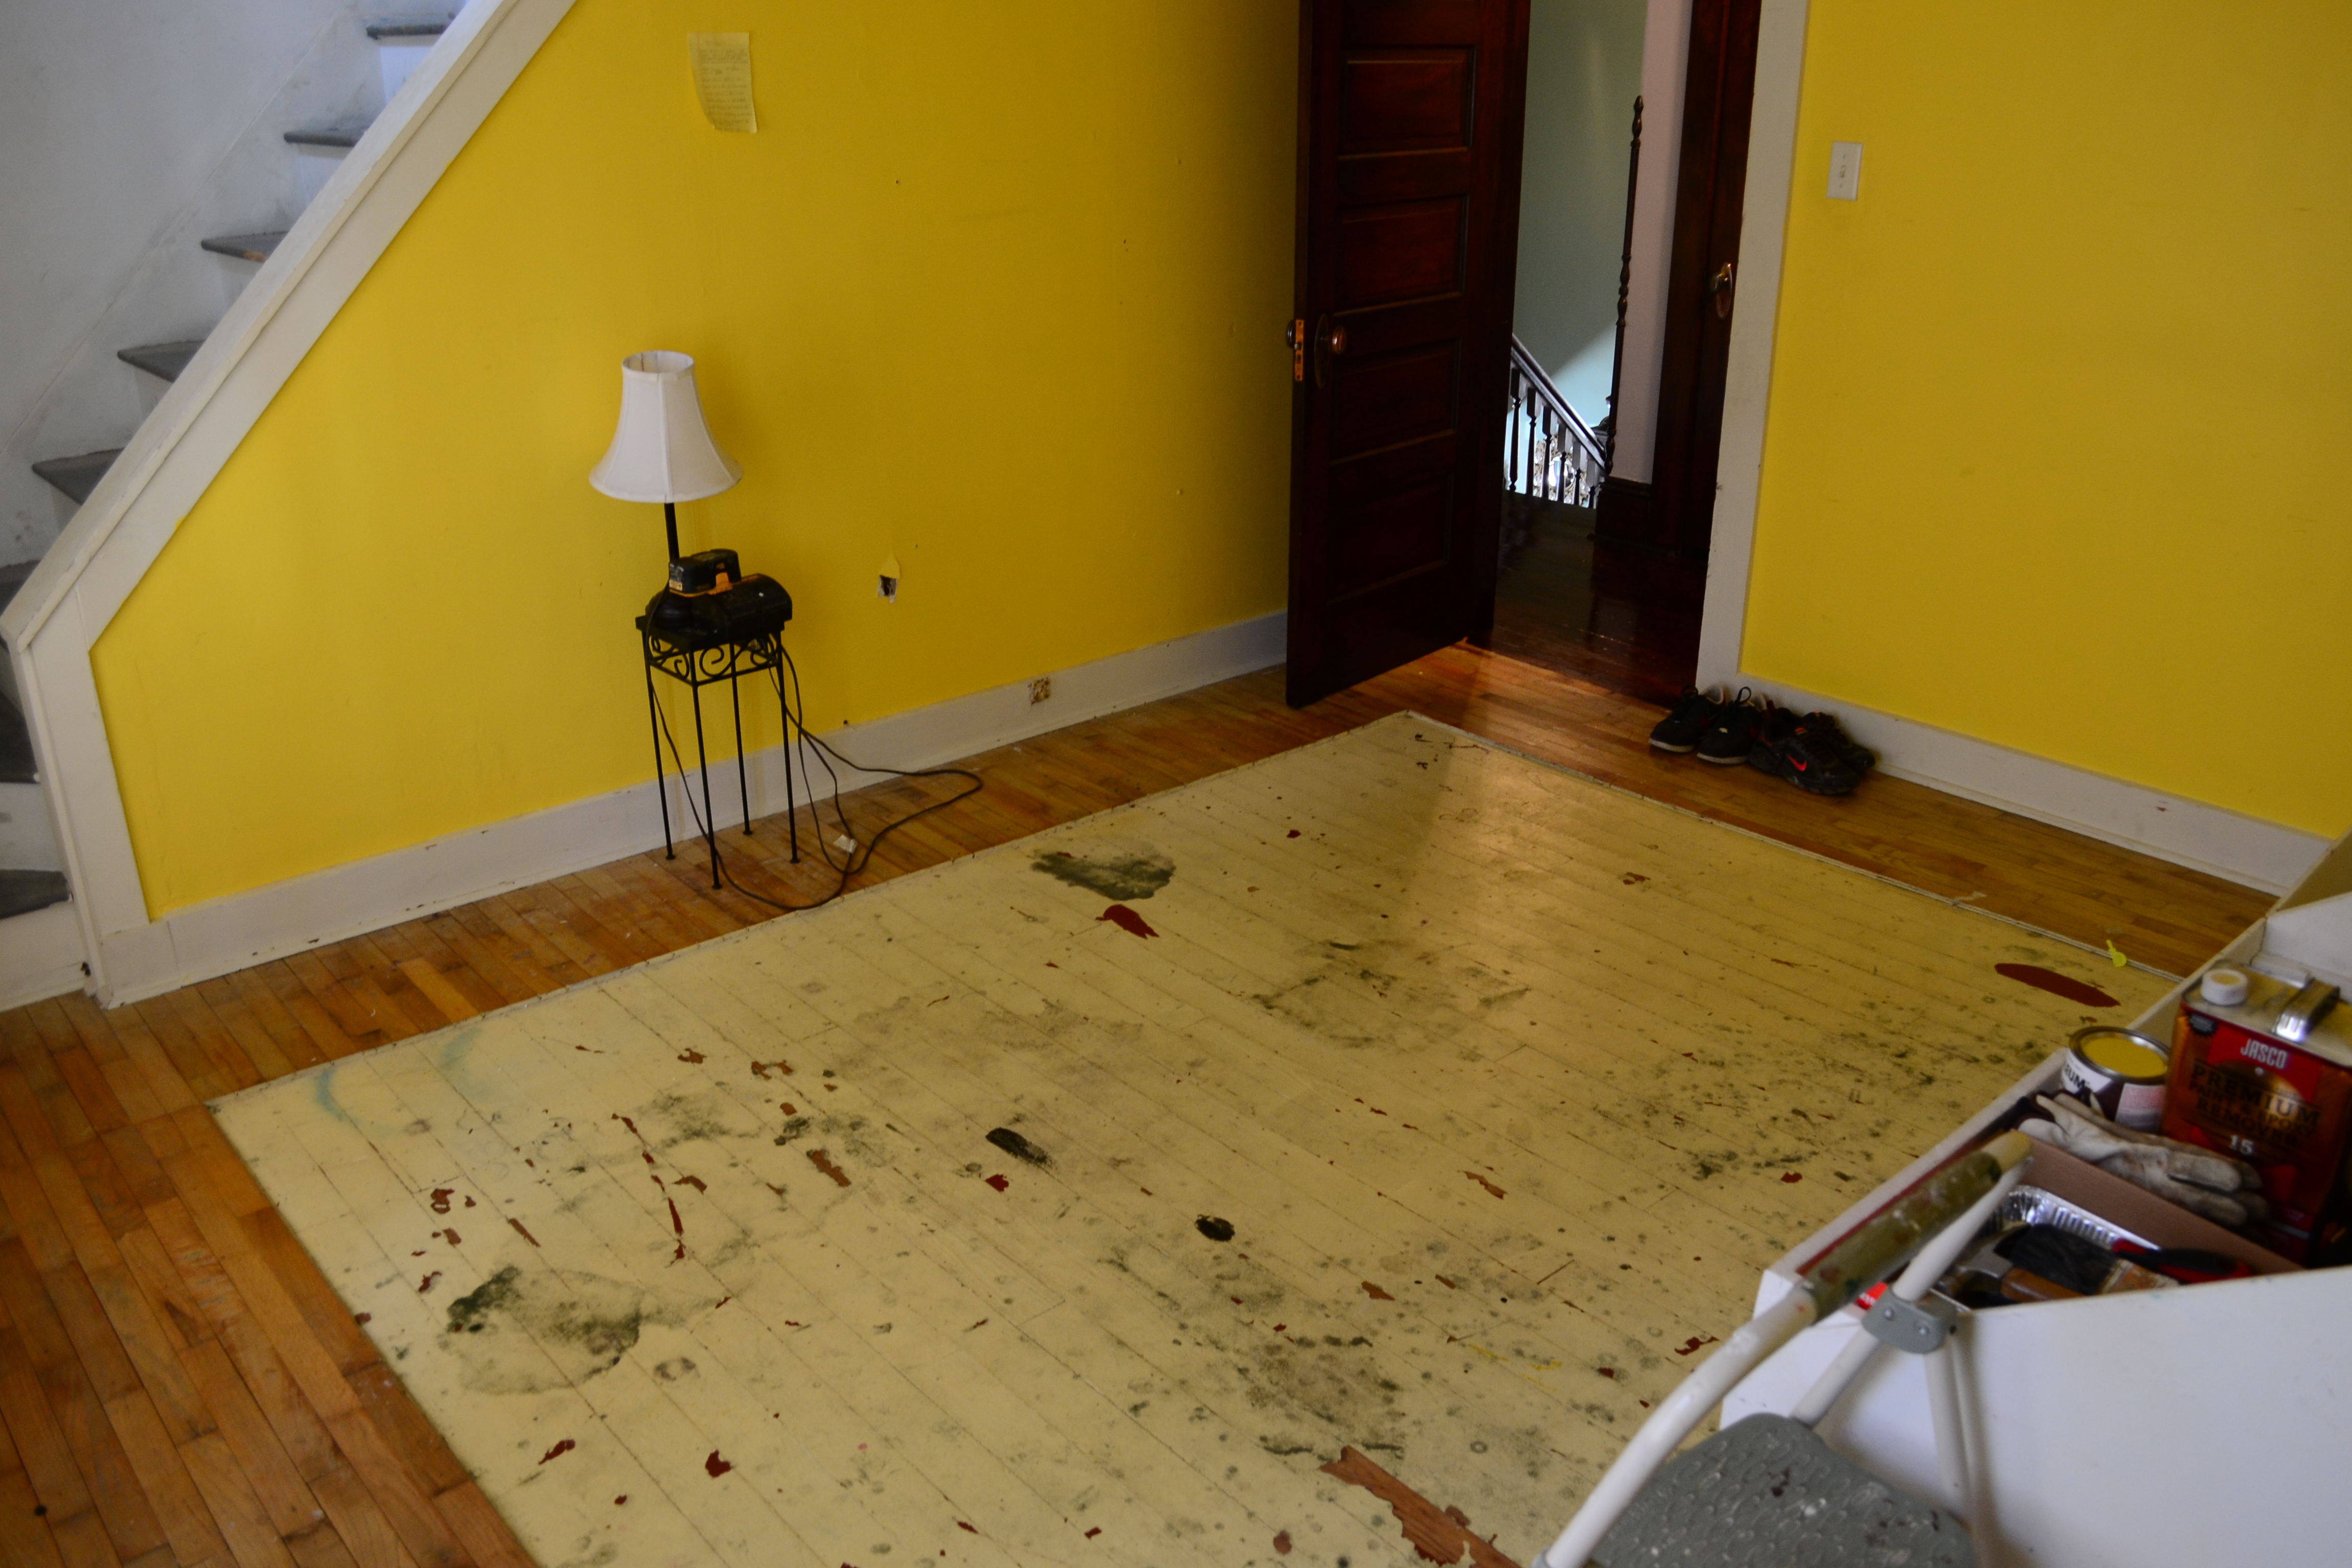
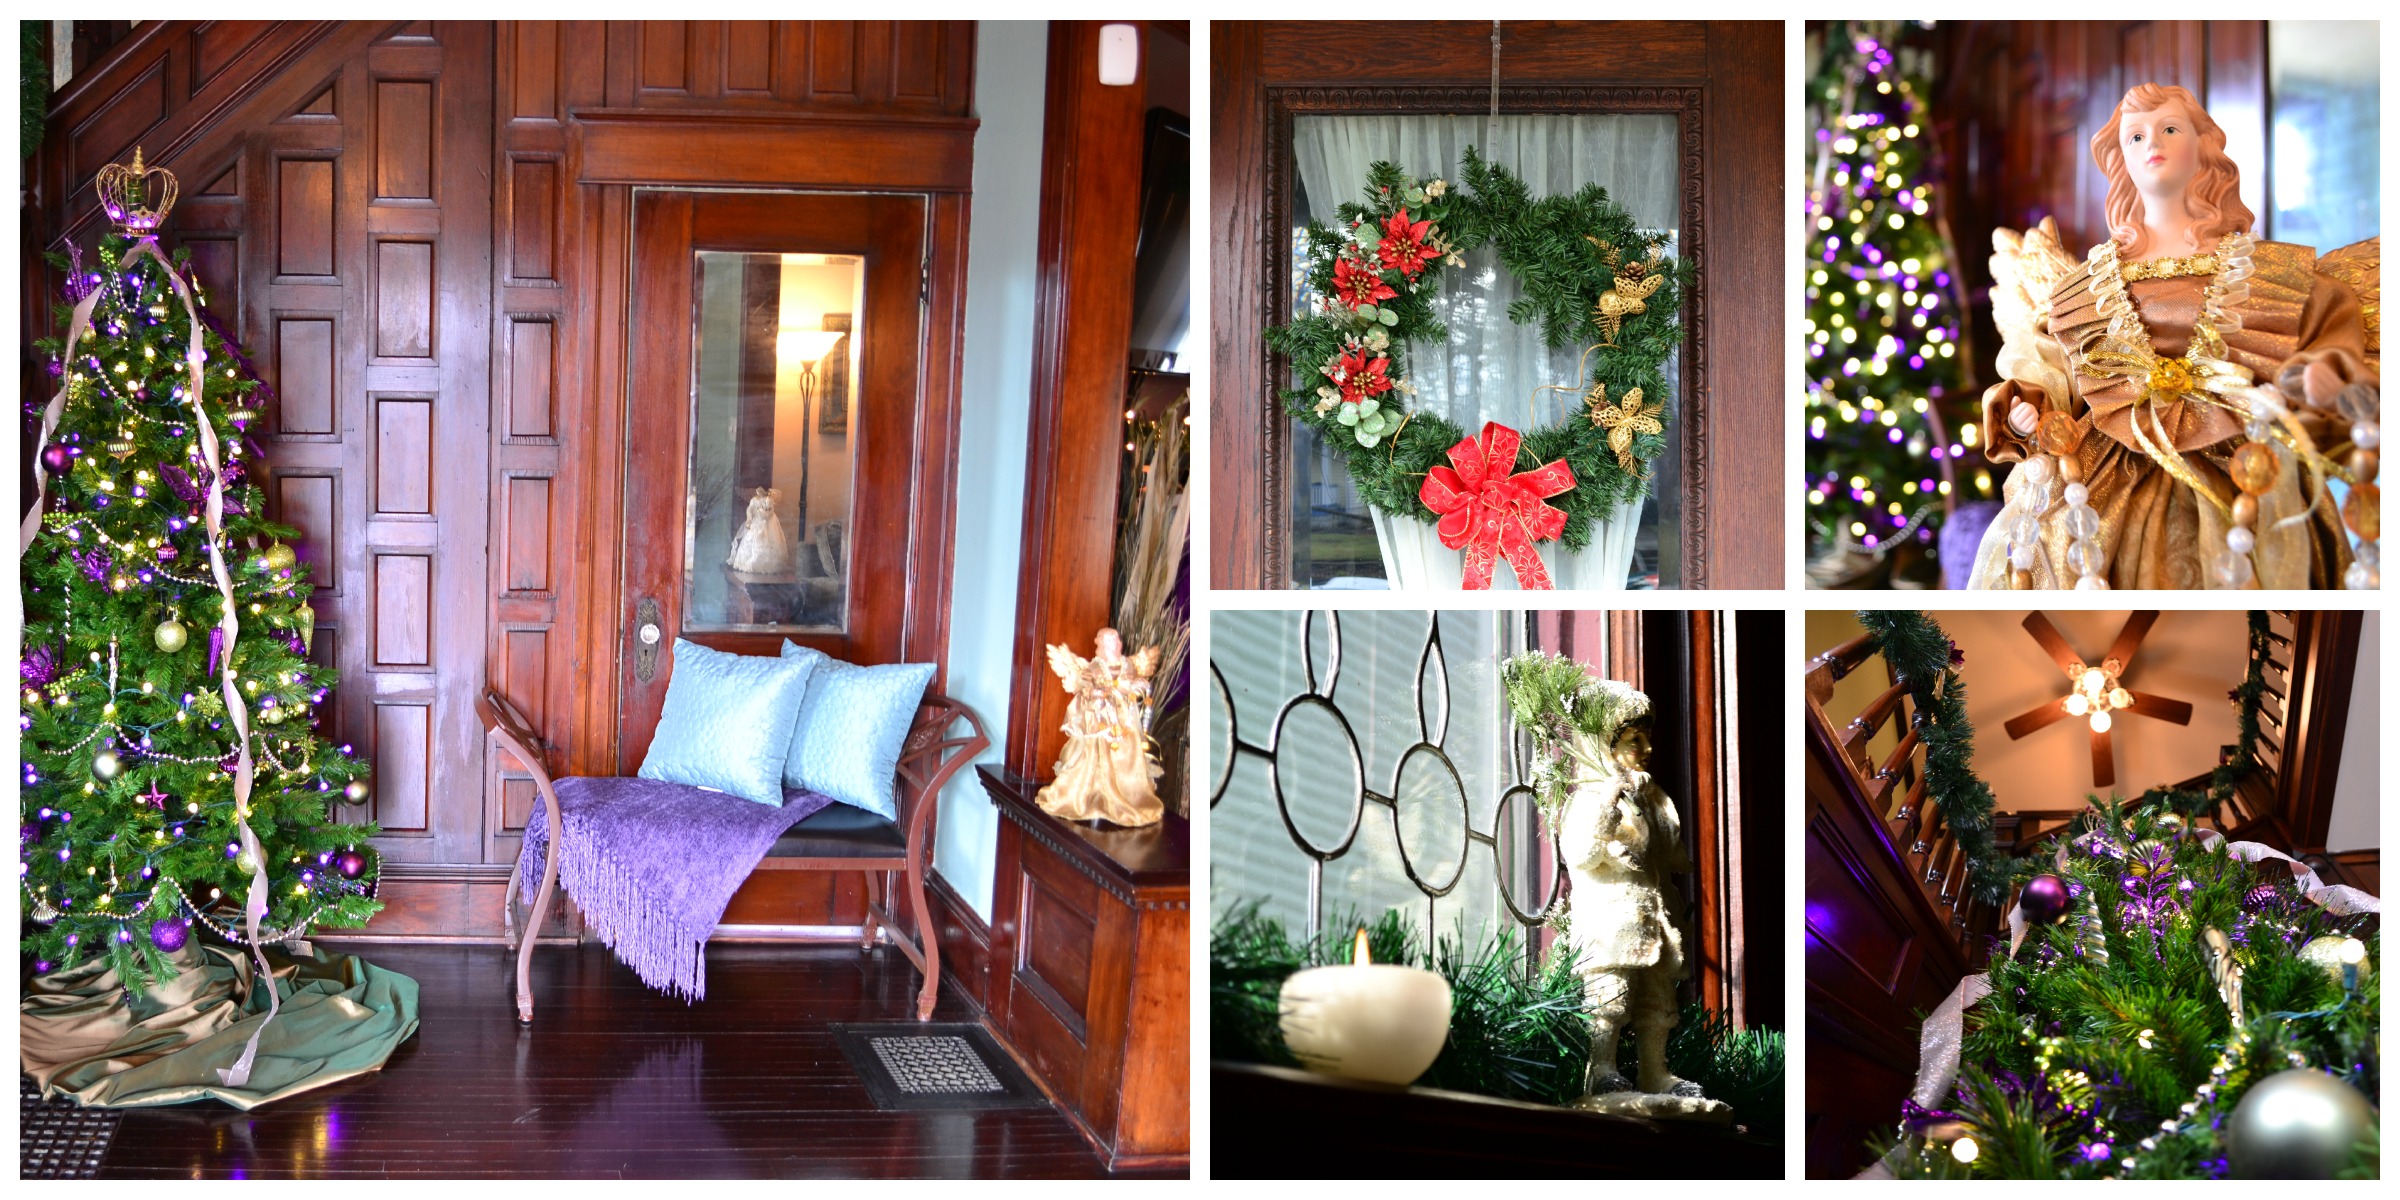
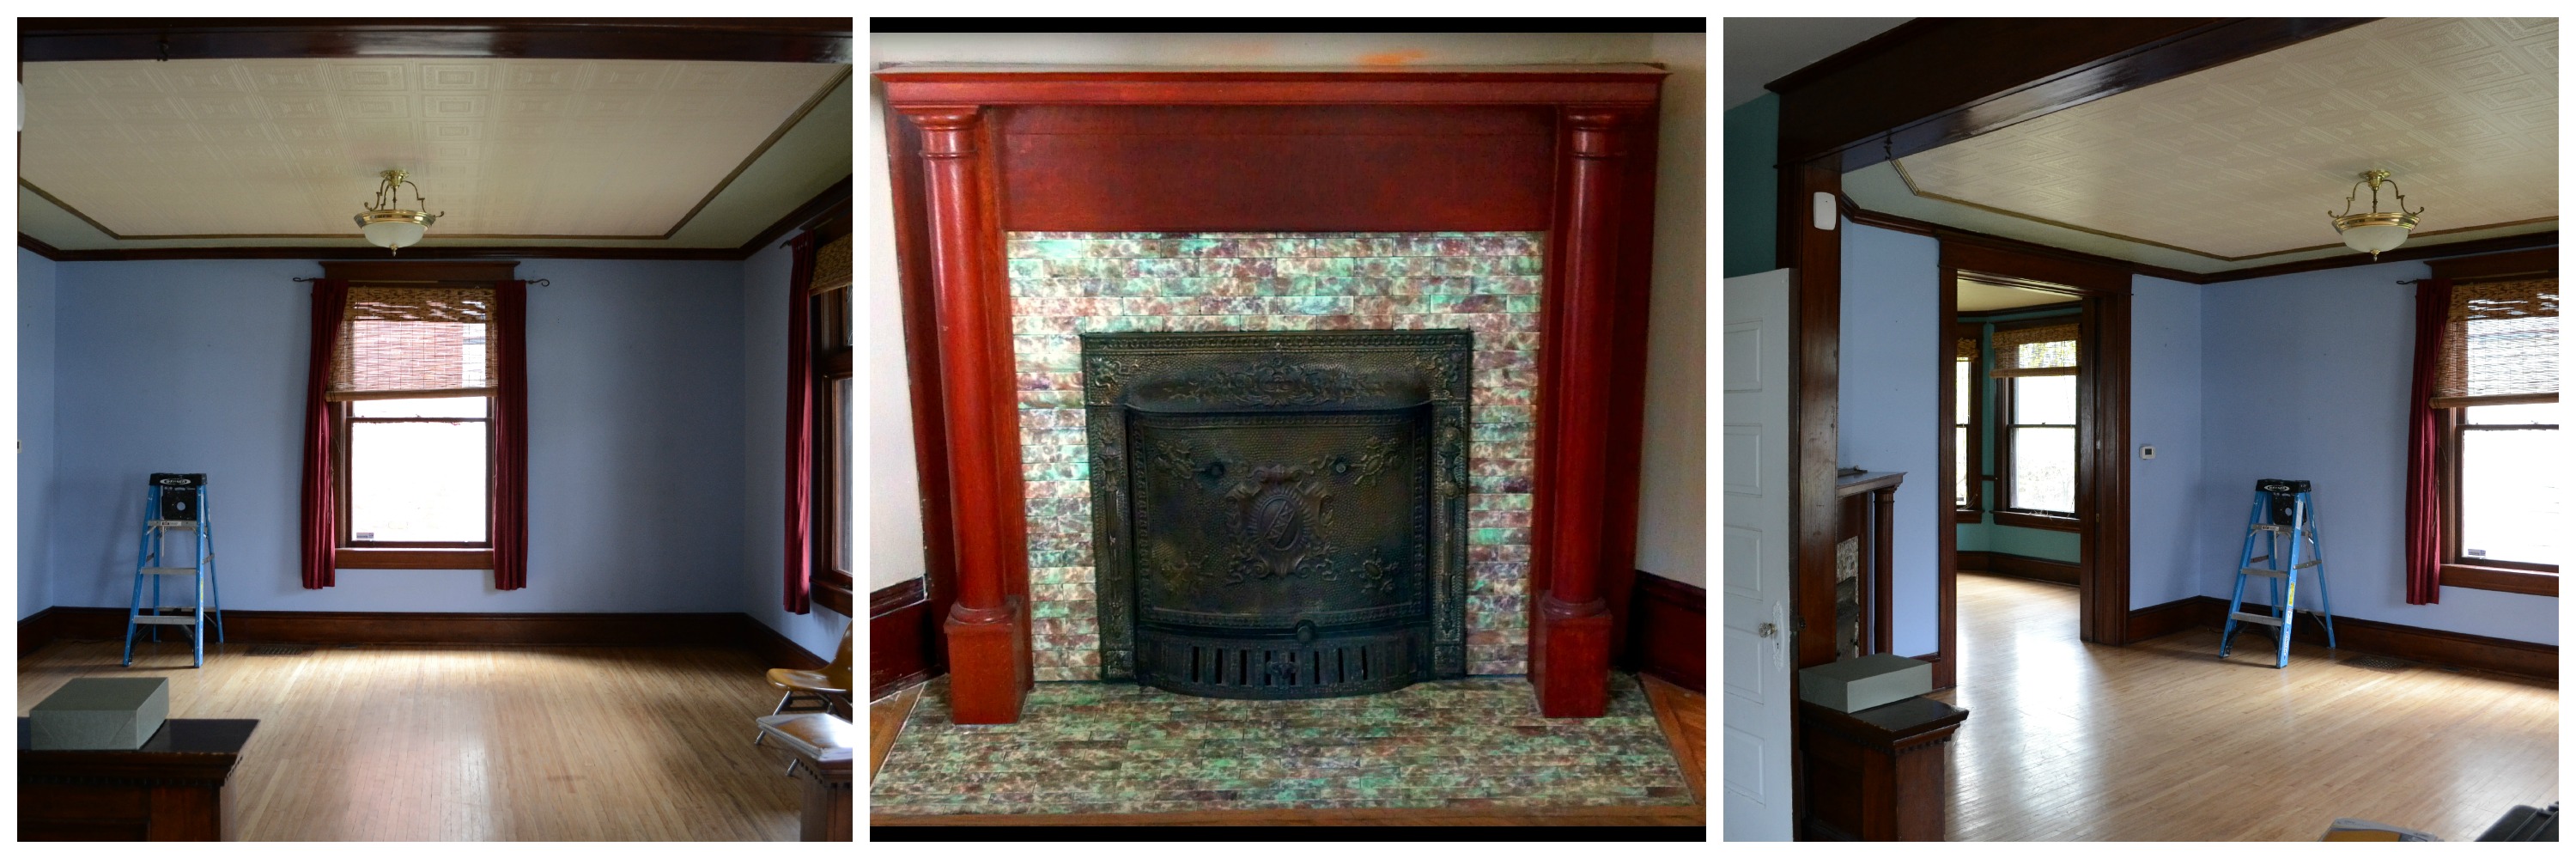
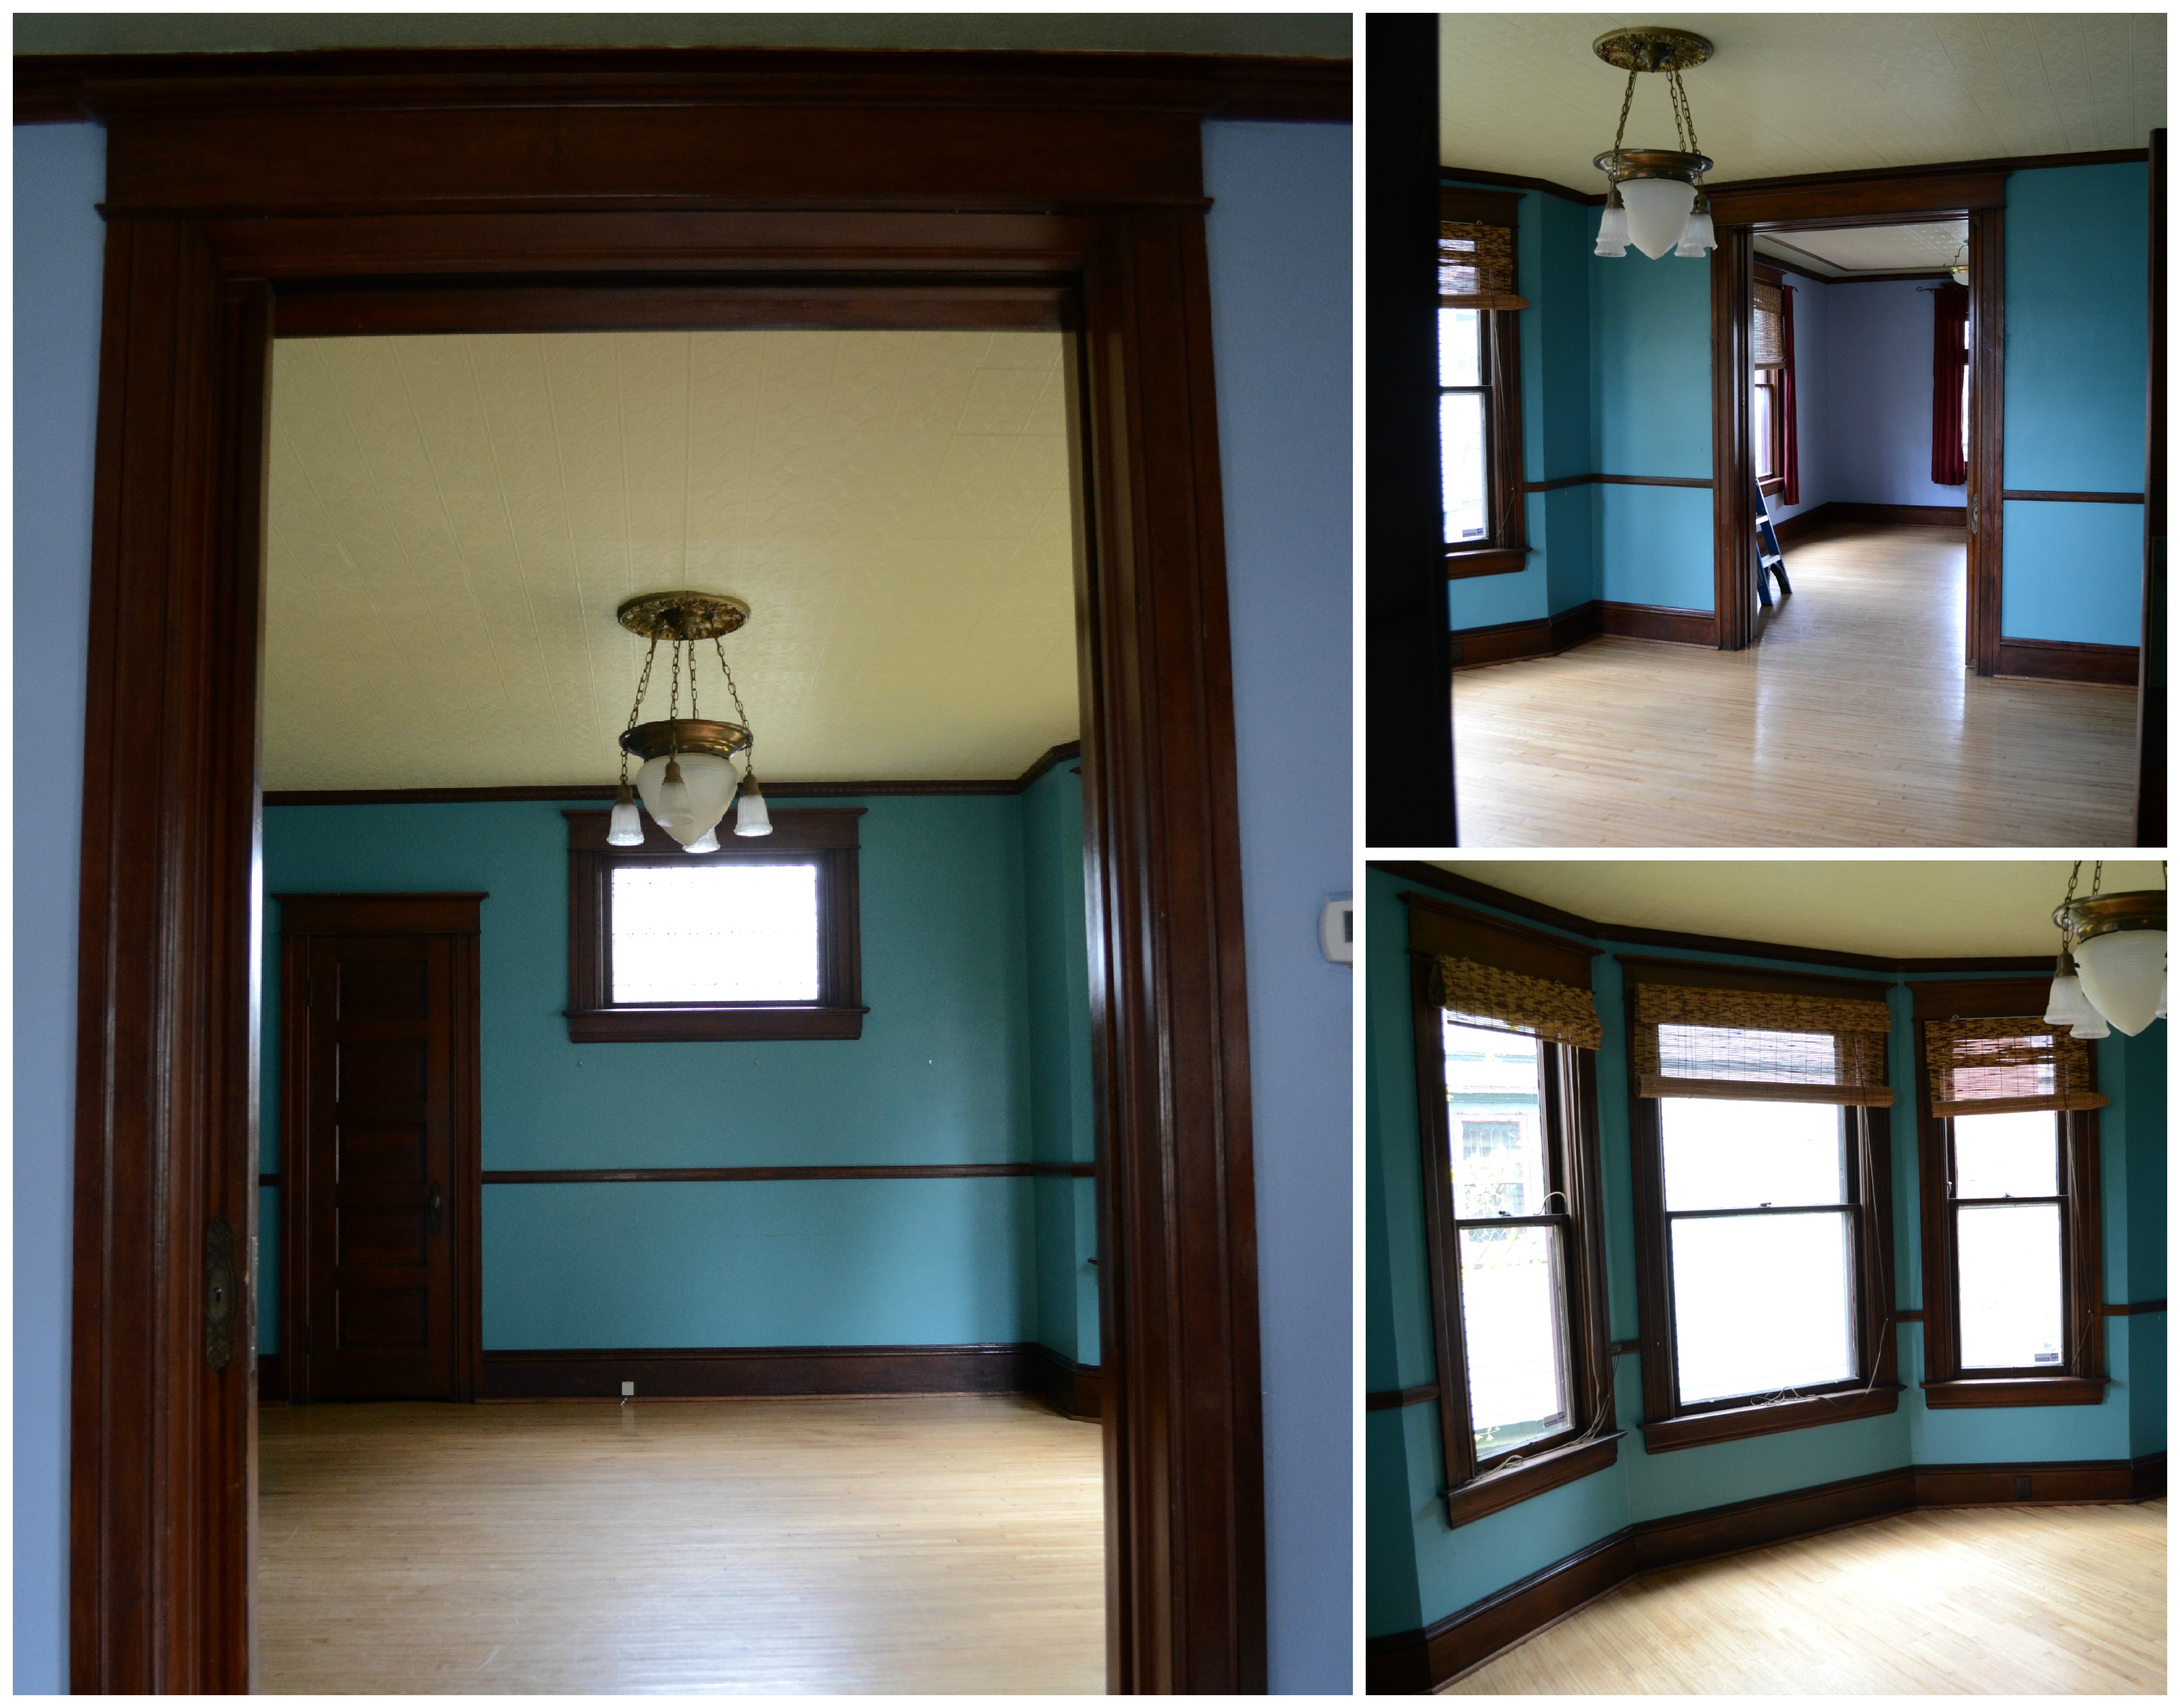
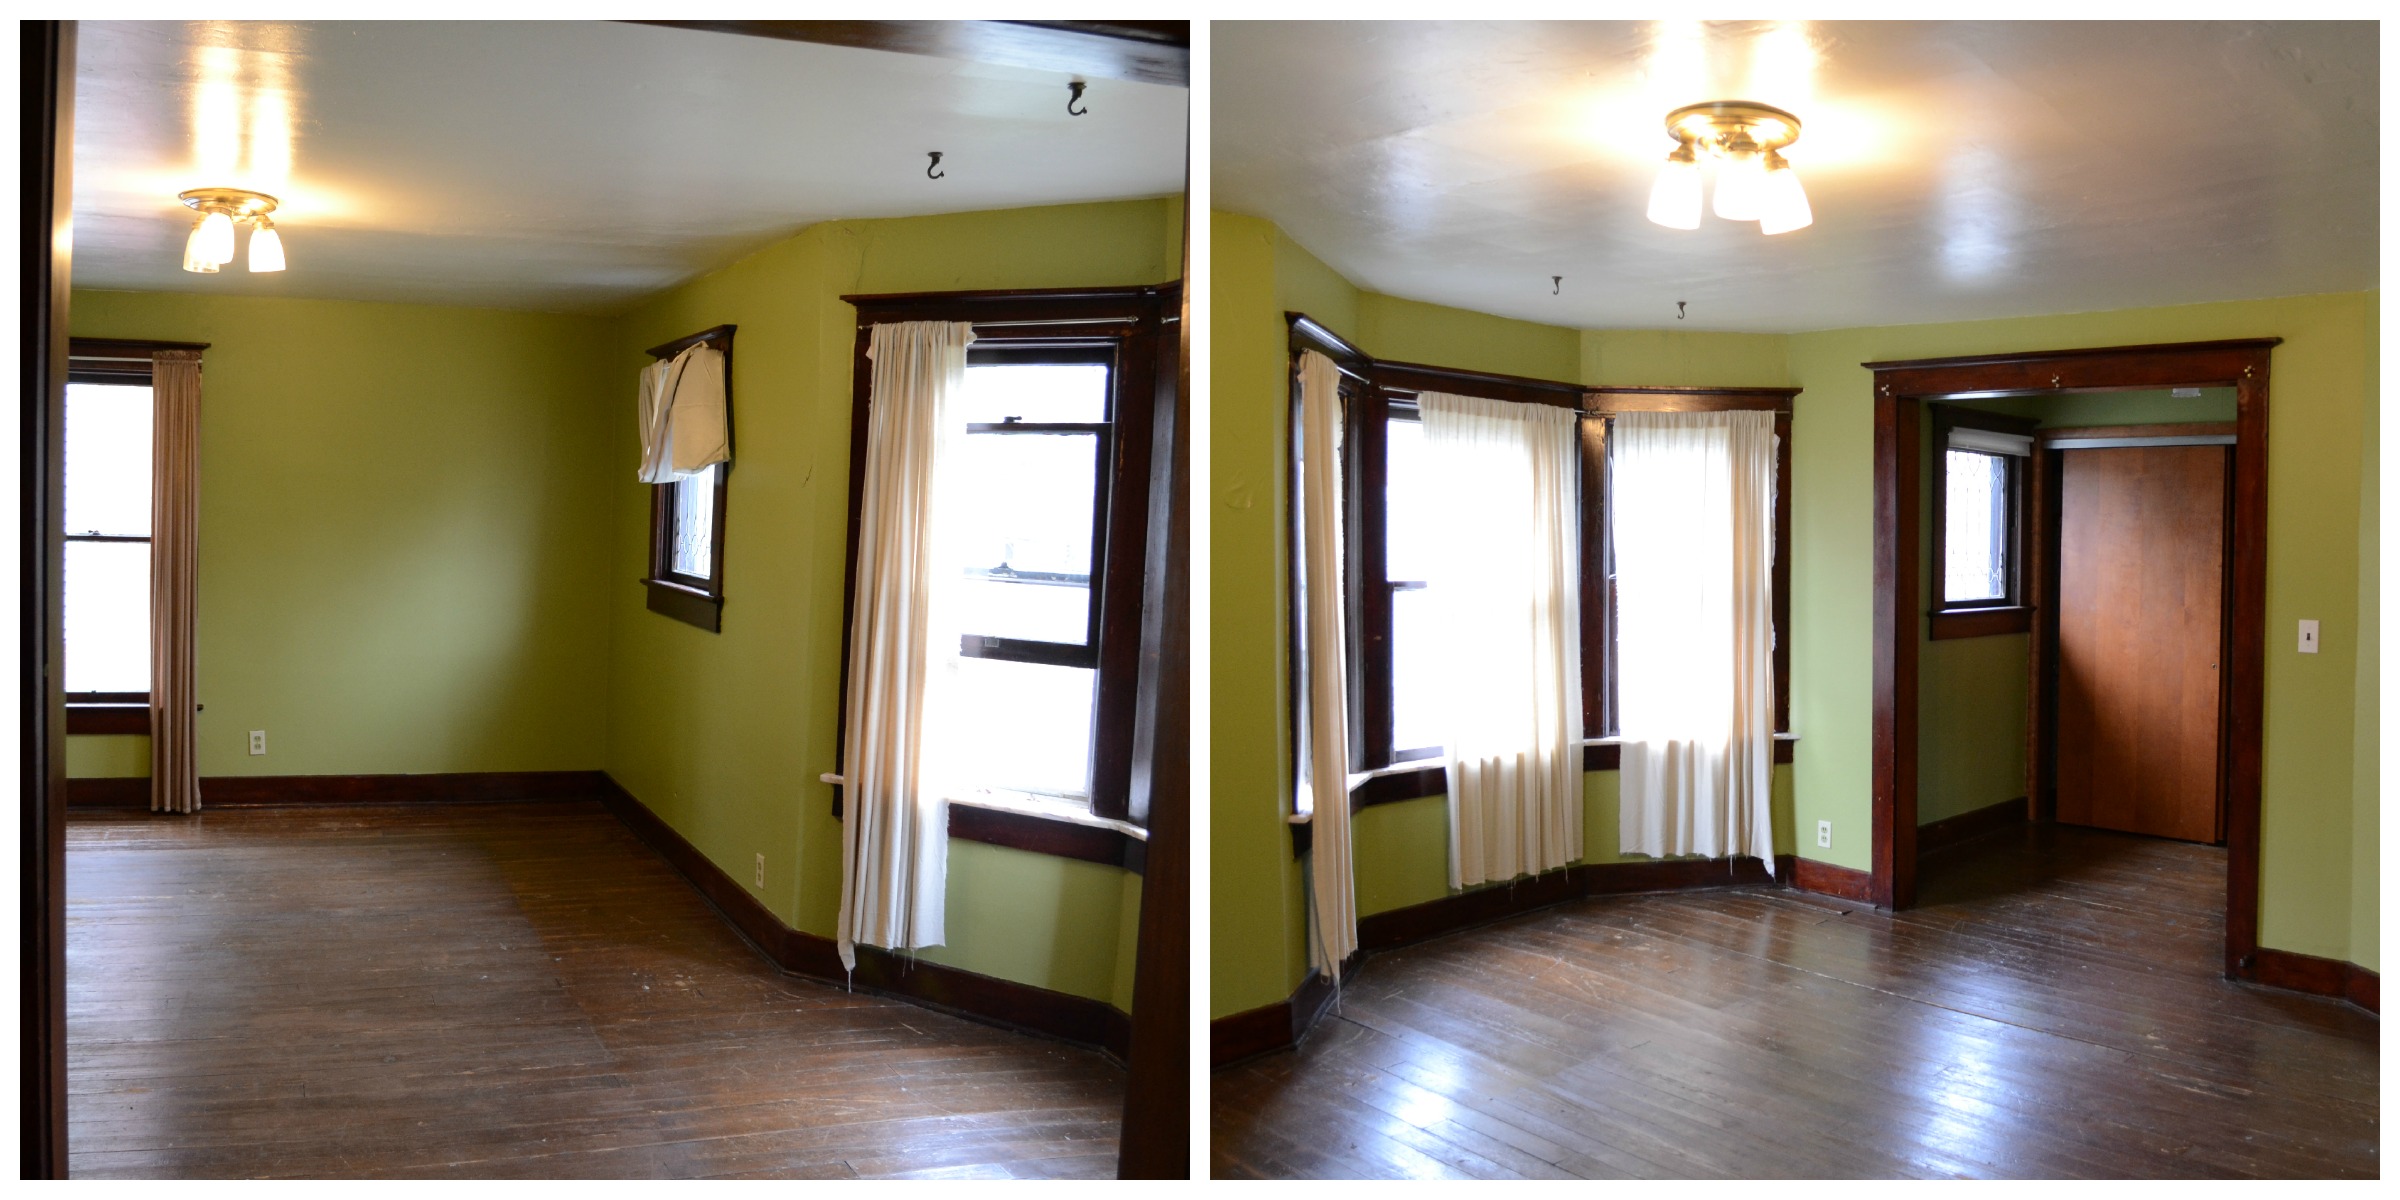
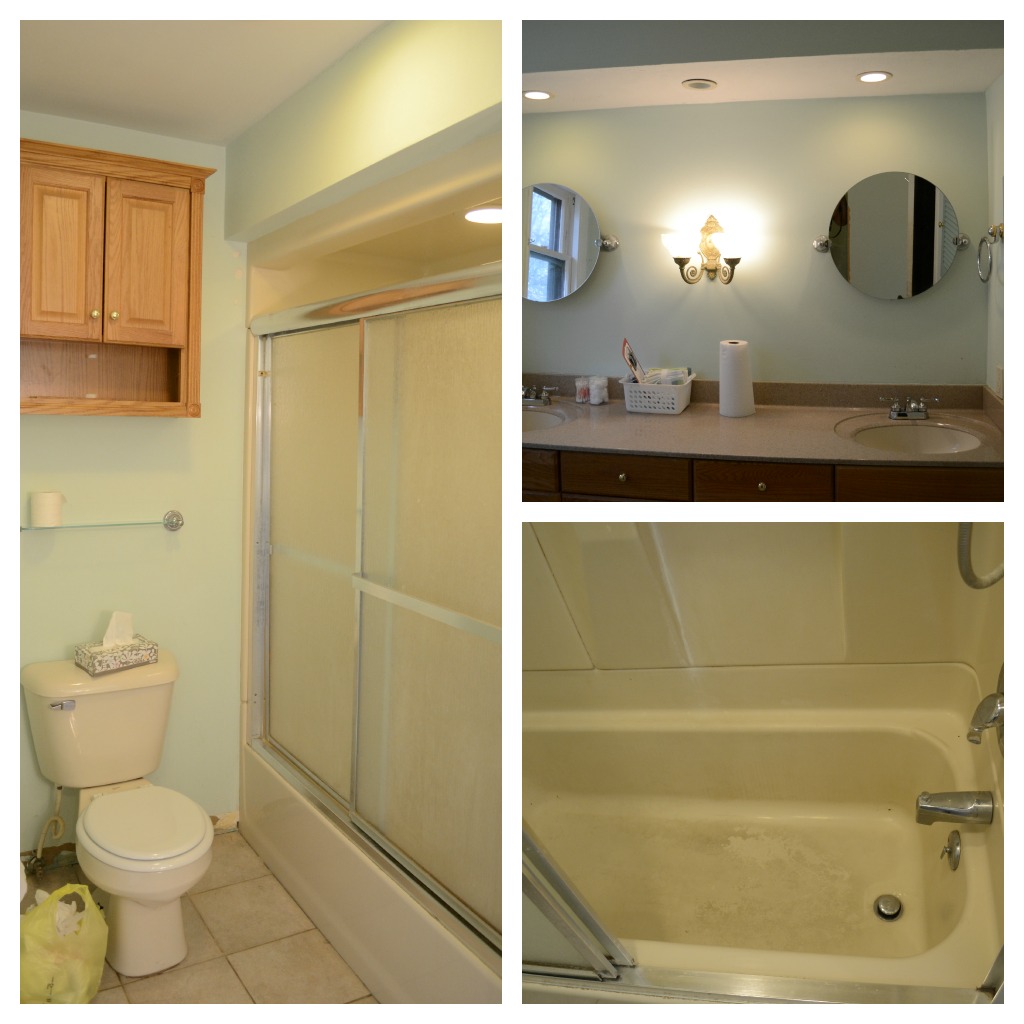
A couple of weekends ago the weather turned cool and rainy.  After months of hot and humid weeks filled with outside work and, more often than not, perspiration, I decided to take advantage of the gray, stormy day and try out my first major DIY- covering an entire wall in fabric. 😀 Our wall is nice and big, and though it is freshly painted, it is B-O-R-I-N-G. This is what is looked like before.

We have a nice space and the wood work is obviously beautiful but I really wanted to make an impression on guests as soon as they walked through the front door. And so it was off to procure an eye-popping, color, texture wall ASAP. 😉

I woke up early and dragged Raul to Jo-Ann Fabrics. I had been scoping out the different patterns and textures for weeks. Finally, with a new paycheck in the bank and coupons in hand, we took the plunge and purchased 20 yards of this fantastic fabric. My advice: do NOT attempt this project unless this stuff is on sale…cuz it is expensive! I got lucky and got it at 50% off for September being National Sewing Month. 🙂

Here’s a close-up so you guys can check out the detail.

The fabric is an organic fiber with lots of different greenish blue hues that complemented the hallway paint color marvelously! I also liked the striated markings because it would help to lengthen the entry way wall even more.

I had spent a lot of time researching the best method for hanging said fabric. I stumbled on some cool blog posts detailing how fabric could be hung on walls using regular old liquid laundry starch. Apparently the idea originated with some Army wives who wanted to make their Army barrack houses feel like homes without permanently changing the walls as this was not allowed. The cool thing about using starch to hang the fabric is that it can easily be peeled away from the wall when you are ready to take it down.  The fabric would have to be saturated, just like wallpaper, and hung in much the same manner. I looked high and low for liquid laundry starch- nada. So I ended up with 6 cans of this stuff.

We washed down the walls with soapy water and set to work measuring and cutting the fabric while the walls had a chance to dry.

My number one tidbit of advice? Measure twice and cut once! And in this instance, I am referring to the cut made by the sweet old lady at Jo-Ann Fabrics. I ended up buying approximately 4 extra yards of this stuff due to a miscalculation (hey! Math was never my strong point!) At $25 bucks a yard that’s some serious change…thank God for coupons and tons of other DIY’s that I can use this leftover fabric for (heck, one lady told me she used this fabric to make the lining on her bed comforter?!). Anyways, we soon got right into the project.

First things first- pull away all the old trim and moldings. I wanted the edges of the fabric to be tucked away under the molding, hence, the necessity to rip it all off first!

I then cut off a small square from the scrap fabric and tested out my spray starch method…

…hmmm, seems to work! Let’s do this thing already!!

We set up two ladders on the stairs and my dad and I each grabbed an end of the fabric and a can of starch. We coated the wall in the  sticky stuff and placed the fabric on the wall. My intention had been to hang the fabric using starch only. The advantage of this is that when I grew tired of the look the fabric would easily peel away from the wall and after a quick cleaning the wall would be clean and free of damage. Yeahhhh….soooo not so much. Lol The fabric did not want to stay flat against the wall. There were a lot of bubbles and I don’t know if this was due to the size of the area we were covering or lack of saturation or what. We ended up securing the fabric with a staple gun along the bottom and top of the wall in order to keep it in place.

And voila! It was that easy! And to top it off my house smelled like fresh laundry!

Now, on to the more complicated trim cutting side of this DIY (DAD-it-yourself). If you don’t have a DAD for this project I suggest you get one at your nearest Home Depot 😉

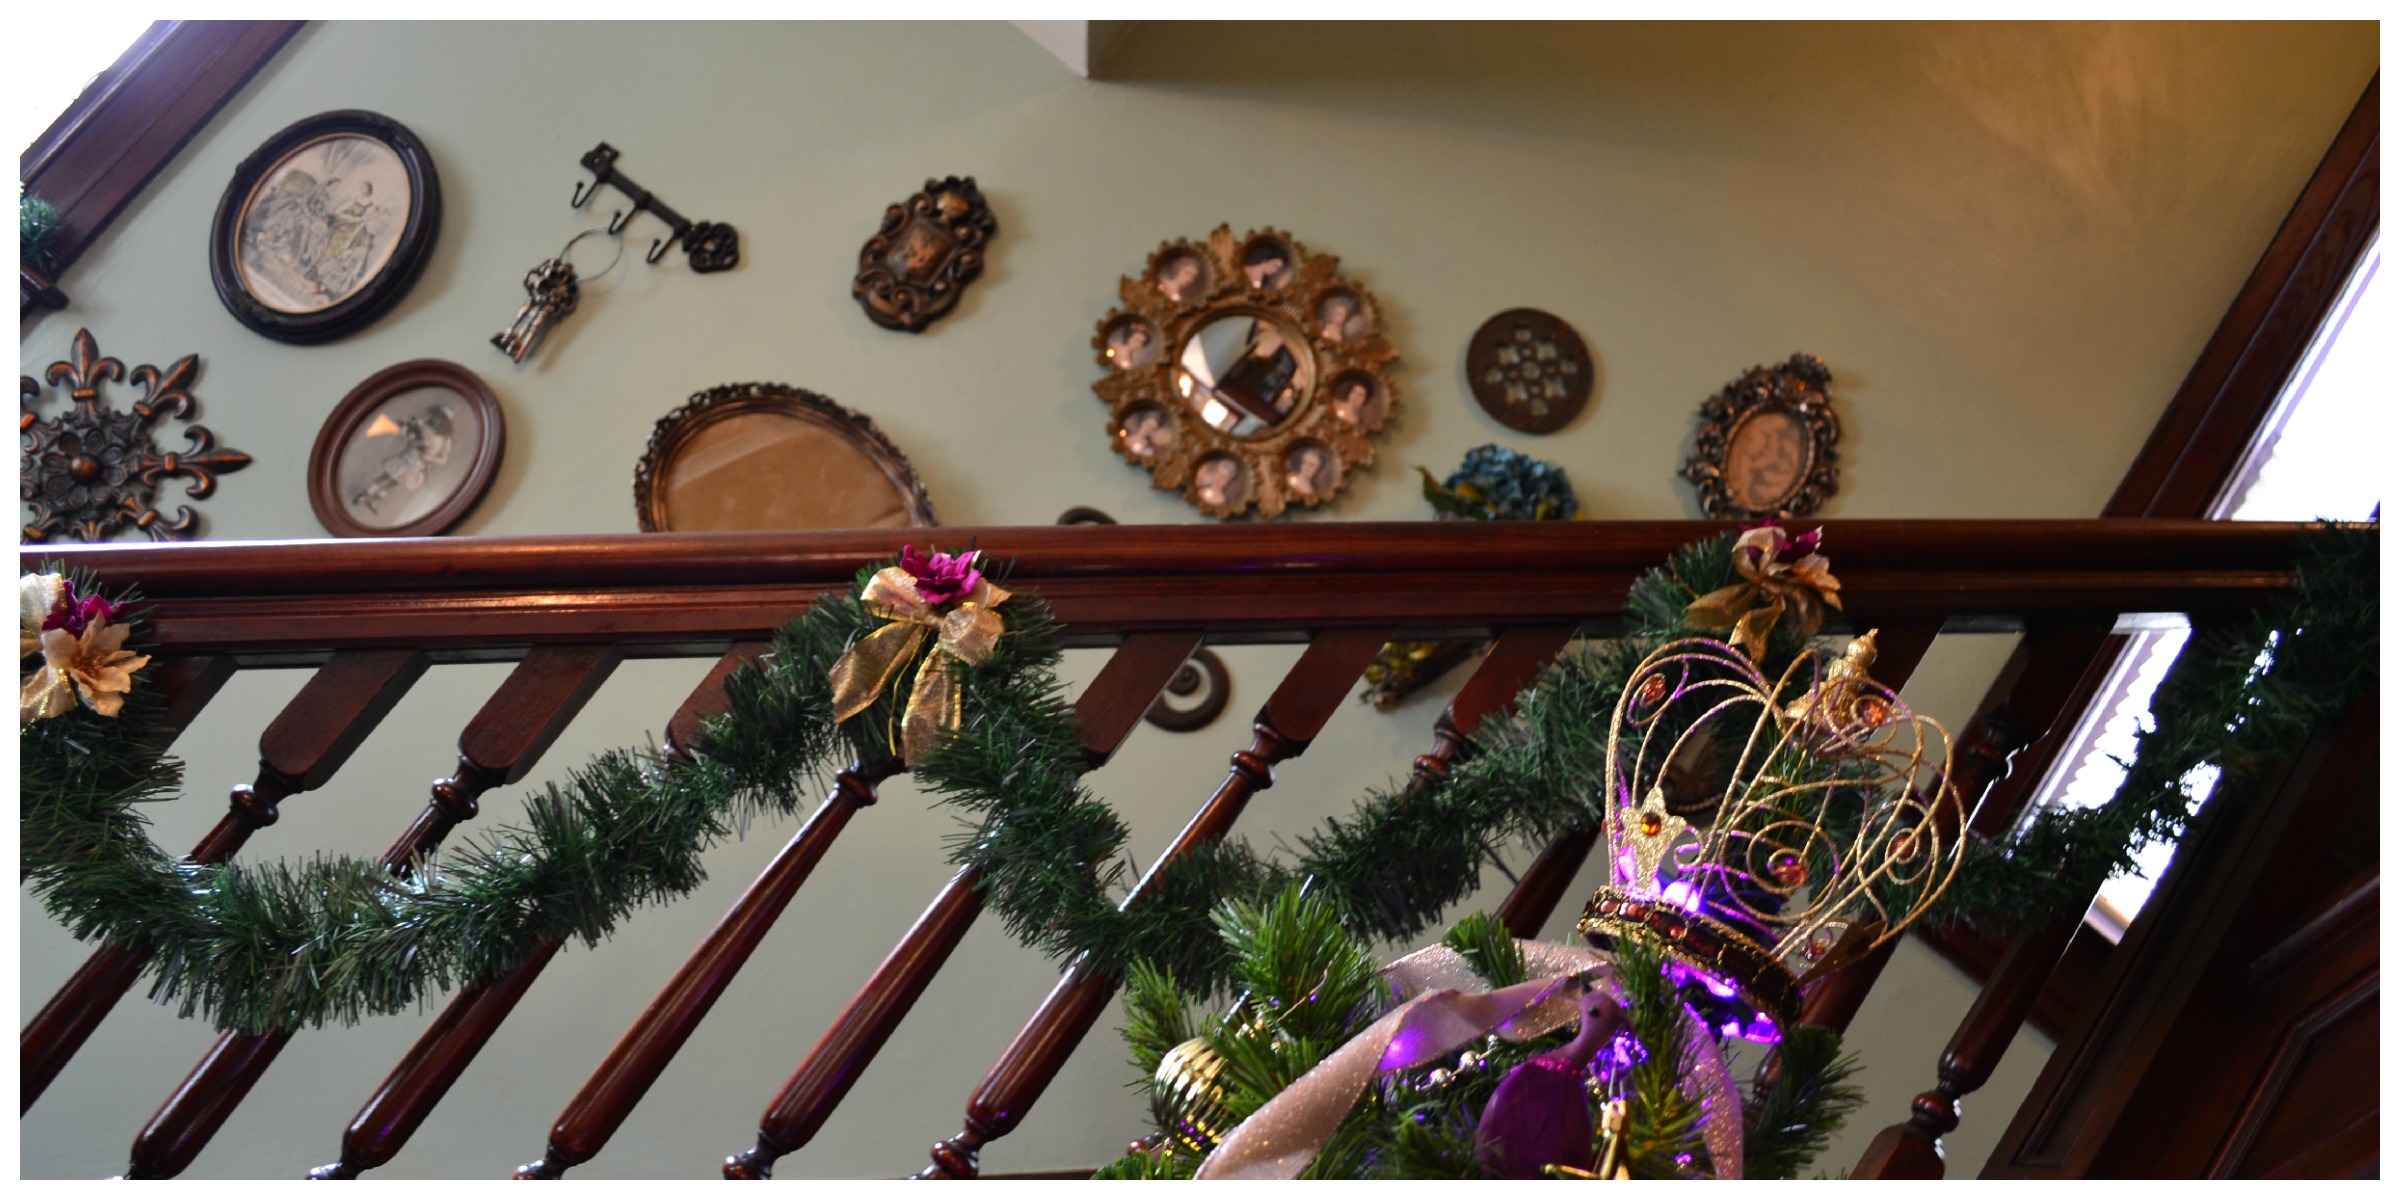
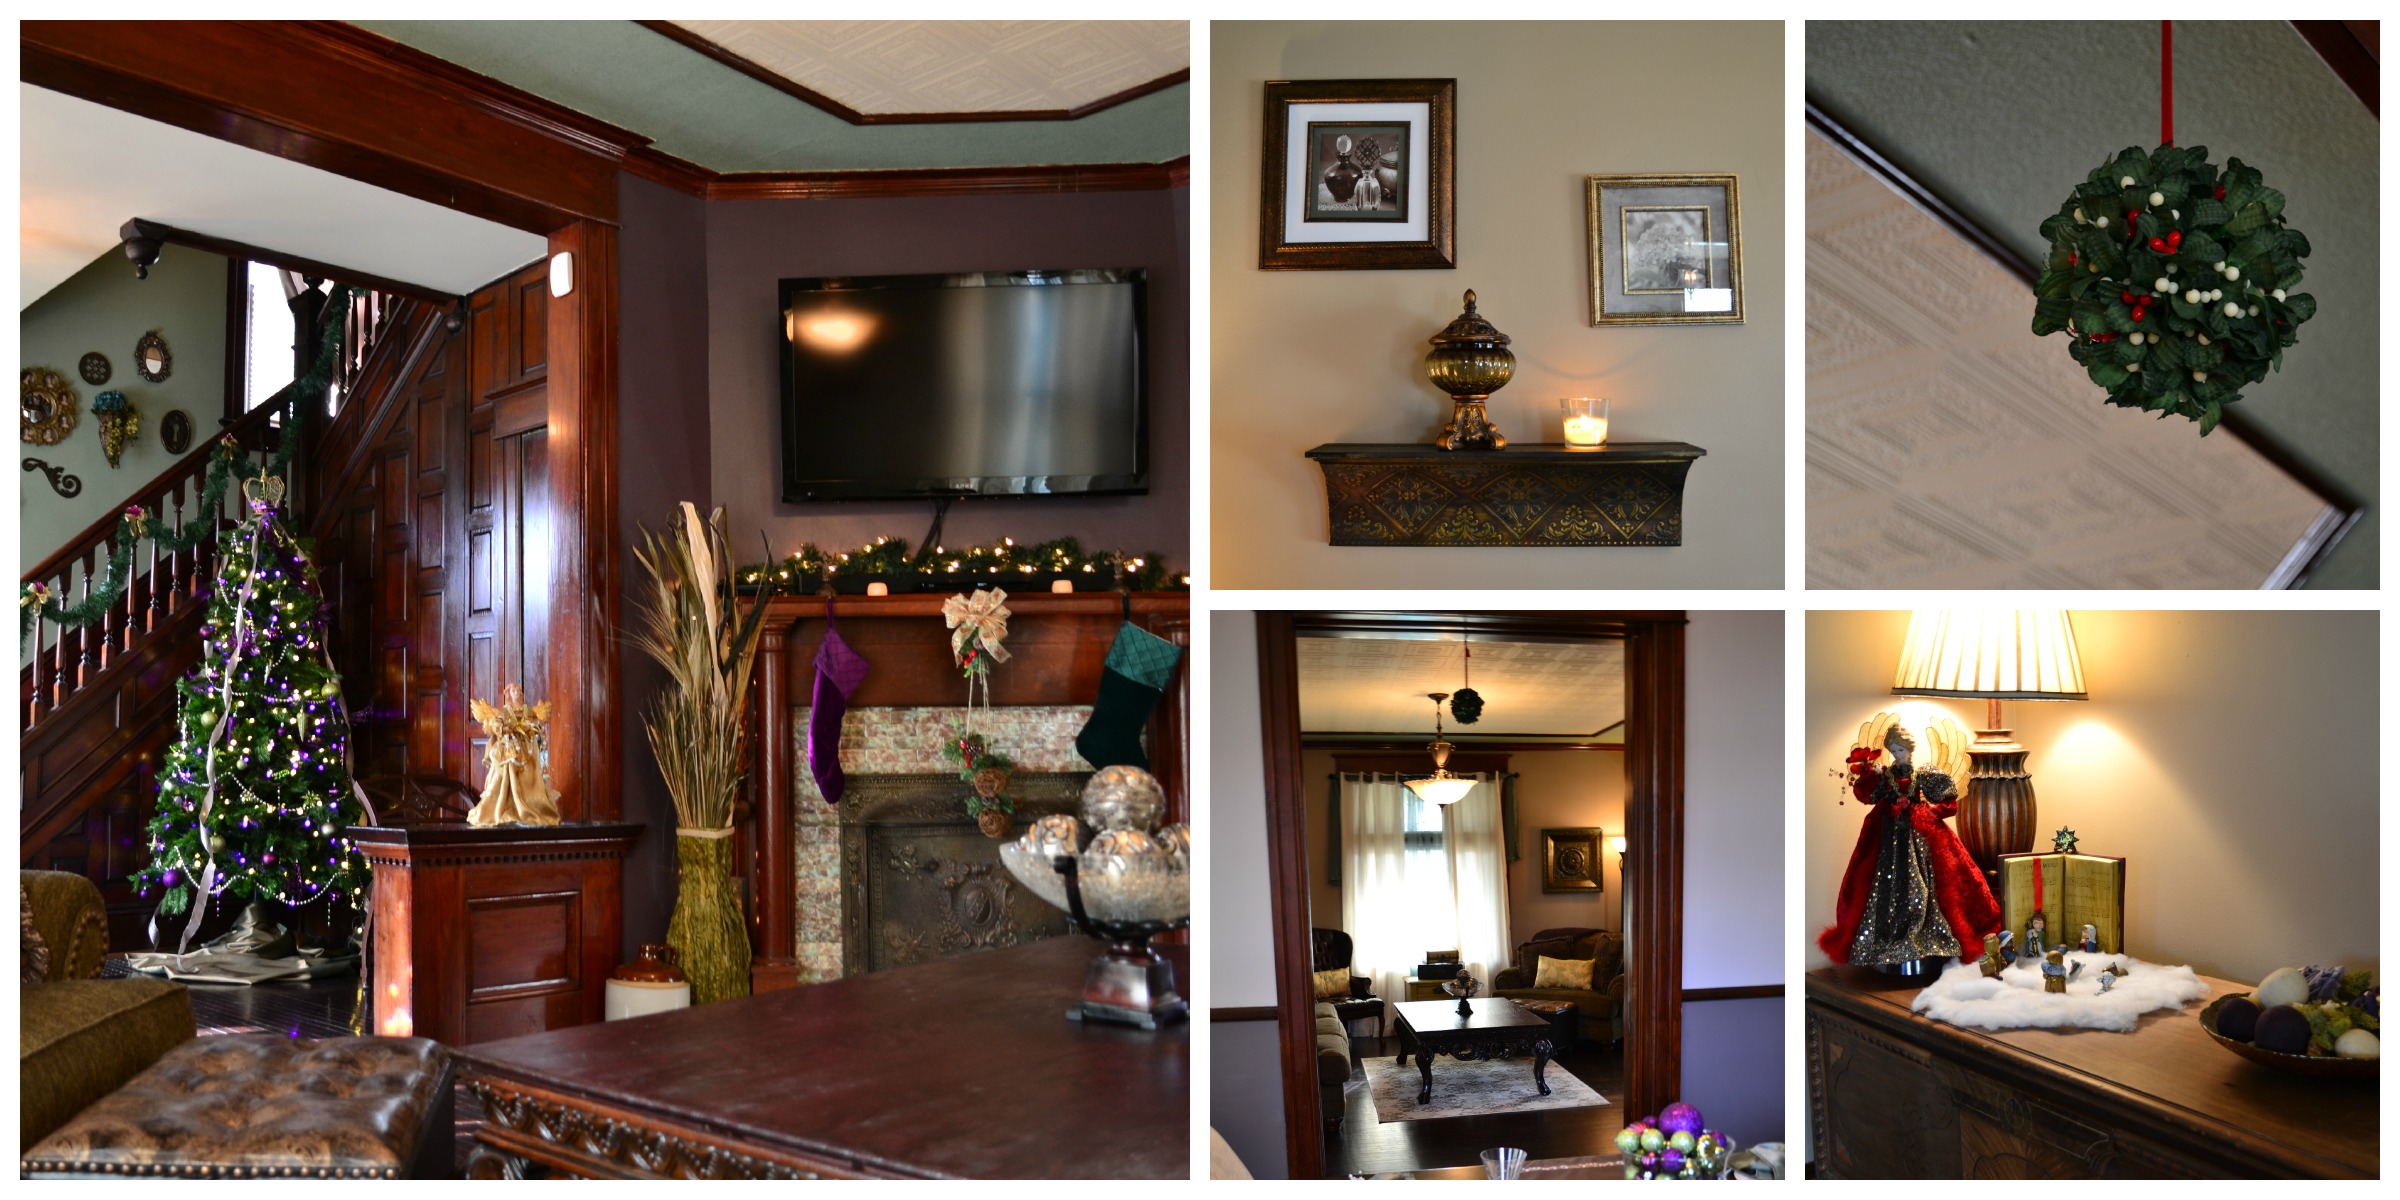
We bought some crown molding pieces and also some 12′ boards to make a corner covering like the one that we had removed. I decided to extend the corner cover all the way to the ceiling in order to hide the seams from the two separate fabric pieces we used to cover the wall..and well, honestly it just looked better!

After we attached all the trim and let the fabric and starch dry I found that there were quite a few large bubbles where the fabric did not adhere to the wall. I continued to spray on top of the fabric with the starch but I found this was not enough in a lot of areas….so I got out the wallpaper glue. Luckily, I still had plenty of this stuff leftover from my adventure in wallpapering.

I simply took a bit of the paste and brushed it over the top of the fabric- the stuff  penetrates and dries invisibly. It was enough to soak through the fabric and literally glue it to the wall. I then used the wallpaper brush and roller to smooth out the bubbles toward the open side of the fabric that had not been attached completely yet. My recommendations for any other DIYers who attempt this project would be either find a gallon of the liquid starch and saturate the heck out of your fabric OR if you can’t find that, make you own out of cornstarch! I think the sheer size and weight of this fabric made it hard for it to stick to the wall using the spray starch technique- although I definitely think that this would work for small areas.

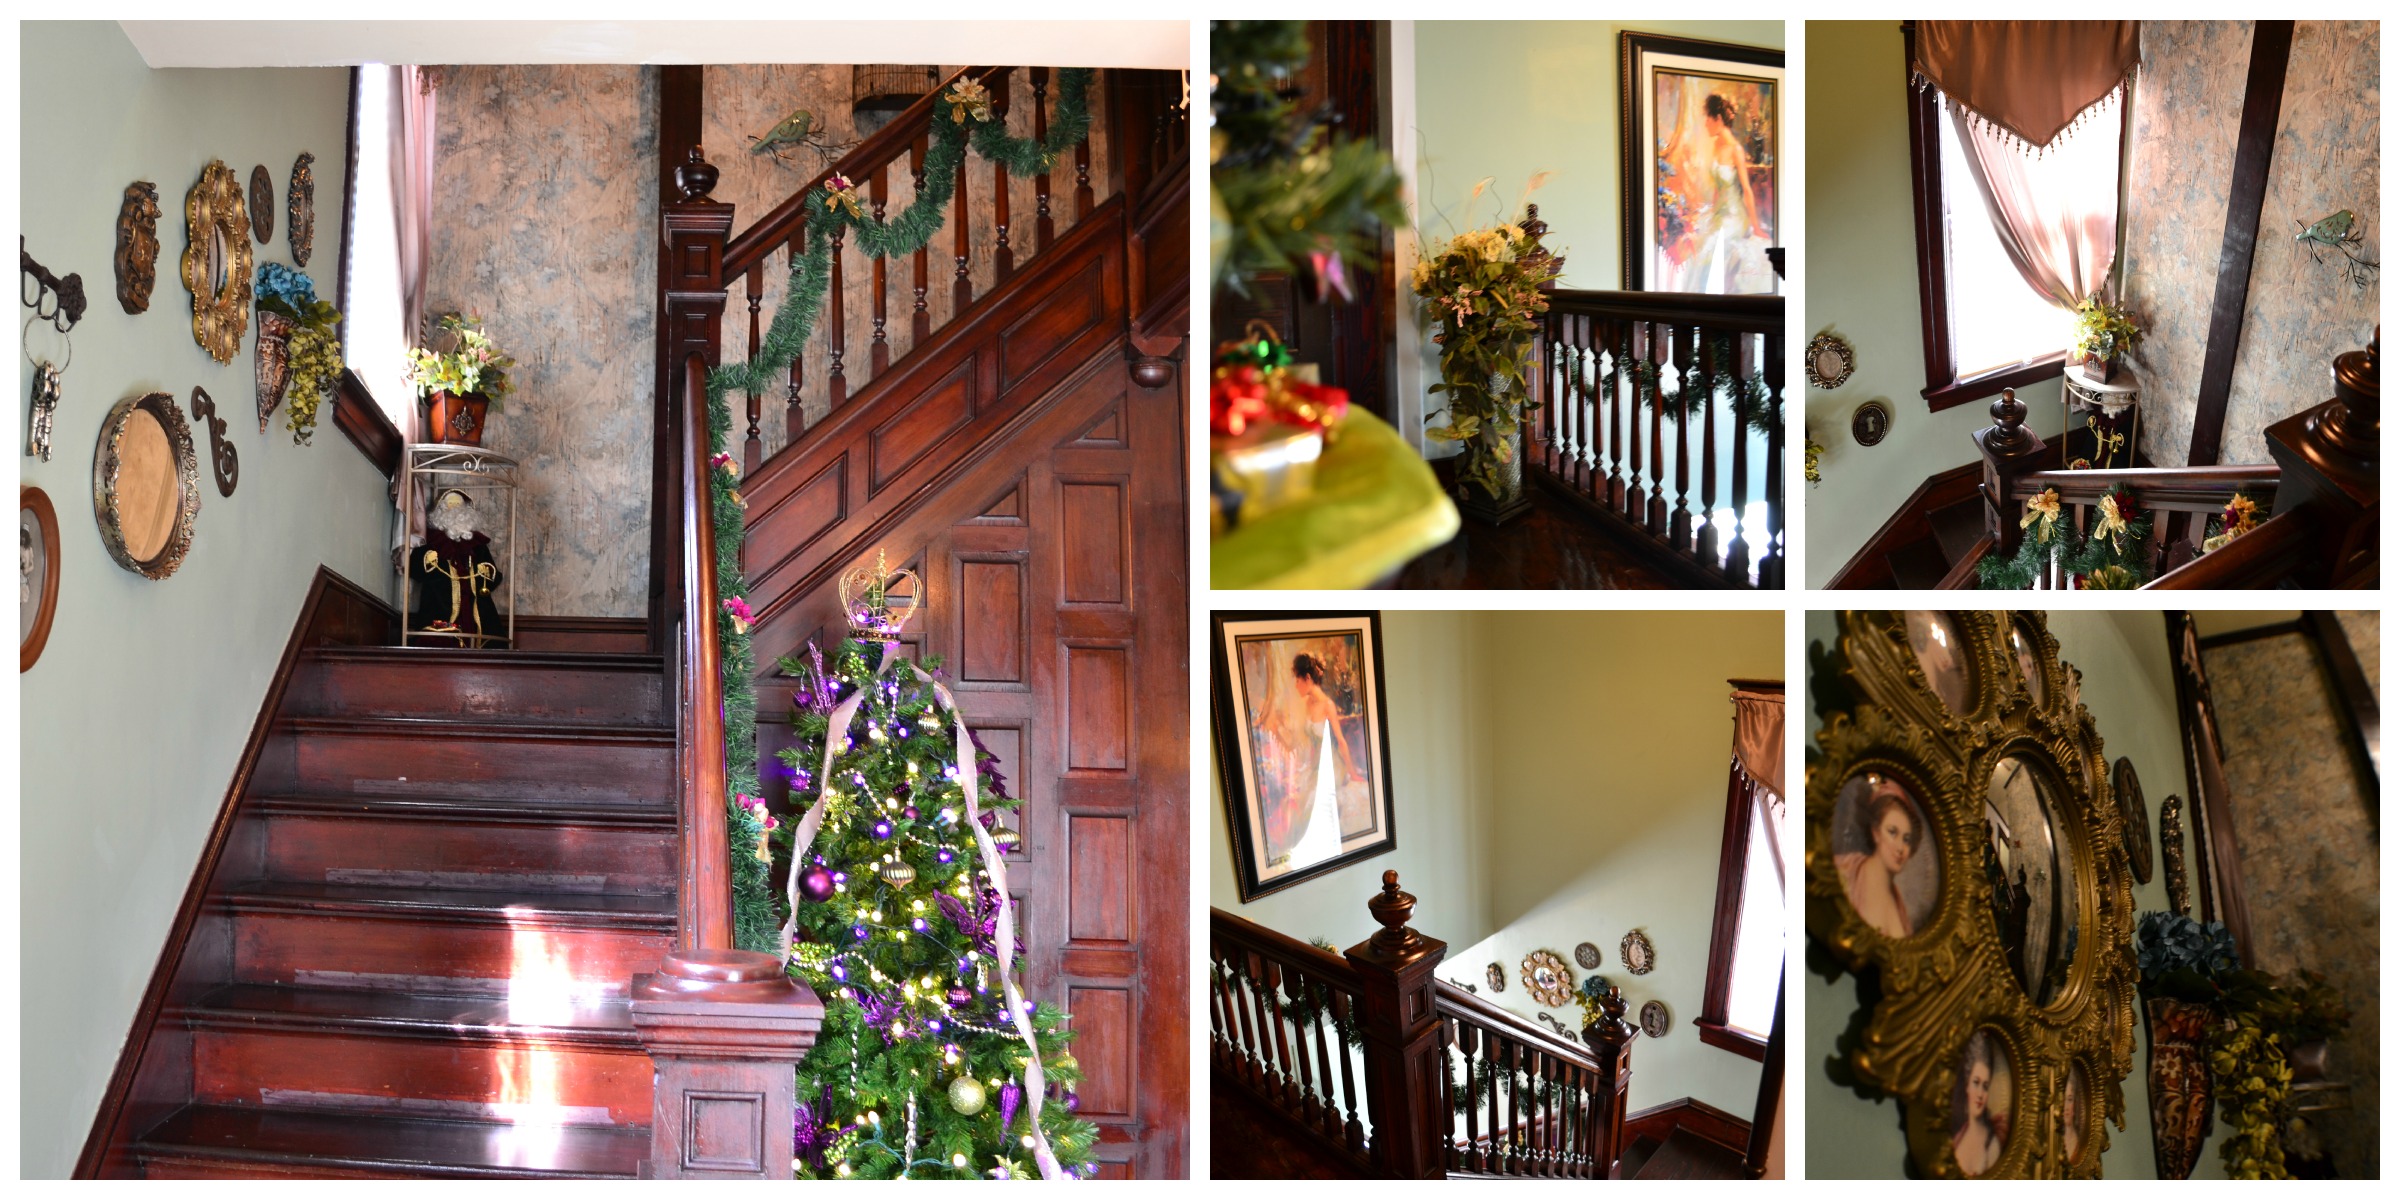
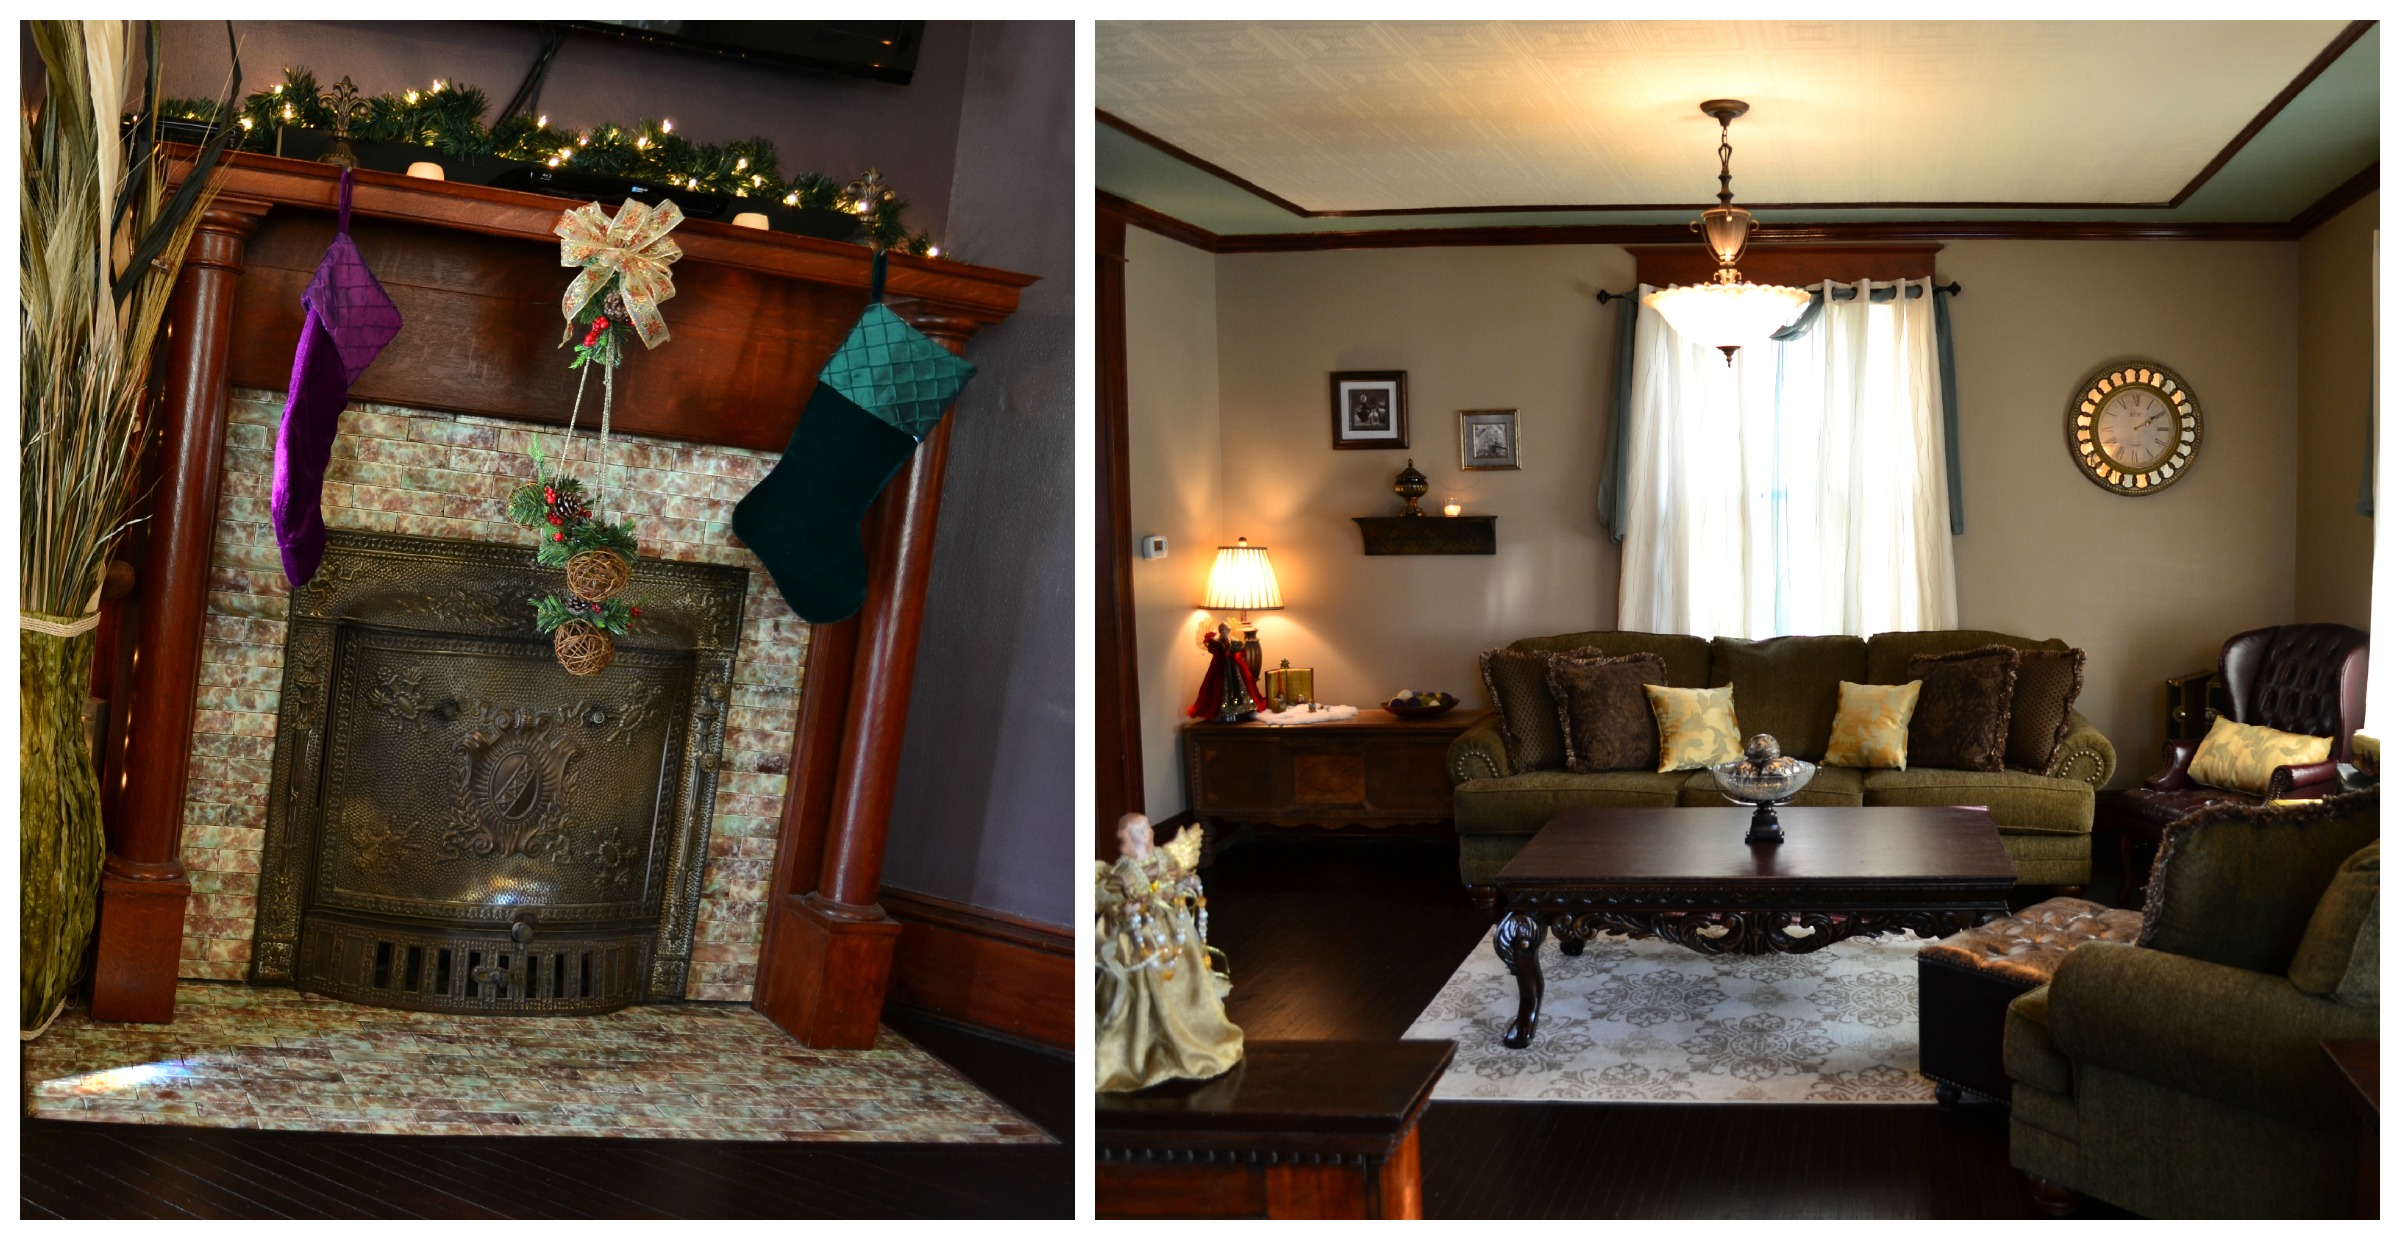
The end results are Ah-mazing. I love the effect the wall gives when you walk in the door. It complements the dark wood beautifully and makes my home look like a dollhouse.