Adding a powder room! … The “Before”

Although we LOVE living in this historic home, one thing that gets old really quick is having to go all the way upstairs to use the restroom….or if you prefer you can use the random toilet in the middle of the basement. Either way, there is no first floor restroom in this home. Not only is it slightly uncomfortable when we have guests over there have been many a time when Raul and I get into a fight over who gets to go to the bathroom first 😉

We knew that when we started a kitchen remodel we would add a 1/2 bath or powder room somewhere.  The layout of the first floor only left us two real options- convert the dining room closet or convert the utility room off of the kitchen. We chose to go with the utility room because there was a lot more space to work with and easier connection to existing plumbing. Although we would have liked to add the powder room further away from the place where we prepare food, we had limited options.

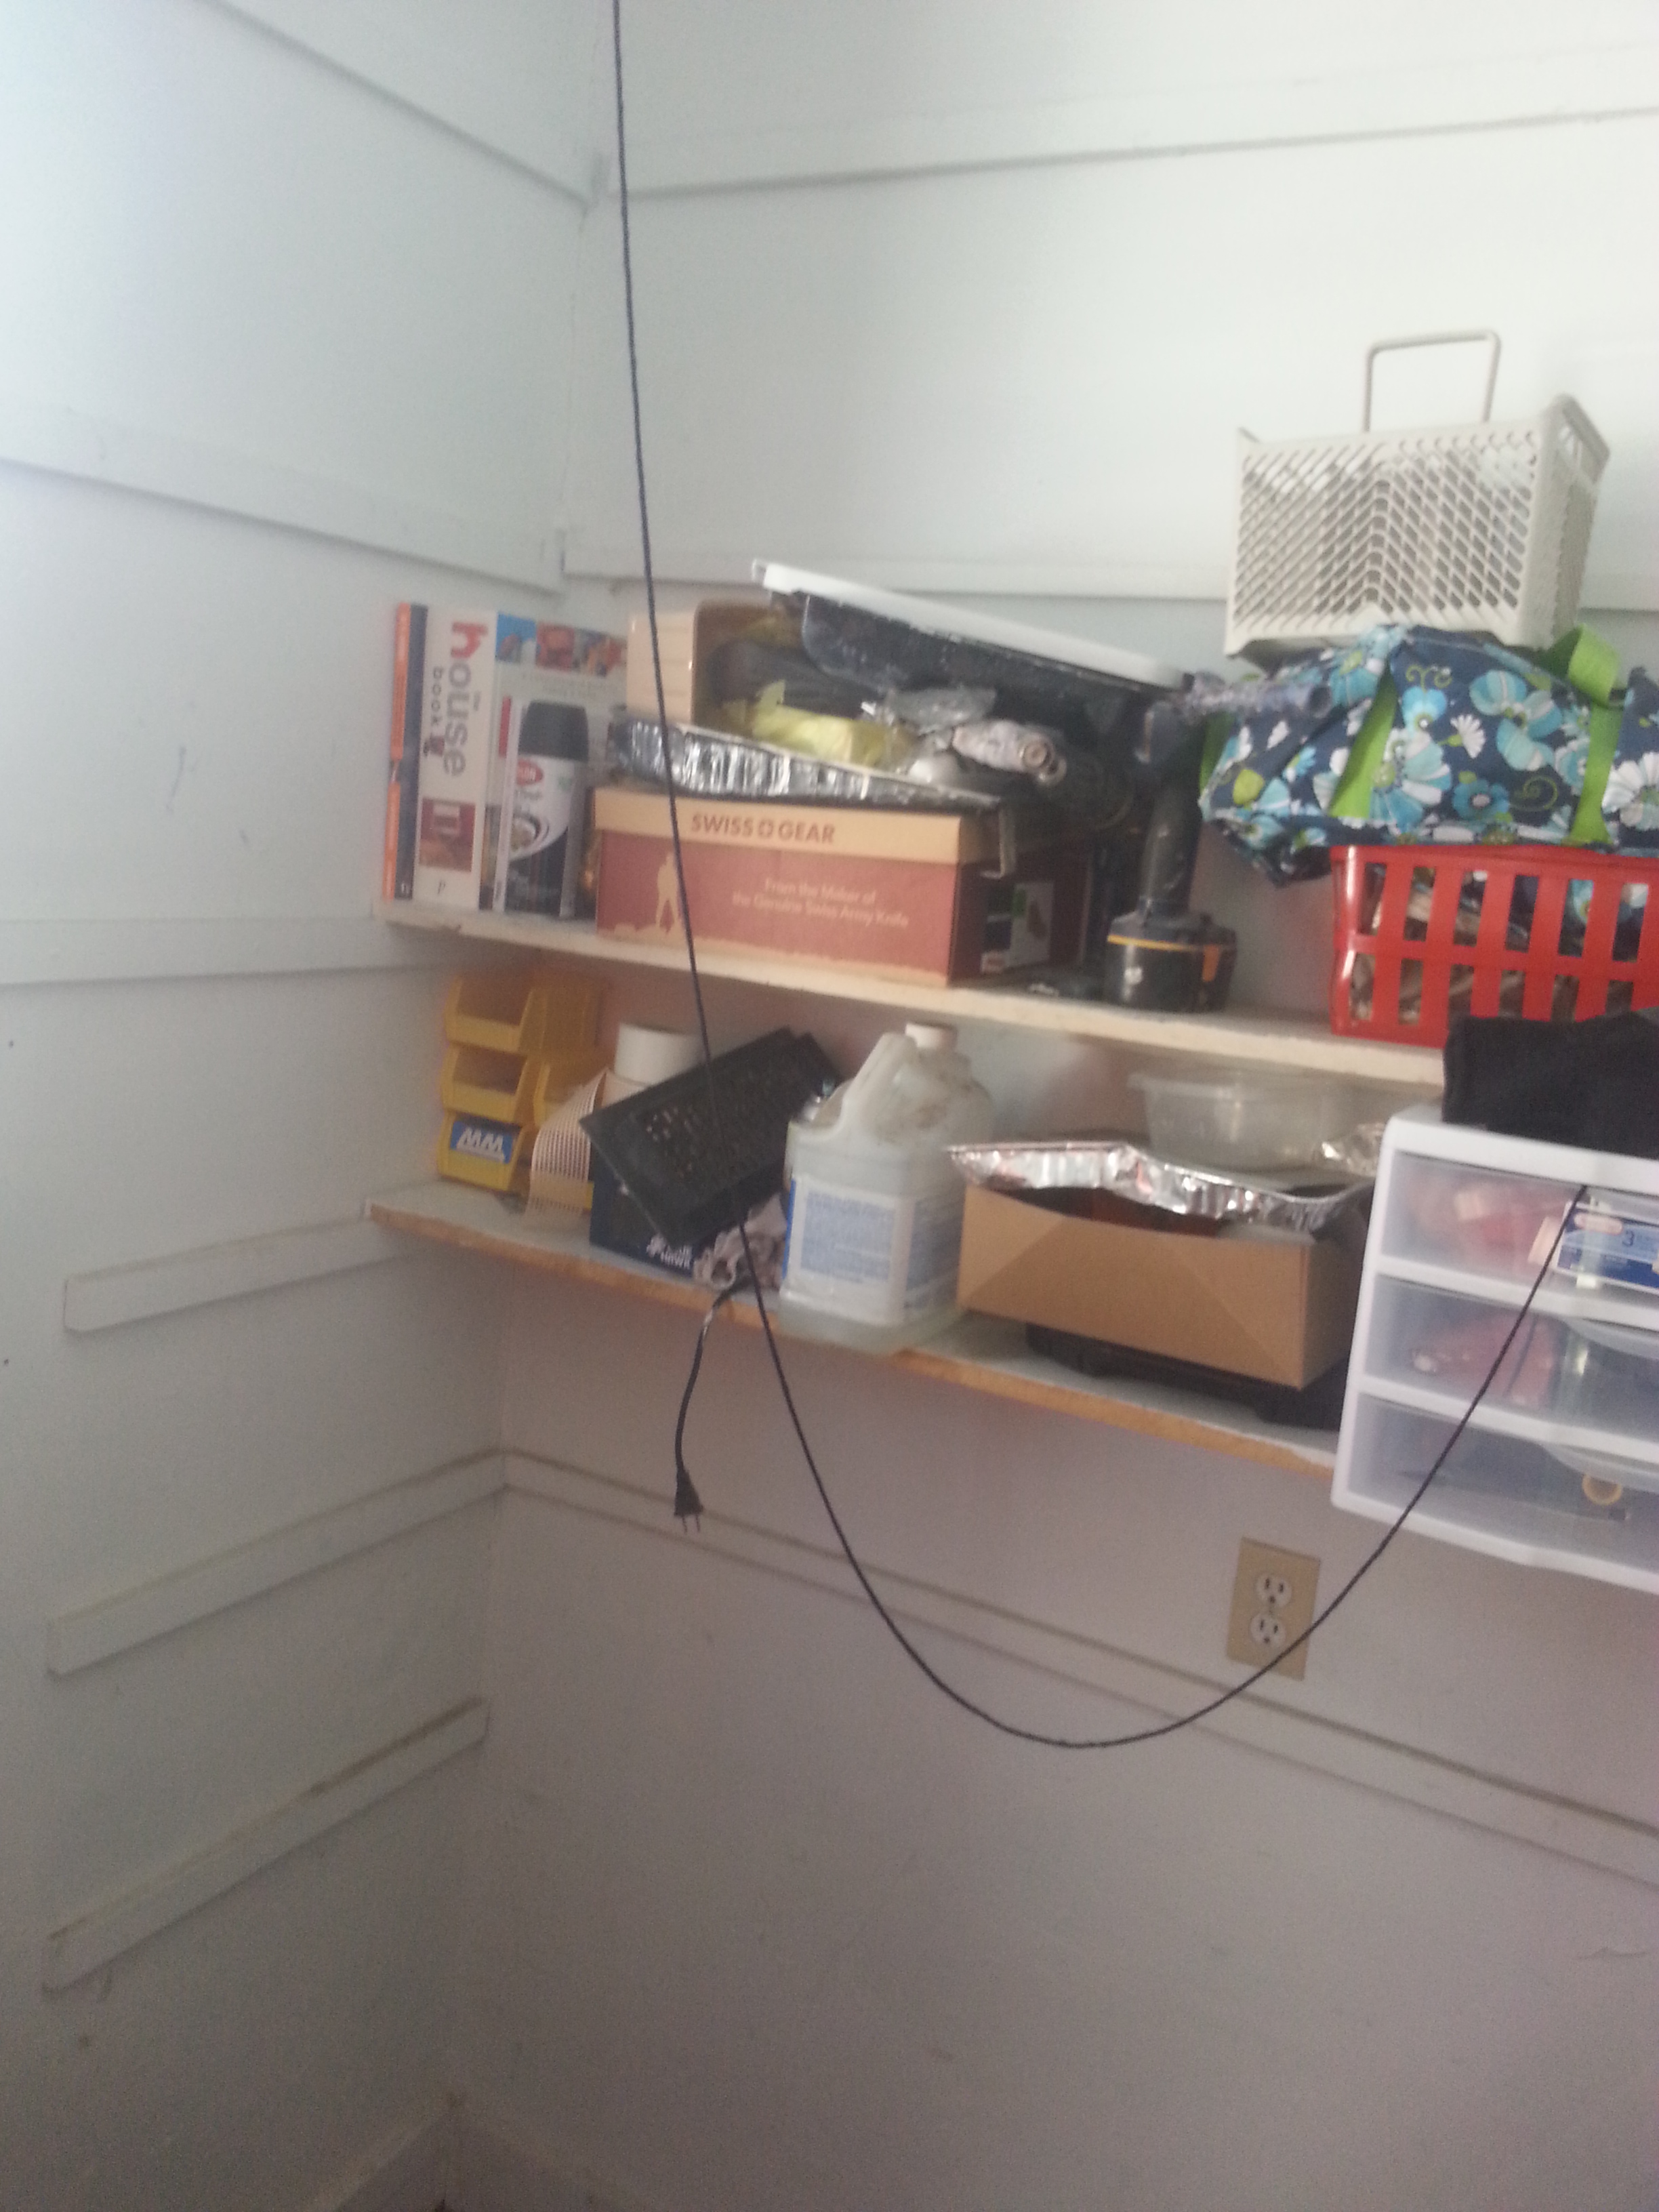
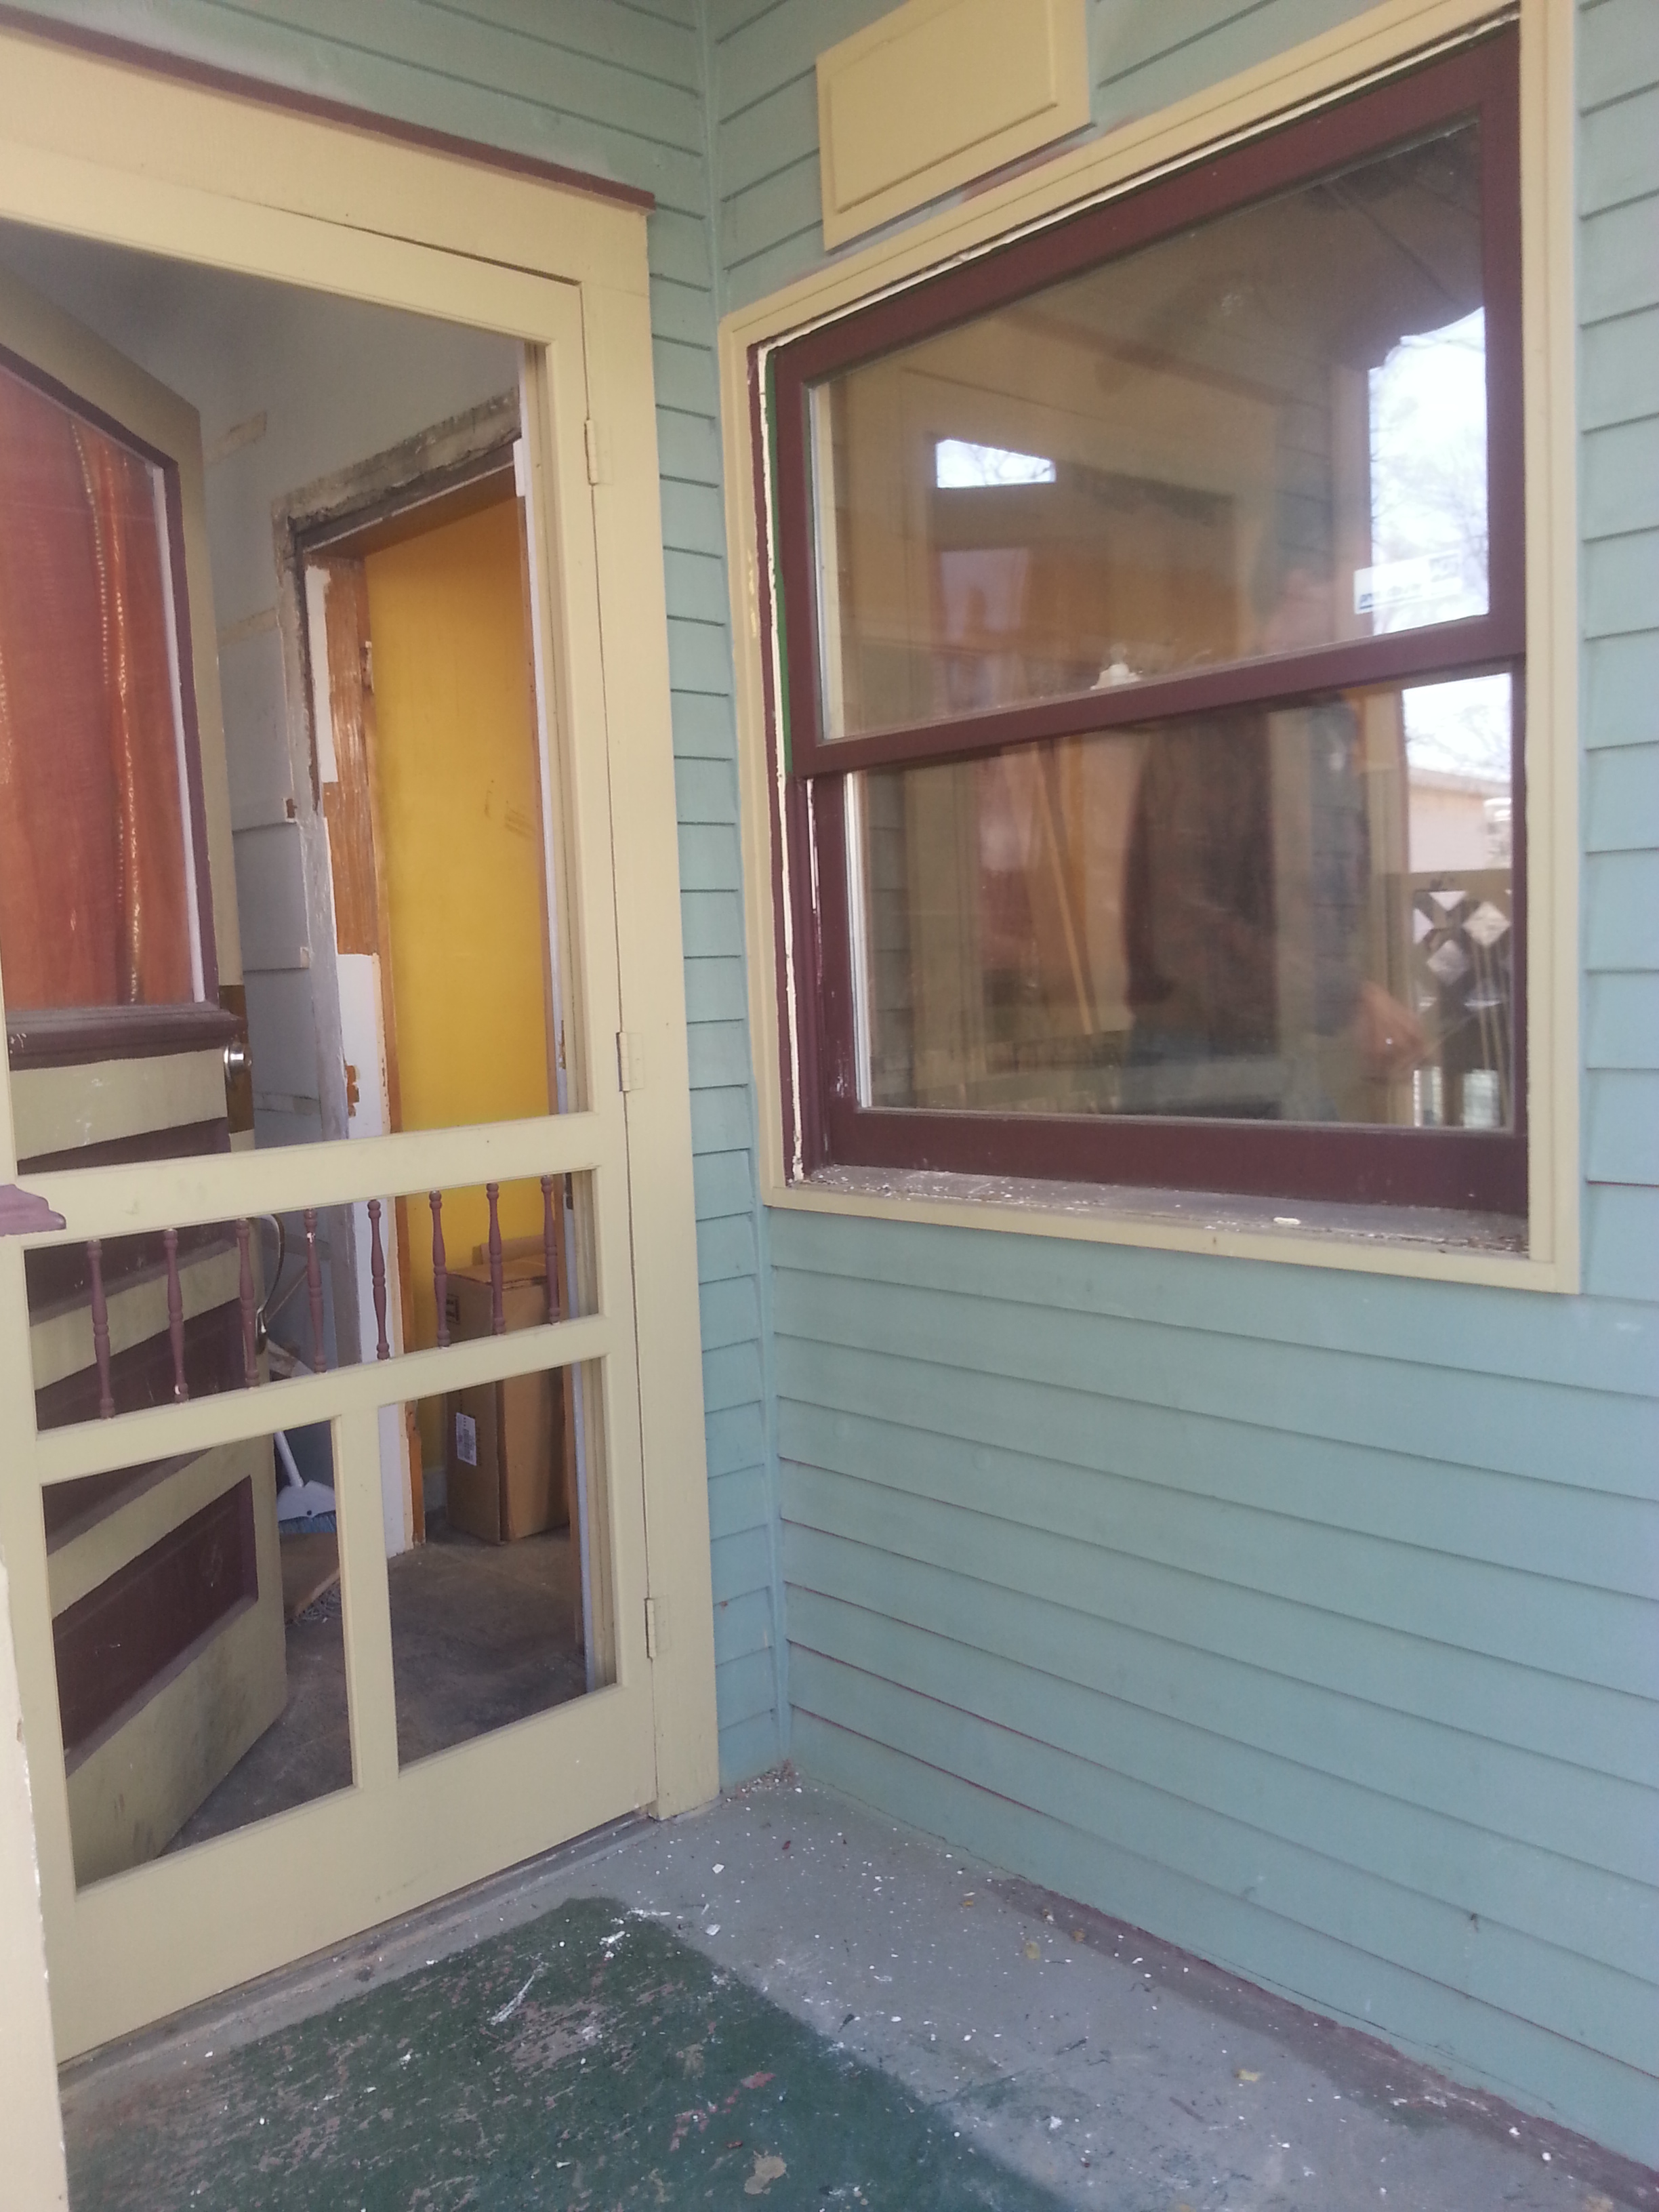
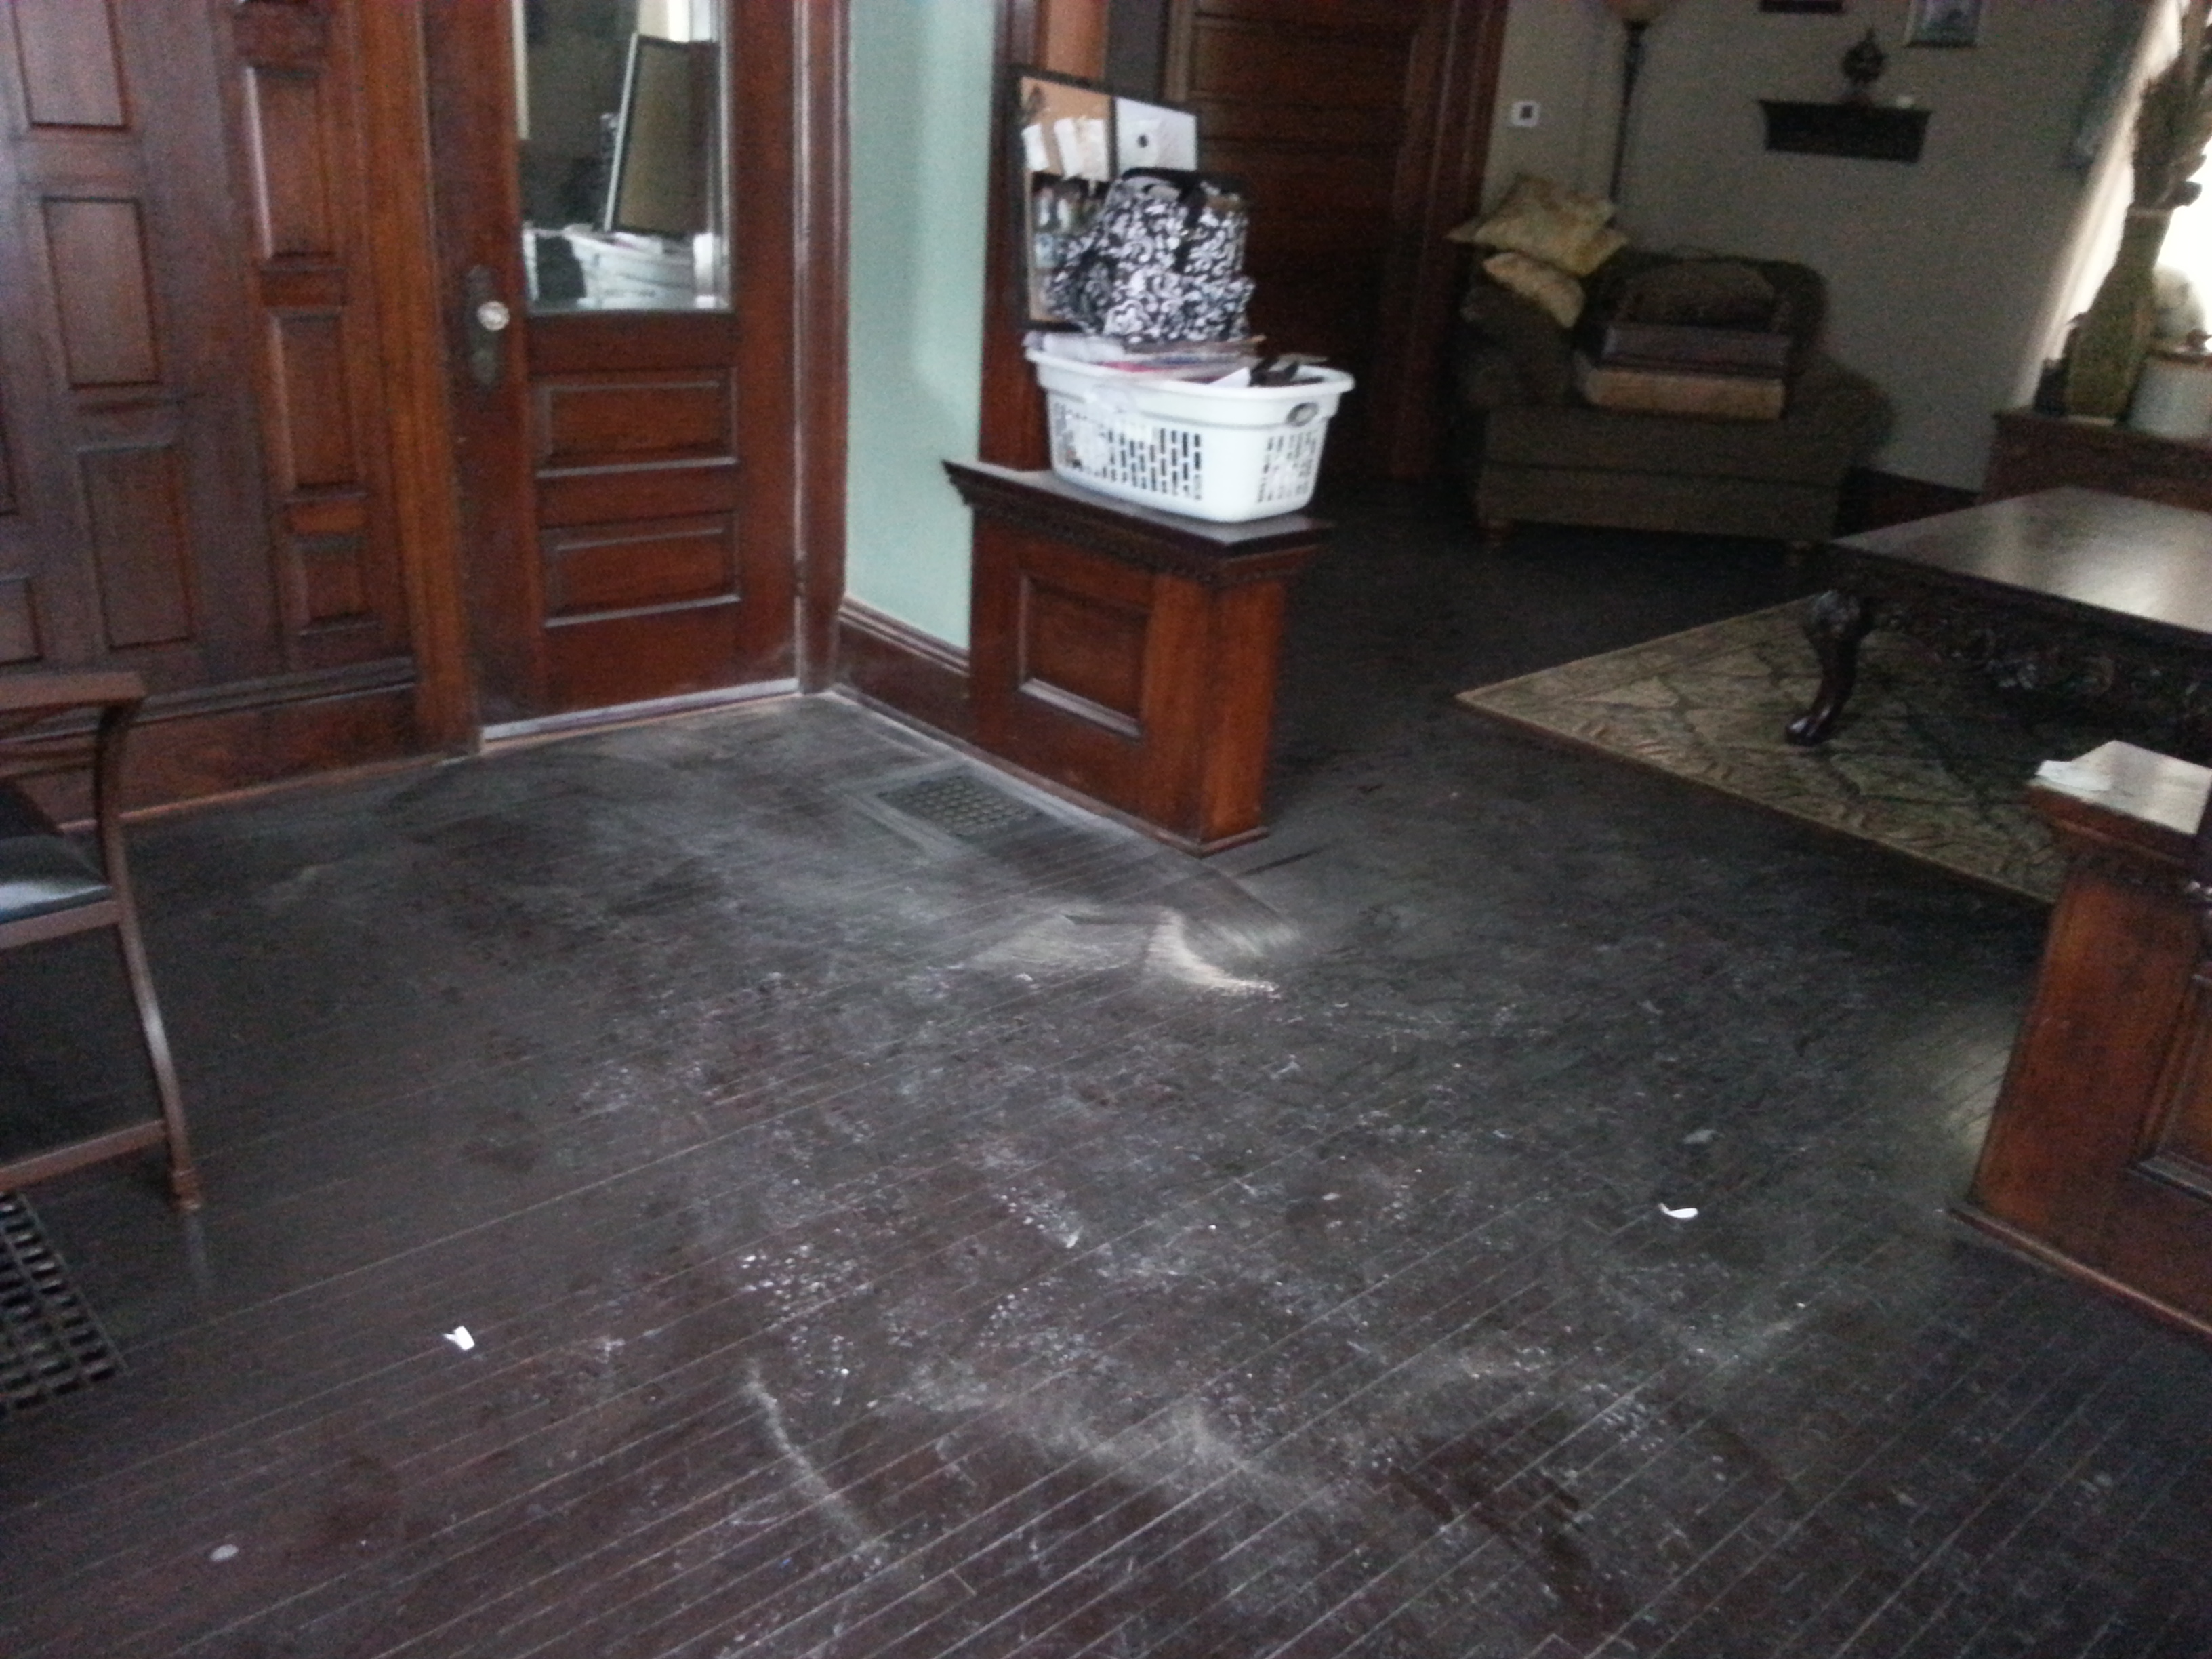
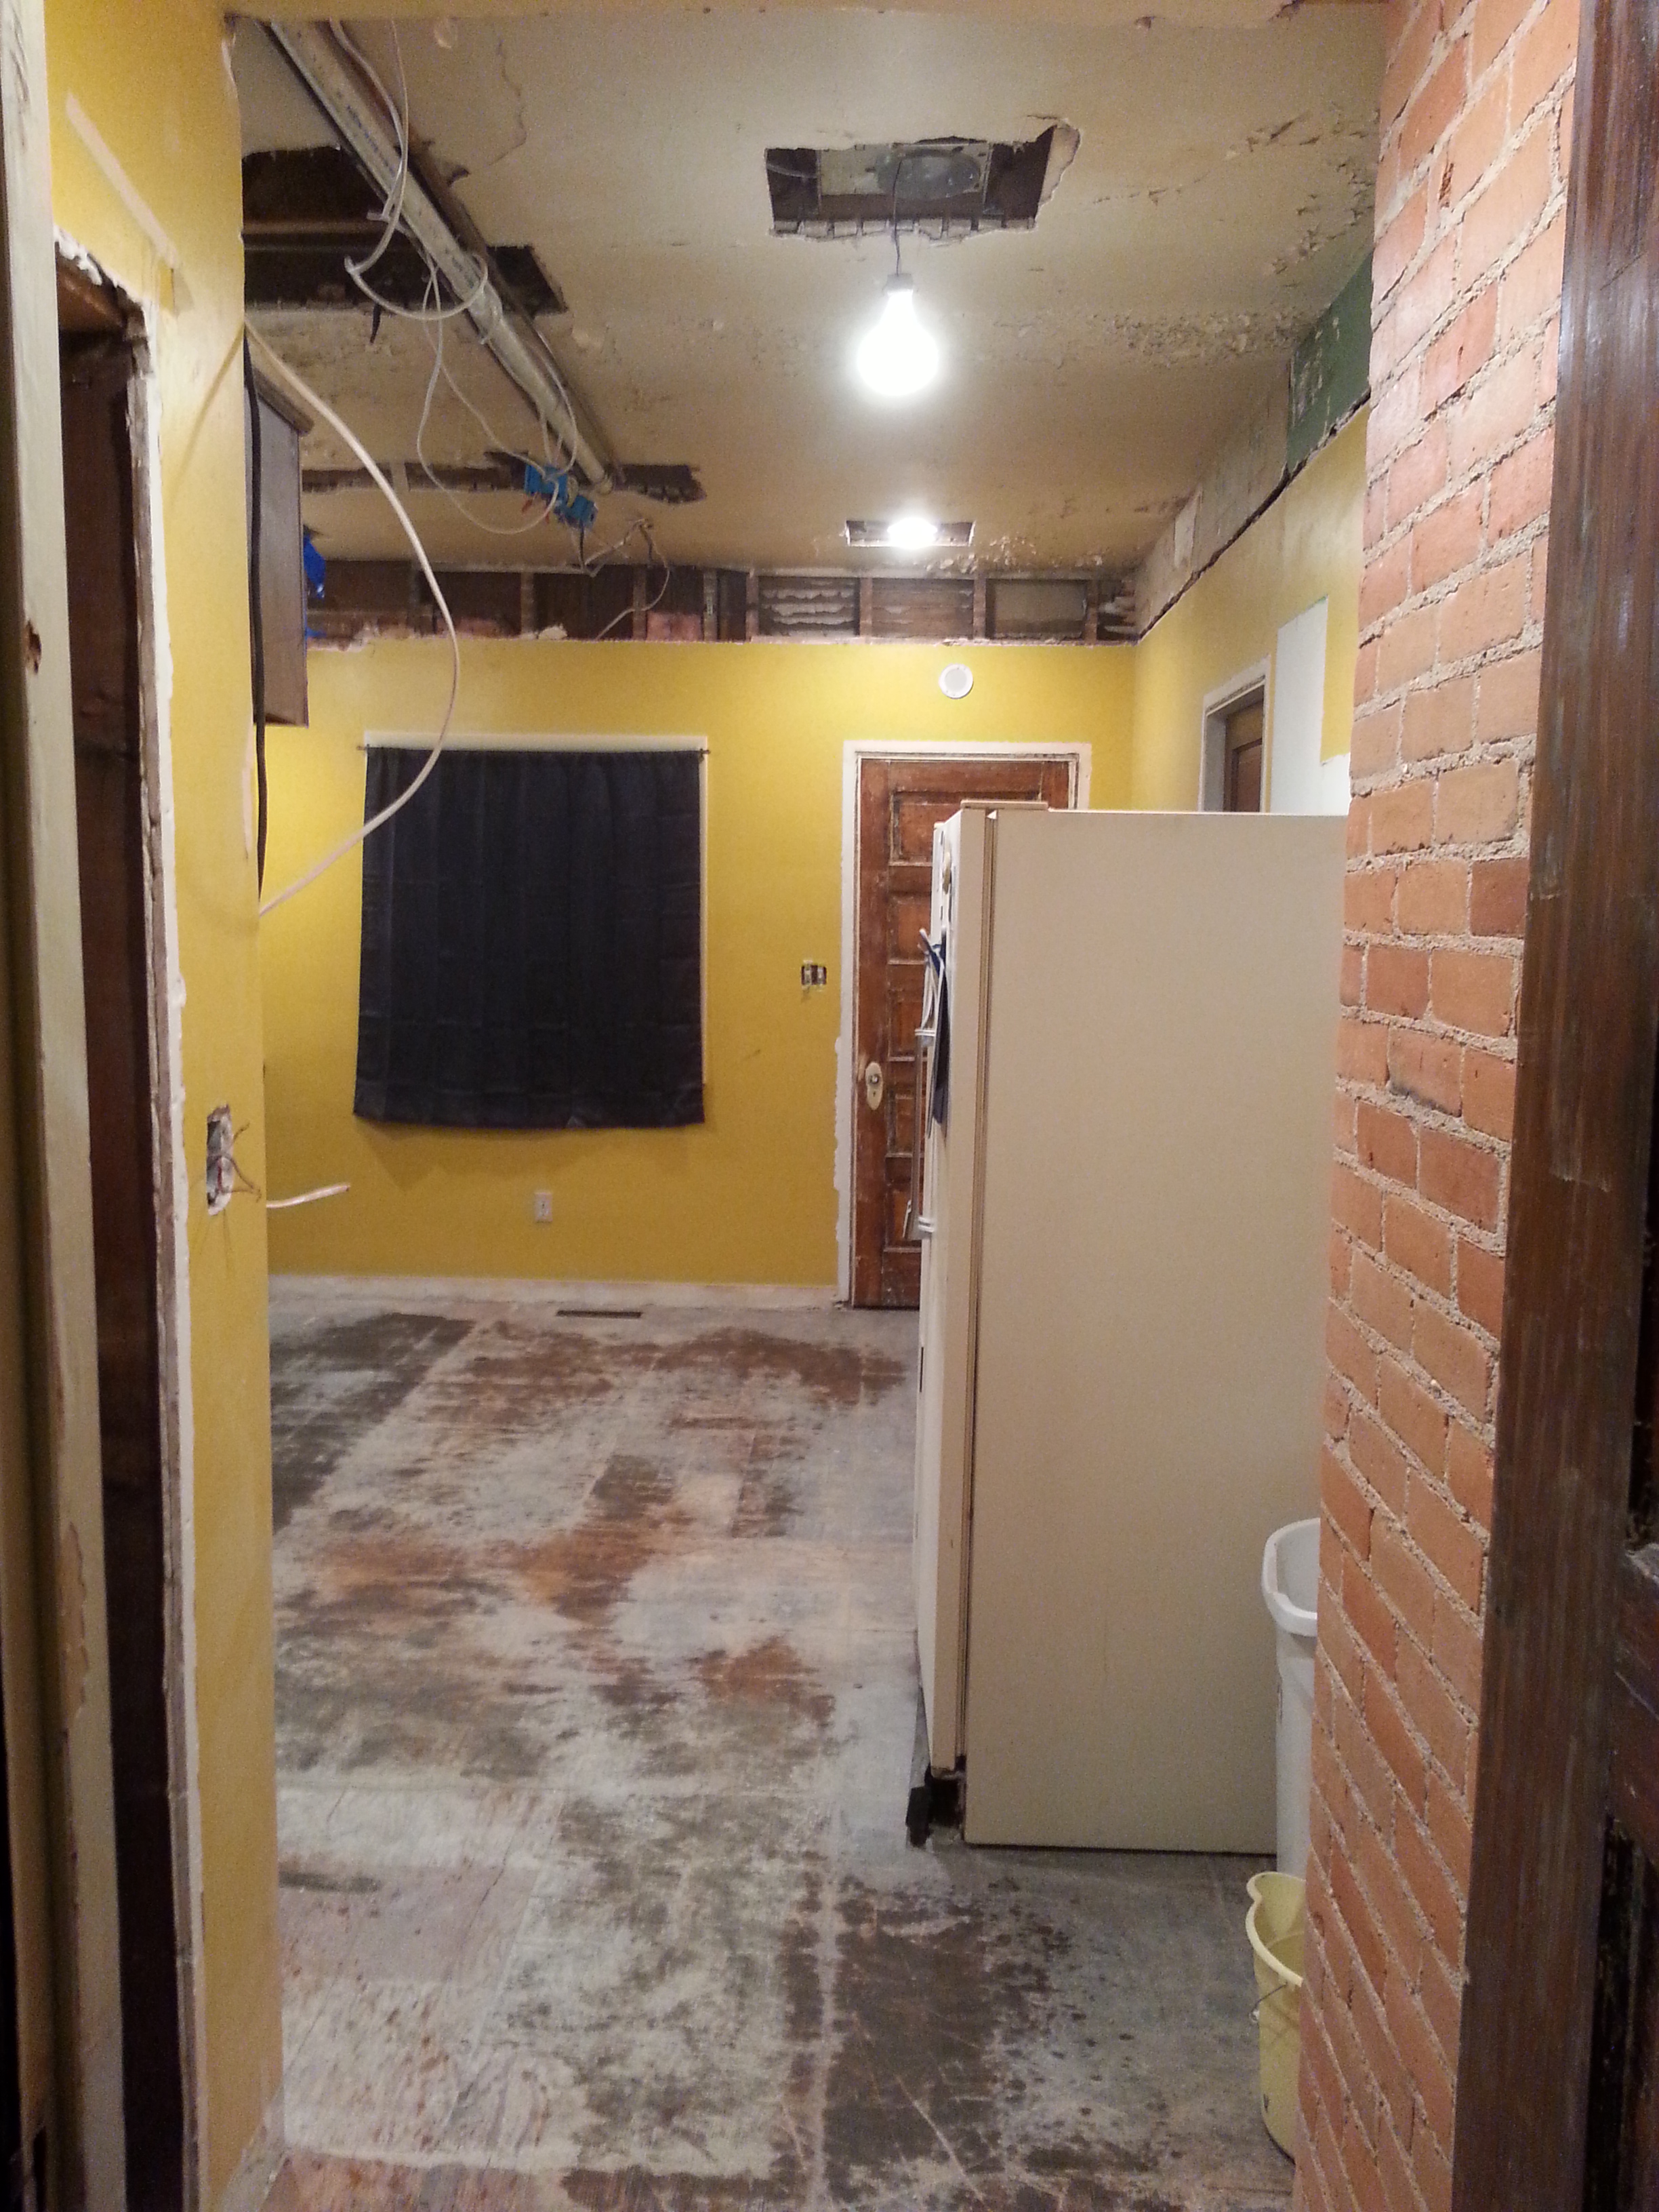
What we are currently using as a utility/mud room is at the far north end of the kitchen:

utility

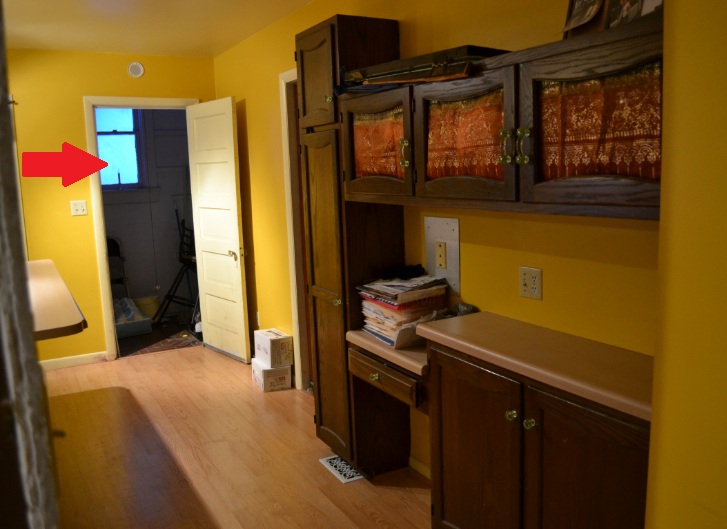
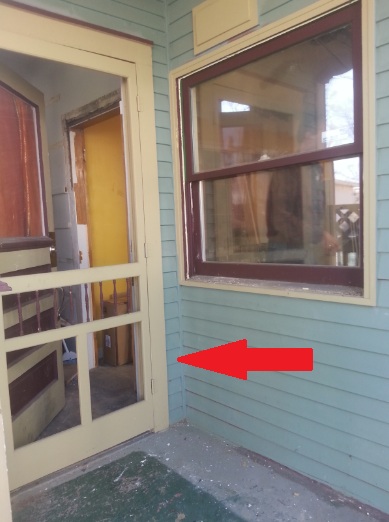
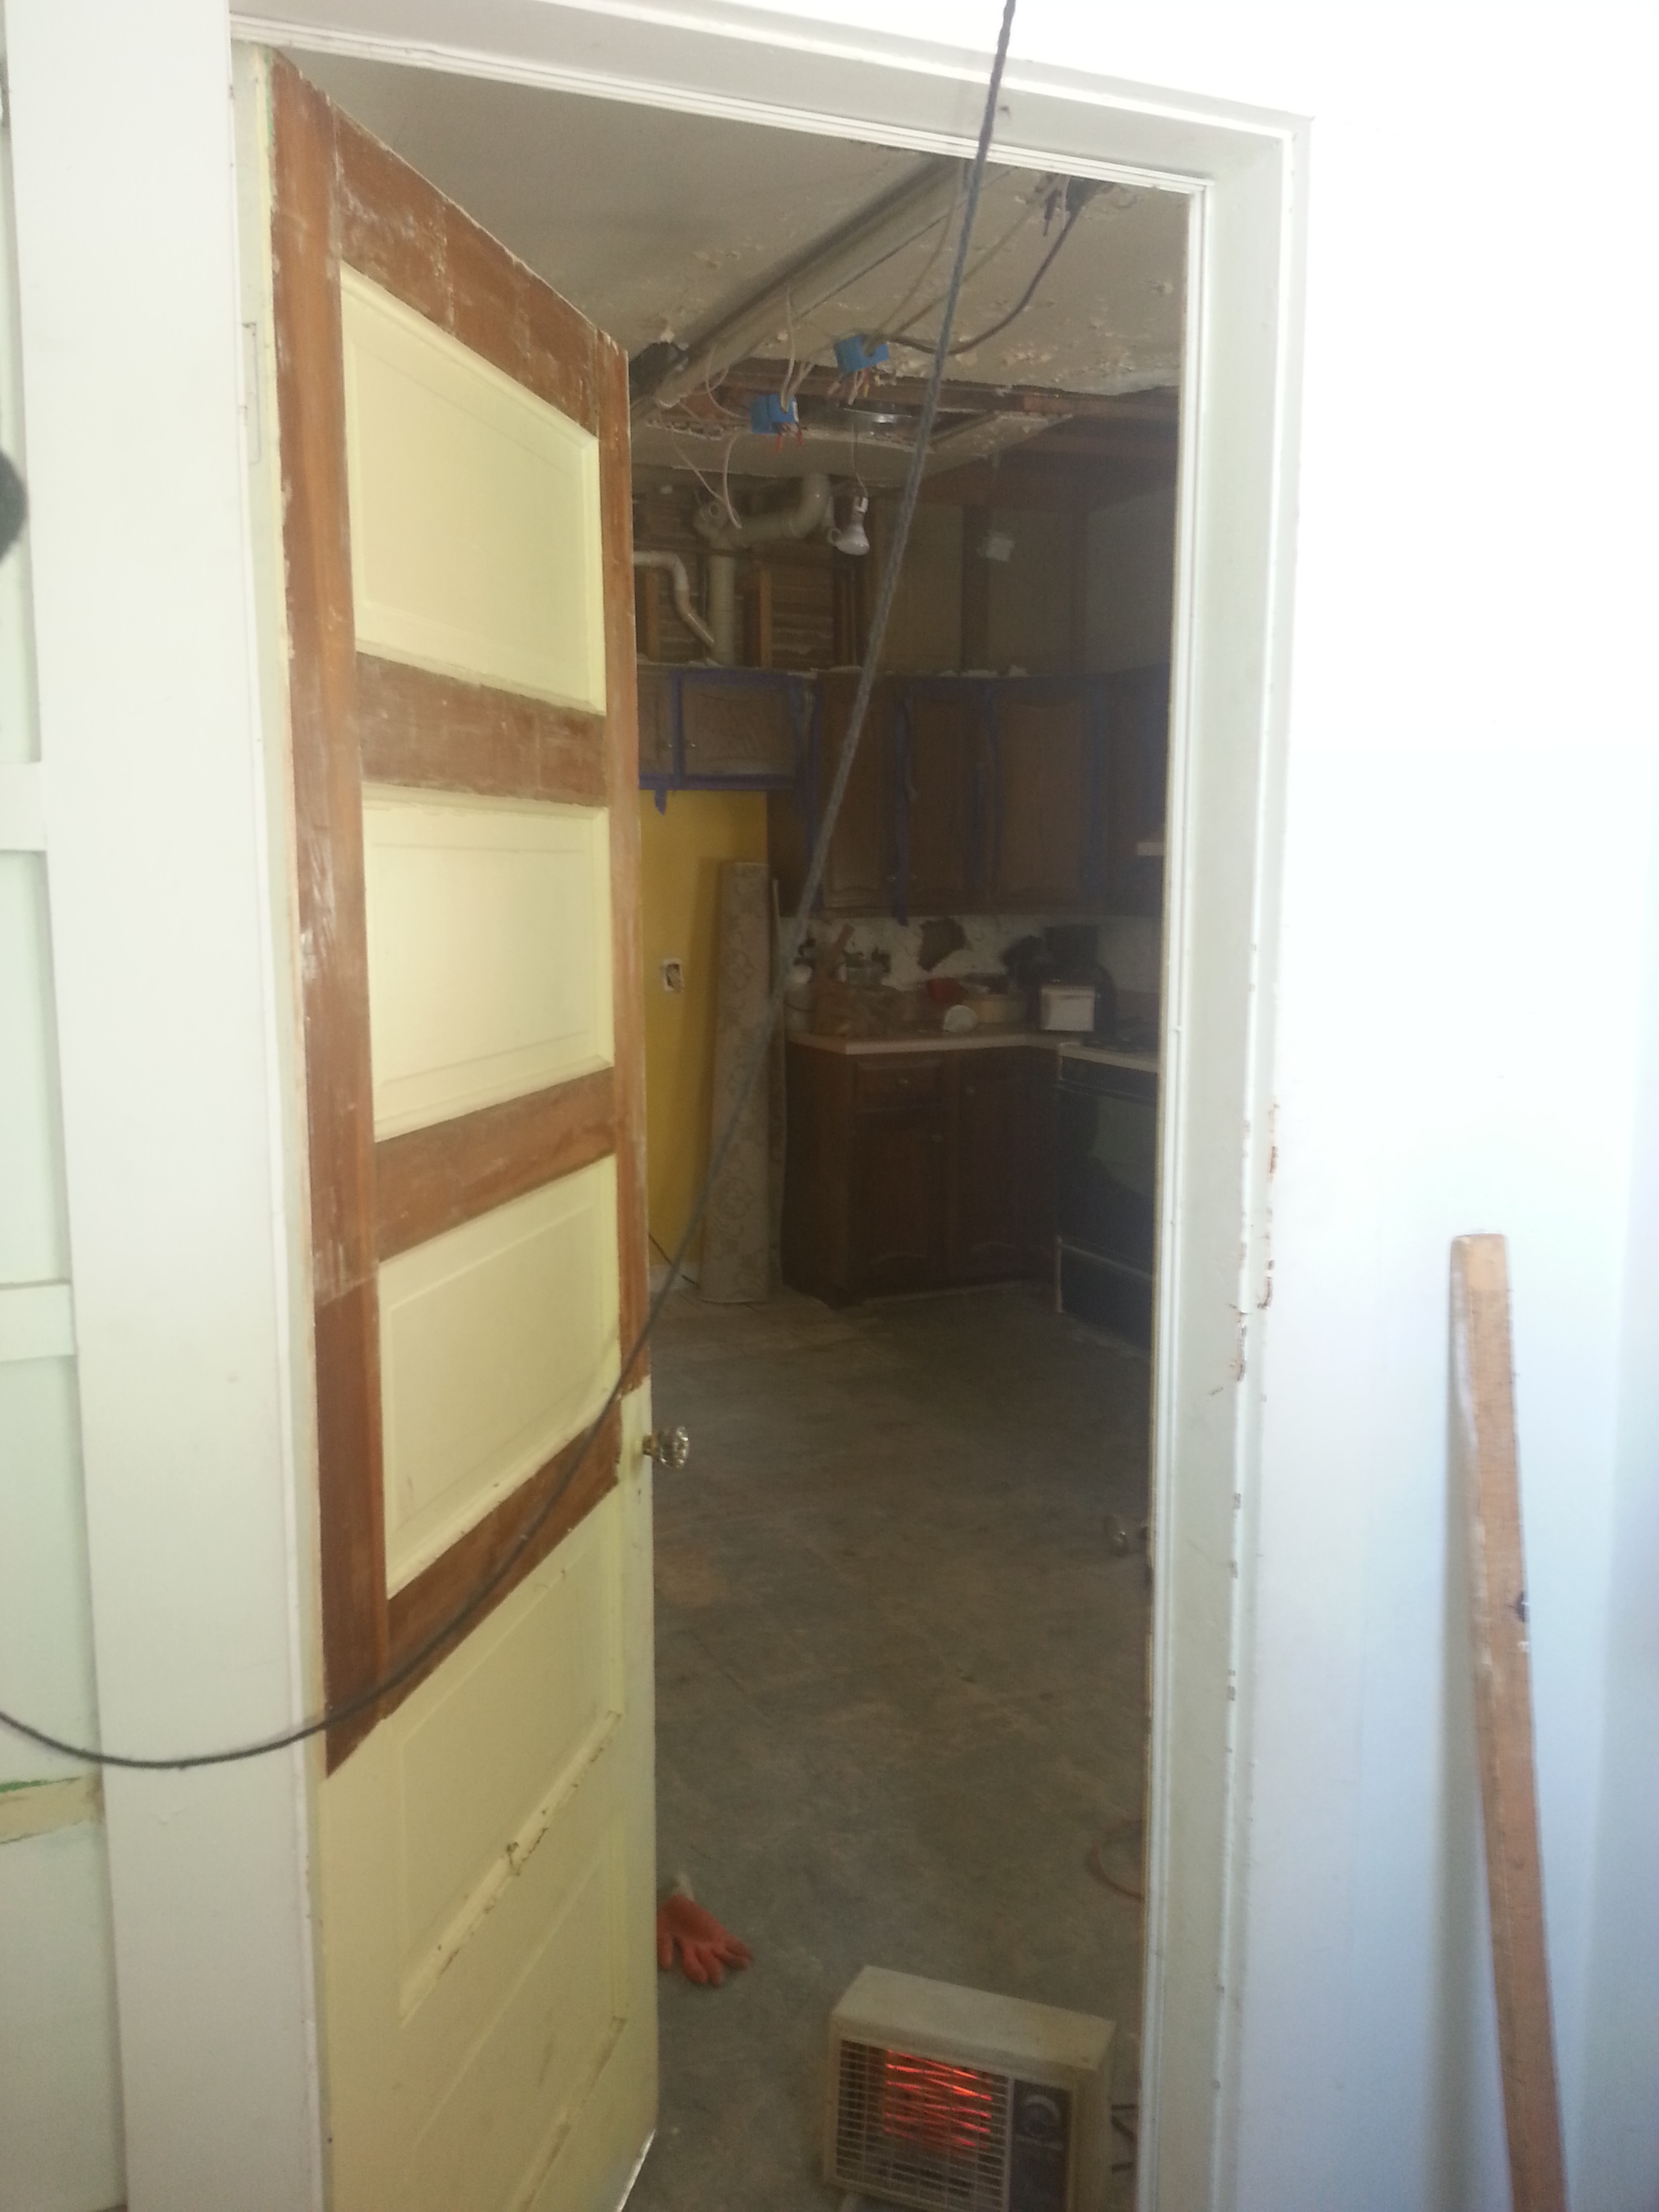
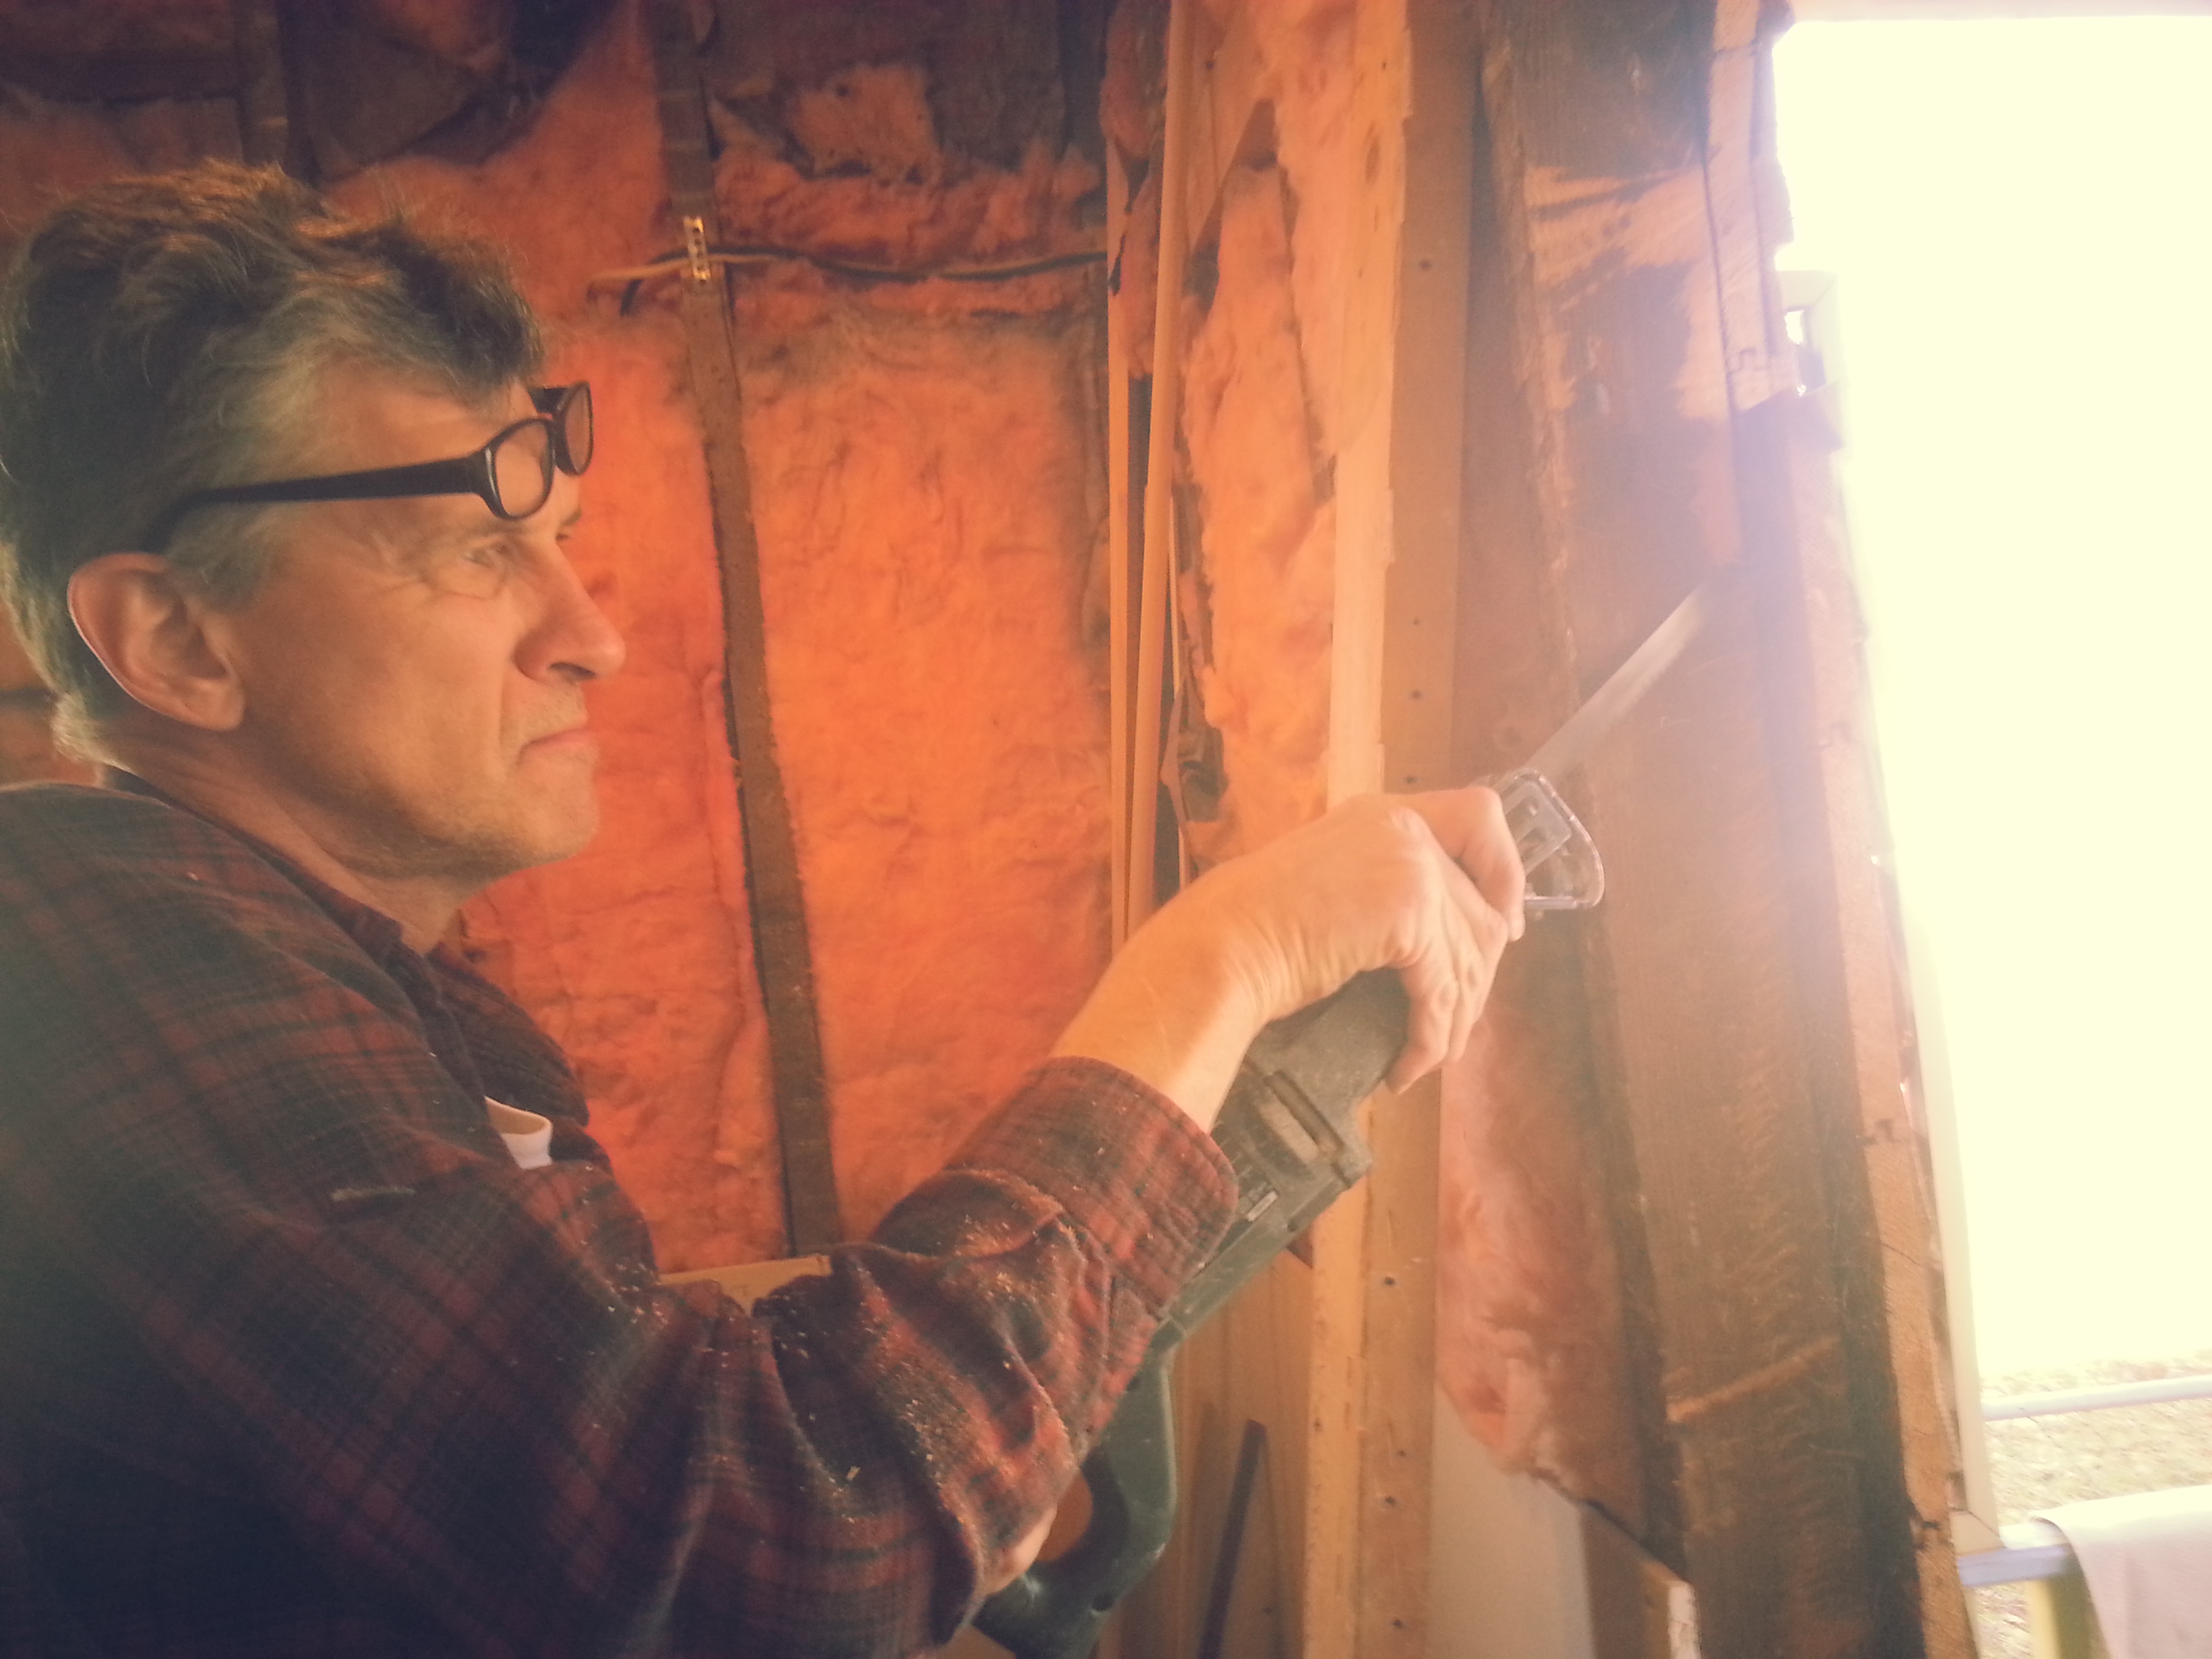
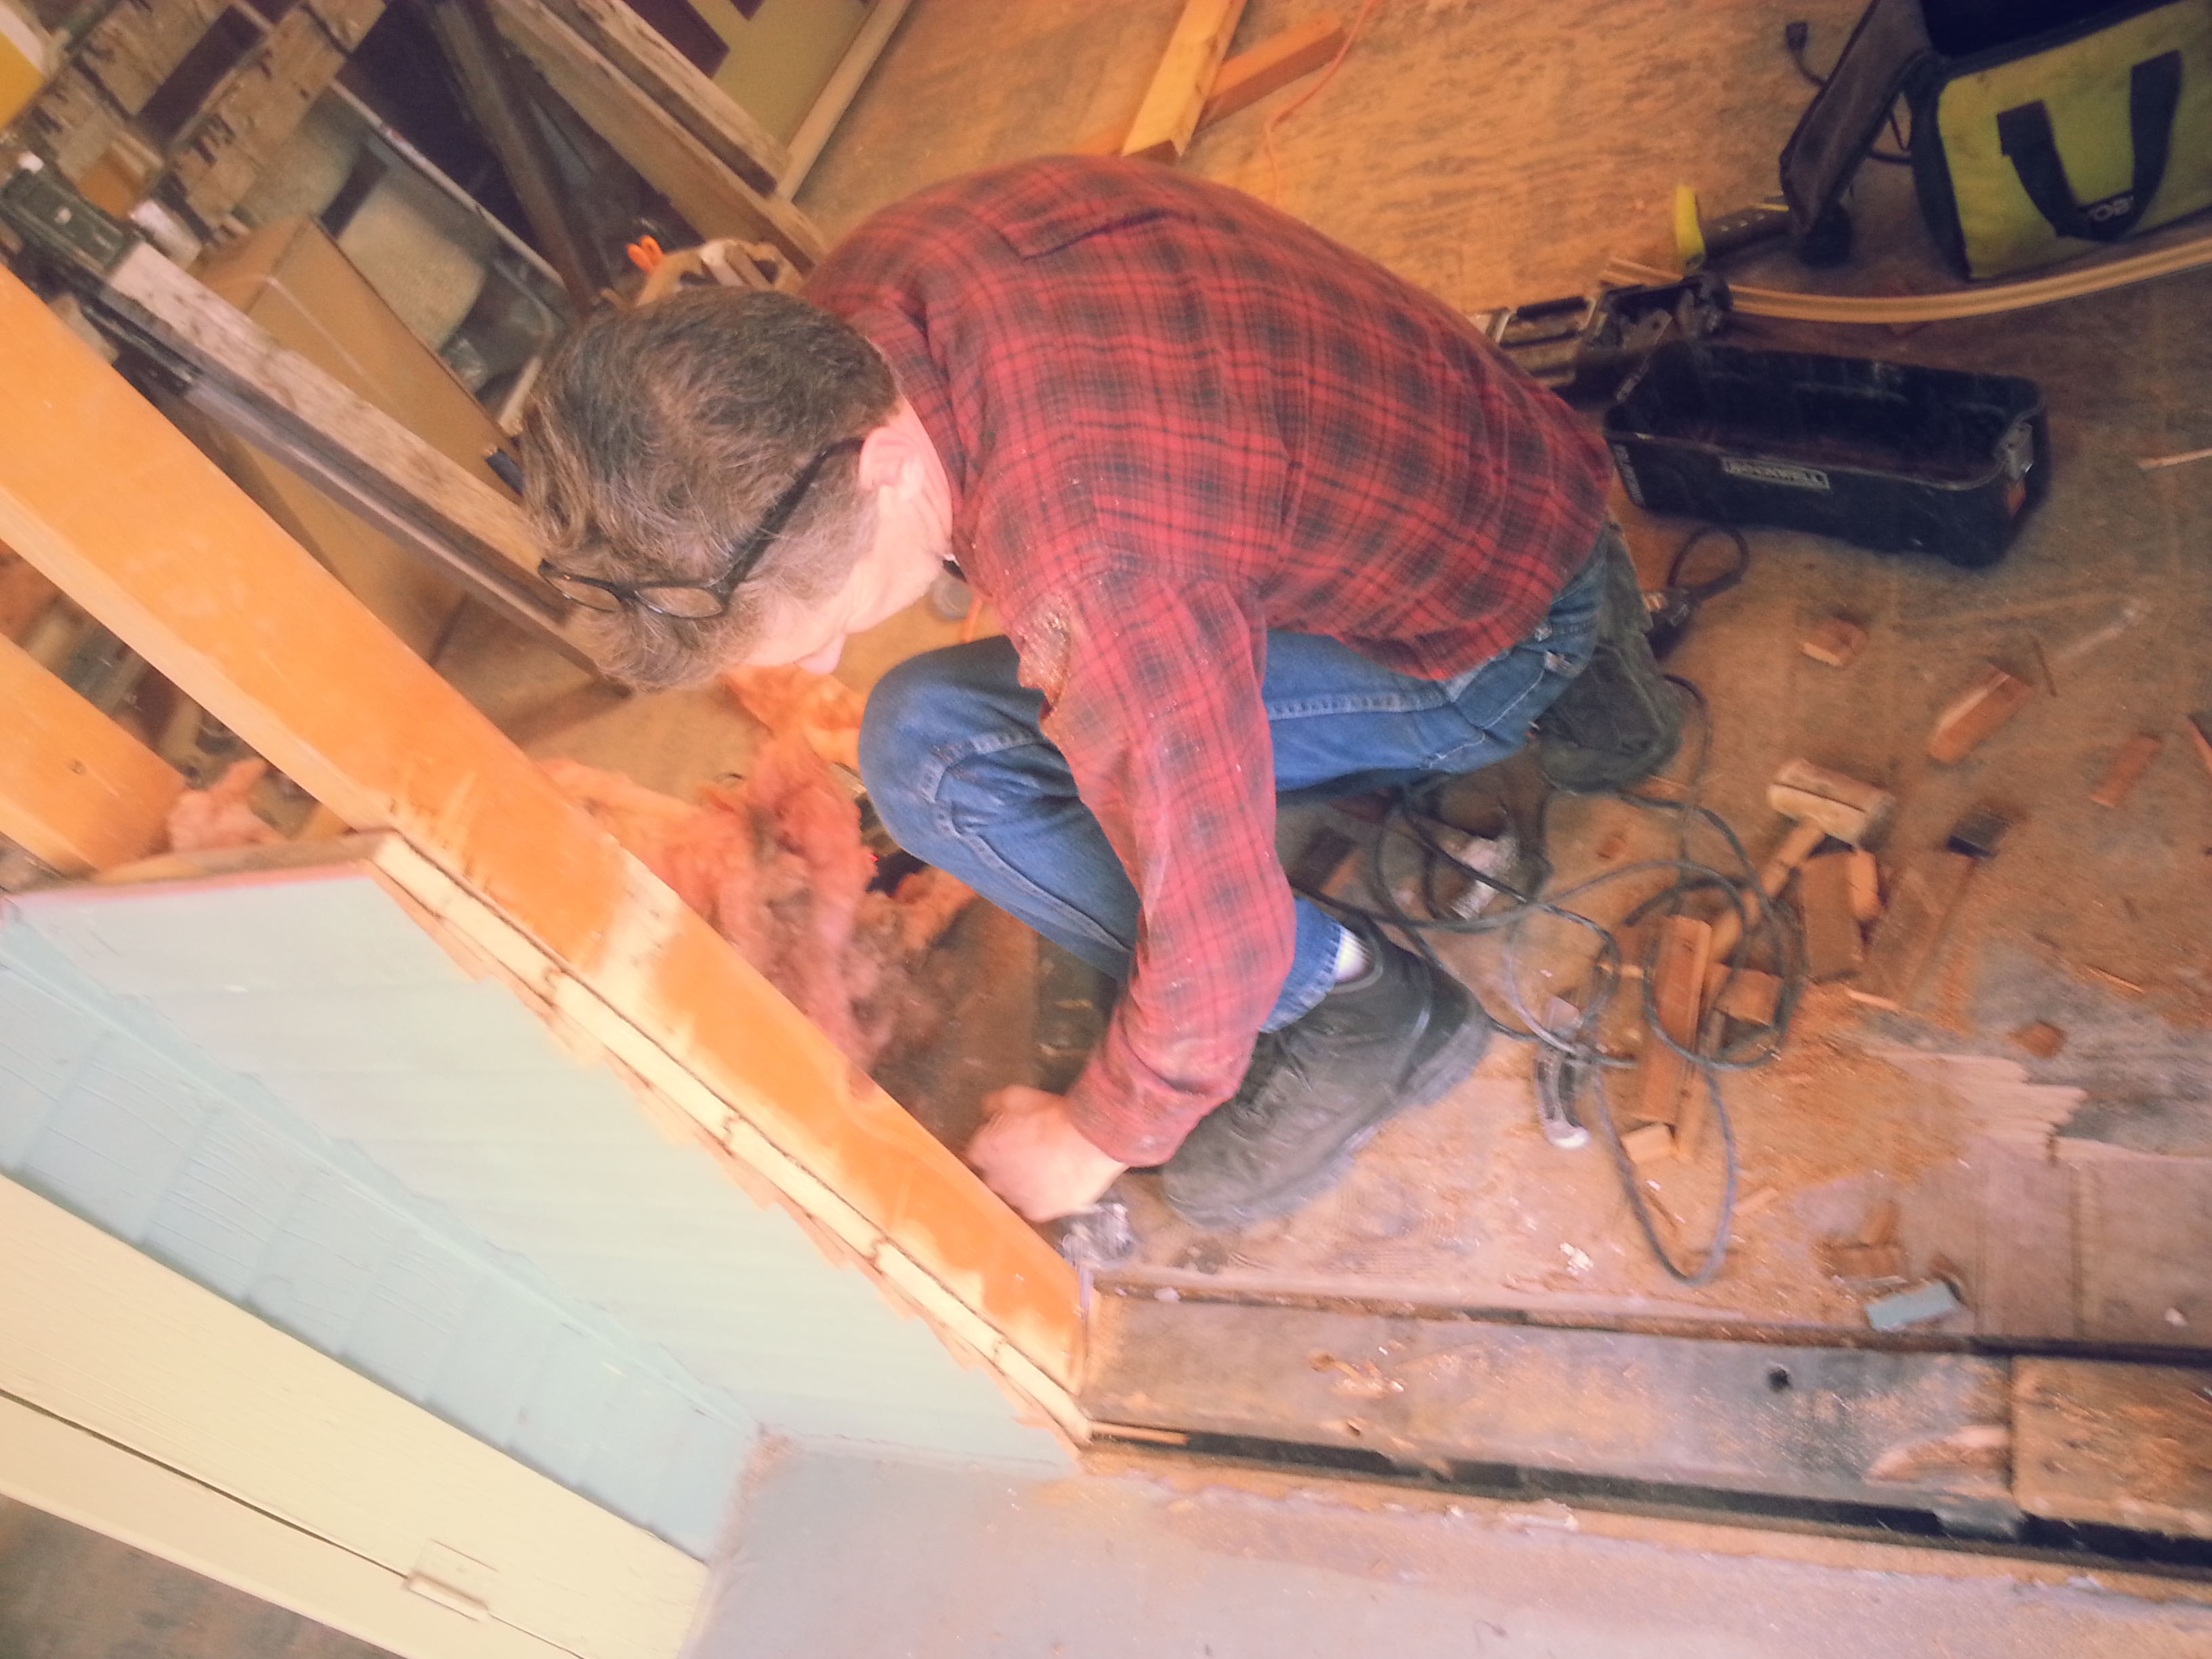
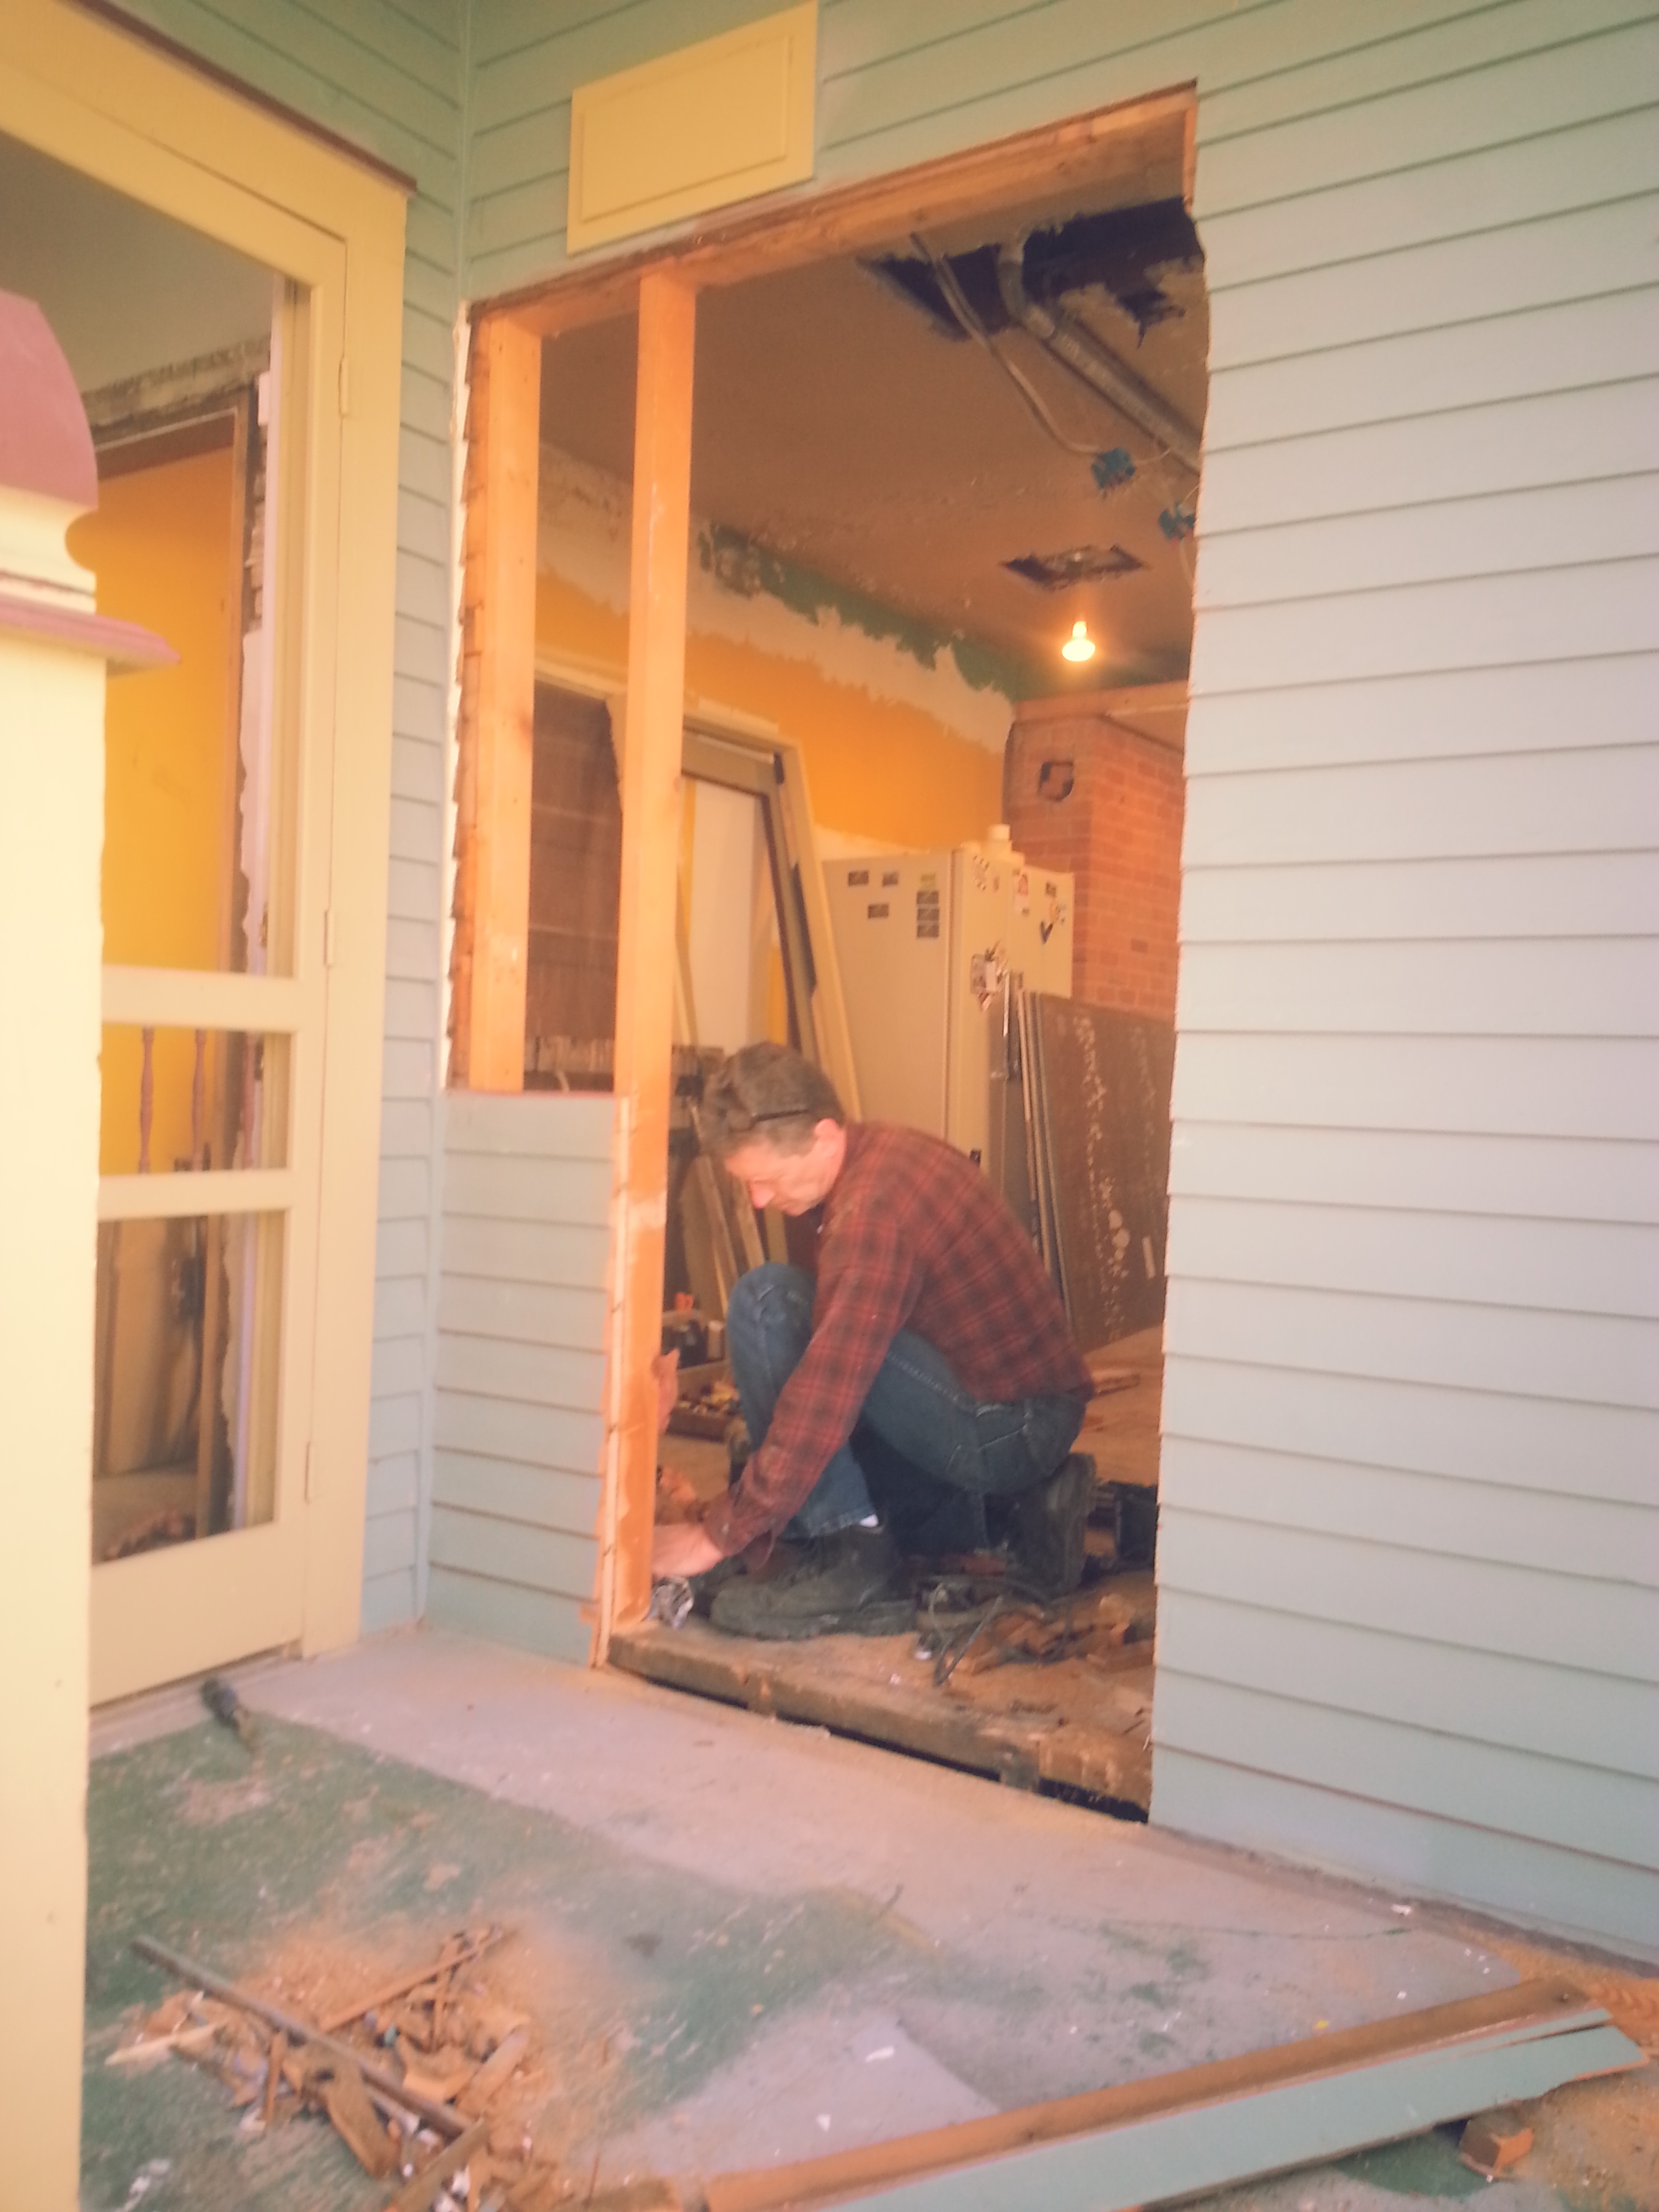
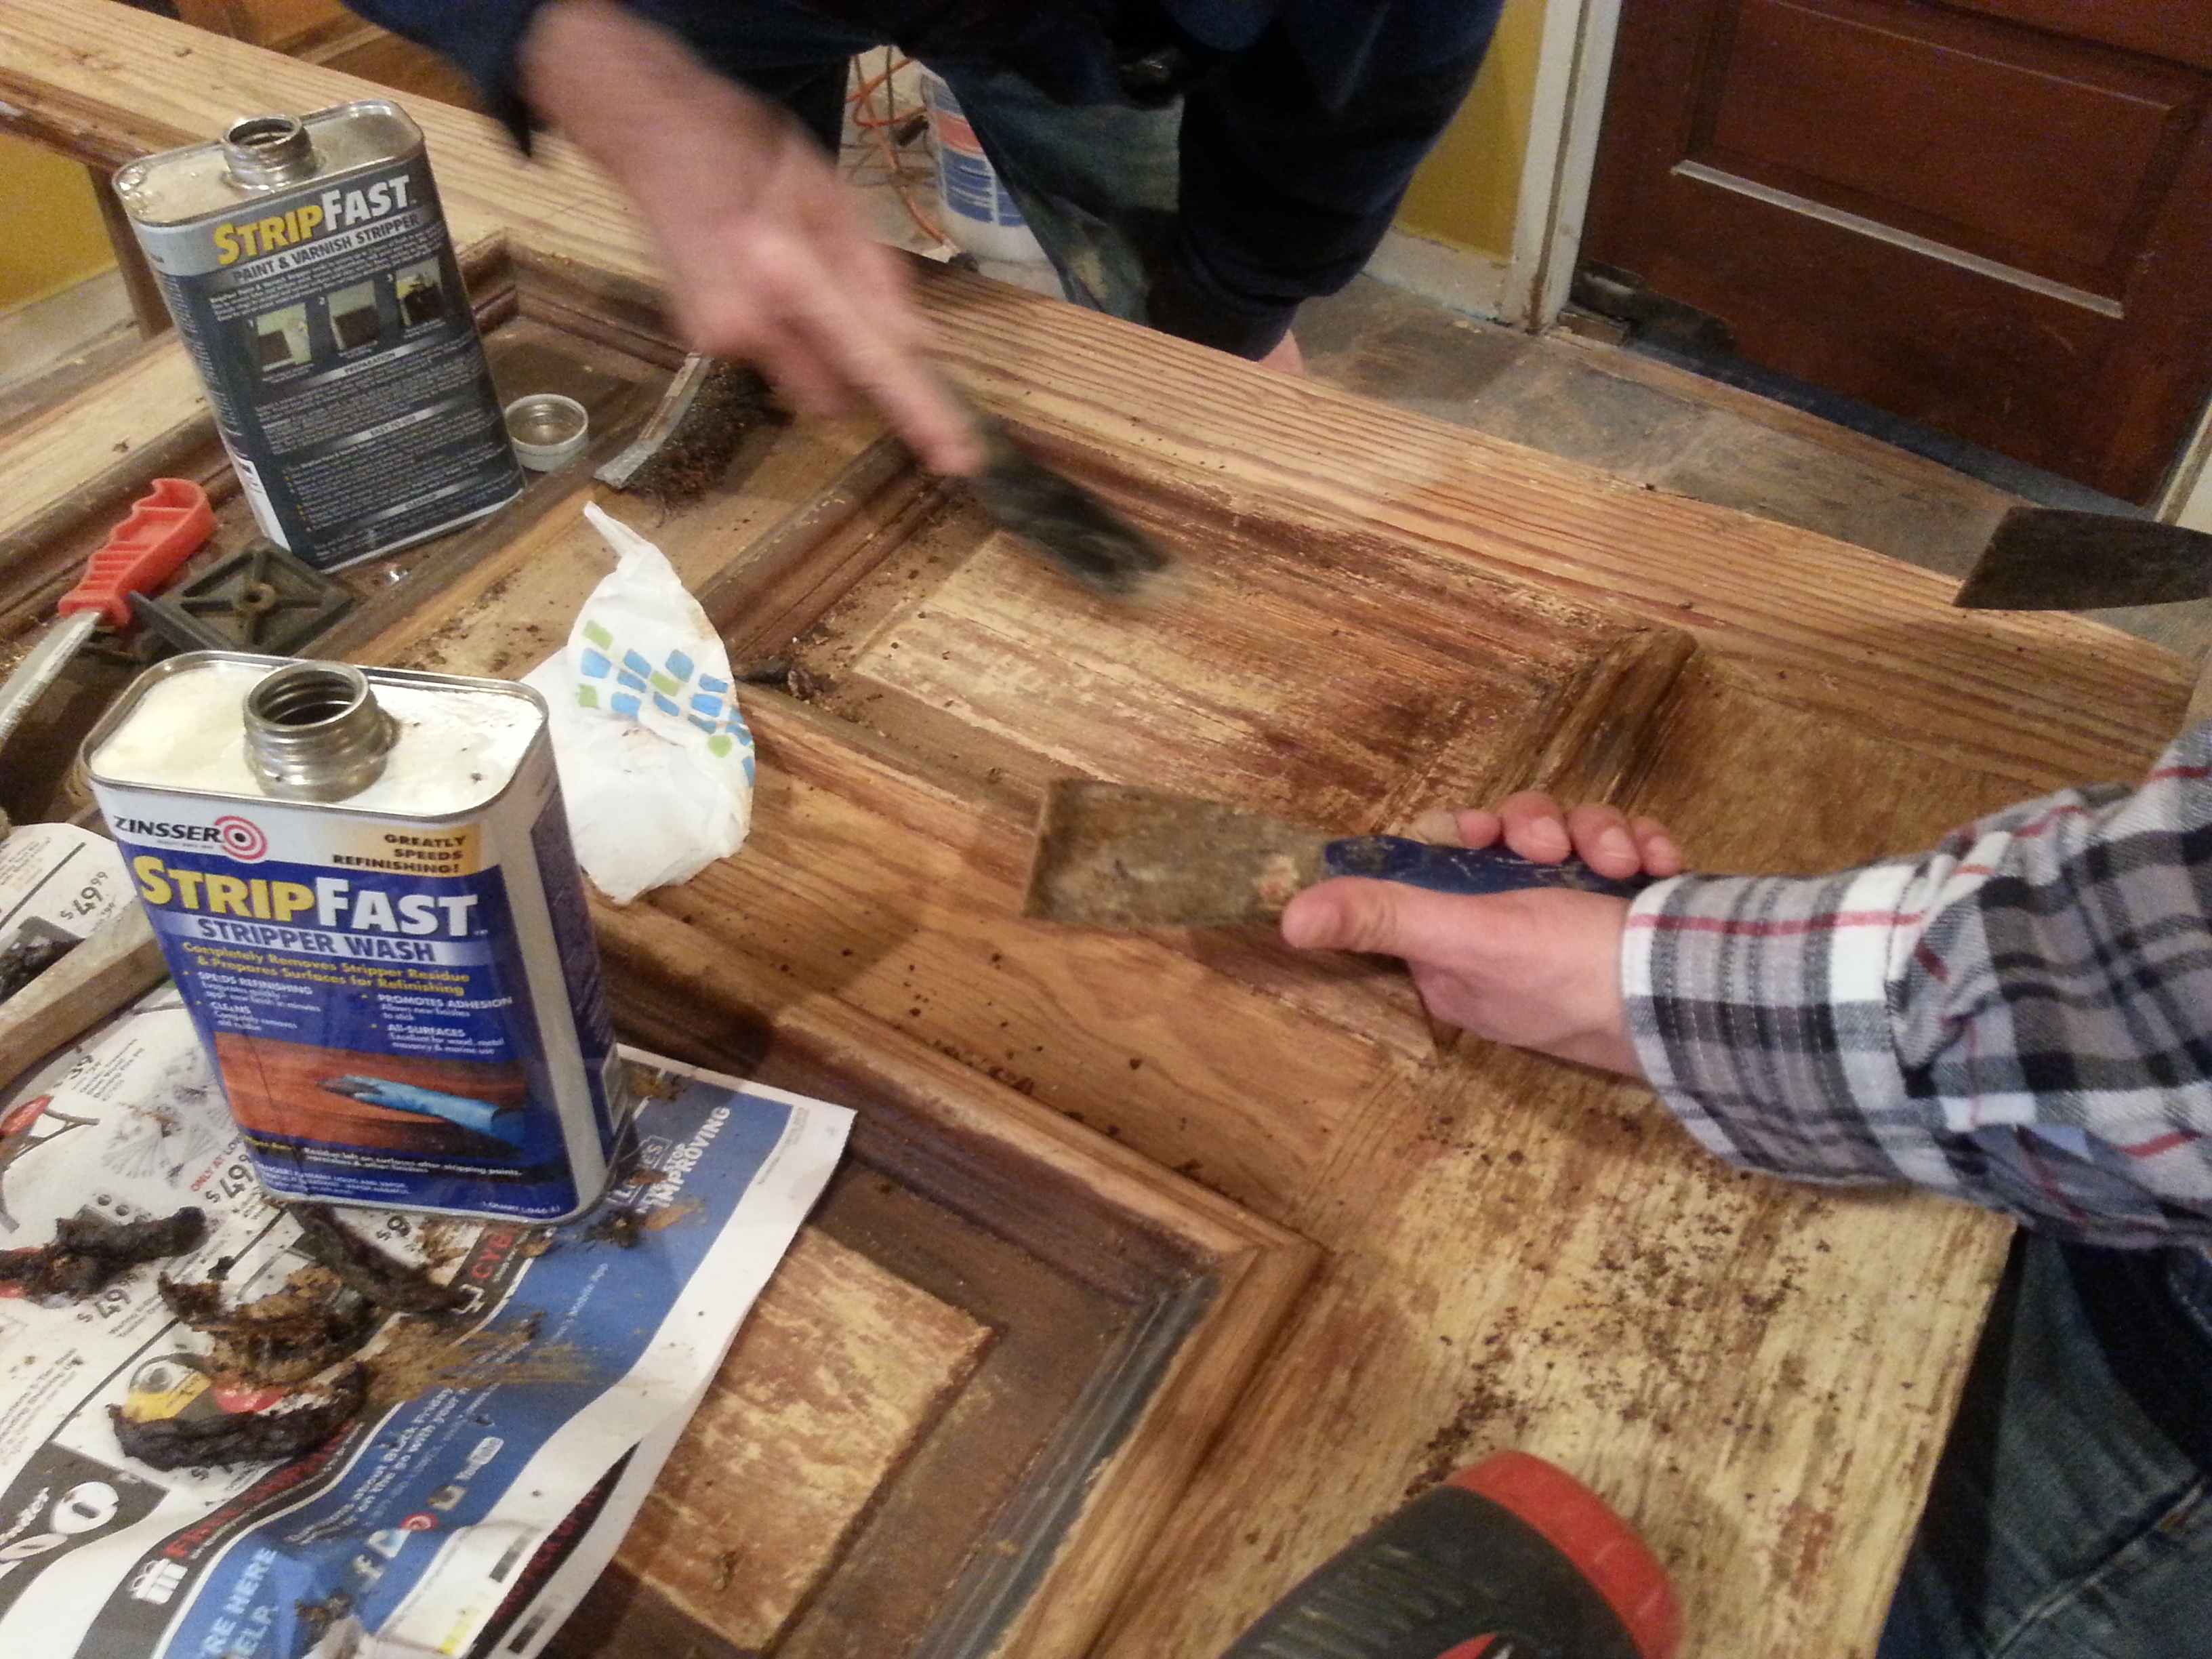
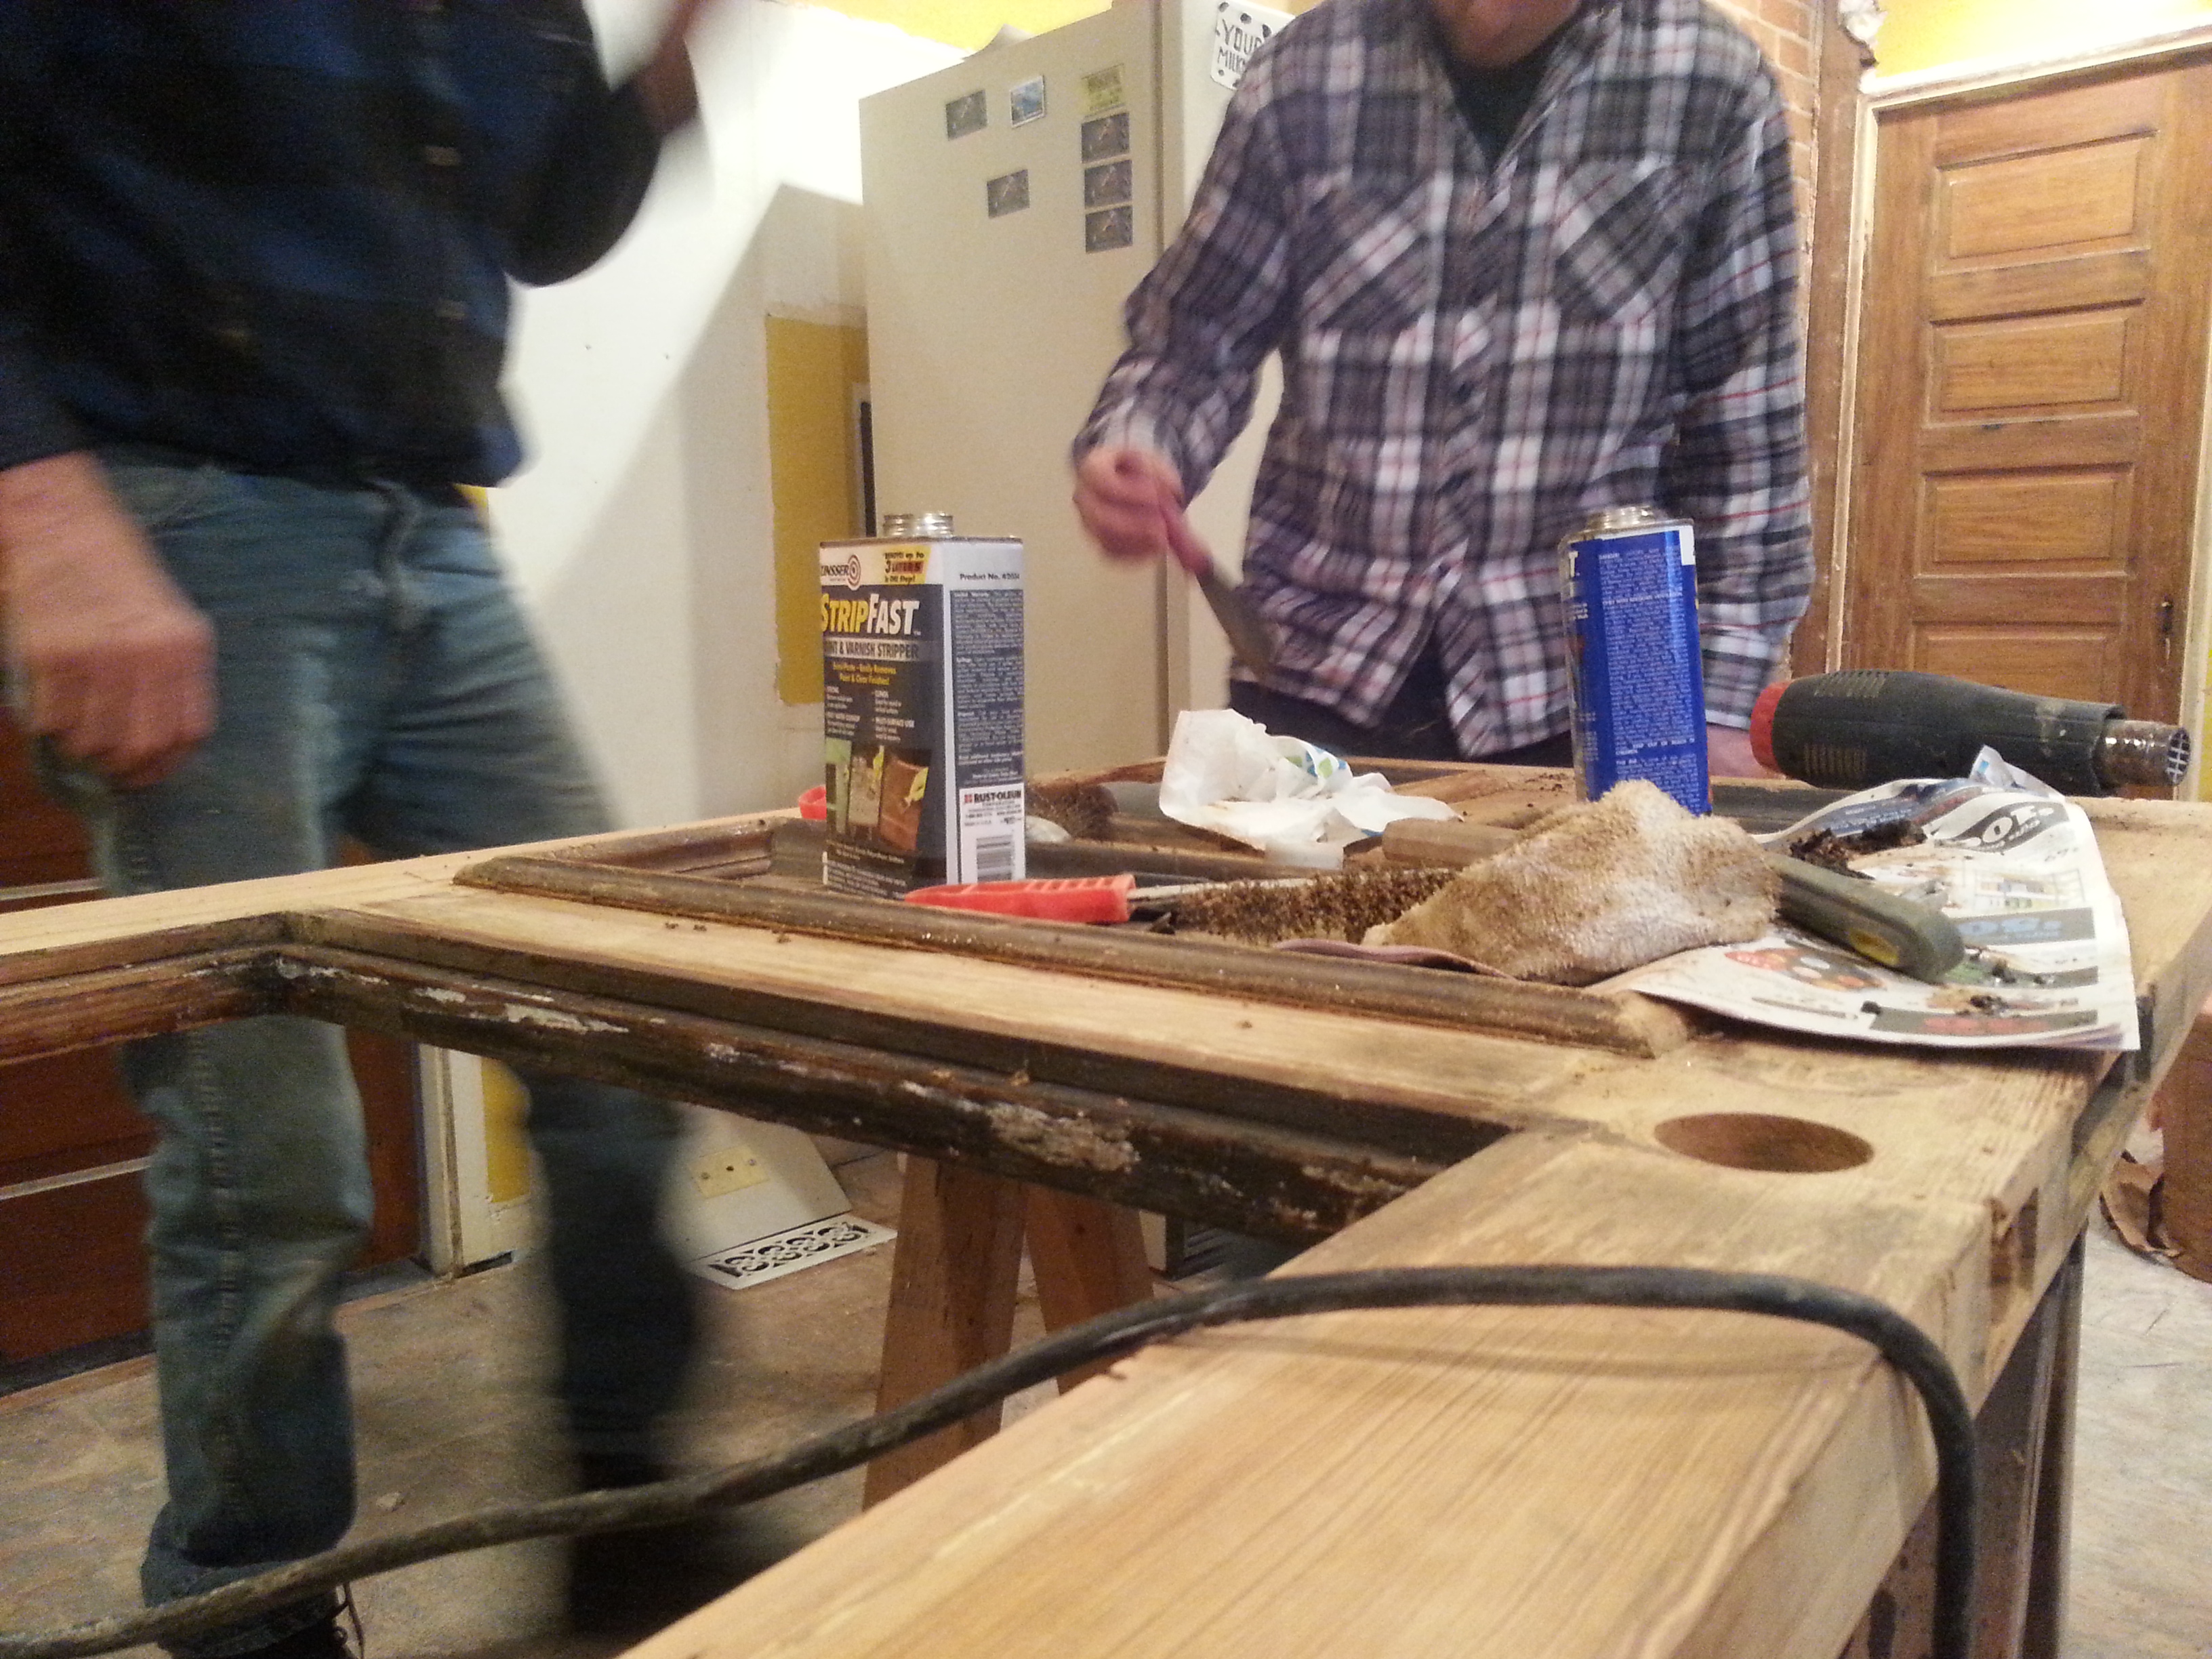
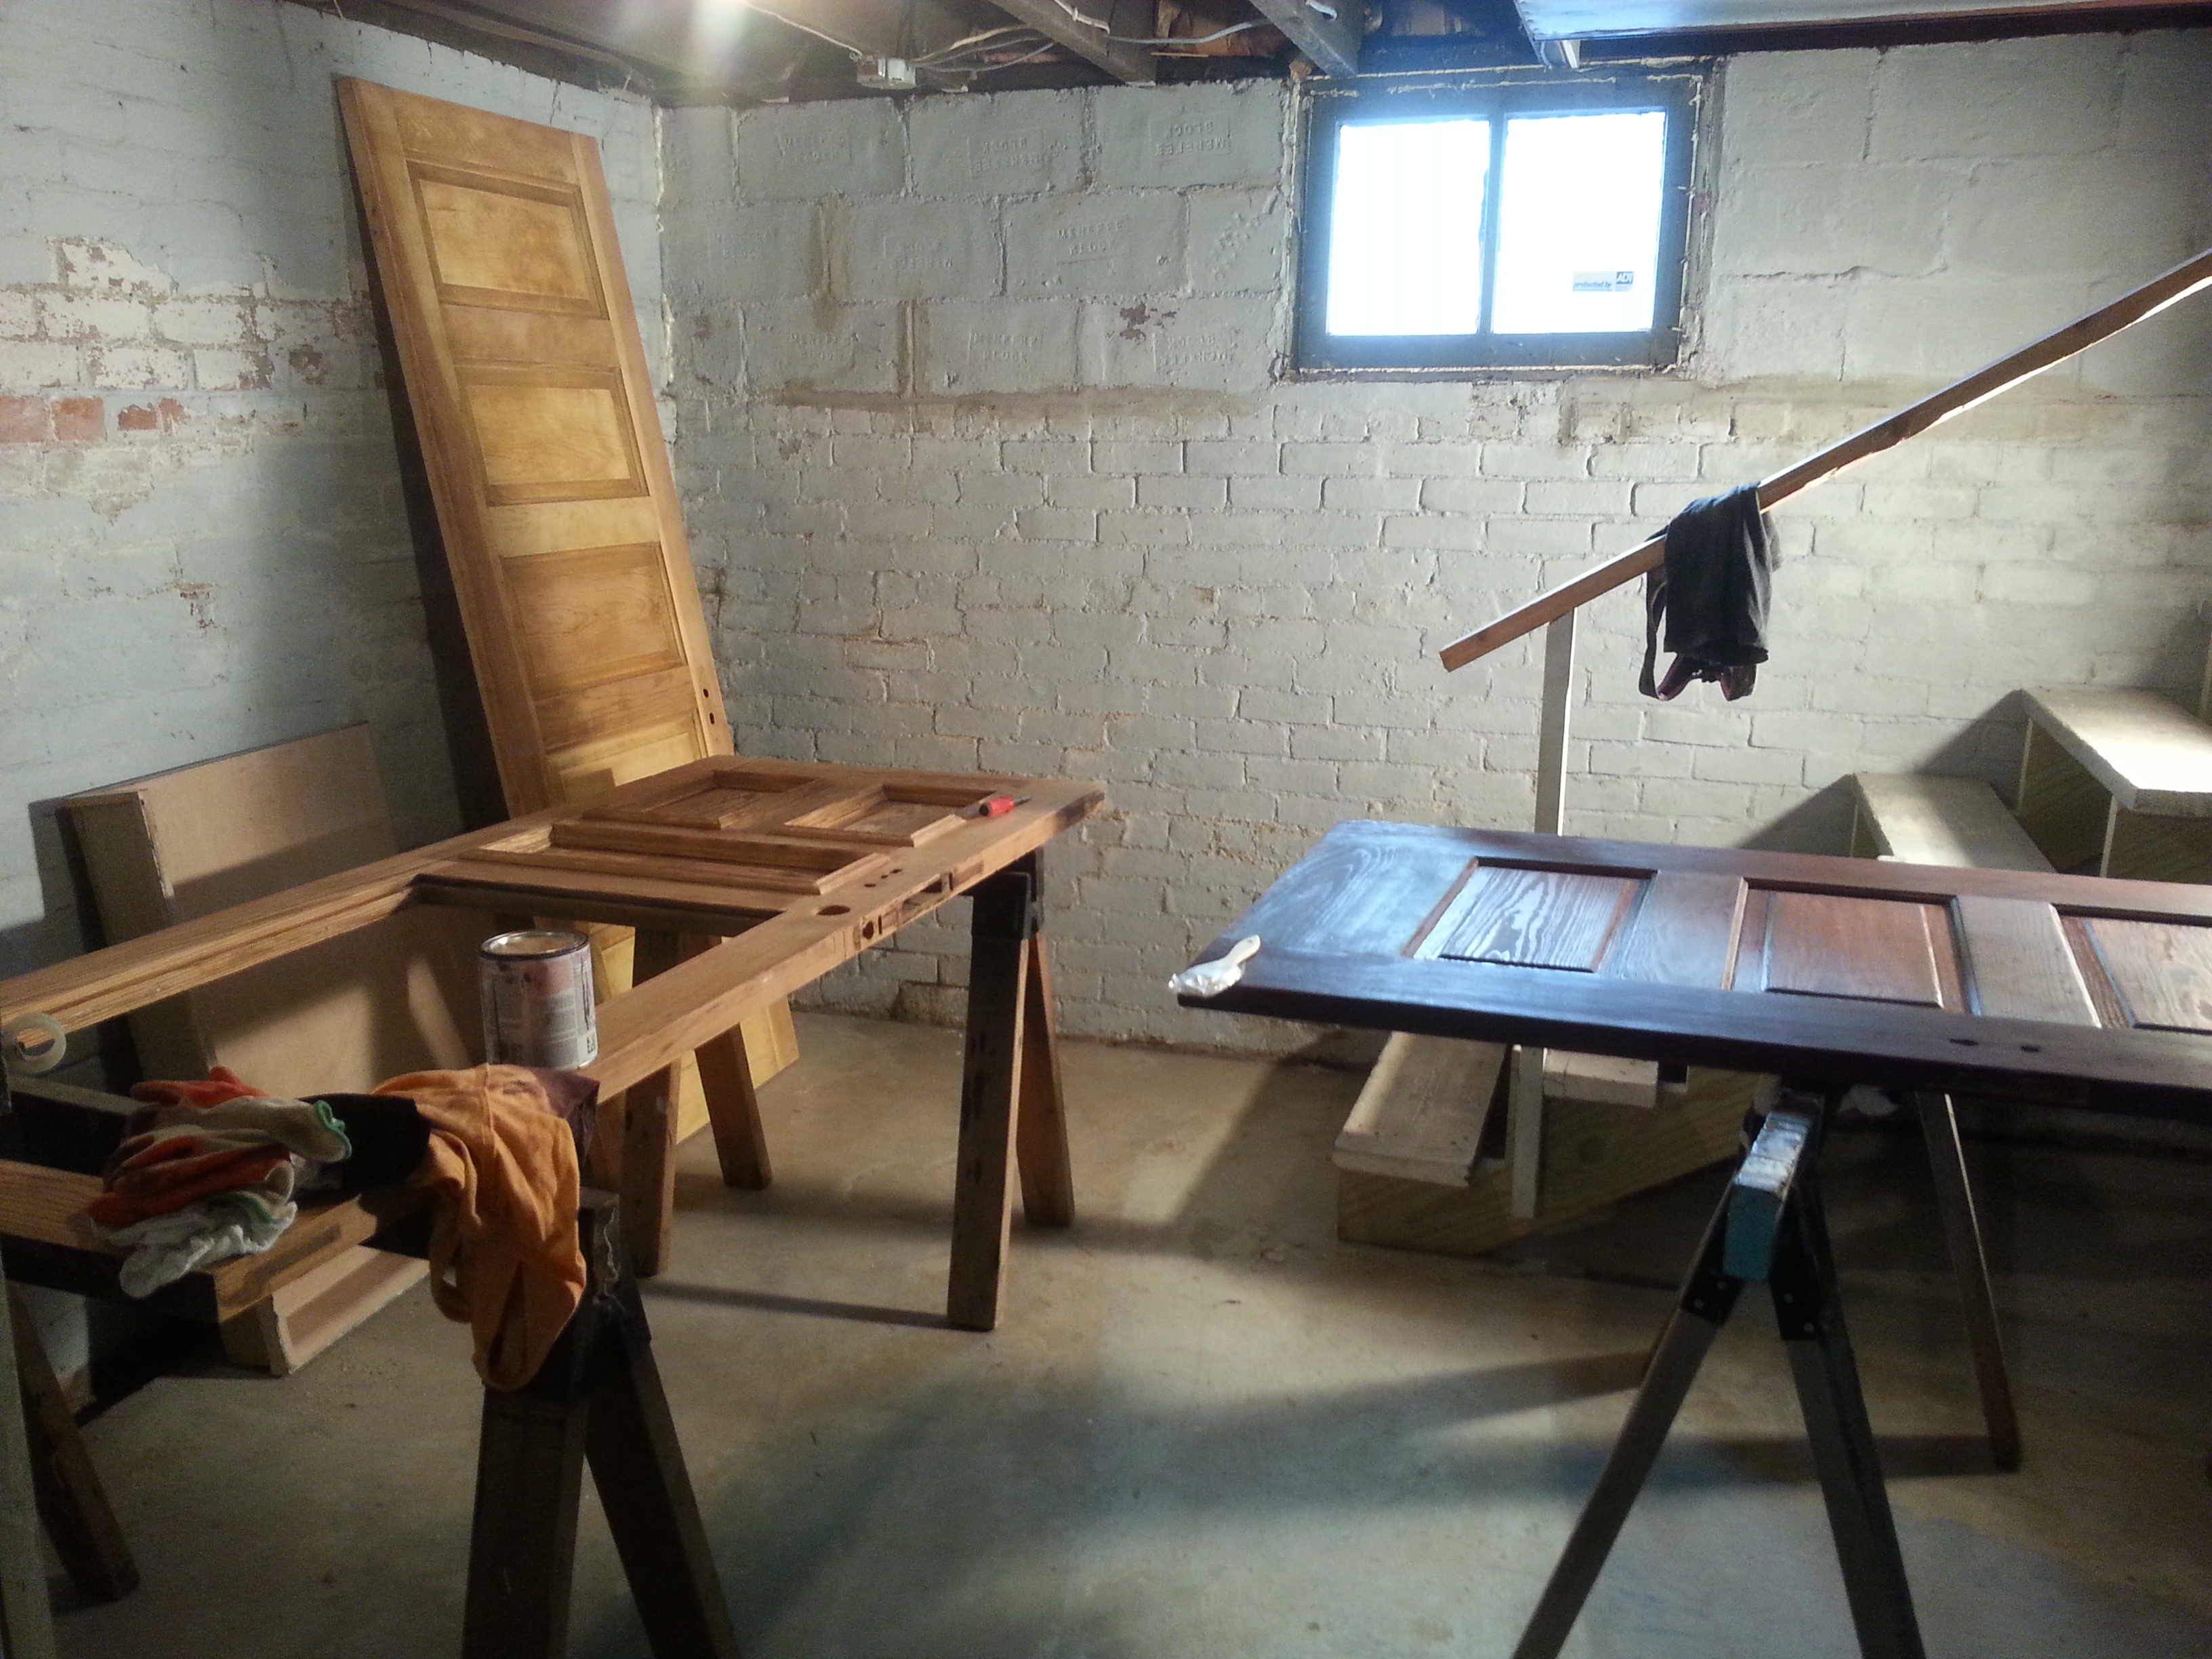
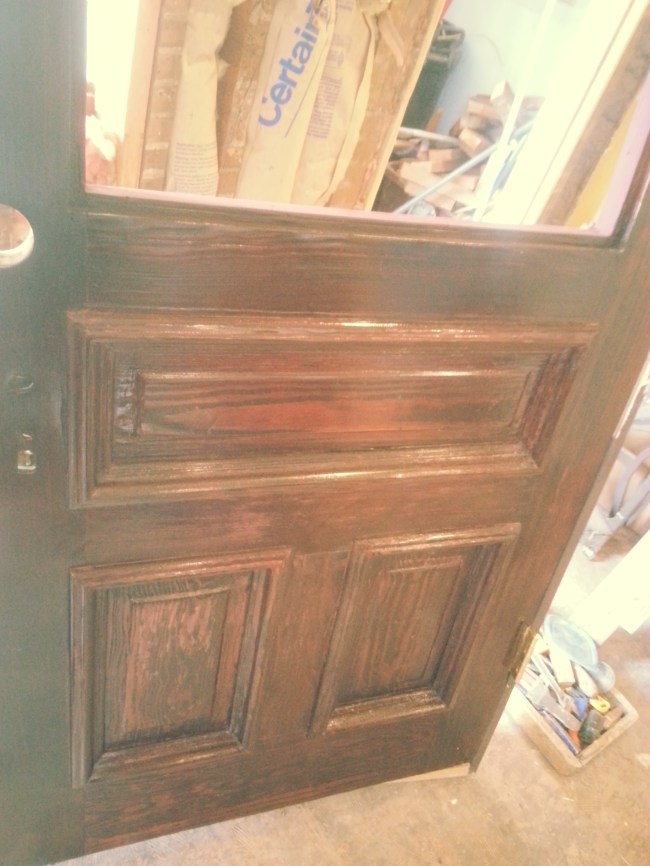
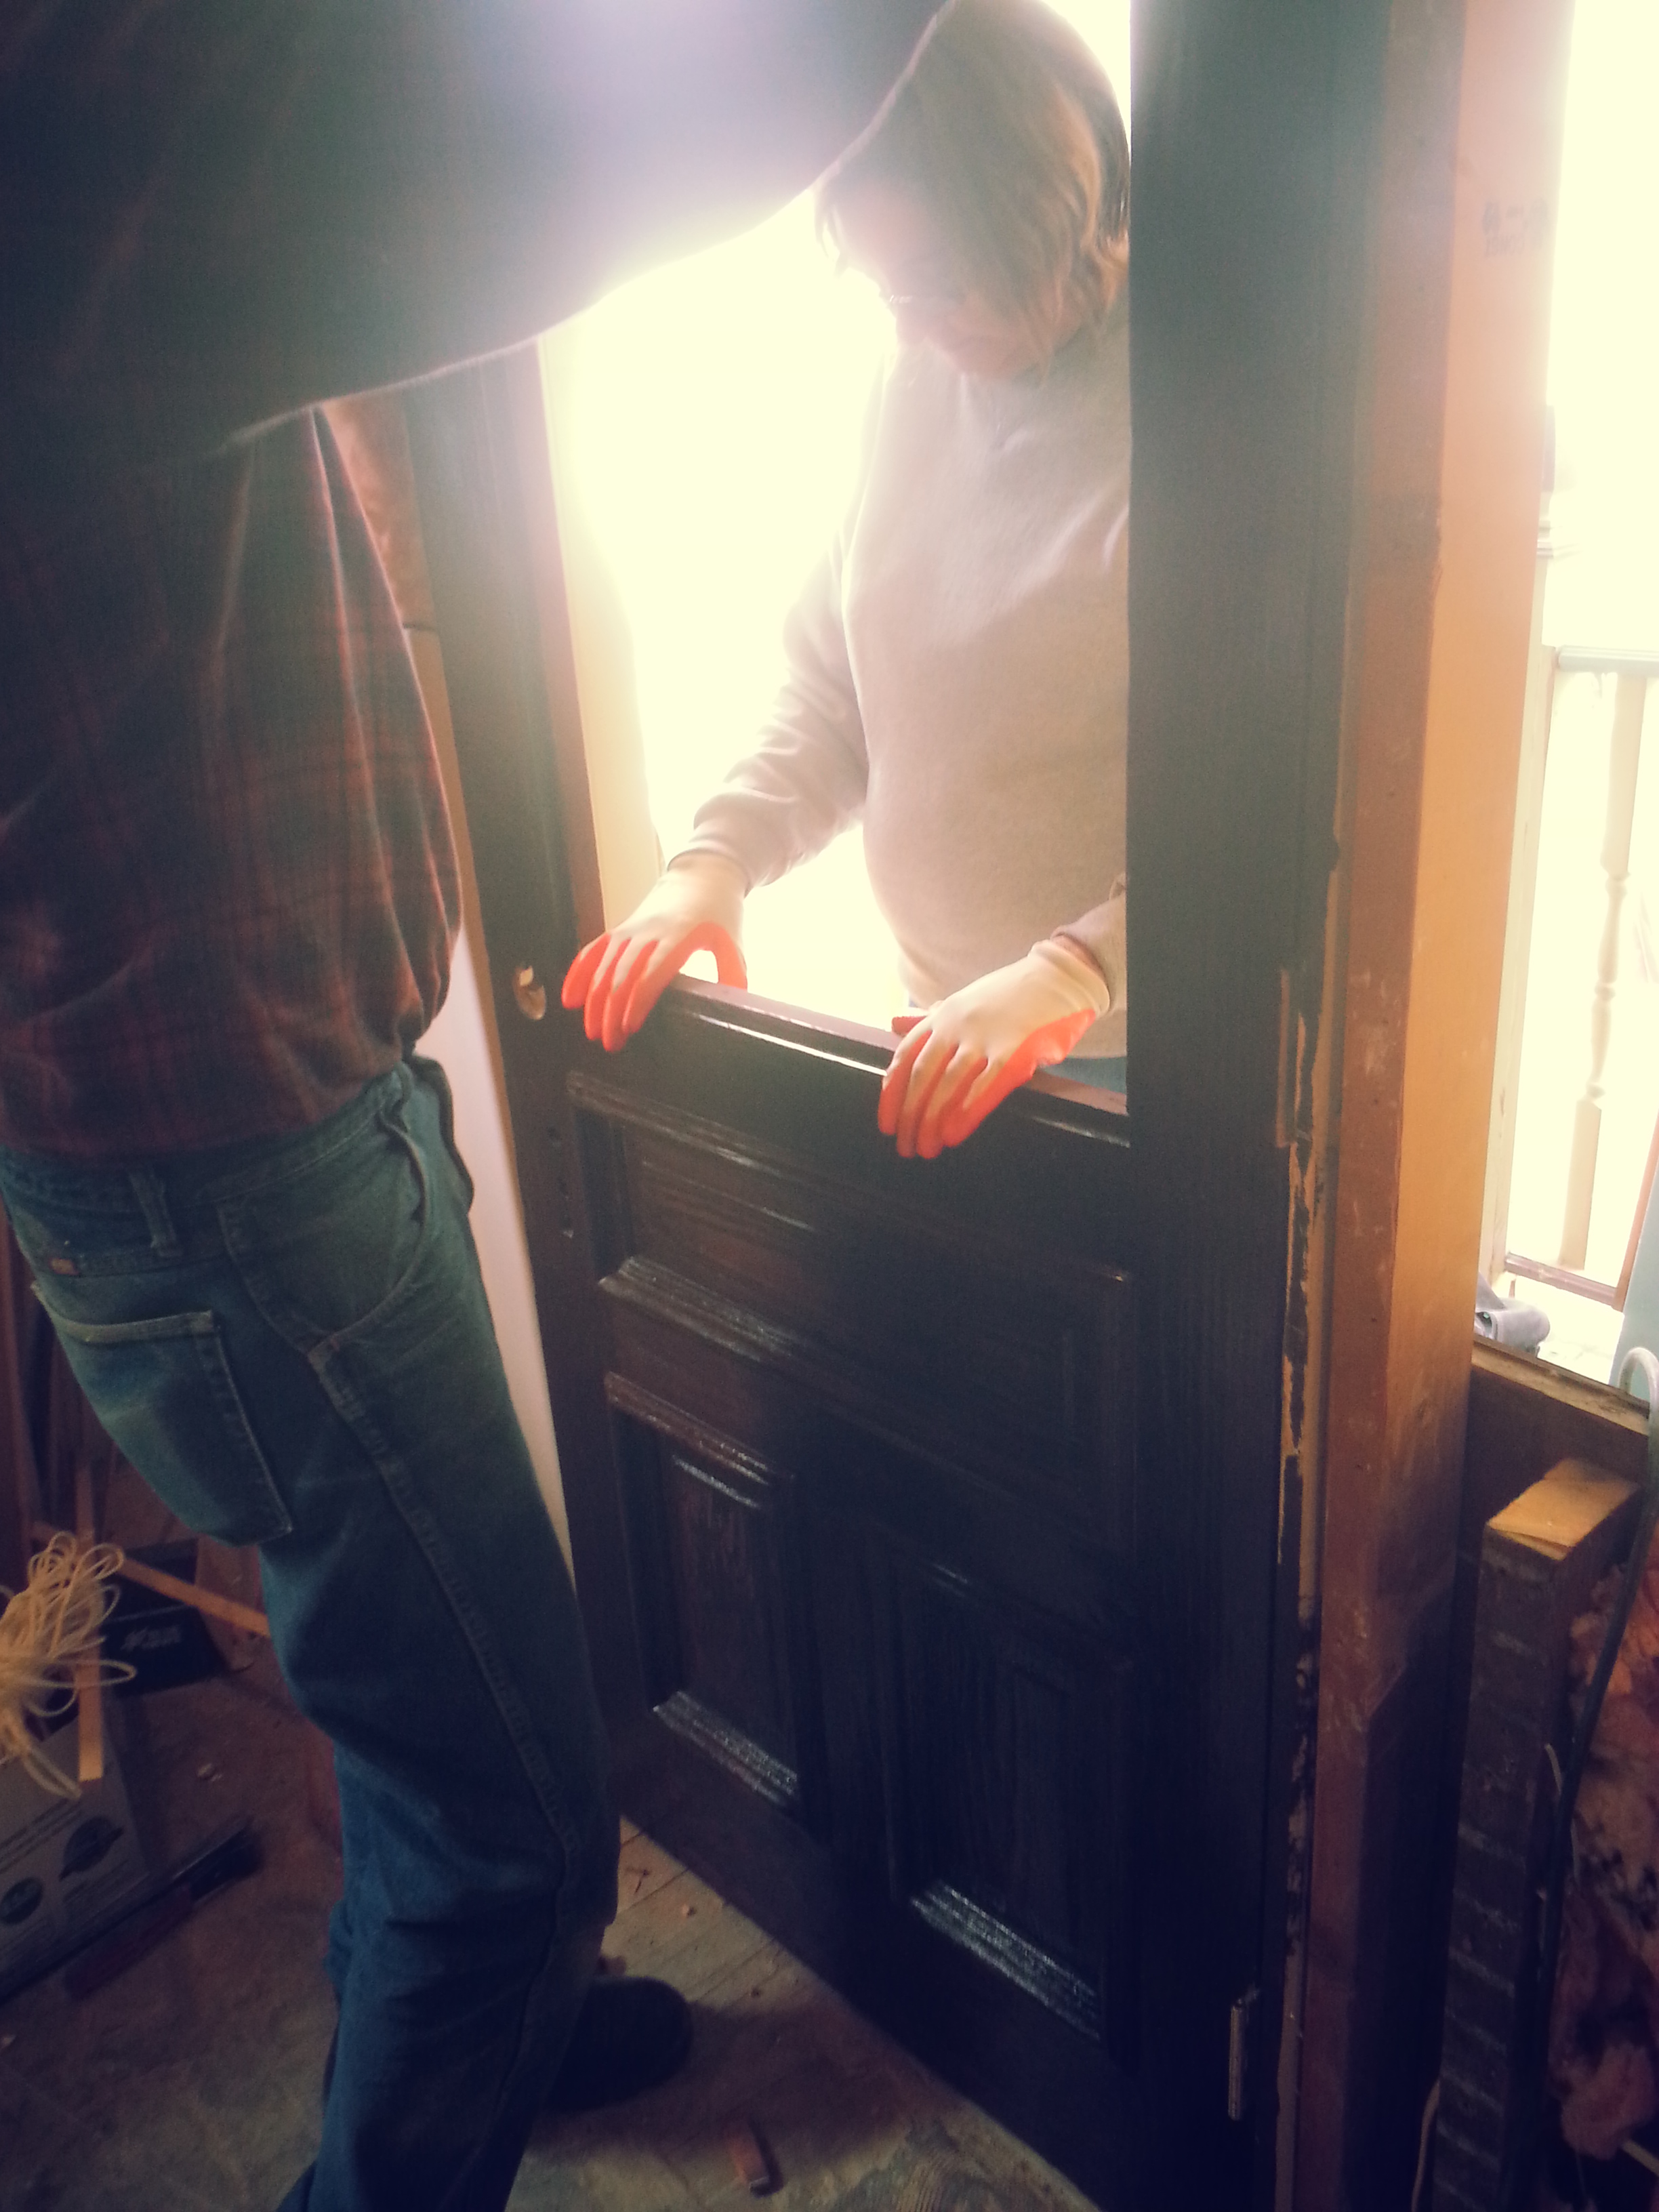
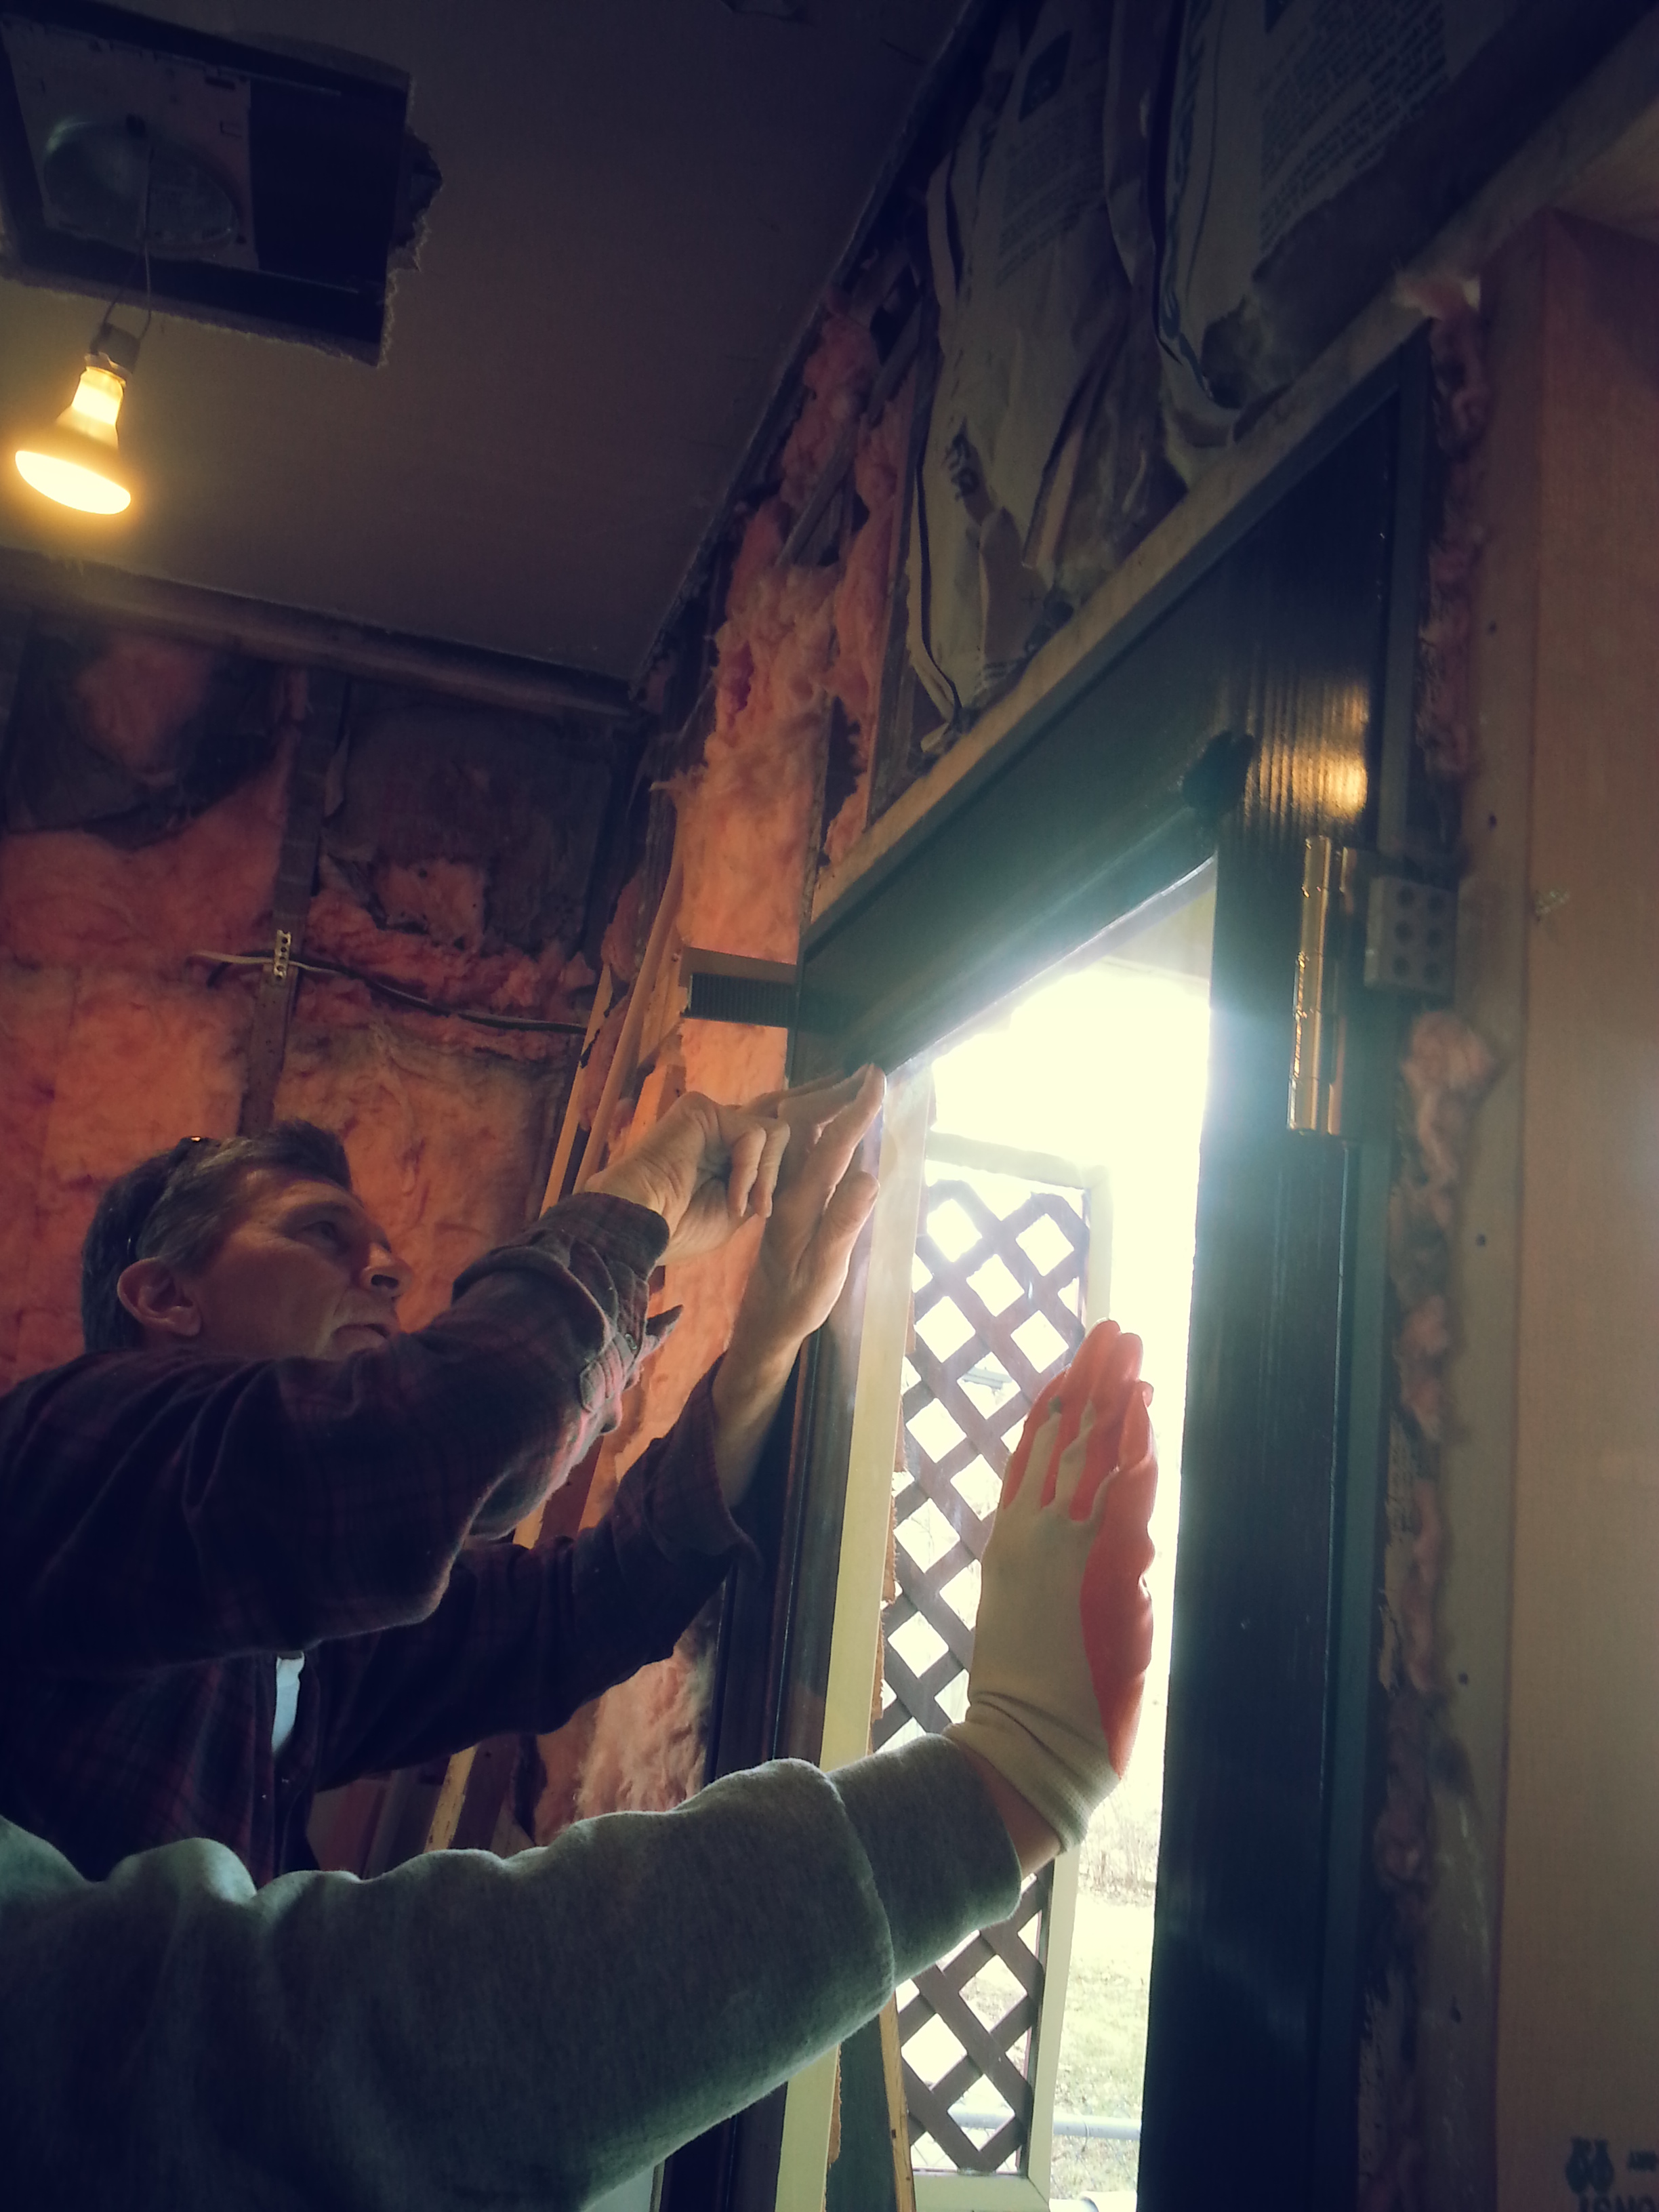
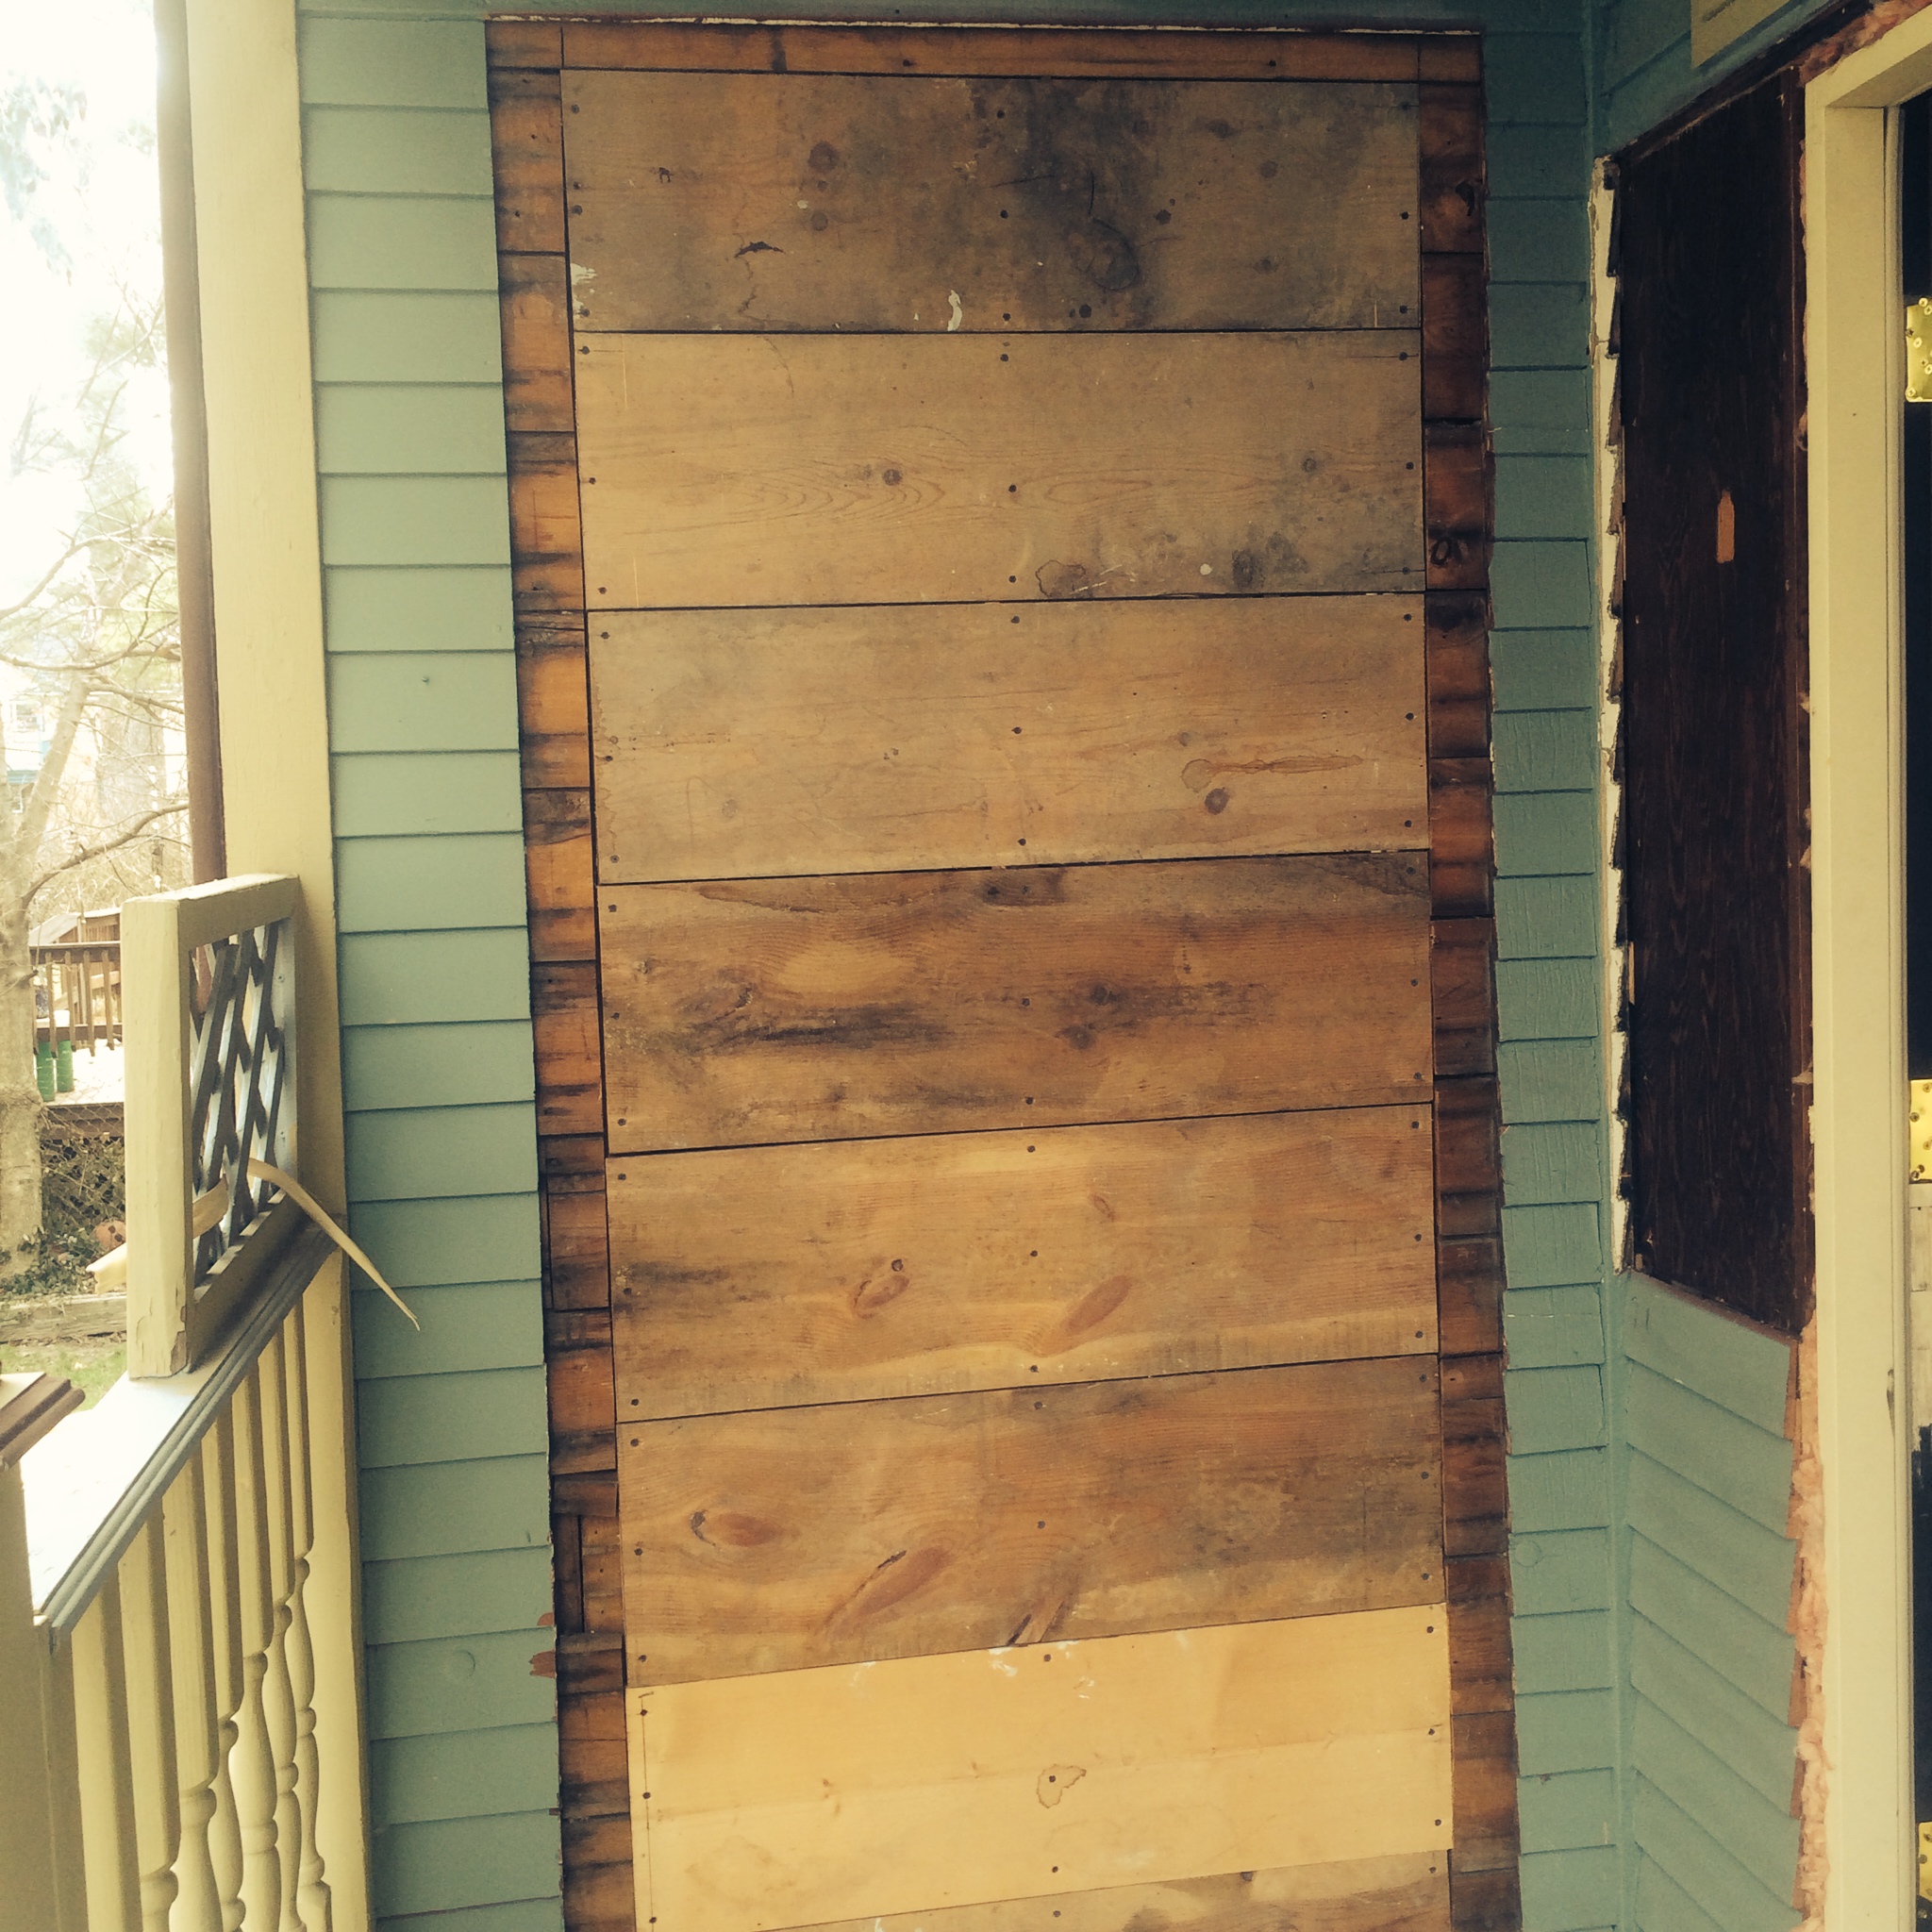
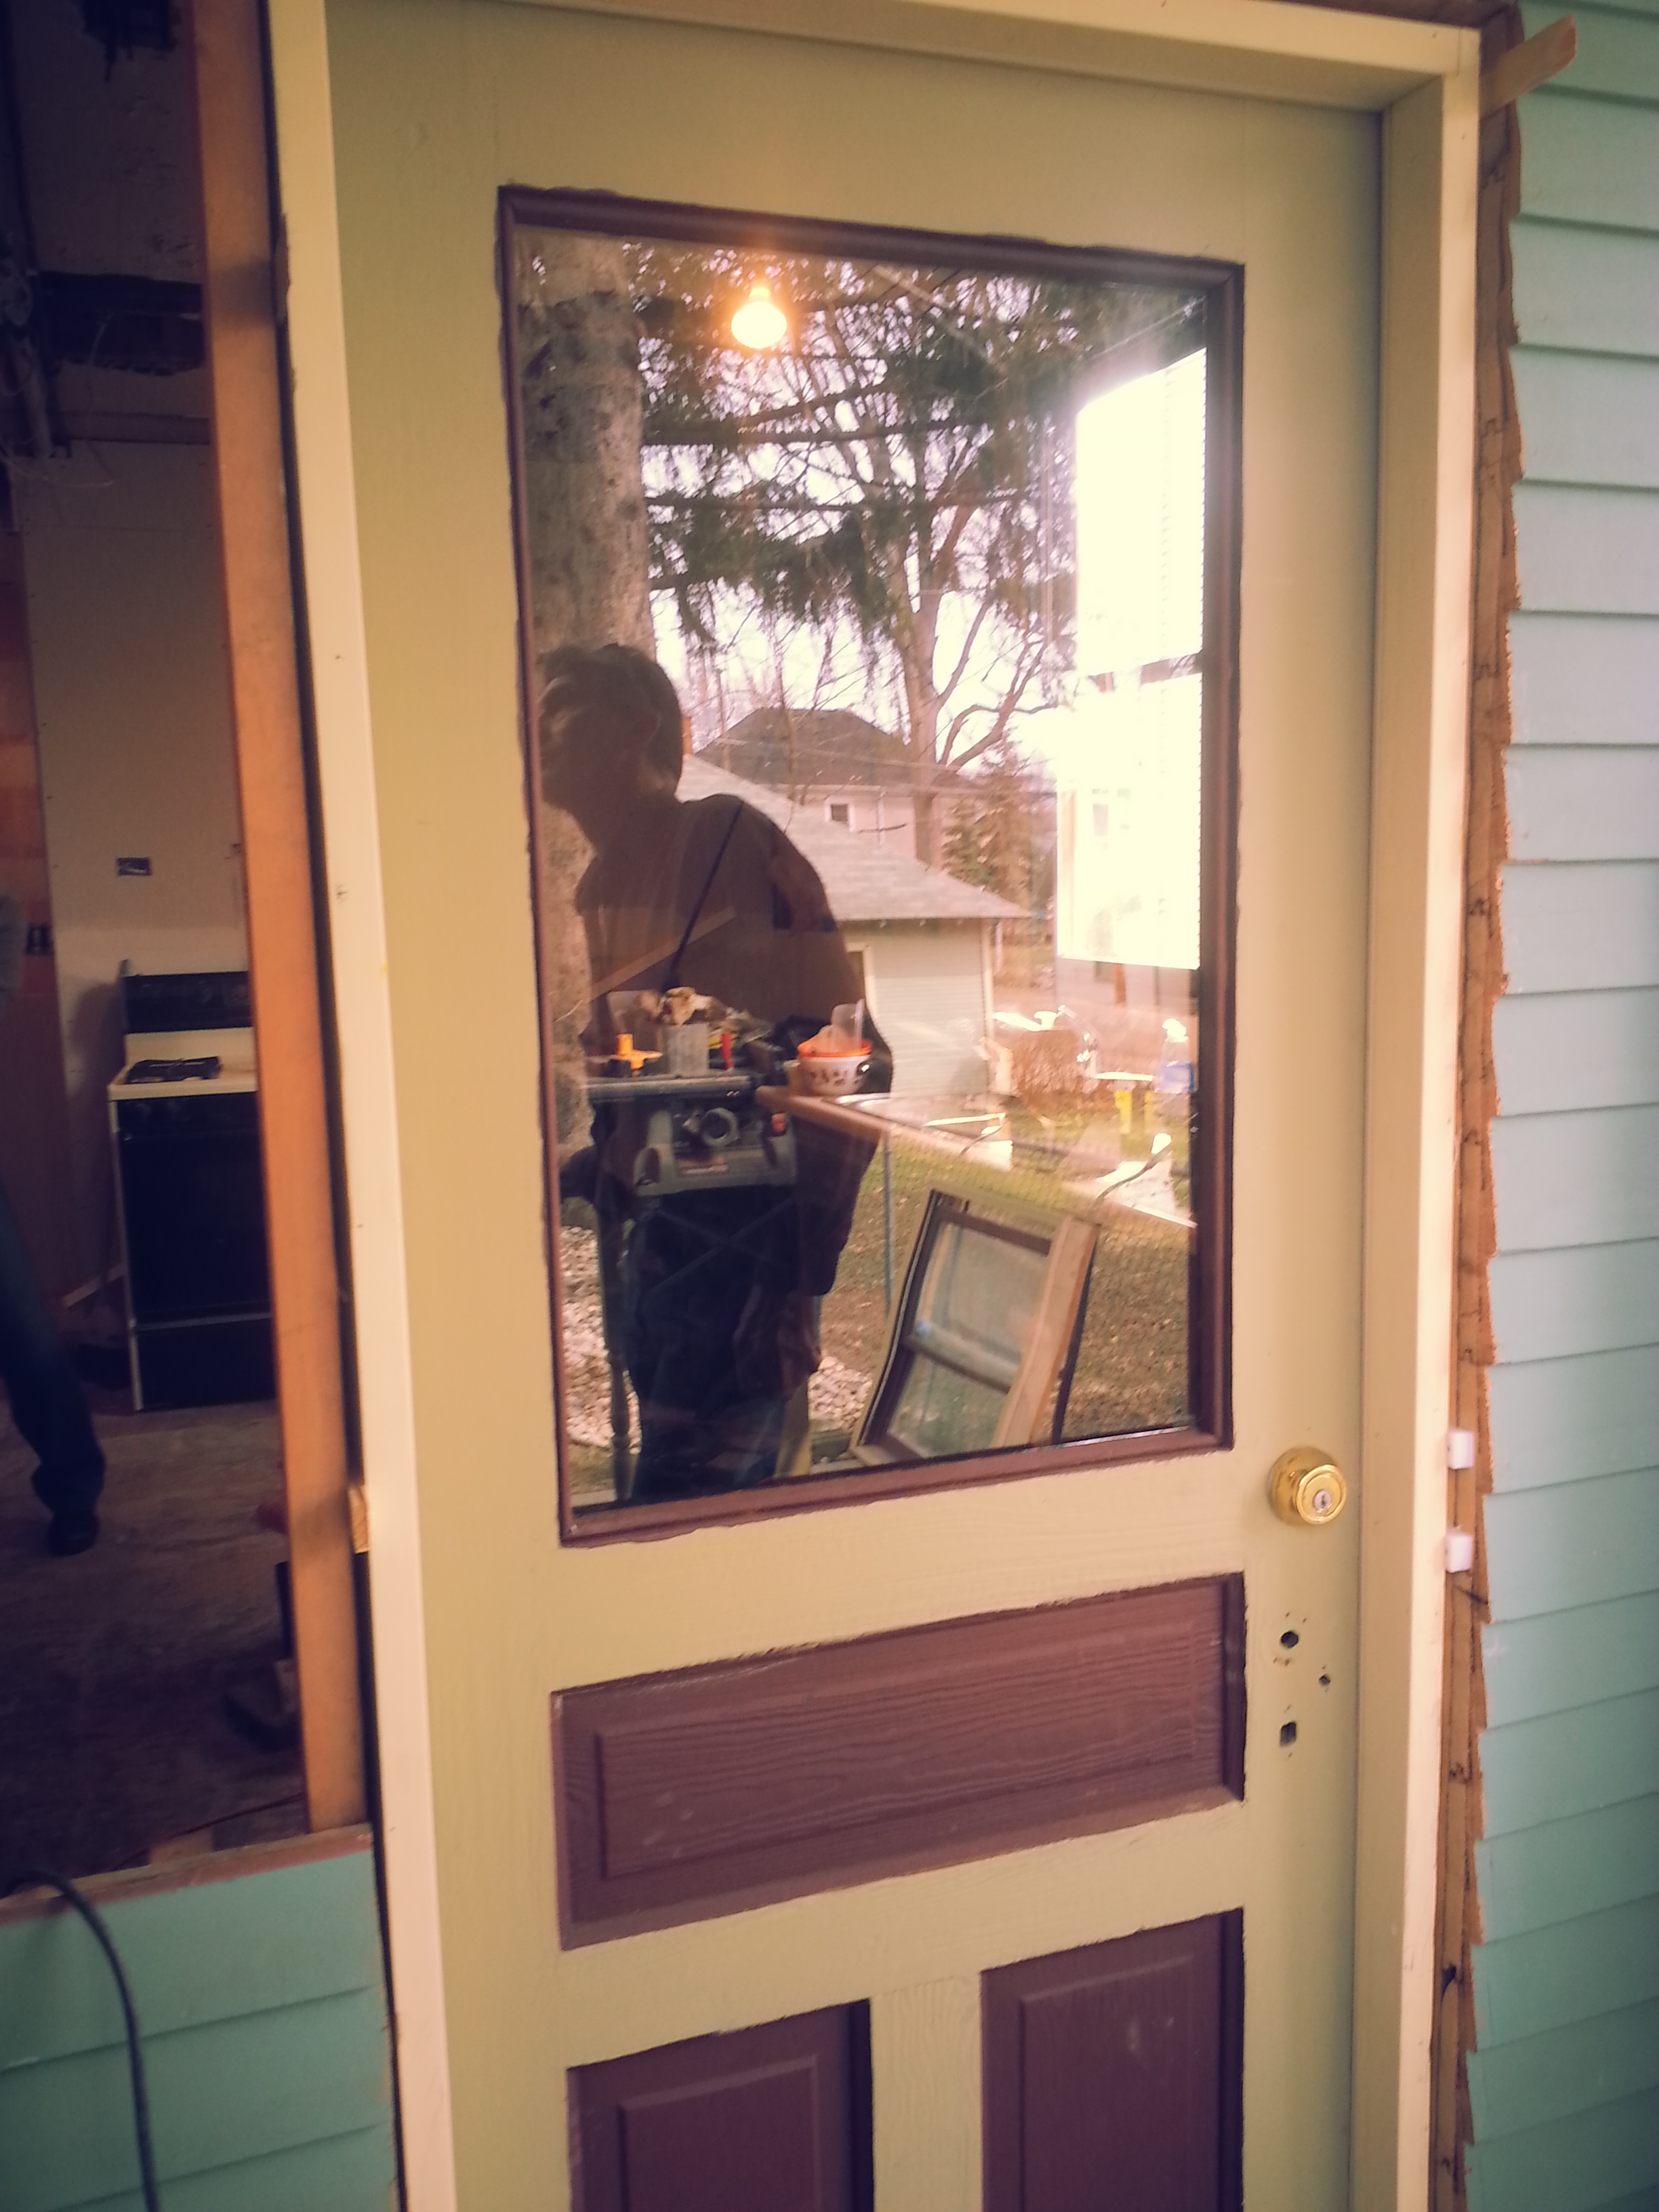
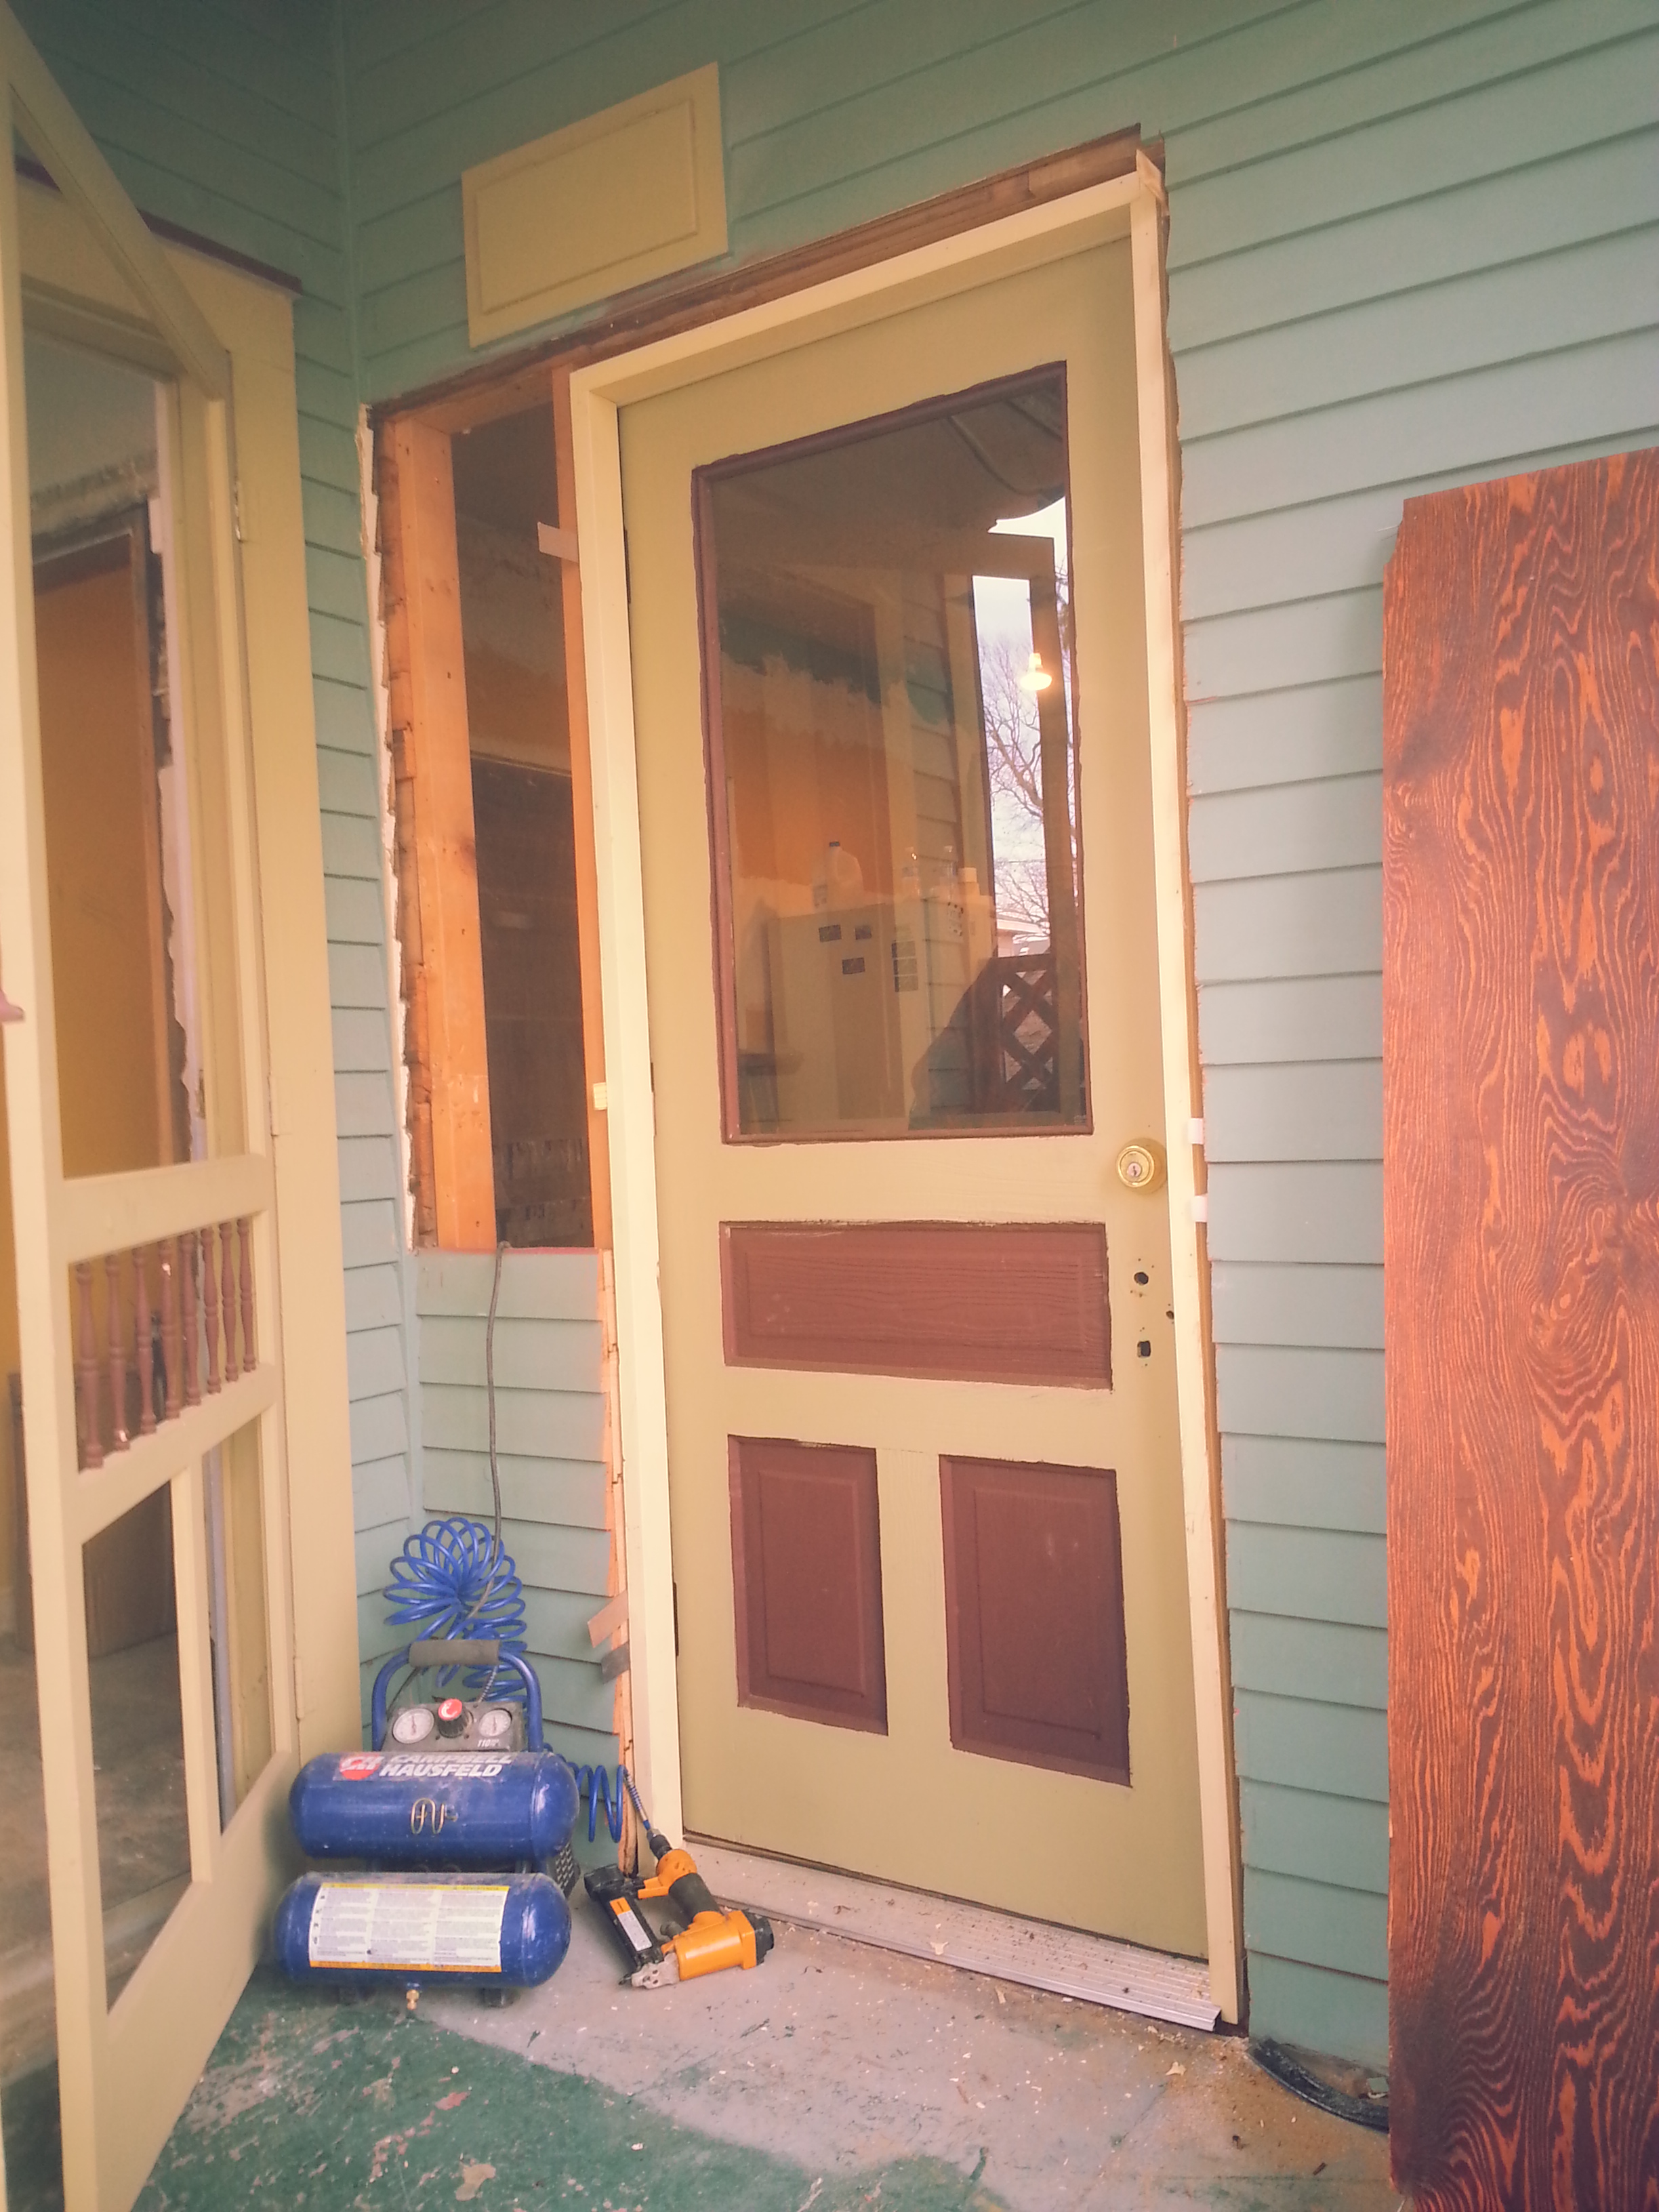
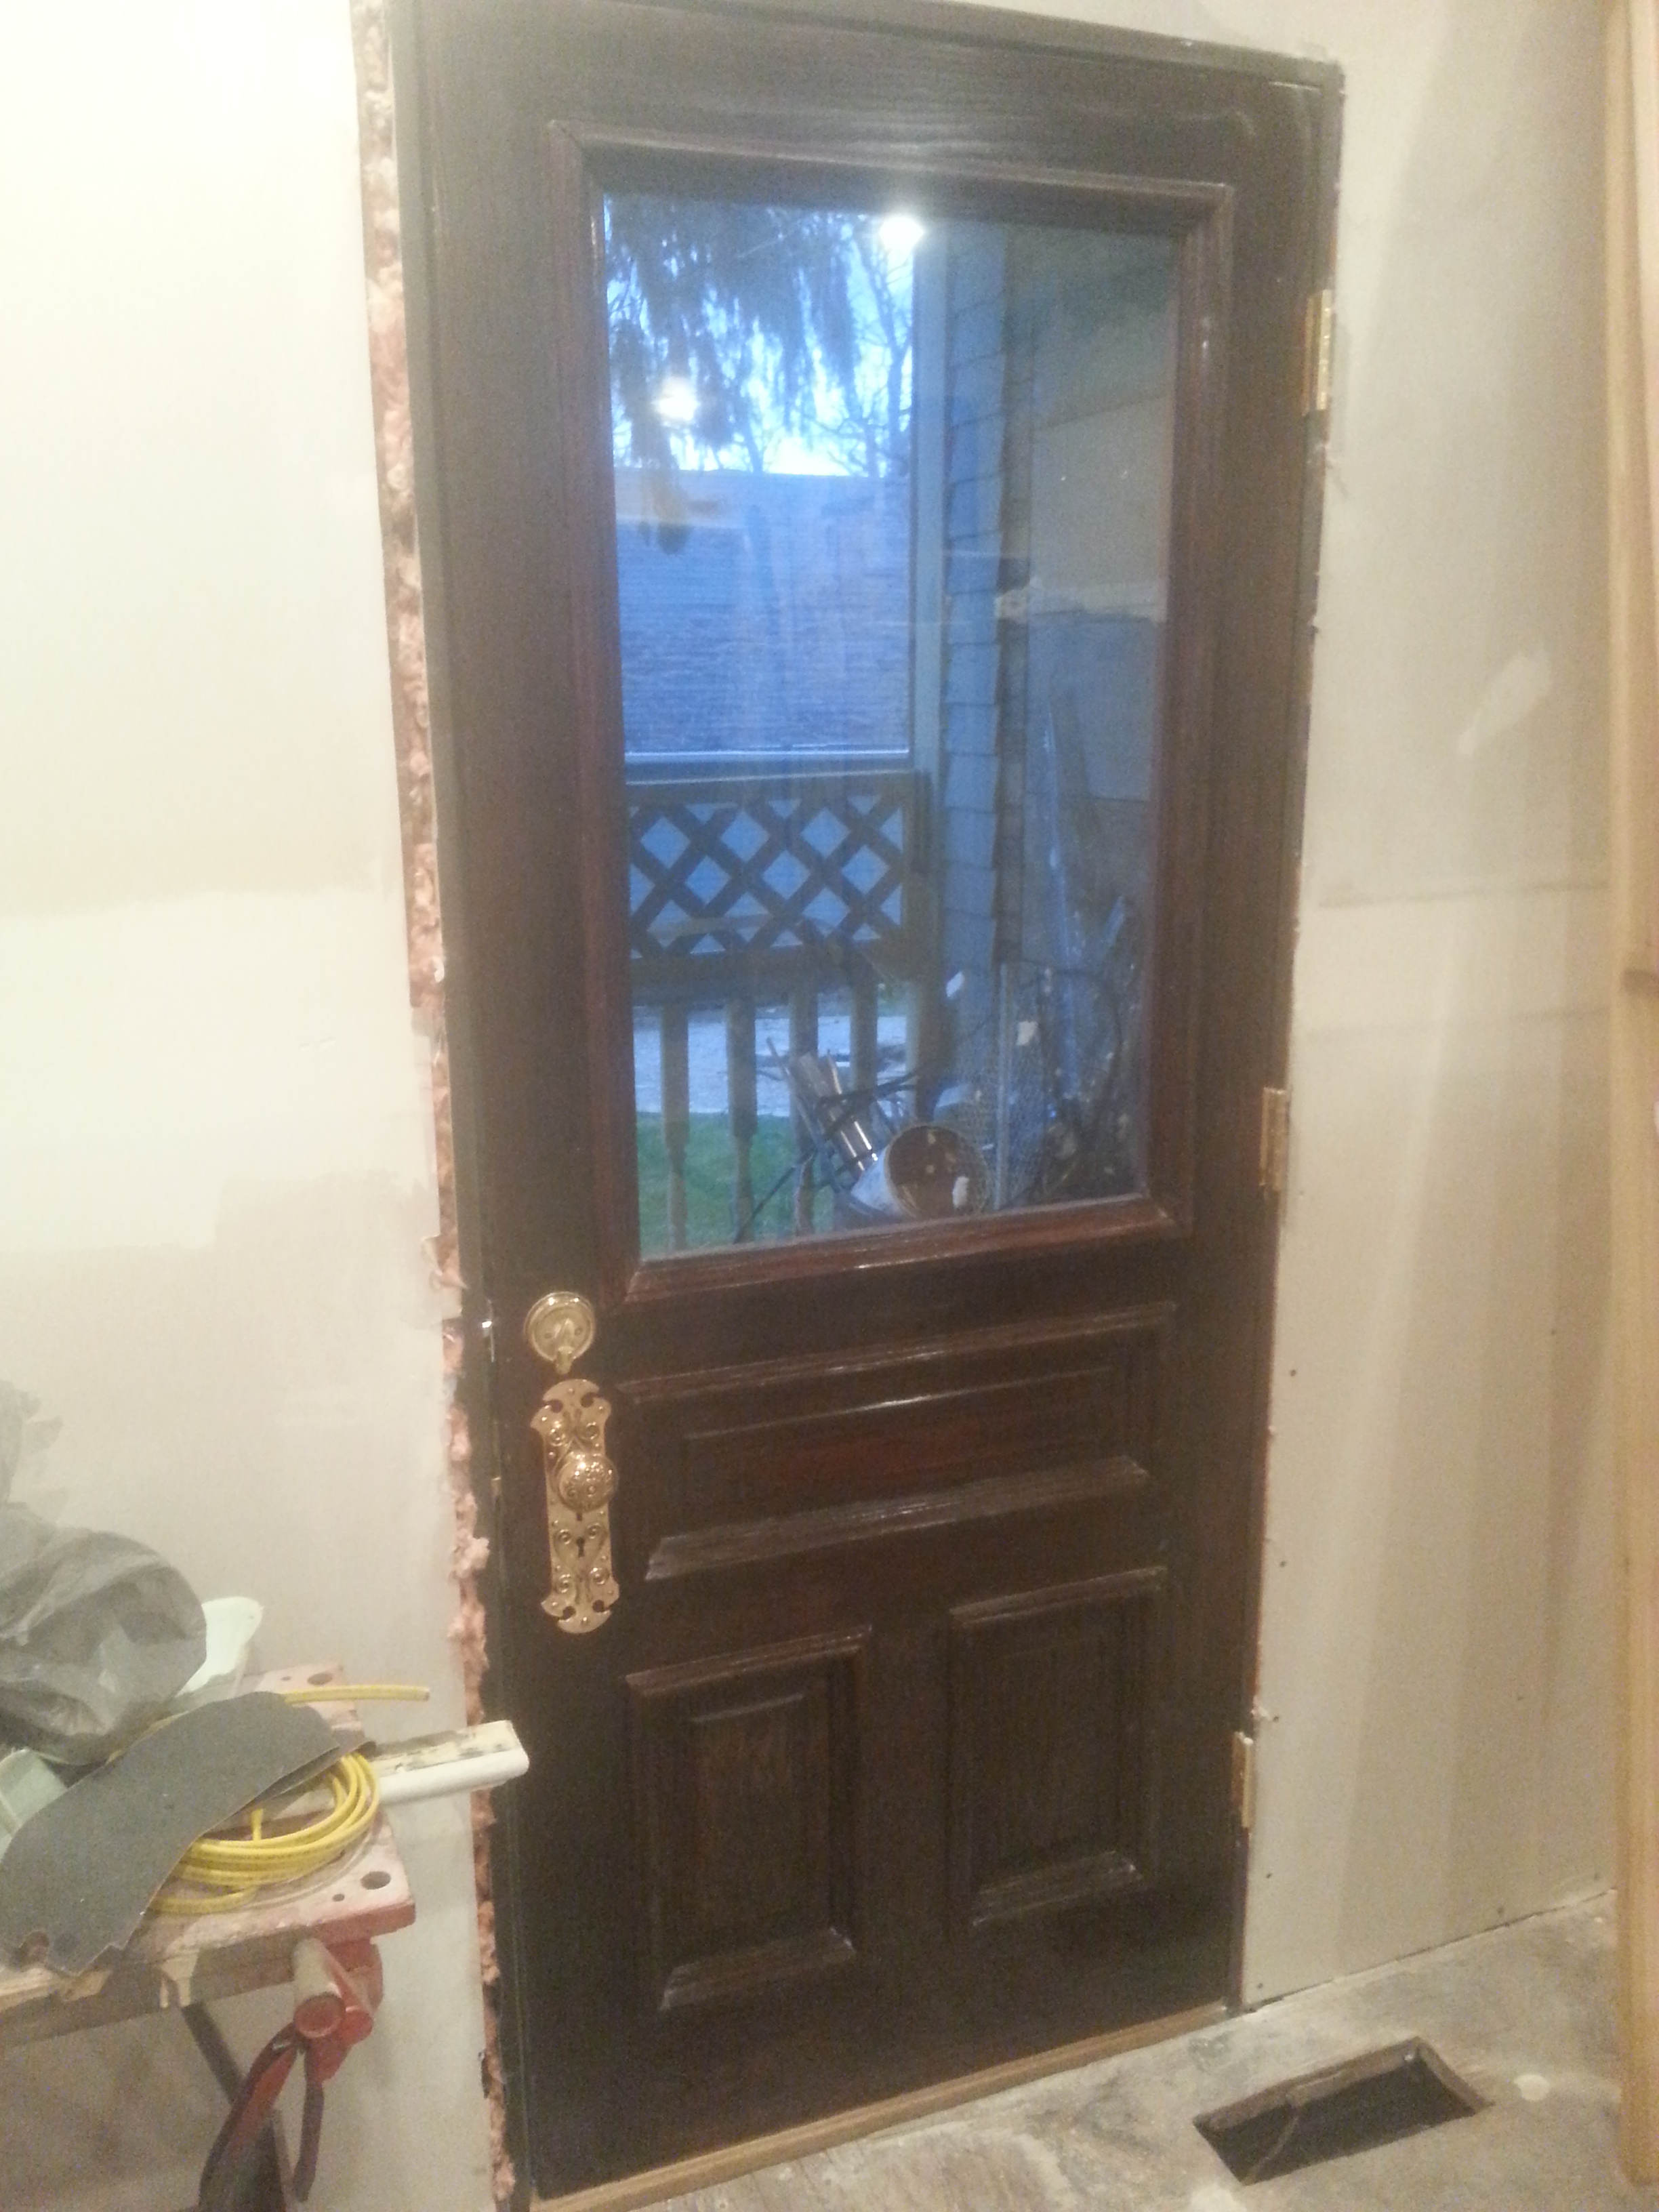
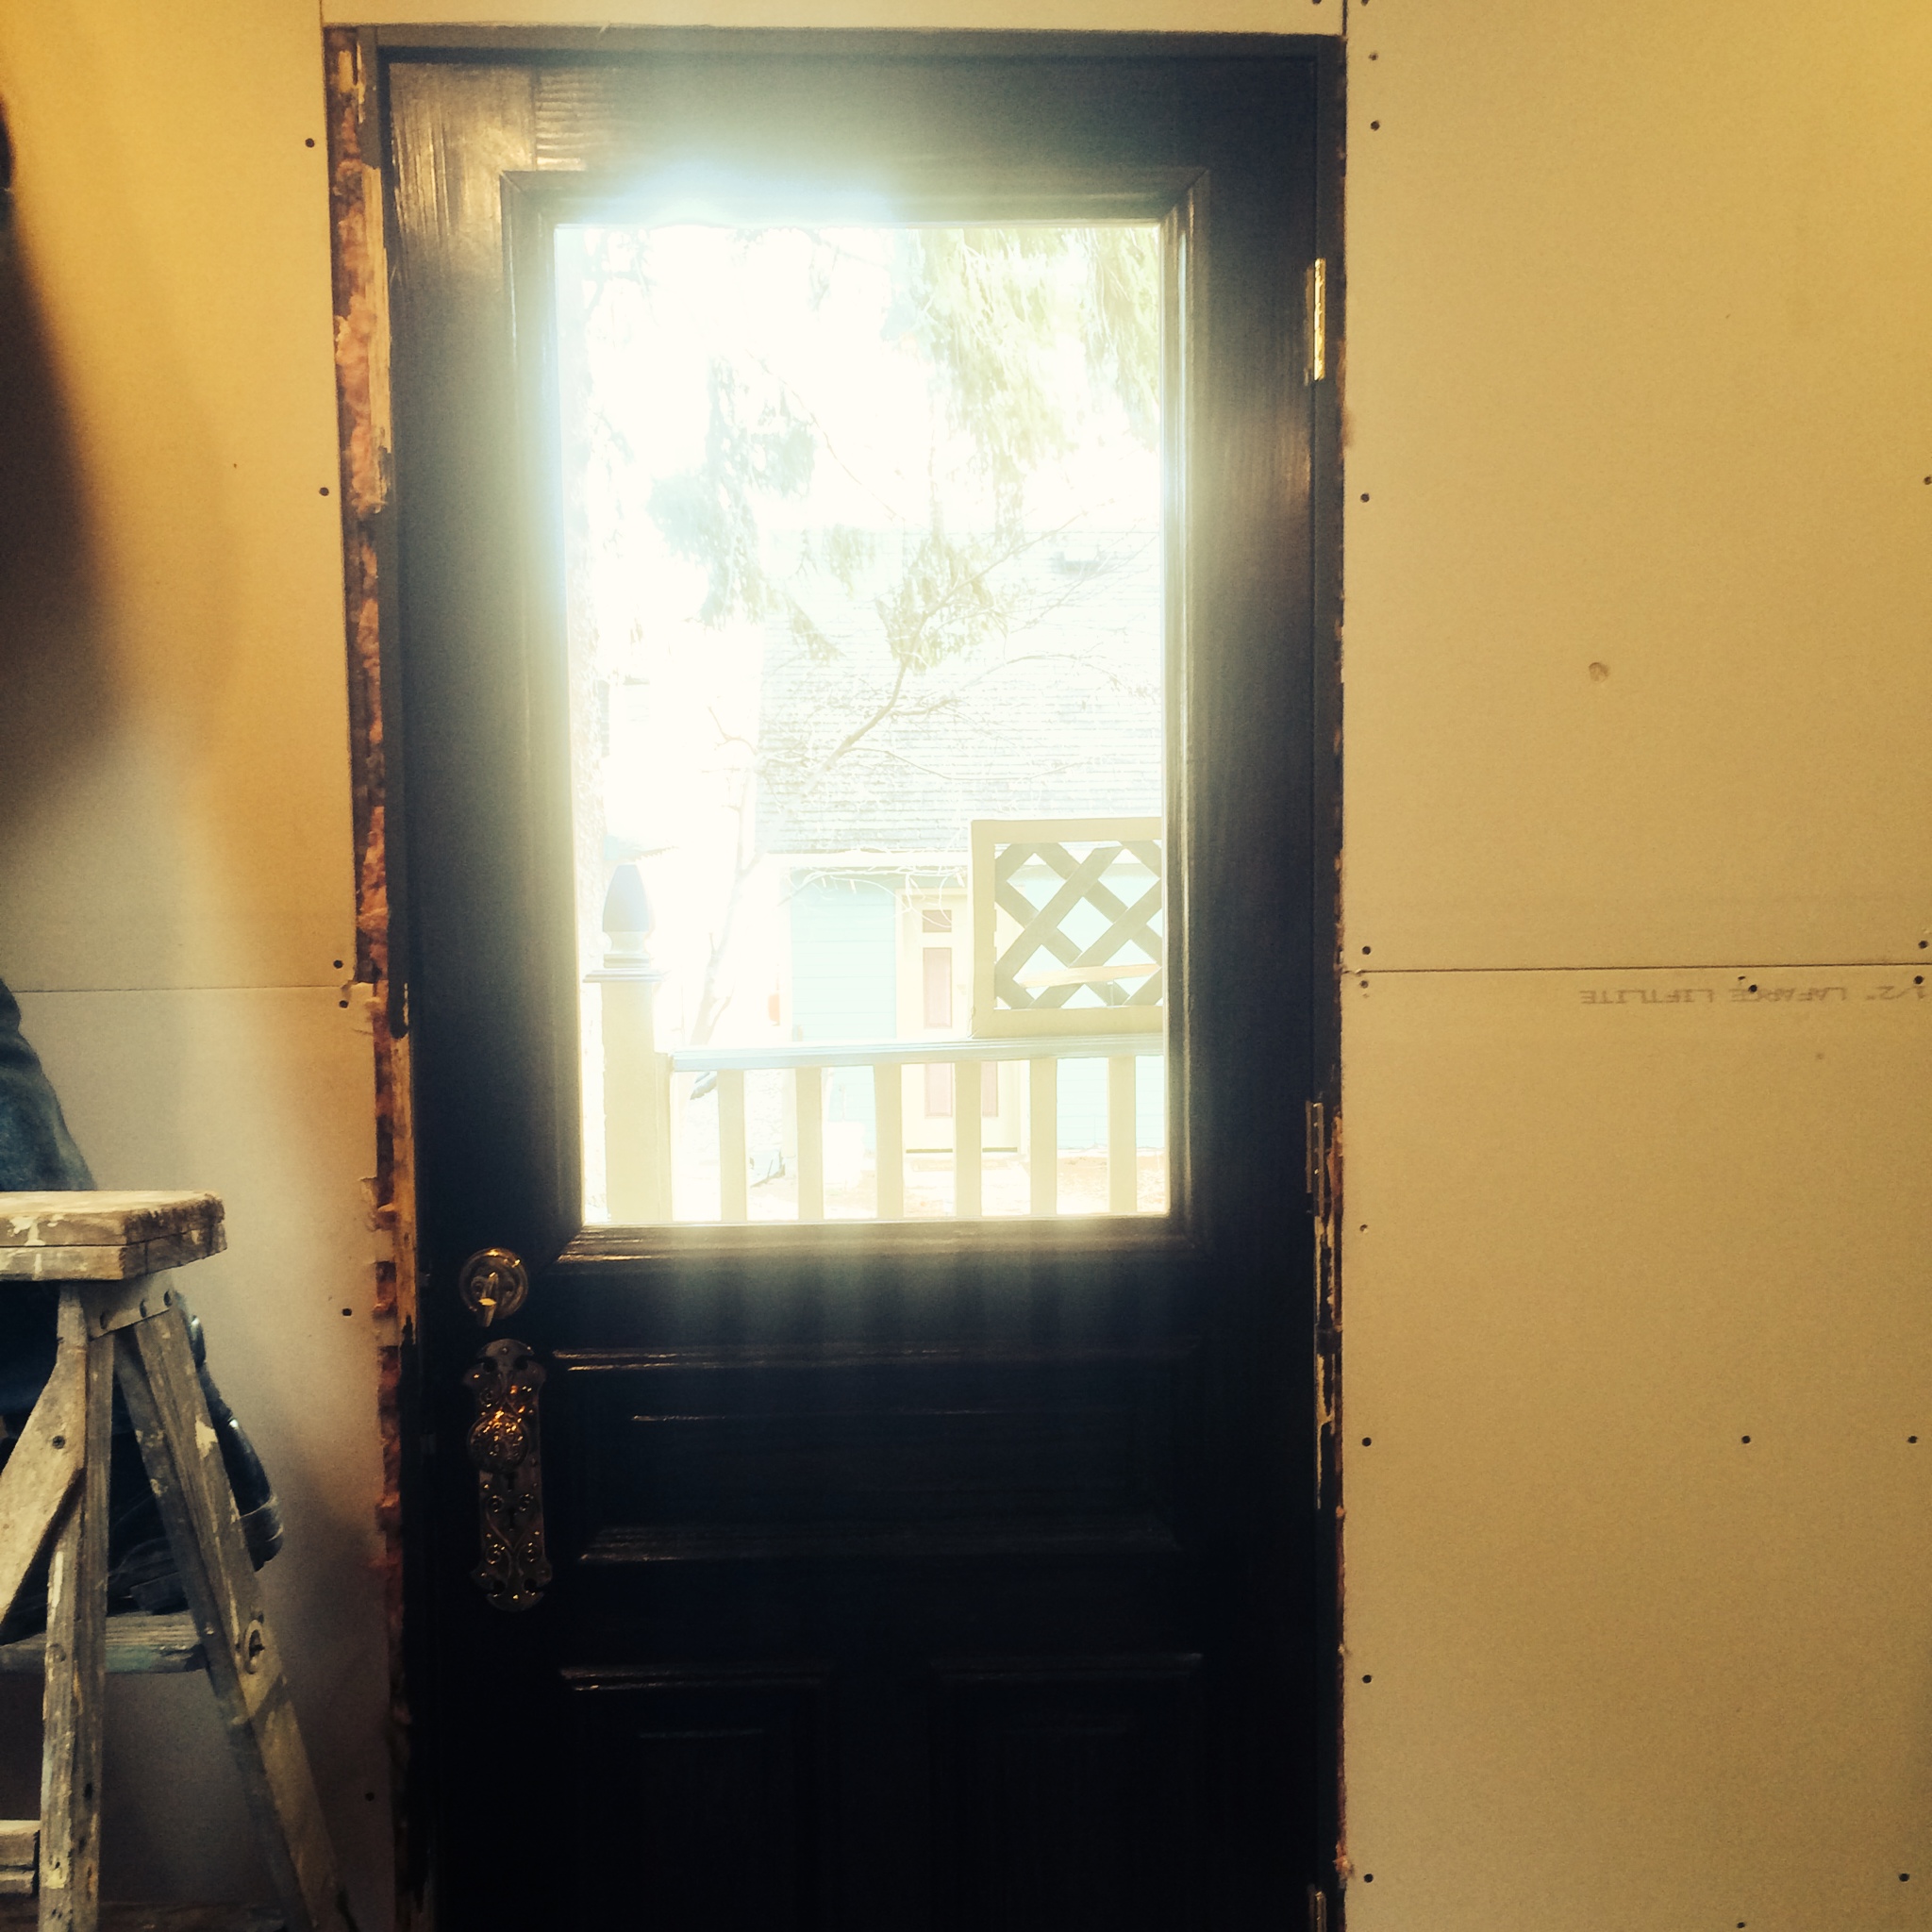
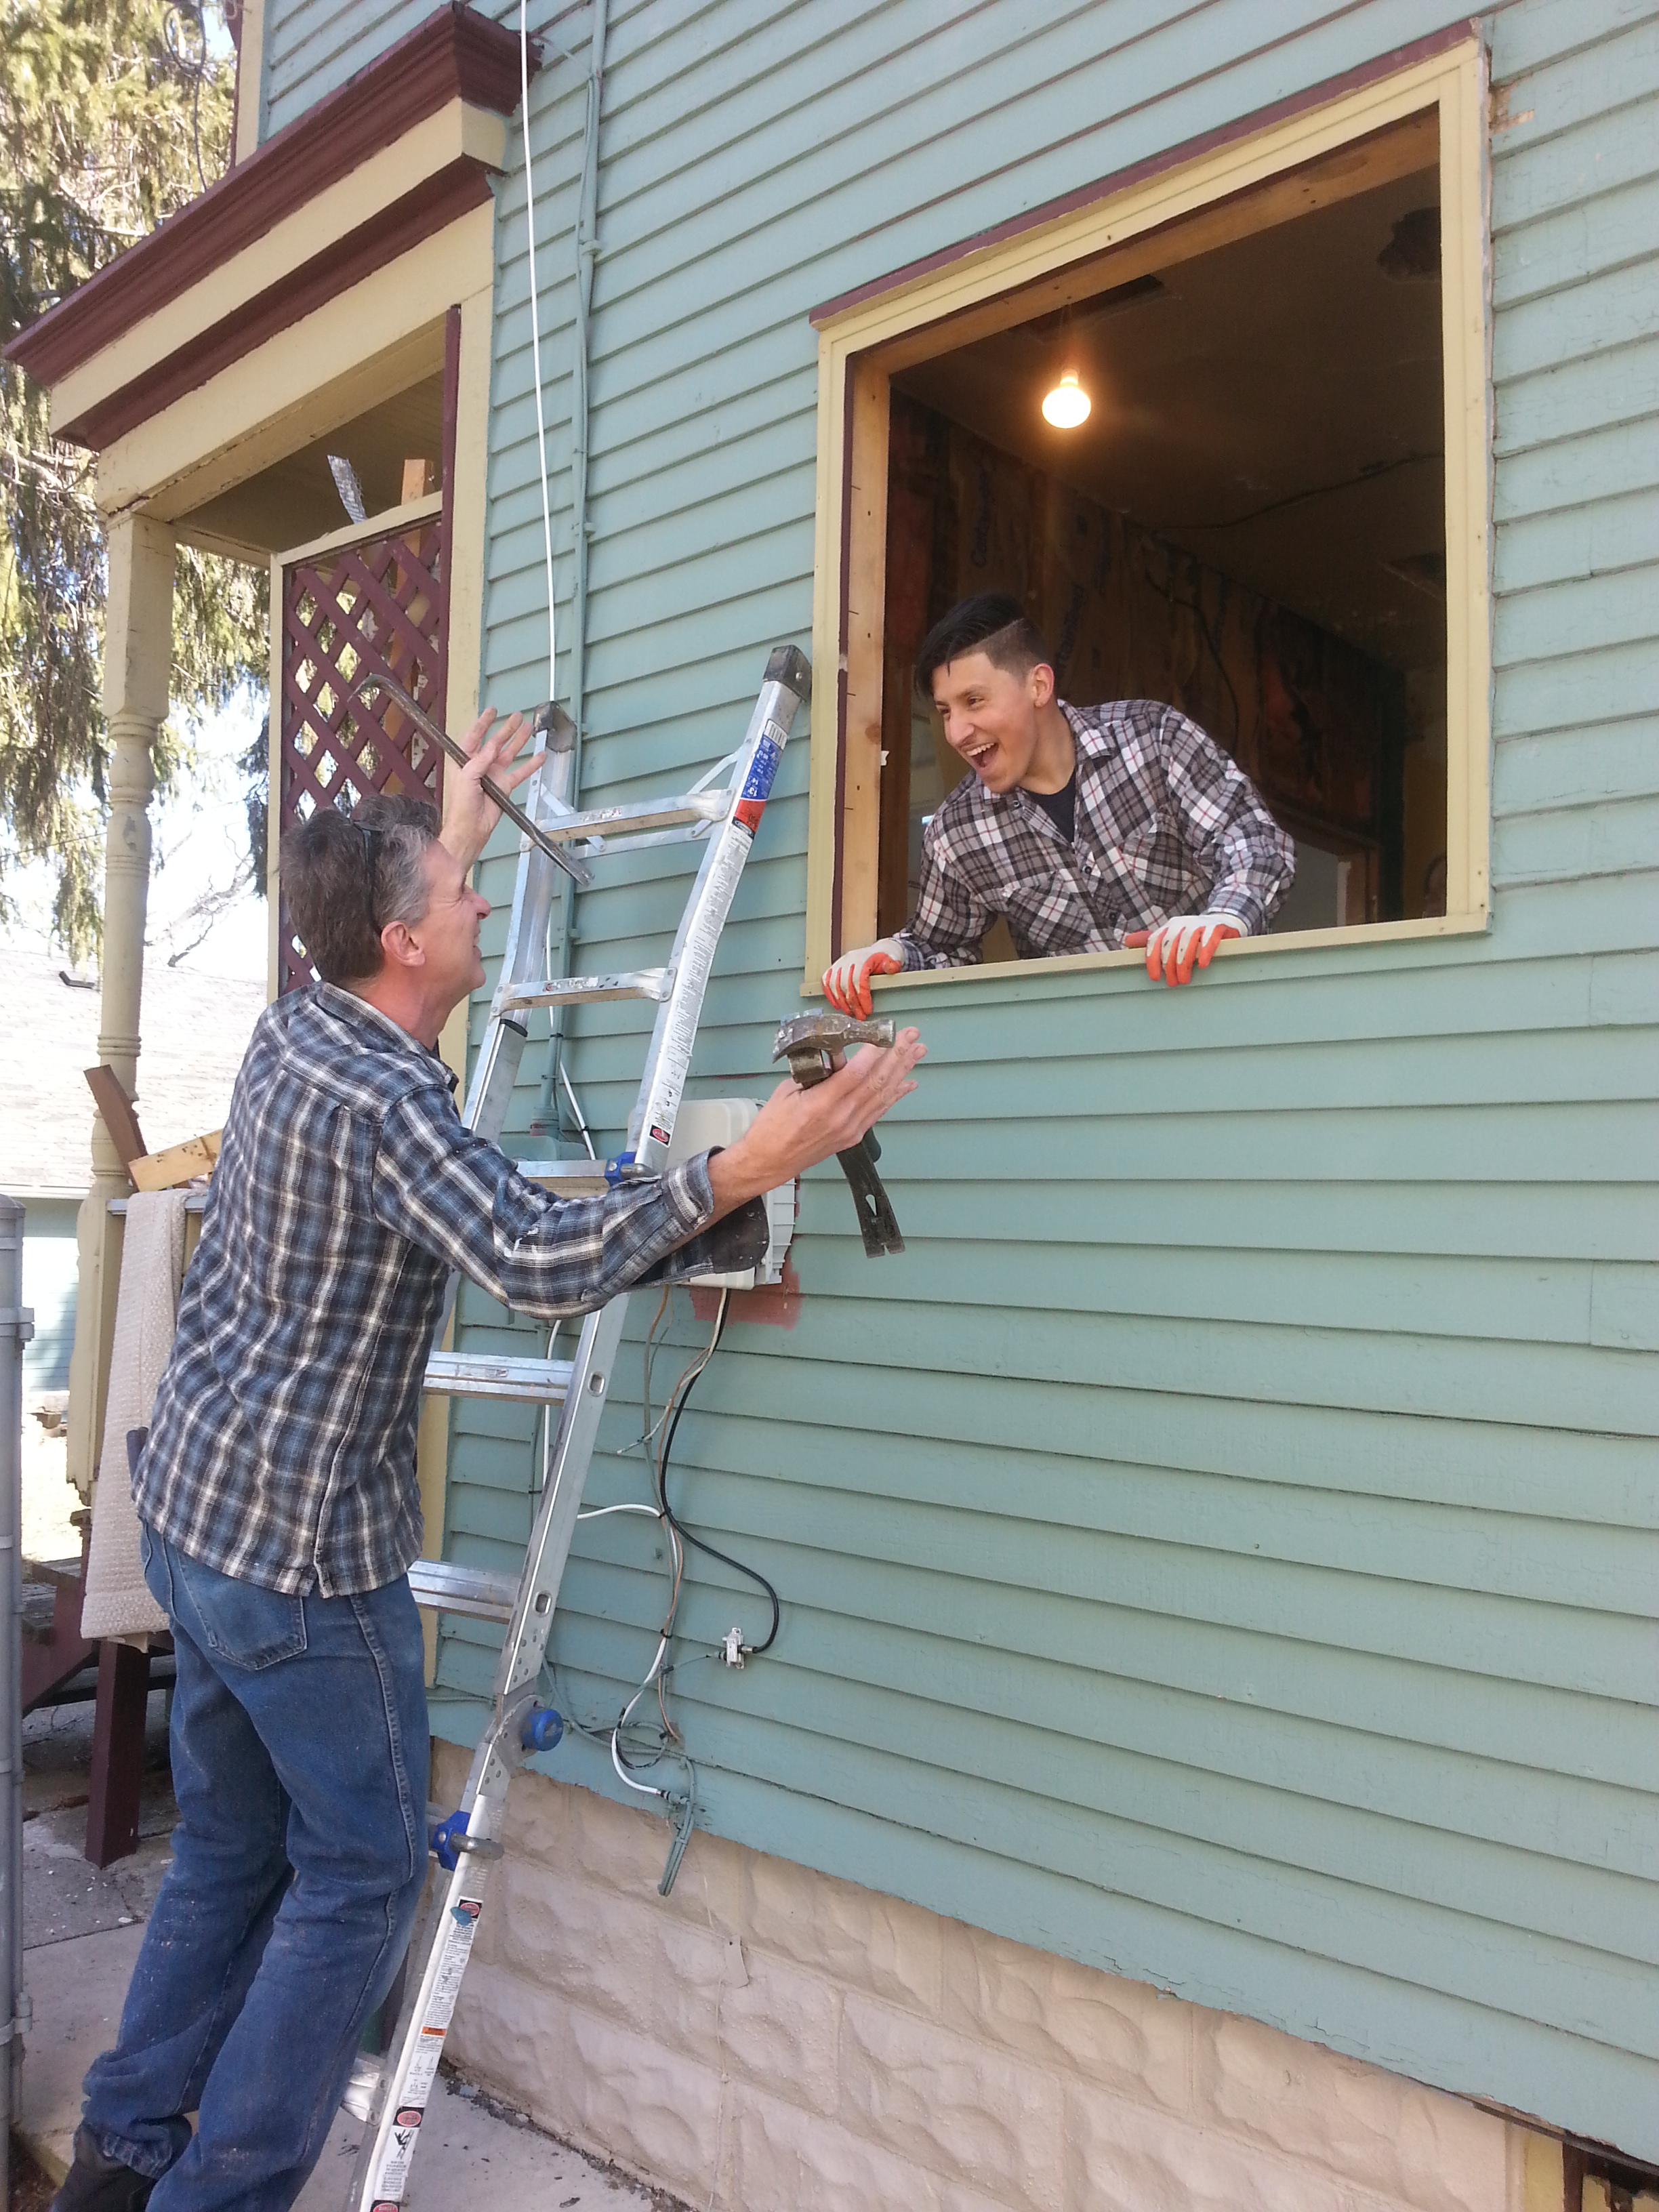
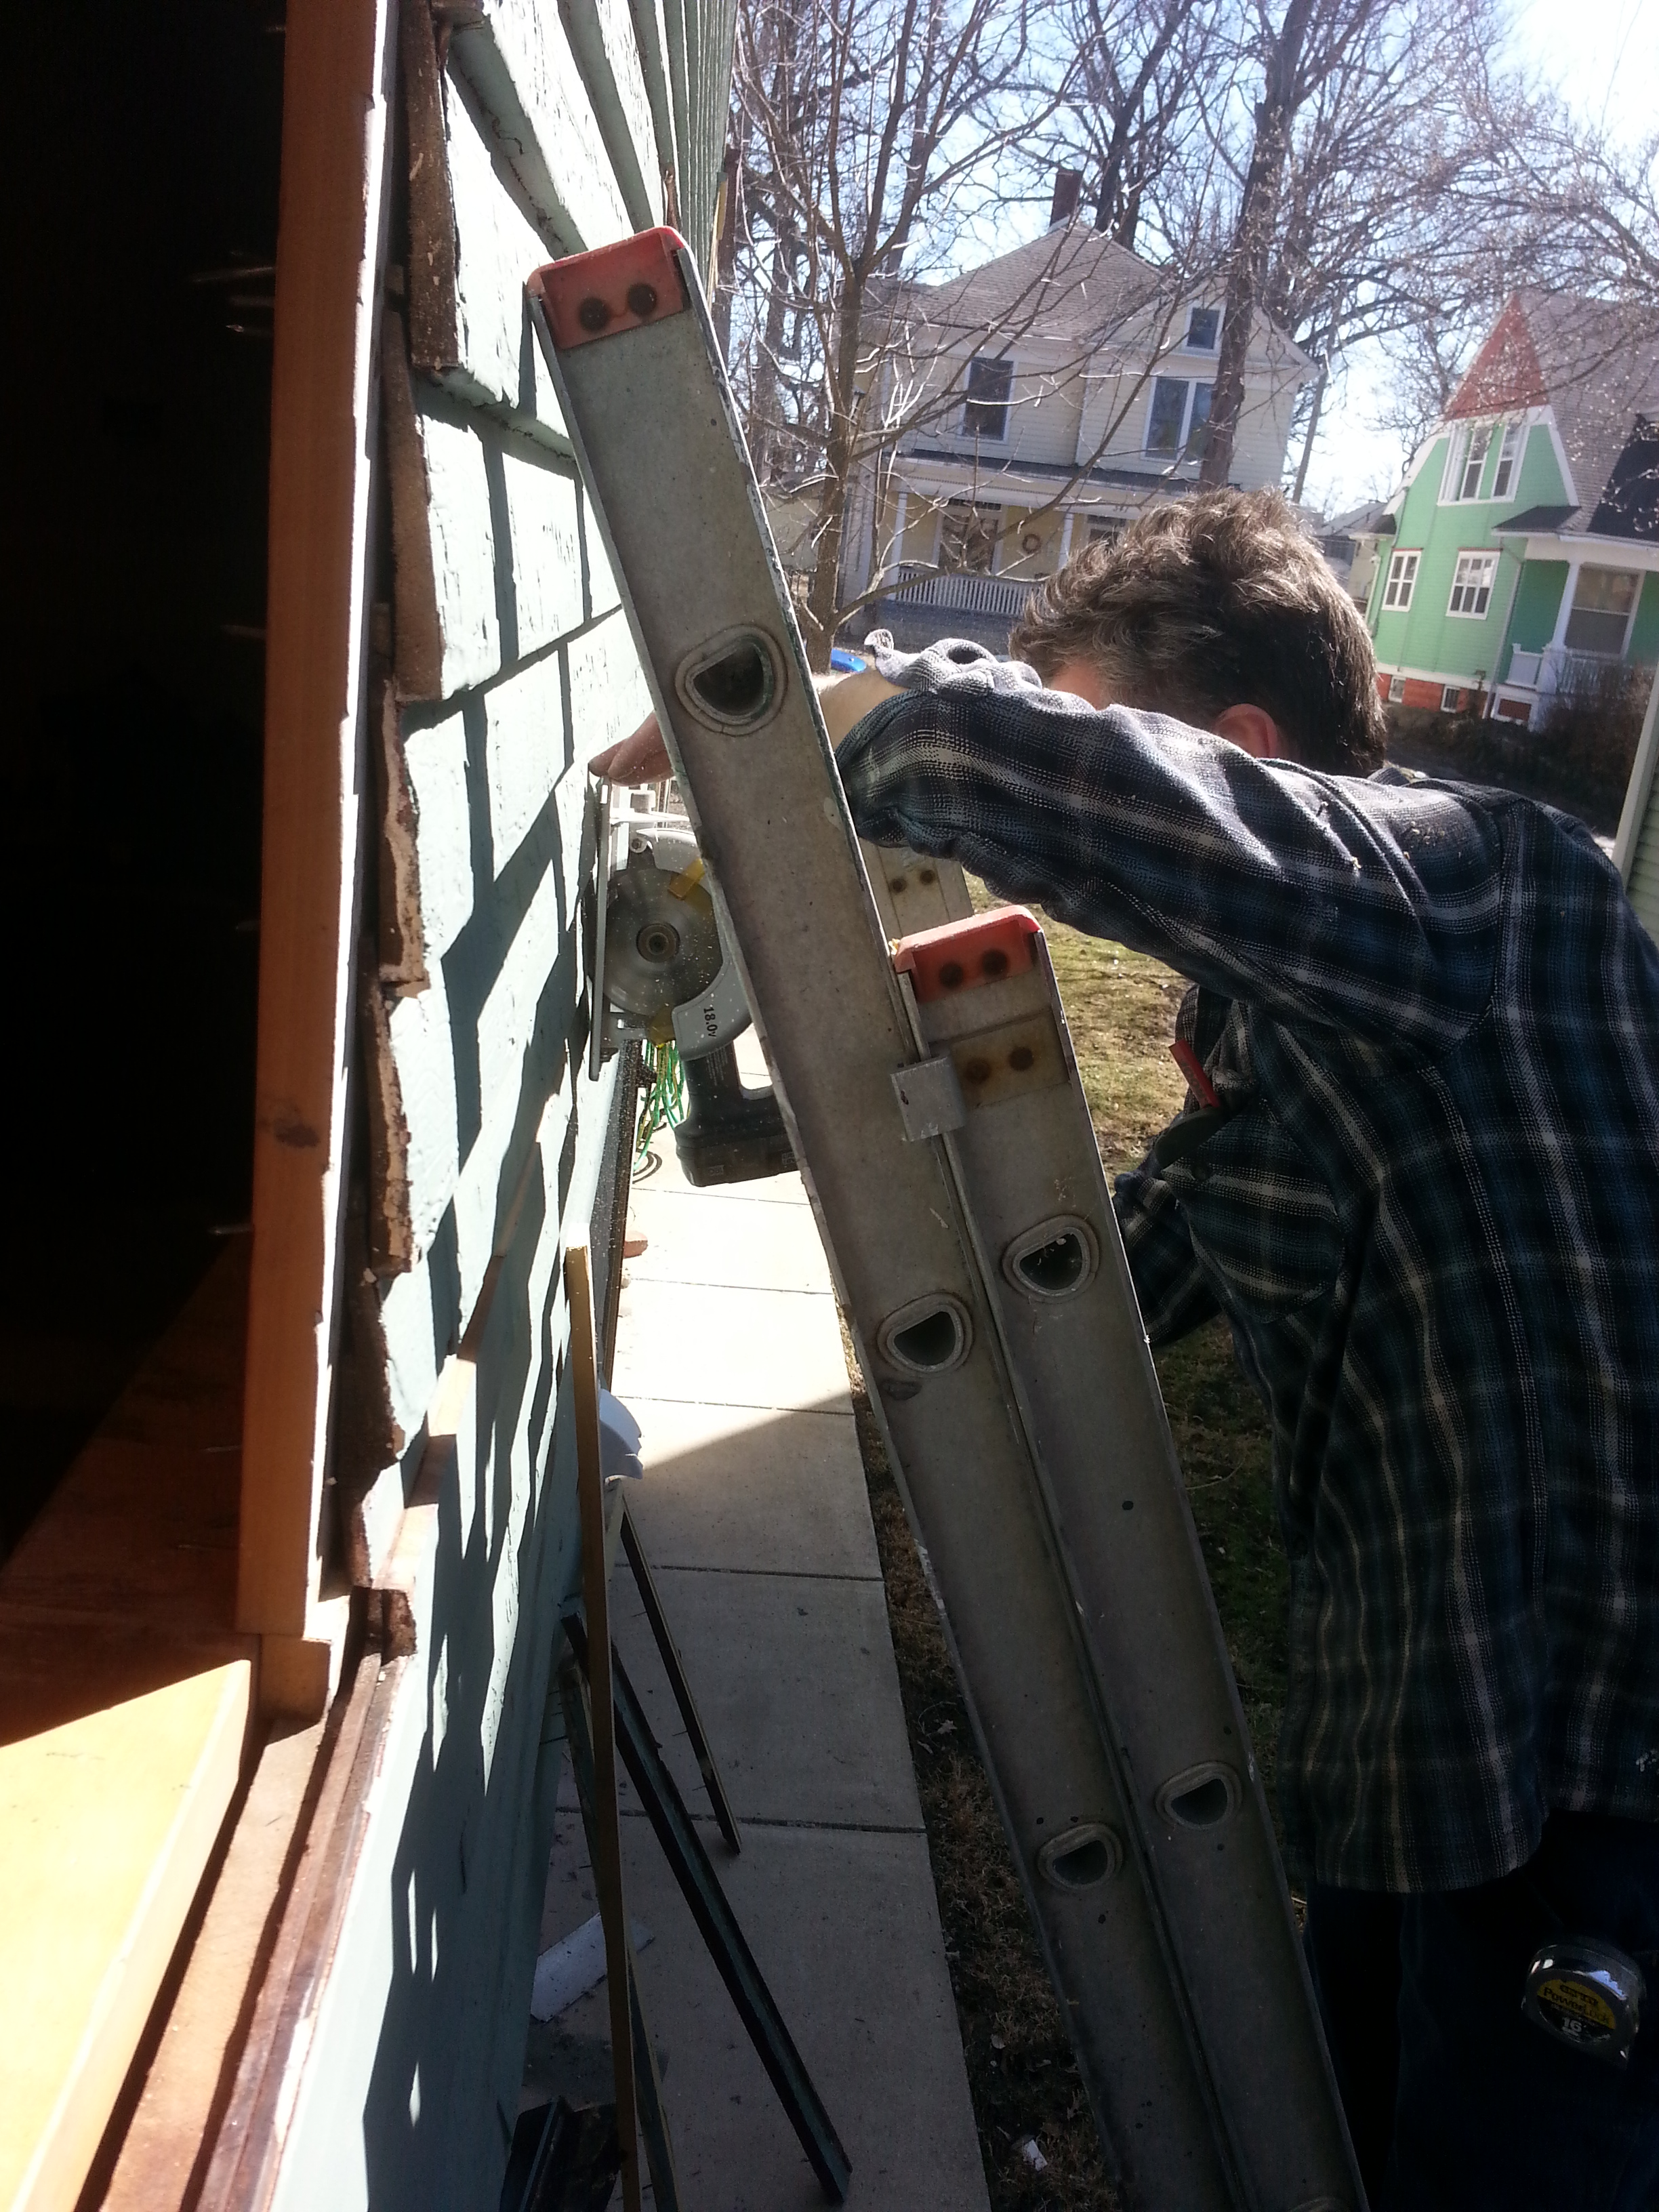
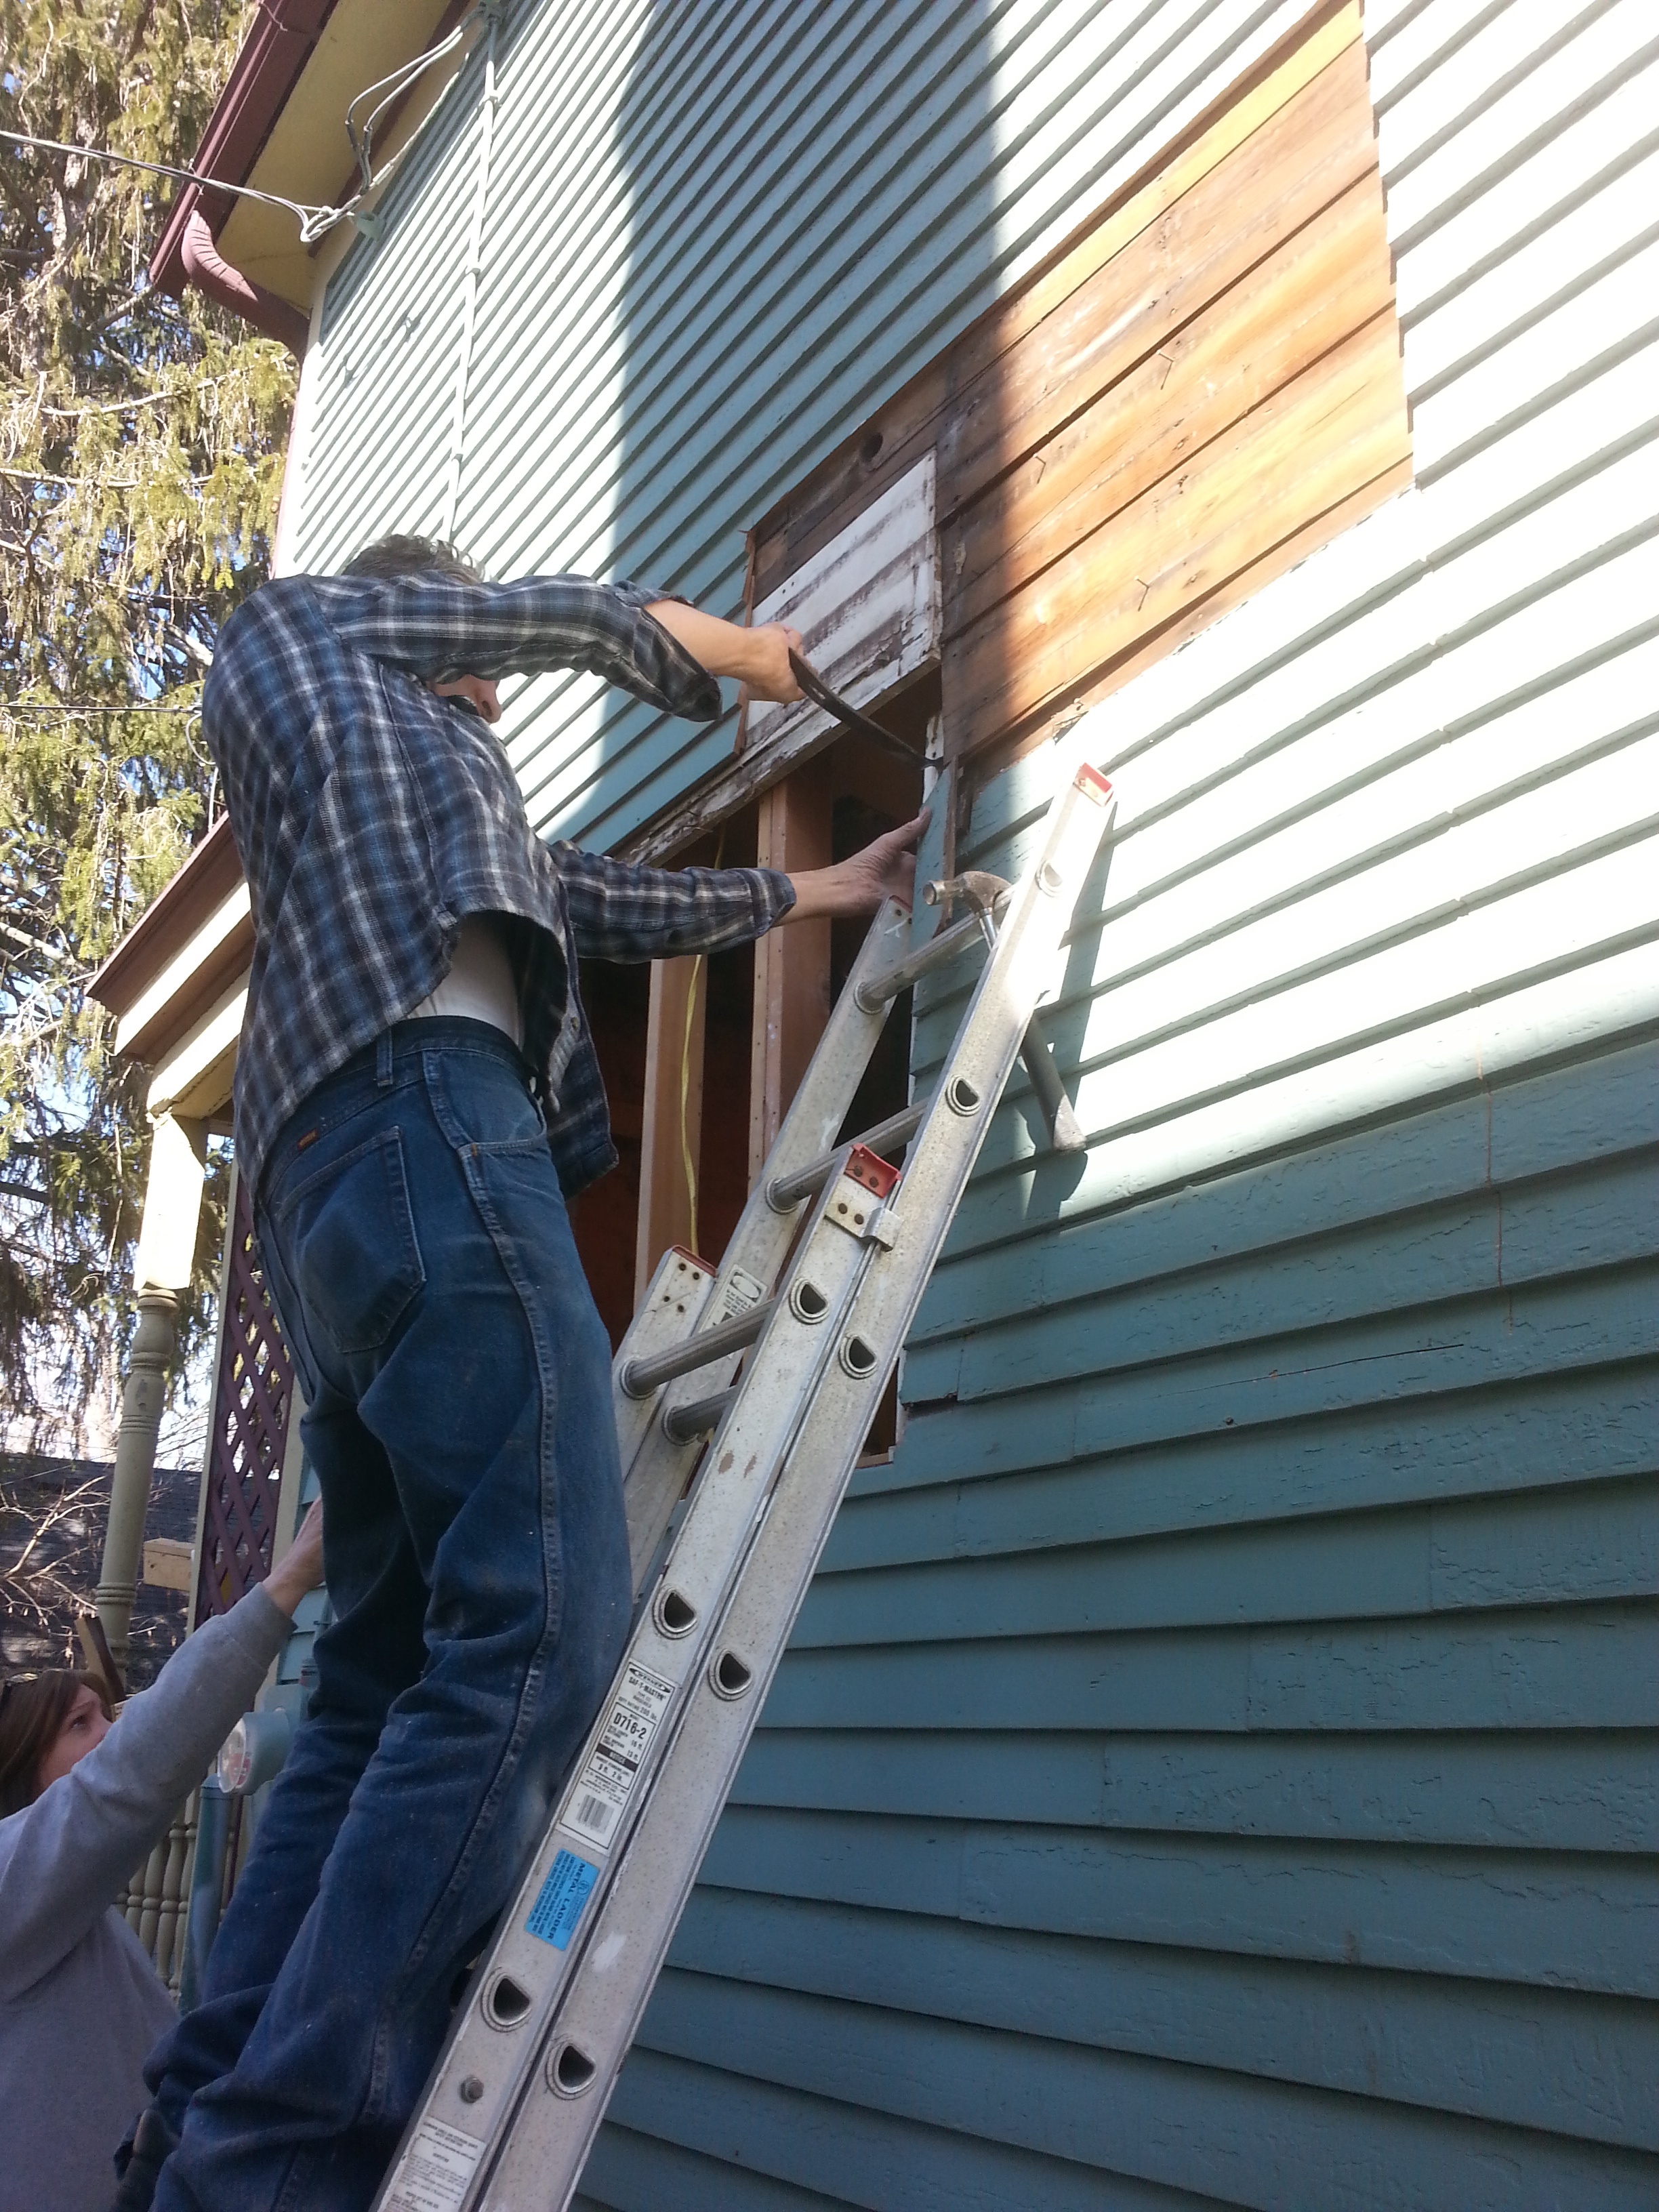
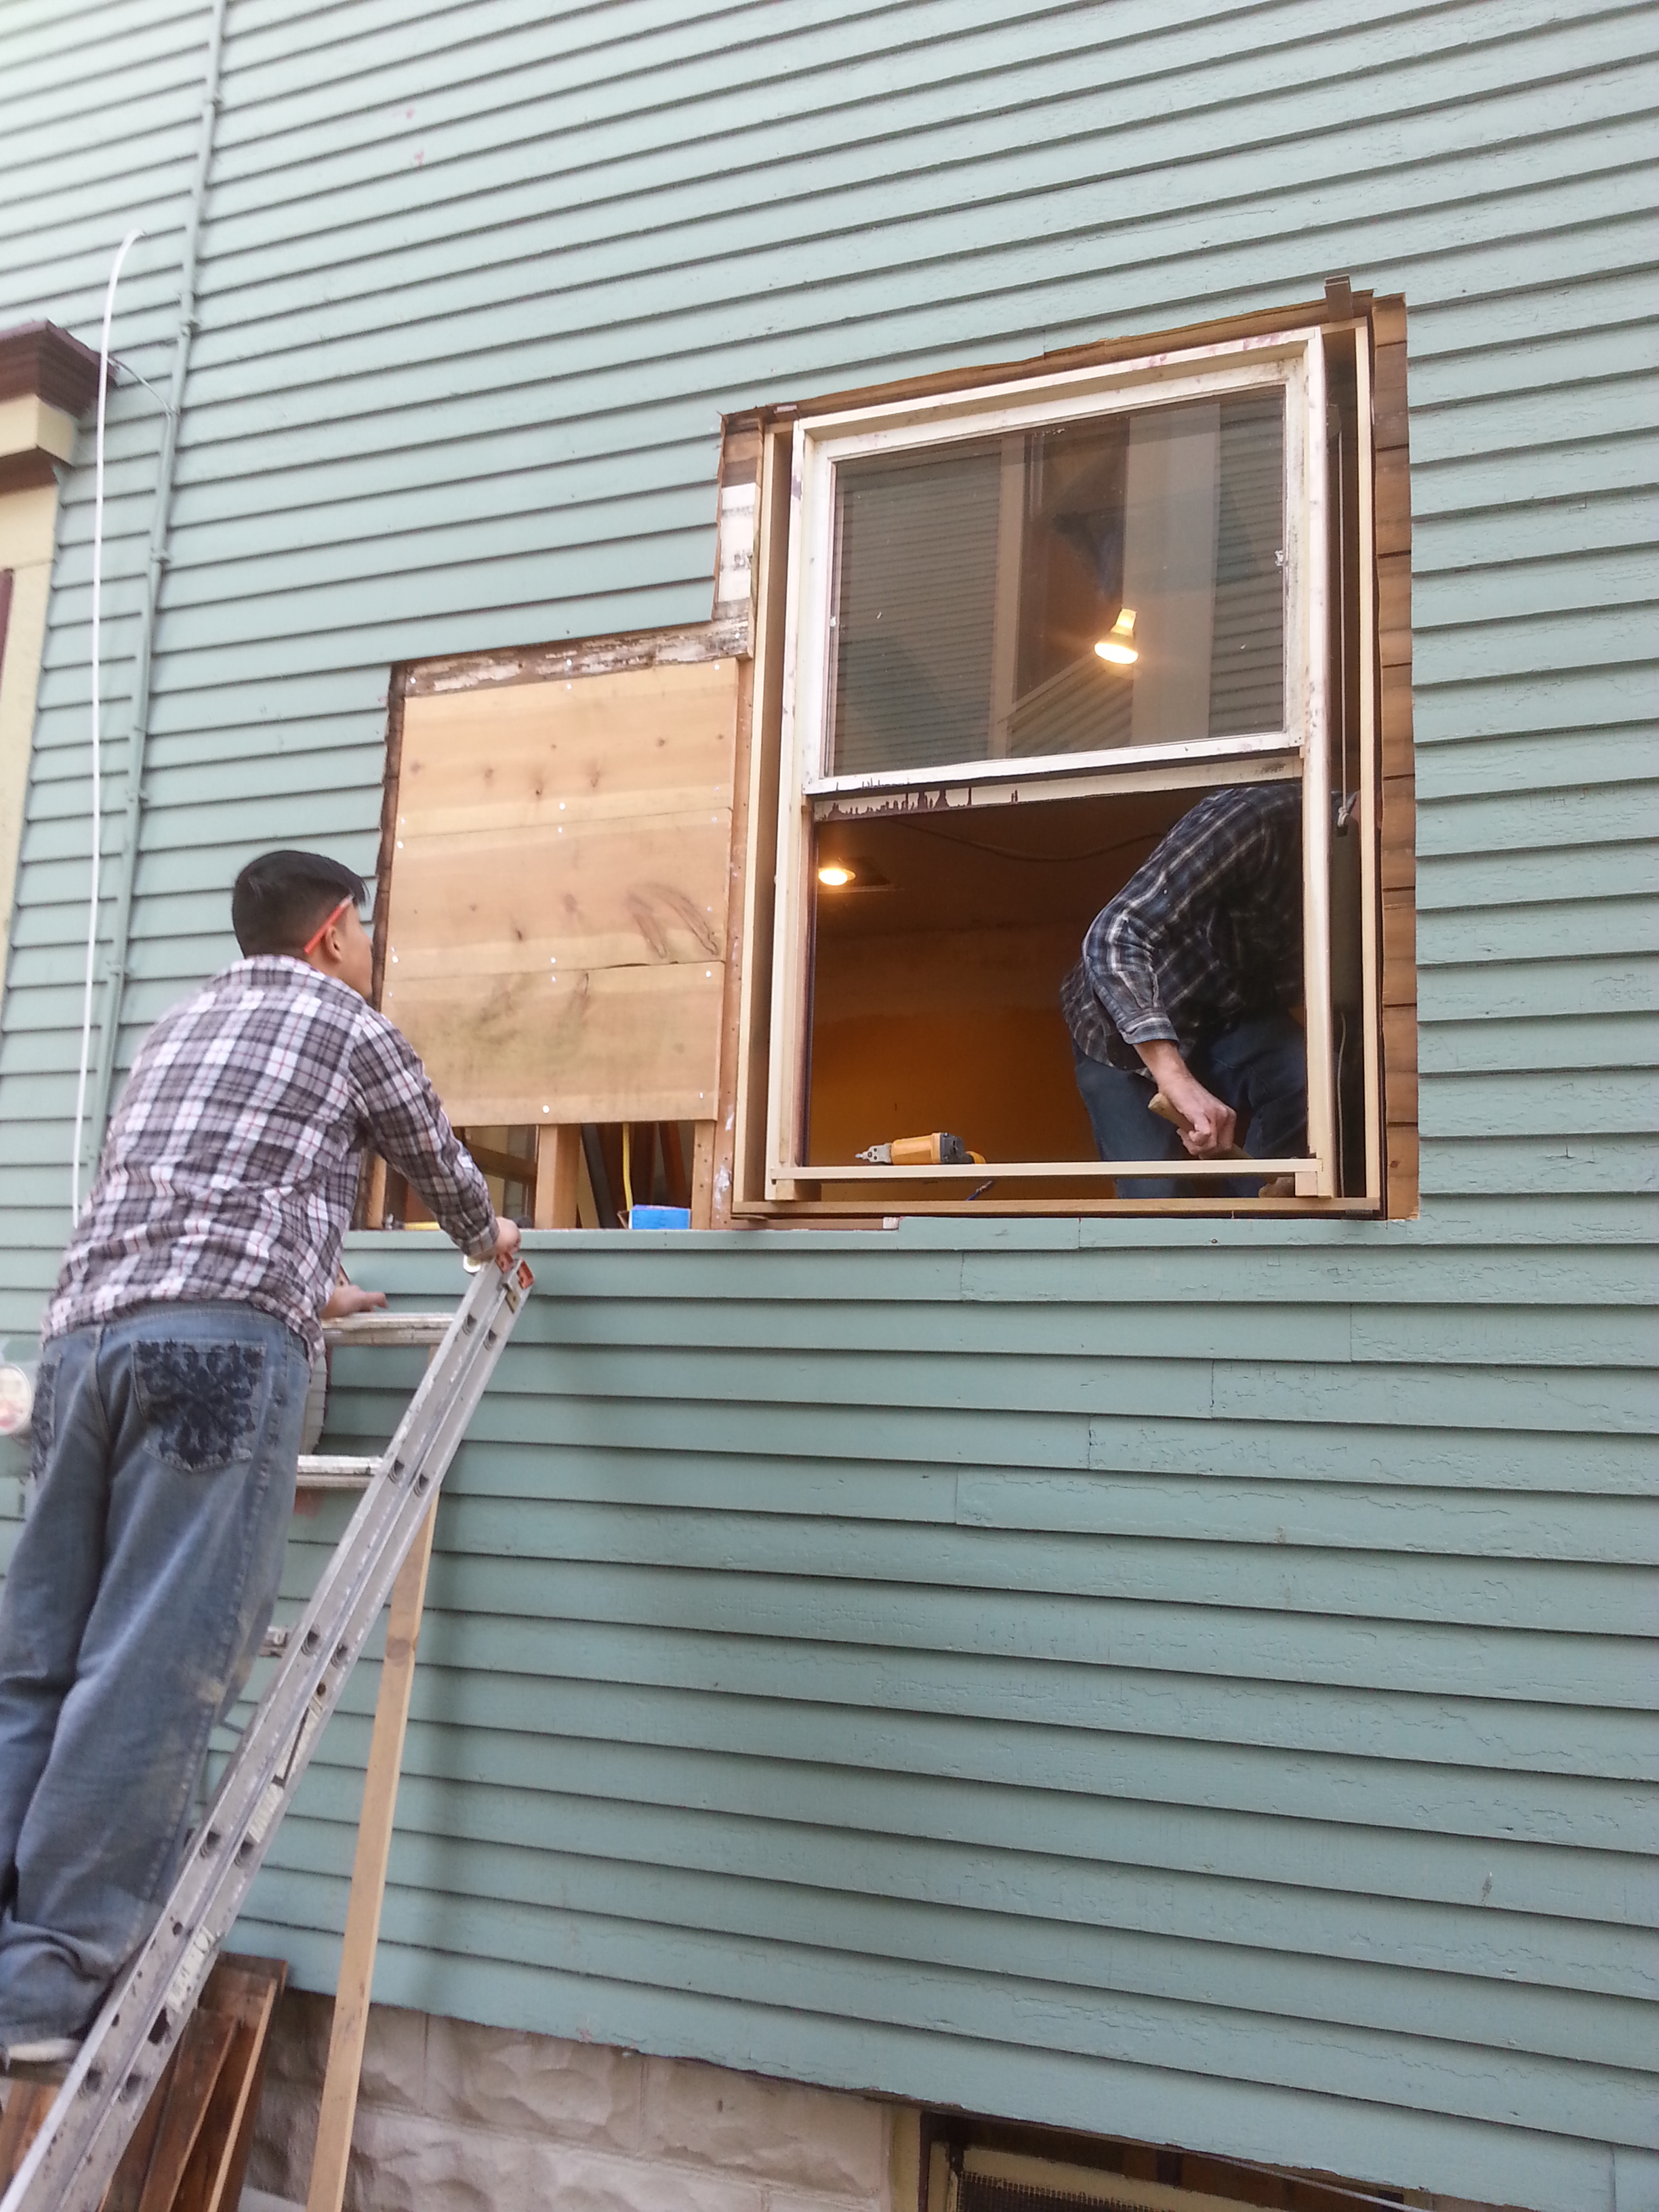
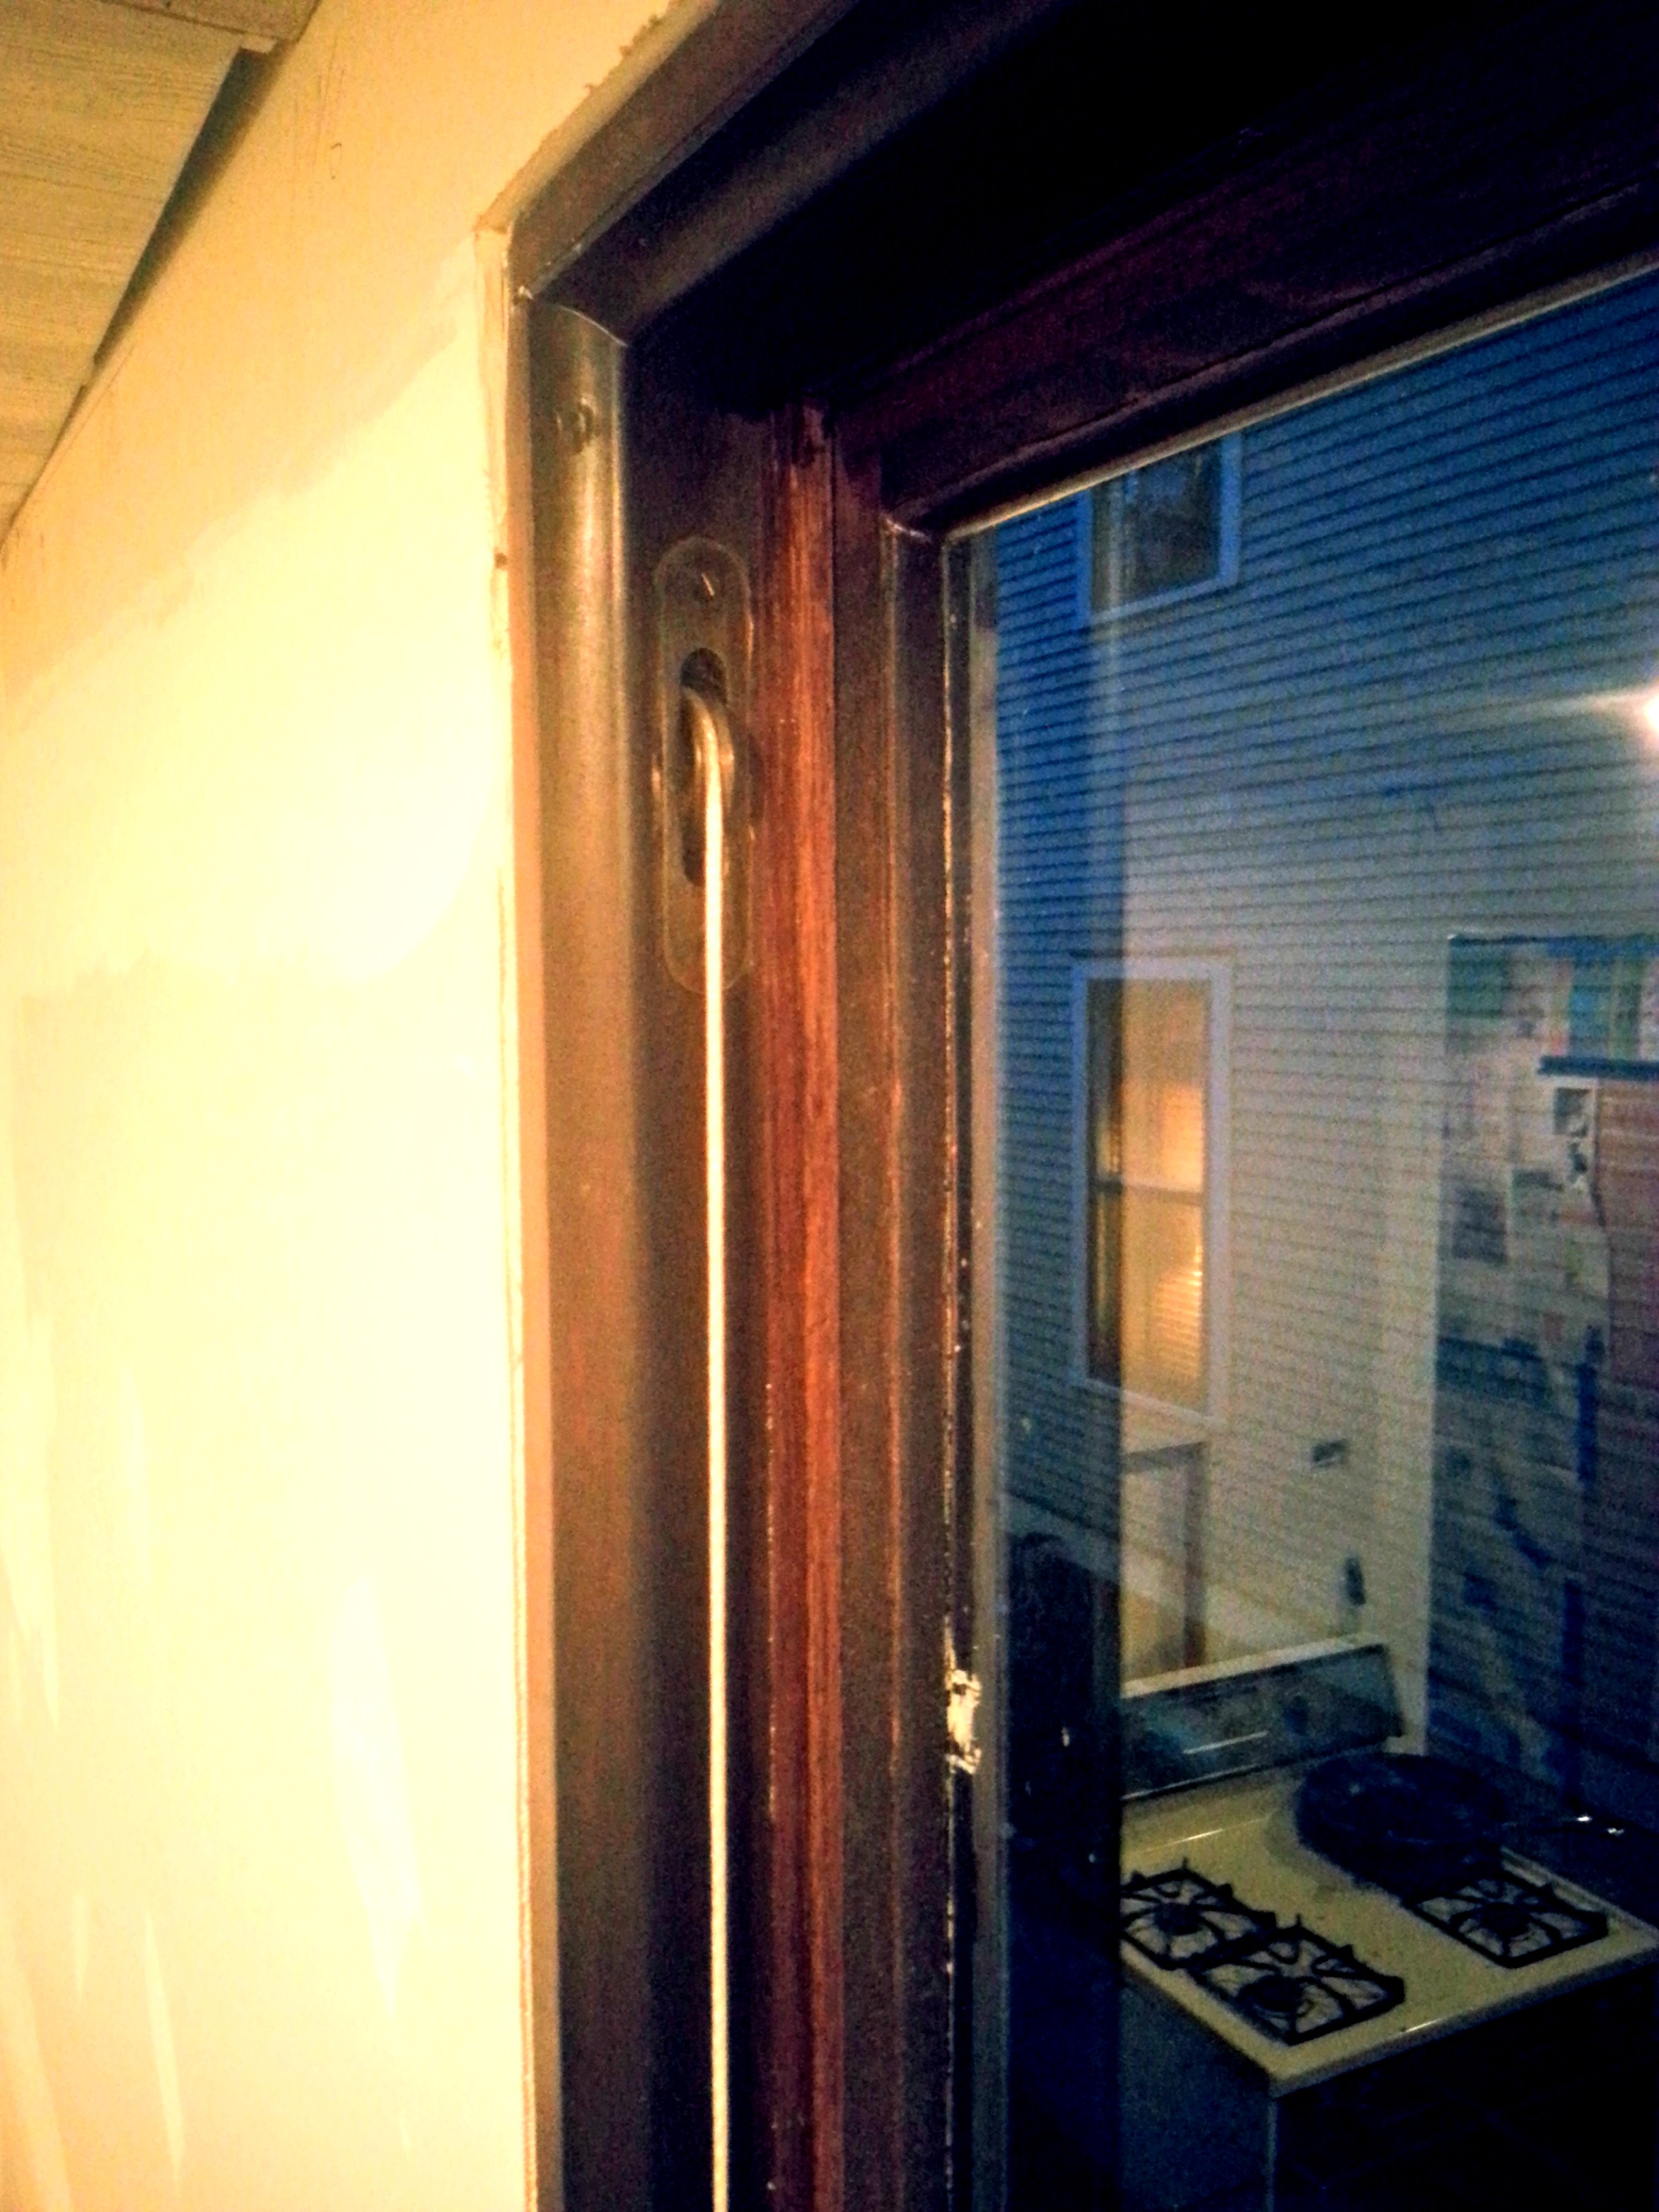
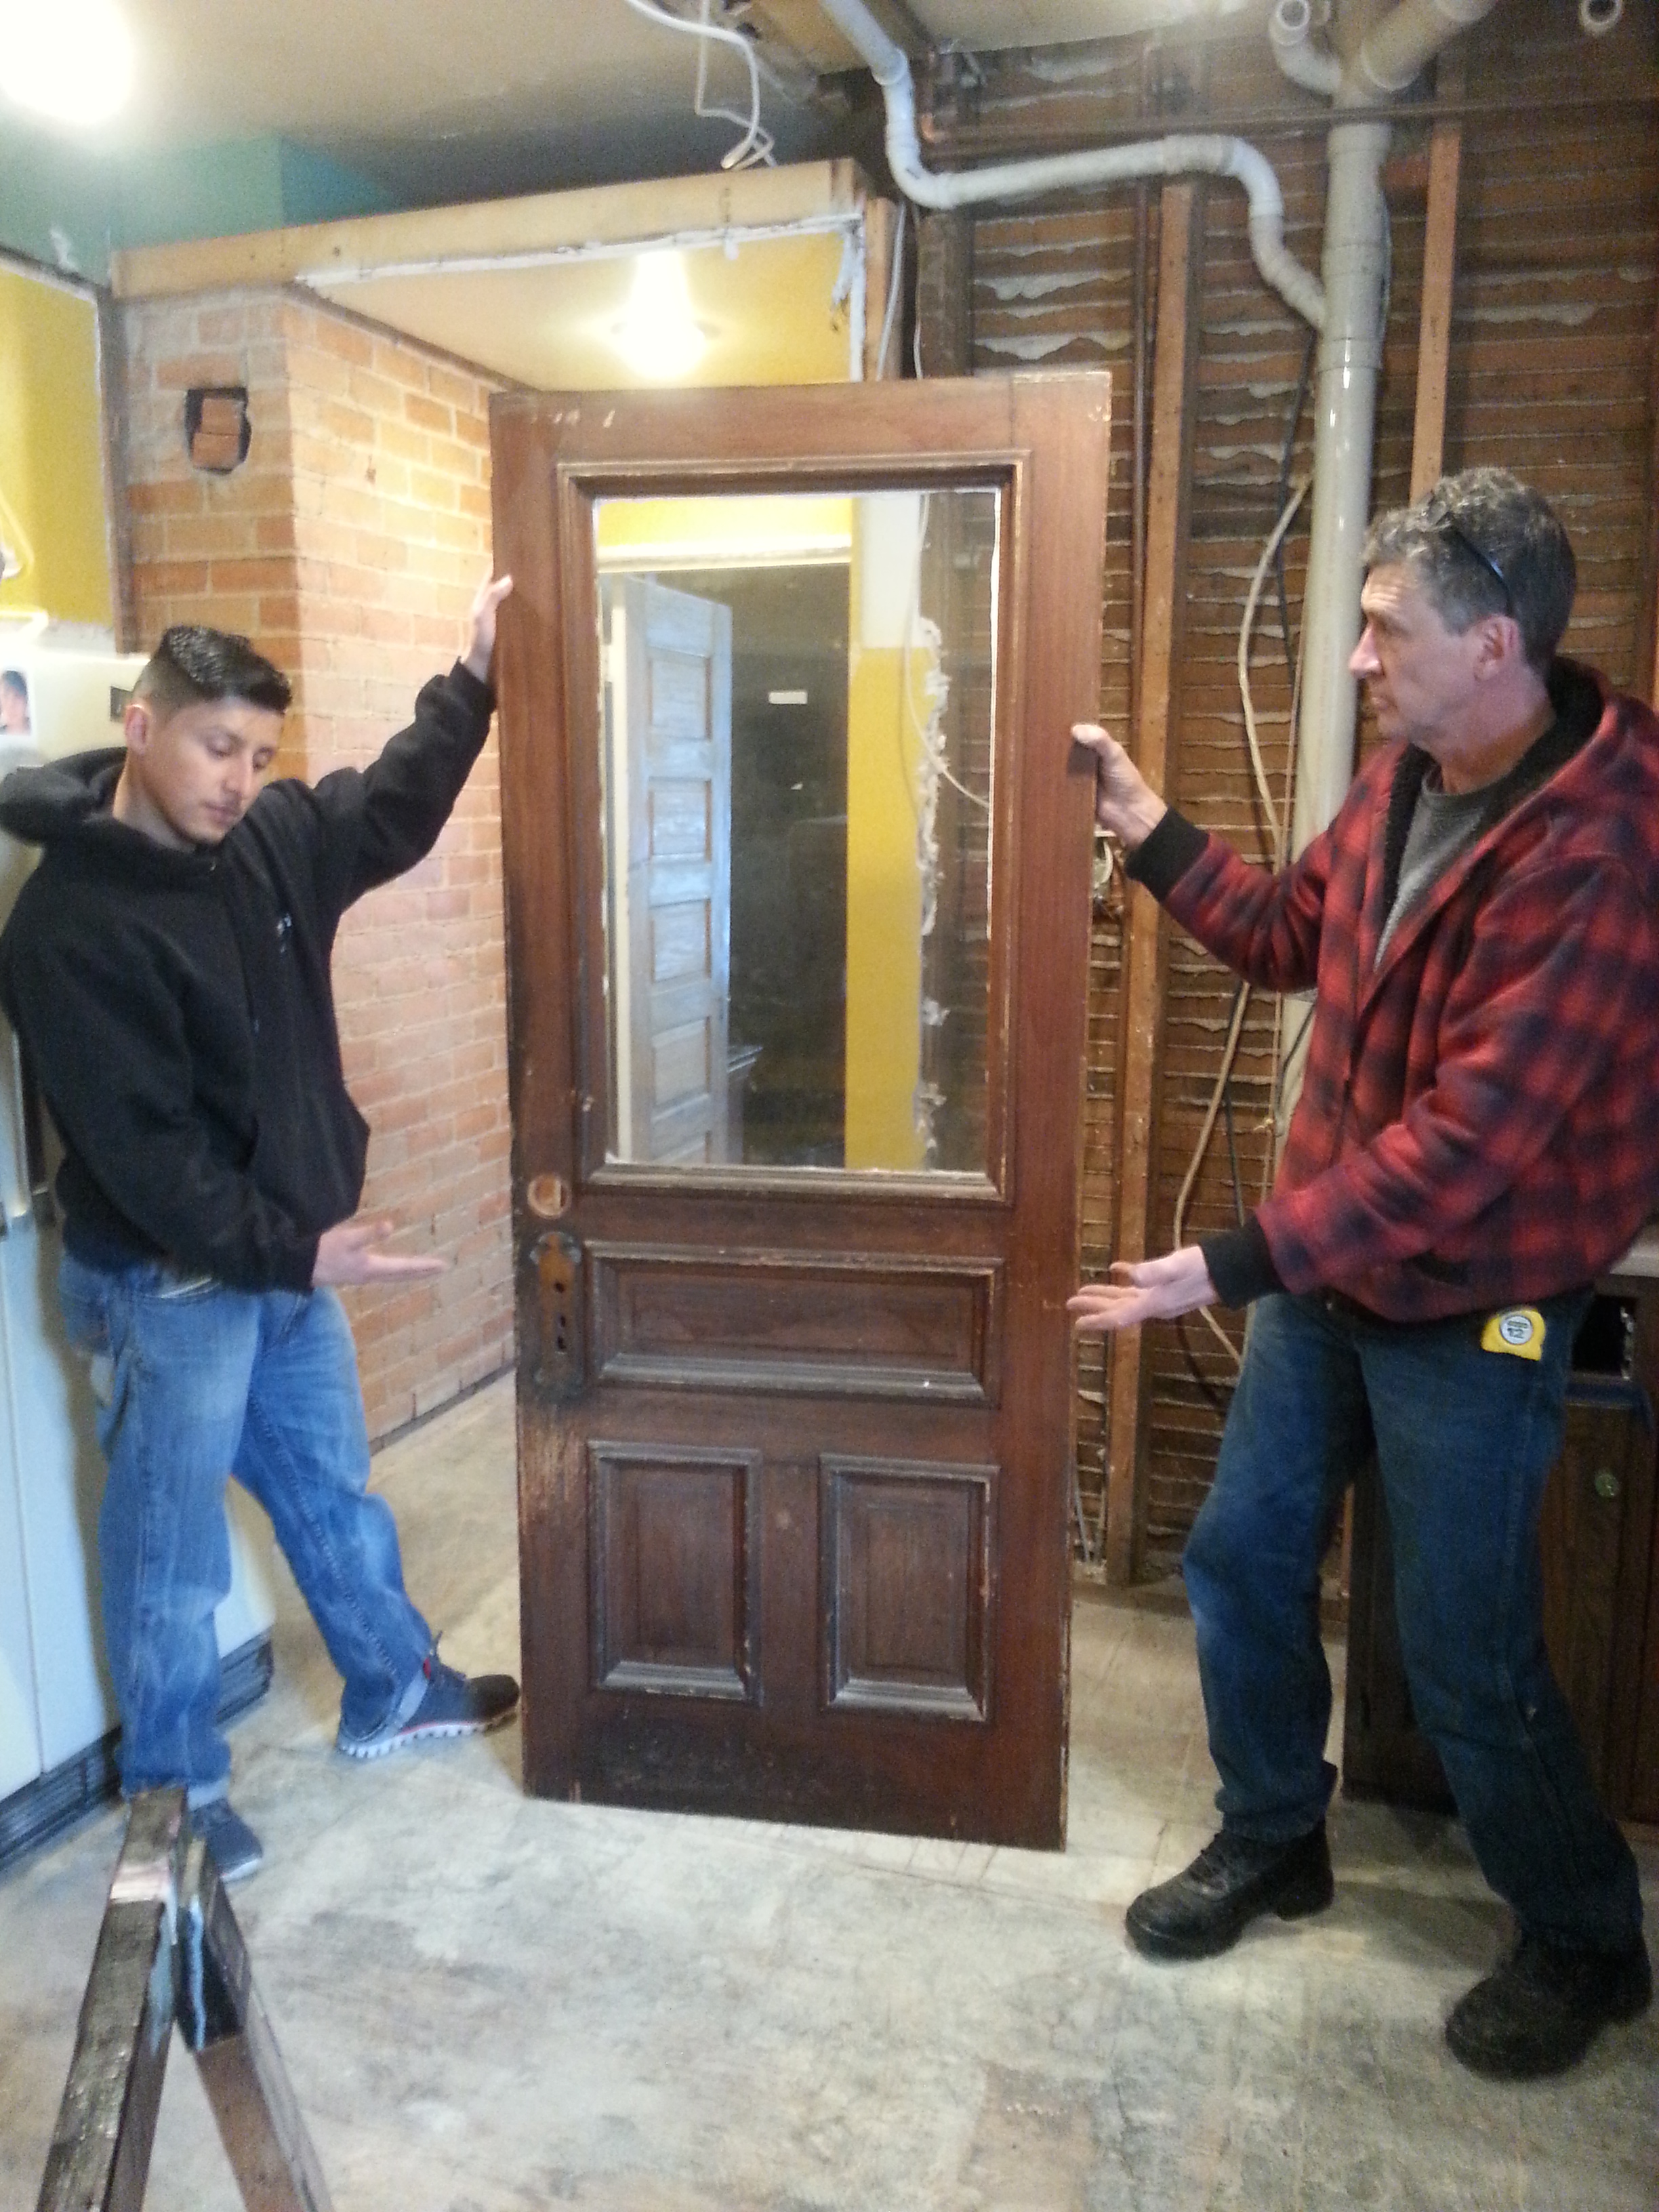
This room also provided us access to our backyard. Remember that exterior door that I talked about removing here?

utility door


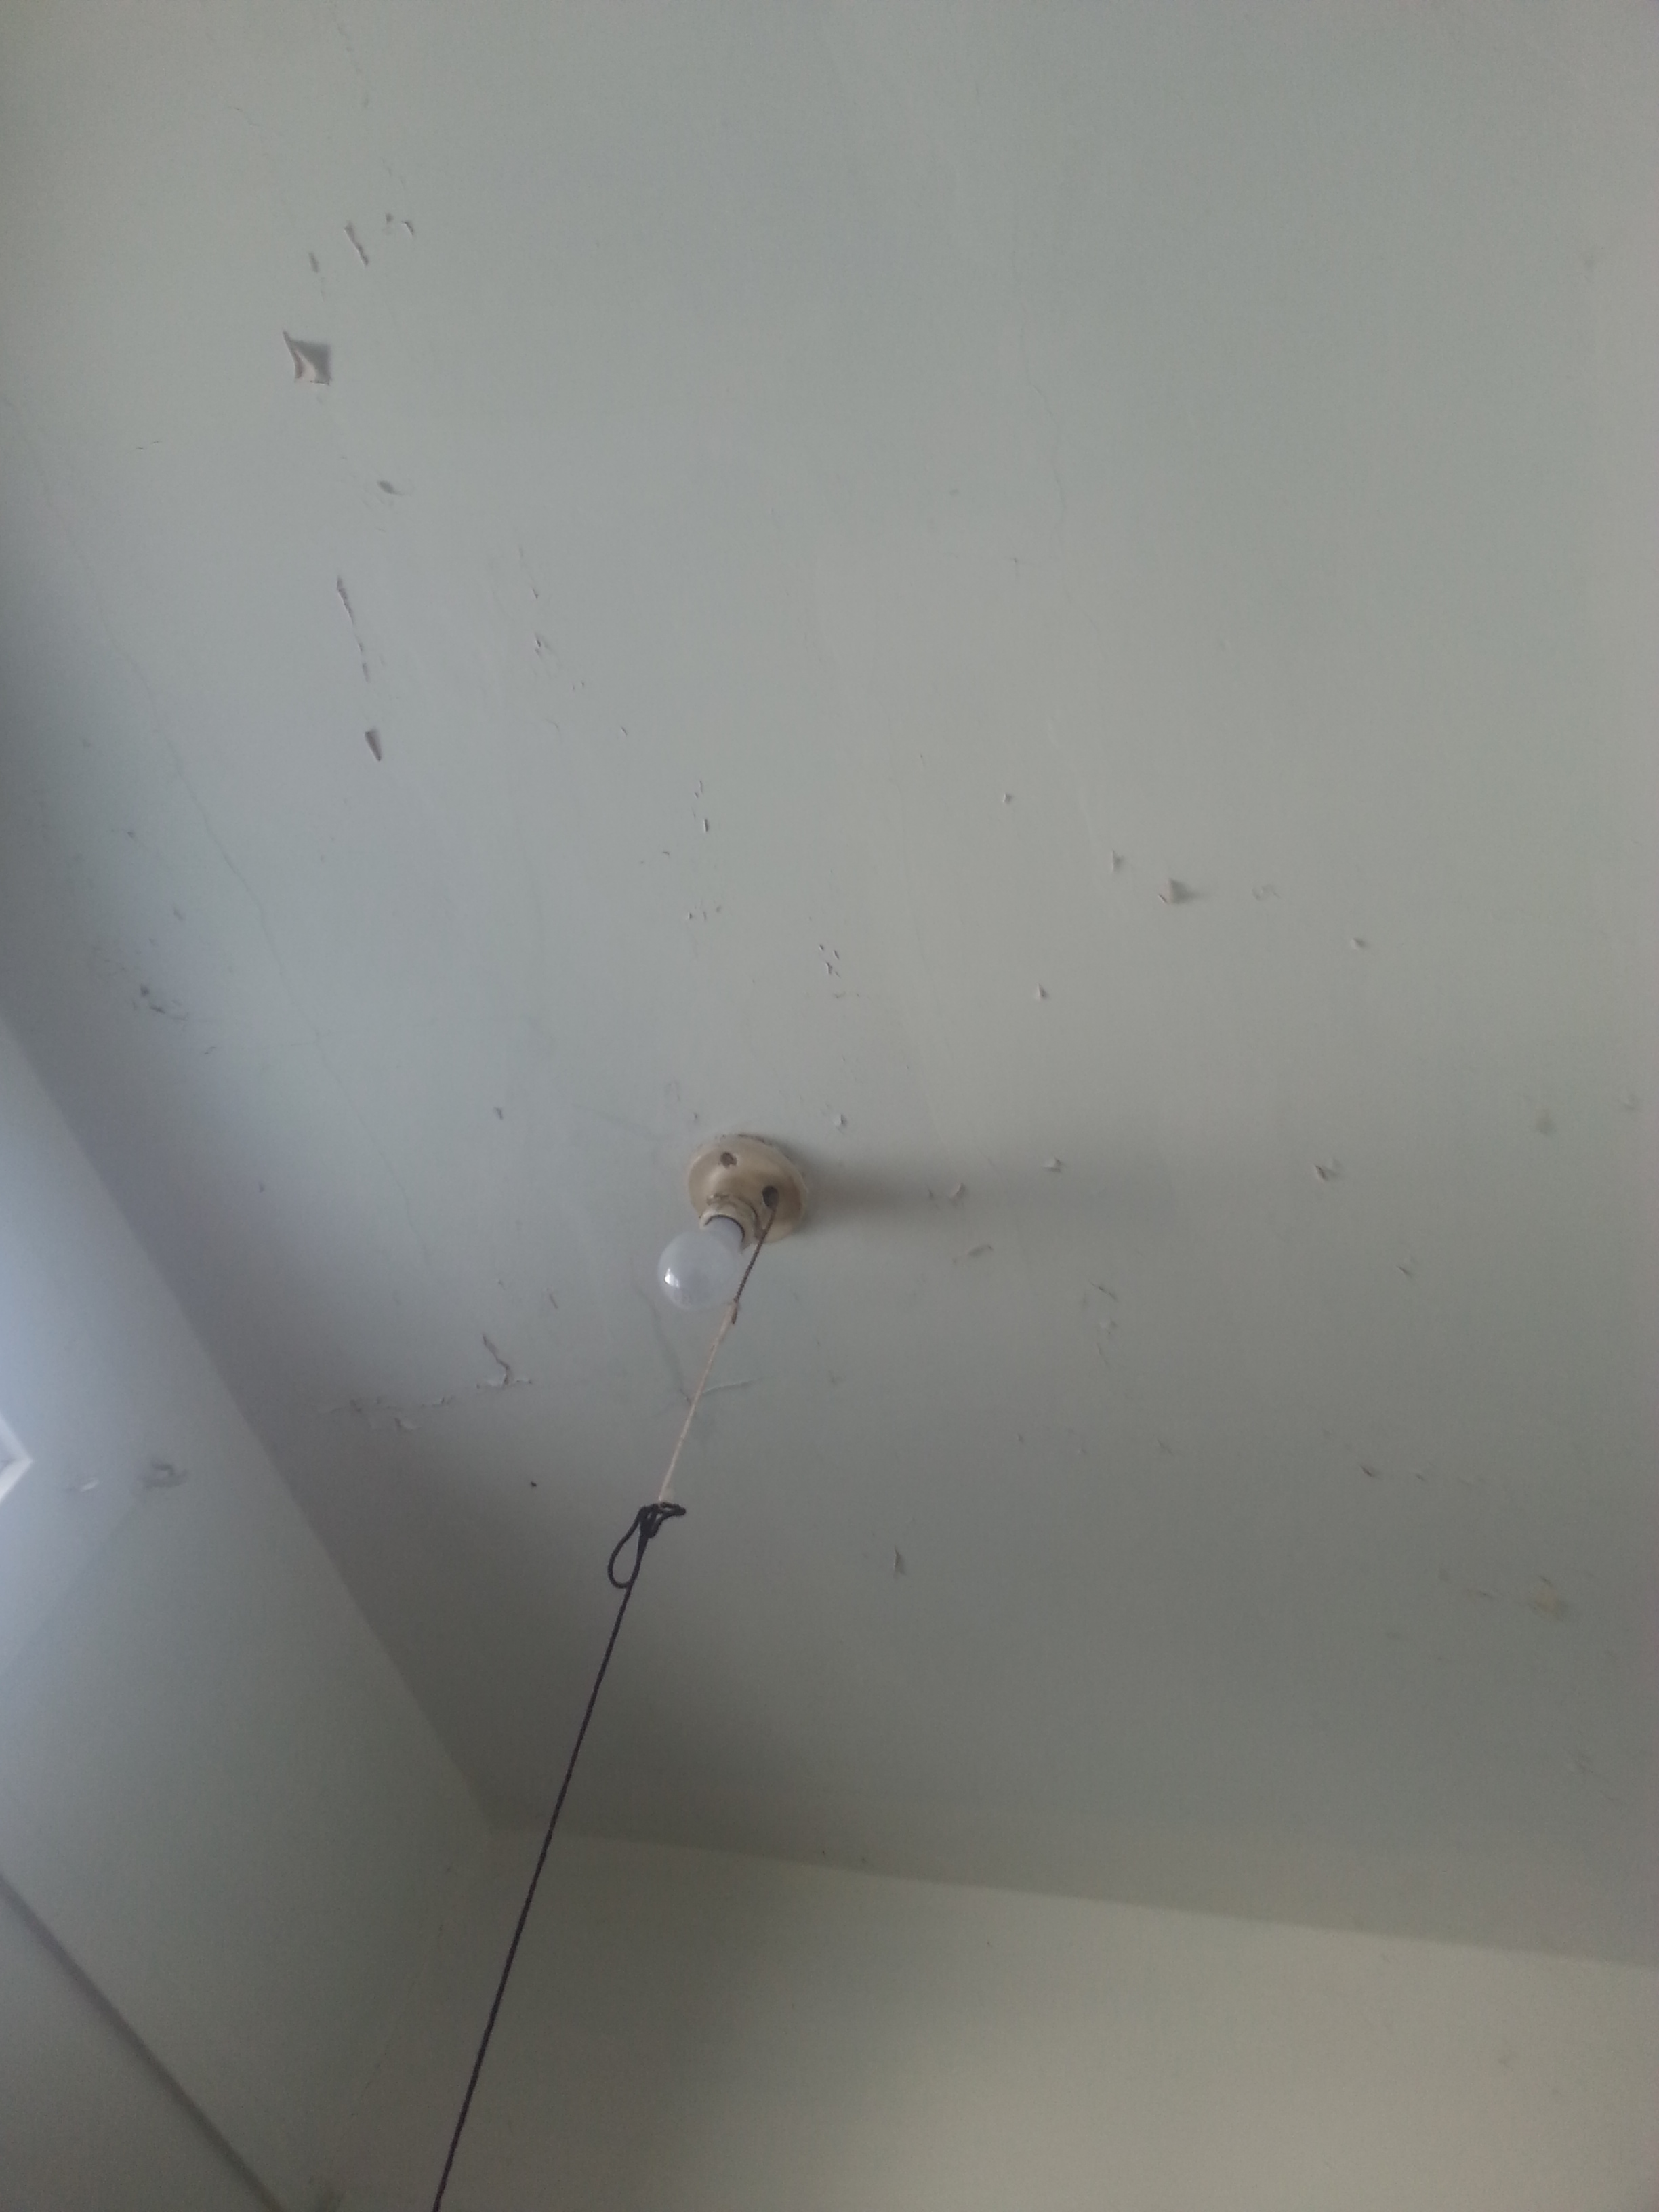
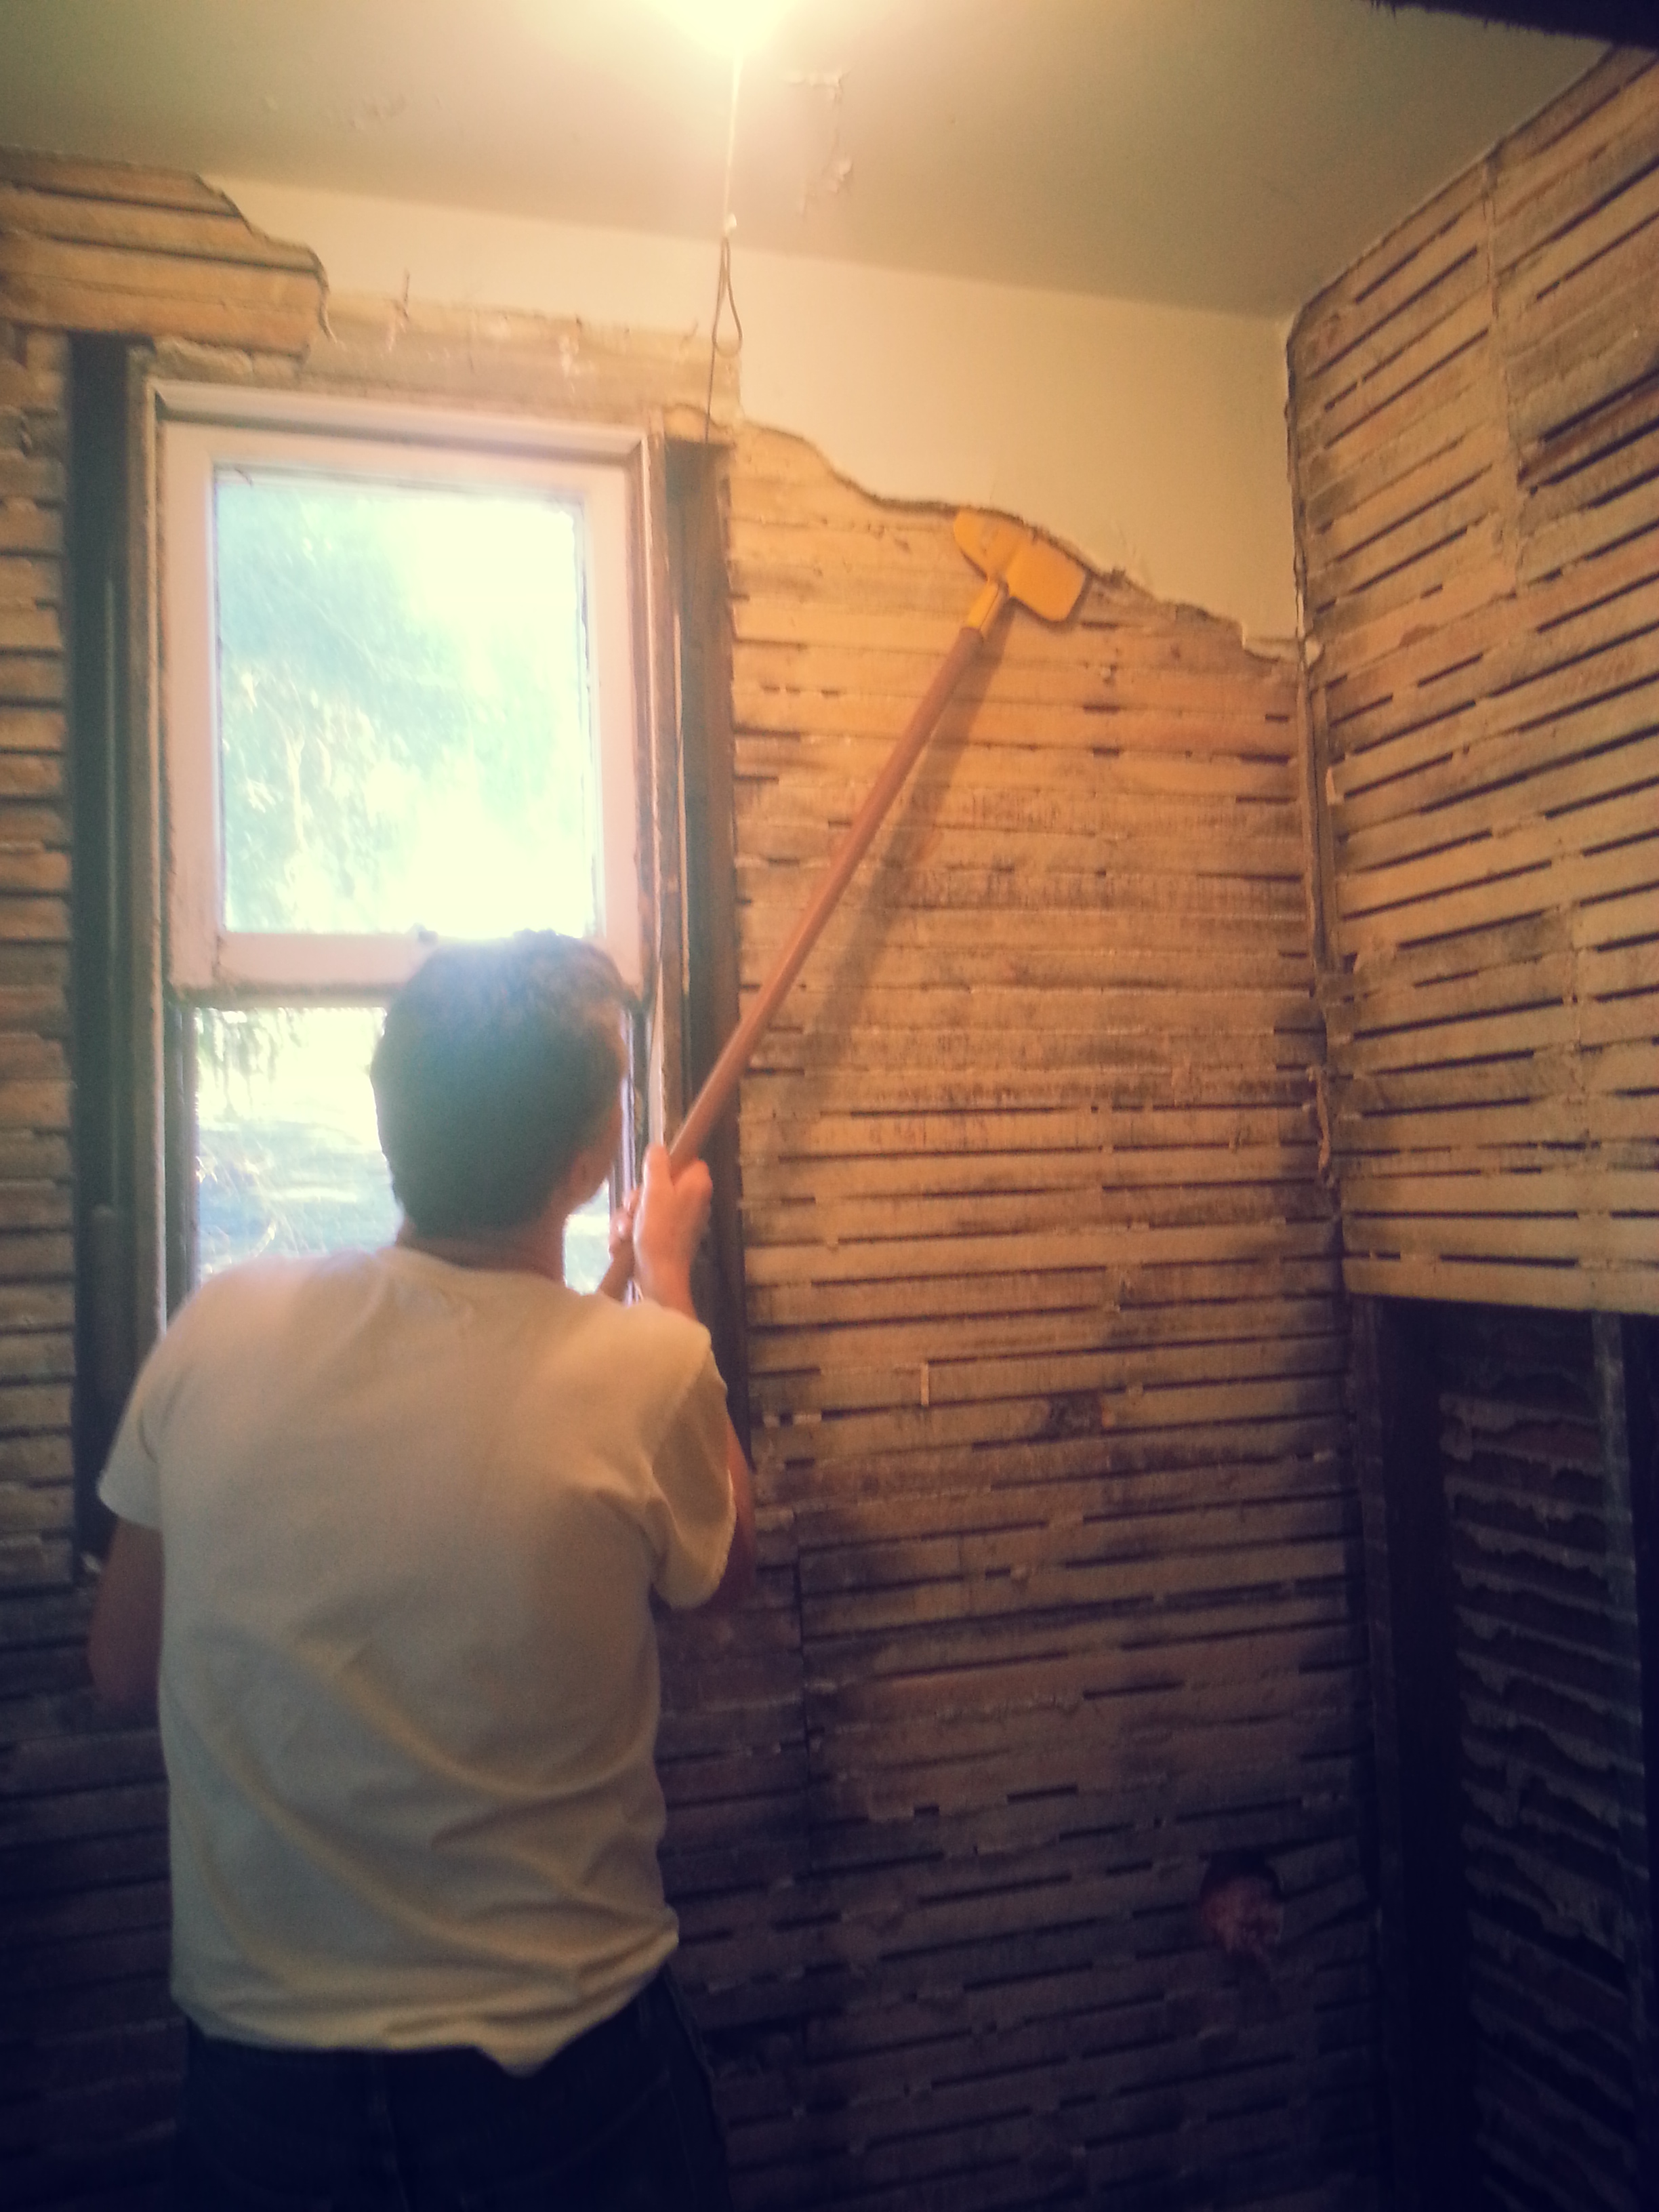
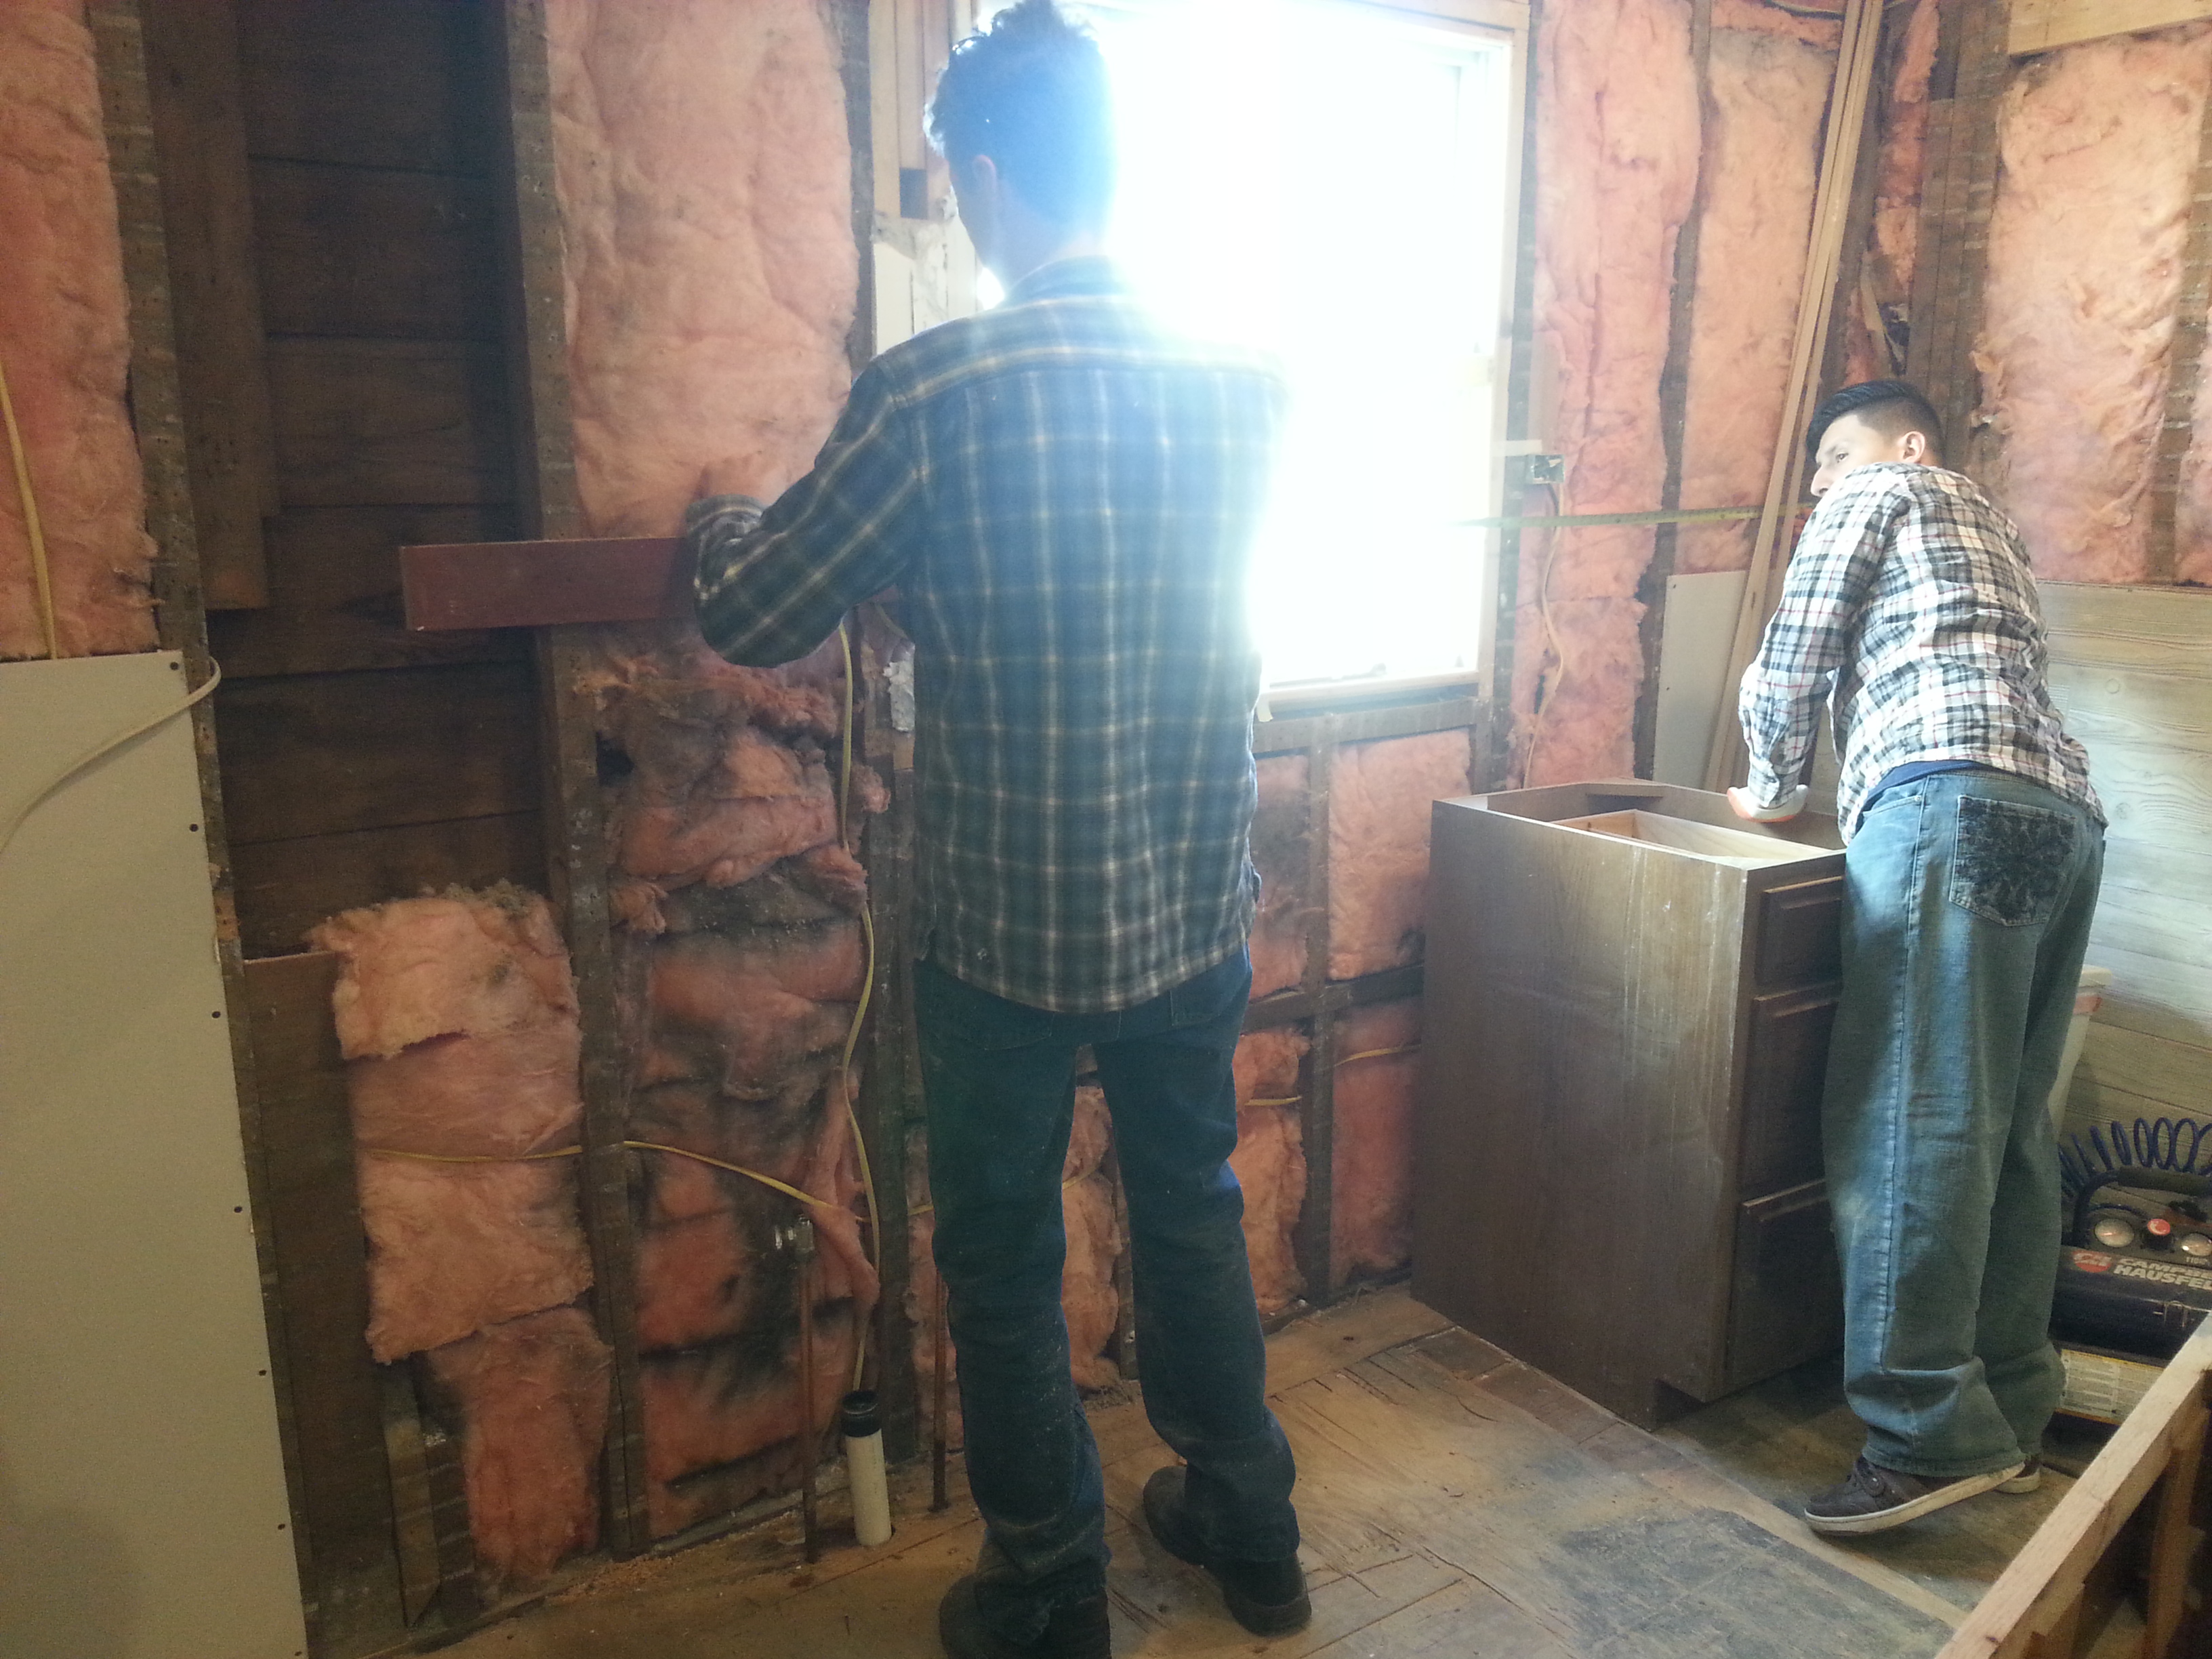
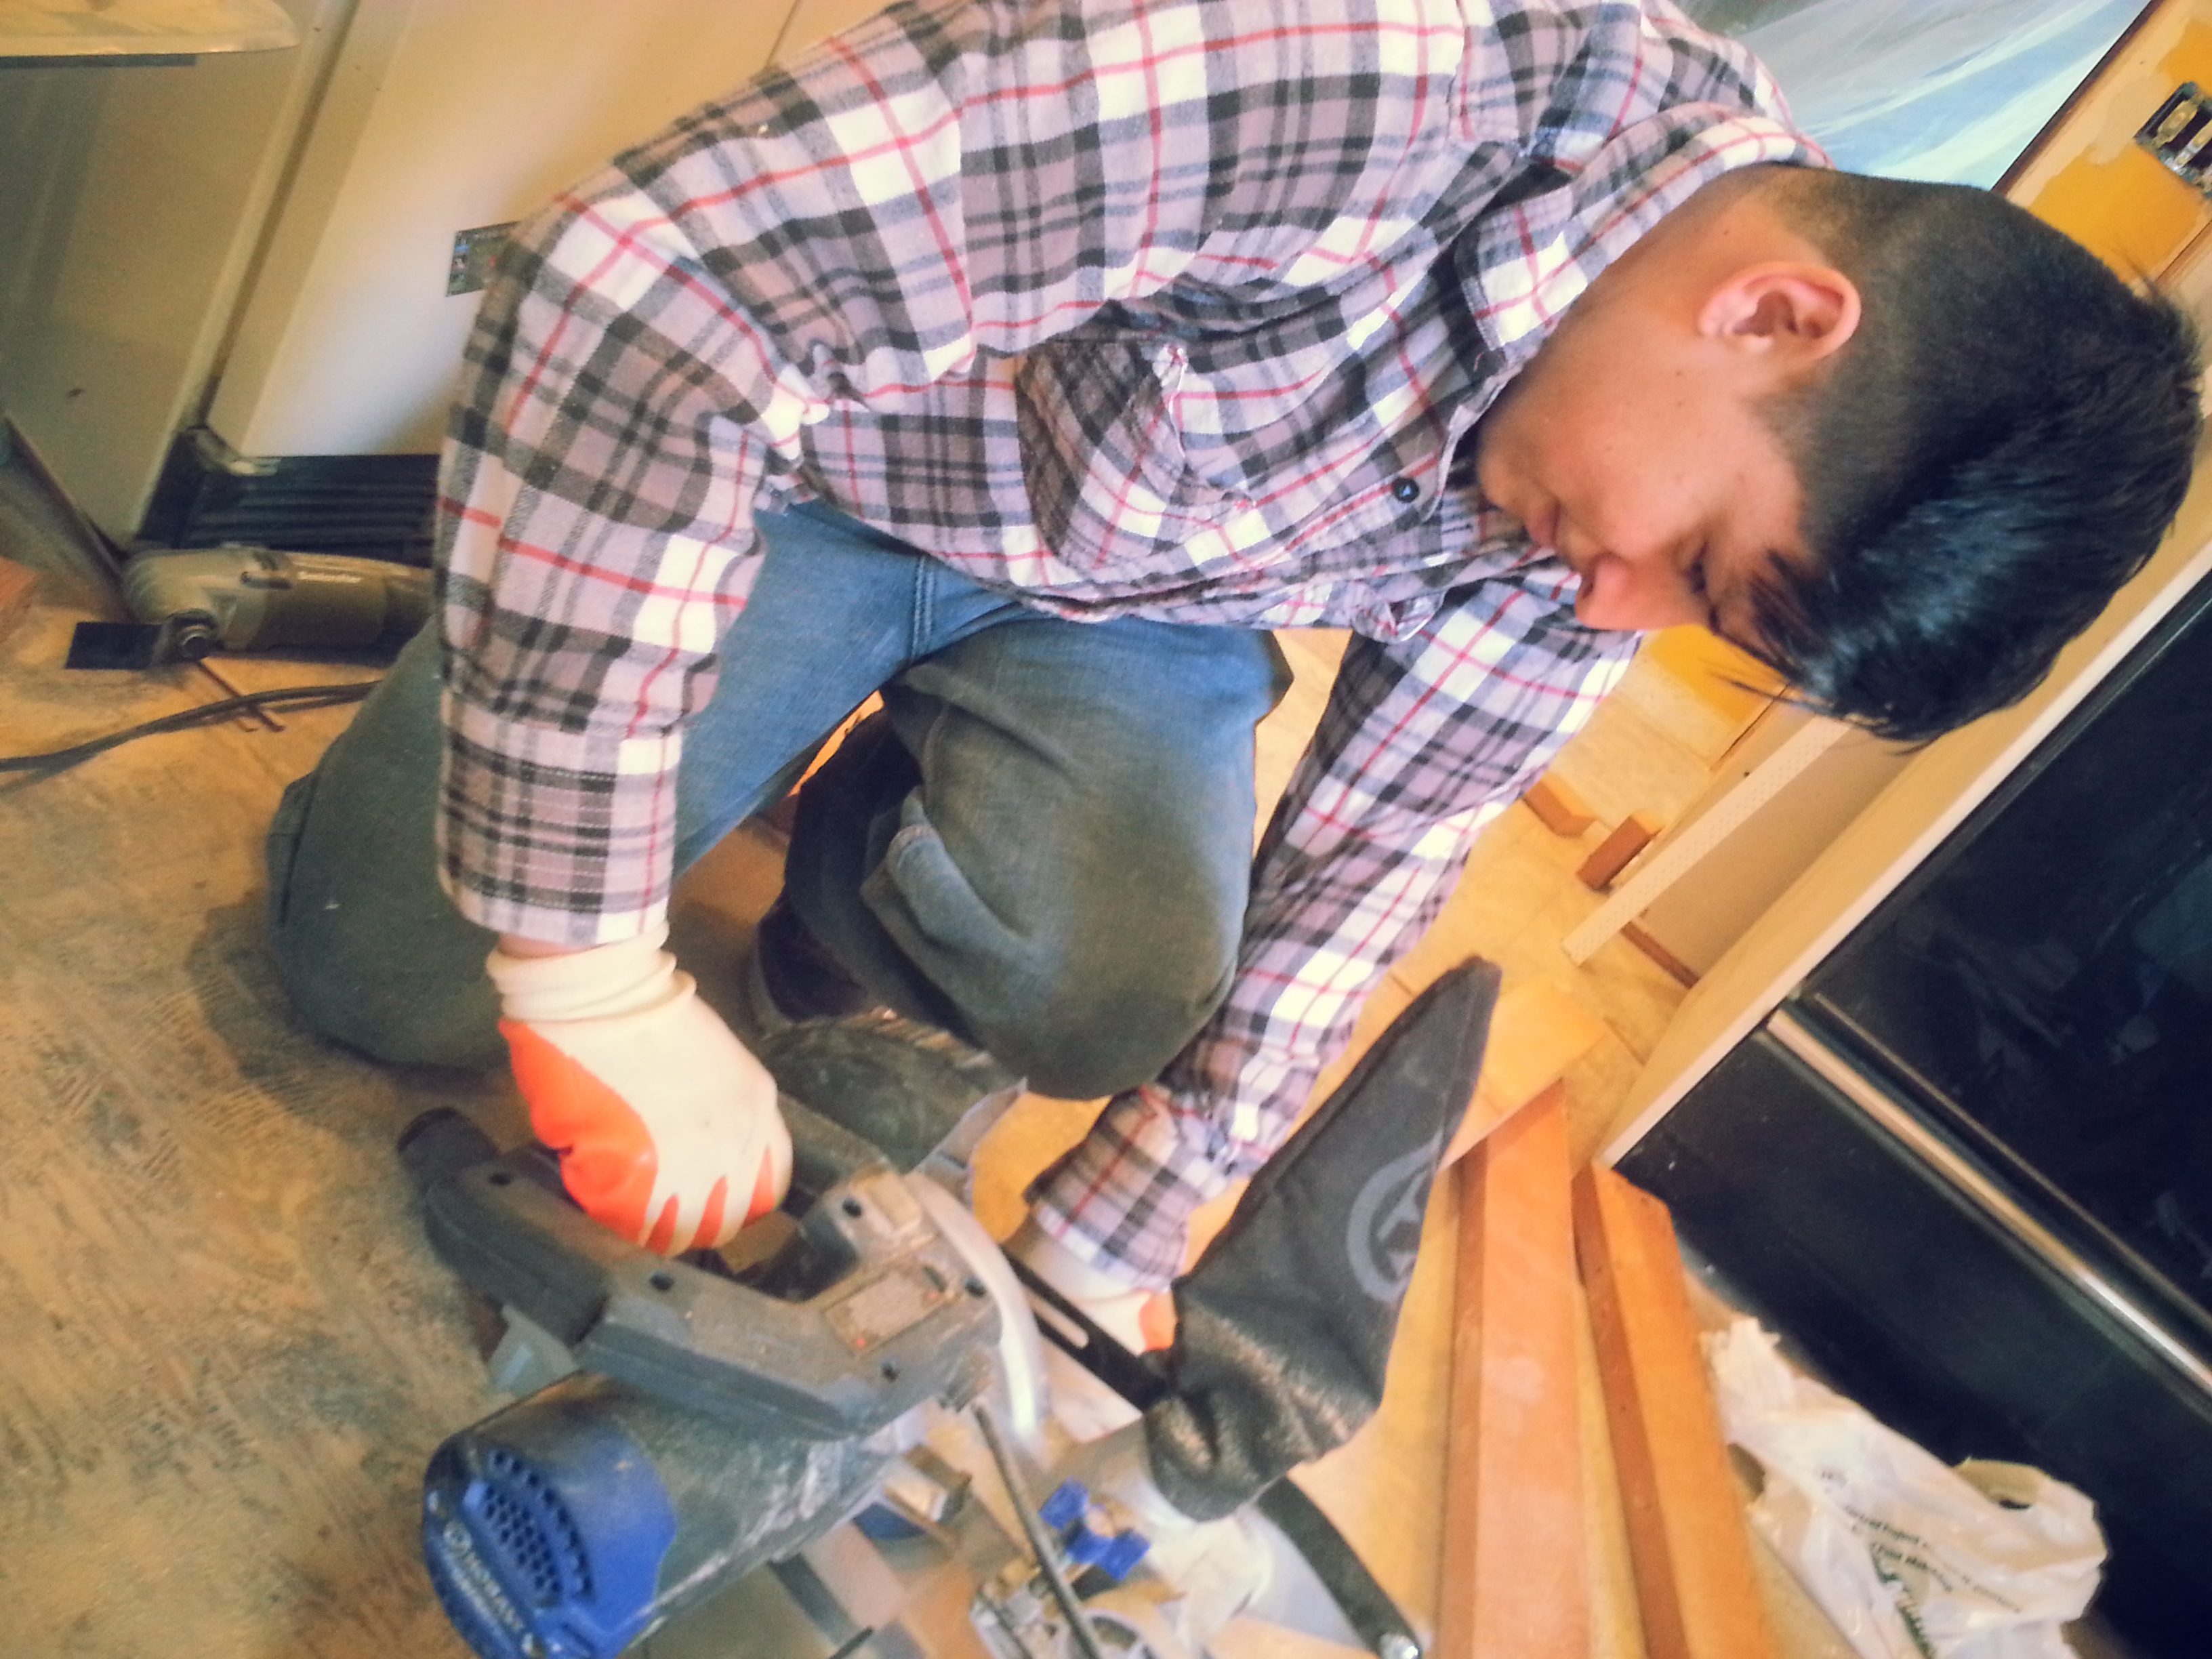
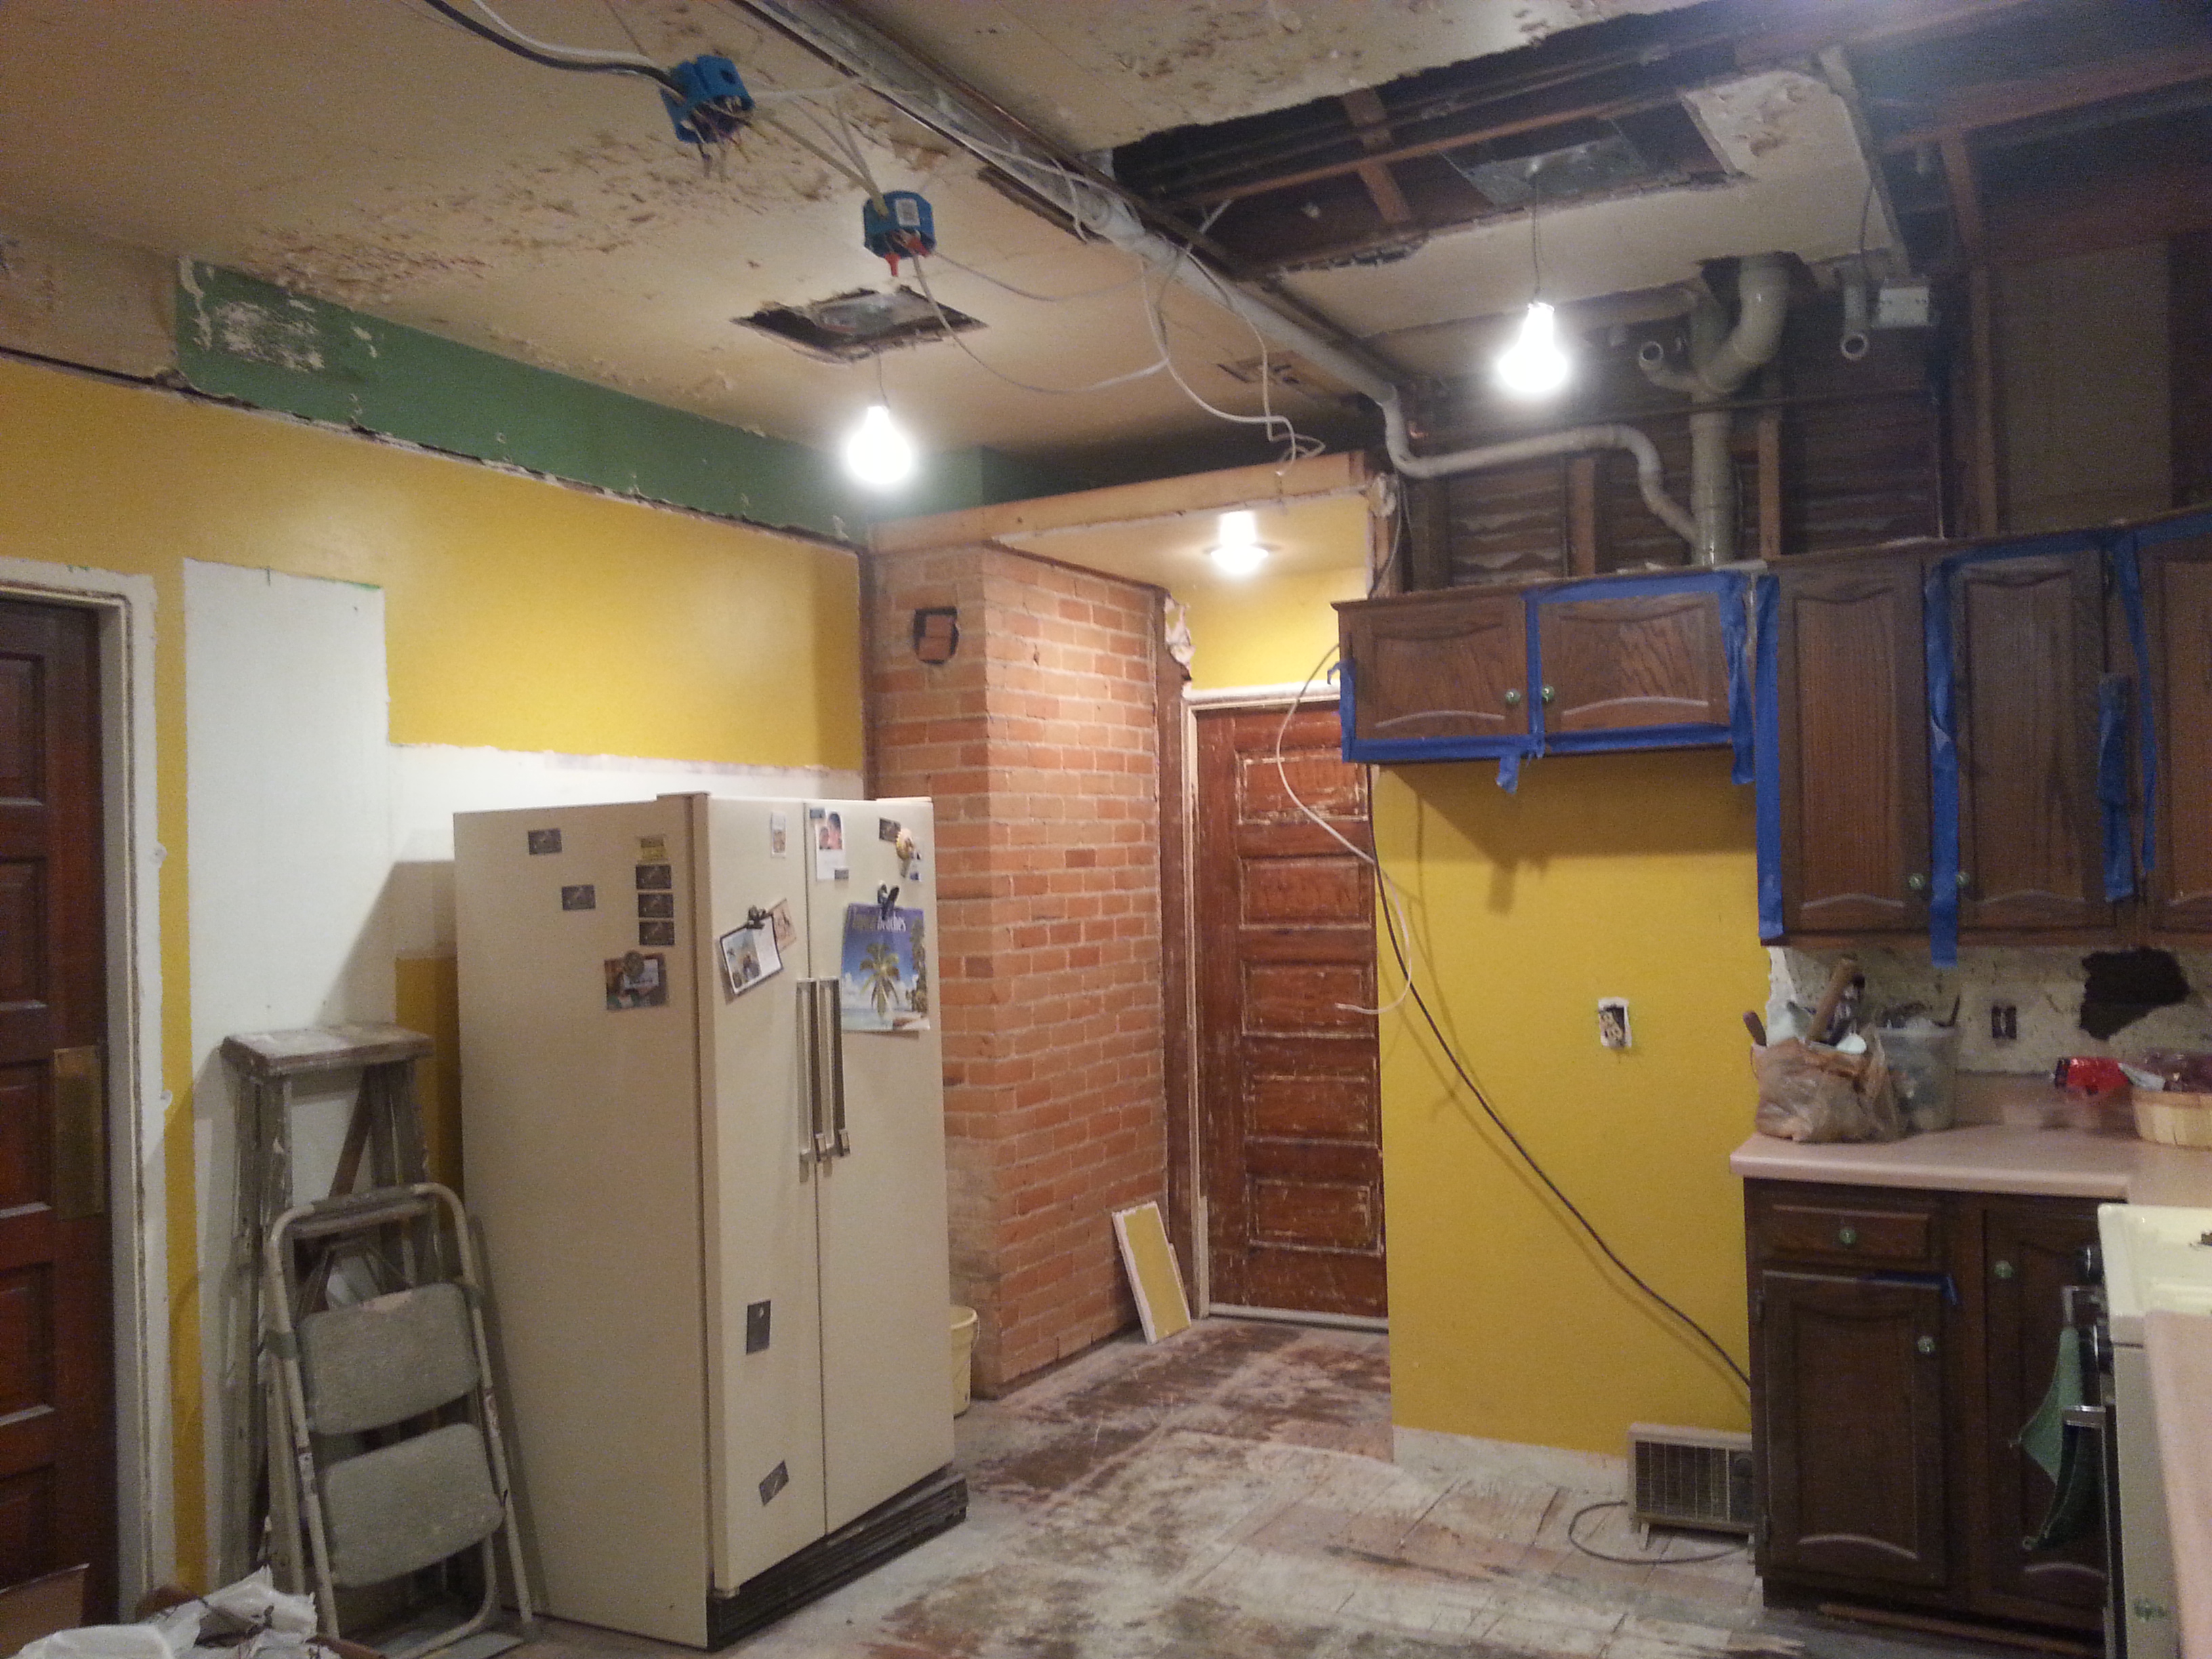
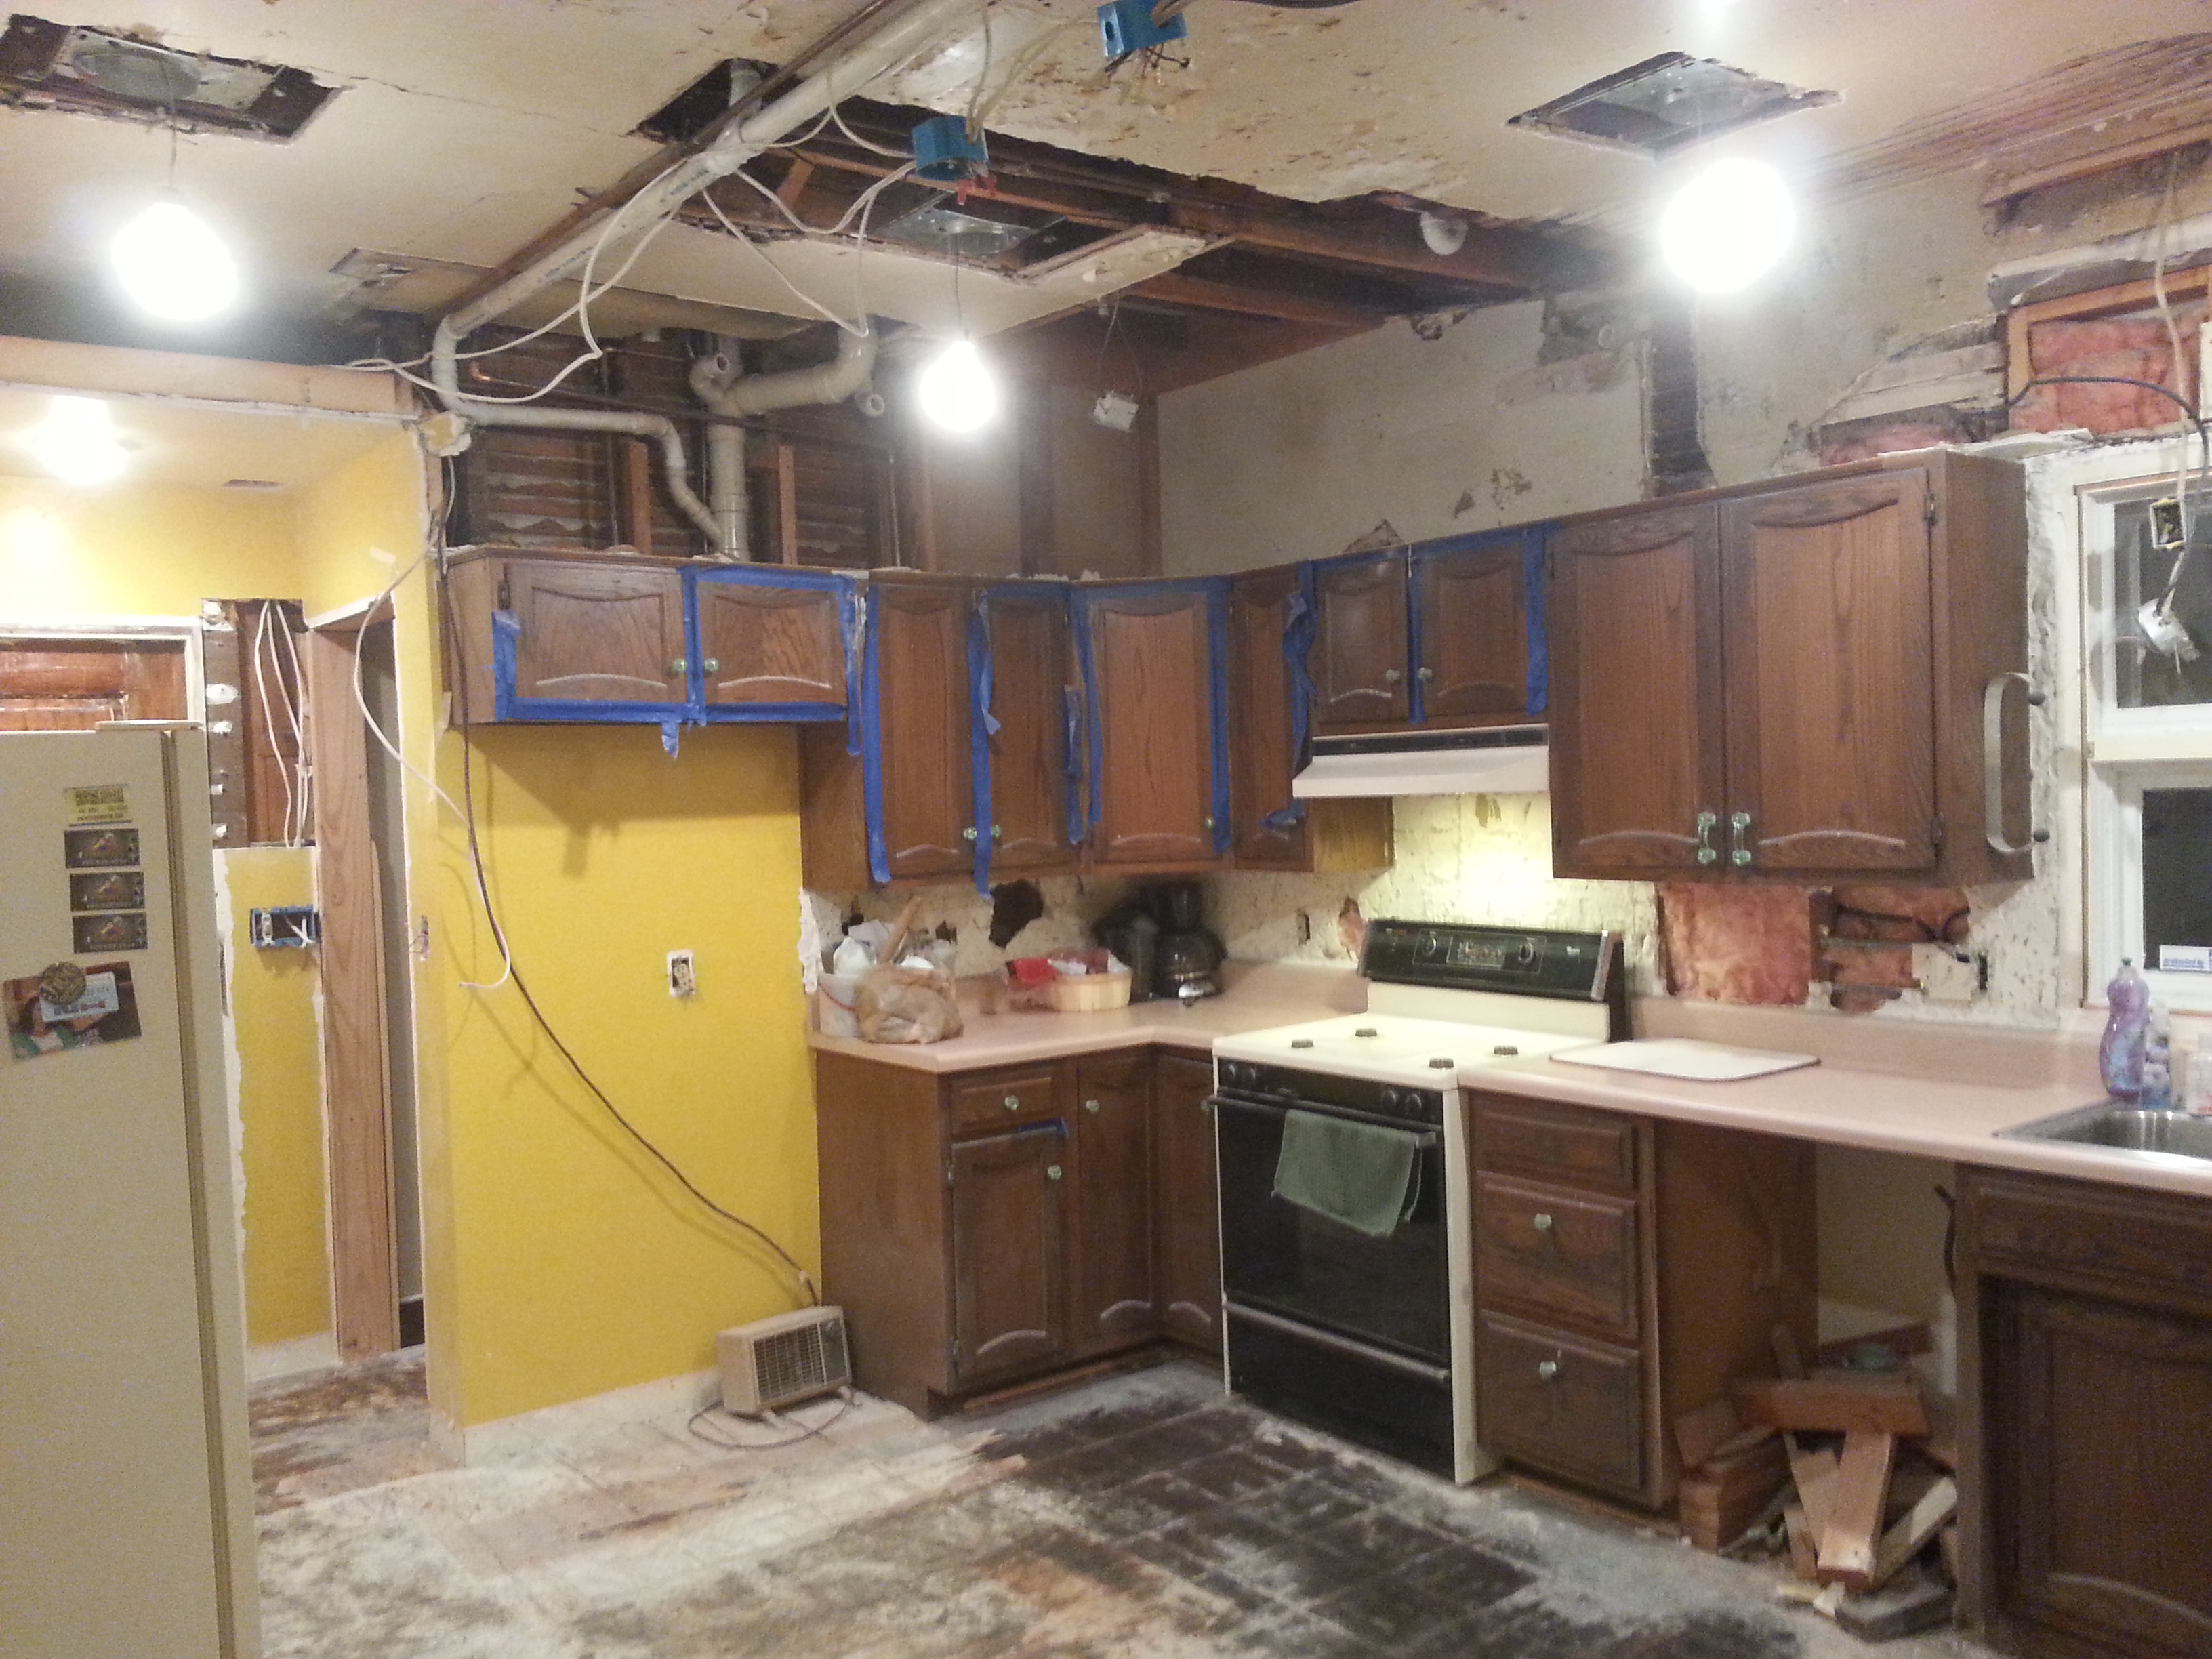
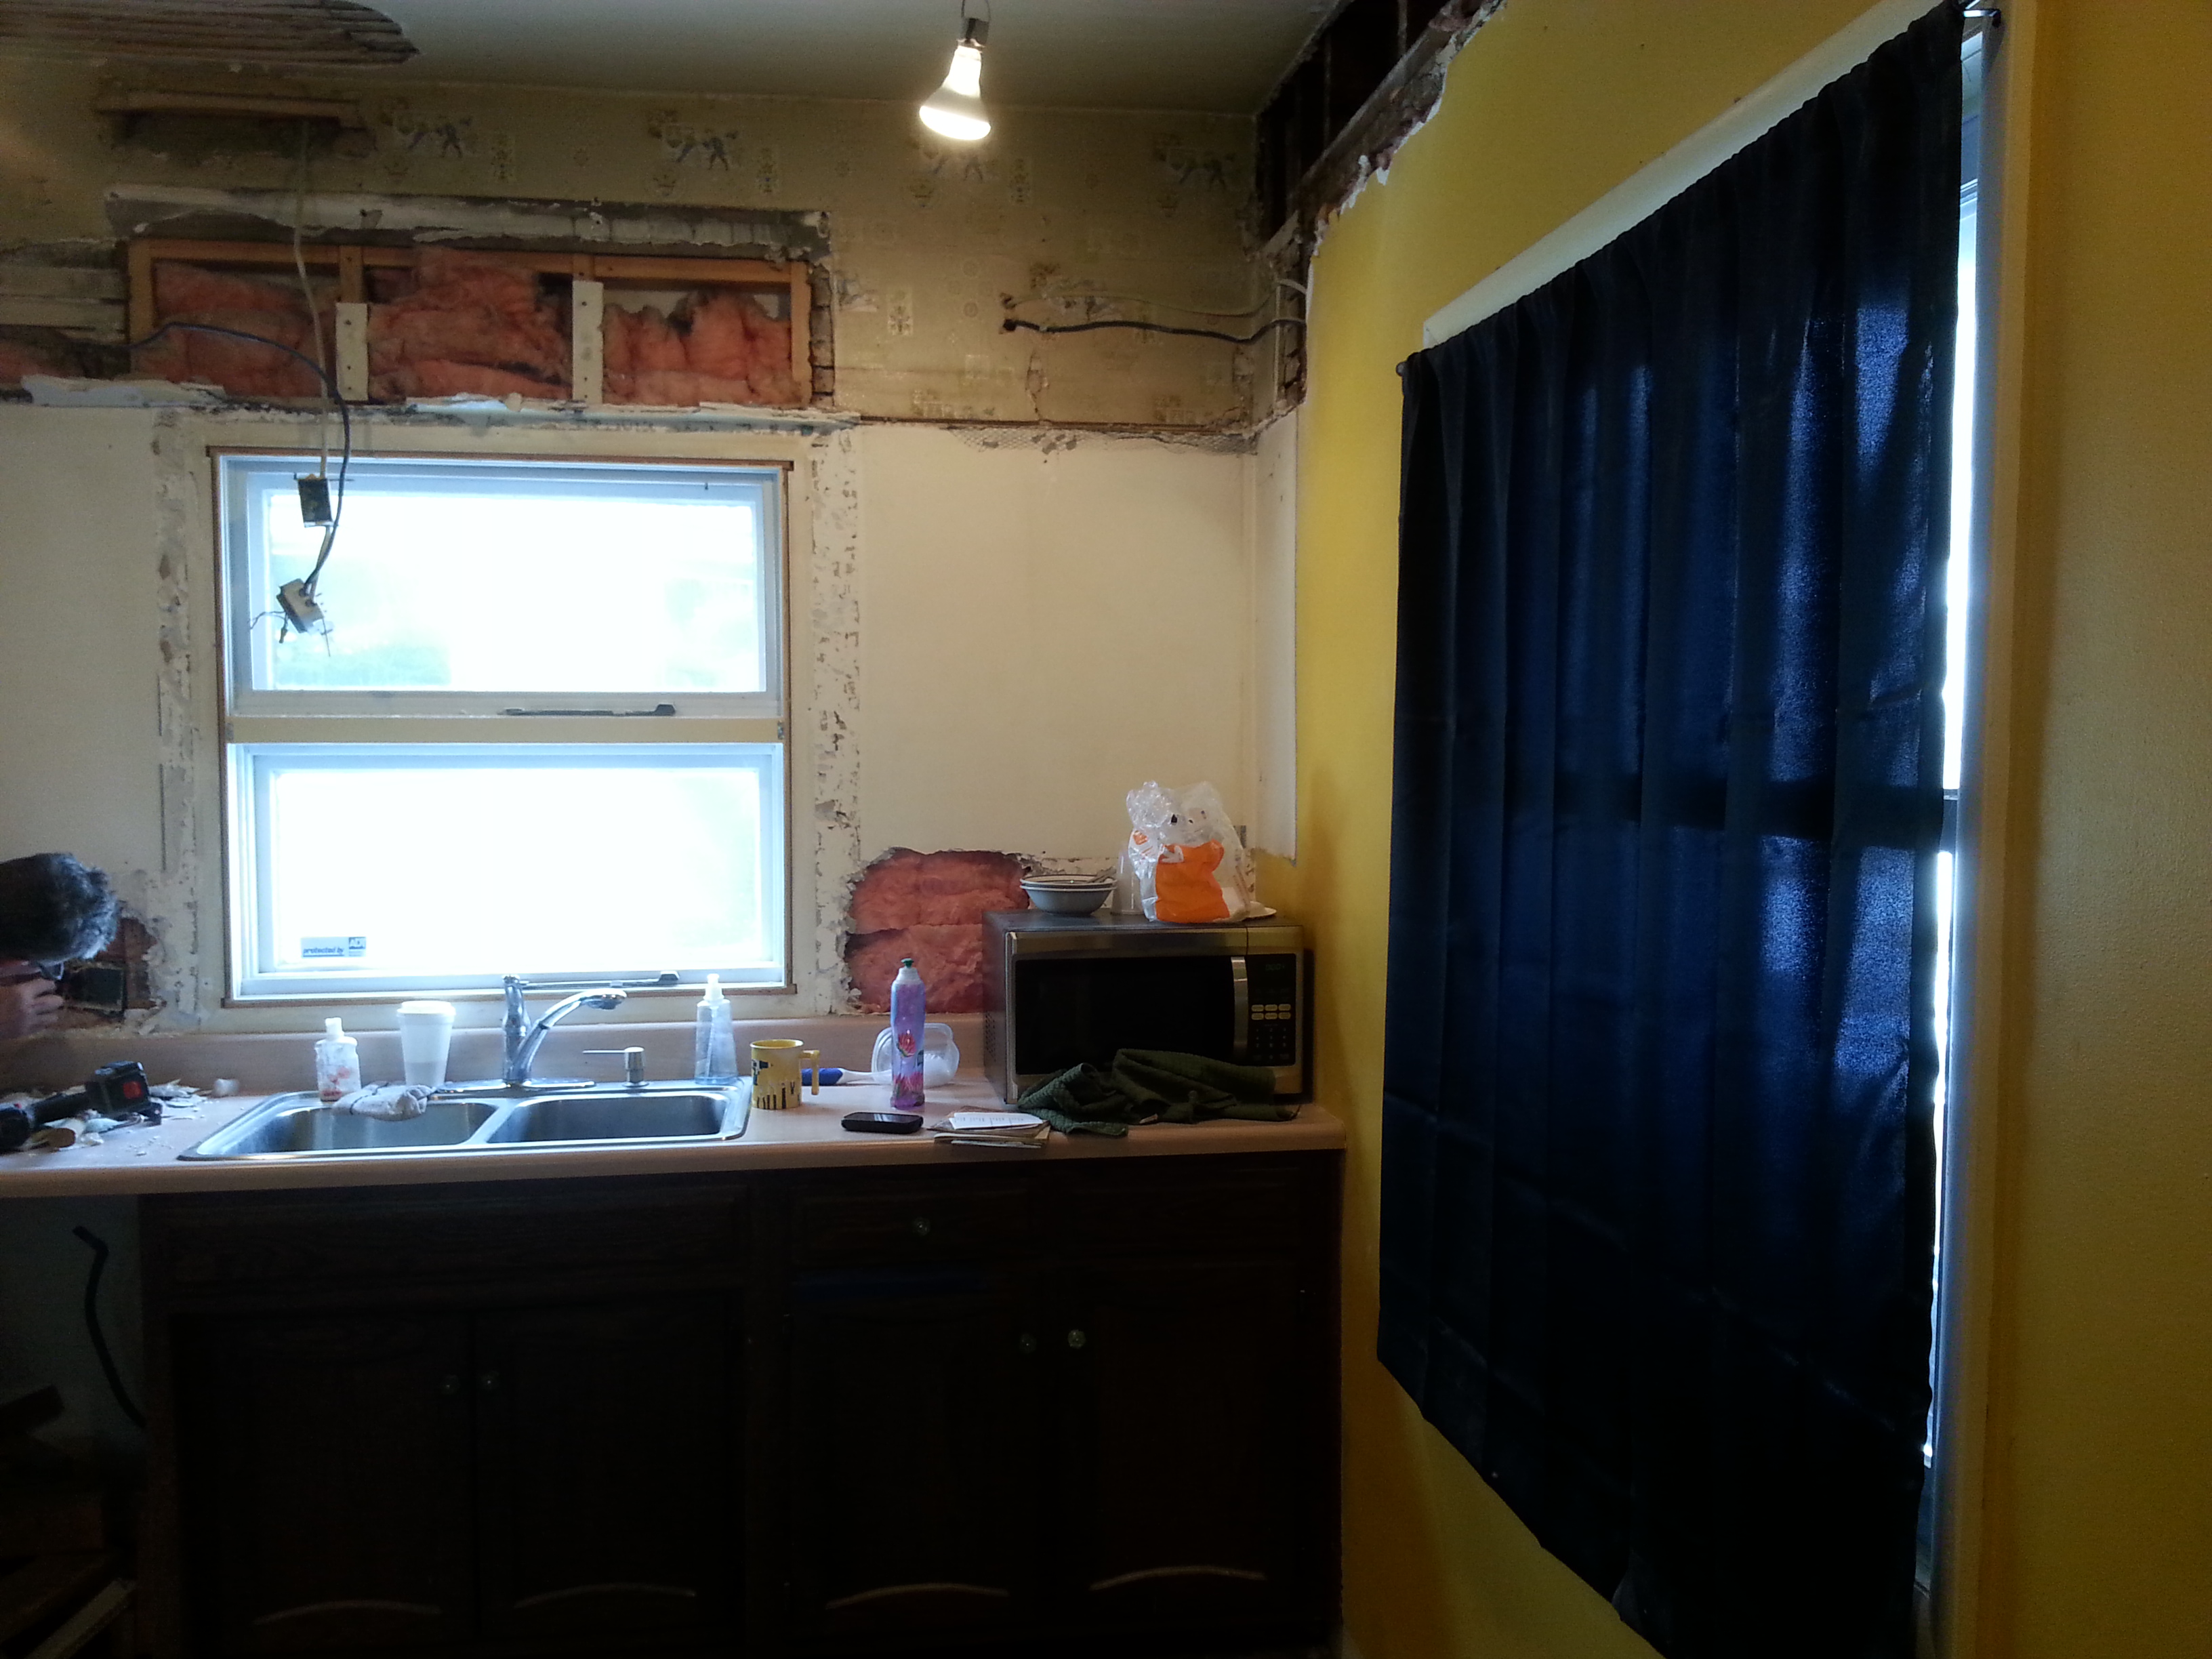
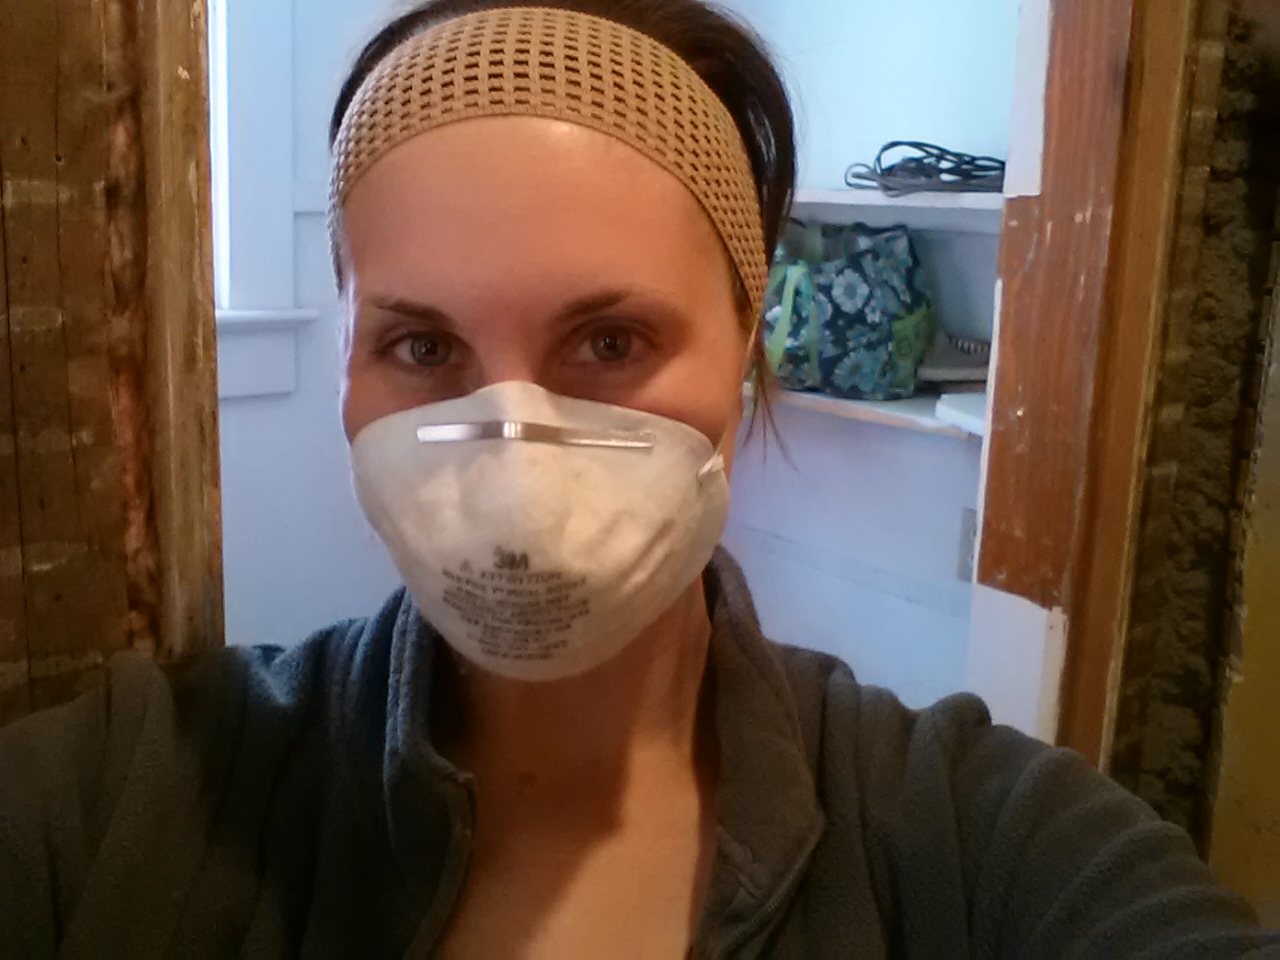
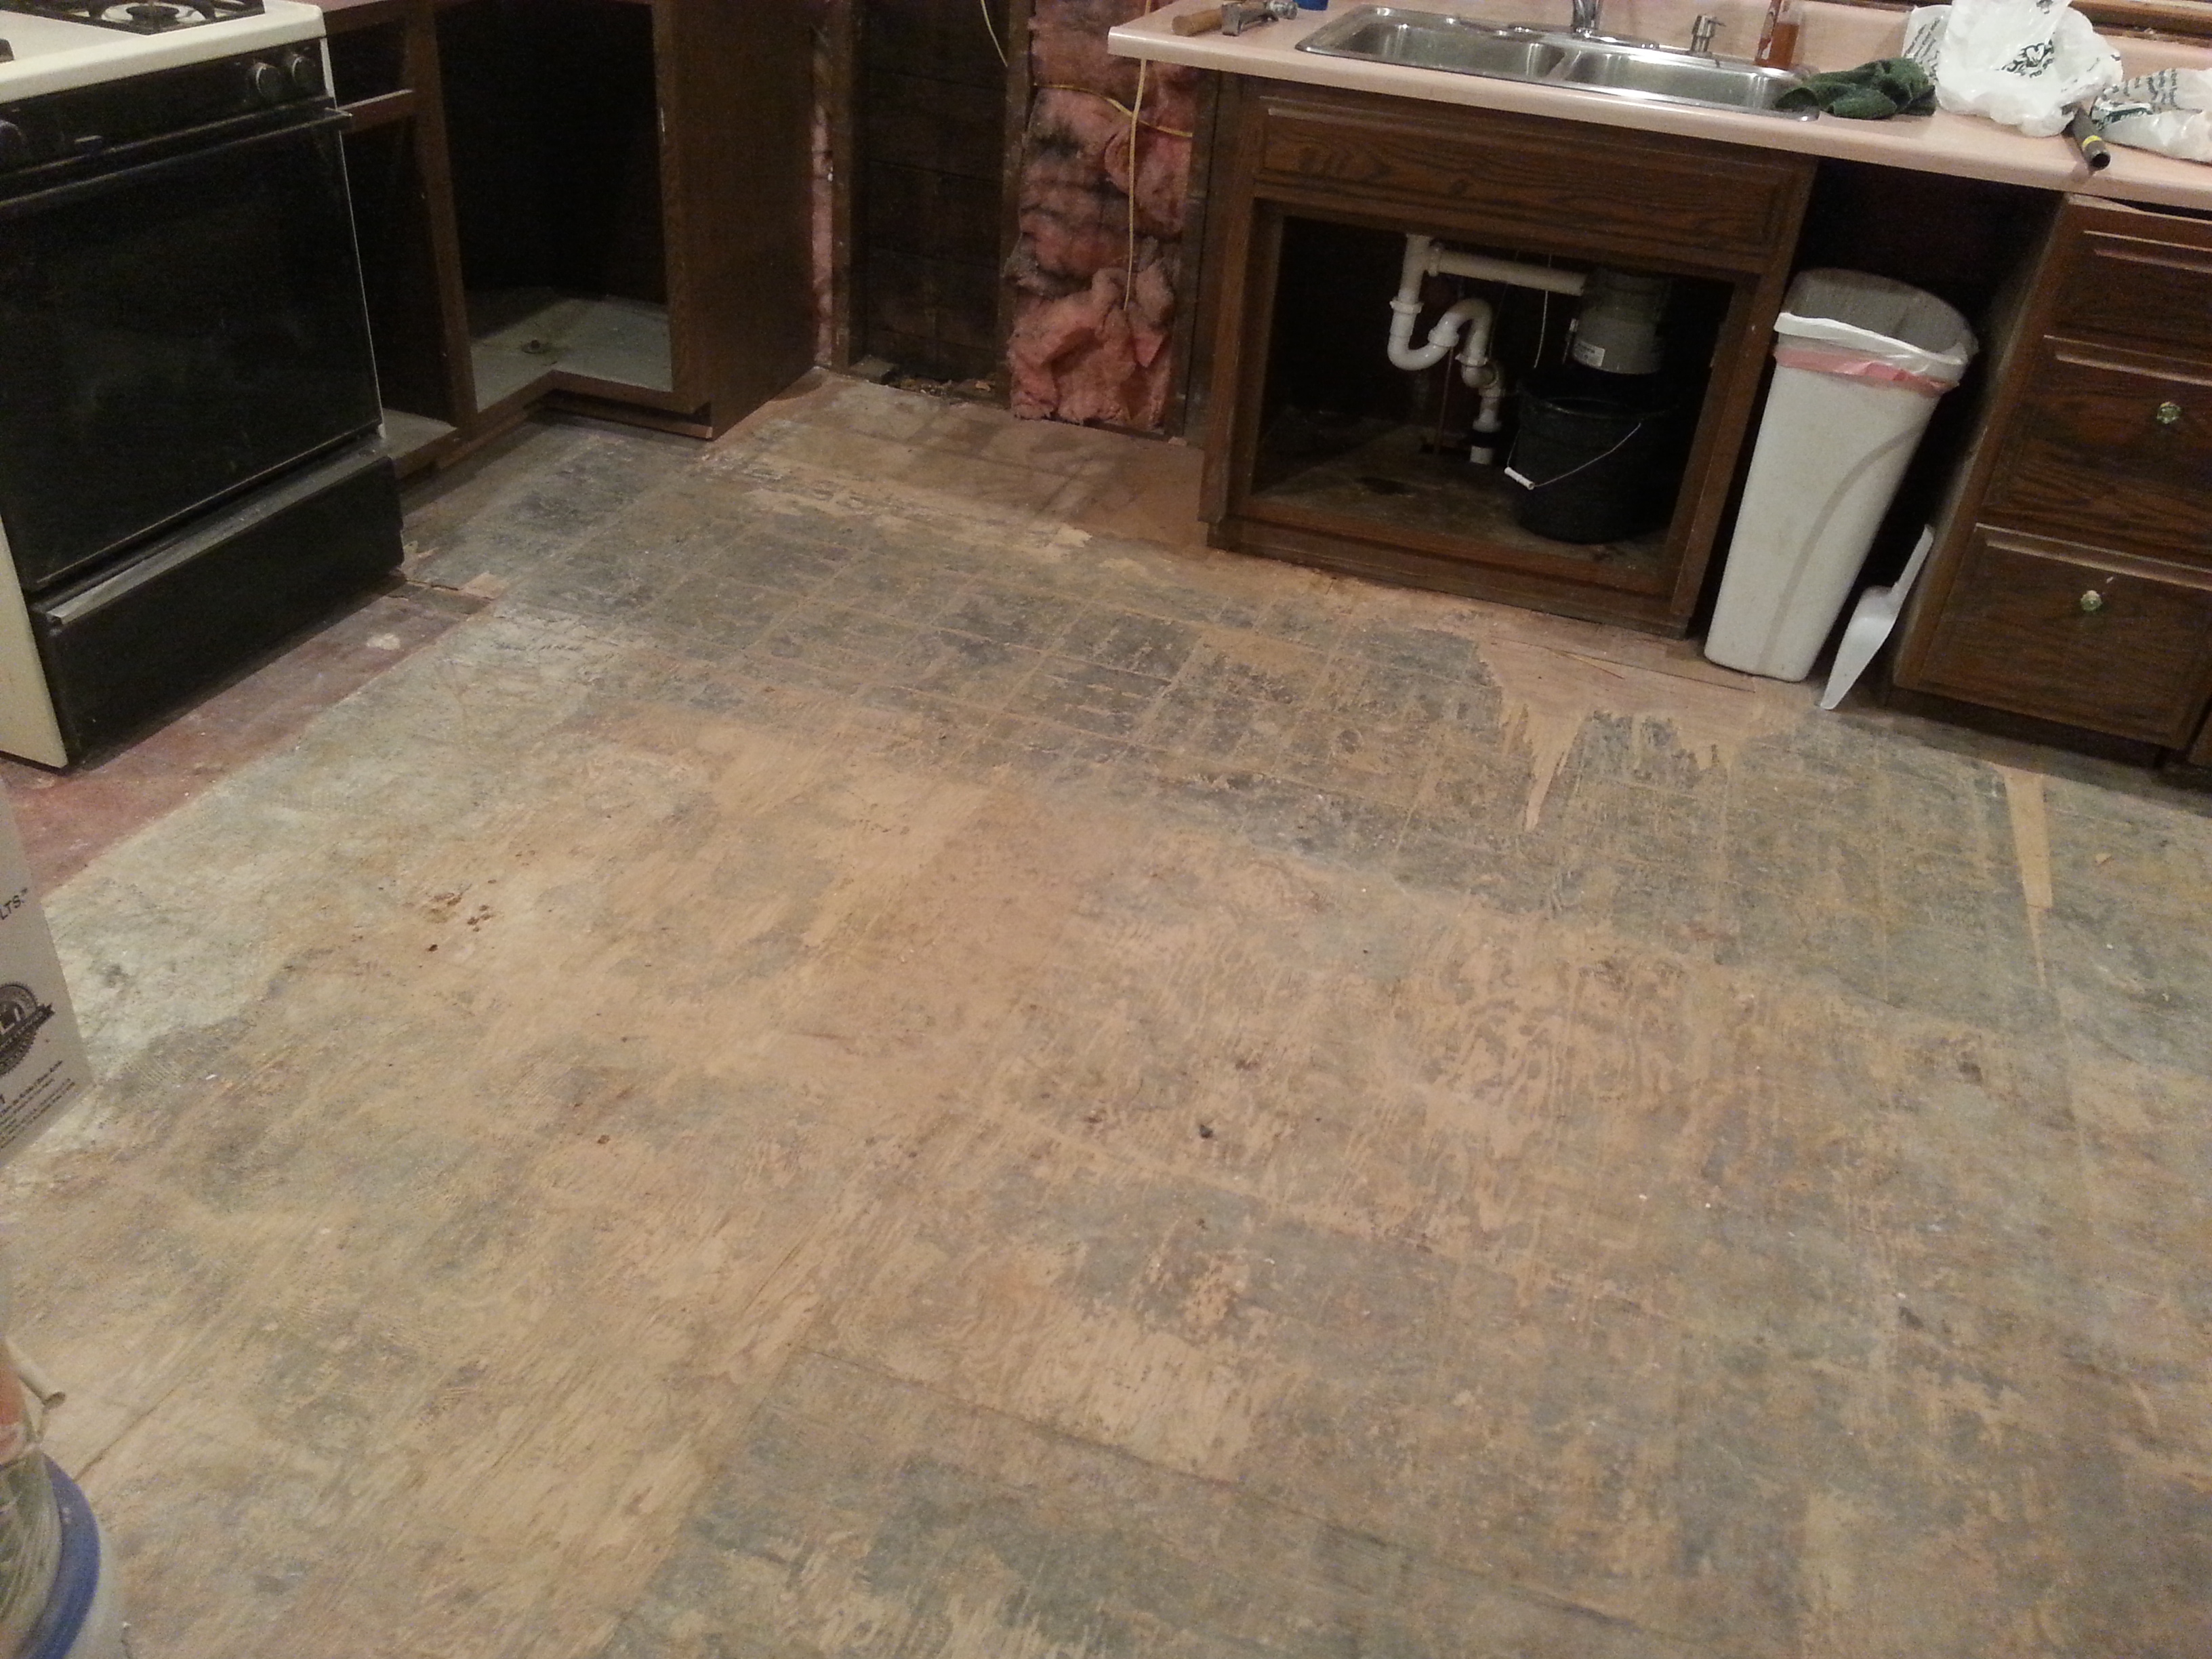
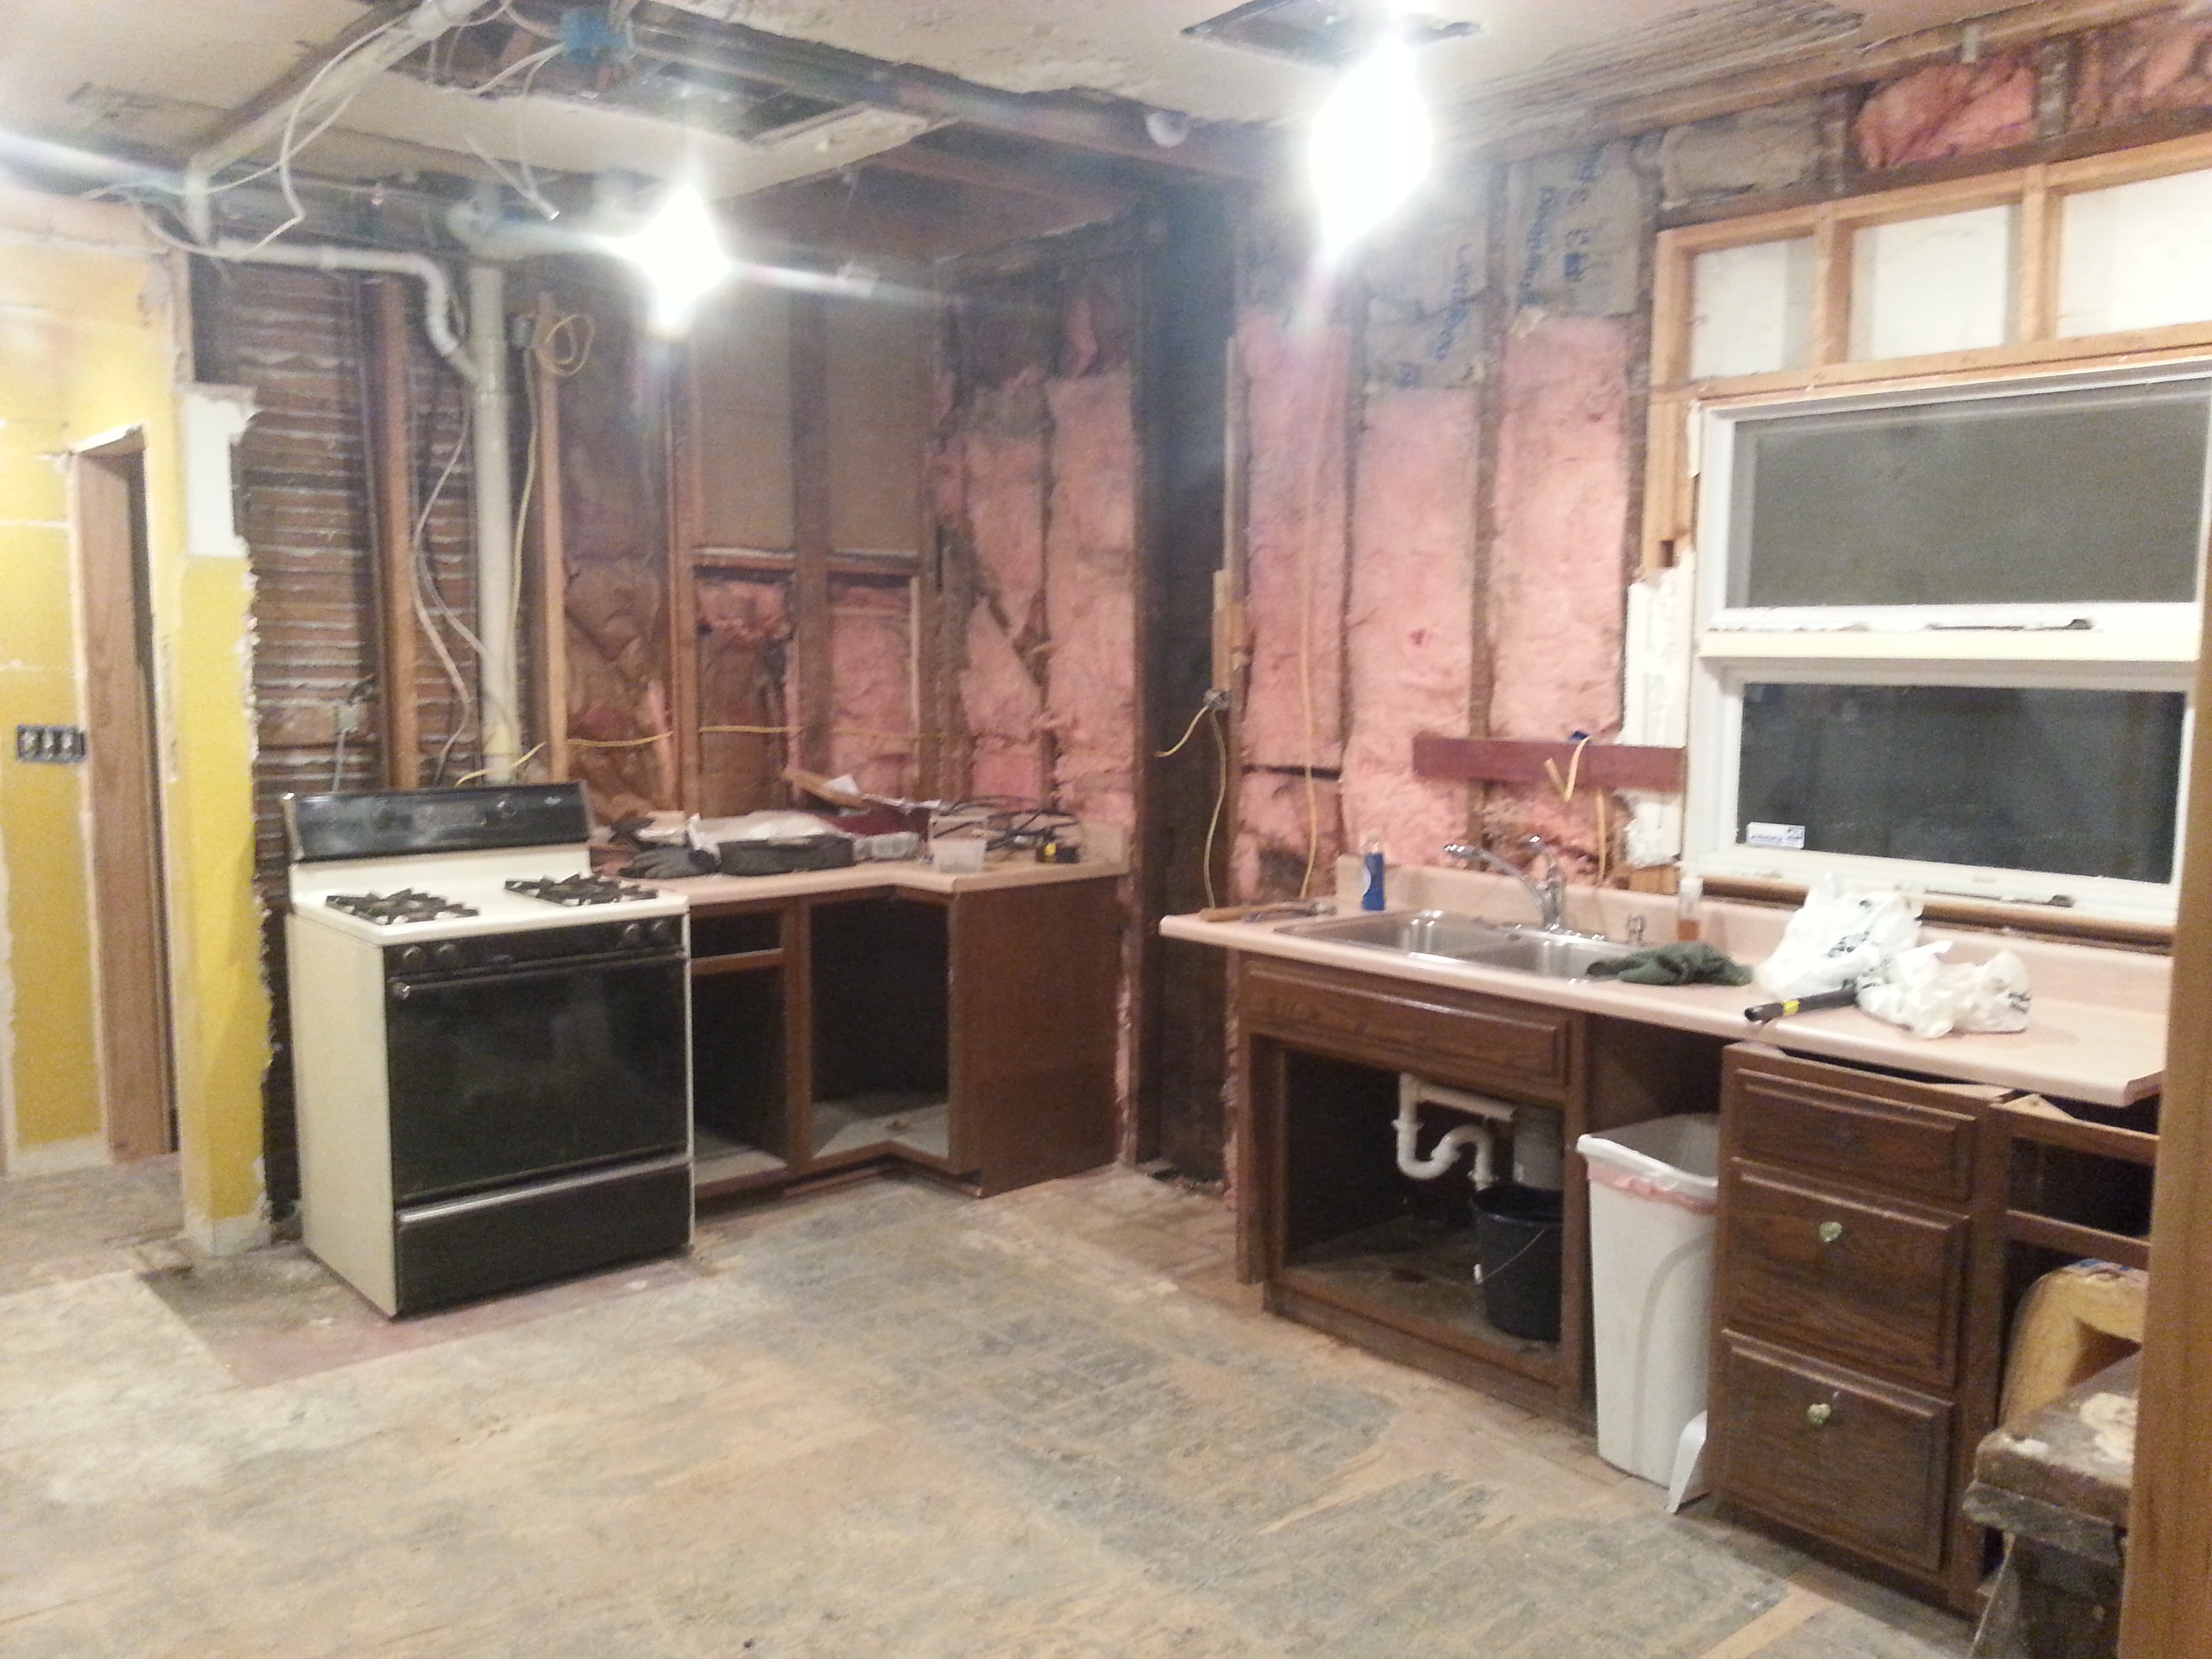
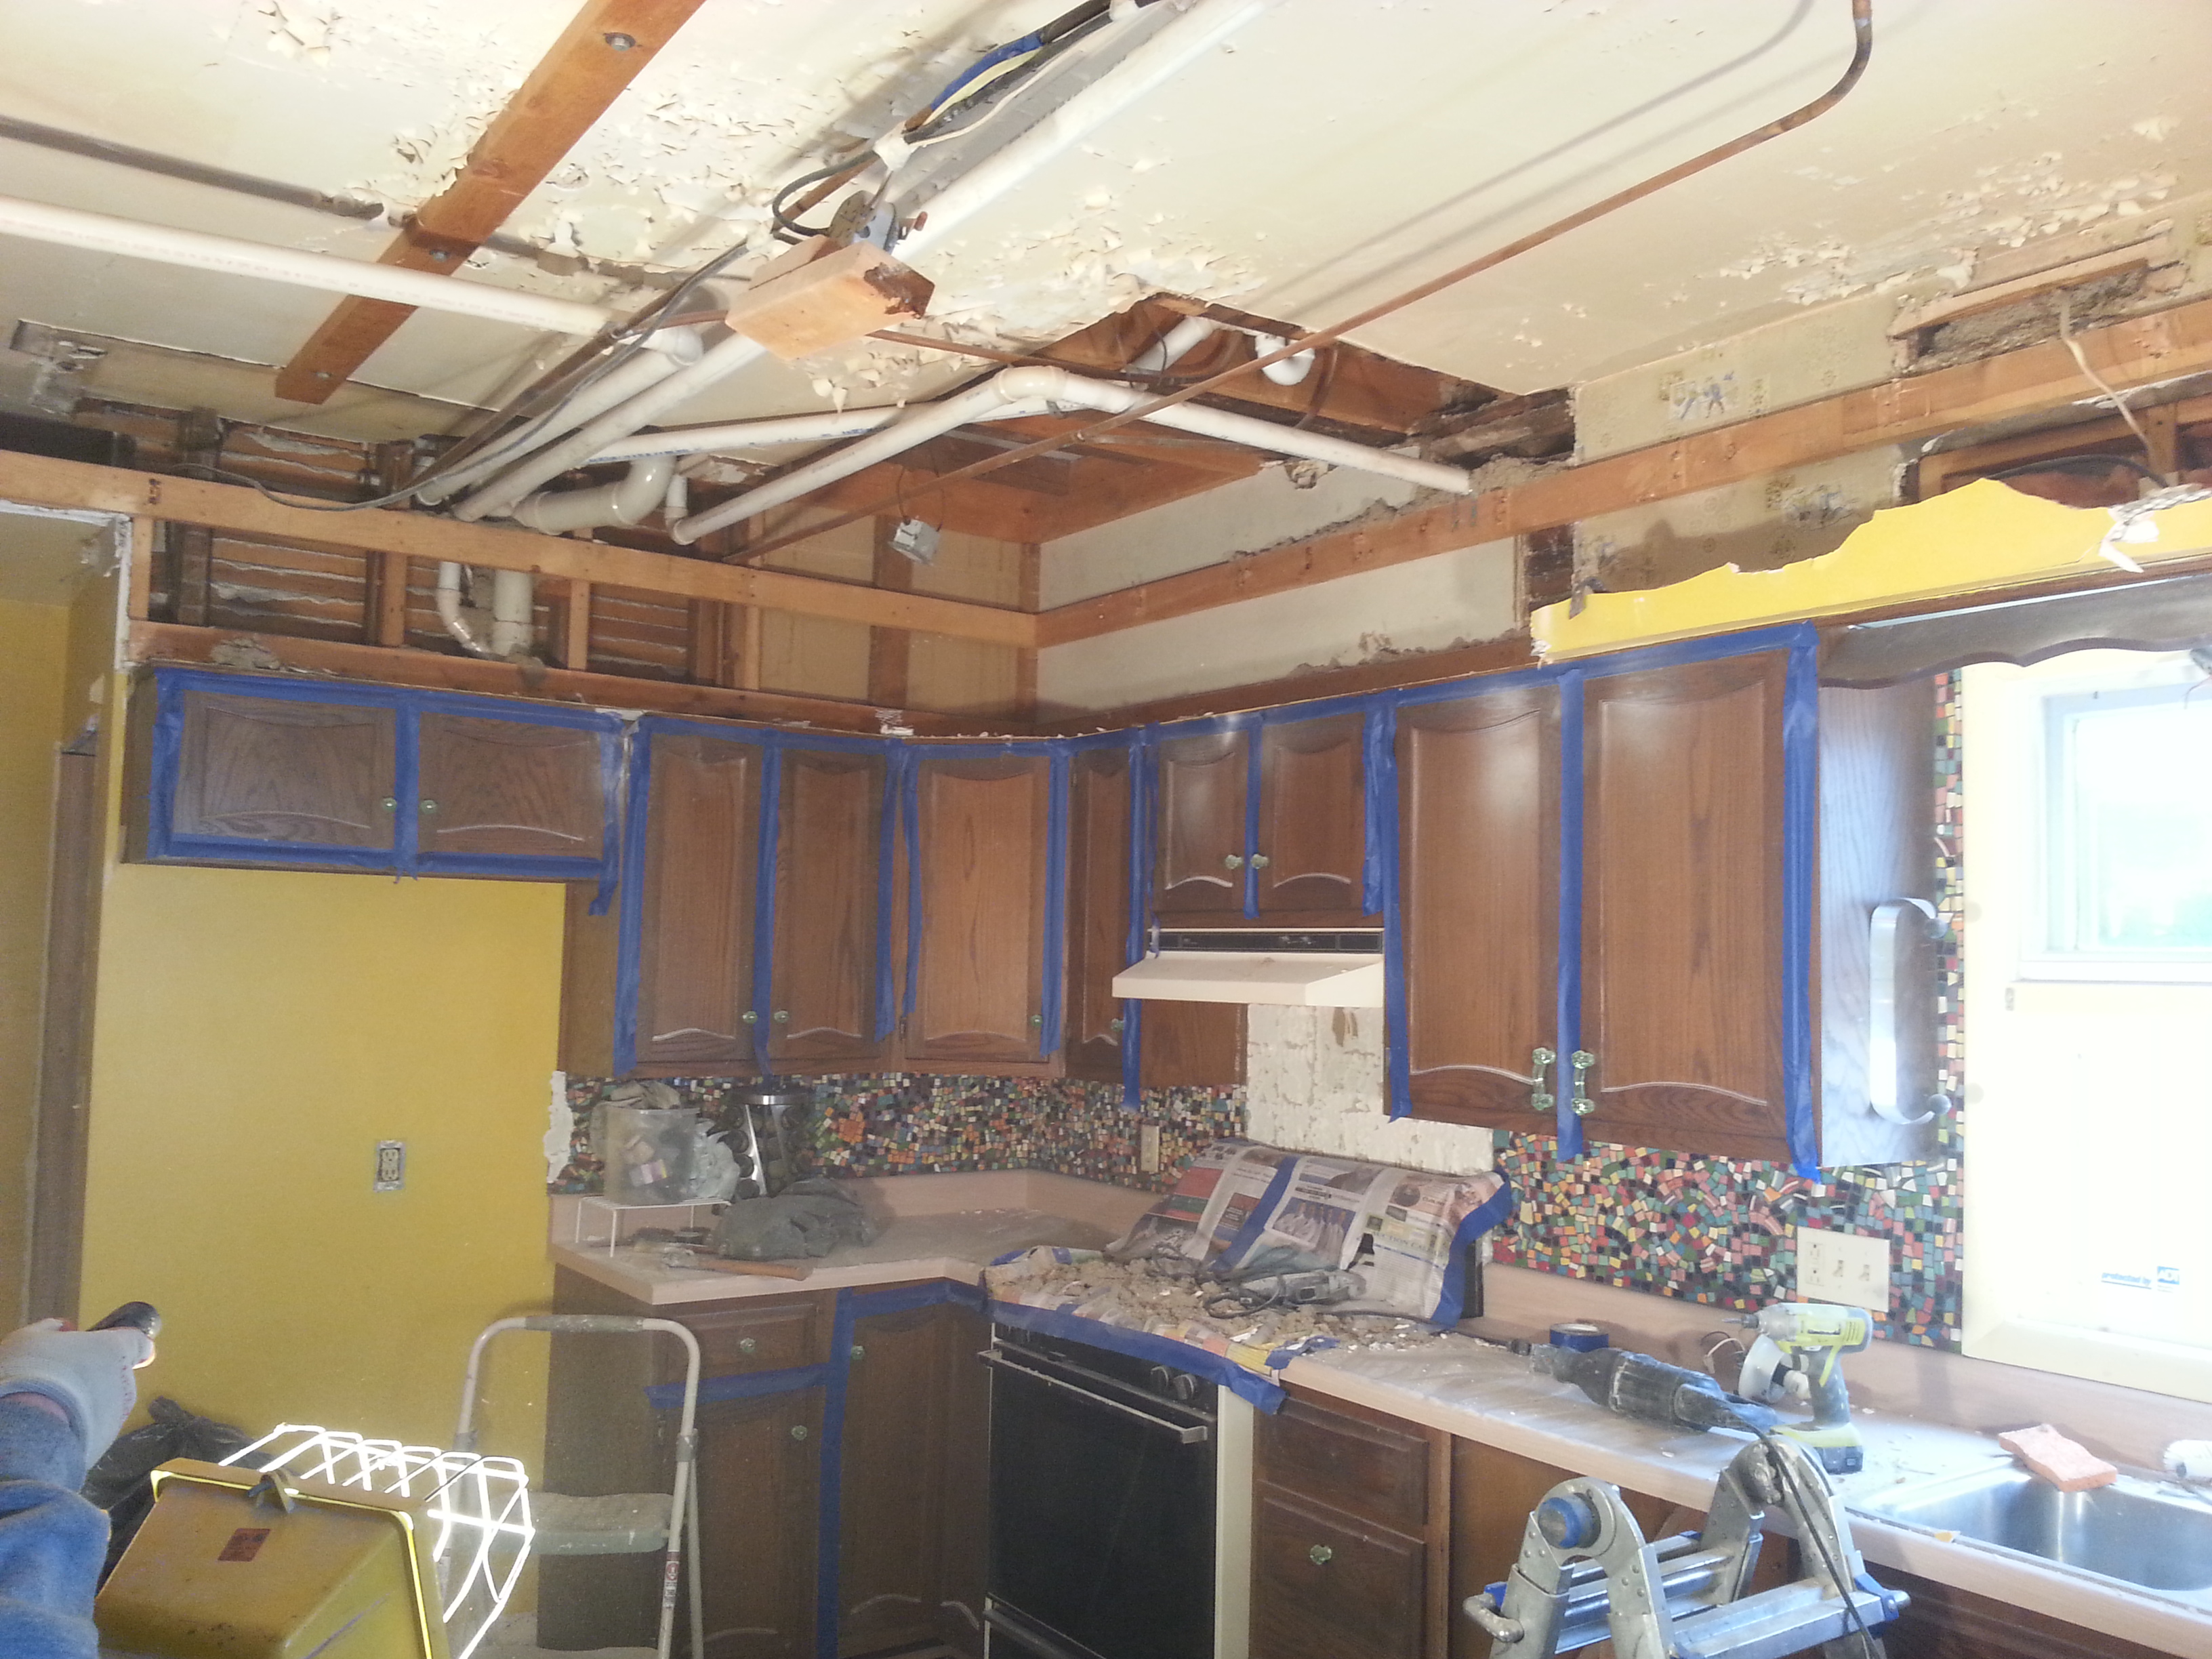
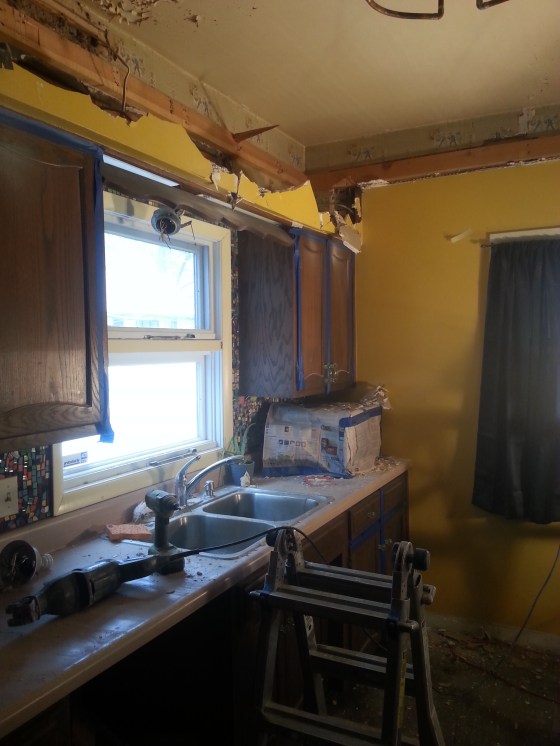
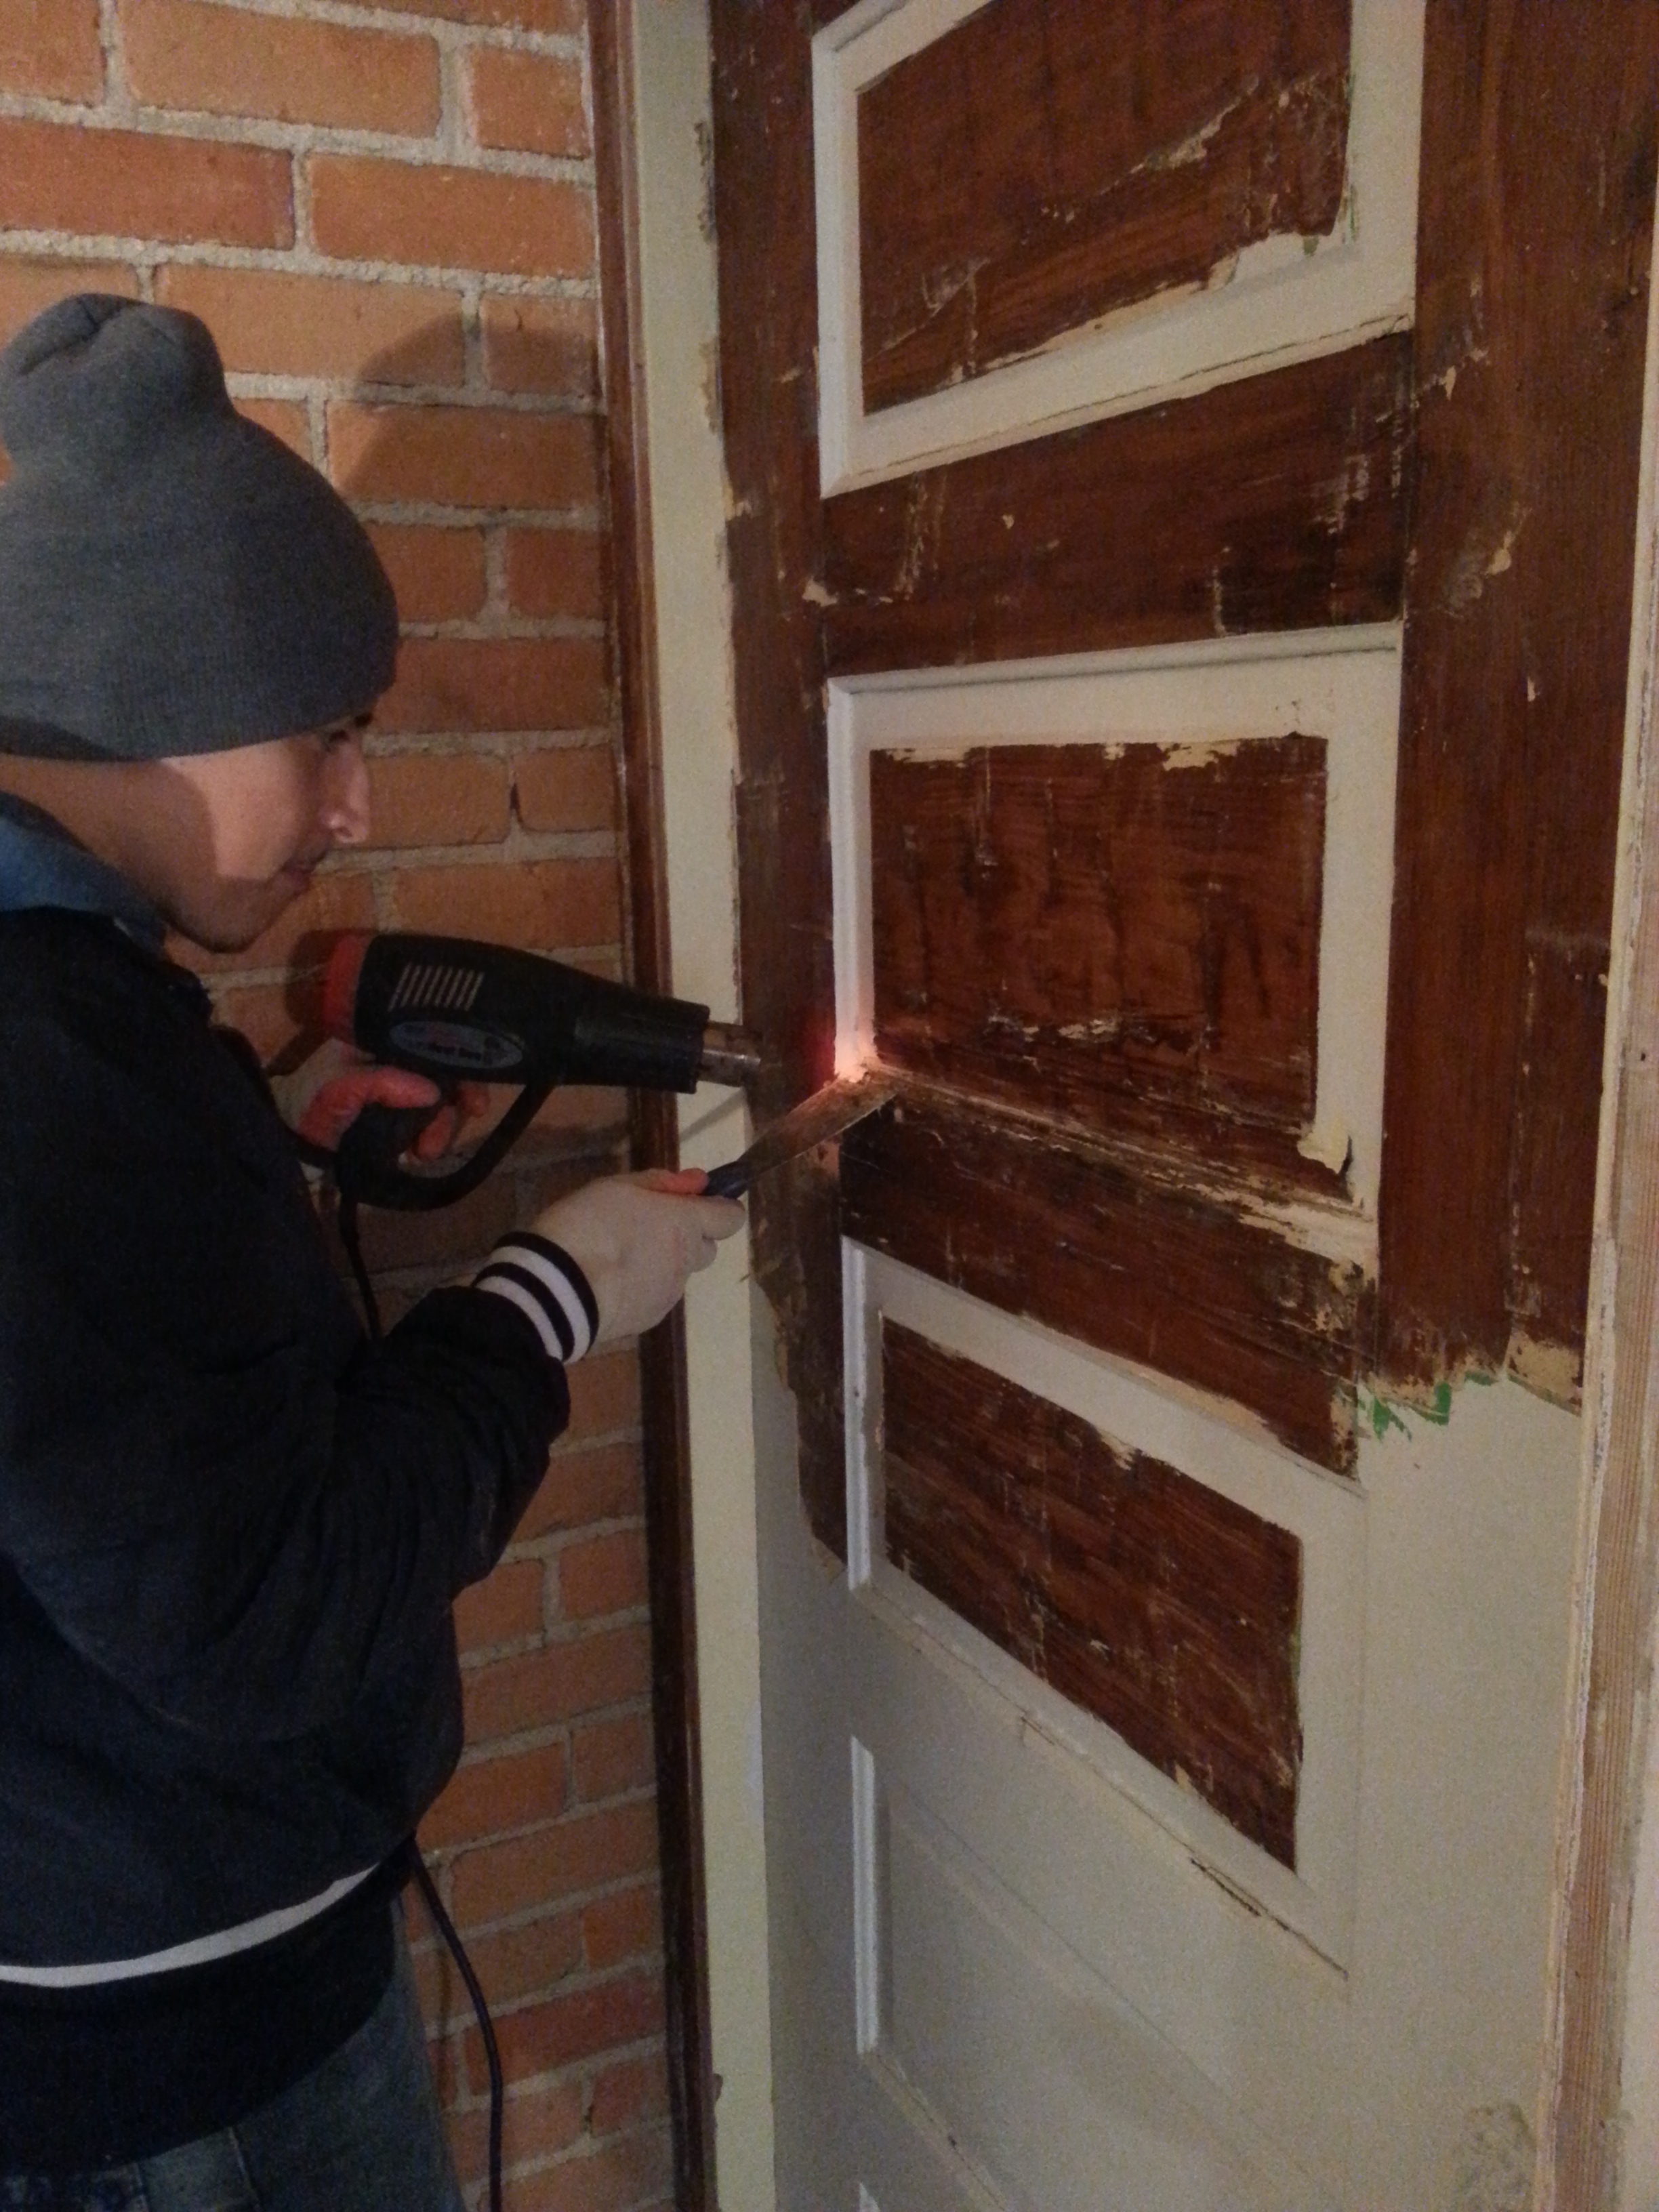
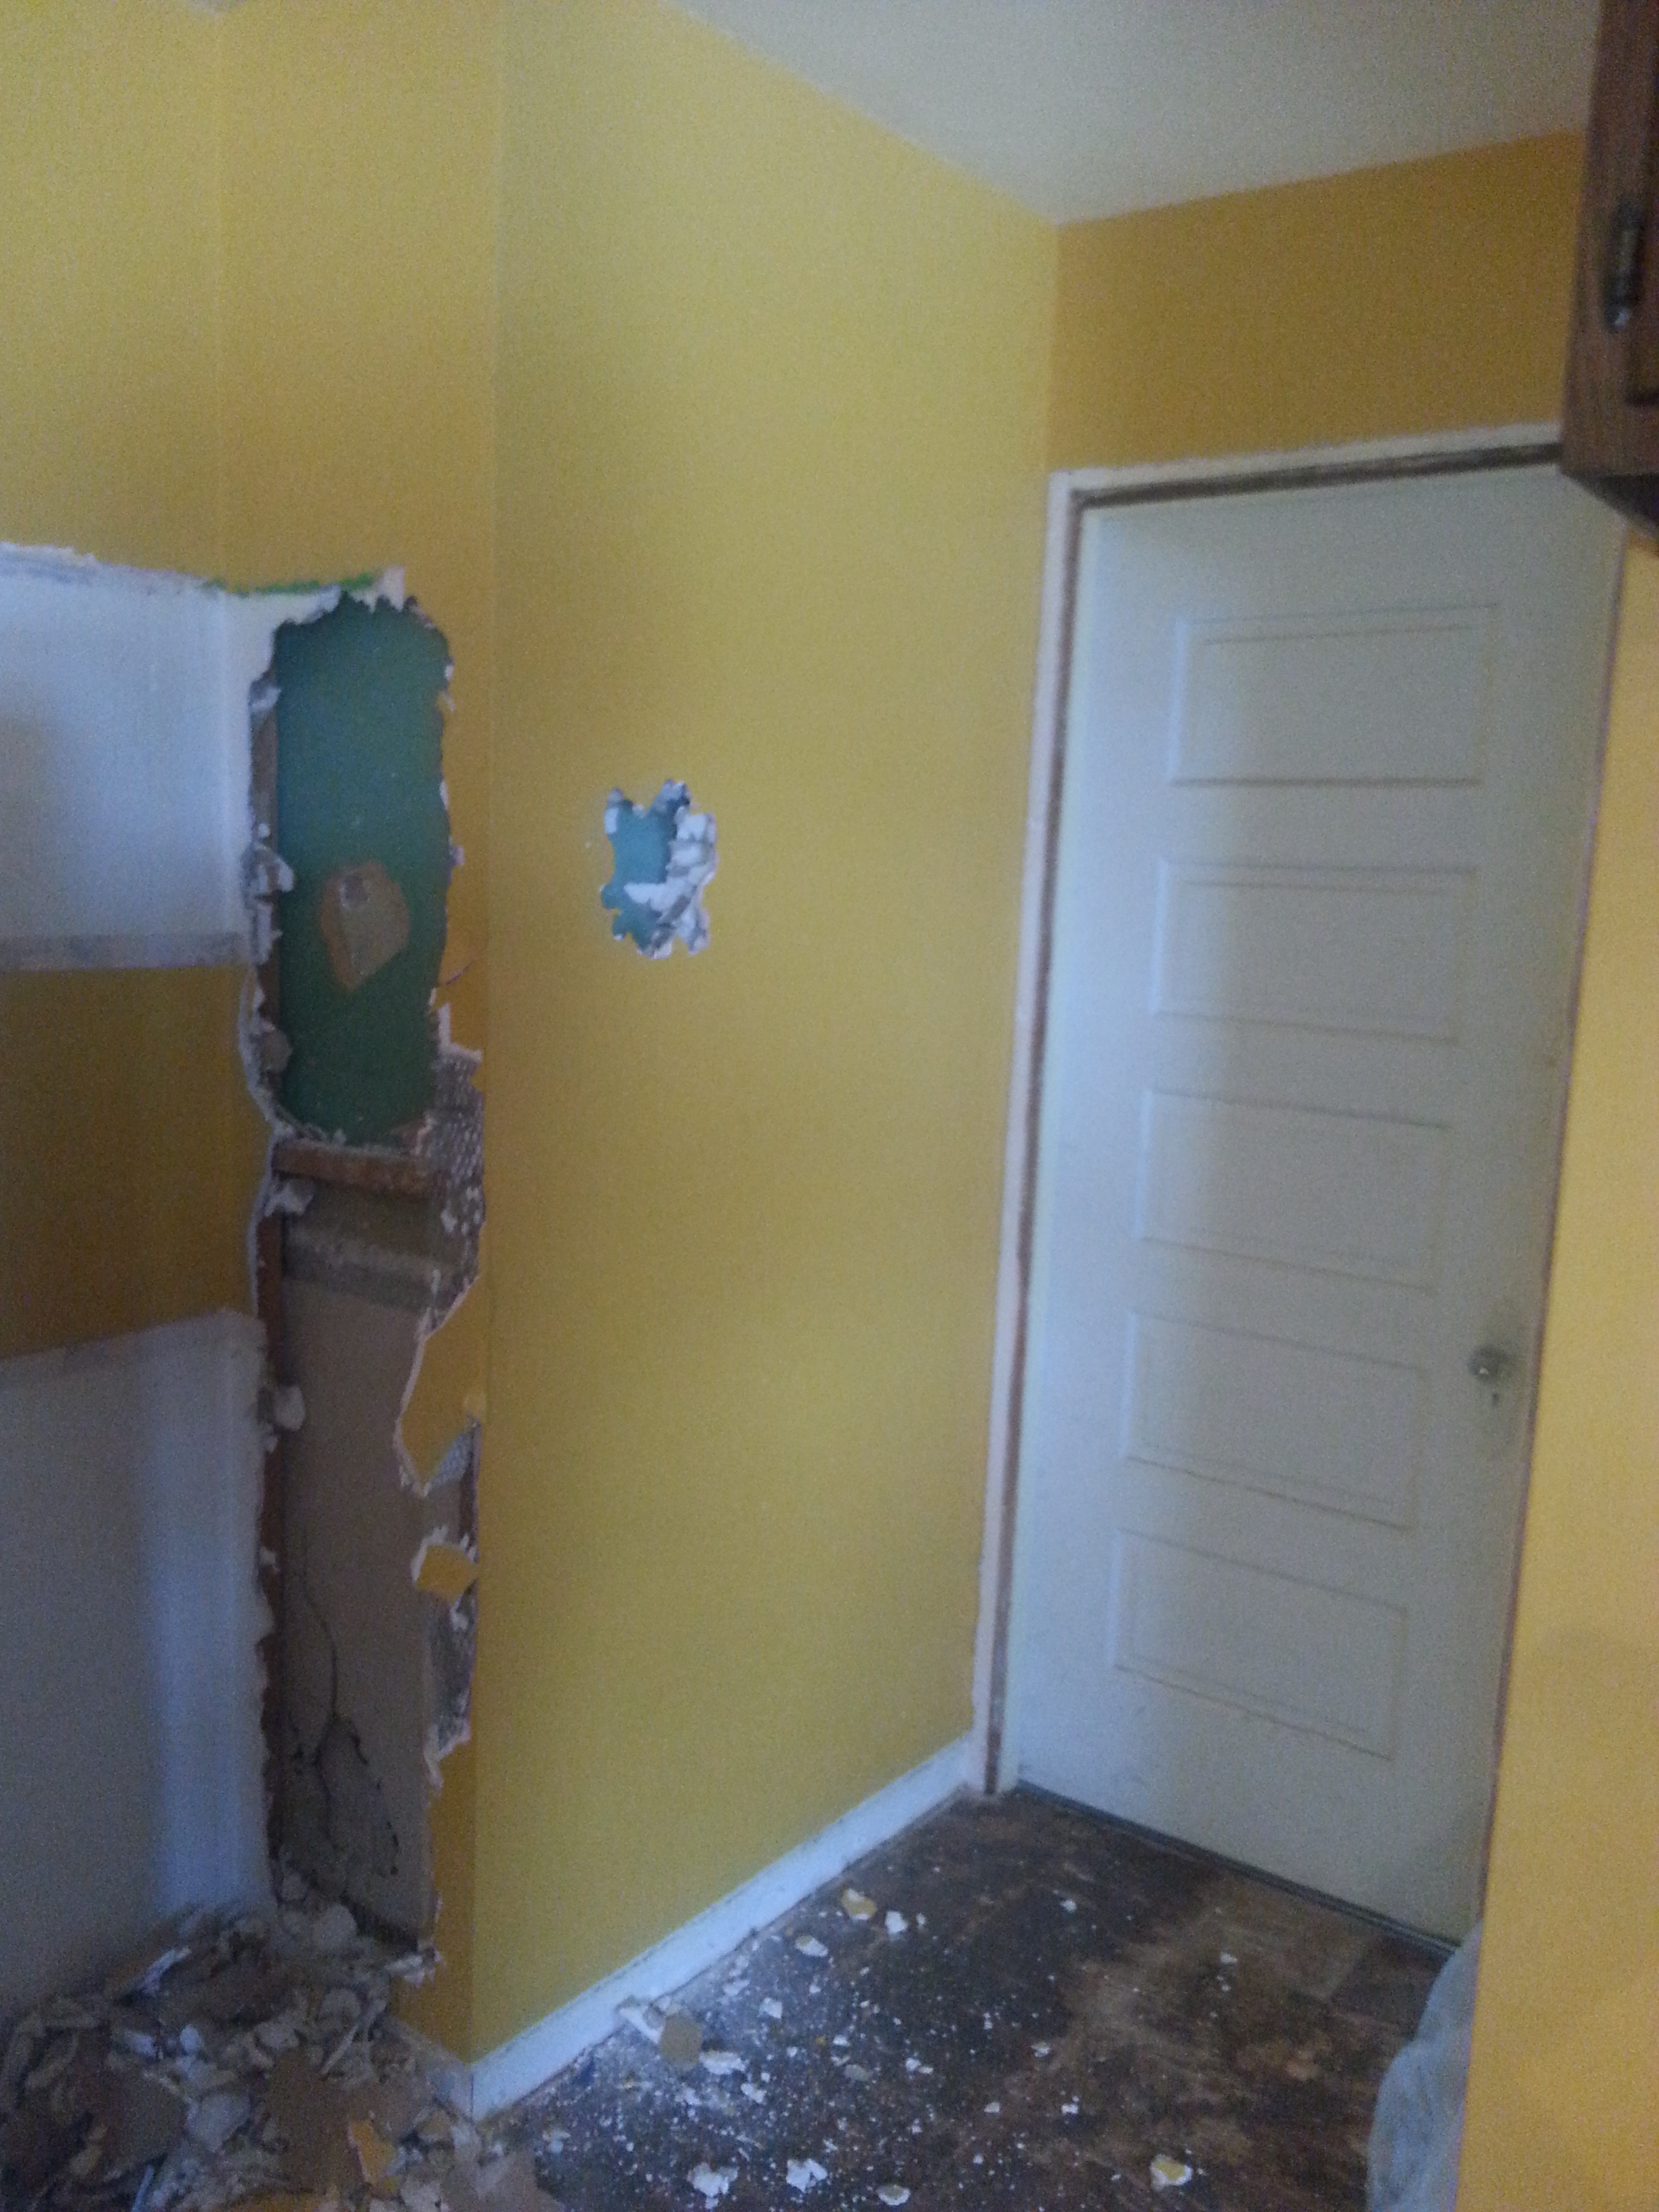
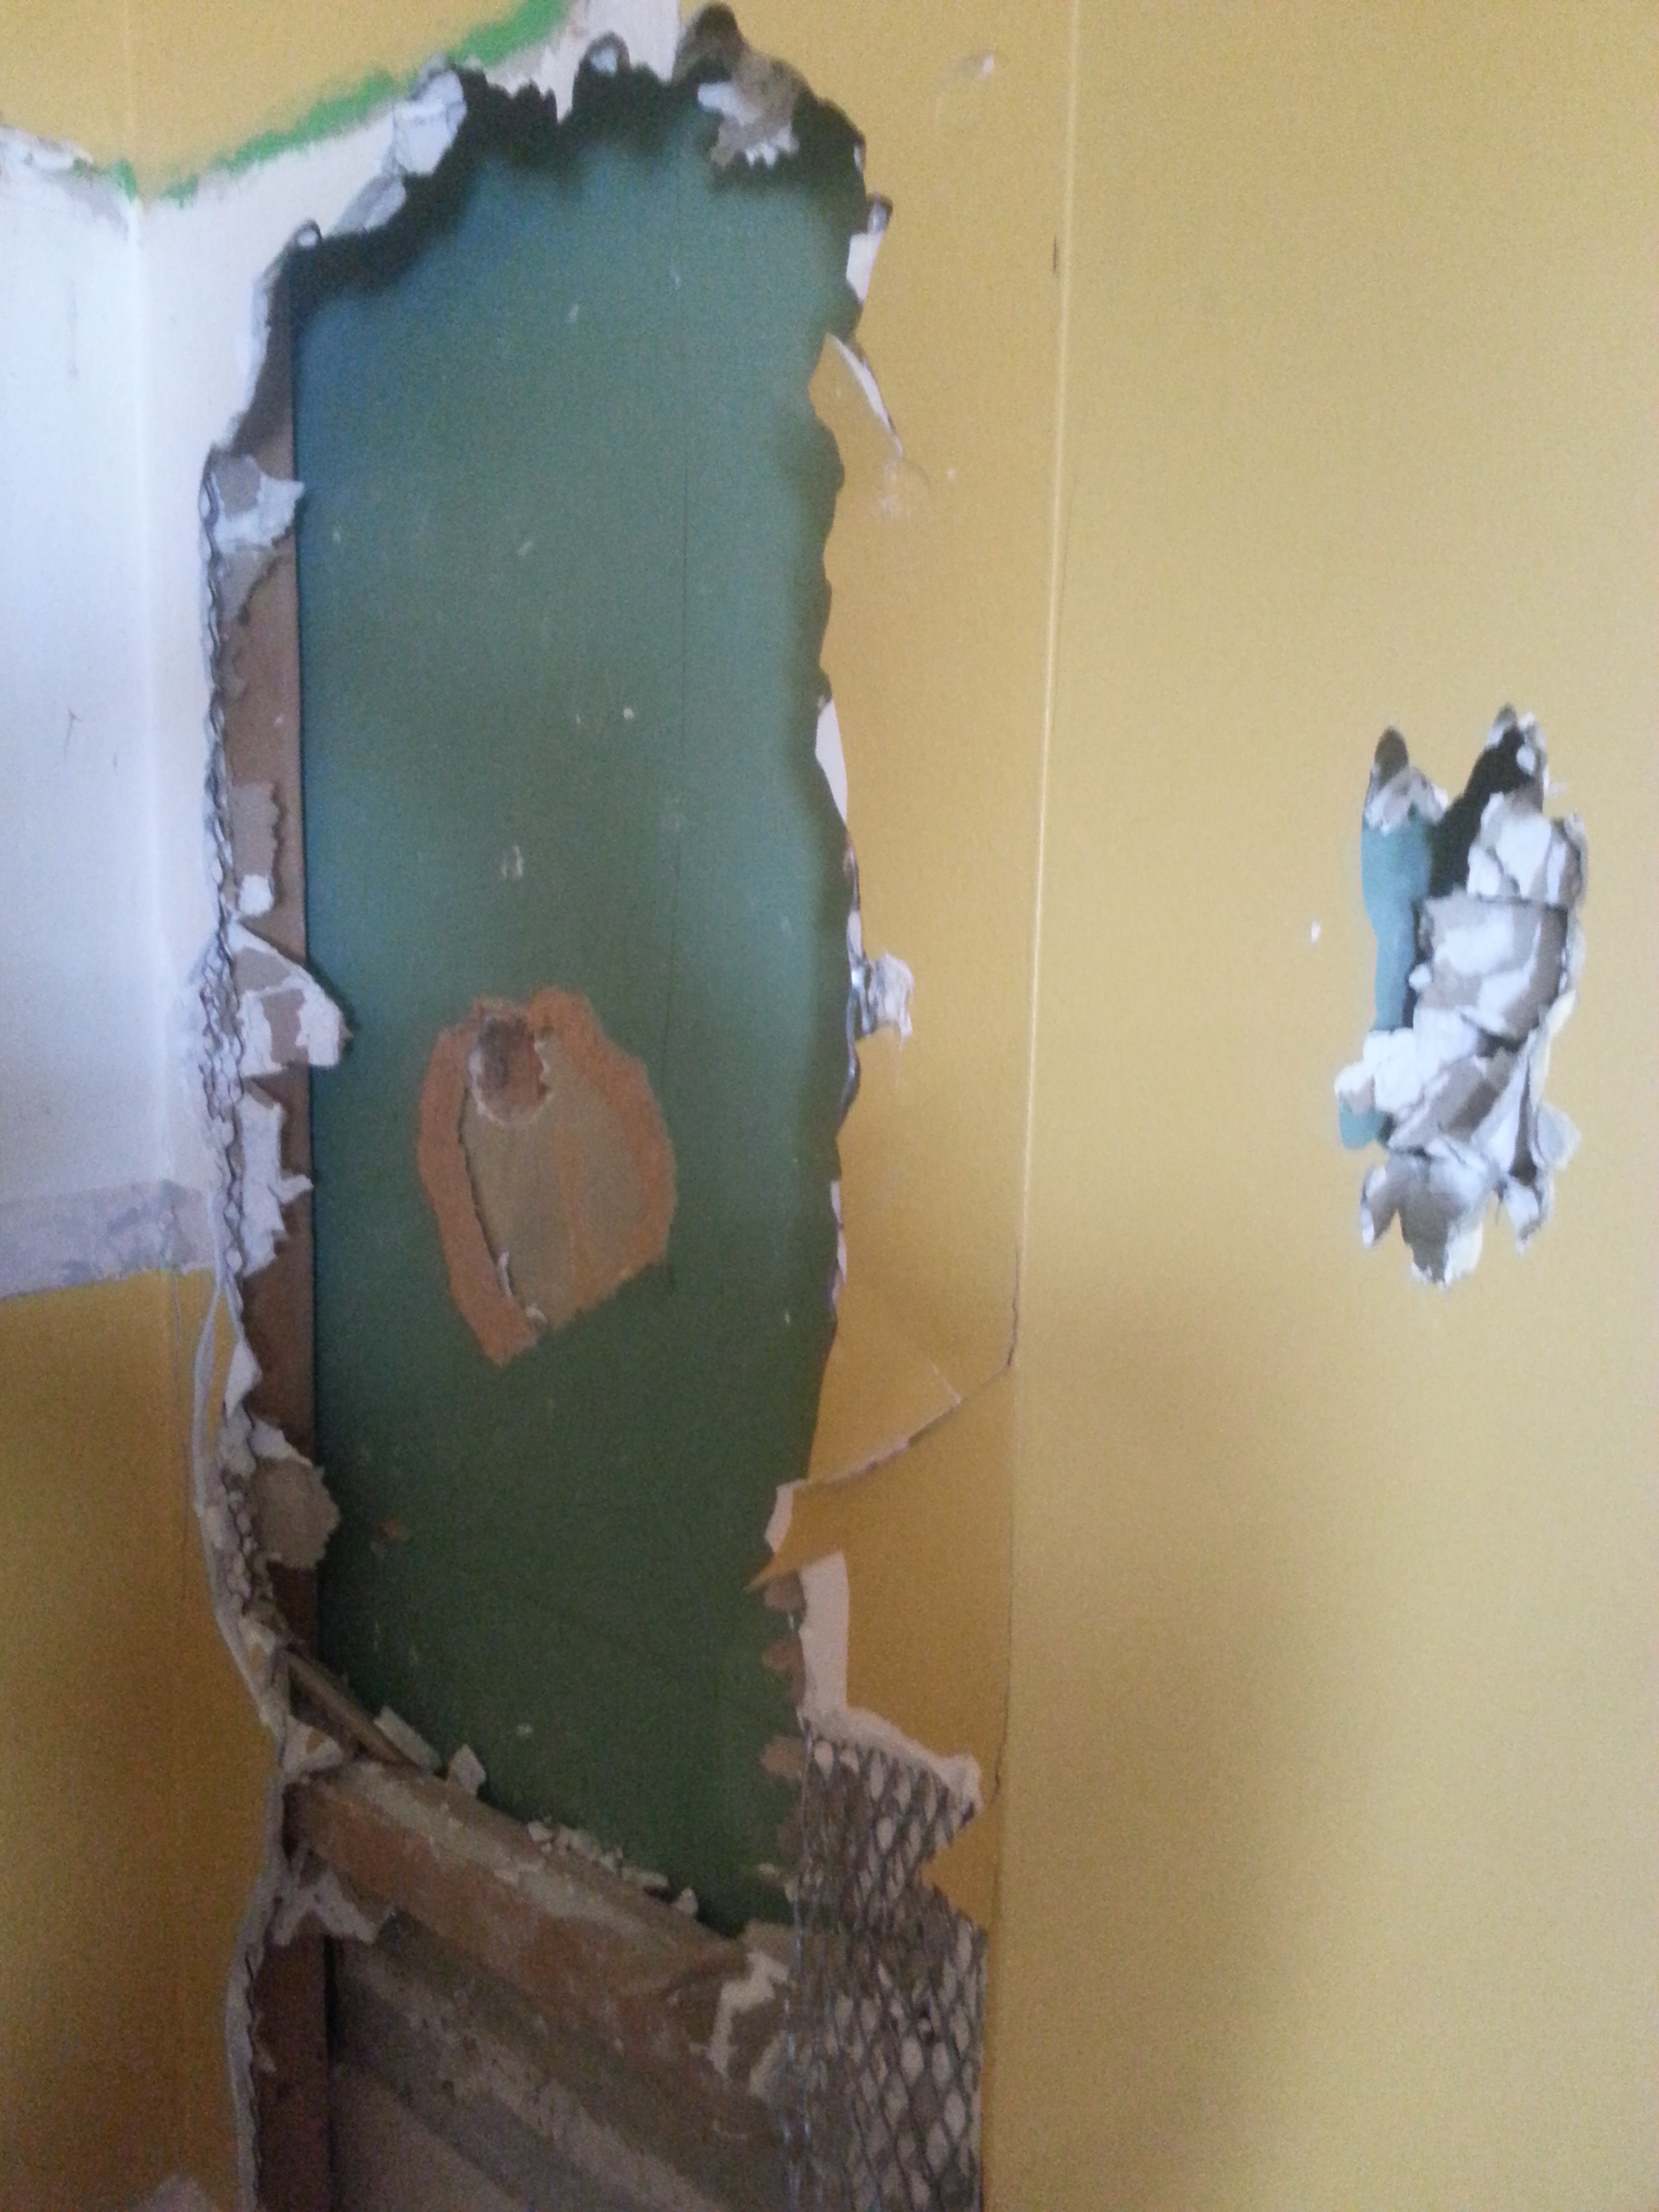
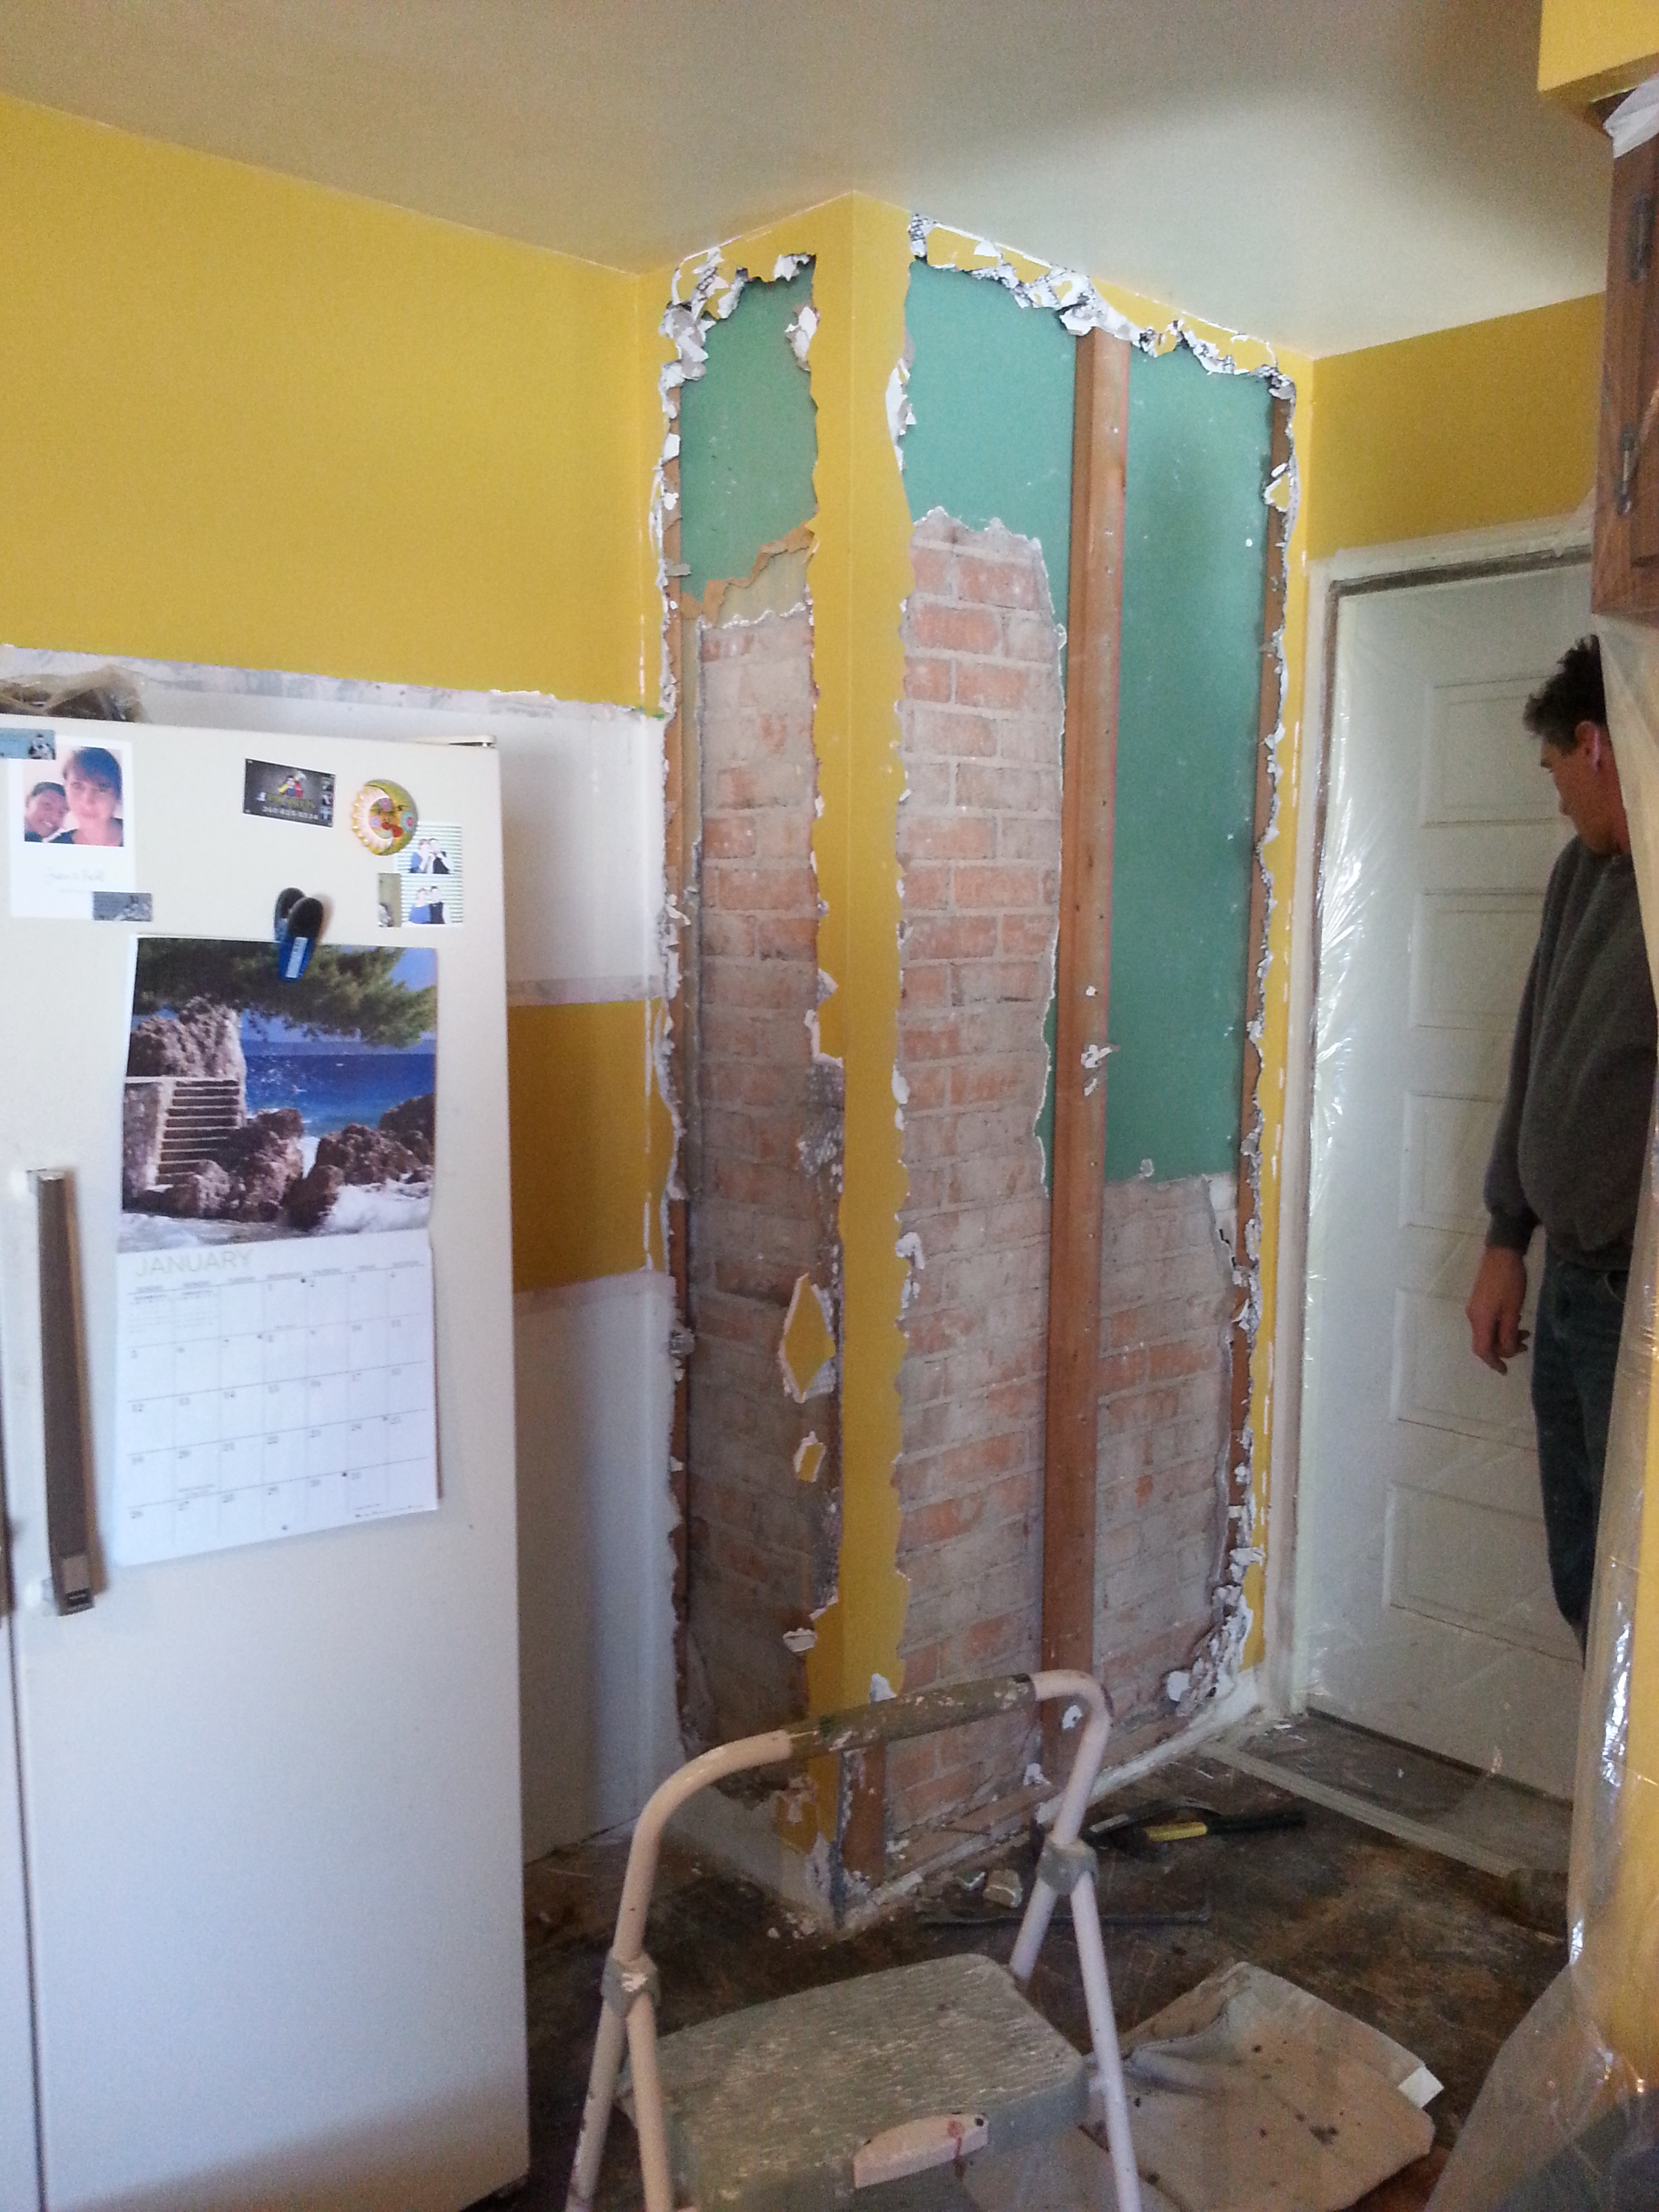
The room was a total disaster when we started. Chipped and cracked plaster, painted trim, fake brick floor (wth?!), peeling paint, shelf brackets with no shelves…

20140222_114815

20140222_11483120140222_11500920140222_114931
20140222_11483620140222_114939 20140222_114957


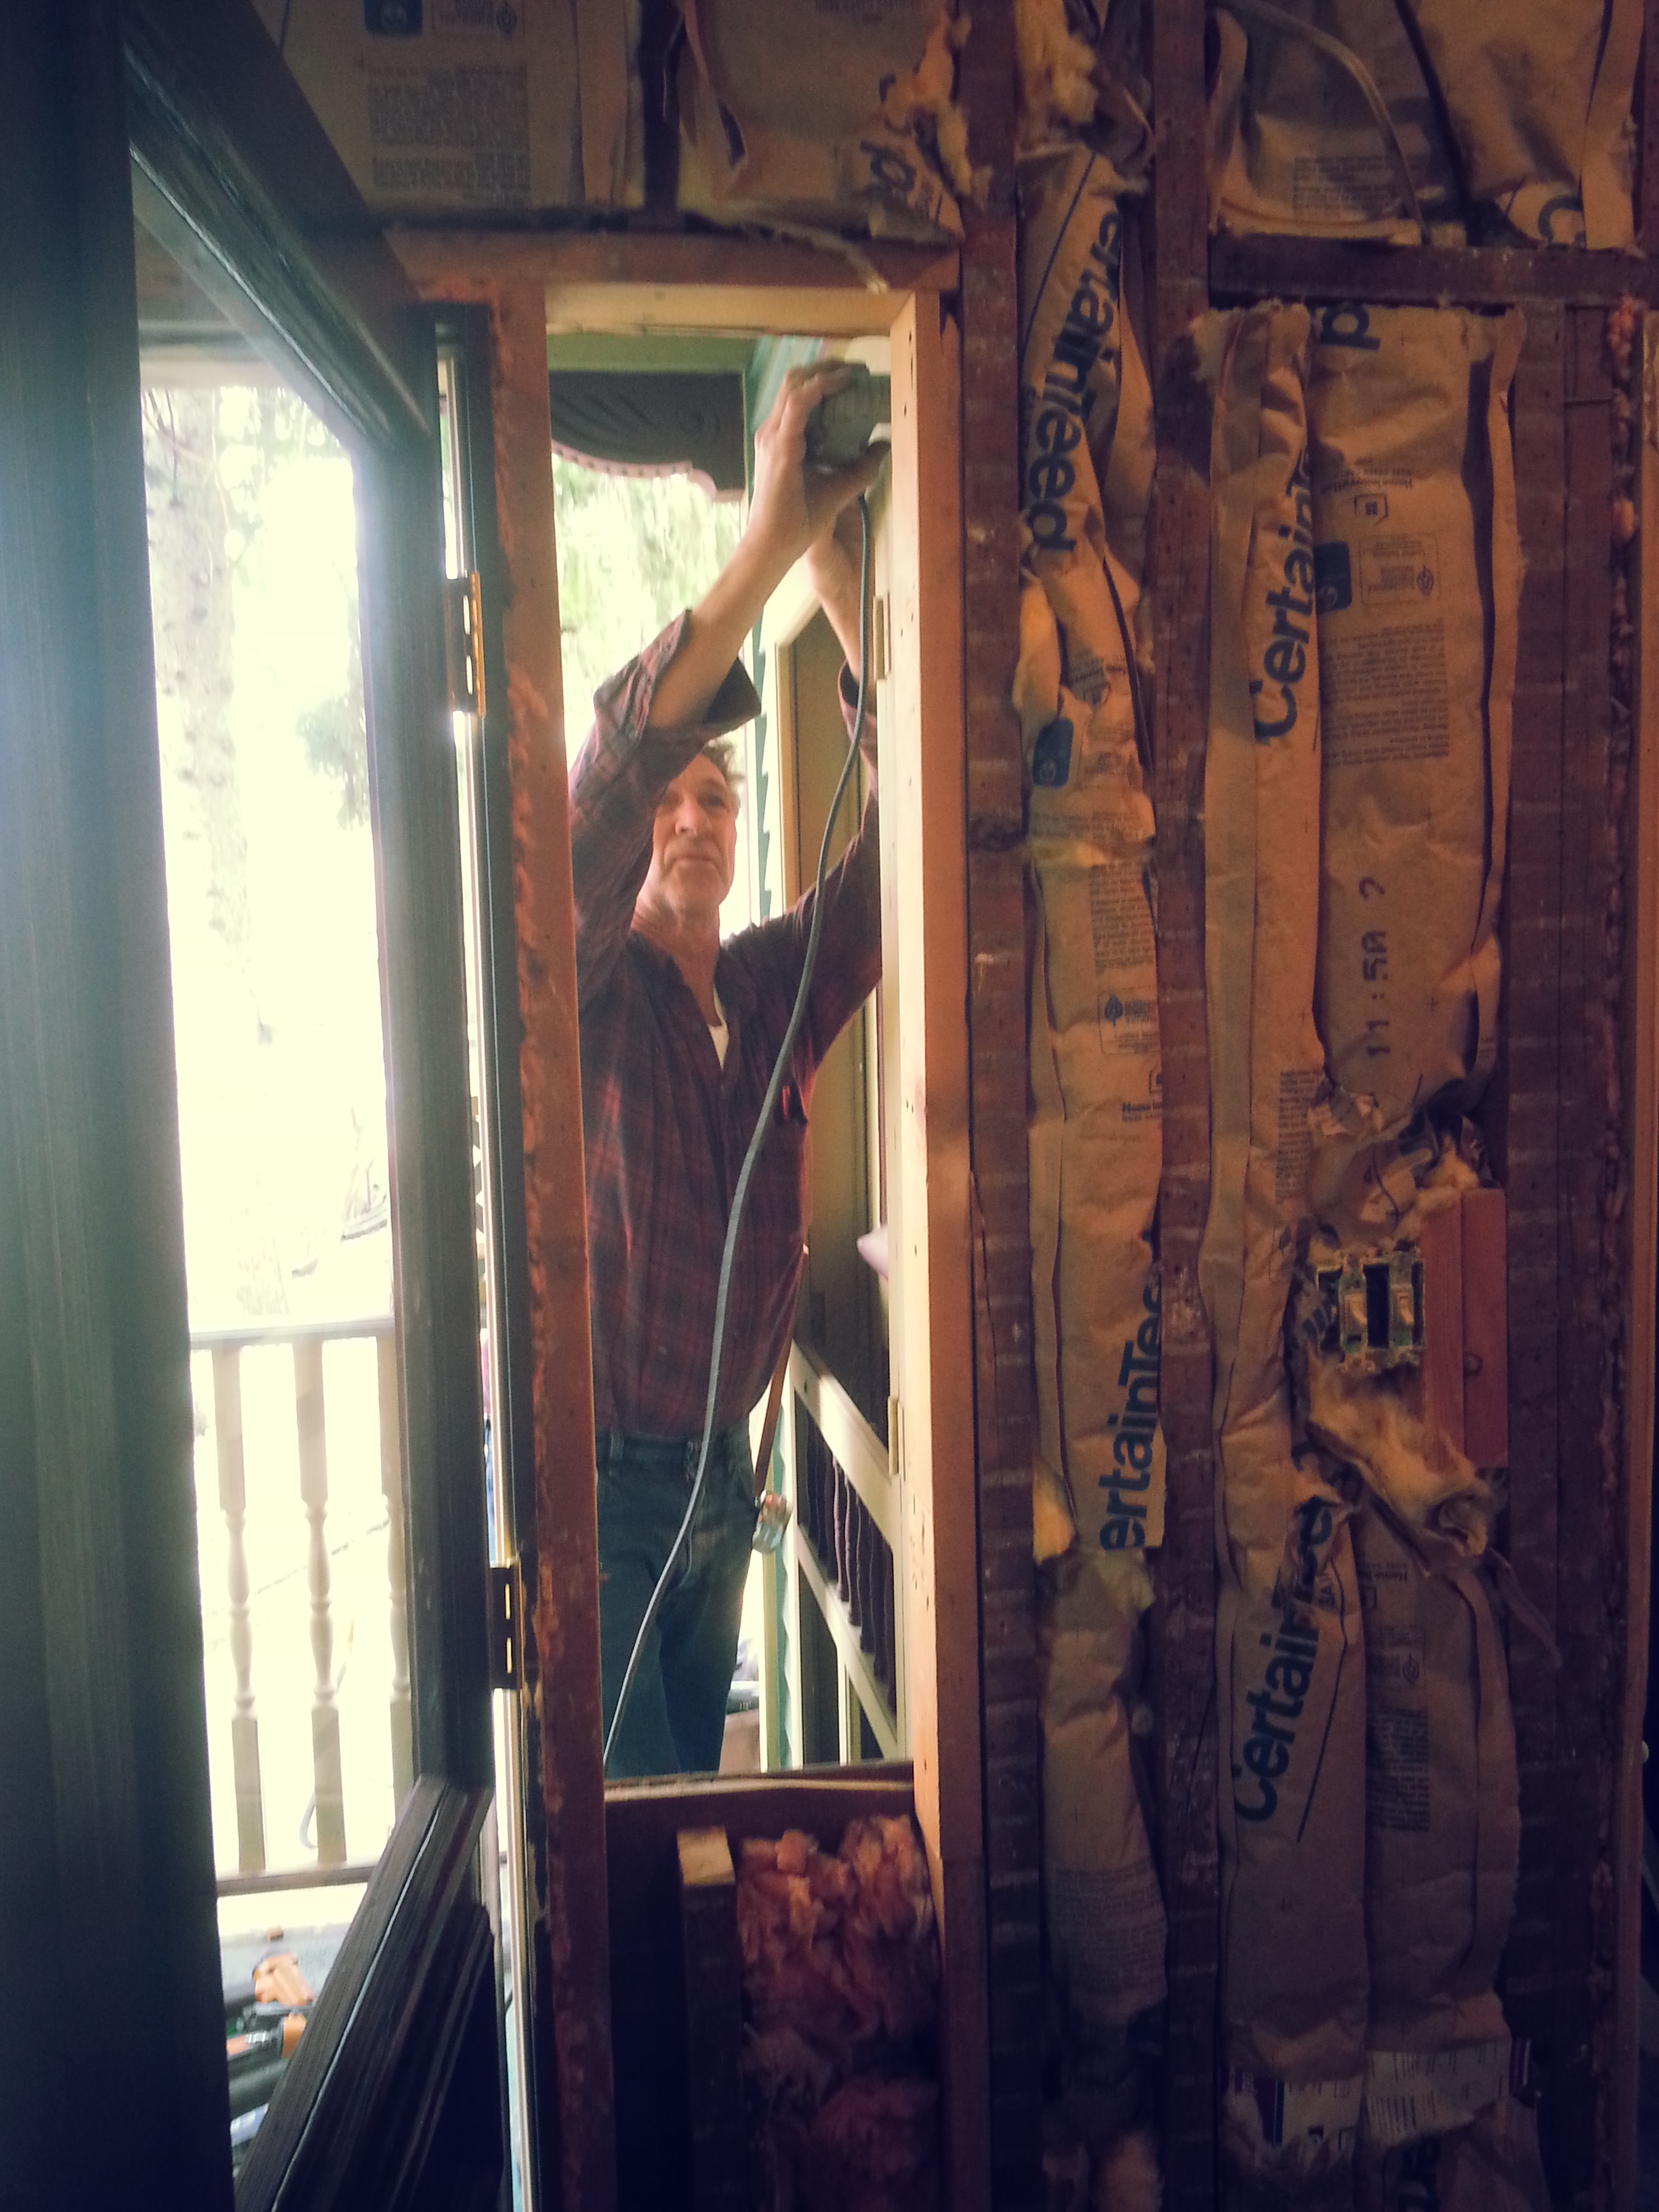
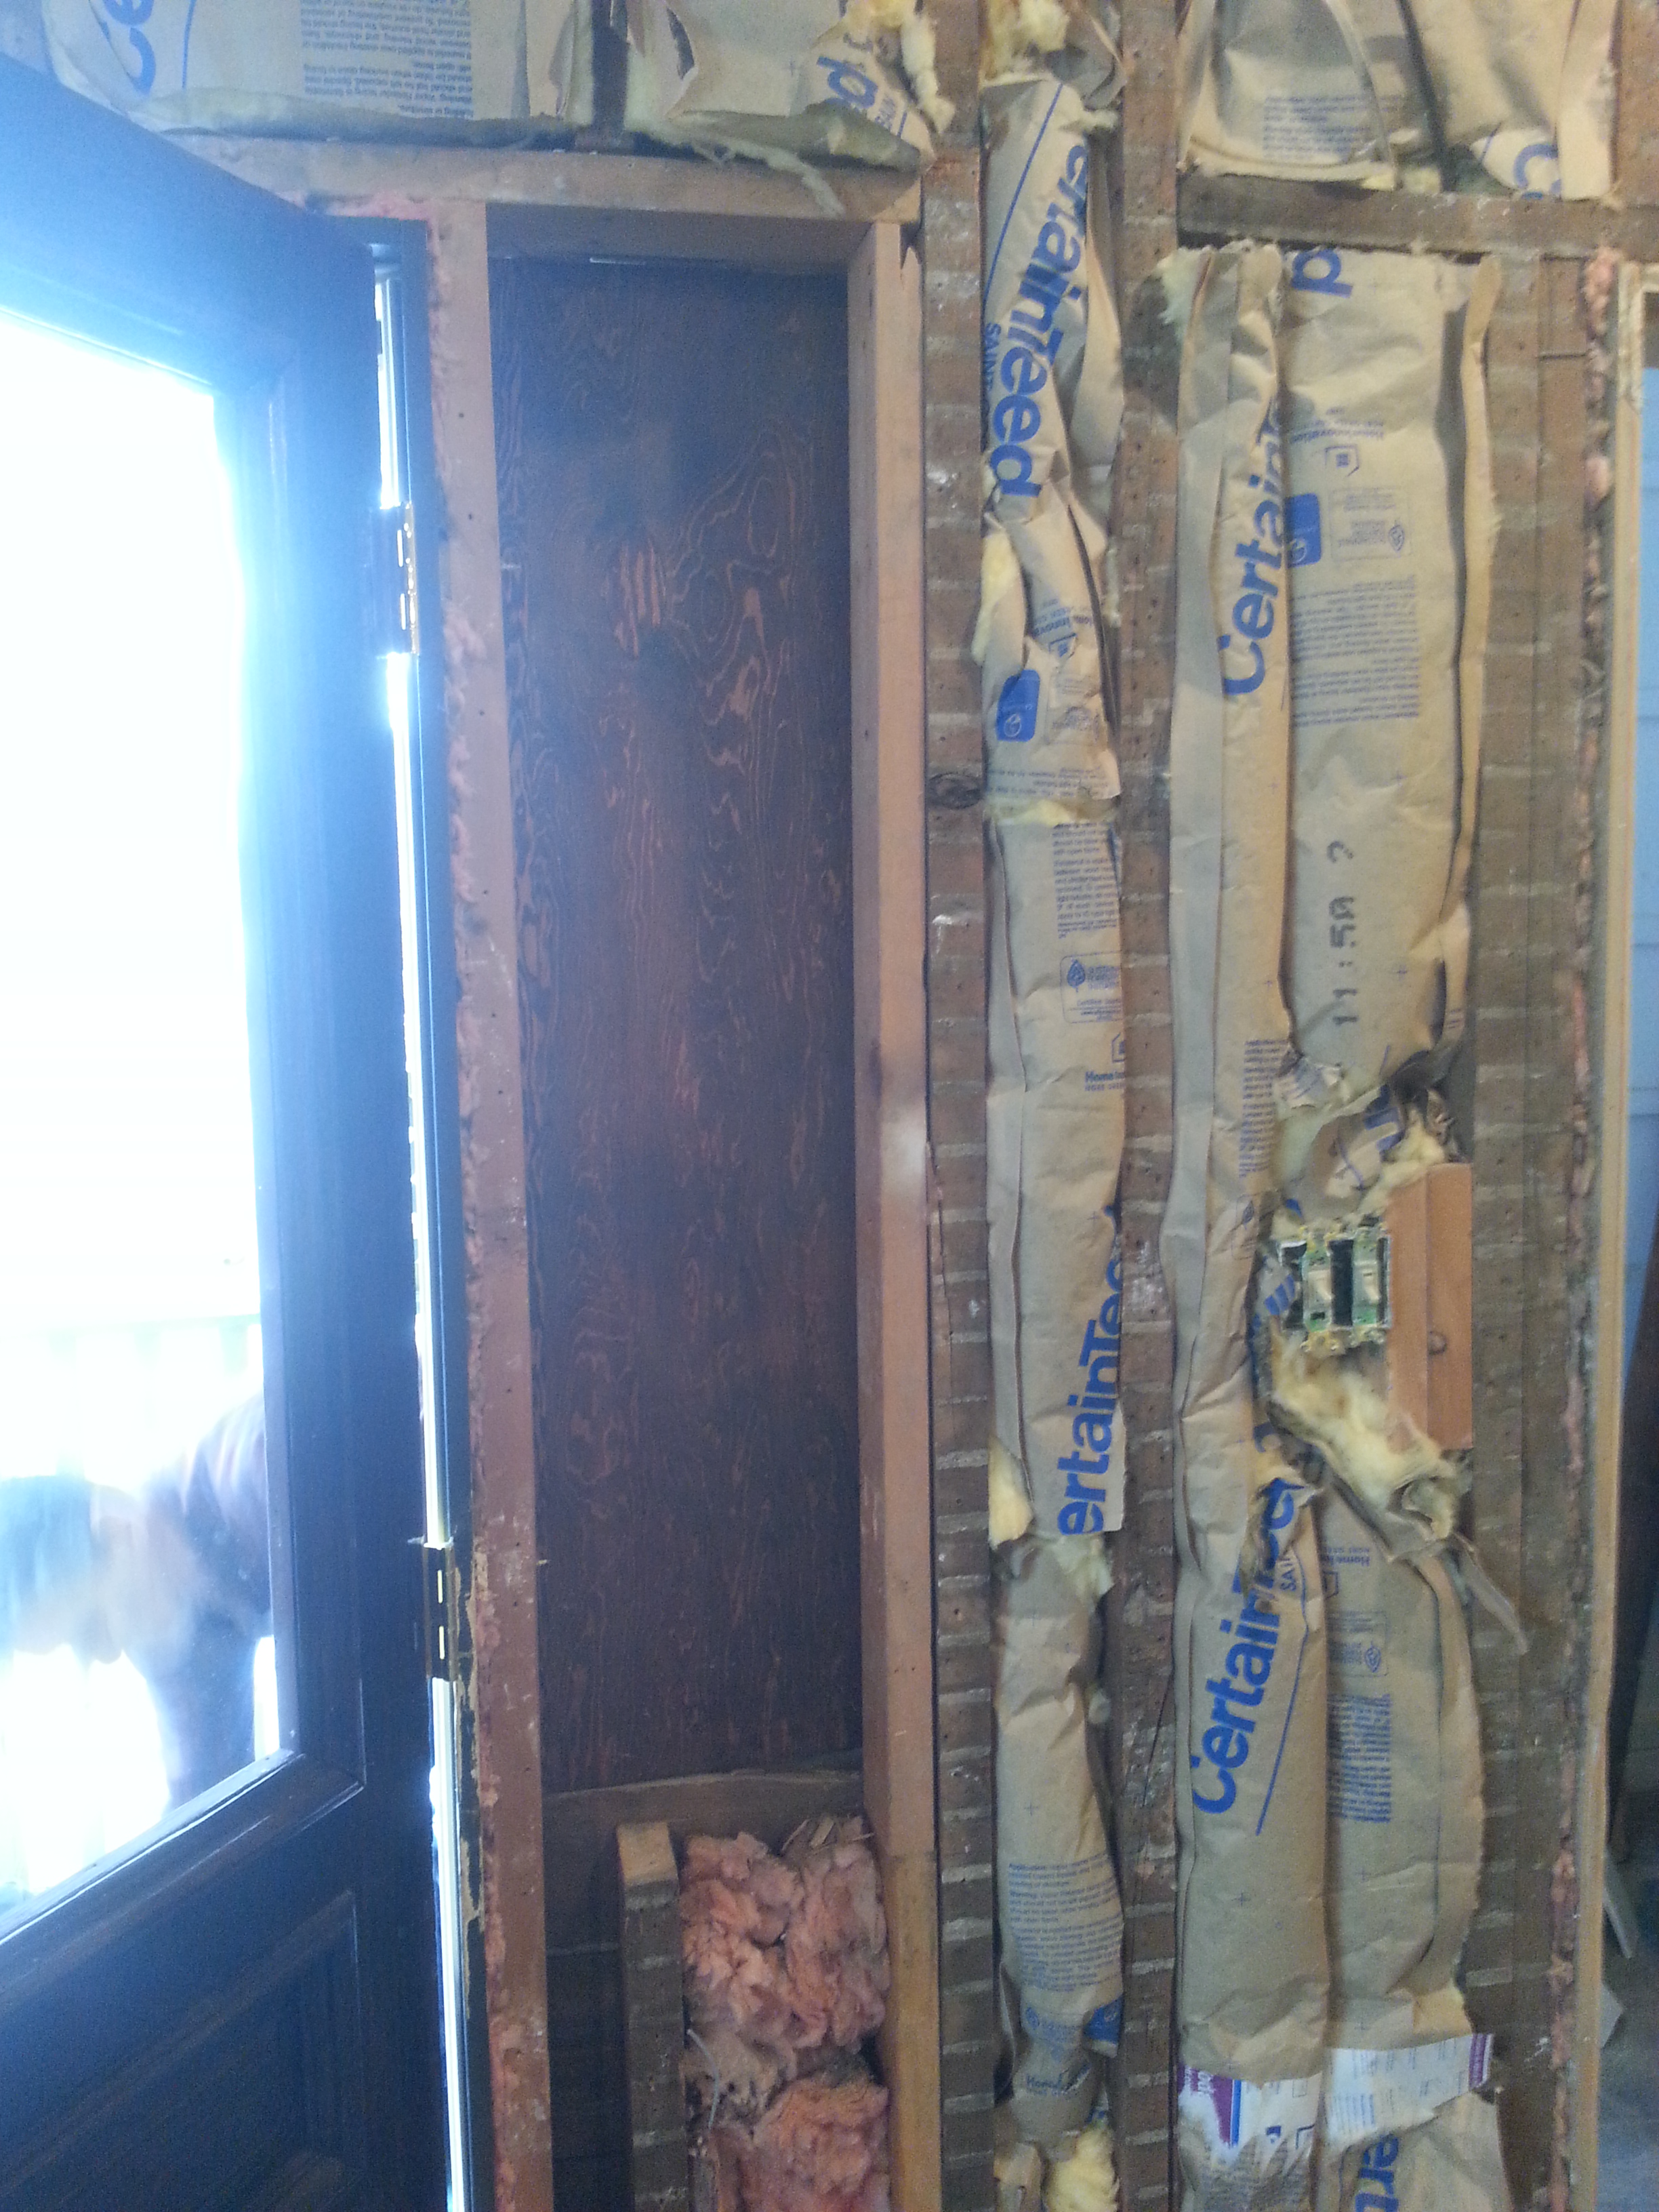
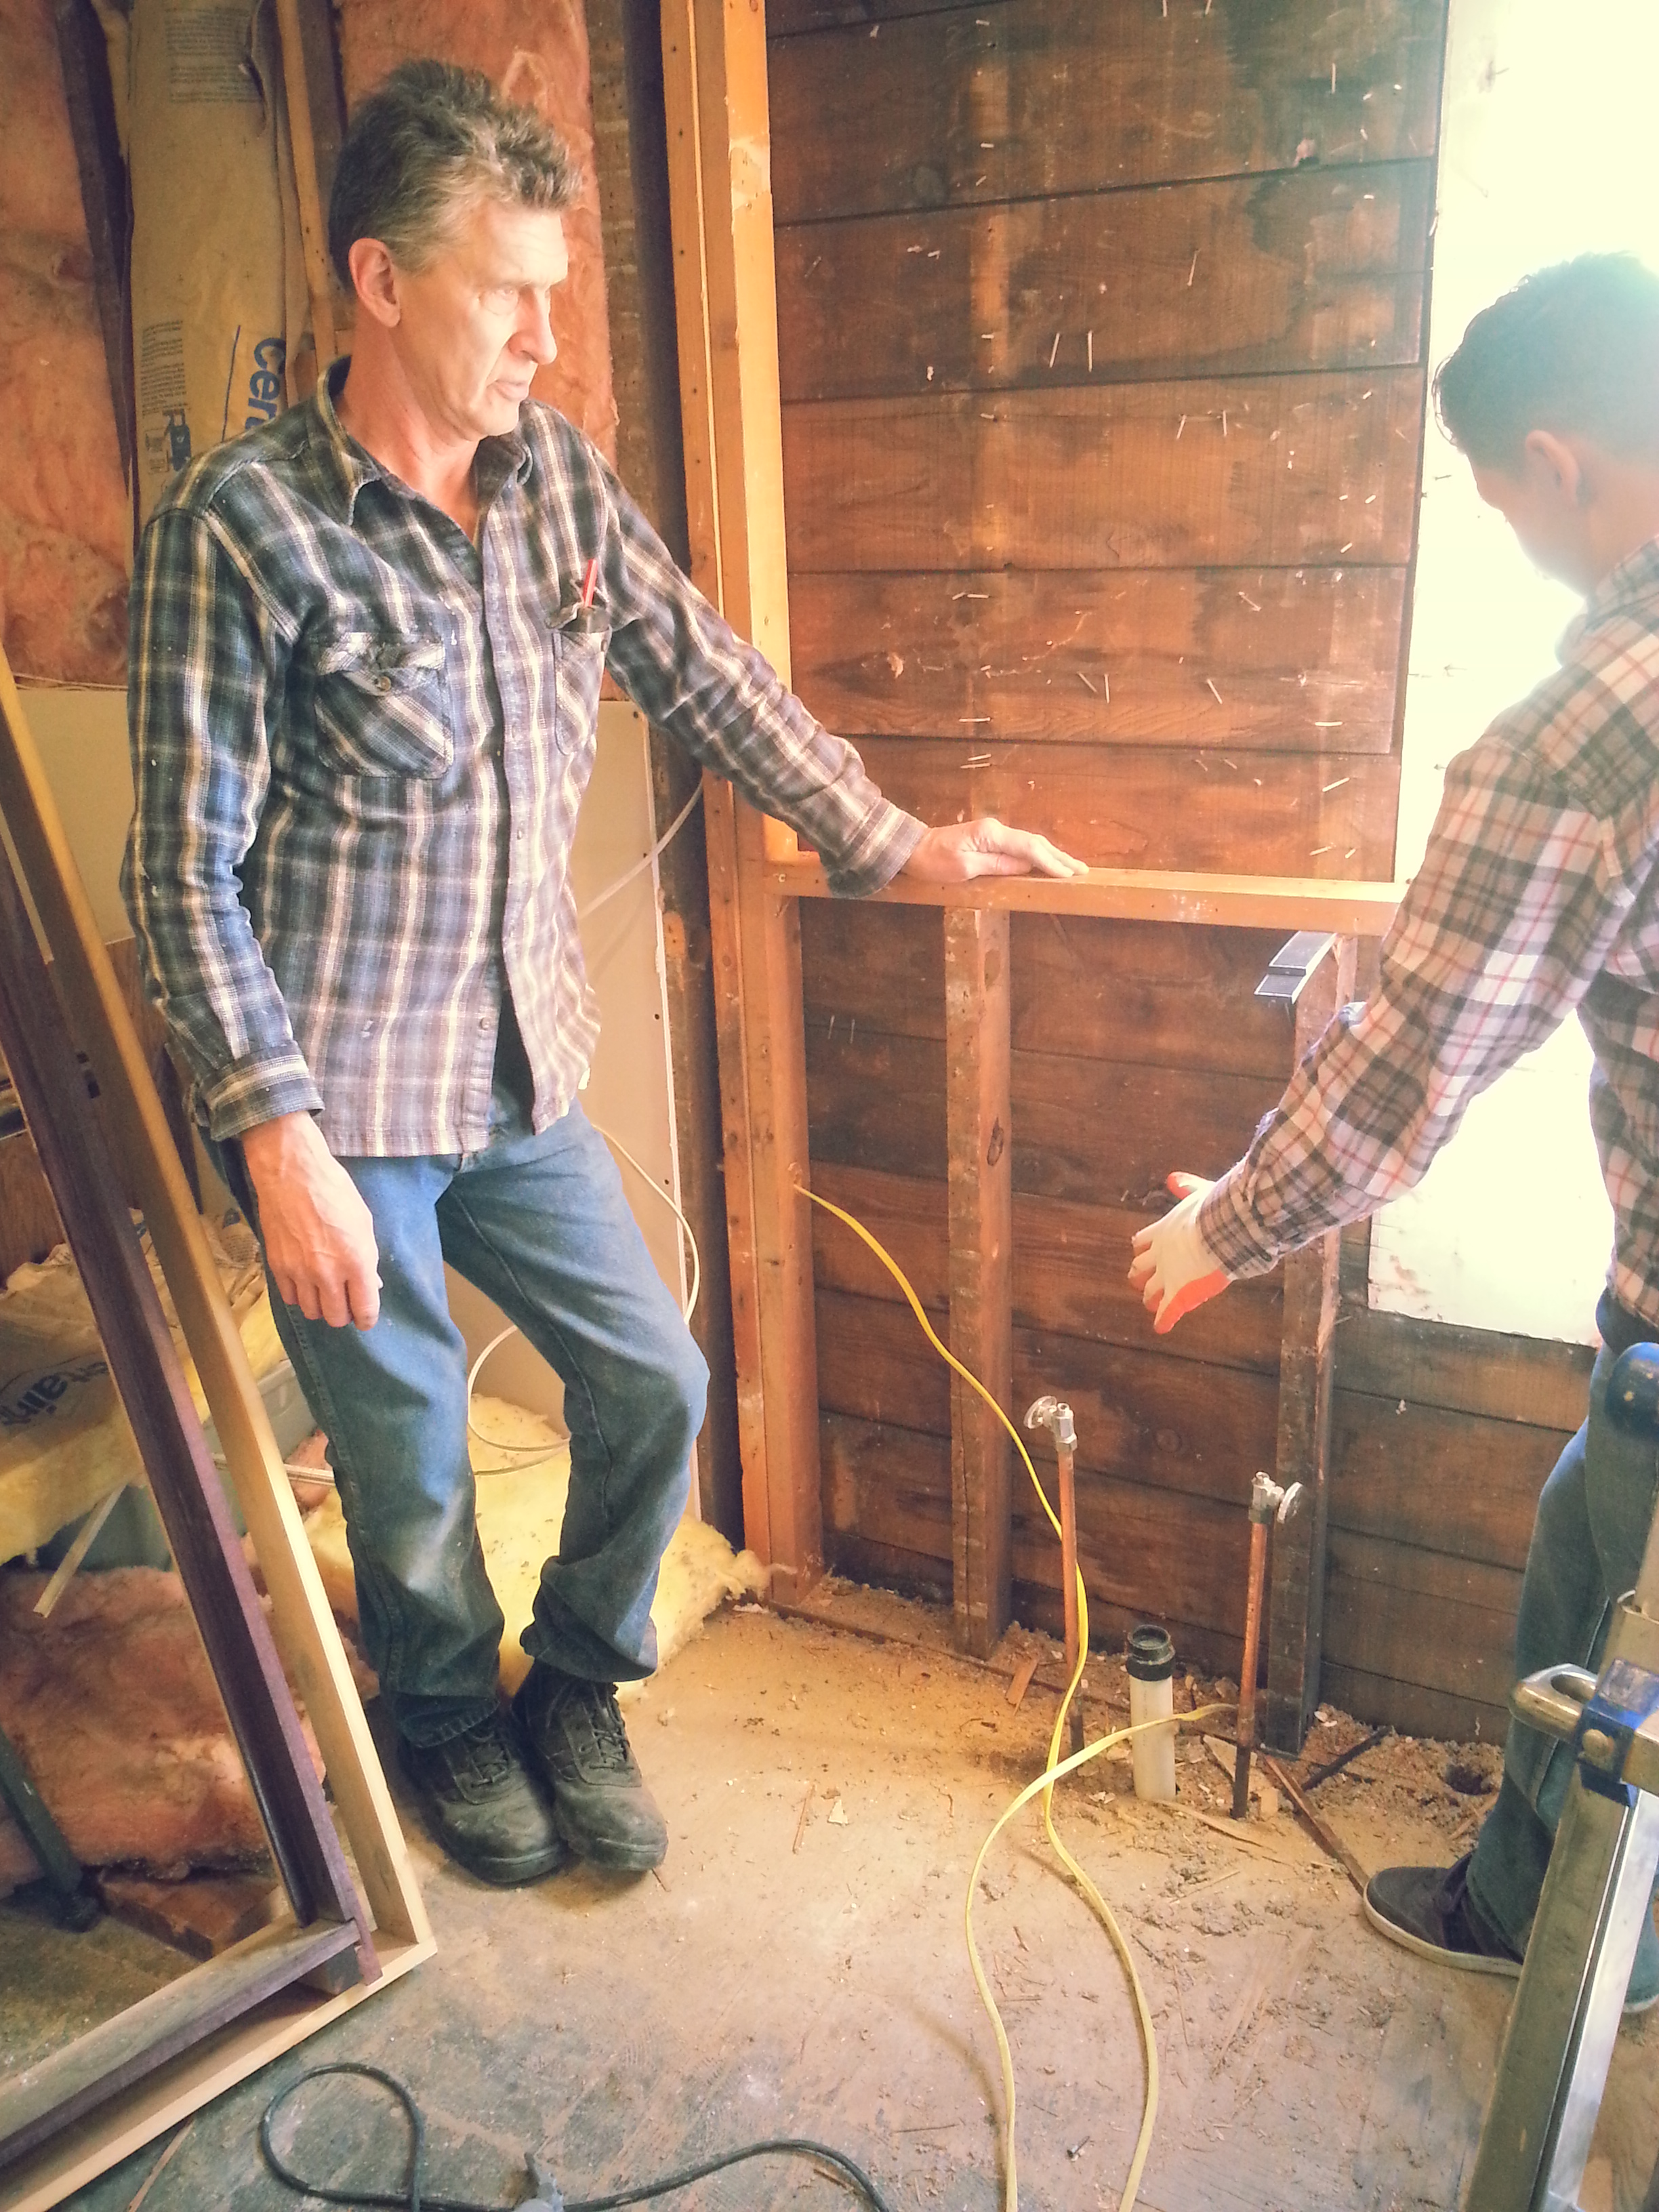
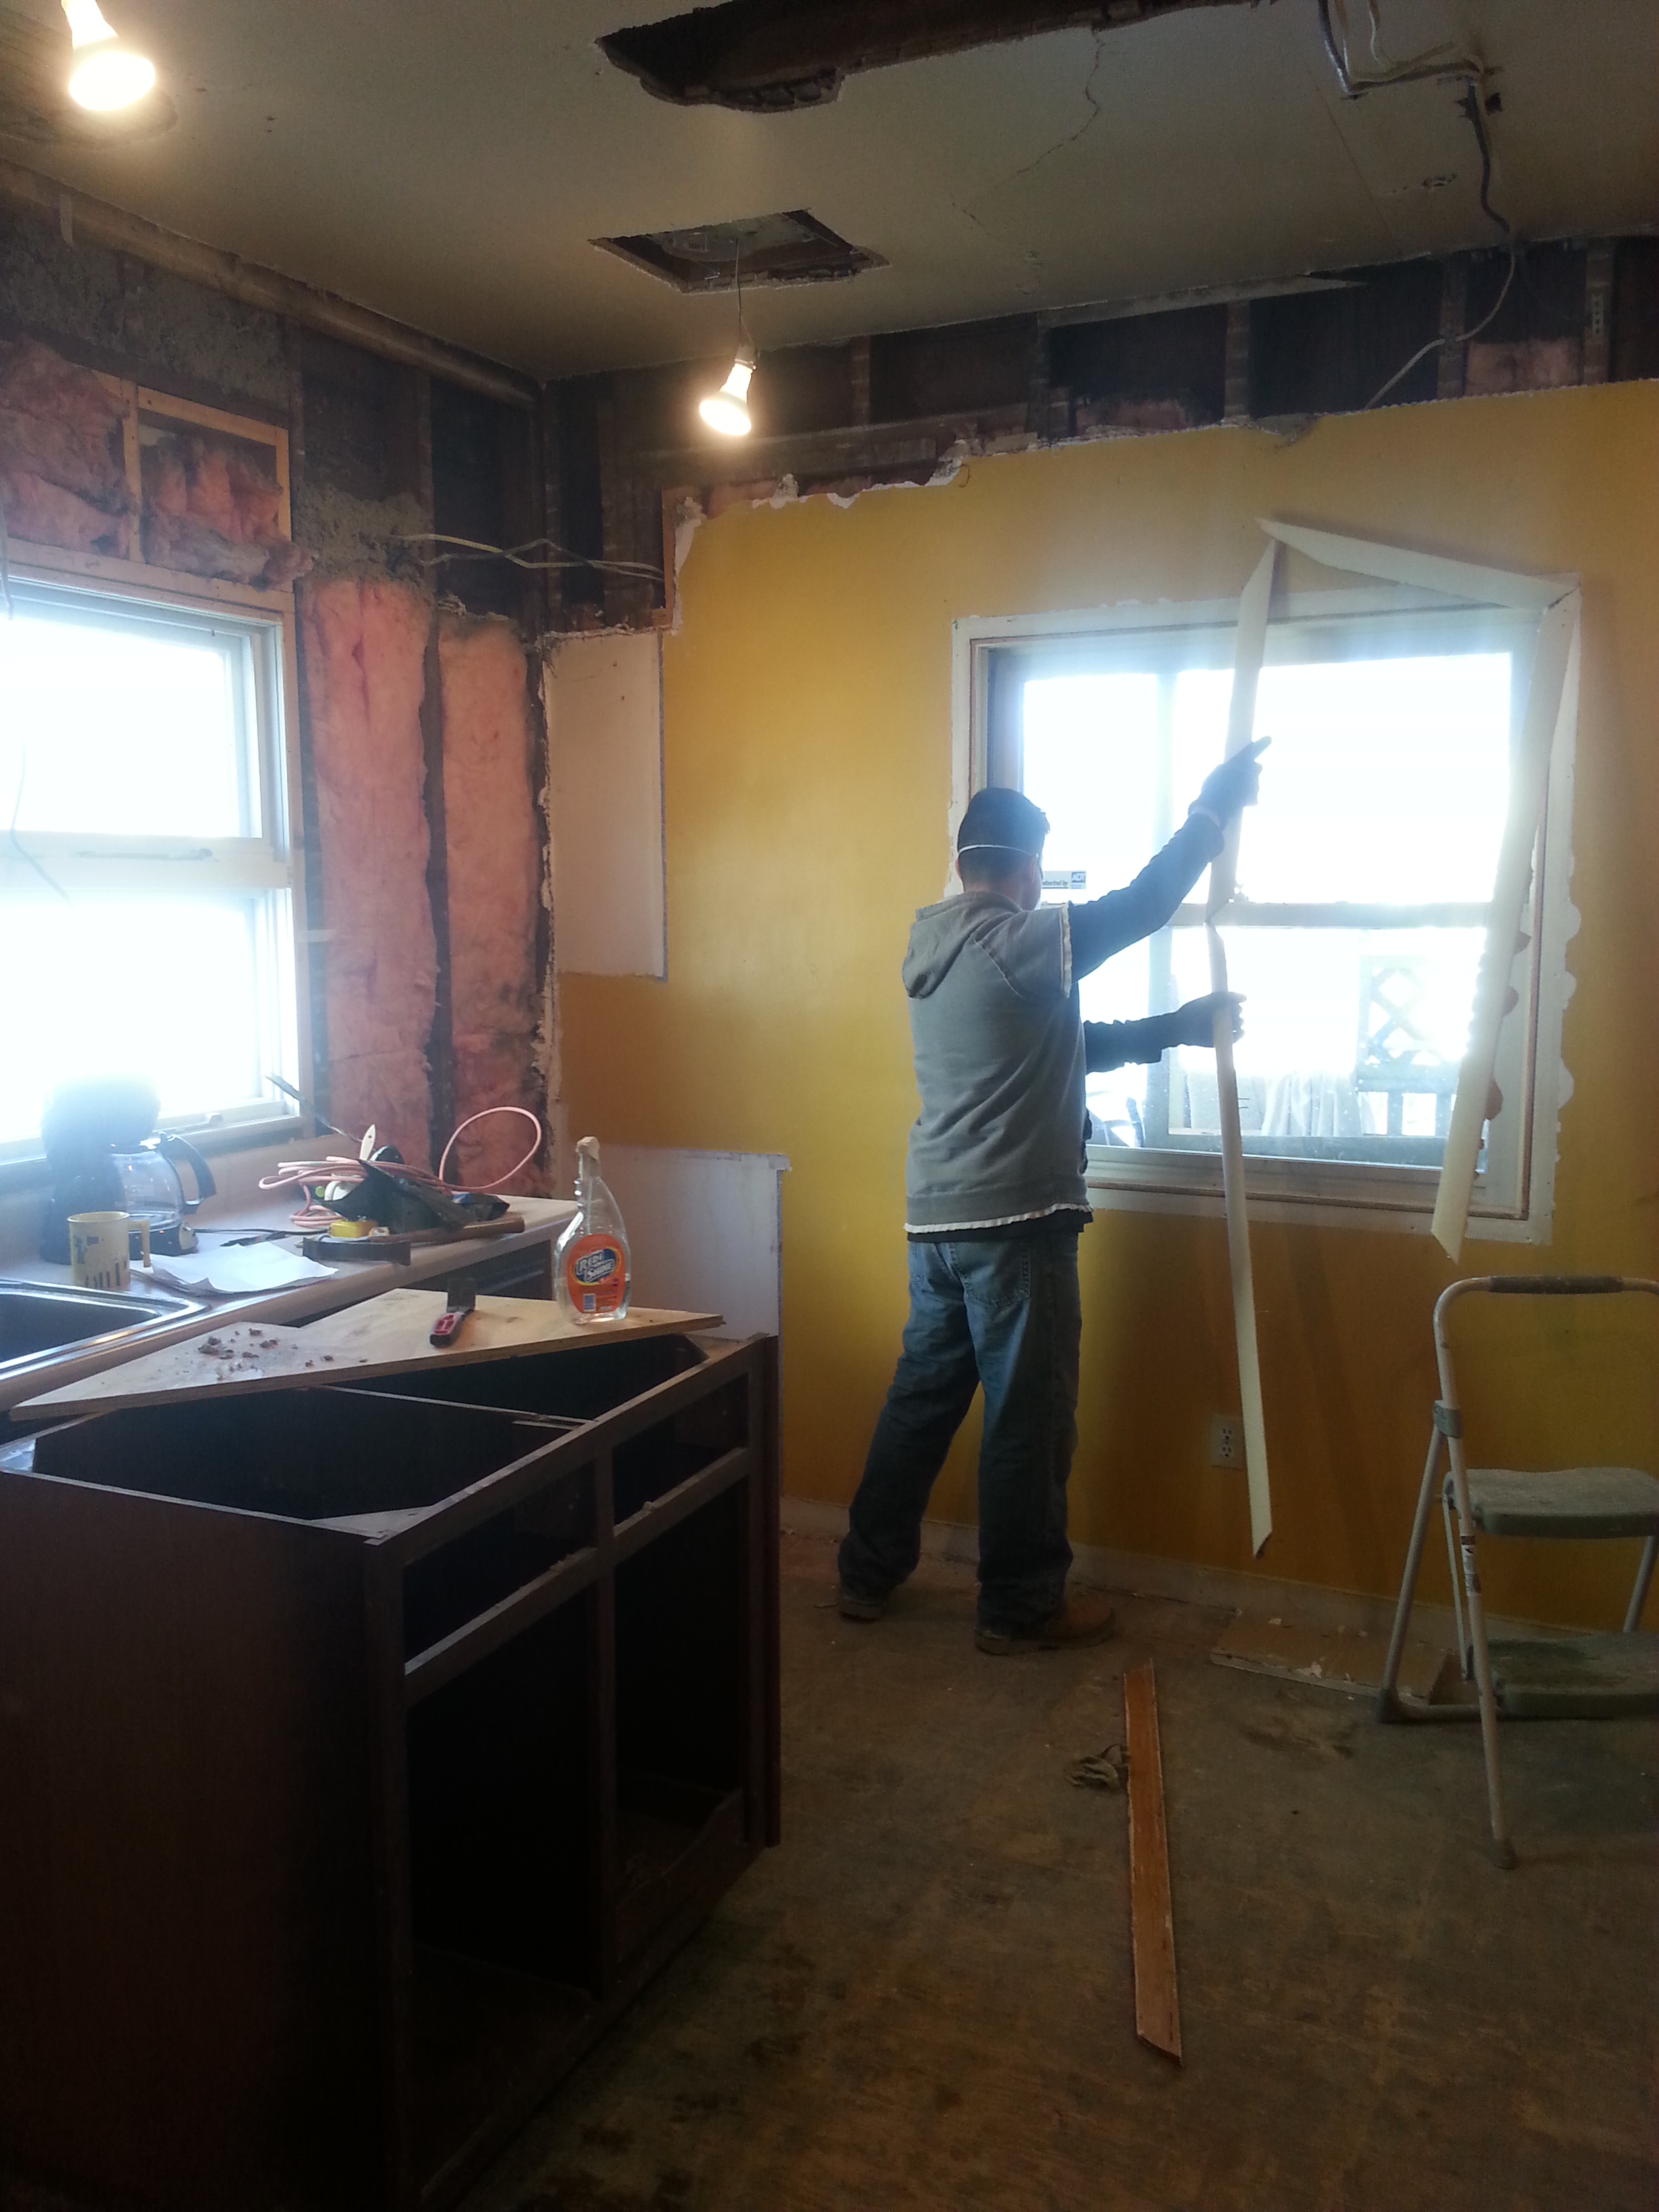
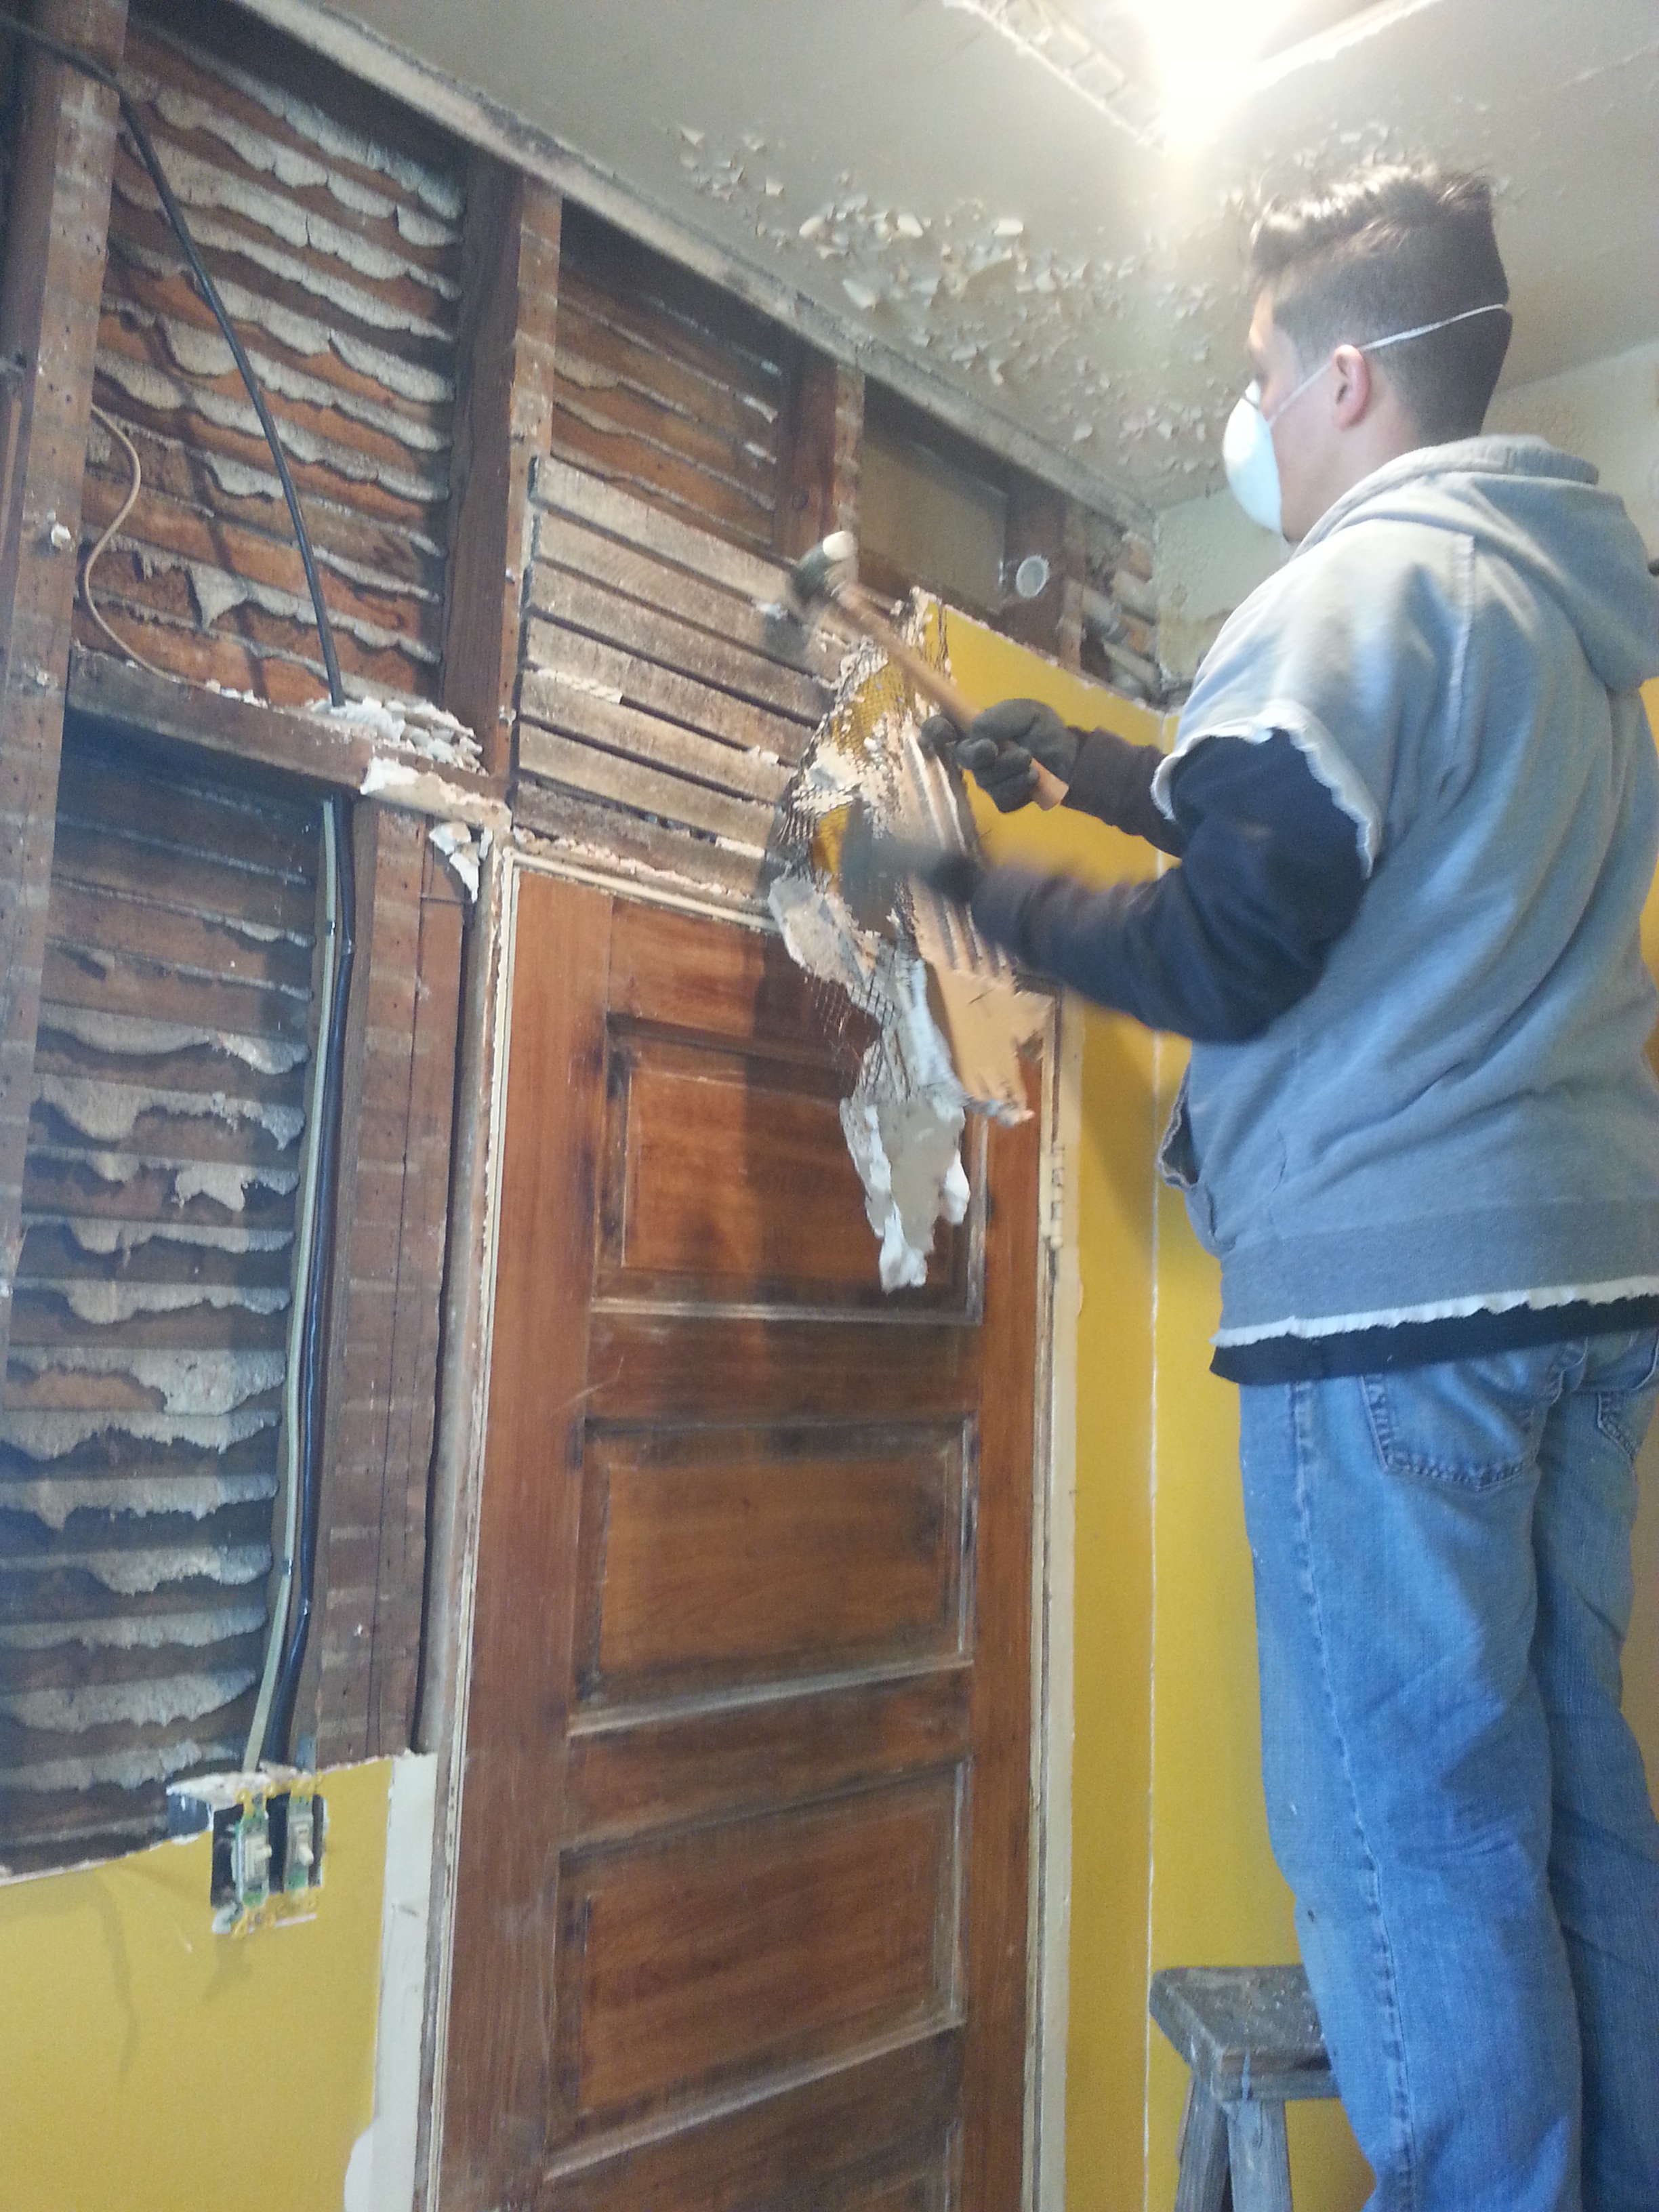
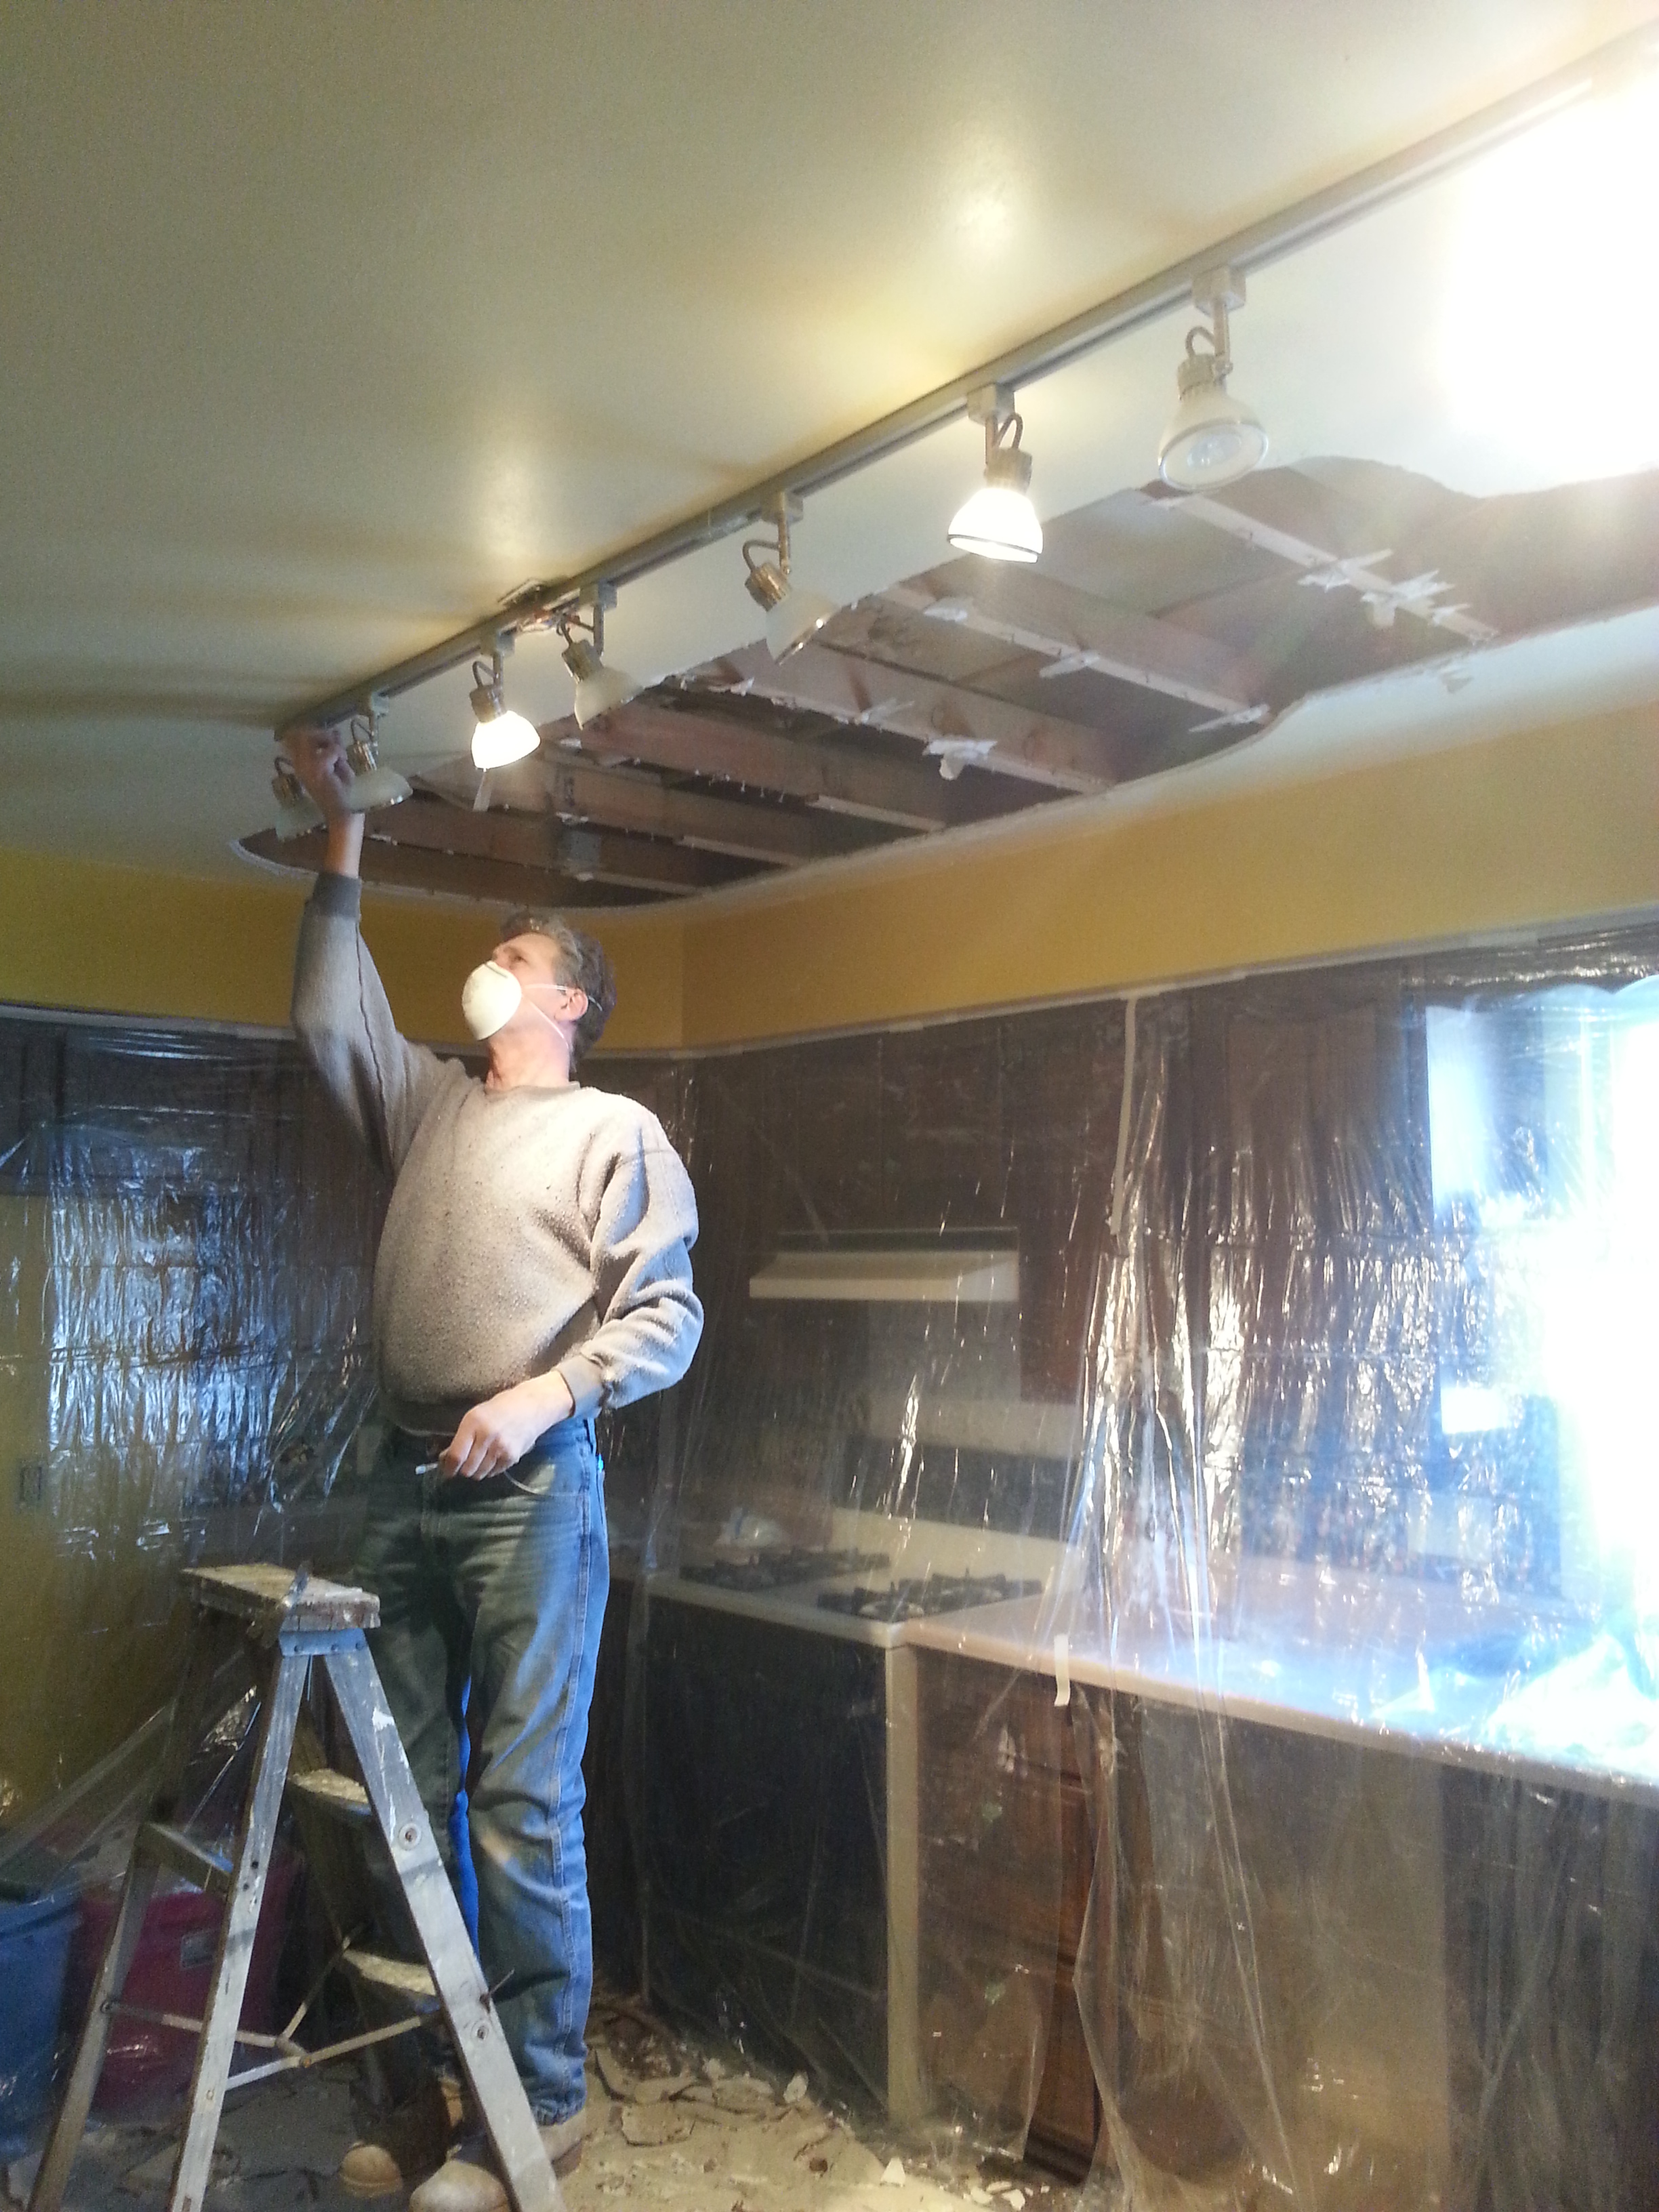
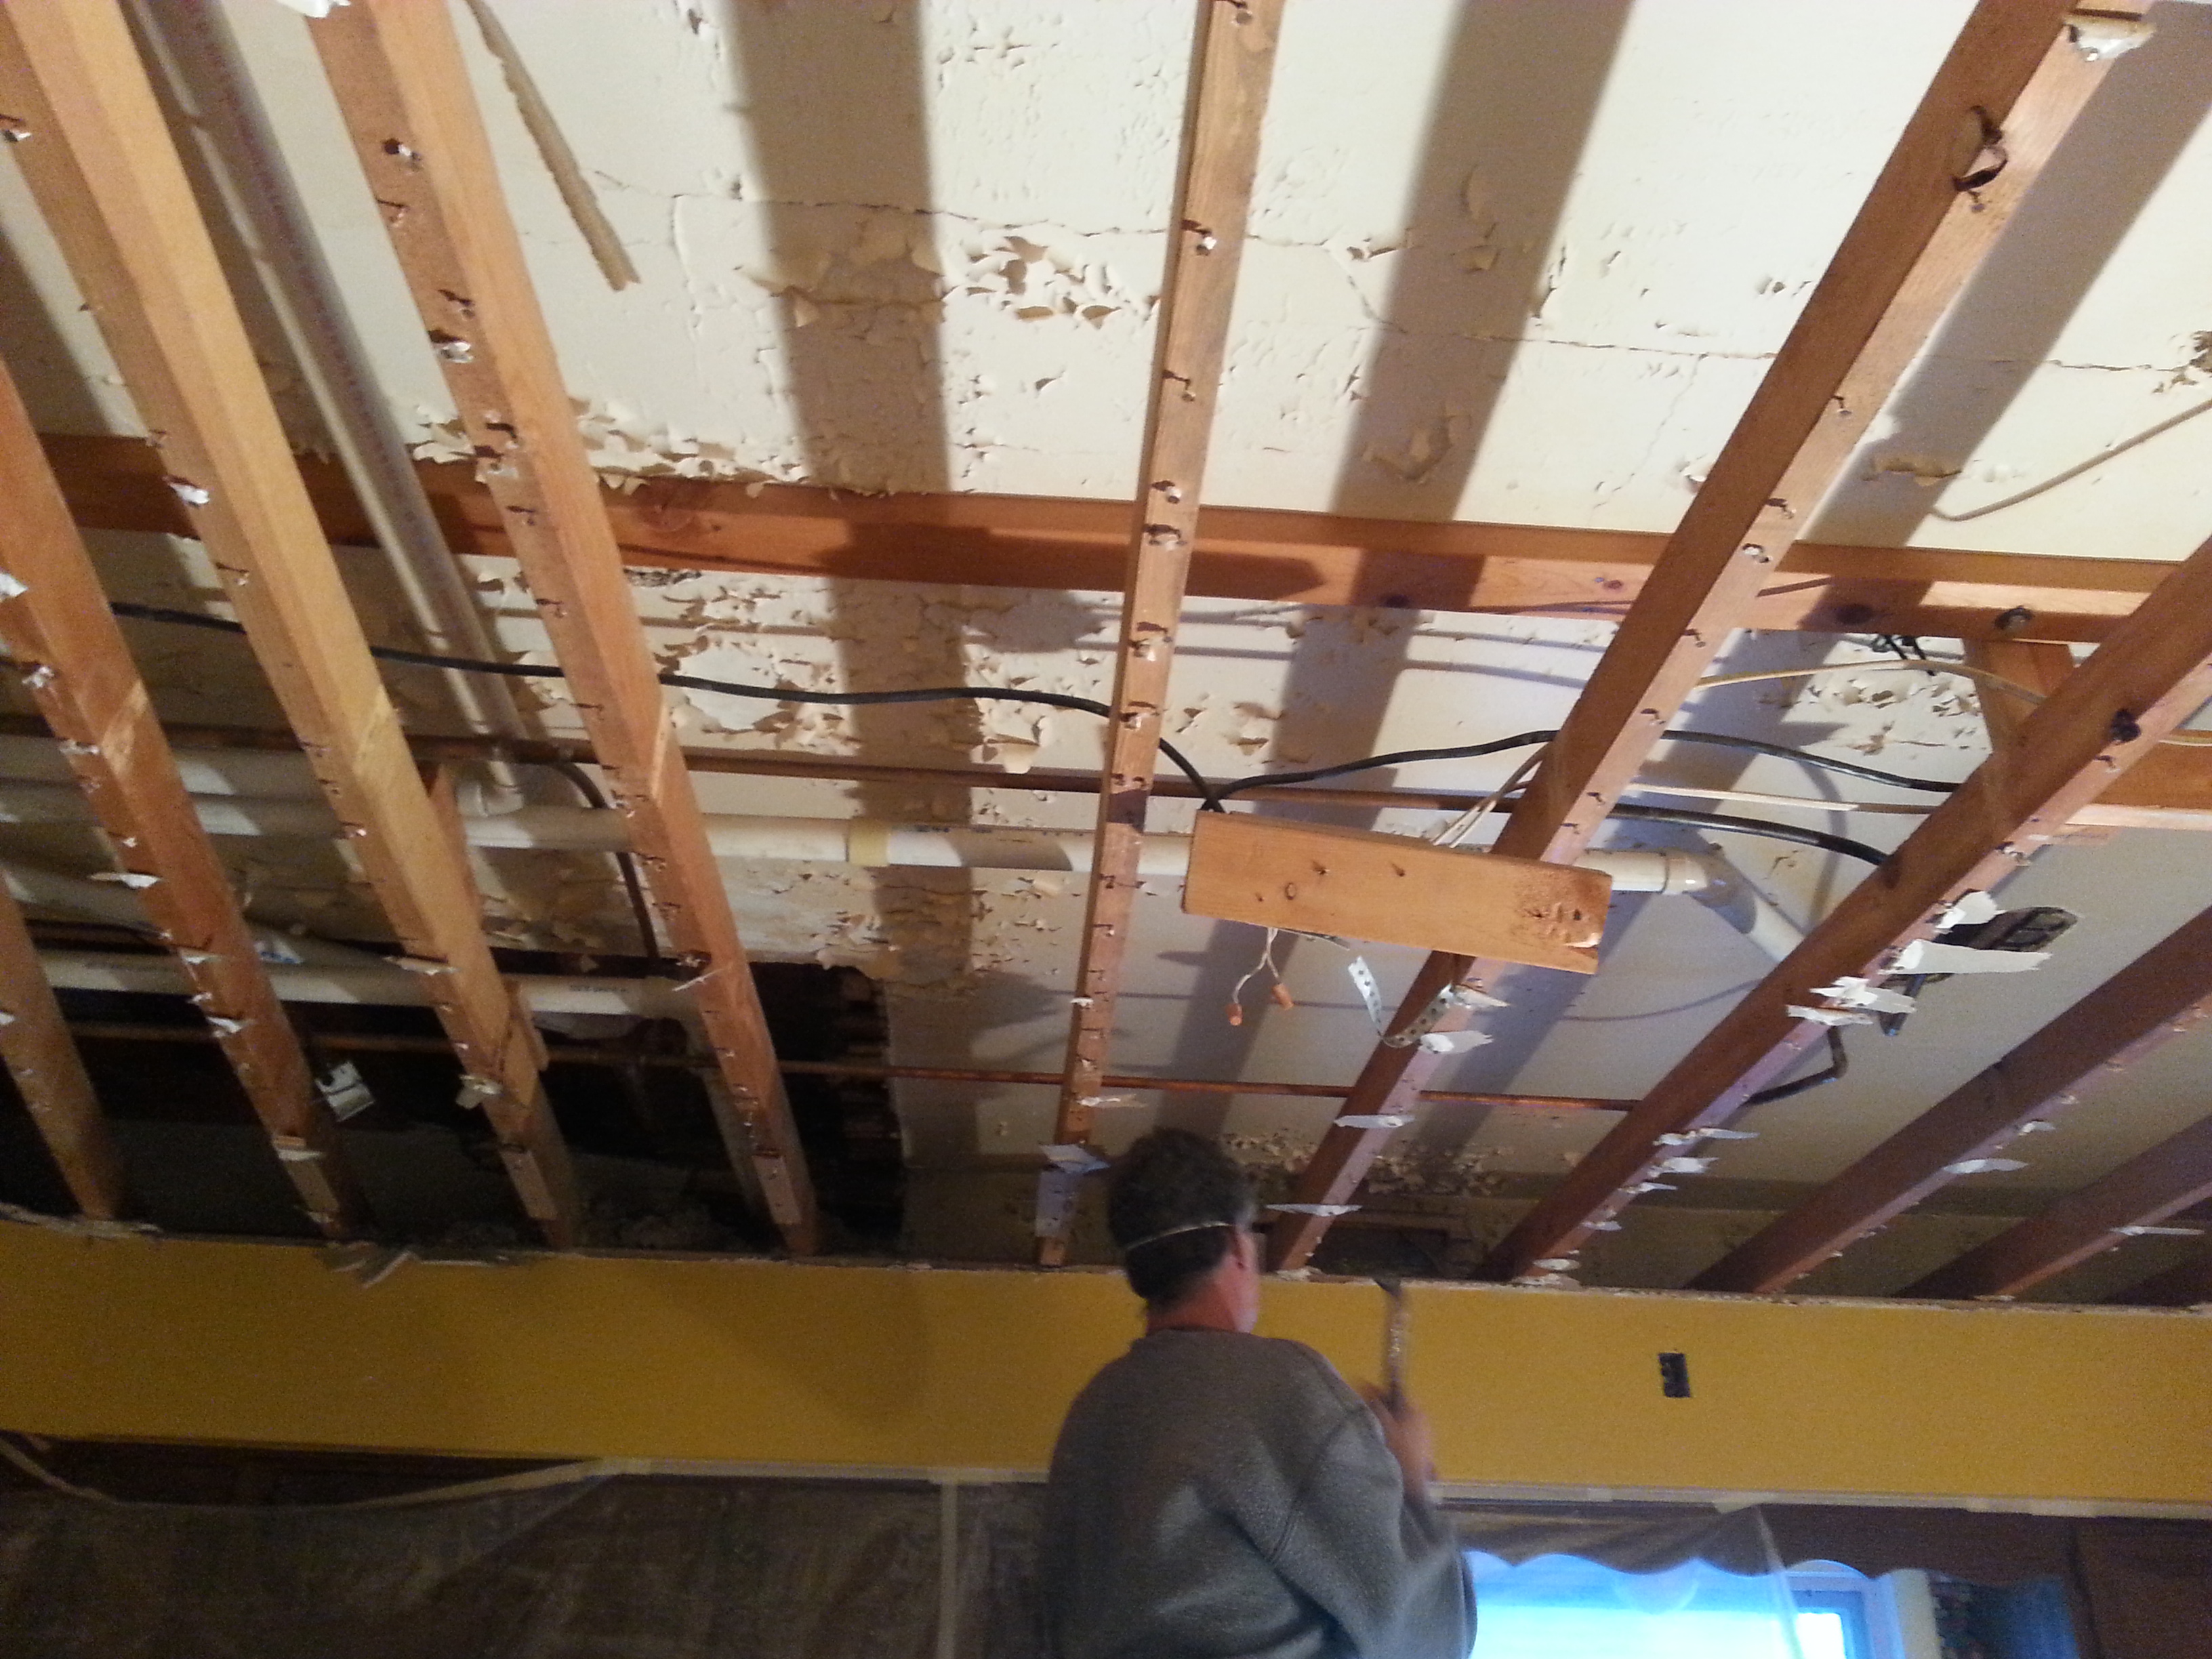
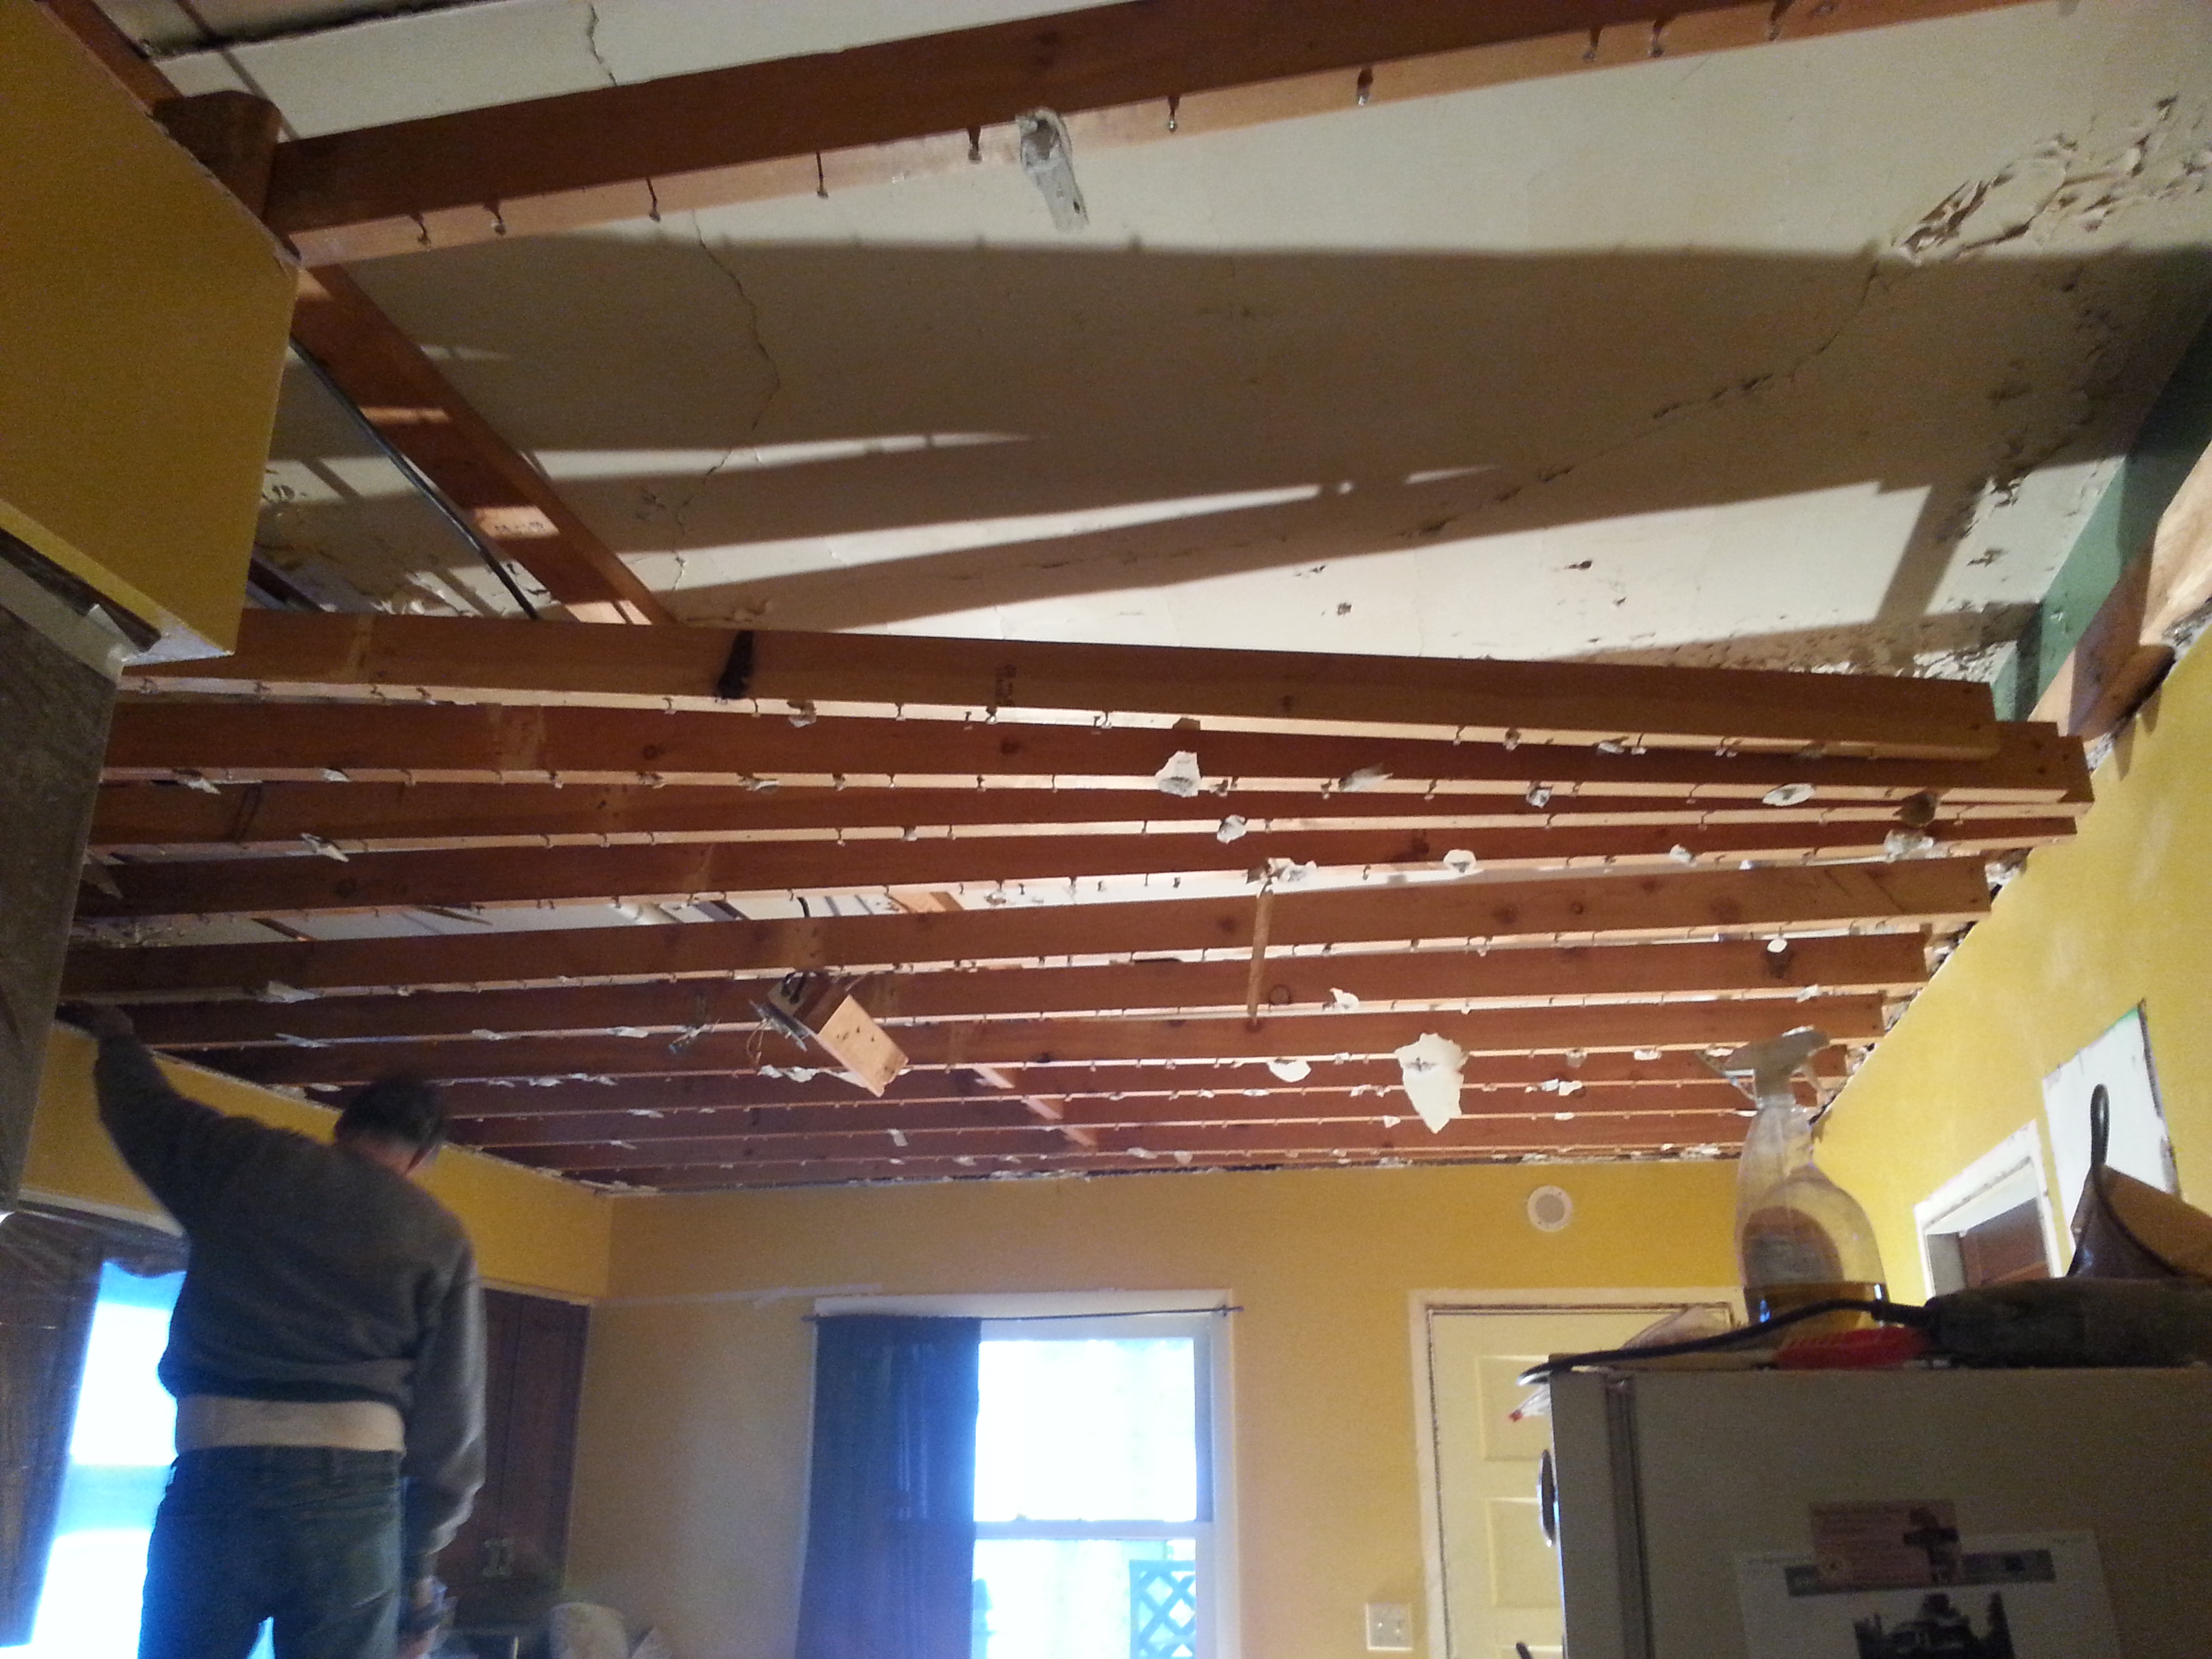
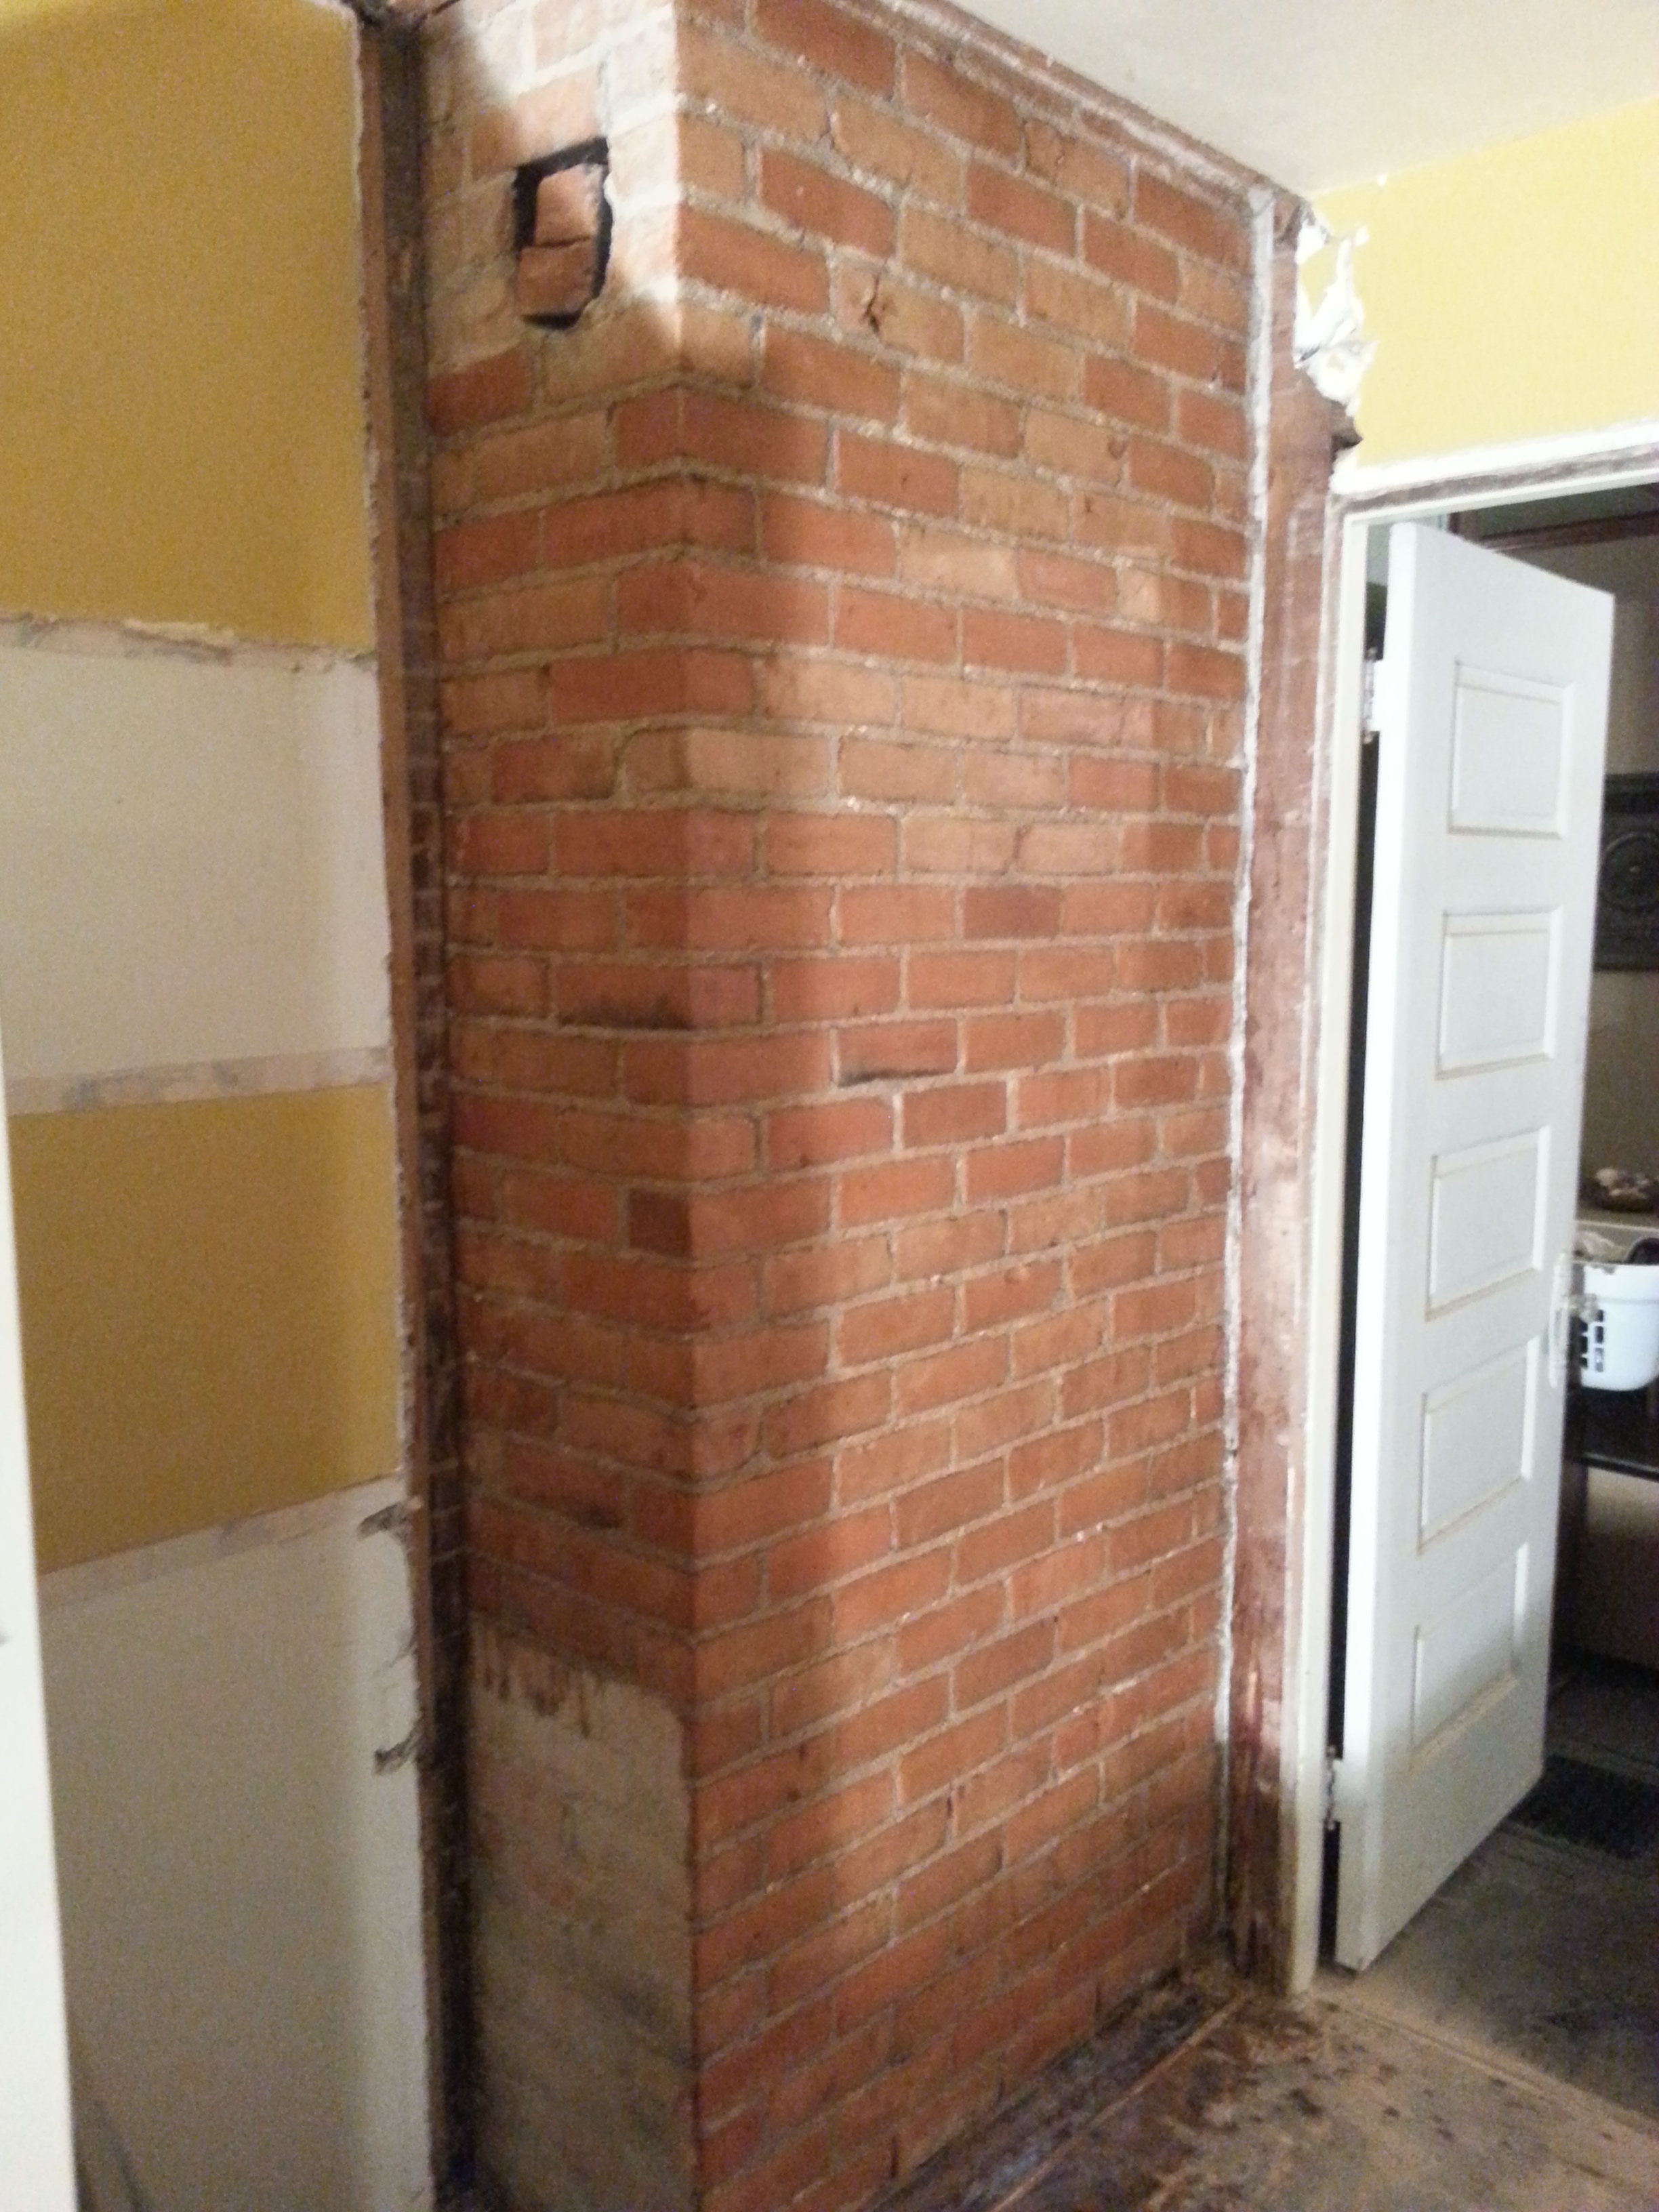
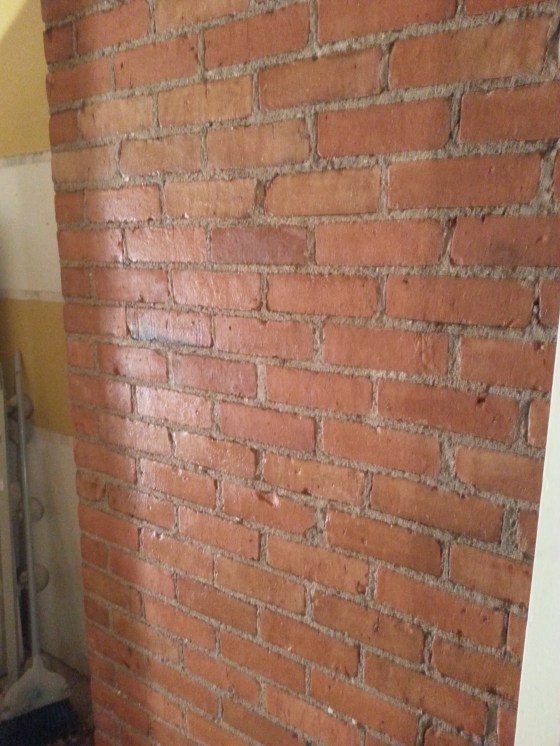
…the best solution was just to rip it all out.

20140418_182946

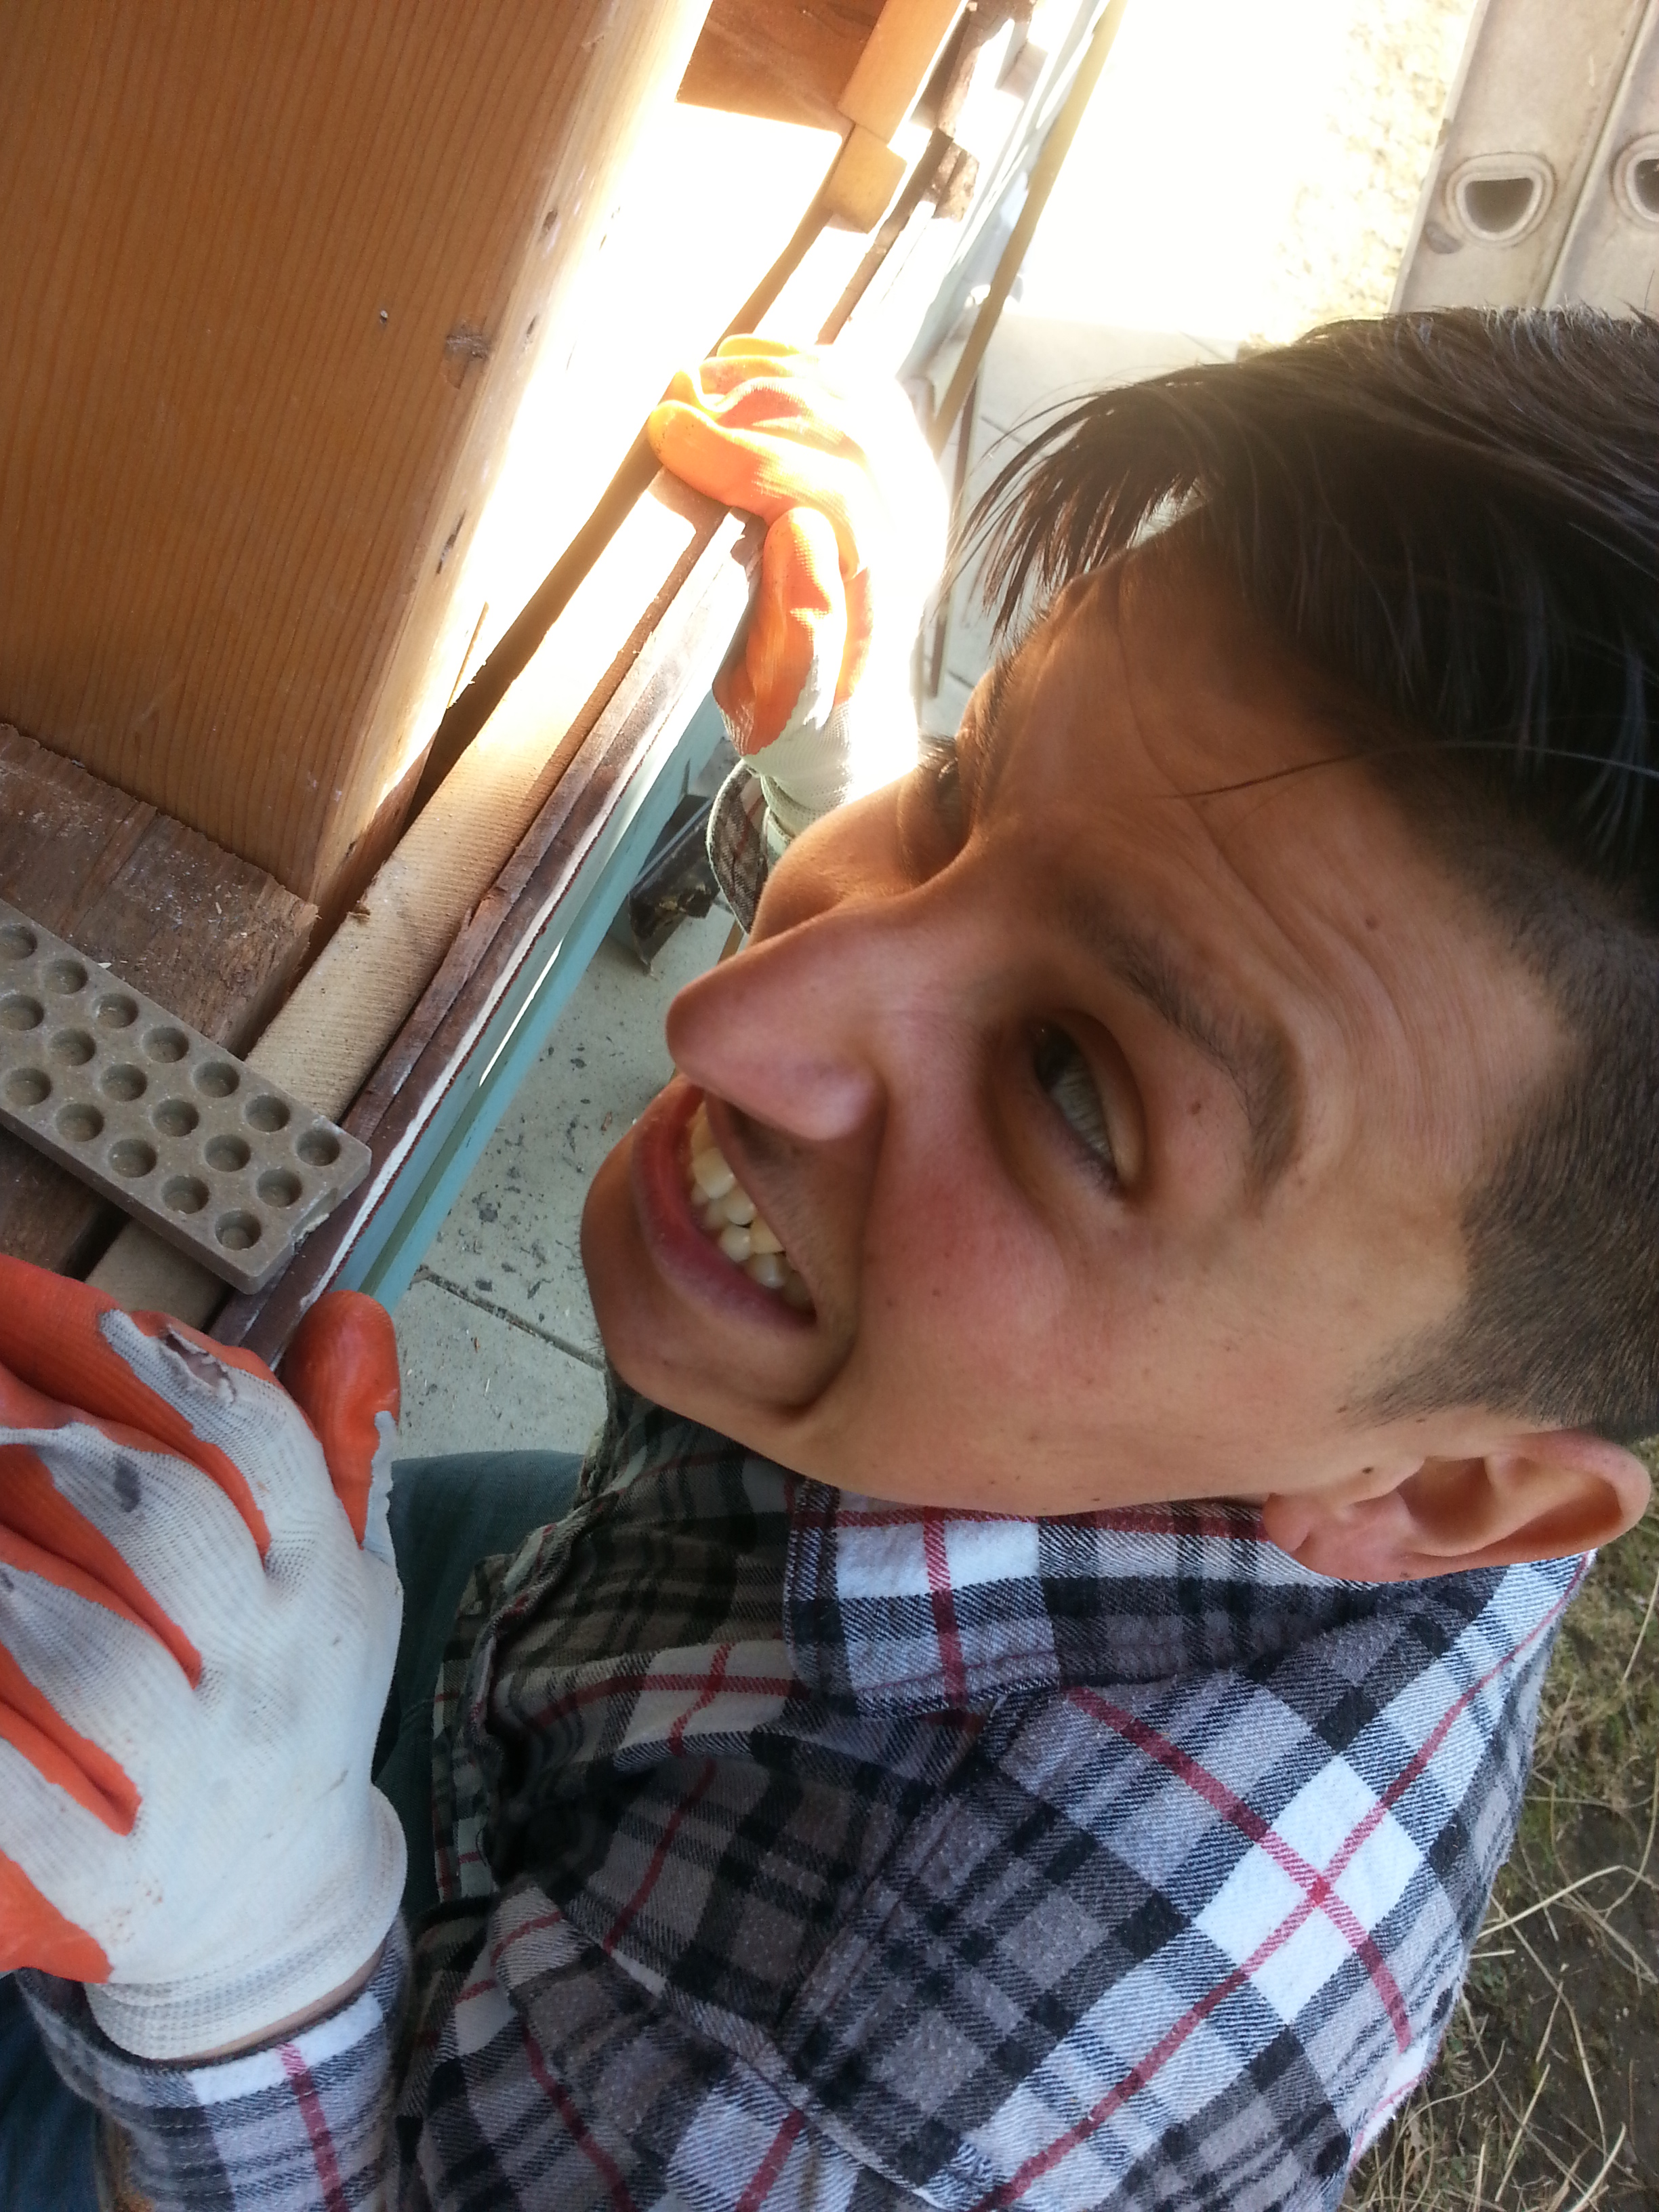
And that makes the very last of the plaster dust!

Can I just get a minute to say…

WOO HOOOOOOOOOOOOOO!!!!


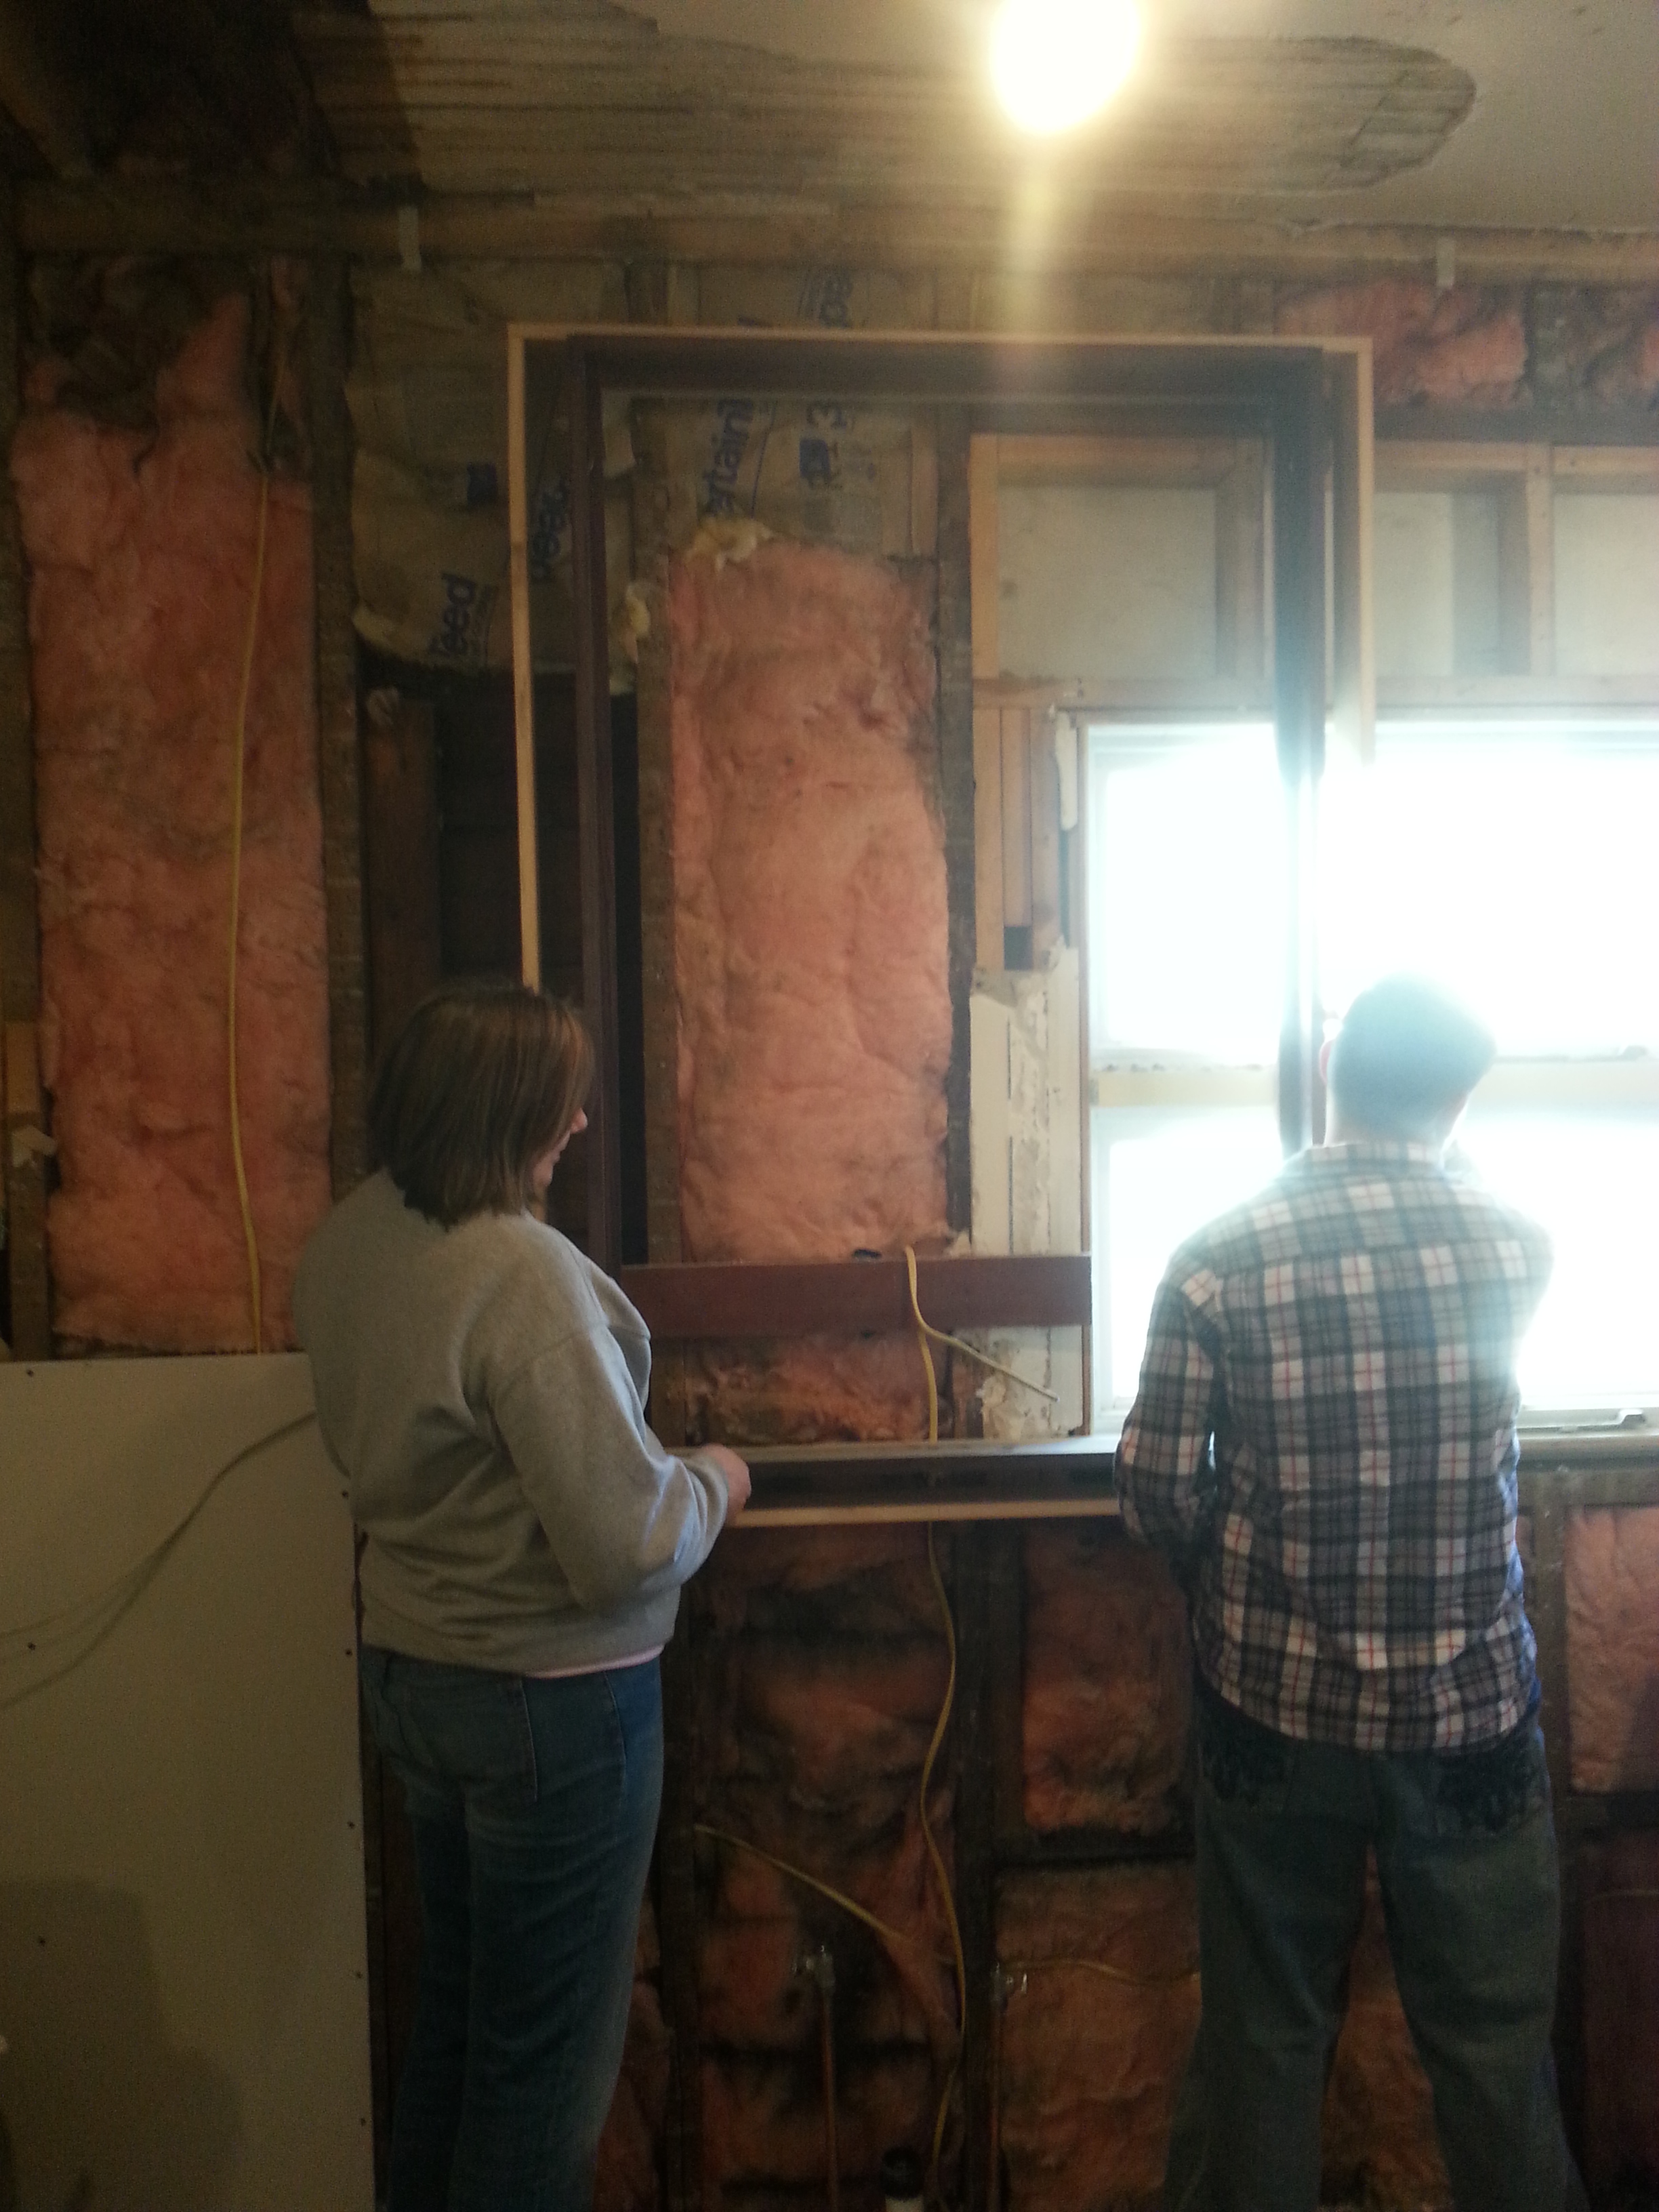
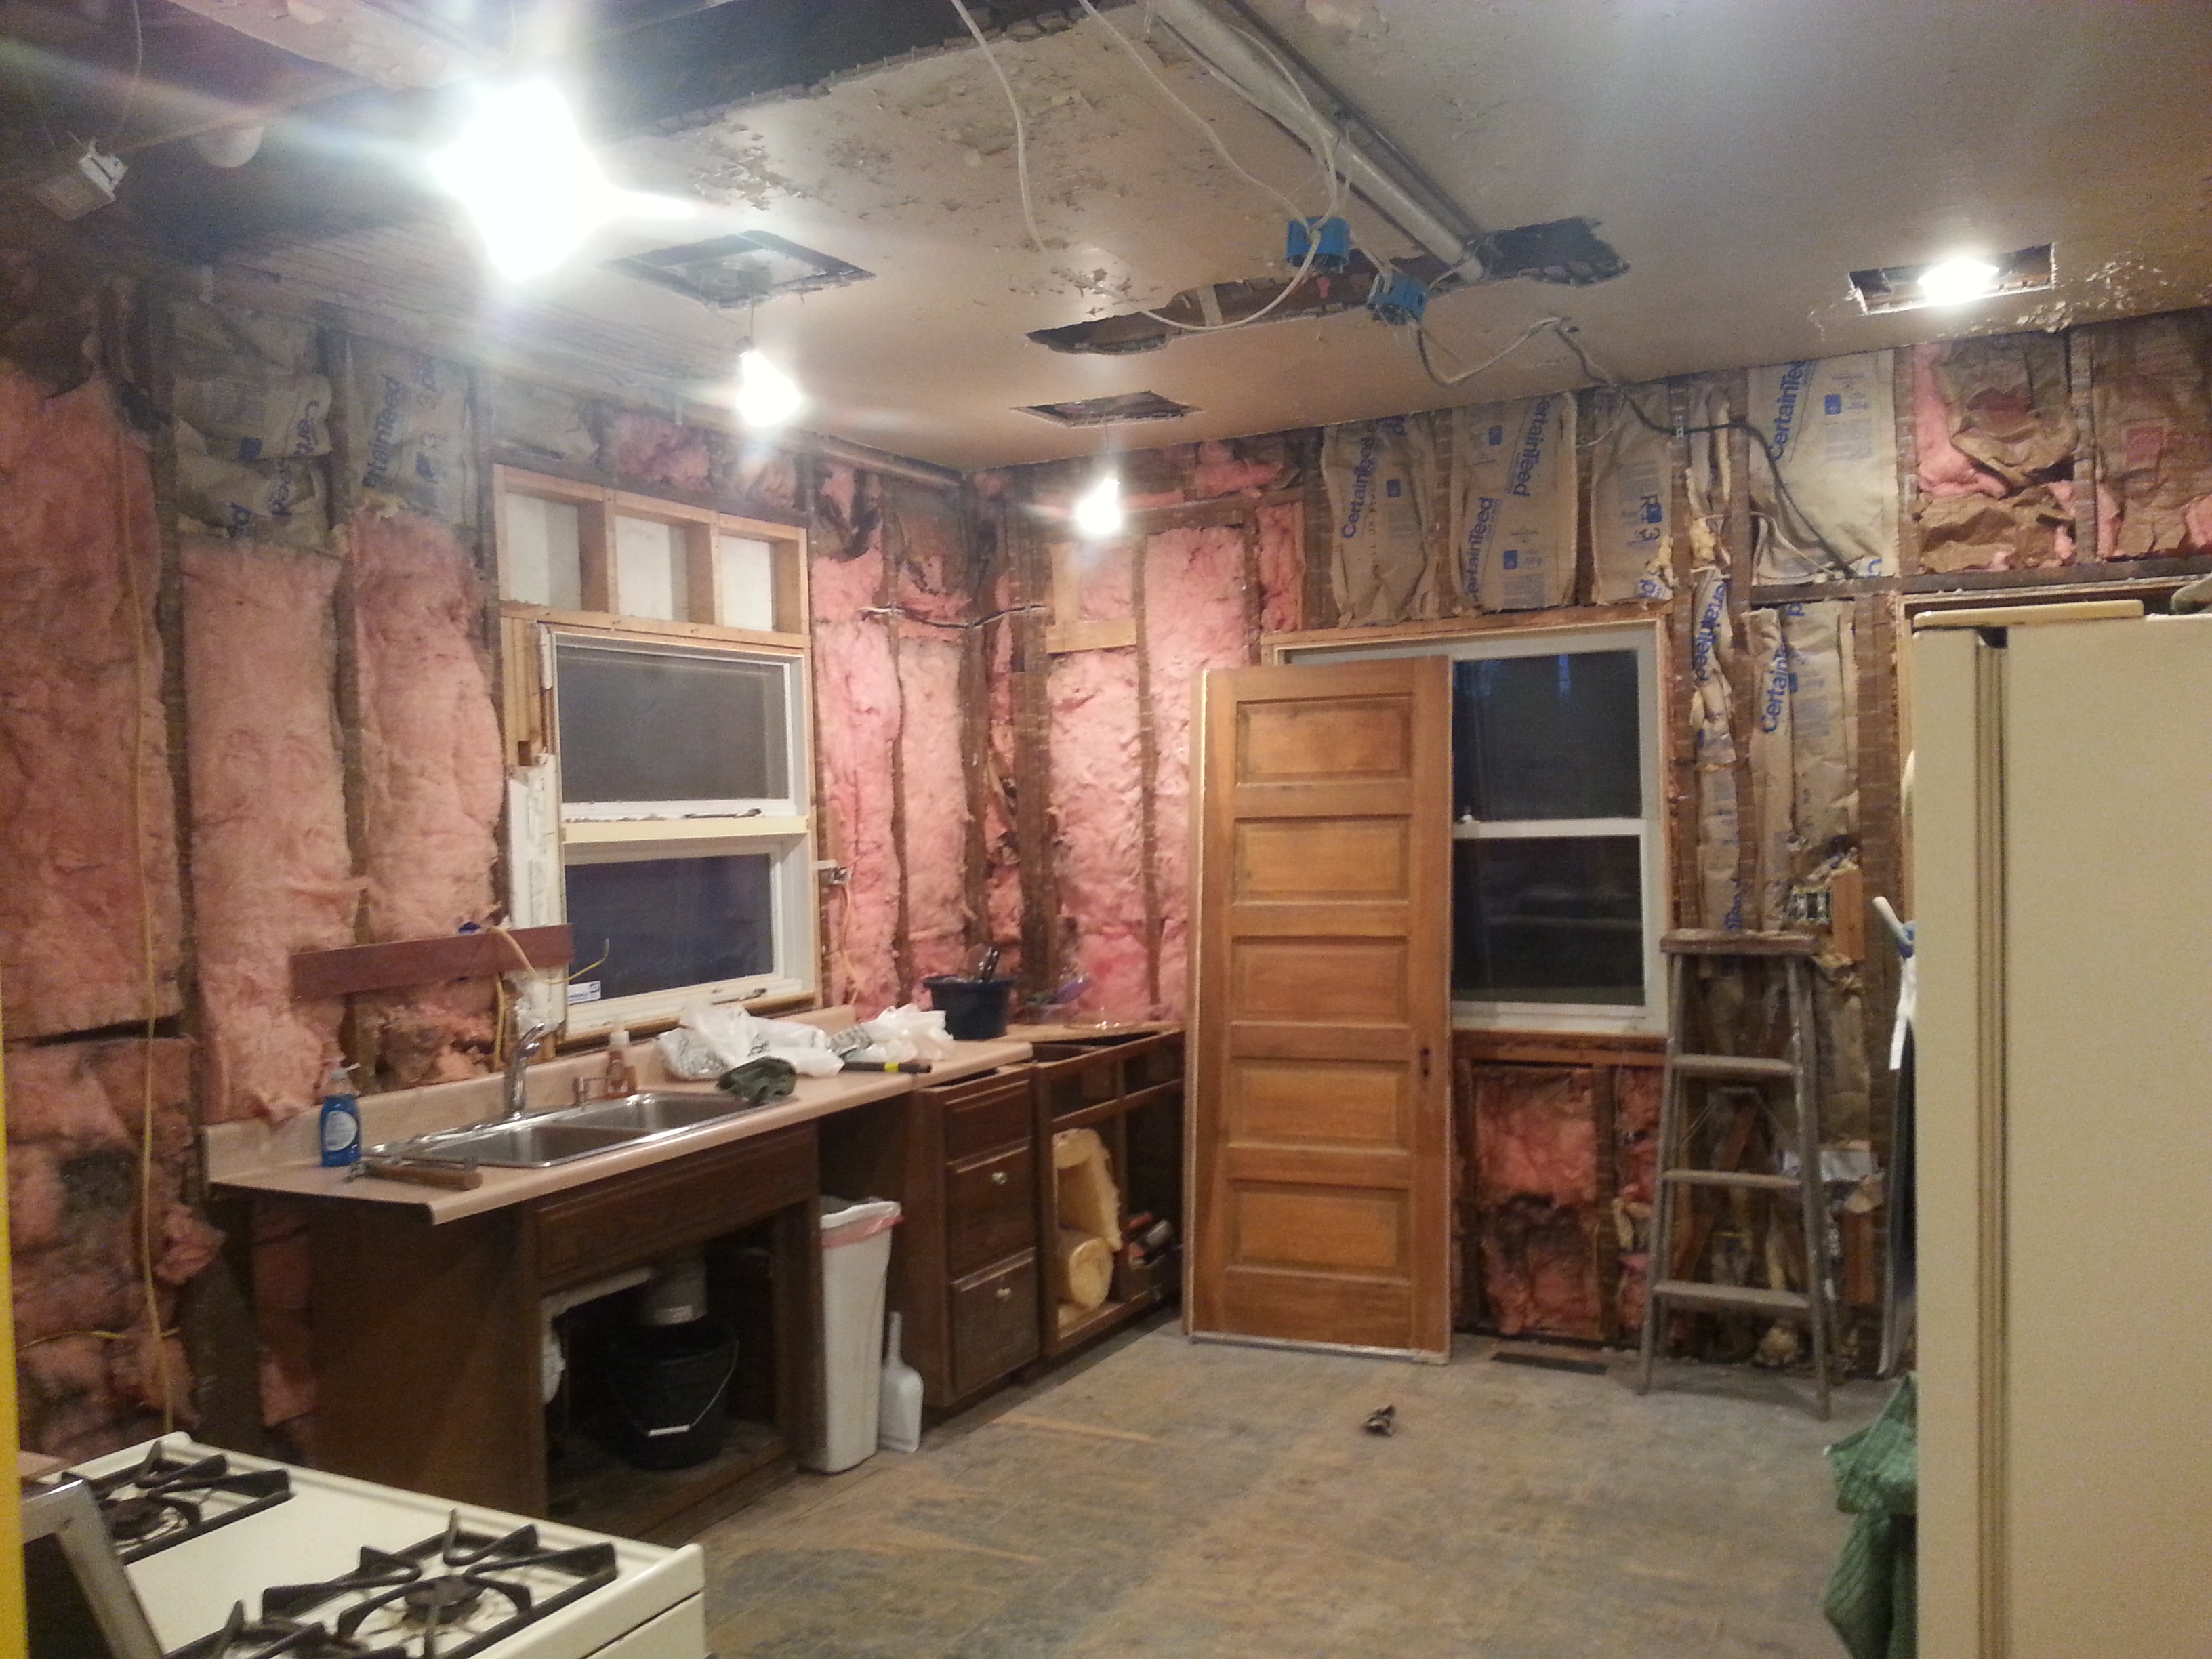
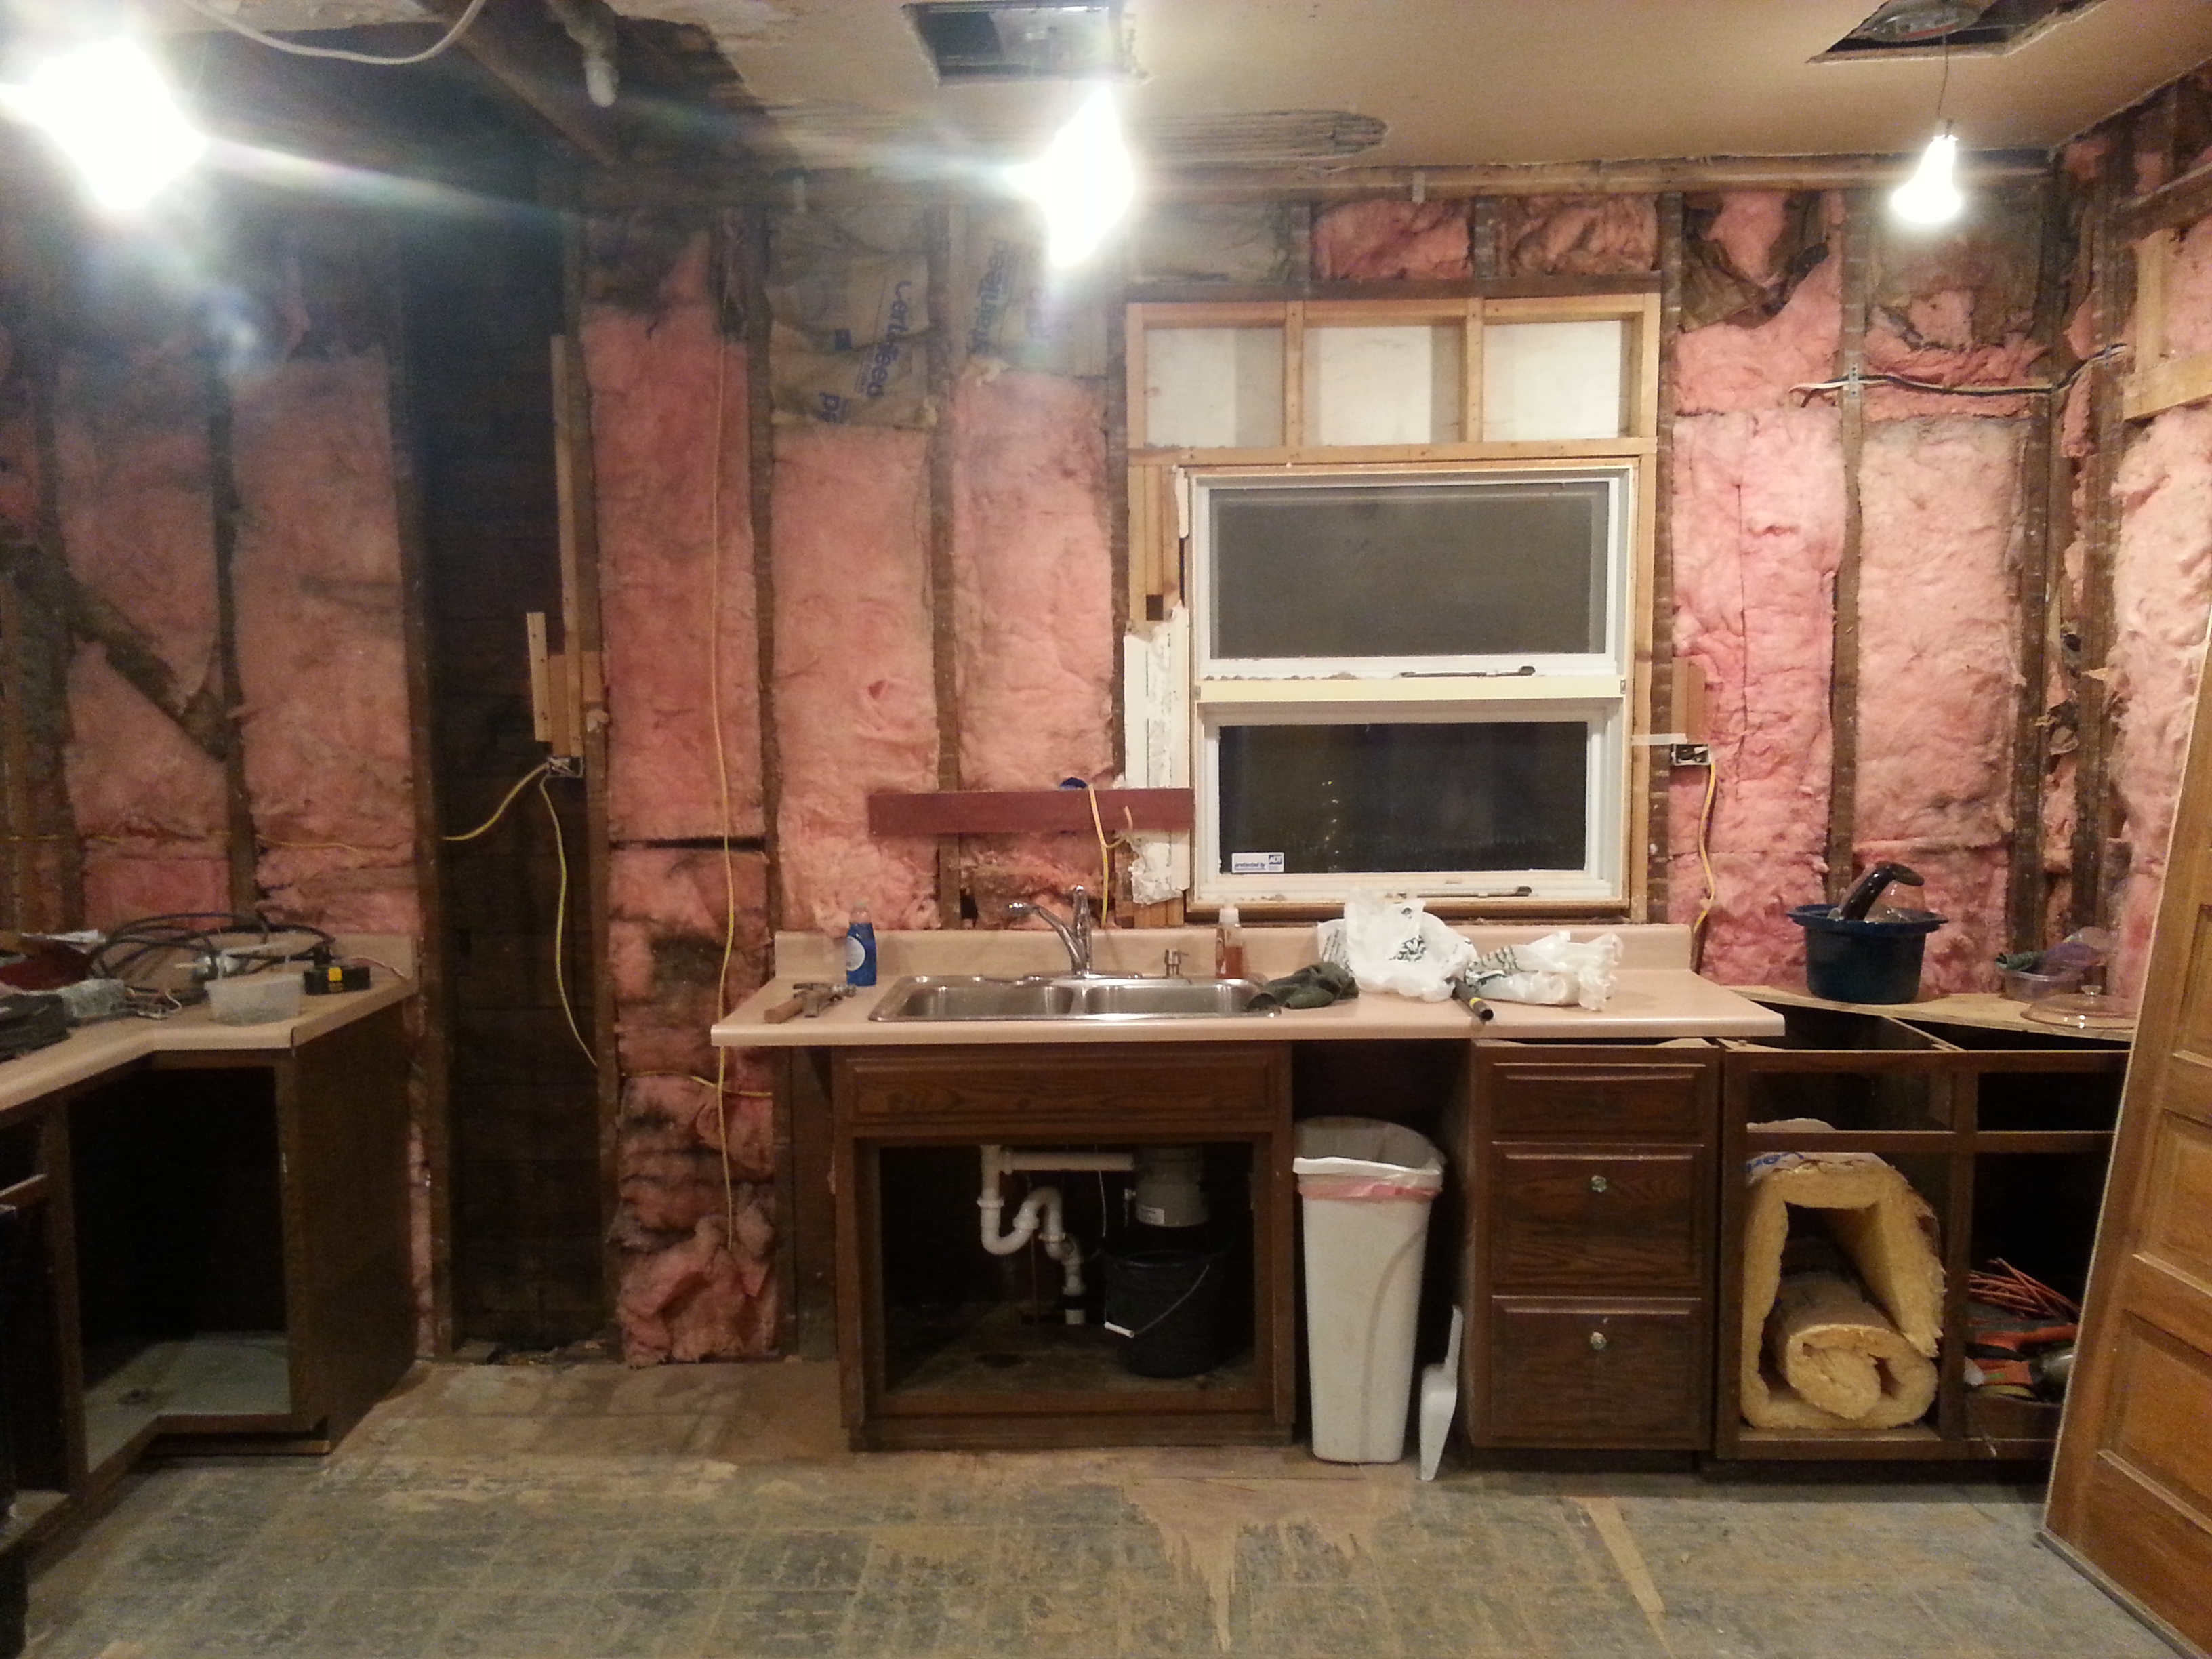
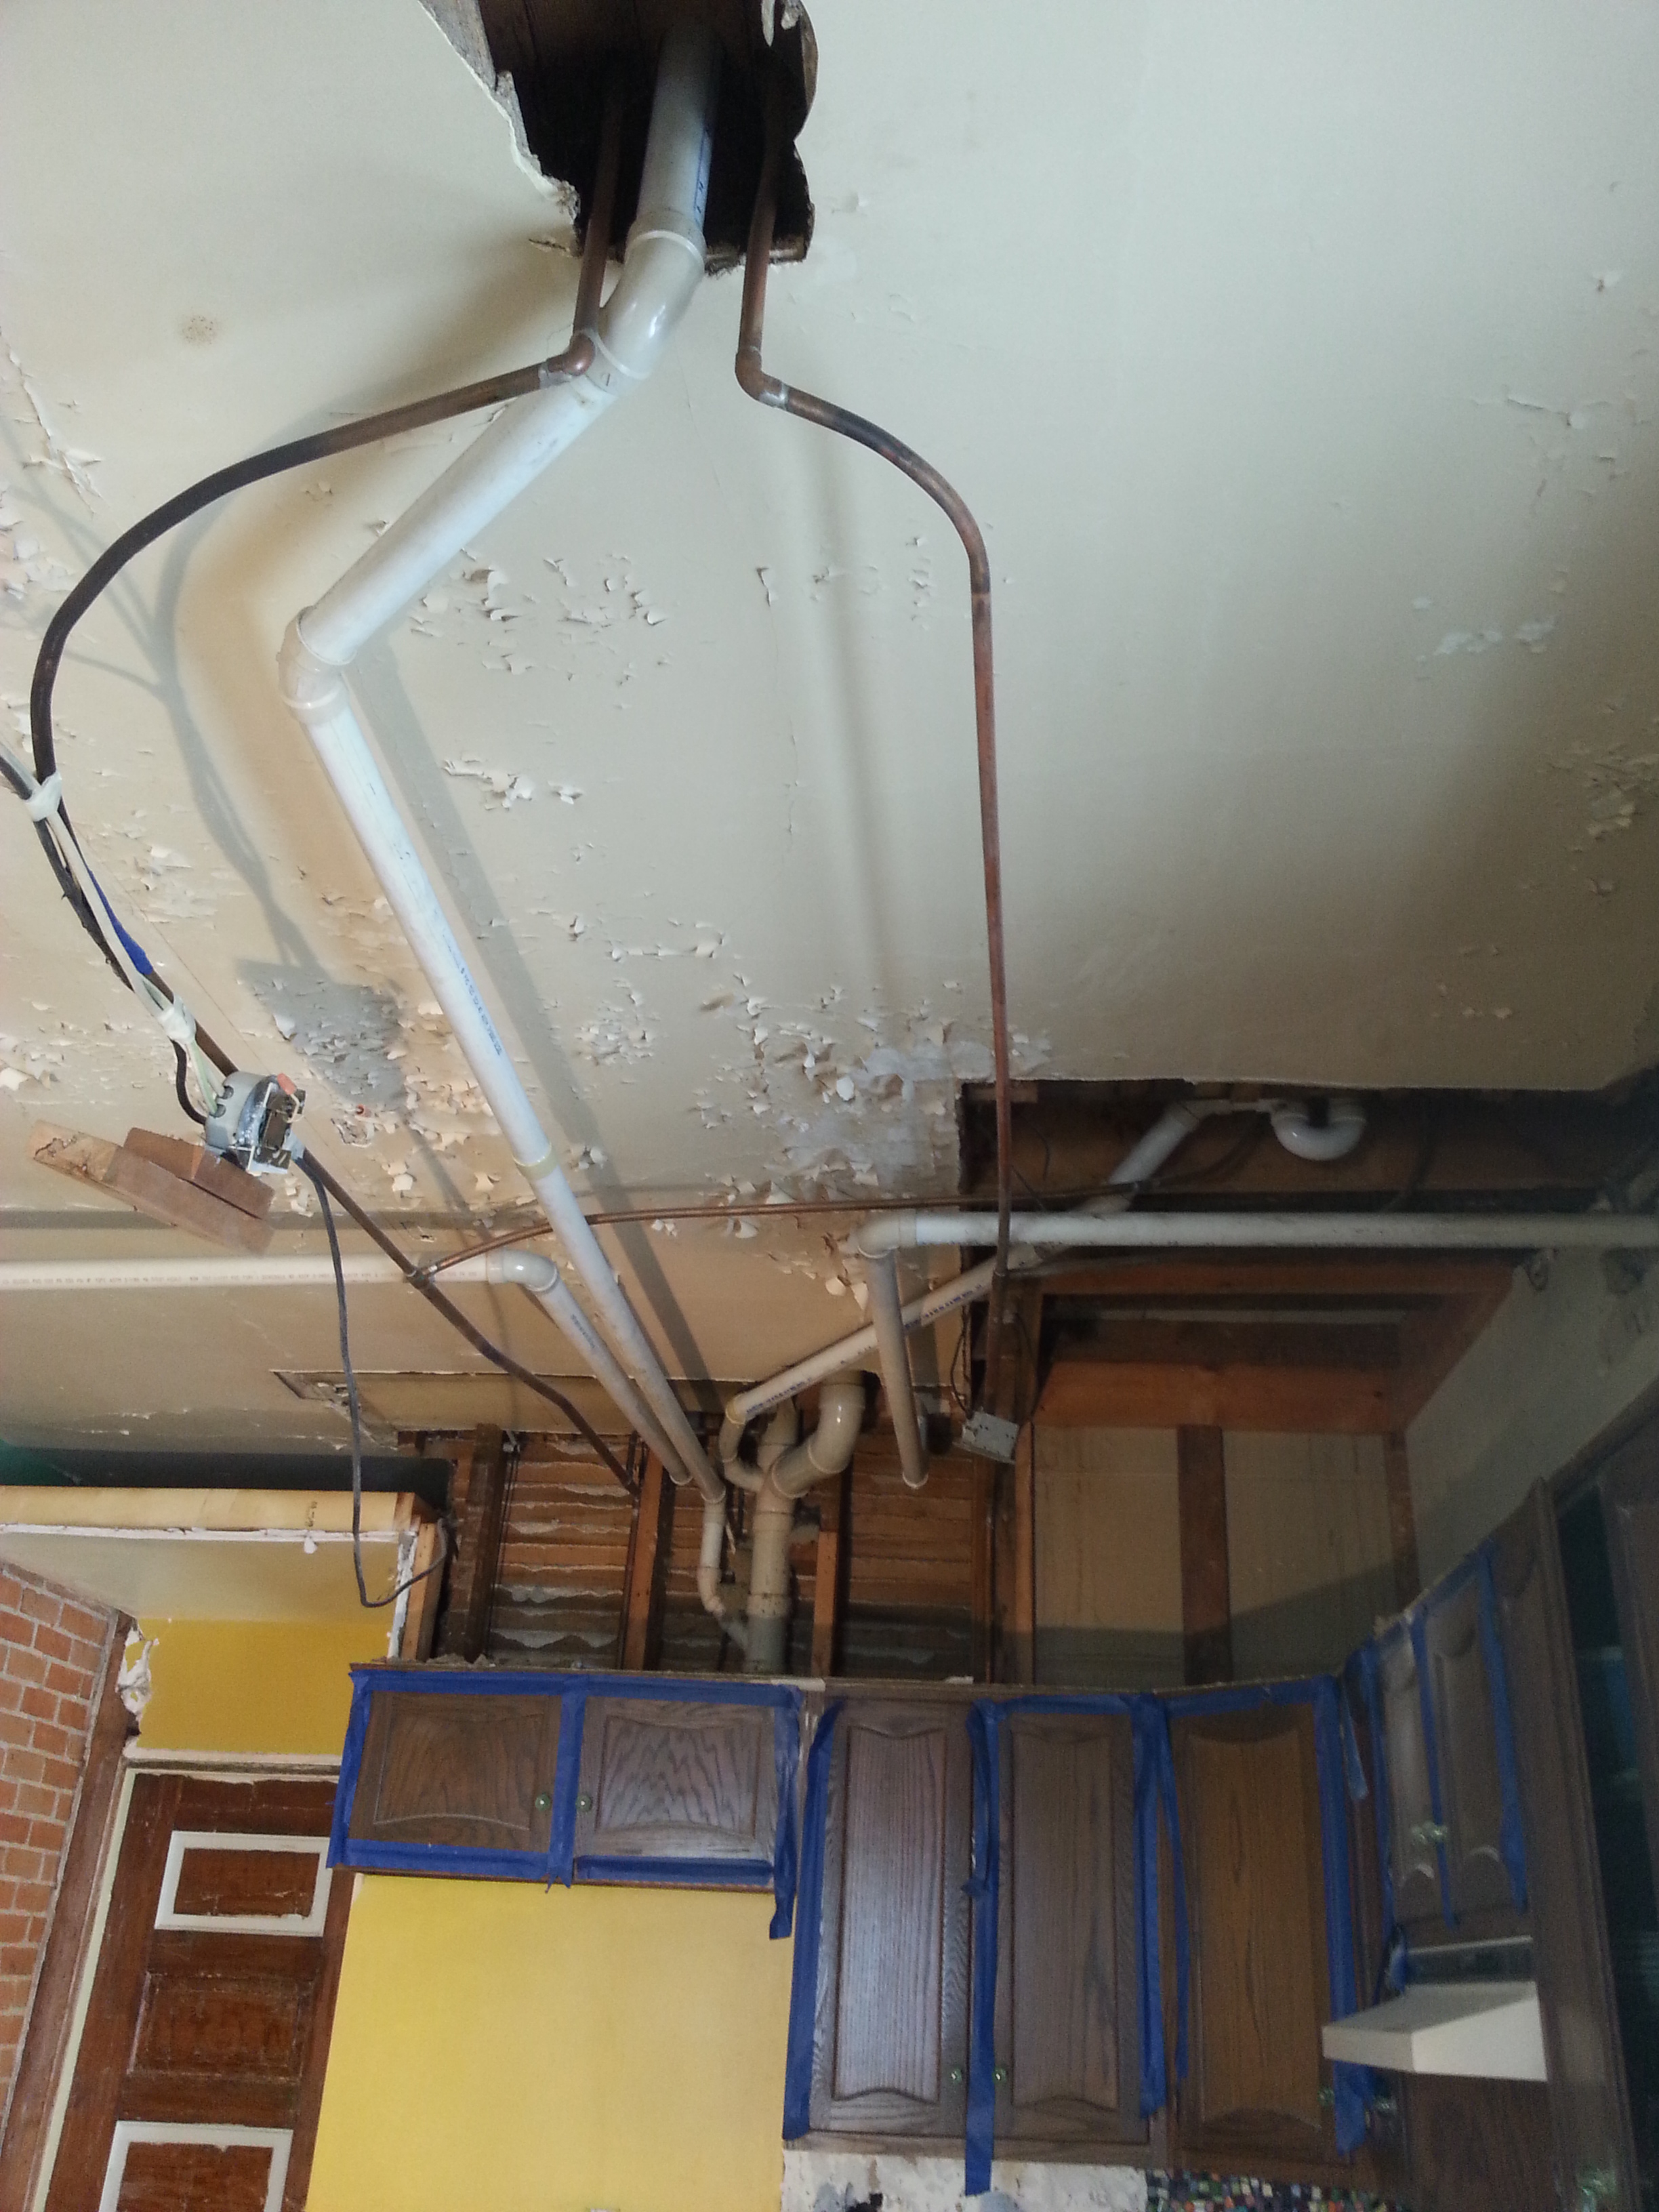
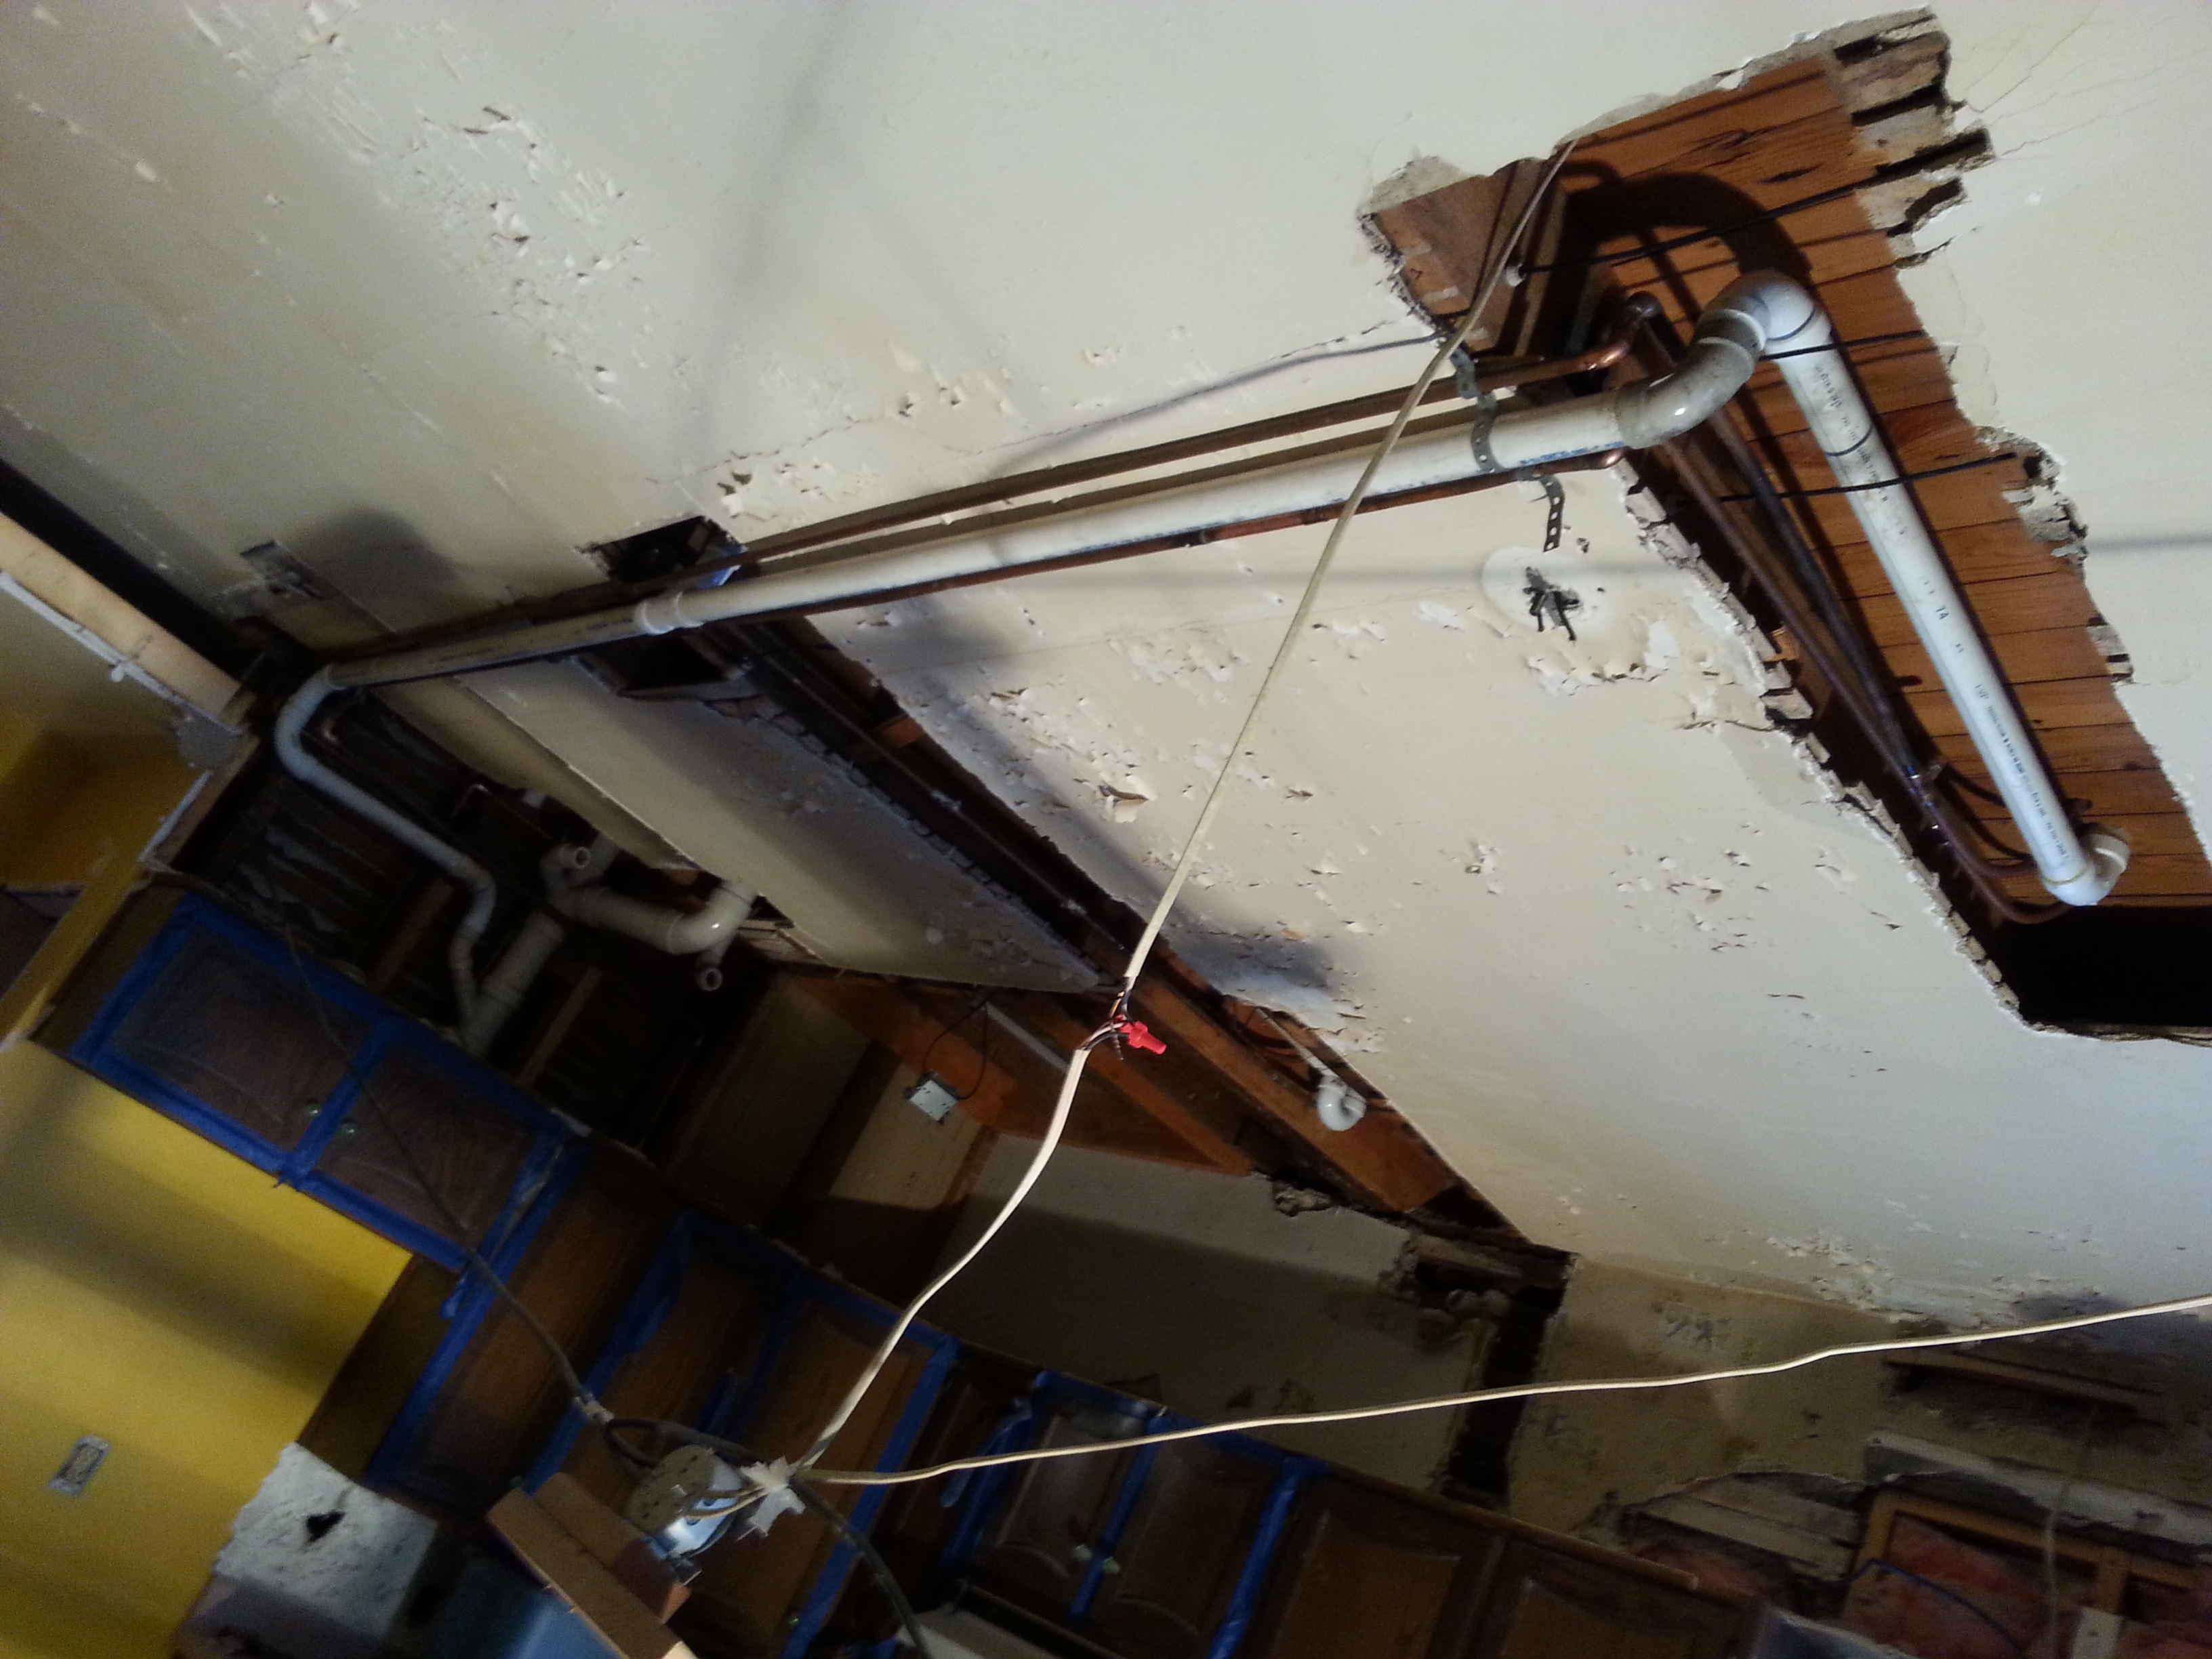
We were pleasantly surprised to find that the room already contained hot and cold water lines and a vent to the outside of the house. That means that at one time this was also used as a laundry room. Now tell me, what person in their right mind would move the washer and dryer from the first floor down to the basement!? Grrr!! I shall now silently curse him or her (oh let’s be honest only a “him” would do something like this!) everytime I transport 4 full laundry baskets from the 2nd floor to the basement and back up. Mind you my glutes are thankful but that’s about it!

20140502_09563520140502_105533

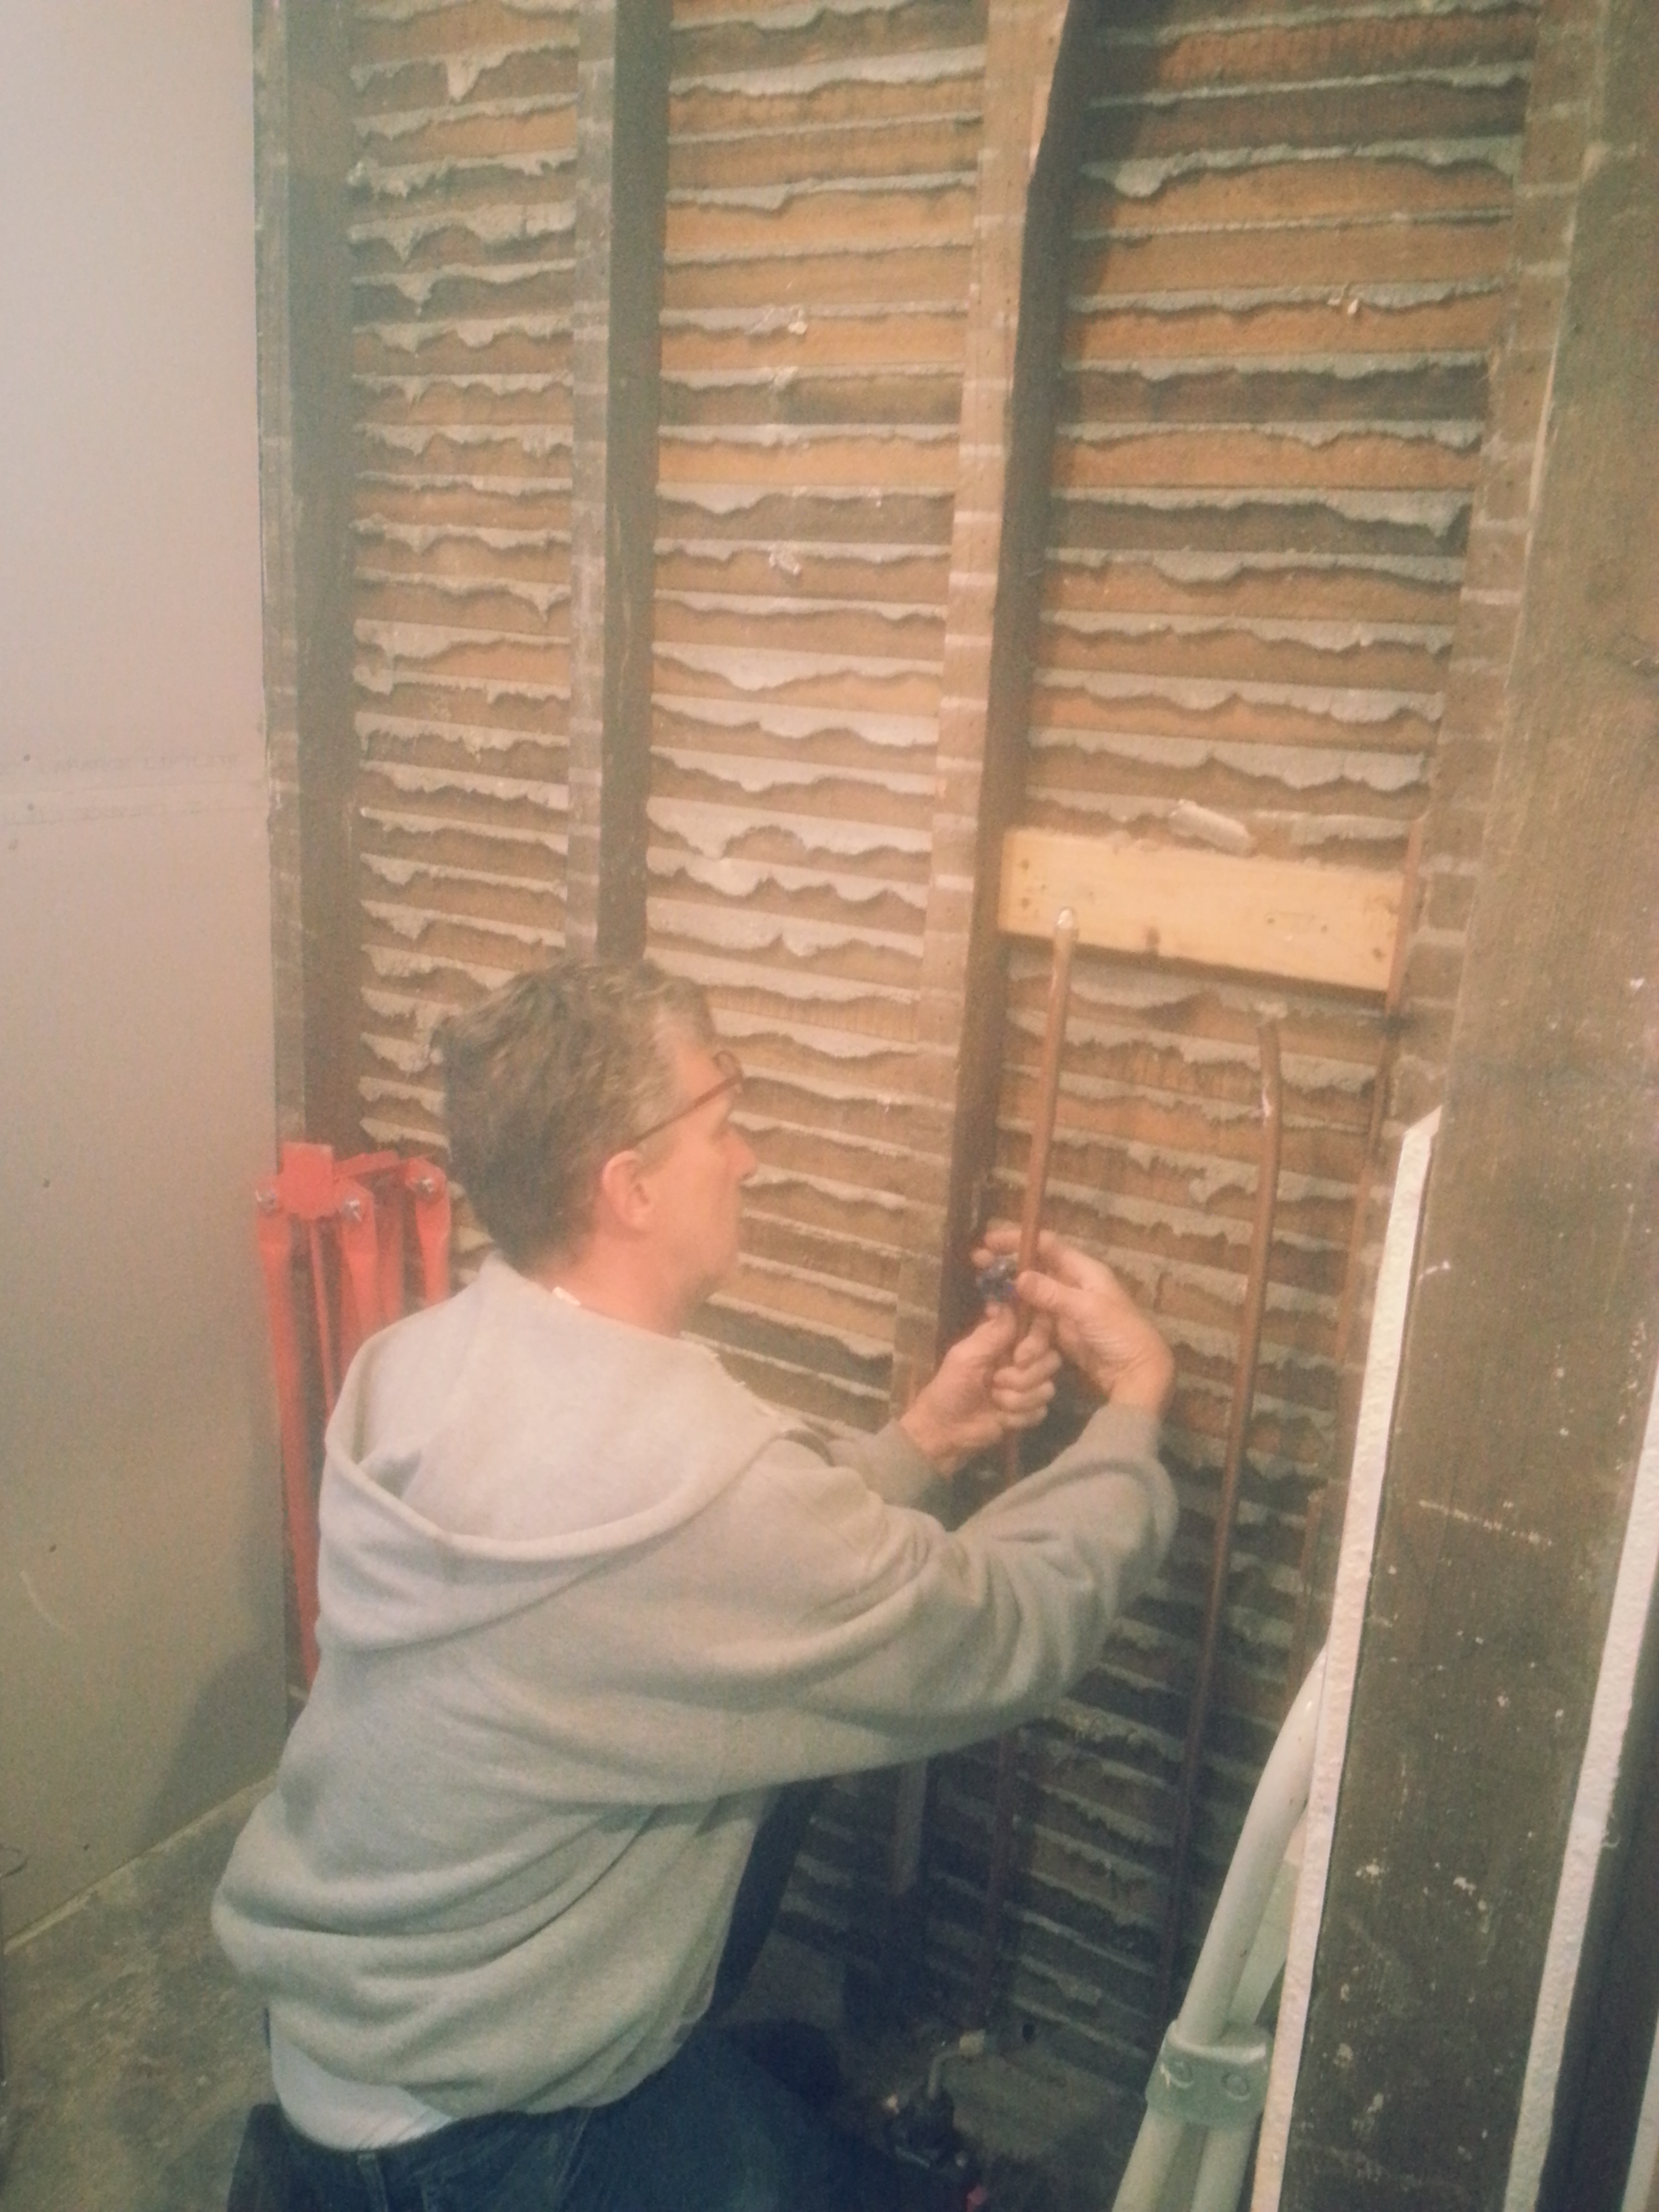
We rerouted the lines to the center of the room and prepared to create a connection point for a fabulous wall-mounted faucet.

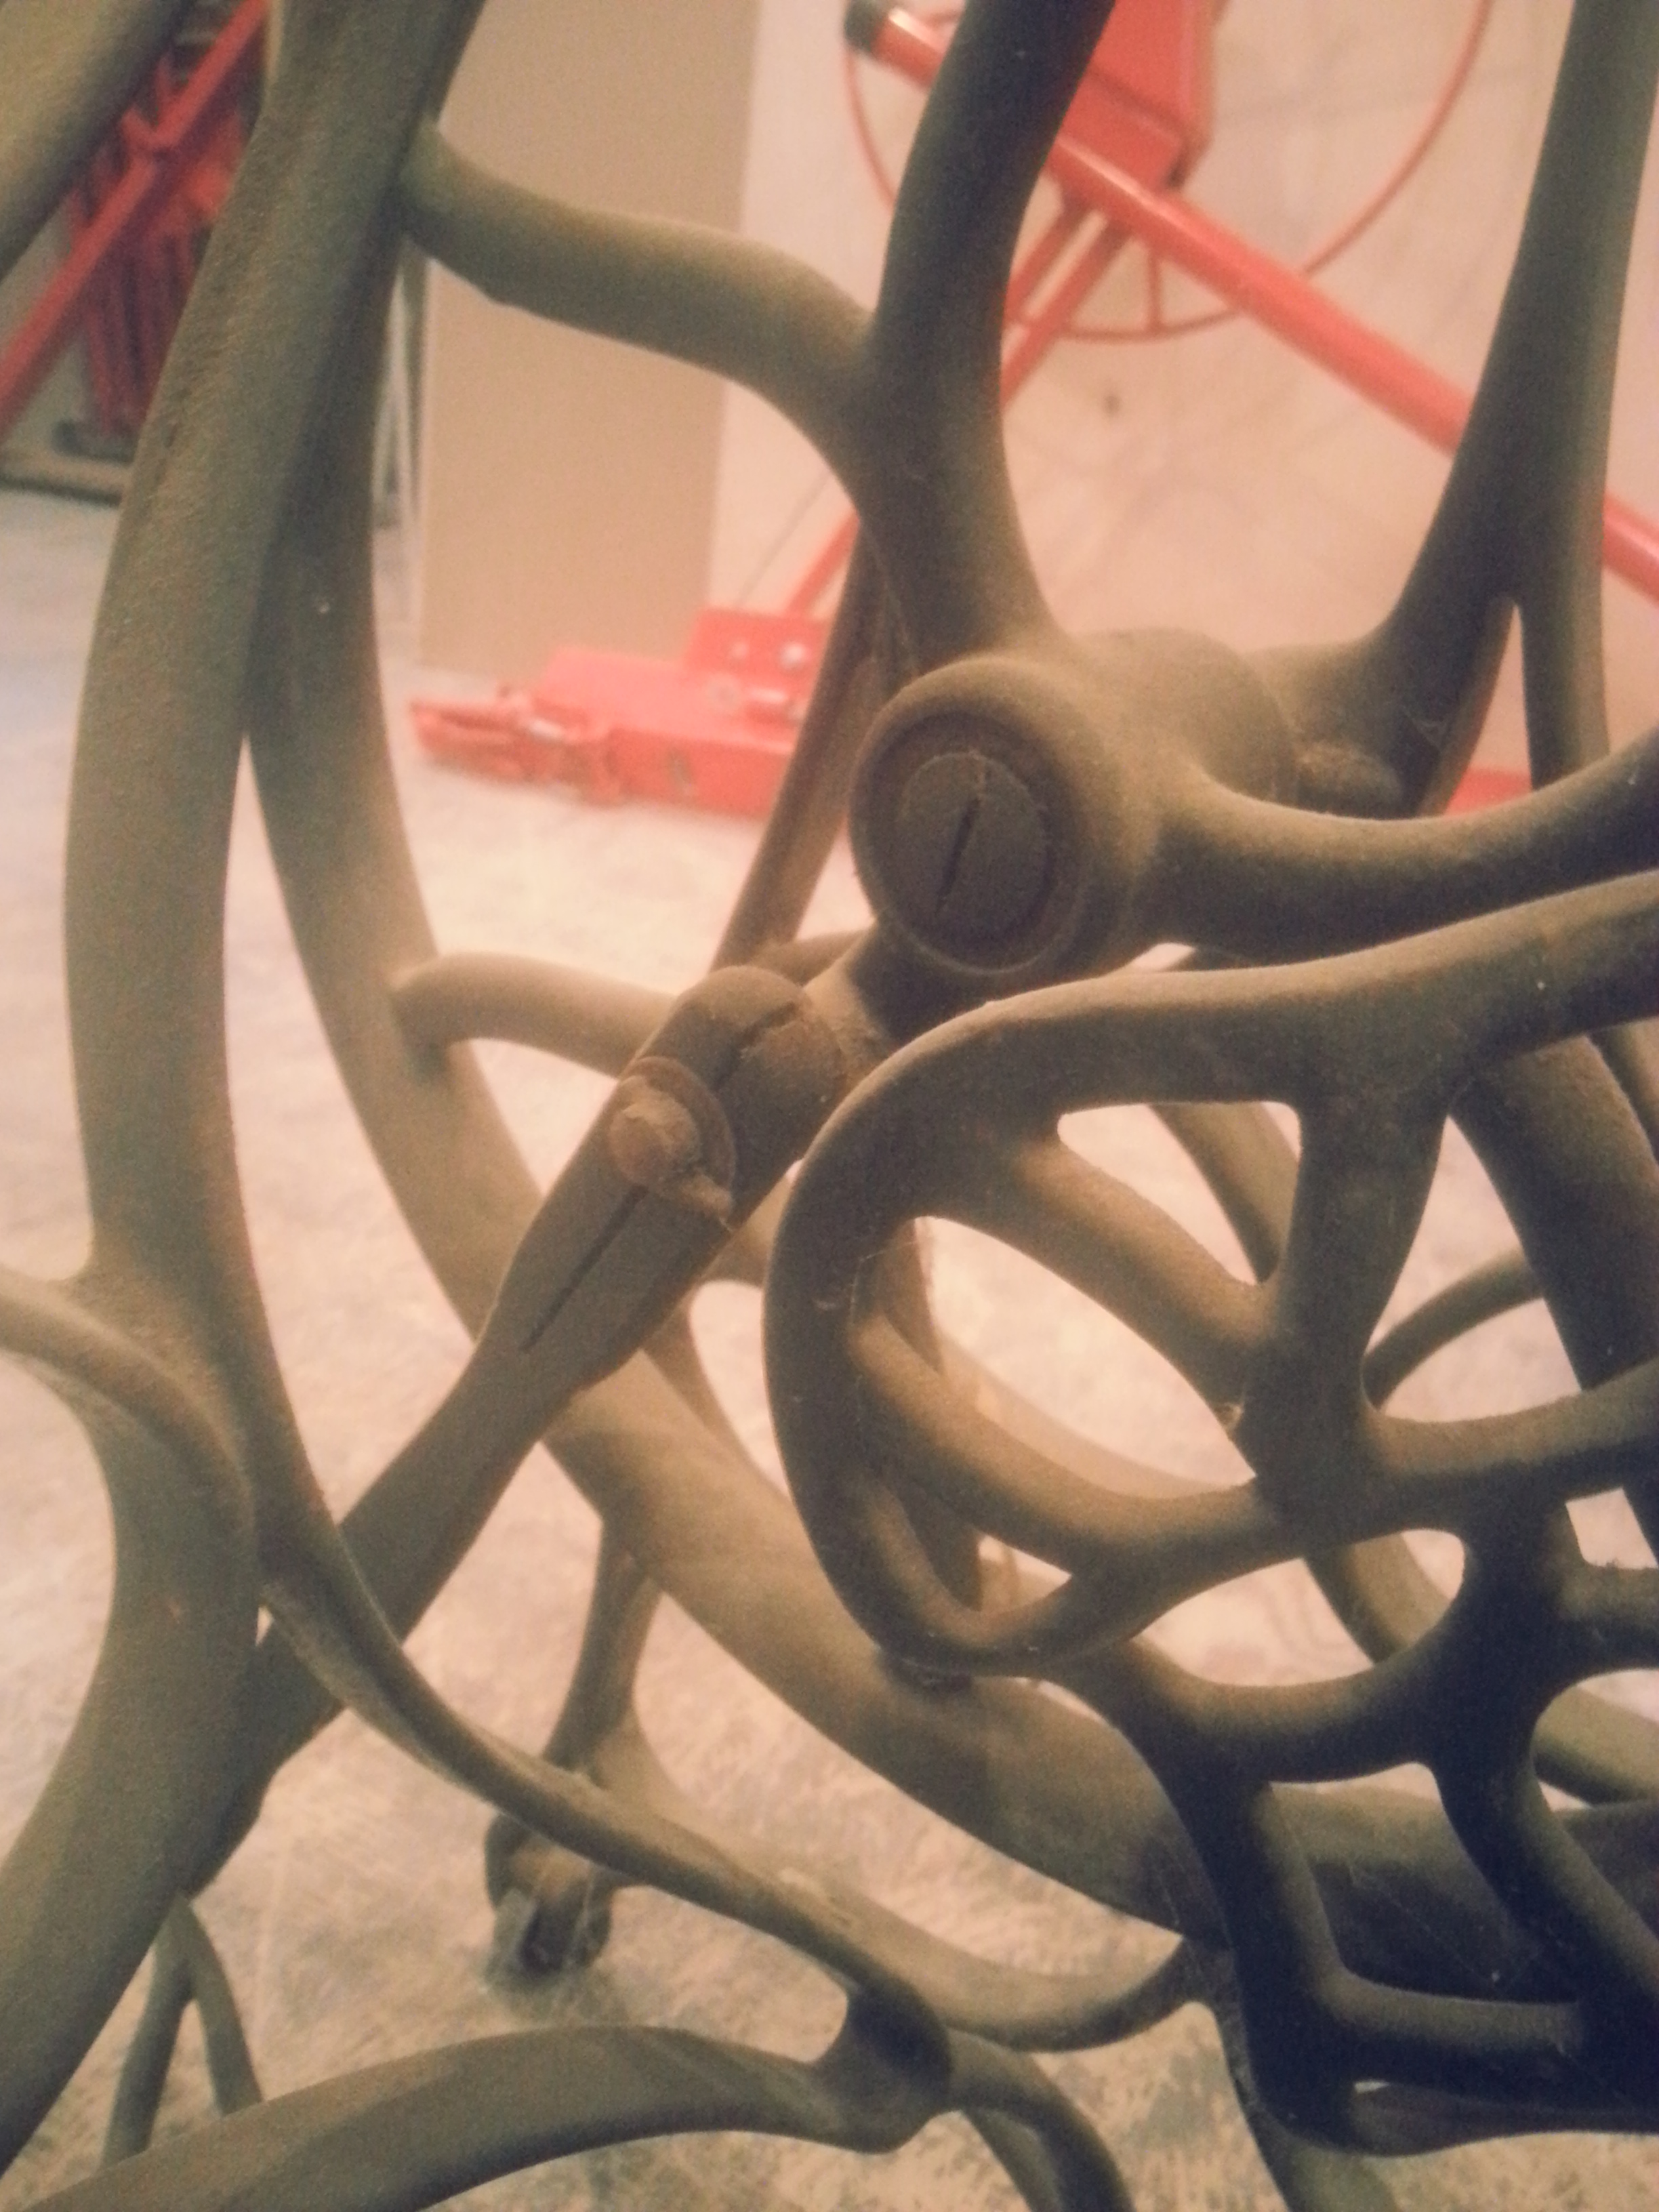
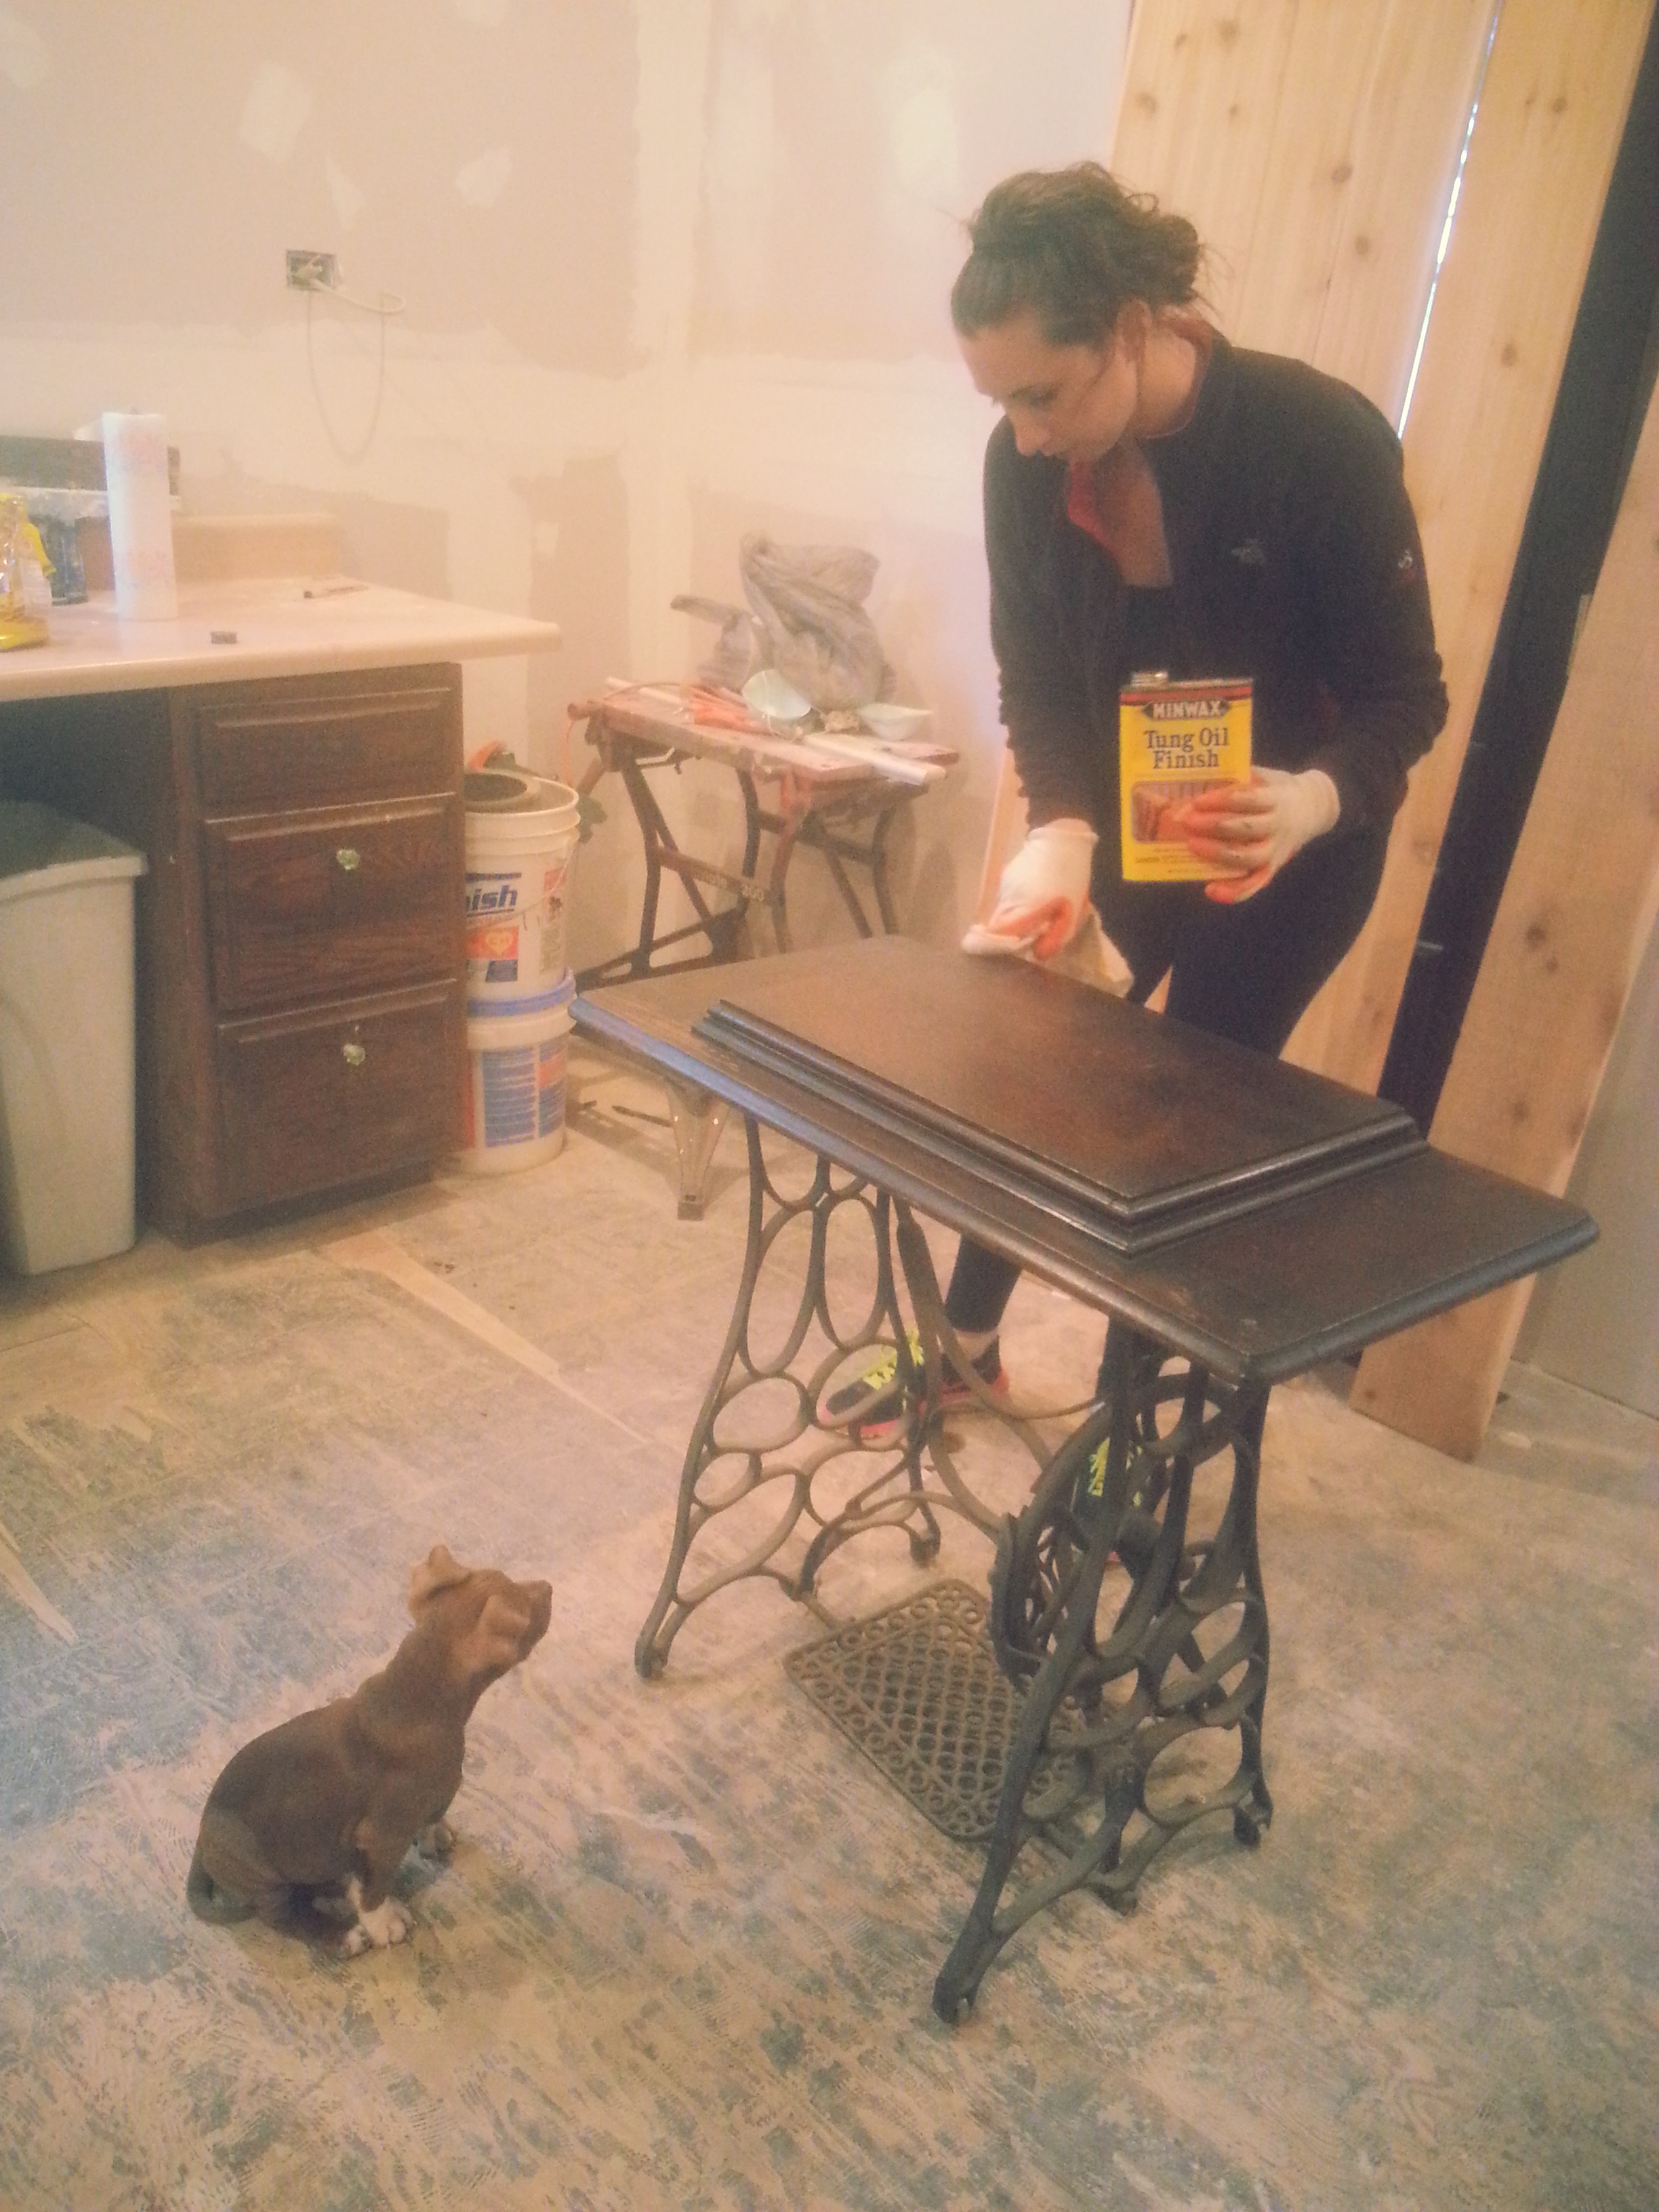
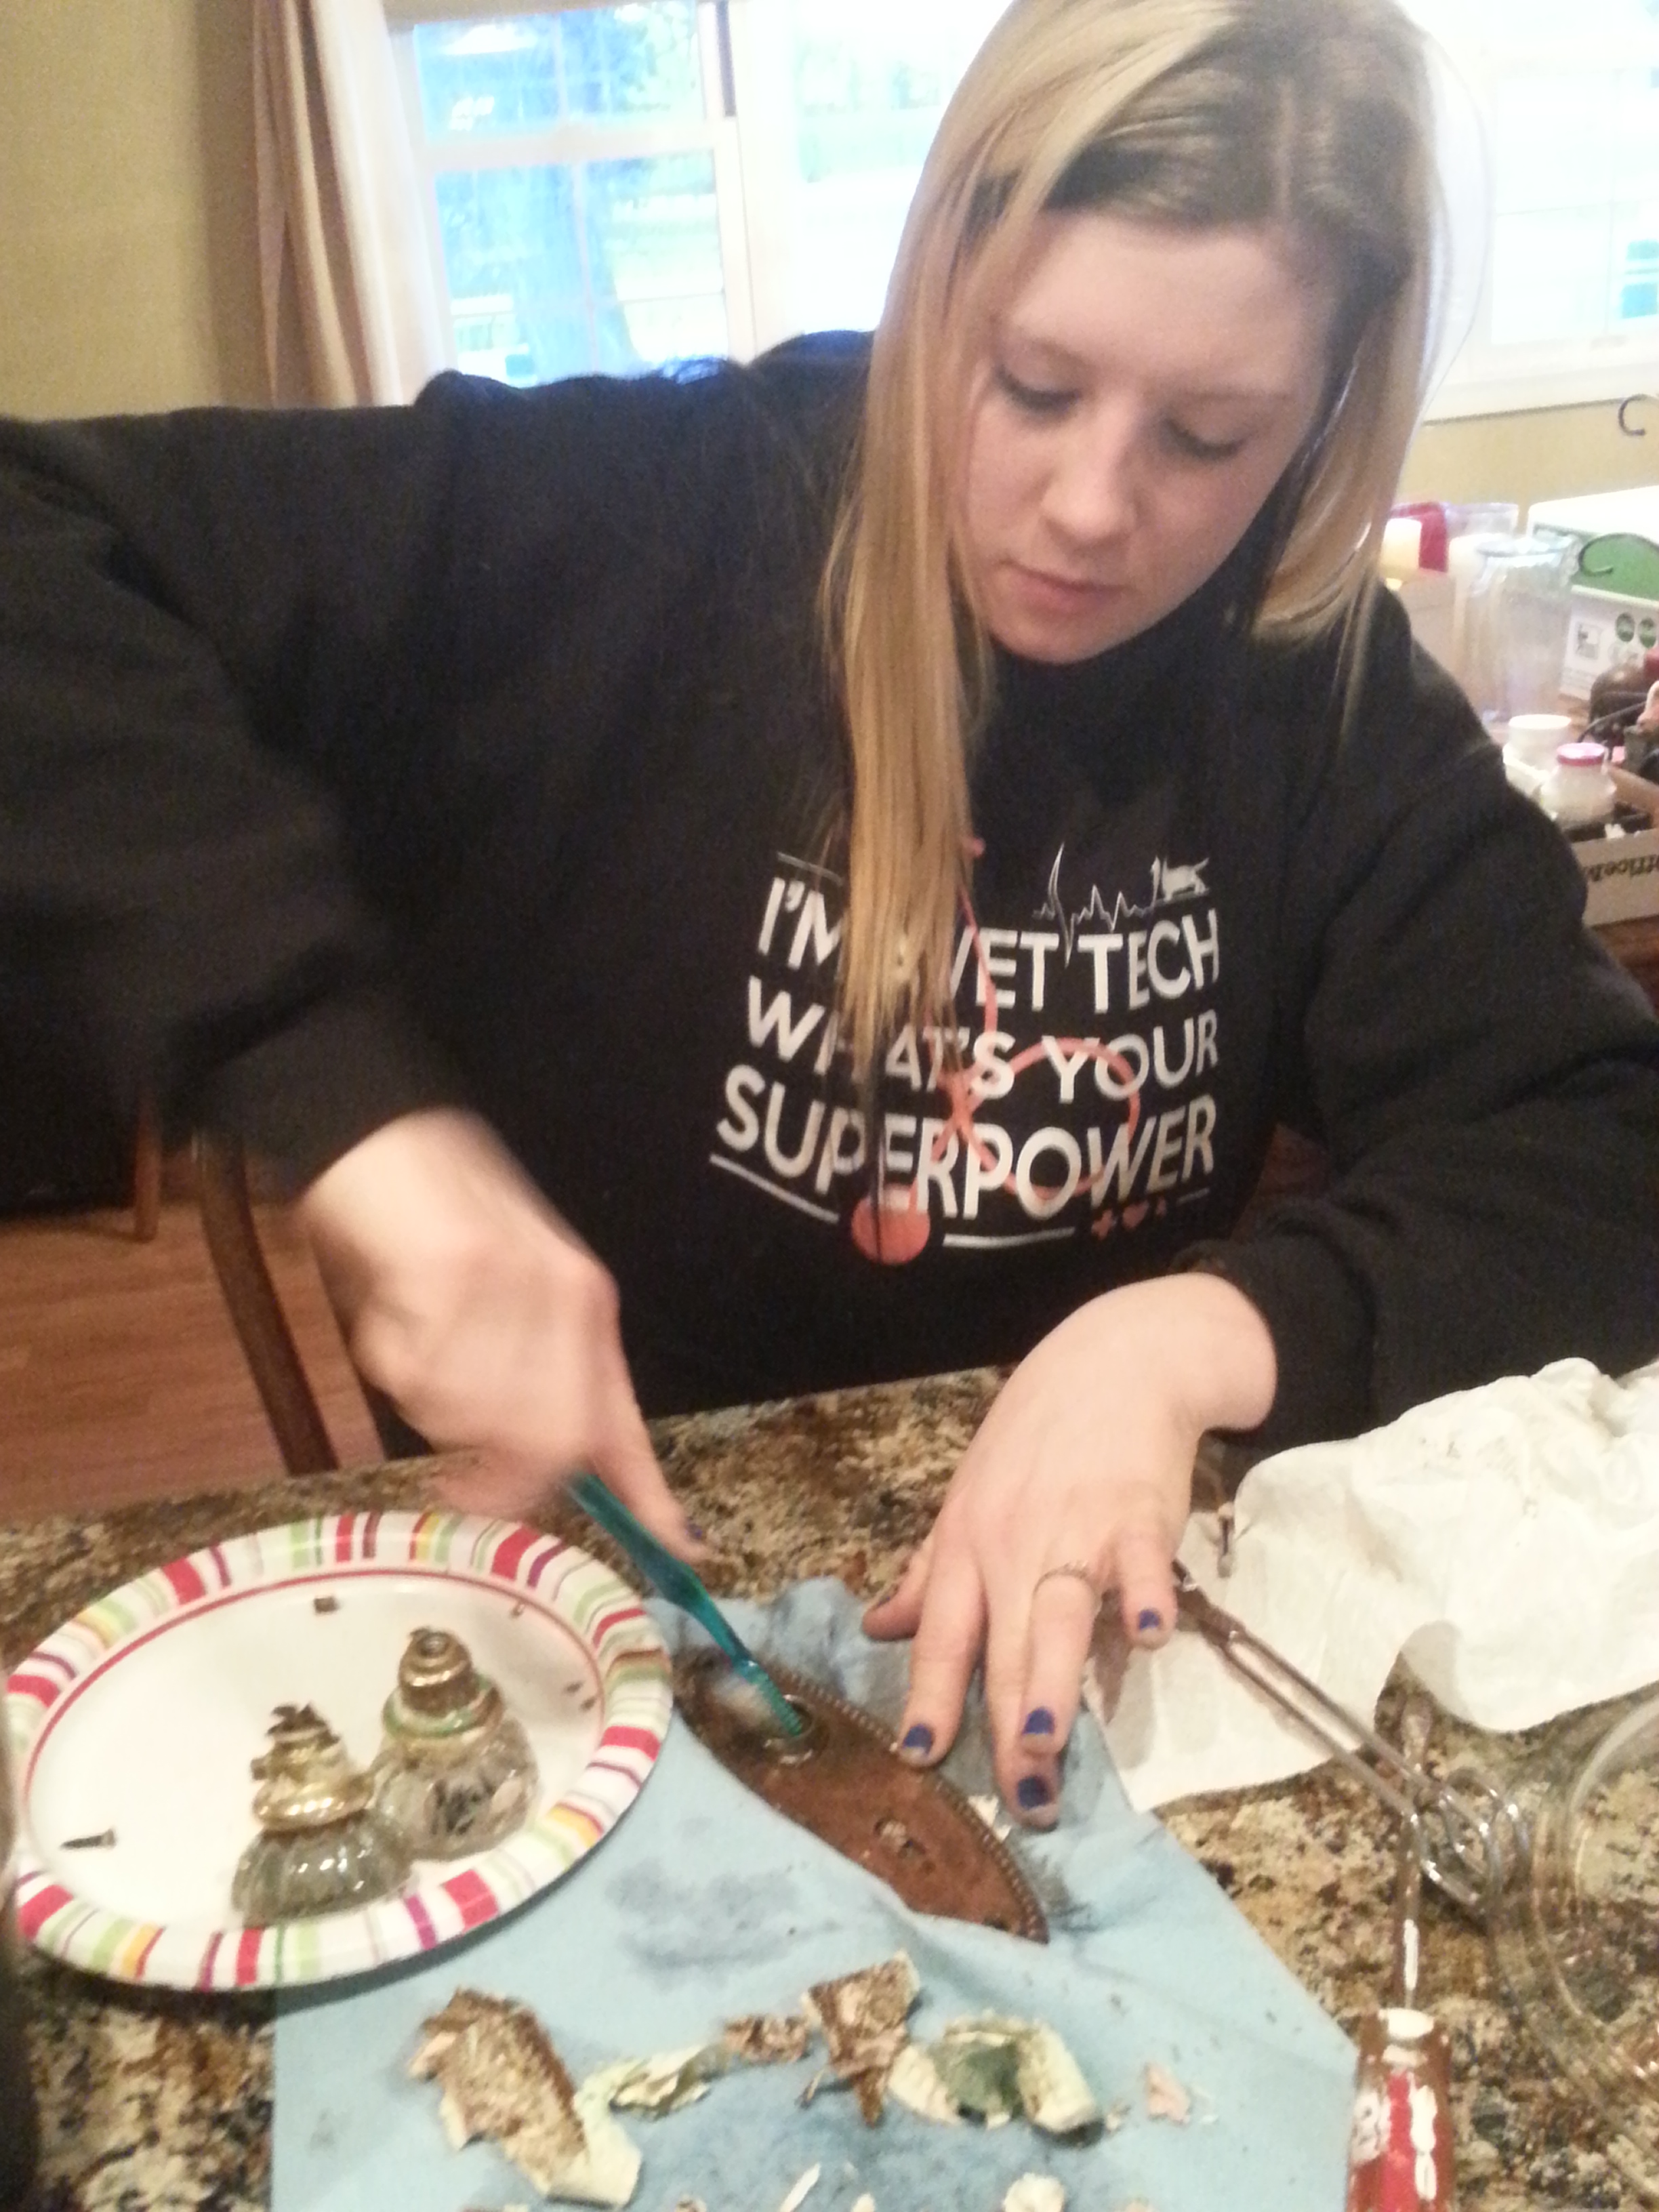
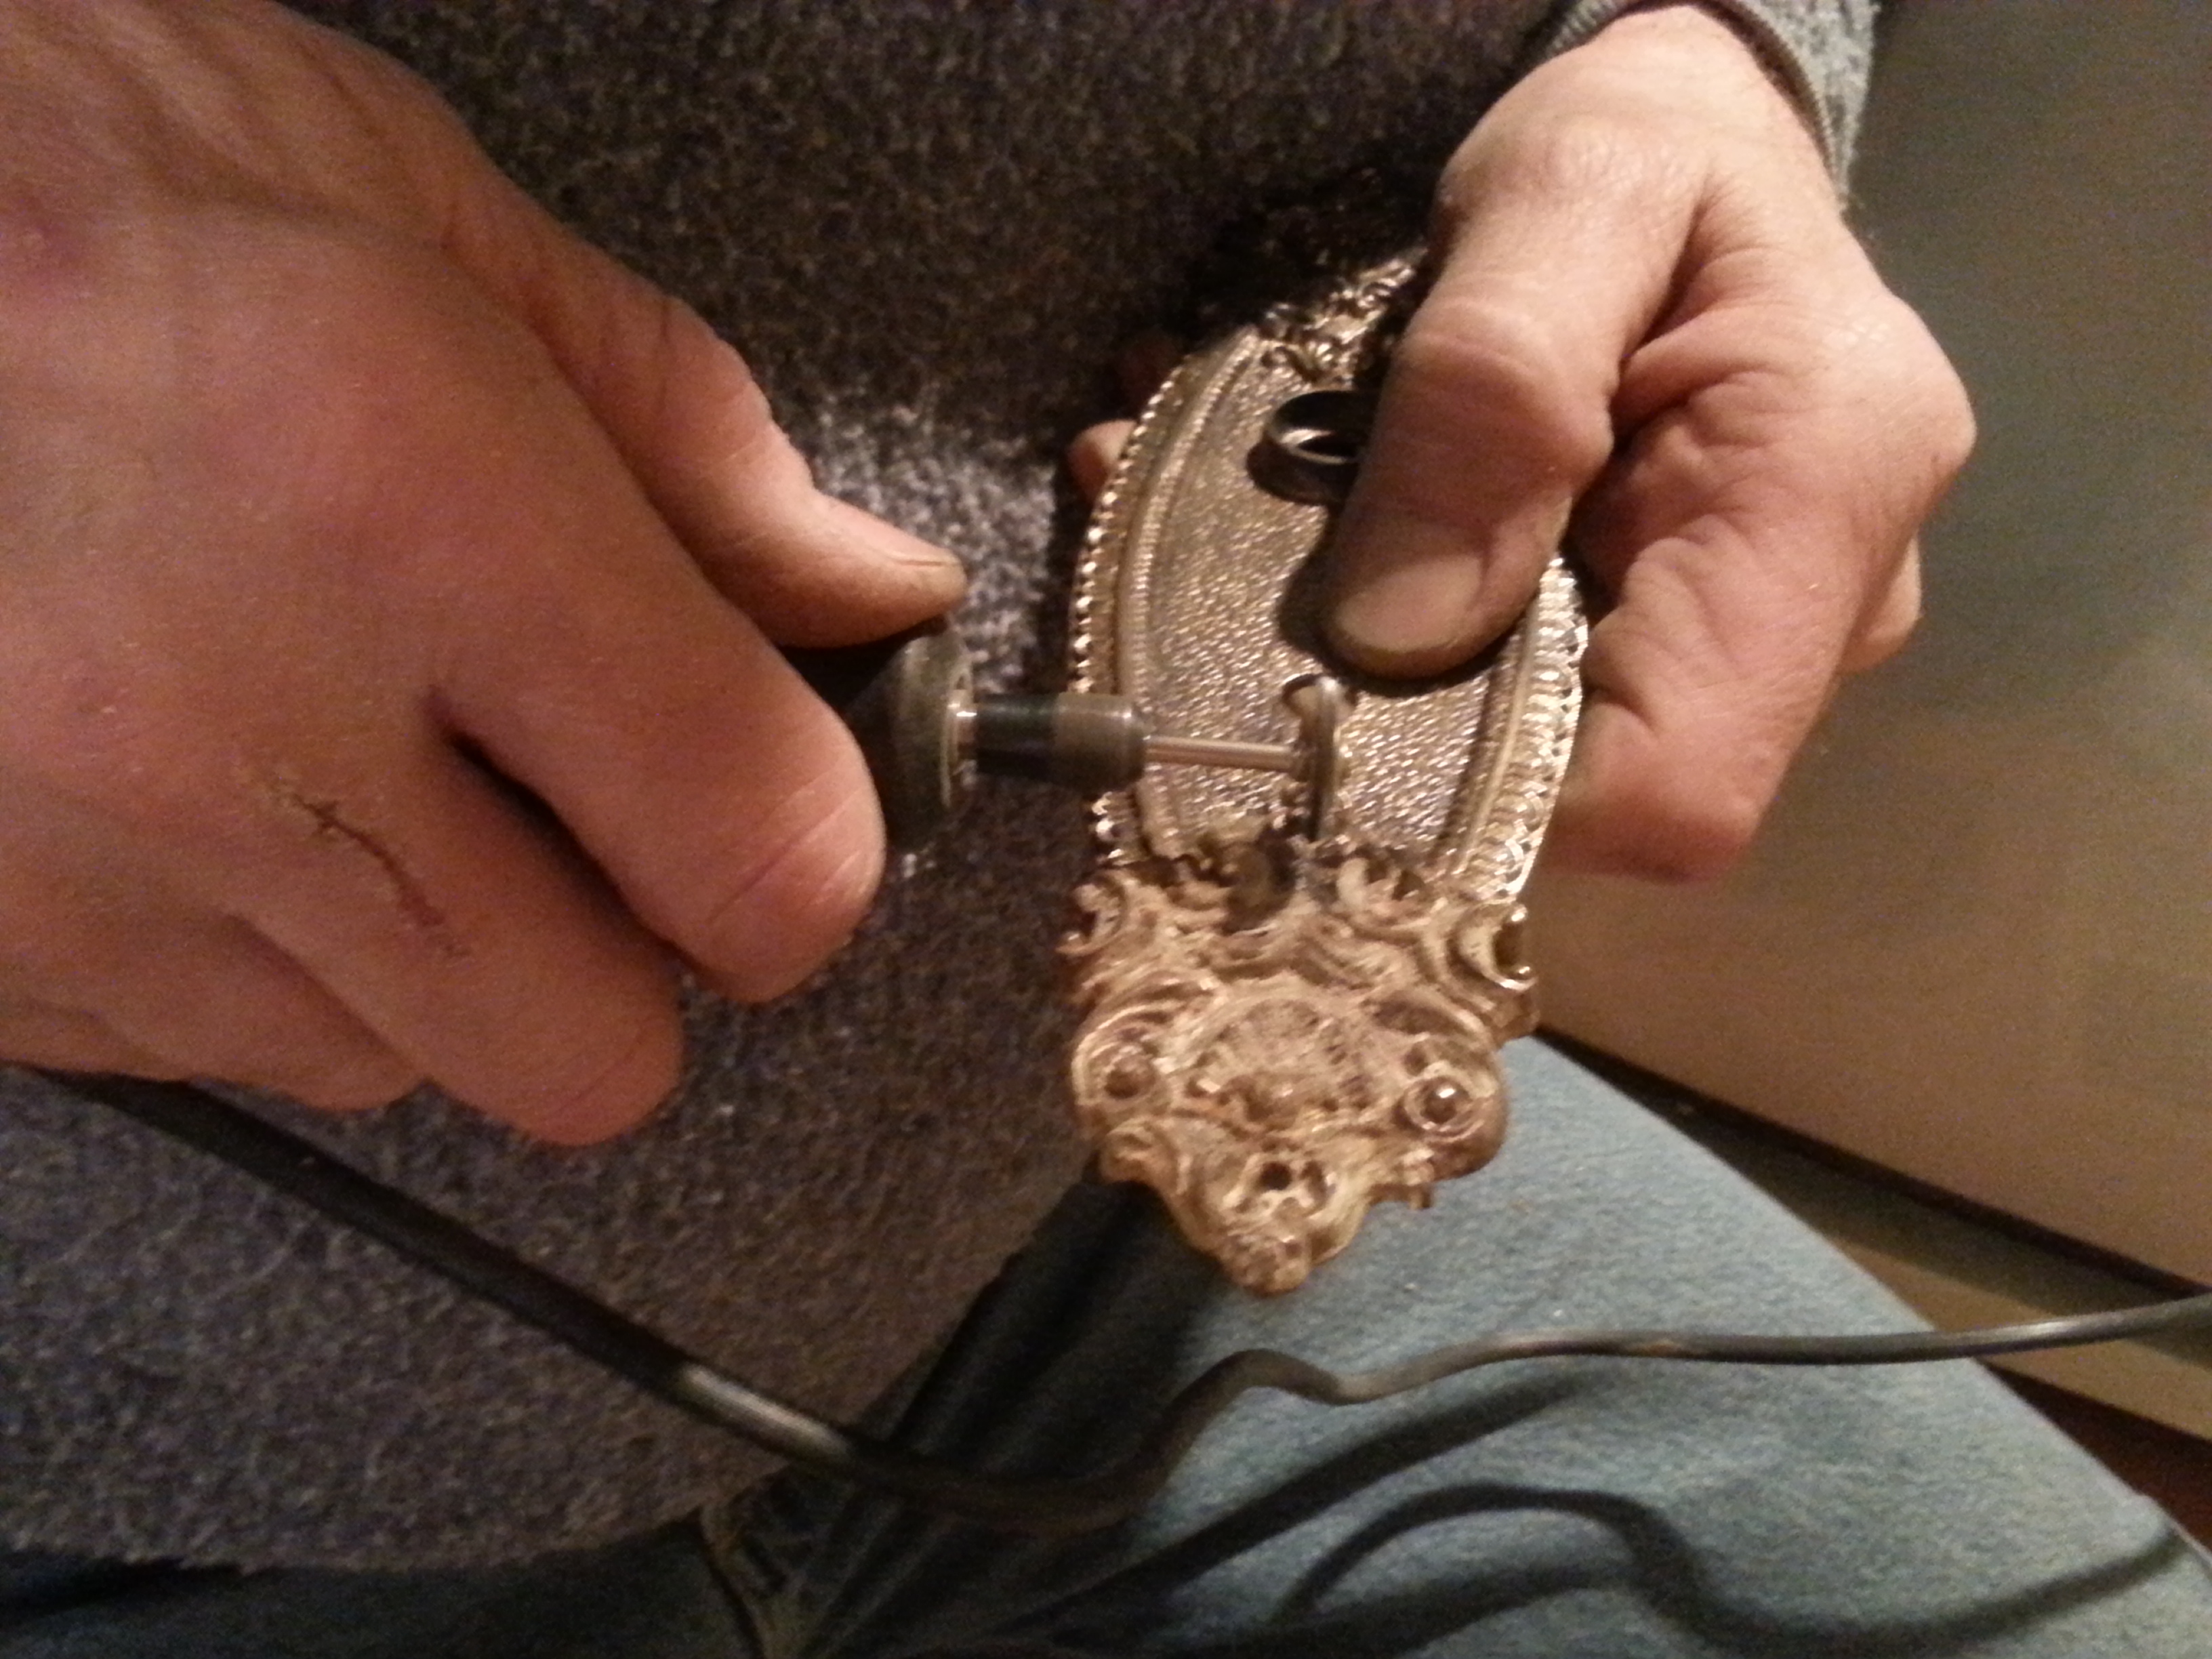
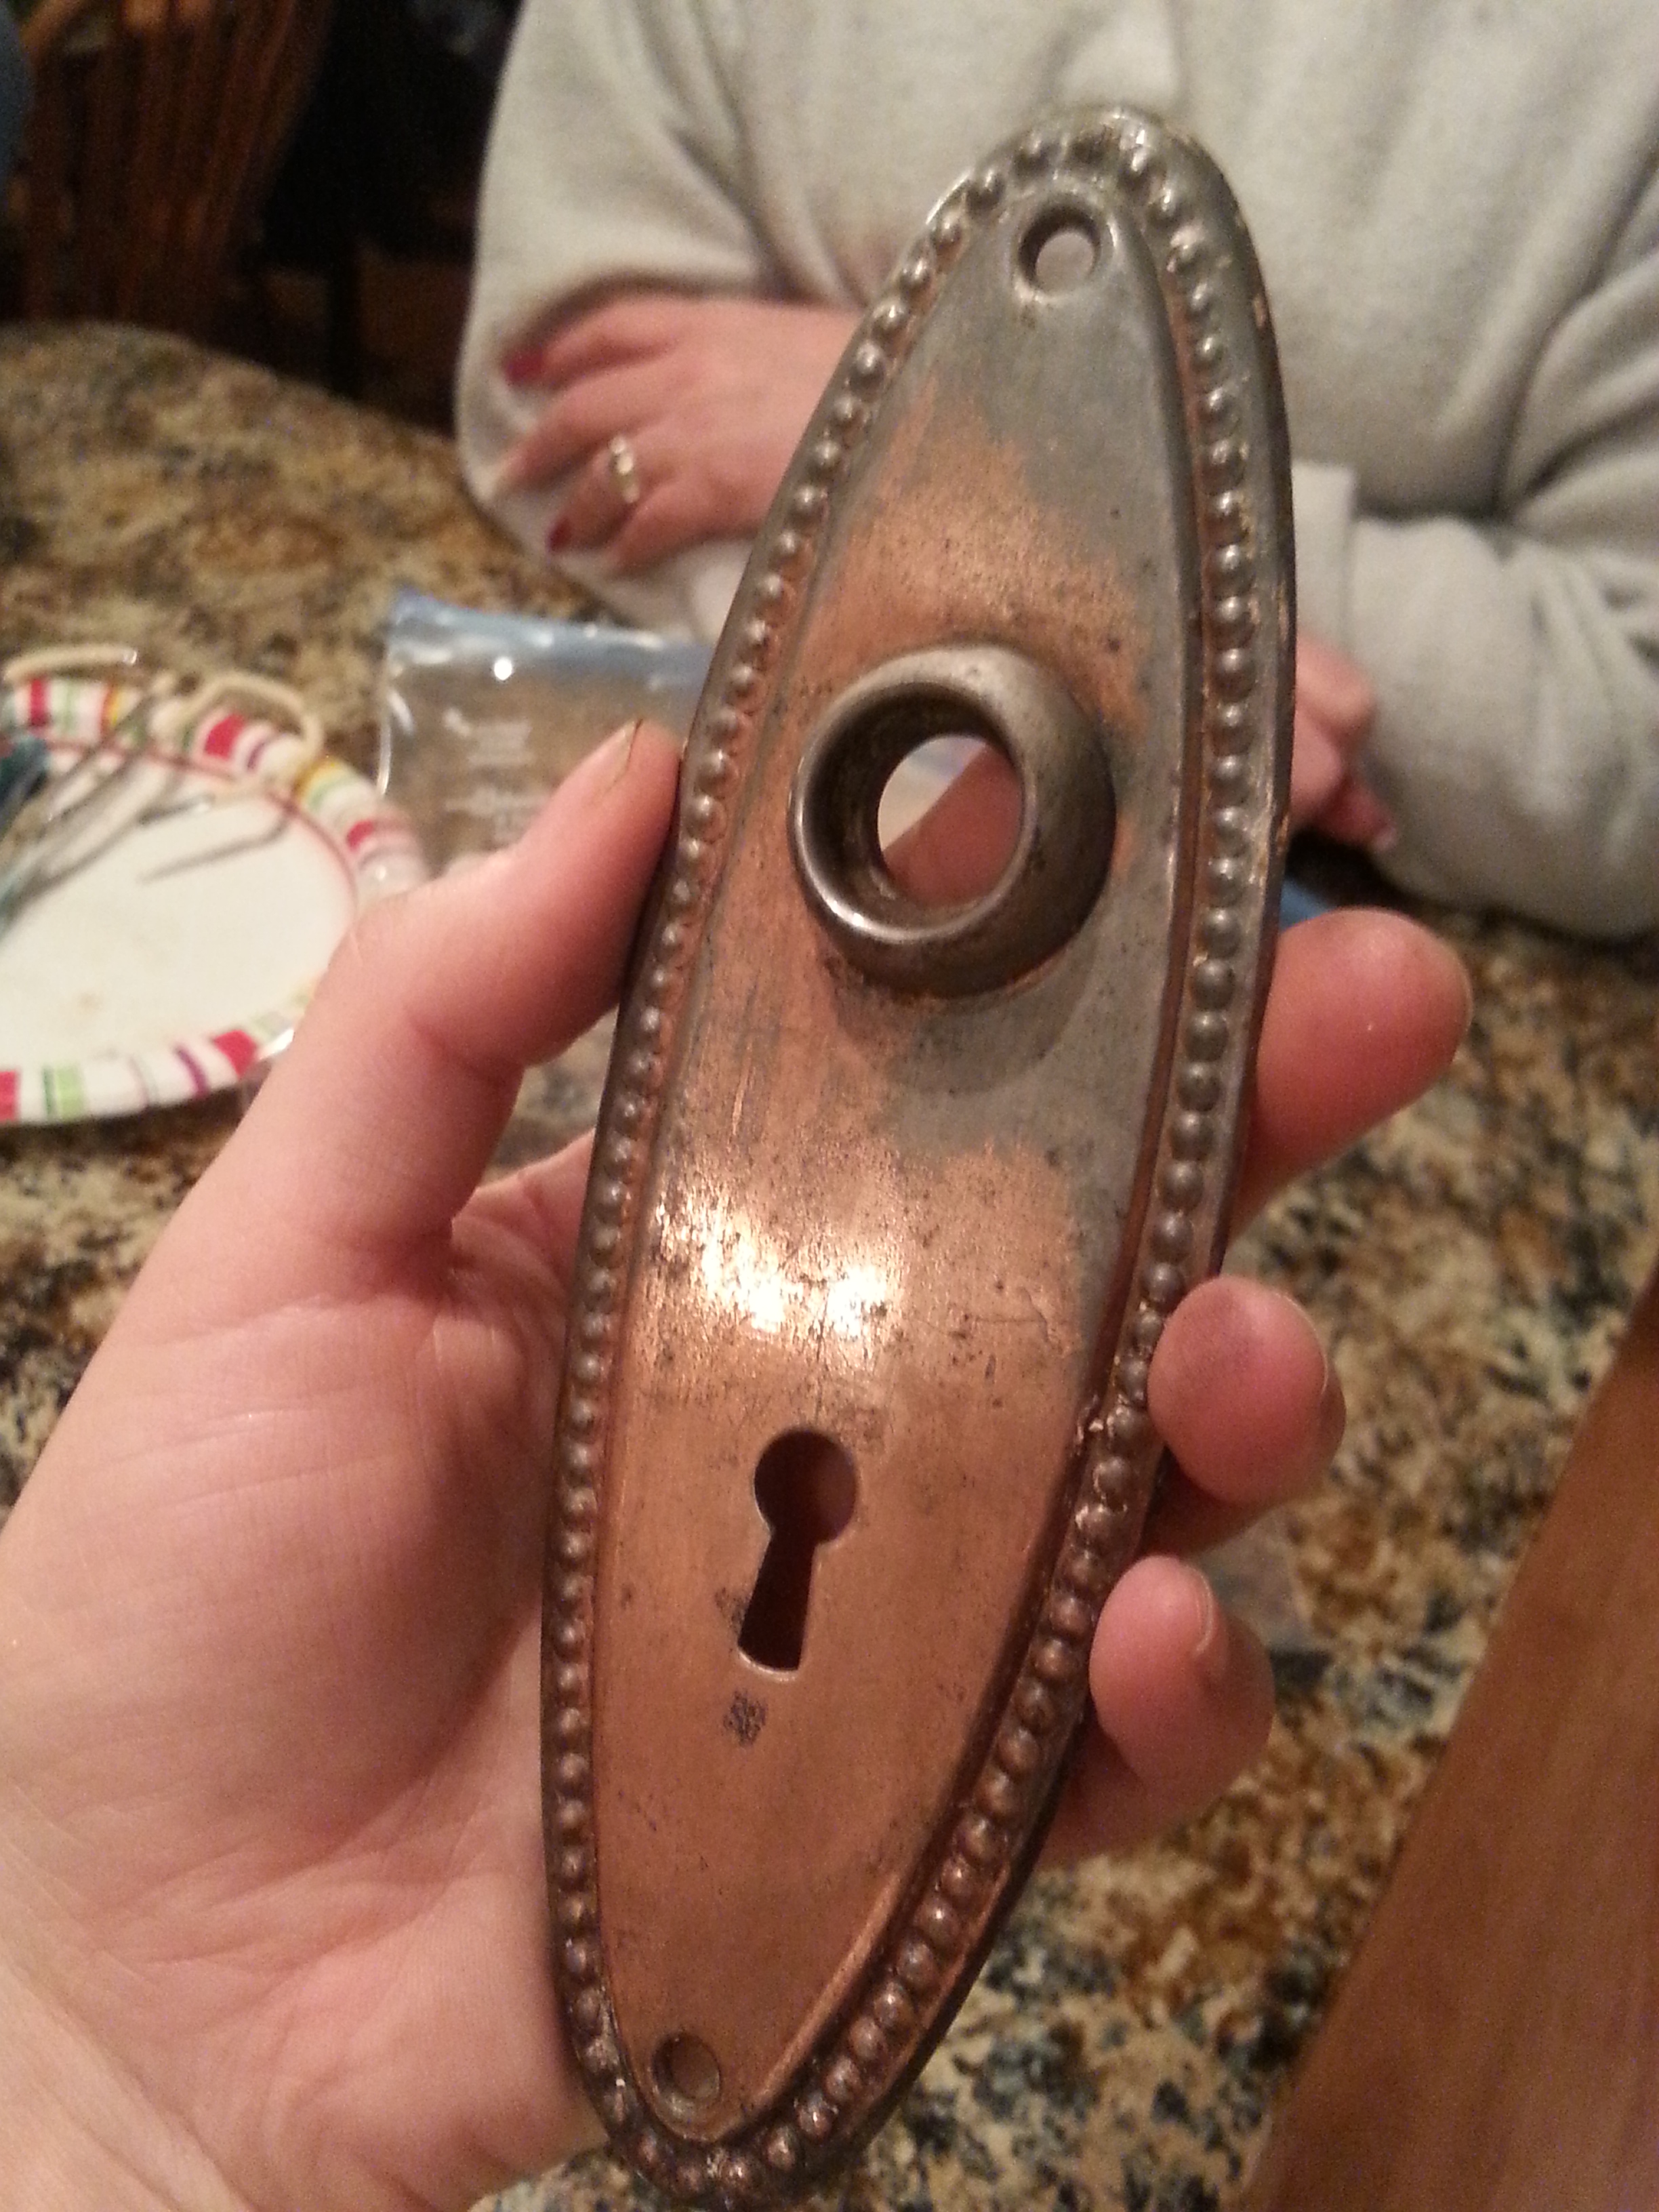
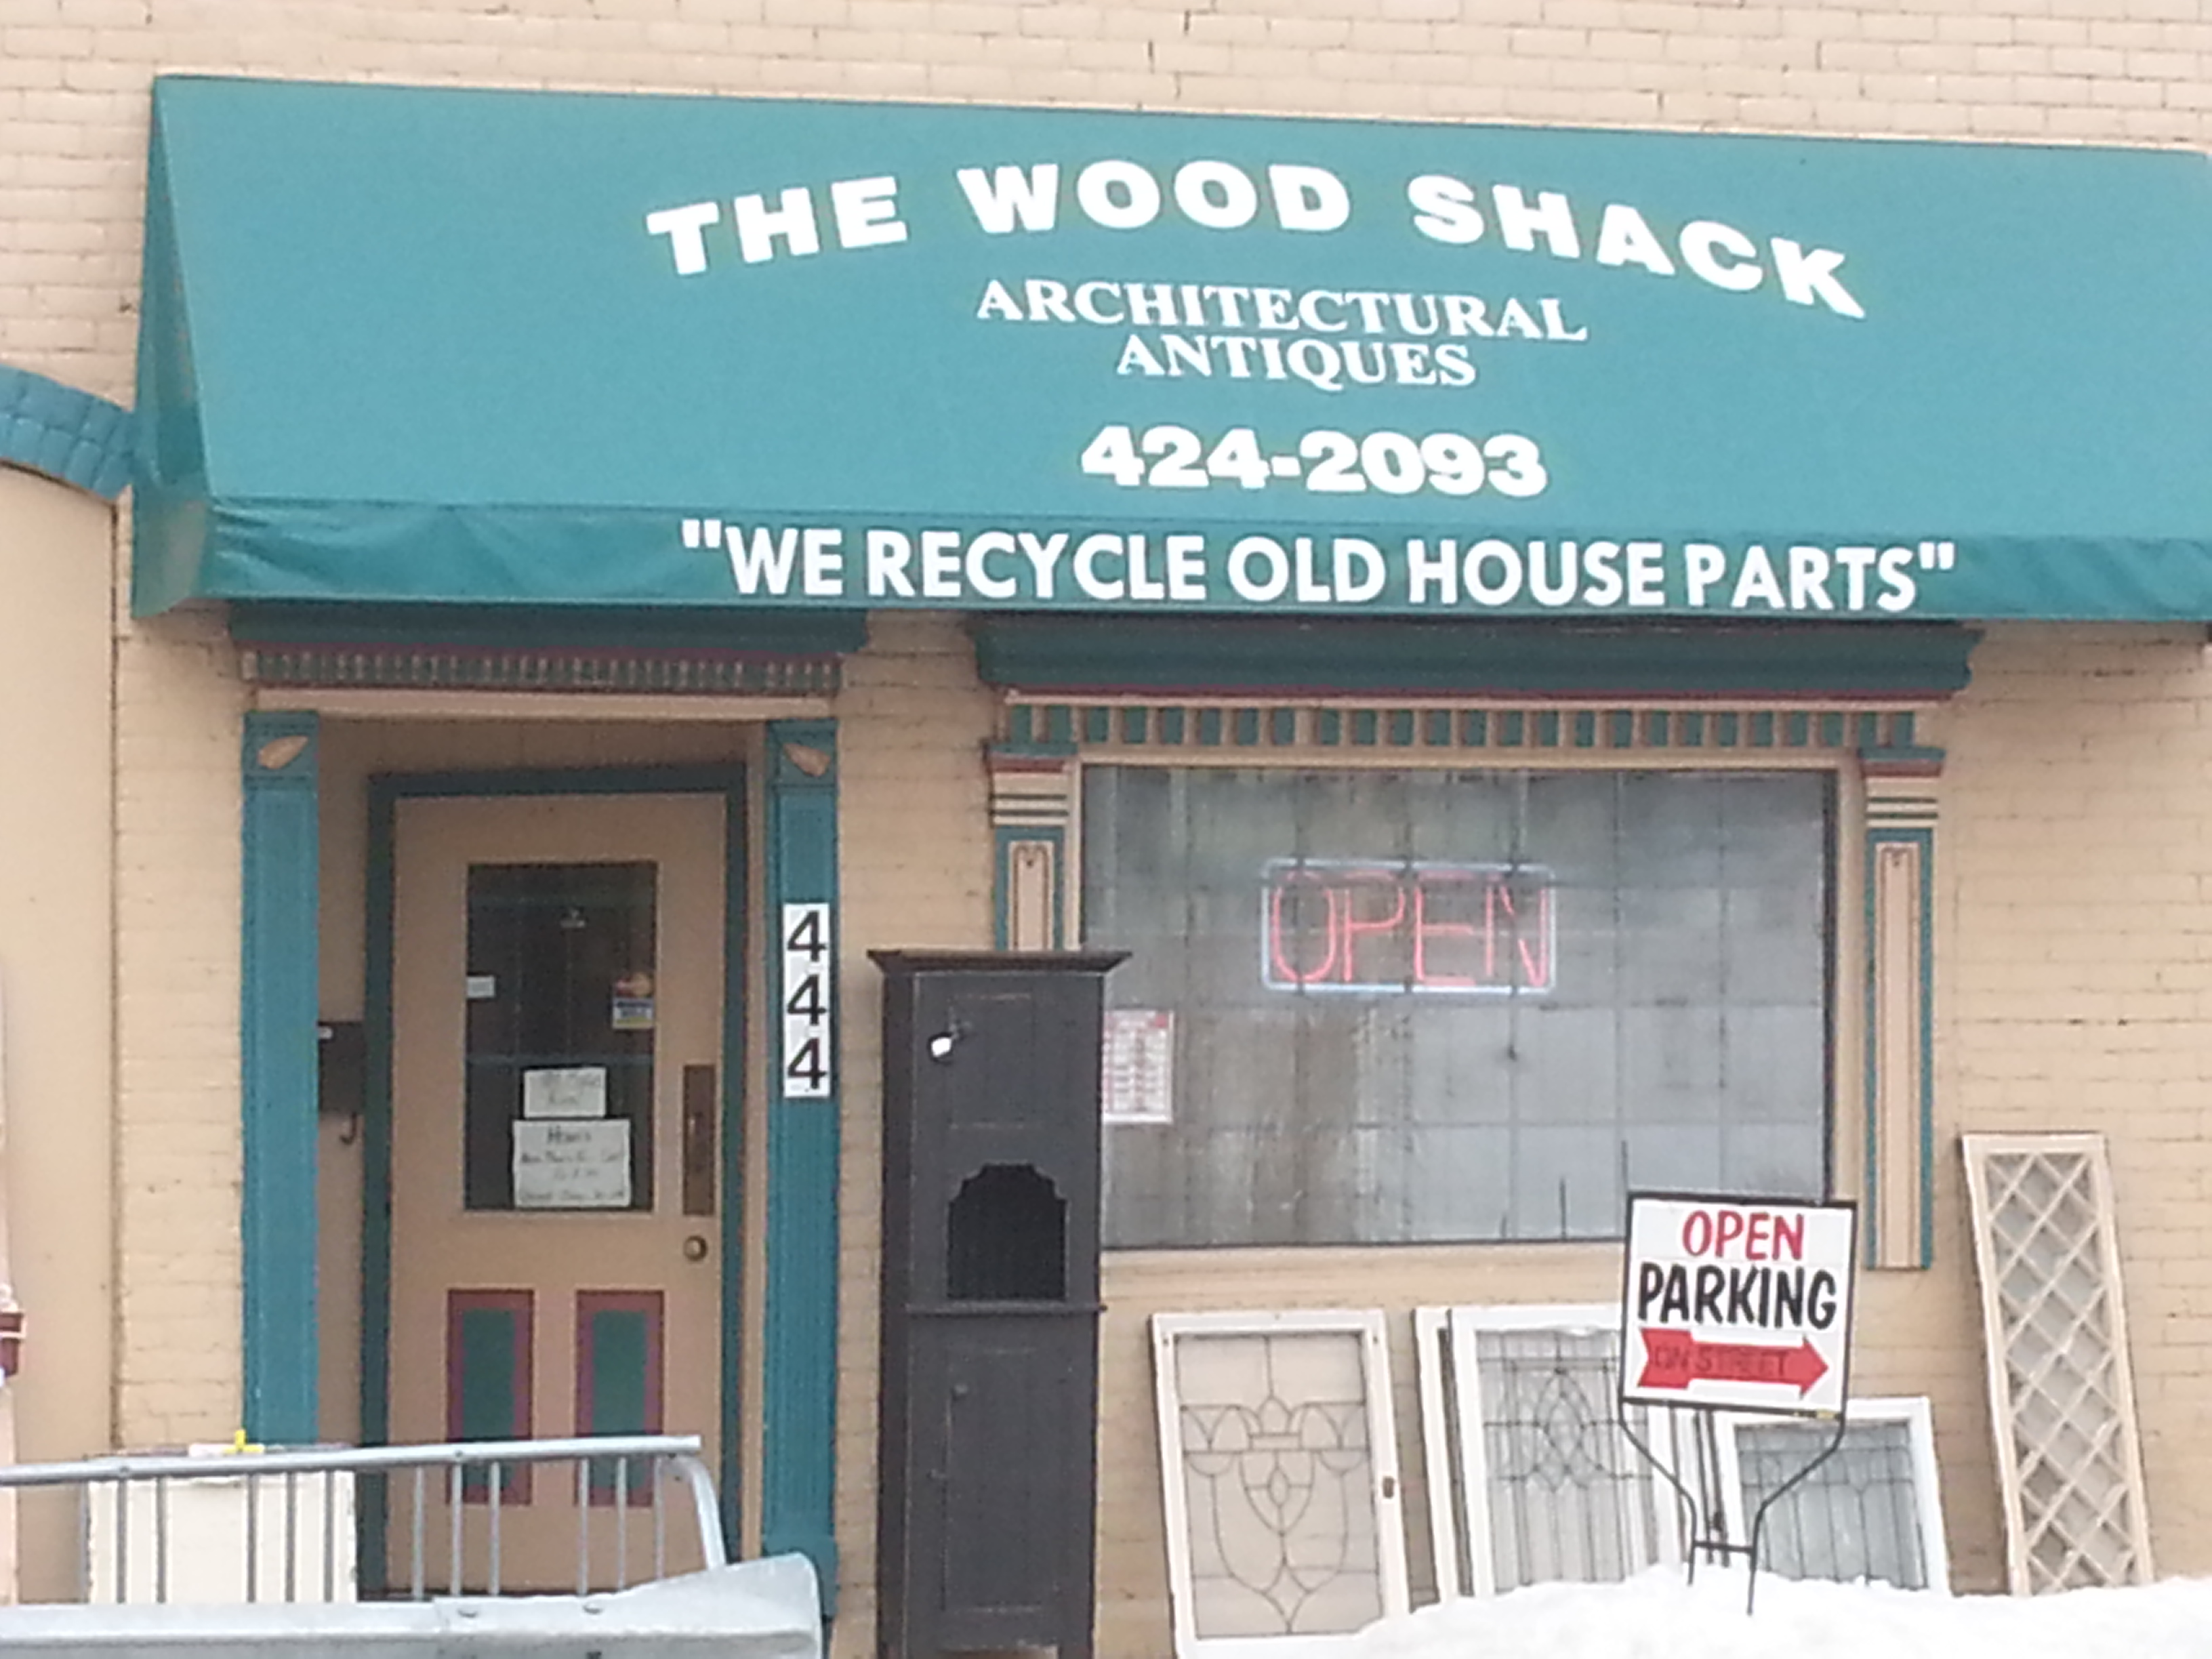
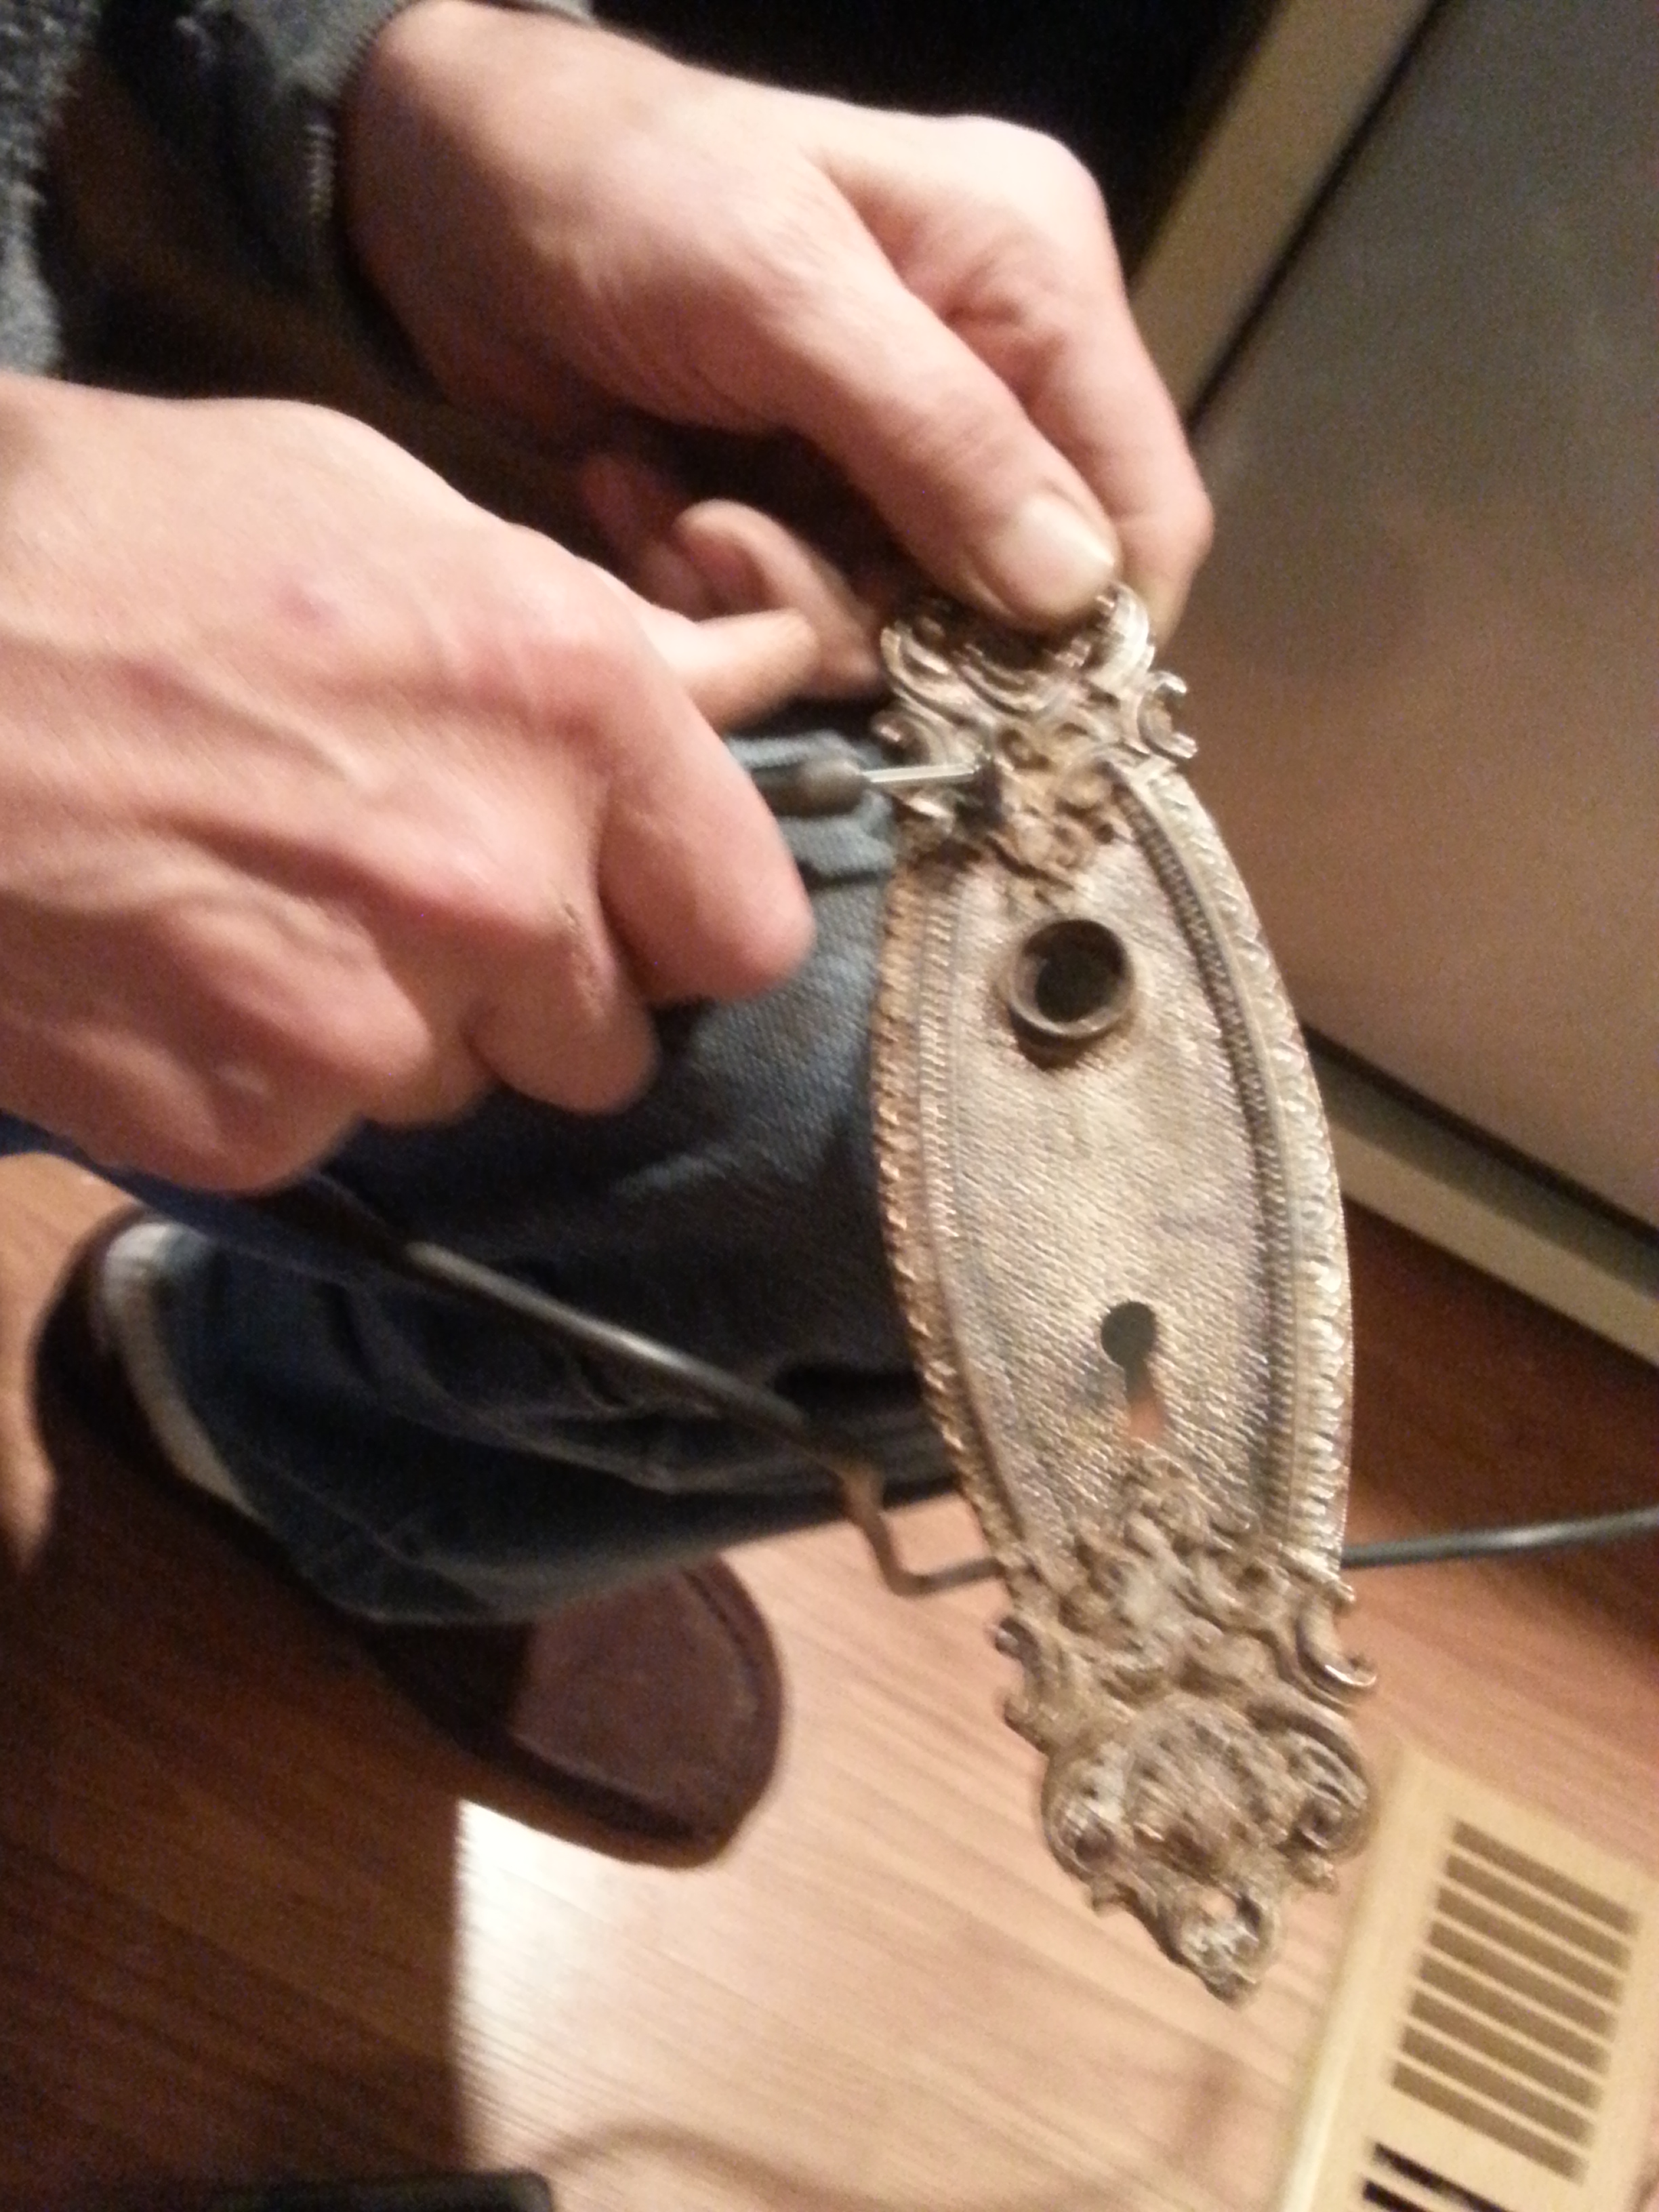
Raul had the briliant idea of using an antique sewing machine as our bathroom vanity. I am so excited to see this little project to completion. We found a great vintage piece on Craigslist for $50 bucks. Check it out!20140429_18271220140429_18272320140429_183528

20140429_182555 20140429_182617

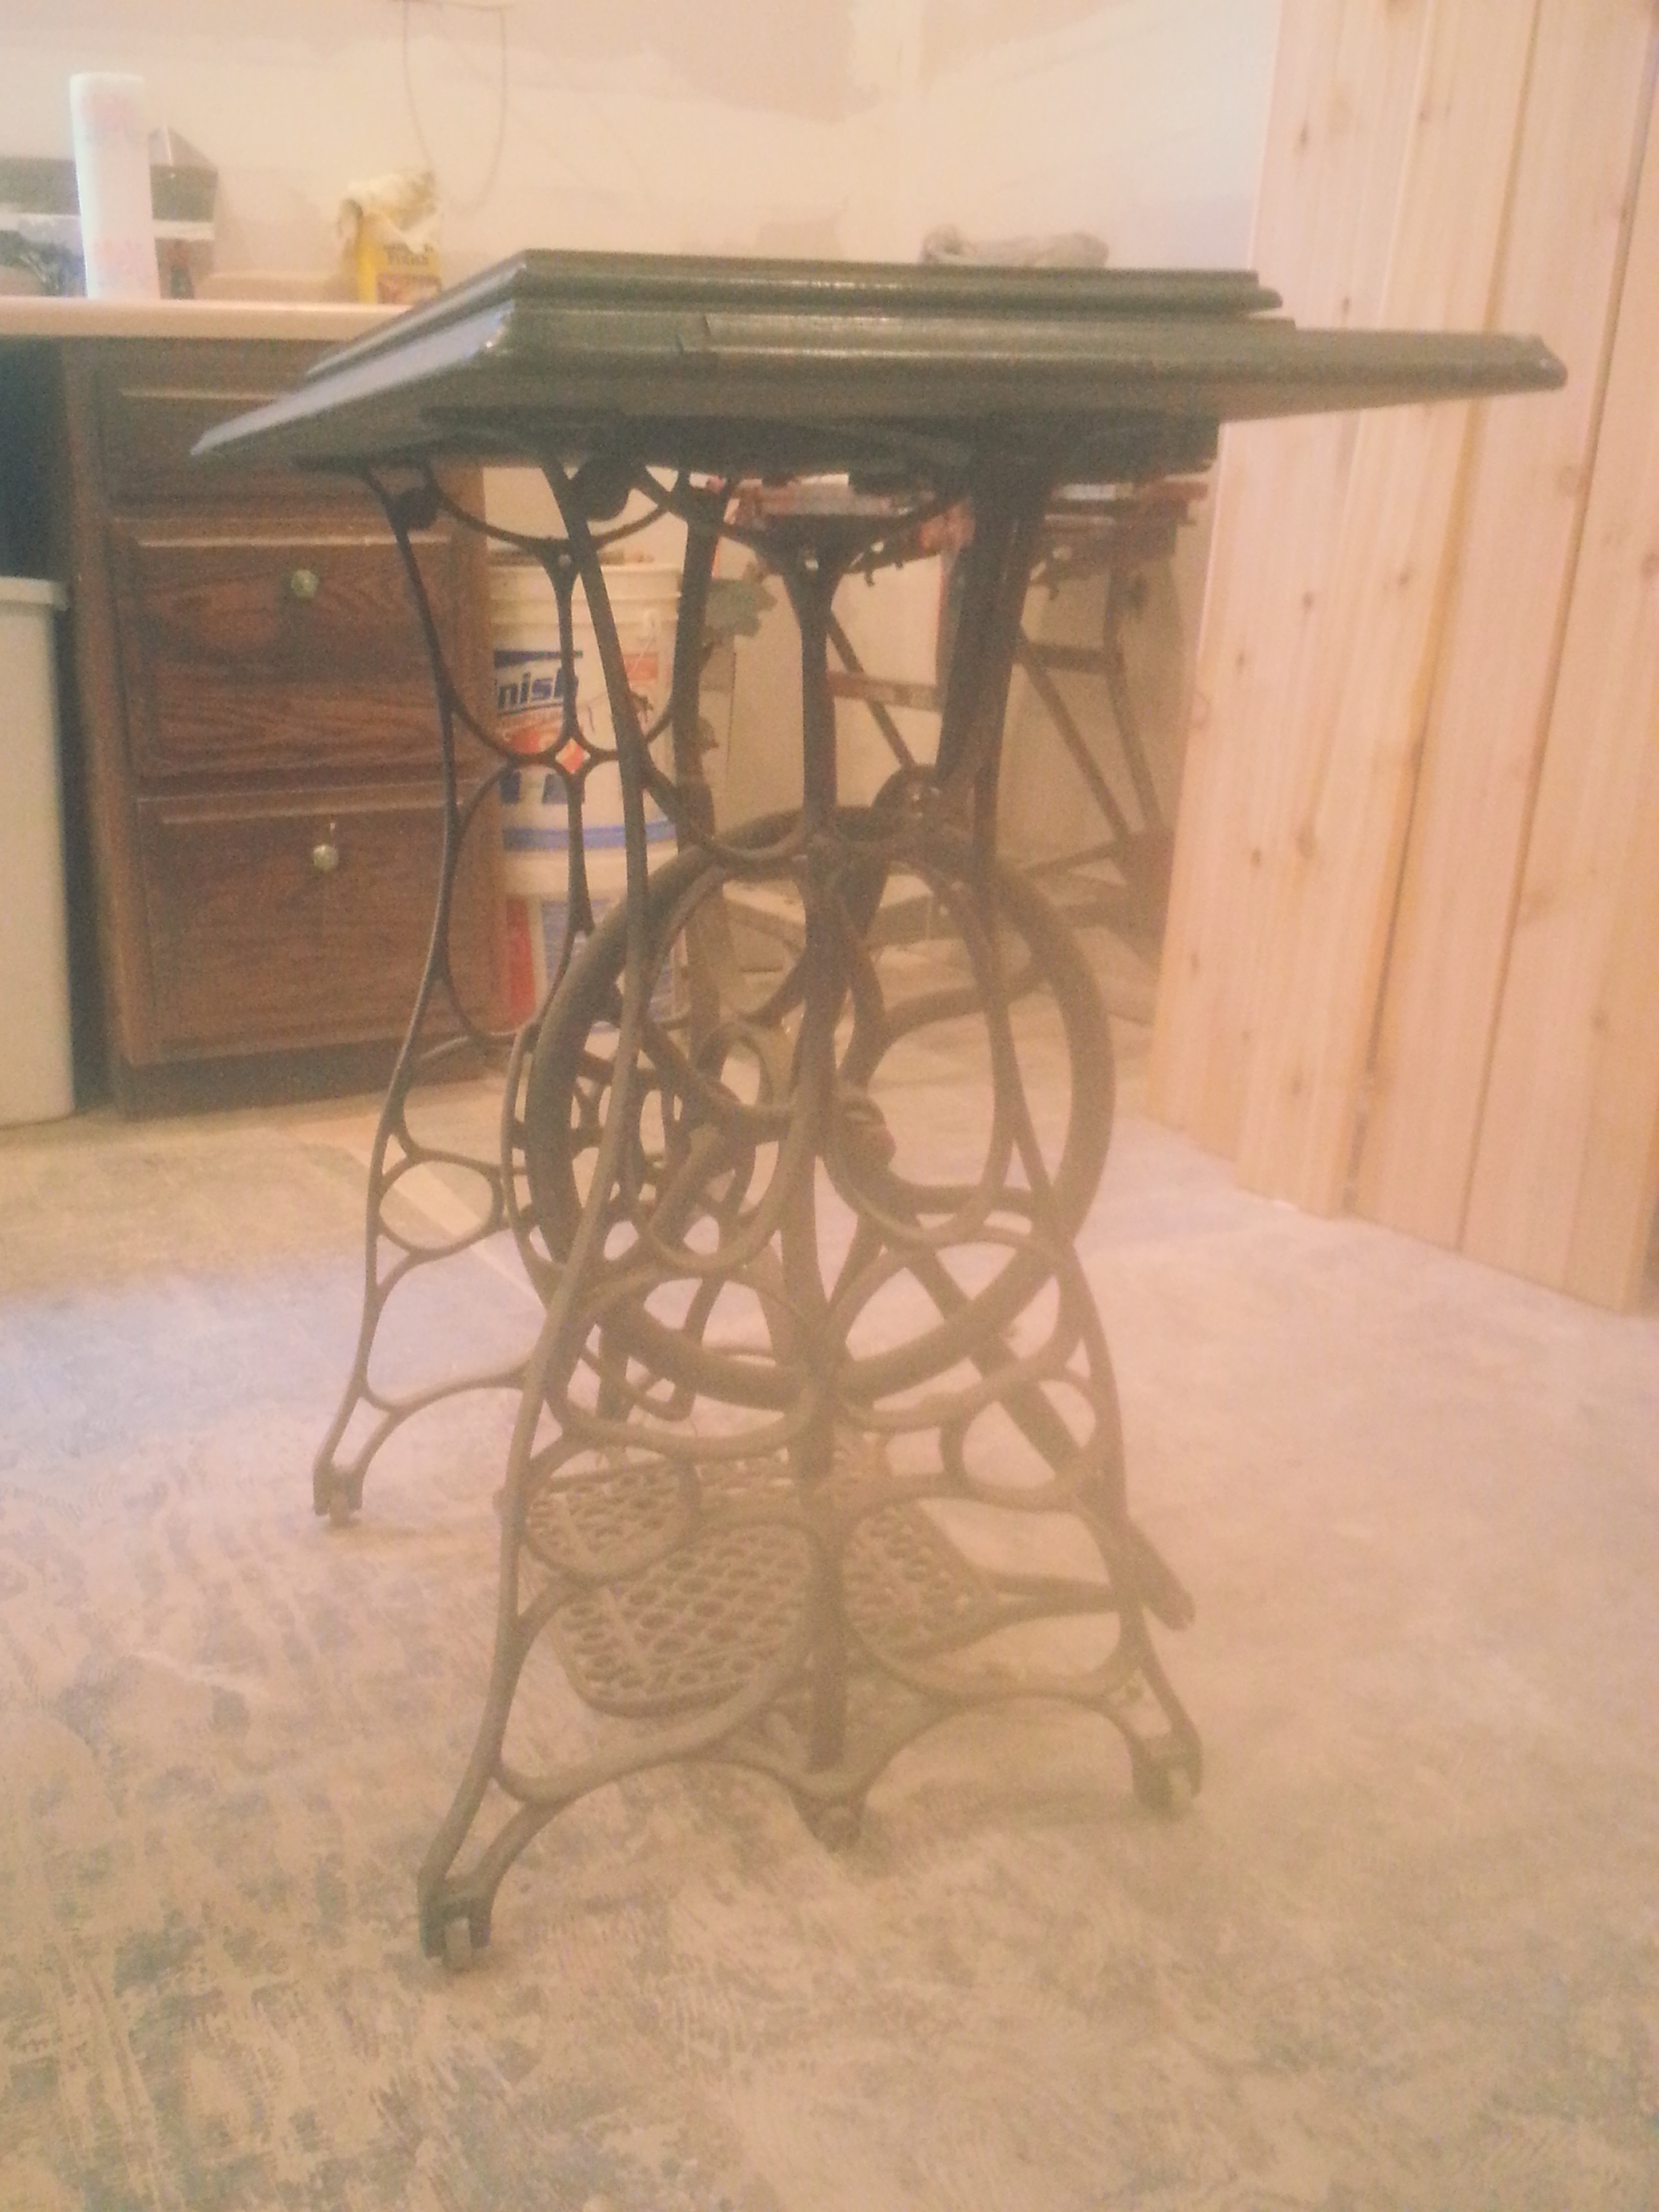
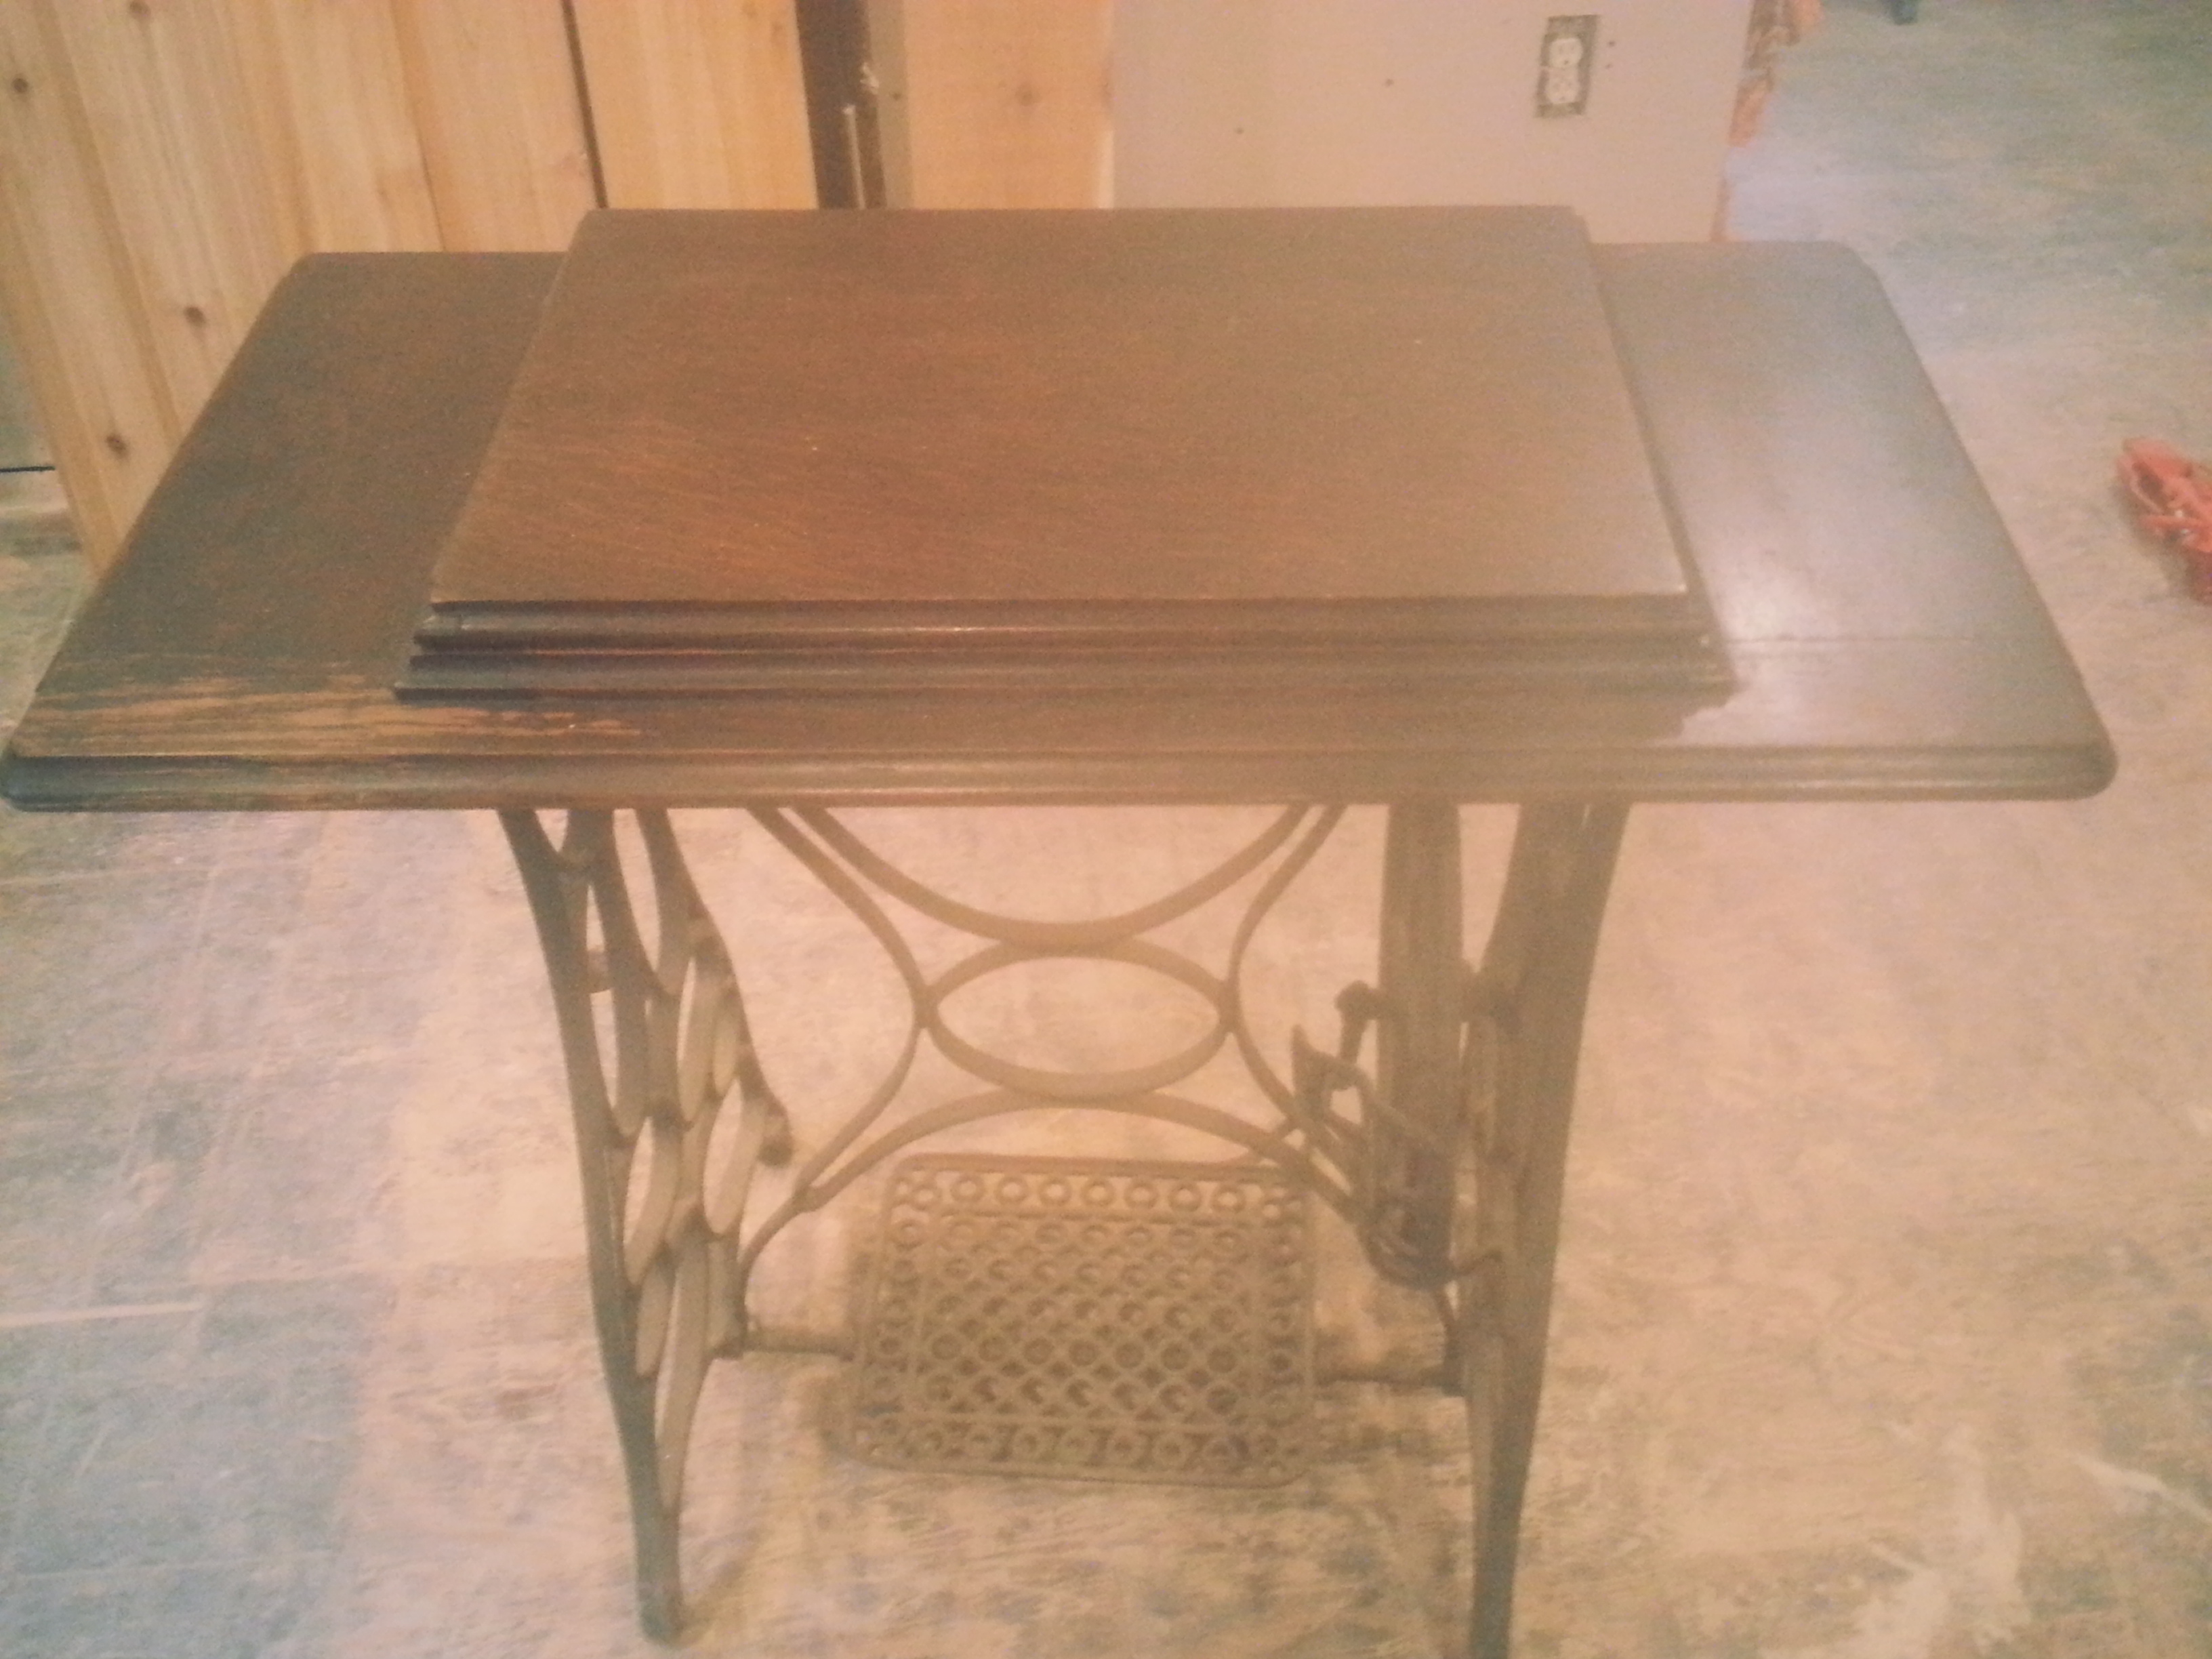
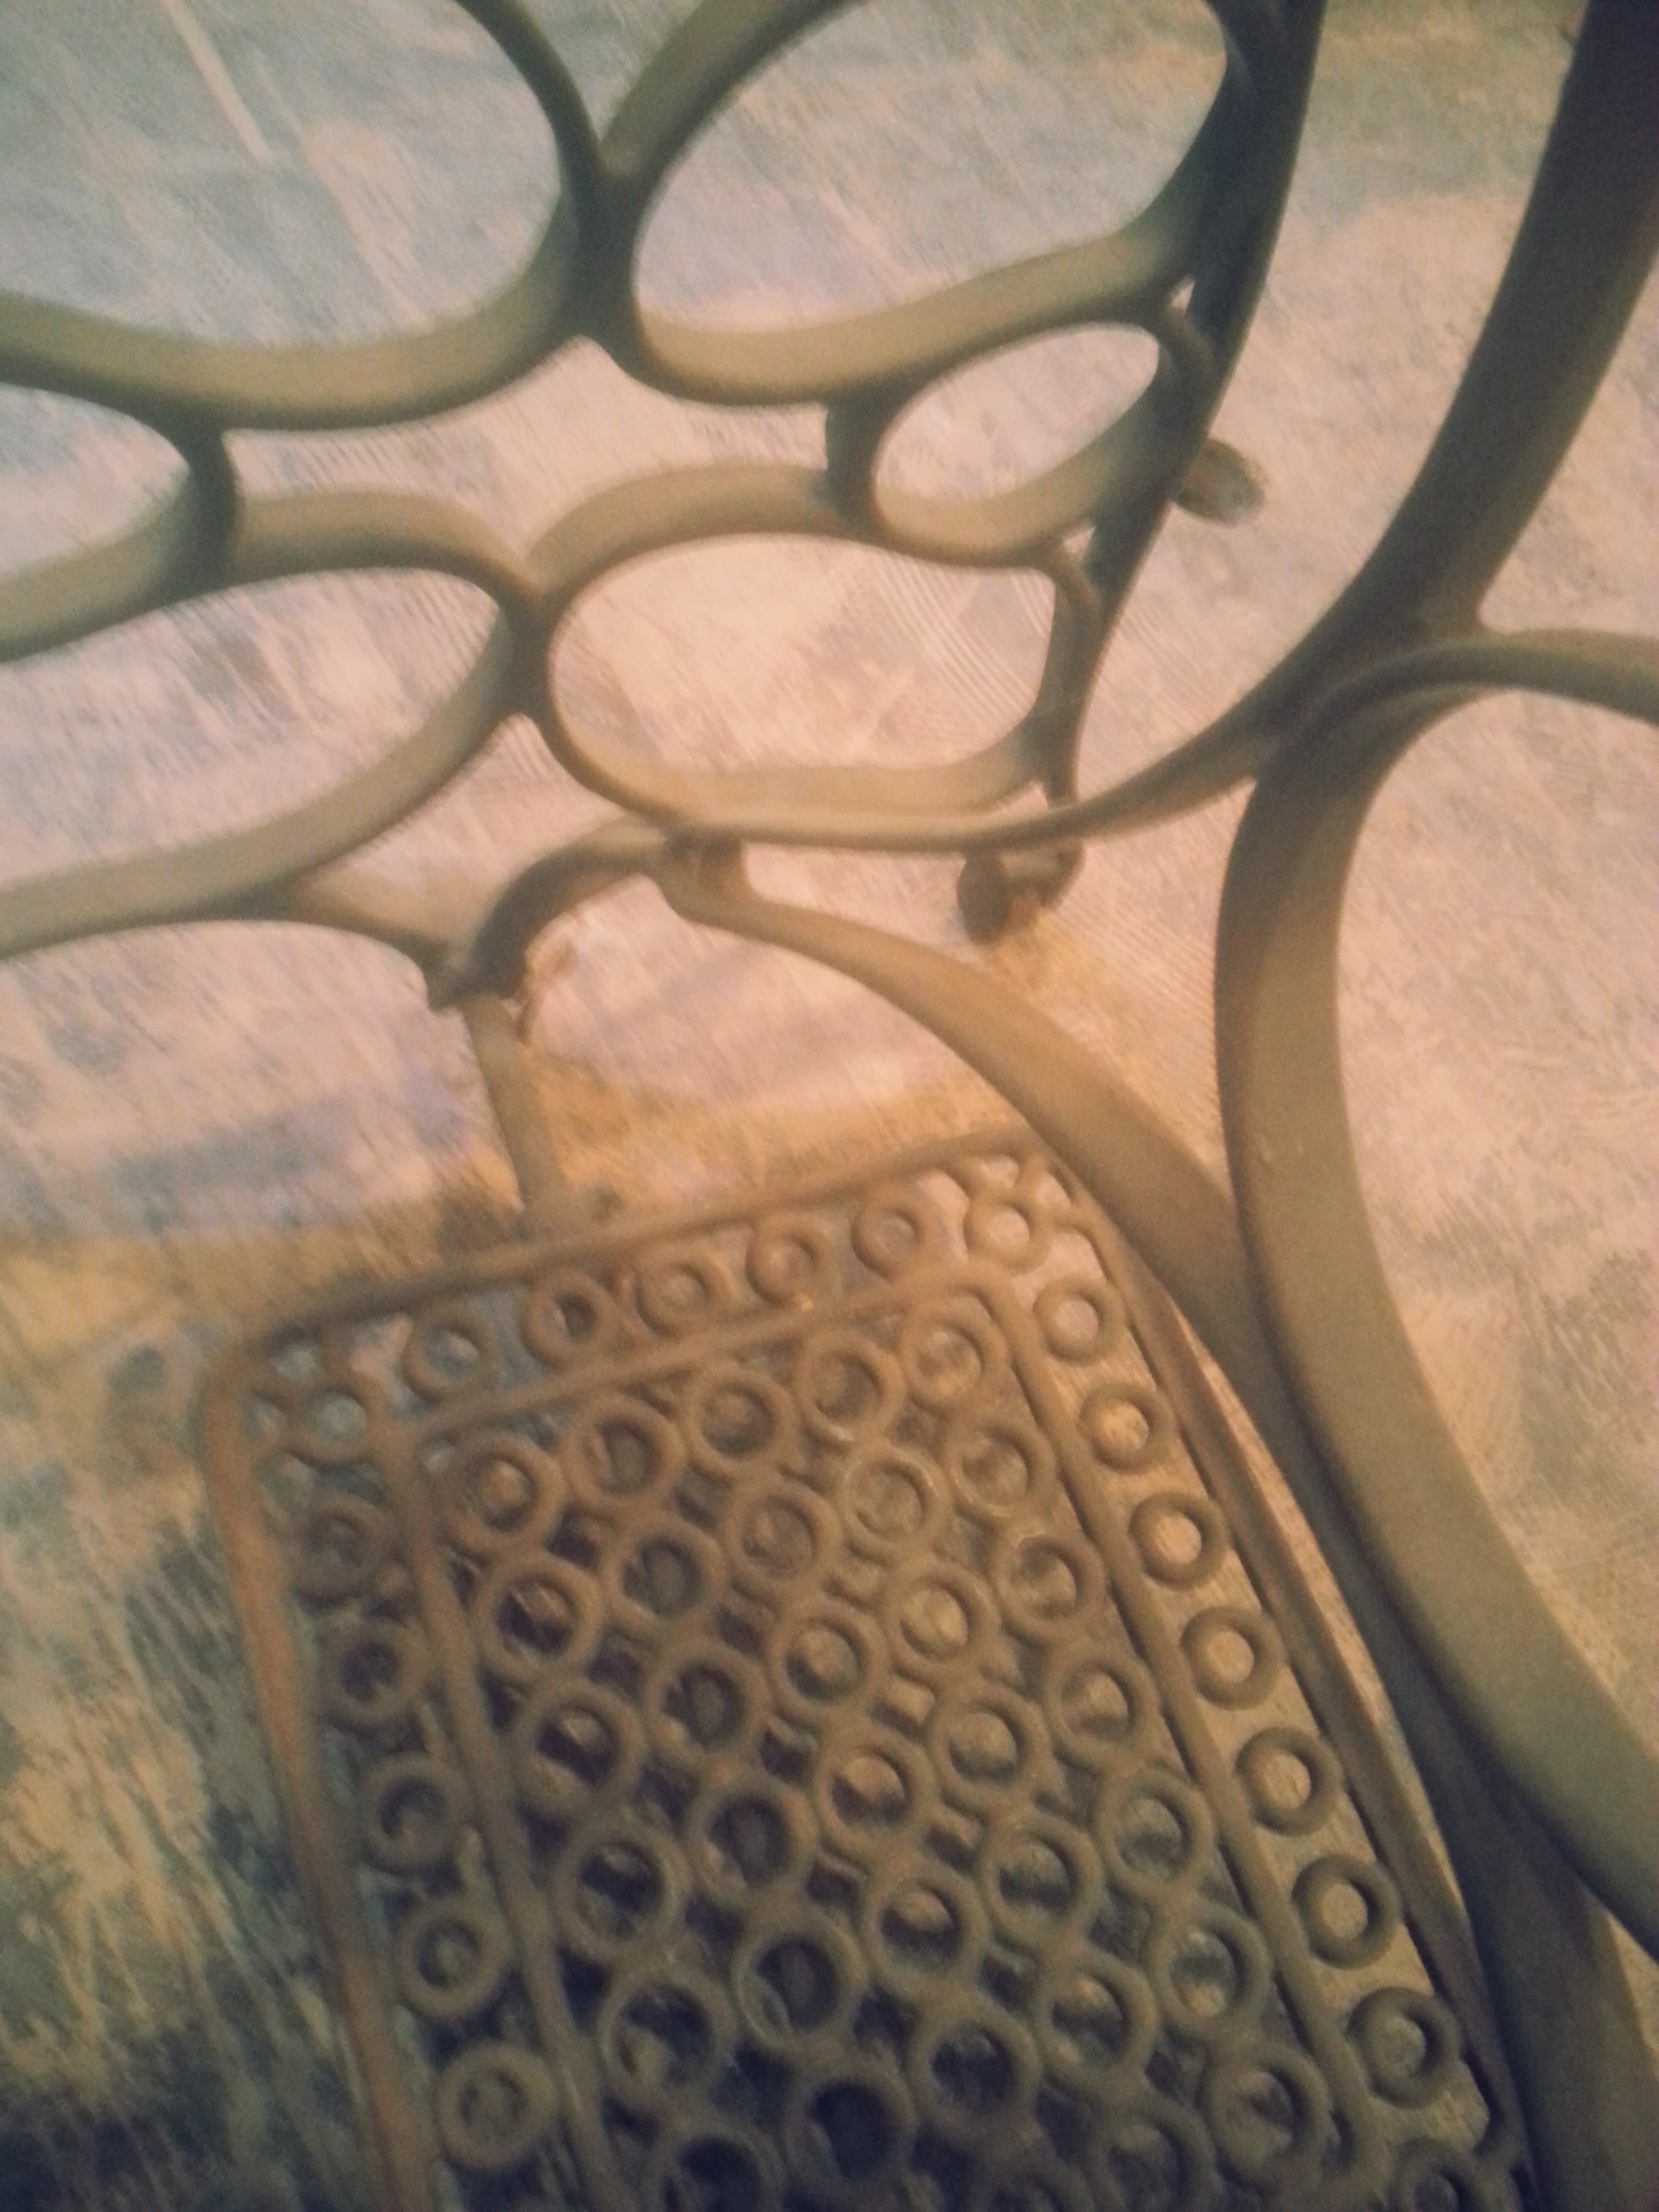
After a little scrubbing and a bit of shining up with tung oil the new vanity was starting to look great! Even little Ruco was fascinated by the transformation! 😉

20140429_183041

Progress is under way! Here’s to having a toilet on the first floor in just a few short weeks!


Help out our neighborhood! Please vote for Justin and Rachel!

Hello blog readers!

I want to introduce you to a couple friends of mine! This pair is extra special because they’re neighbors, too! Justin and Rachel live around the corner from us and have an awesome Queen Anne style home that they are painstakingly restoring.   They are both young architects with a passion for preservation and improving our neighborhood and downtown area.  As you can imagine, we have a lot in common.  😉

jr3


Recently, they entered a contest sponsored by Davinci Roofscapes to win $5K which they will use to paint the exterior of the home this summer.

“We love our historic home in the up and coming neighborhood of Williams Woodland Park. It was one of the first planned communities in Fort Wayne, IN at the turn of the 20th century, where many of the areas prominent citizens chose to locate. The homes were built with such character and charm, and have seen many changes over the past 110 years. Our half timbered Queen Anne is no exception. It has been plagued by white washing over all the details, and deterioration of many wood turnings and other architectural features. It has been slow going, and a lot of work trying to bring this beauty back from years of neglect. One of the major projects recently completed was replacing the original damaged slate roof (which had been overlaid with asphalt shingles) with the durable, long-lasting, and beautiful DaVinci Bellaforte Slate tiles in the “Villa’ color blend. The roof has set a great stage to bring this old home back to life with color, whereas it’s current white facade disappears into the background. As a young newlywed couple, we have hopes of our home honoring the amazing history of the people whom have lived here before us. However, at the same time, we want to ‘Shake it Up” by reflecting the modernity, liveliness, and creativity with which we live our lives! We are hoping our home will be yet another colorful asset to our beautiful neighborhood!”

– Justin + Rachel

JR2


Can you imagine how cool this house will look with a little color? The architectural details will just pop!  They are currently in 2nd place and deserve to win so much! Please help them out!

Step 1: Follow this link and “like” the Facebook page for Davinci Roofscapes

Step 2: Follow this link and vote for Justin and Rachel’s awesome home “White Washed in Williams Woodland”


Voting ends June 1st so let’s help them win this thing!


THANK YOU!!

GUEST POST: A few words from my mother!

Hello all,  today I am writing as a guest writer on Lyndsay’s blog. I am the Mom, and I perform most of the behind the scenes tasks.   You don’t see me much in the pictures, but I do work as a helper most of the time.

mom
 My tasks include, but are not limited to, preparing breakfast, lunch or dinner, washing dishes, catching up on Raul and Lyndsay’s laundry, trips to Lowe’s and Menard’s, sweeping up dust, picking up scraps and of course watching the new puppy Ruco.  I hate mudding and sanding drywall the most, I am not very good at staining boards, and I can’t read a tape measure.  However, I do
watch Rehab Addict. Today I would like to share a trick I learned from Nicole Curtis, the Rehab Addict.
HOW TO: Remove old layers of paint from hardware.

2014-02-269513.38.45
First I gave up my big old crock pot.  I filled it with water and turned it on HIGH.  I placed all the old door and window hardware into the pot and just let it “cook ” for a long while, about 2-3 hours. Make sure you use tongs or some other tool to get your old hardware out, this water will be HOT!
When we removed the hardware, the paint just fell off completely.  No stripping or chemicals necessary!
20140226_181729
A small amount of elbow grease to remove the loose paint, and a bit of shining up and the hardware was sparkling like new!
At last…I have made a contribution to RESTORING THIS OLE HOUSE!
Until next time,
Sheila

First, the window…Now, the door!

Once we were able to get our new window installed we were faced with the task of removing a second window from the north side of the kitchen and replacing it with a door. This task was perhaps a bit more complicated because it also involved closing off our current back door. It’s complicated but I will try to explain the best that I can with pictures.

If you take a look at the picture below you will see the window on the right that we wanted to remove. In the space left by the window we will be installing an exterior door that will lead directly to the back porch.  This is the door that I talked about in the post here. The door that you see on the left side of the photo currently opens into a utility closet off the back of the kitchen. We are converting that utility closet into our only downstairs bathroom and so, understandably, a door leading to the outside of the house has gotta go!

Image


I’ll skip some of the boring details- this process of removing the 2nd window was pretty similar to the process of removing the first window. Wash, Rinse, Repeat. Once the window was out we had to remove additional siding and parts of the house below the window opening in order to expand the hole so that we could install a door.


ImageImageImage

Now, let me rewind for a moment. I had been working on refinishing the door we purchased from The Woodshack for a couple of weeks.  It took hours of stripping and sanding to get the door down to bare wood.  I’m not sure of the exact age of the door but it was old enough that the finish that was on it was caked on and no amount of heat or chemical stripper would remove it. We resorted to scrubbing the entire door with a wire brush. The work was painstaking…but rewarding. I am so happy with the end result.

ImageImageImageImage

Image

ImageImage


ImageImageImage

Image

Once the door has been refinished we were able to bring it upstairs and install it in the opening created by my dad.

ImageImage

We were able to hang the door with only a few minor setbacks.  We had some issues because after 100 years things just aren’t square anymore! After some adjustments we were able to get the door opening and closing properly. Then, the process of closing up all the holes started.

Image

Image


We removed the previous exterior back door and boarded it up. This area will be covered by siding to match the rest of the house.


Image


I am so happy with the end result, this door is a truly beautiful (and functional) addition to our kitchen remodel!

ImageImageImageImageImageImageImage

Living in the ’07 rocks!

We truly love our neighborhood and it has been an awesome experience getting to know the residents and businesses in this area. We love the friendliness of the people, the accessibility of the park system, the proximity to downtown, and the unique character of all the area neighborhoods. Also, let’s not forgot the tacos!! There is nowhere up north that you can get tacos as good as the ones out this way! 😉

It’s nice to see that the ’07, as we all like to affectionately call it, is getting some positive press for a change! Check out the article for yourself!

46807

http://www.journalgazette.net/article/20140429/BLOGS20/140429322


Ladies and Gentlemen…We have a window!

After many hours of painstaking plaster removal, electrical wire rerouting, plumbing installation, gas line addition, and far too much dust in my hair I can say that we are finally at the point where we are closing this baby back up! That’s right, folks, we have 4 walls AND a ceiling! I can’t express to you all how excited I was to get to this part of our remodel. Not only does it mean less dirt and dust but it also means that instead of looking at ugly studs (hmm is that an oxymoron or what?!) and pink insulation while I am making dinner, I get to see the crisp whiteness of freshly hung drywall!

Before we could hang new sheetrock we first had to solve the problem of what we would do for kitchen windows.  We opted to remove the 2 existing kitchen windows which had been installed during a previous remodel. Both windows were square shaped which is entirely wrong for the style of this house. We were looking for a wooden window frame that would measure about 40″ x 60″ in accordance with our design plans. One thing about living in a historic district is that we must request permission to complete any exterior changes to our homes.  This approval process is necessary in order to preserve the historic integrity of the neighborhood and for me it was  pretty quick and painless. I showed the designated organization the window that was currently in place and then provided a couple  of reference pictures and sketches of our intended changes.  Since the window that was in place was actually a newer window and the original window had already been removed at some point in time it was not hard to convince anyone to approve a design that would echo what this kitchen probably looked like when it was built in 1911.

We had two options as far as installing our new window. We could choose to purchase a new construction wood window or we could find an old wooden window with the correct dimensions and install that.  I considered and priced both choices. In the end my dad came across two window sashes that he had removed from a remodel he did on another home  a couple of years ago.  The two sashes put together would be the perfect size! He generously regifted the windows to us (free is good!!) and we set to work stripping and sanding the frames down to bare wood. My dad custom built the actual frame that the two sashes would sit in.  After that it was a matter of cleaning up the glass and staining the frame to match the rest of the woodwork throughout the house.  In trying to match the rest of the windows in the house we were also in need of a set of pulleys and window weights so that the sashes could be raised and lowered. That meant another trip back to The Wood Shack! We also picked up a lock for the window while were there. The hardware matches all of our other windows pretty closely.  My dad worked on sinking the pulleys into the window frame and we were ready to begin install. 20140330_095417 20140330_095357…But first, that meant ripping out the existing window.   Here is a before picture of what this window looked like from the outside. 20140330_123407 20140330_115546   Since the new window would be set over about 14″ to the left we had to mark exactly where our new frame would have to be placed. Raul and my dad began with removing this window. 20140330_120040 It was definitely a noisy process sawing through all of the studs that were in the way and hammering out the new window but after a couple of hours we were able to install the new window frame. 20140330_15075320140330_123602 One thing’s for certain- they sure used a shit ton of nails back in the day!   After the old window was removed we had to frame in the hole for the new window with 2×4’s. 20140330_153942 20140330_152225 20140330_154932 We then had to cut the new opening. We tried to salvage as much original wood siding as possible. We will reuse this to cover up the hole left by the old window.20140330_154937 20140330_160346 20140330_161308

We had to close up the old hole with a few boards. The siding will be installed on top of these boards.

20140330_173143With the window frame set we could finally install the two sashes using the window weights we purchased at The Wood Shack.         20140330_165514

20140428_204435

20140428_204416

And voila! We still have a lot of molding to add to the inside and outside of this window but it is so nice to have this installed so that we can continue along with the fun stuff!

A local treasure: The Wood Shack

For all of you interested in historic home renovation we have a great resource here in Fort Wayne called The Wood Shack. They specialize in salvaging architectural parts from old houses and buildings. For homeowners like us this is an awesome place to pick up doors, trim, windows, etc that look like they belong in our own house! The shop is run by a super friendly and knowledgeable husband/wife duo and their store is a jam-packed architectural heaven.  They are proudly located downtown behind the Tincaps baseball stadium and they are big supporters of our historic neighborhoods and restoration in general.

20140301_142725

As part of our kitchen remodel we have made the choice to convert the existing utility closet into a first floor powder room.  We currently have one full bath upstairs and a random  toilet in the middle of the basement laundry room but as time goes on we have realized that a first floor bathroom is pretty much a necessity.  We are going to have to remove the exterior door from that utility room in order to full enclose the area and make it functional as a bathroom.   This means that we will be adding an exterior door directly off the north side of the kitchen with direct access to the back porch.

We were in the market for an old exterior door and The Wood Shack had some great finds!

20140329_124644

Our budget for this mini project was $200.00 and we were looking for a door with a good amount of glass so that we could capitalize on the natural light.  We were so excited to find this beauty!!

20140301_152045

I am in L-O-V-E!! I can’t wait to see how this will look in our new kitchen. And now with a bit of elbow grease…well, maybe a lot of elbow grease…we are going to clean this door up and make it our own!

Shop local and check out The Wood Shack!

https://www.facebook.com/TheWoodShackfw


Still fightin’ it out at the demolition derby!

Ugh! So ready for this phase of the remodel to be over! The house is permanently covered in dust and since we are still removing parts of the kitchen you don’t “see” a lot of progress. Most of the things we are doing are still behind the scenes so it is harder to keep a positive attitude when you don’t see a lot of change happening.  The thing about old houses is that you never know what you are going to find.  We ran into two huge messes- first, bass-ackwards plumbing that I showed you guys in my last post.  Now, we are contending with 110 year old electrical wiring…that has been “fixed” several times. It sucks when someone tries to fix this type of issue with no real electrical wiring competence :/  Besides that, we are adding several lights inside of cabinets and also under cabinet lighting so we are having to run lots of new wire anyways.  It is very time consuming to say the least.

We do have one huge change to document, however, and that is the installation of several can lights. I cannot stress the difference this has made already and they are not even completely installed yet! WATT a difference (see what I did there?!) 🙂

20140219_193716 20140219_193705 20140219_193649

We also had to finally remove the cabinets from the walls in order to tear out the plaster and access the electrical components. Trying to fit the entire contents of your kitchen onto your dining room table is not fun! It hard to find anything to eat because I can never find a pot to cook in!

20140223_121921 20140223_121932 20140309_120525 20140309_123504

My typical look on Sunday!  #selfieforthewin

20140316_163924

20140317_201344

Goodbye laminate floor!

After many hours of work and several trips to the dumpster, we have finally gotten down to the studs.  I think I must have forgotten to take a picture but there was hardly any insulation at all in these walls. No wonder the kitchen was always so cold!

20140317_201322

If you look closely in the upper middle of the above photo you will see the remnants of the original back door frame.  The frame was pretty tall- we think there was probably a door with a transom window. How cool would that look now?! It’s a shame that the door is long gone 😦  You will also see that the window on the left was originally much larger and a very different shape than what you see here.   Our plan is to remove the window on the left and replace it with a wood window and corresponding trim that better suits the look of this house.  We will also be removing the 2nd window in order to install a back door directly off of the kitchen.

20140317_201336

We also rerouted the gas lines and changed the placement of the stove.  In our new design plan the stove will be centrally located on the south wall of the kitchen.

20140317_201357

Until next time!

-L.

Demolition Derby- Round 1

We are elbow deep in dust, dirt, and demolition here! And boy, am I ready for this part to be over!

We have been slowly tearing the kitchen apart for a few weeks now. Raul is in his last semester of school (yay!) so he has been way too busy to help much with the process which leaves me and my parents to cram in as much progress as possible every Sunday. The tricky part is tearing things down and still trying to maintain some semblance of utility in the space we are currently calling the kitchen.  All of the contents of our many cupboards and cabinets have been relegated to the dining room for now which makes preparing any meal very easy…not.  We are currently operating with no ceiling and 2 out of 4 walls.  Oh! And no dishwasher (the horror!) We have been surviving on mostly cereal and canned soup in order to avoid any kind of food prep which gets old, real quick.

Our first task was to remove the false ceiling that had been added at some point in time.  We noticed the drop ceiling last year when we had to gain access to the plumbing due to a water leak coming from the upstairs bathroom.  After I was able to poke my head through the access hole and determine that we were losing about 8-10 inches of space with the drop ceiling we began to form ideas of removing the ceiling entirely.

20140129_150541 20140129_172433 20140129_172446

Once we got all of the plaster knocked out if was painfully obvious that the plumbing was an absolute mess. It looks like  a sadistic game of Mousetrap up there, doesn’t it?!

20140202_121015 20140209_105126

It took 2 days to reroute the plumbing but it was well worth it.  We raised everything and either tucked it nicely into the original plaster ceiling or ran it in a horizontal line down the center of the kitchen. The plan is to add a beam to our new ceiling that will hide all of our plumbing and electrical. Now everything looks nice and organized 🙂  If you can’t tell the difference, no worries, a month ago I probably wouldn’t have been able to either. But now, after several hours on a ladder and even some burns on my hand from dripping solder I can see that this setup is much better!

20140209_171449

Next up, bye-bye soffit! Since we plan to install new cabinets that extend all the way to the ceiling then there is no need for this bad boy anymore!

20140202_121005

Here is an up close look at the Fiestaware backsplash that I had mentioned previously. Because of the way this was installed and also due to the nature of the “tile” itself, removing this backsplash was tedious work.

20140205_14313020140205_143118

We decided to go ahead and remove the 2 layers of plaster from around the chimney to have a portion of exposed brick in our new kitchen.  Basically, we are looking at the backside of the fireplace that is in one corner of our living room. I think the exposed brick wall looks awesome! I added a satin finish concrete sealer (3 coats) and I am really happy with the way it looks…also, one project completely done (yessss!!!).

20140126_142119 20140126_142130 (1) 20140129_134340


20140130_20105520140130_200957

Unfortunately, we were also forced to strip the paint off more doors! I swear, this is the one job that continually tests my patience the most…but I am becoming somewhat of a pro at it. Here’s a picture of Raul modeling the proper usage of a heat gun which I have concluded is great for simultaneously removing 3 layers of paint but not so good for getting old varnish off.  If you look closely in the bottom right corner of this picture you will see the 3 colors of paint that used to be on this door- white, tan, and lime green (WTH!?!…just, WHAT?!).

20140201_162348

This weekend we are back at it again tearing out more plaster and hopefully finishing the sanding on the 3 doors I have stripped over the last couple of weeks. I  have my fingers crossed that we will be putting up new drywall in 2 weekends (and the extended forecast even shows temperatures in the high 50’s, I know you are all ready for Spring, too). Here’s to a productive Sunday! Thanks for following along!