Wow! It has been months without an update posted on here about our progress…and yet it seems as if the entire holiday season passed in the blink of an eye! We worked at full speed for several months in order to get the house ready for the Holiday Home tour. The two day tour was a complete success bringing in over 1300 guests and lots of exposure for our great neighborhood as well as The Reclamation Project, a community initiative to create a center for refugee immigrants which occupies the space at the former Rialto Theater on Calhoun Street. The two days of the tour were absolutely exhausting but hearing so many people say nice things about the work that we have done made it totally worth it. We opened up the foyer, the living room, the dining room, the master bedroom, the bathroom, and Raul’s office for the tour. I thought it would be fun to show all of you just how far we have come since purchasing this home last March (wow, 1 year already!). I’ve been seriously procrastinating as it is now almost Spring and I am just now getting around to editing and posting pictures of our house decorated for Christmas but better late than never! I was so fortunate to have the help of my mother and gram who helped me decorate for the tour. Also, my grandmother even asked some of her friends to donate some Christmas decorations which just looked absolutely beautiful in our home. I am so thankful! With everyone’s help I was able to do so much more than I could have managed on my own.
So without further ado please take a look at the colorful before and the marvelous after! (click on each picture to see it bigger)
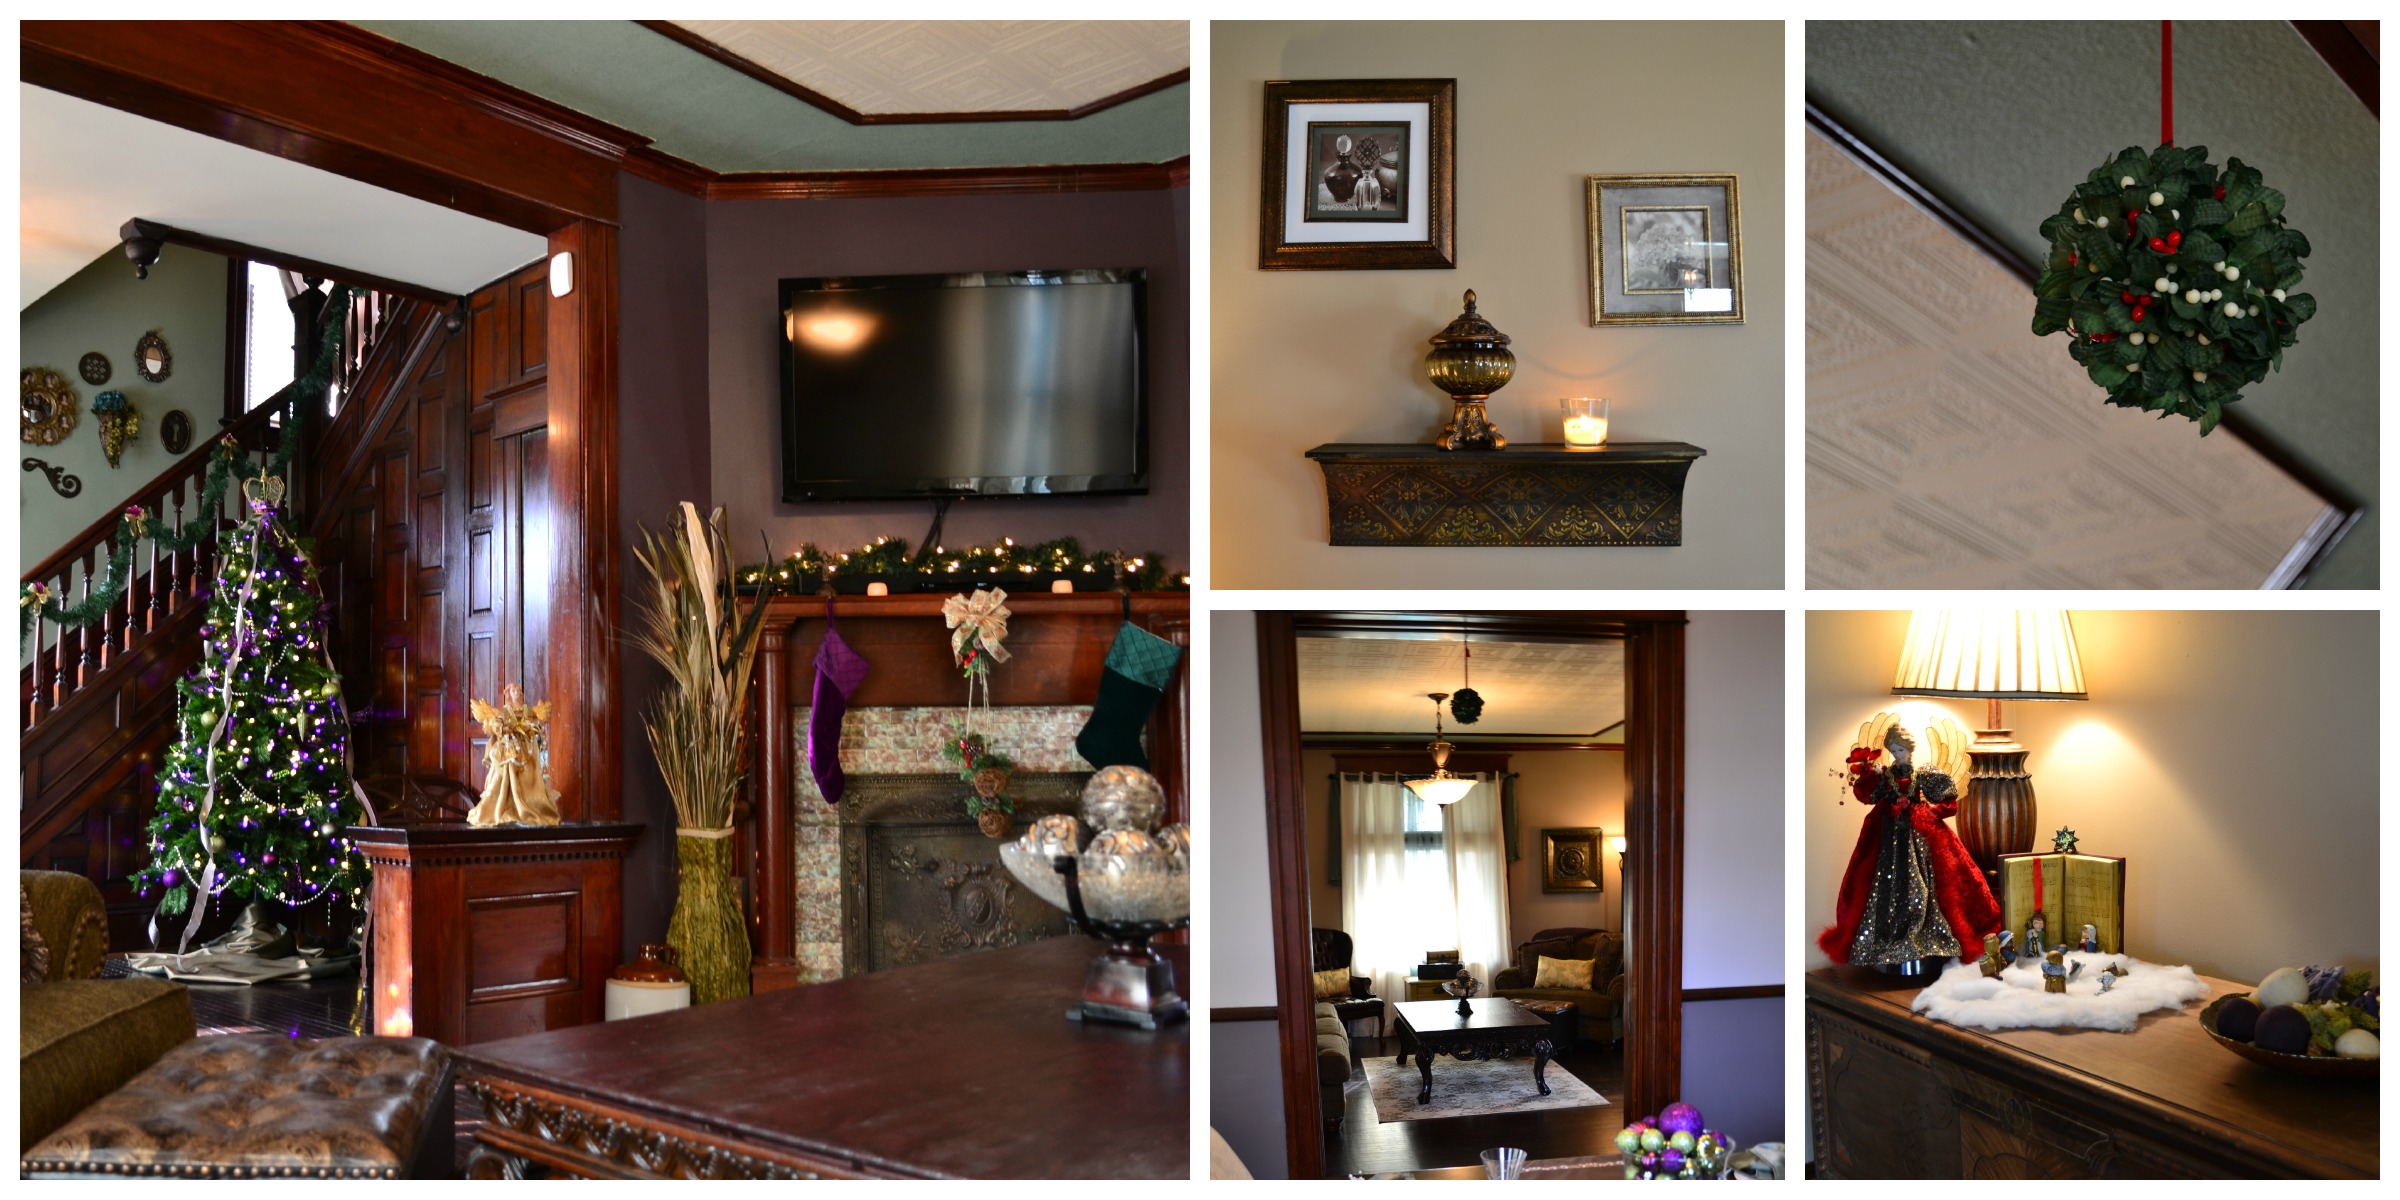
Foyer BEFORE:

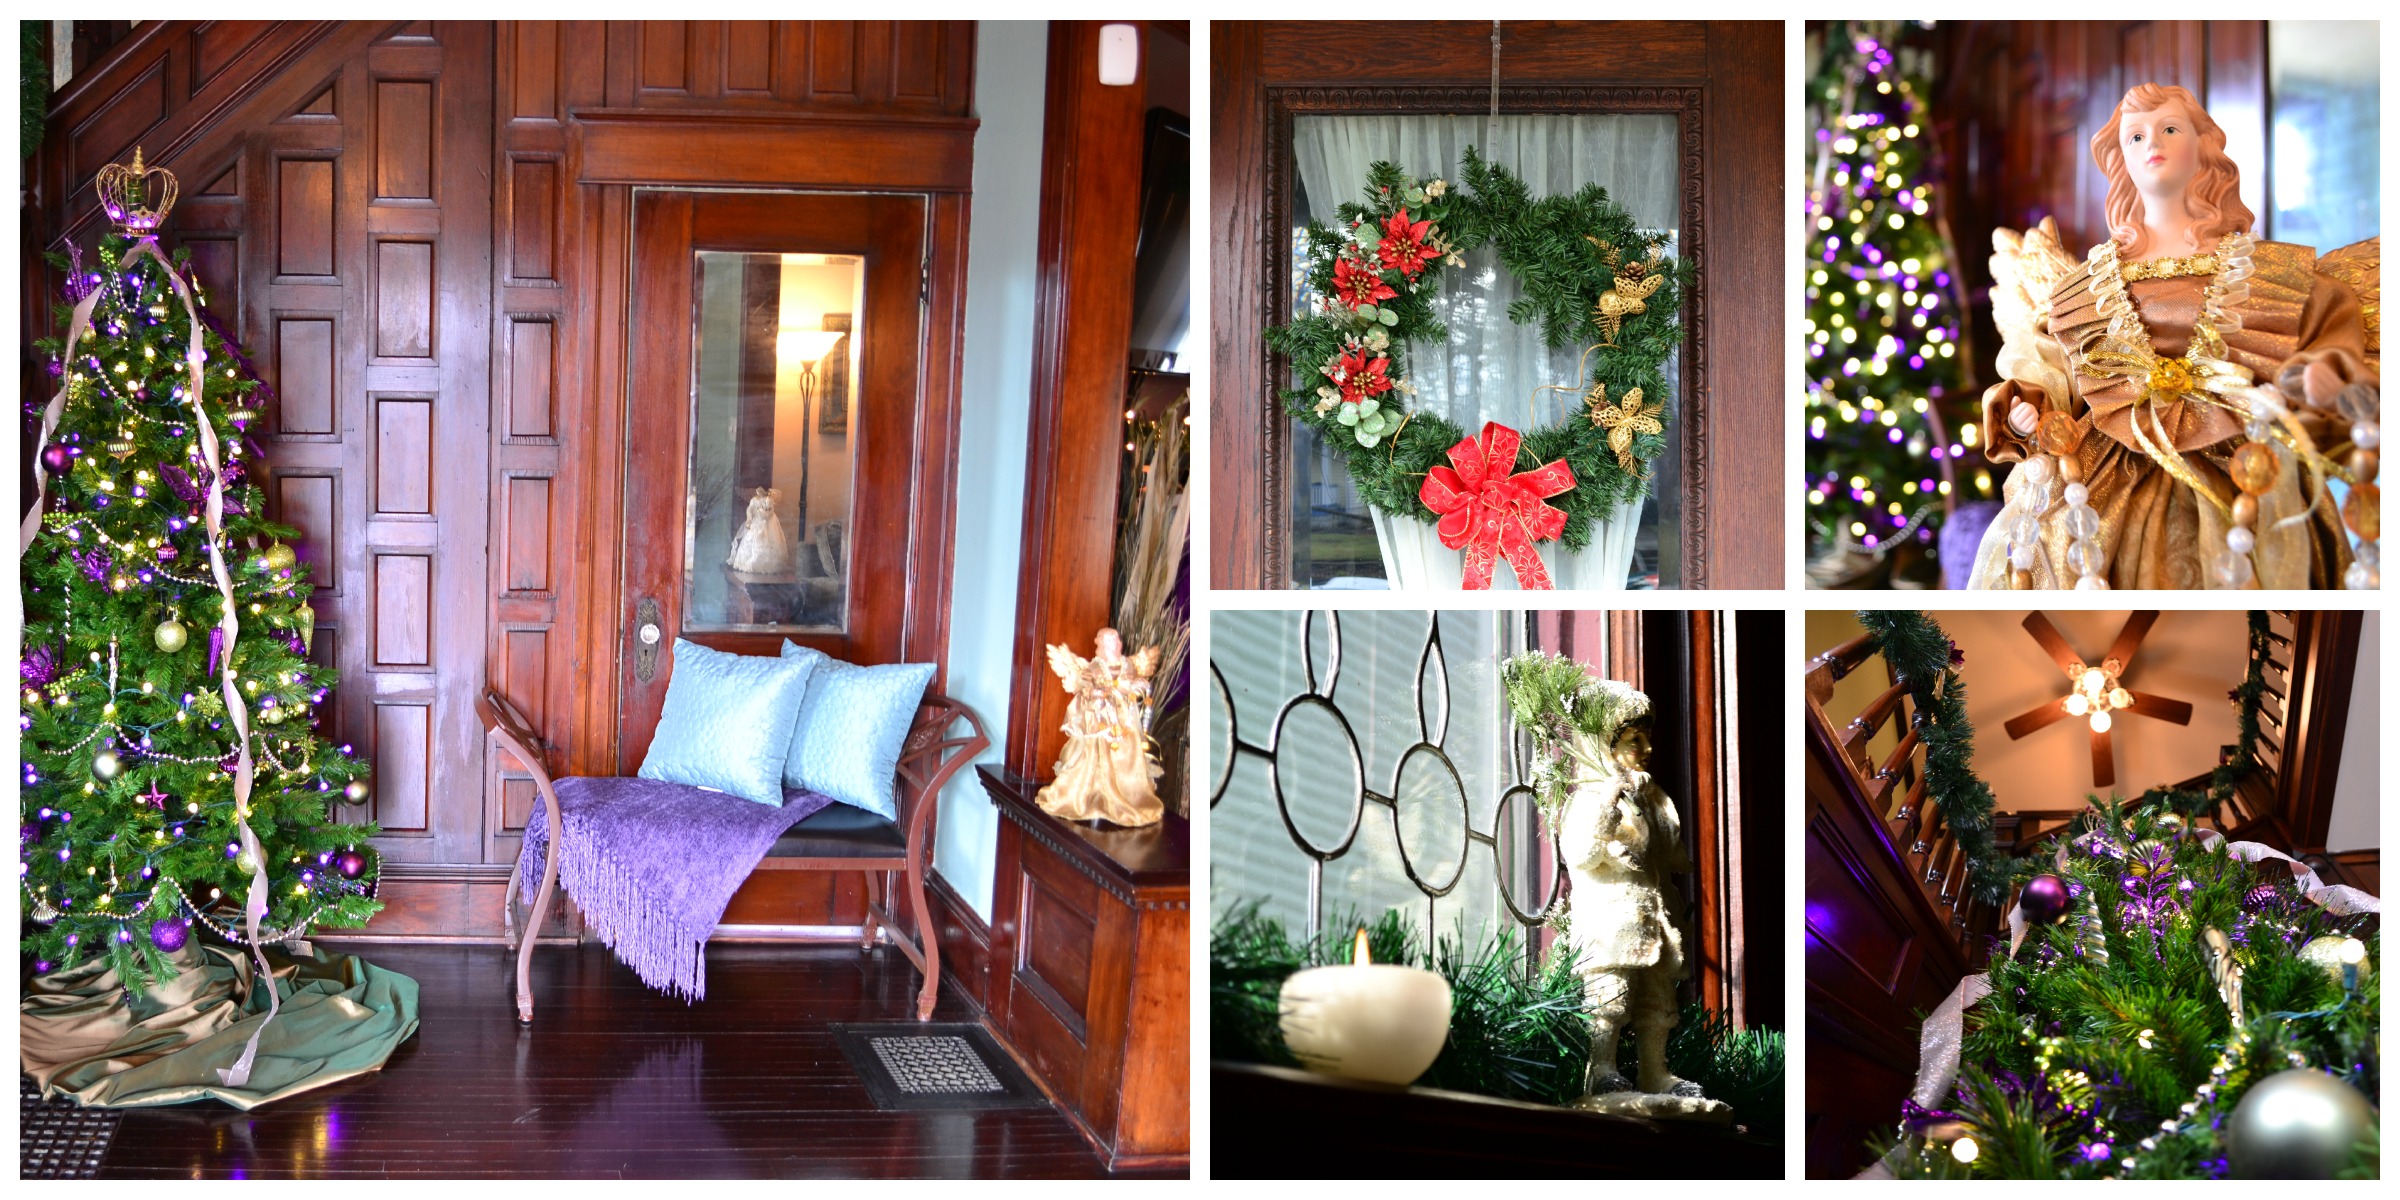
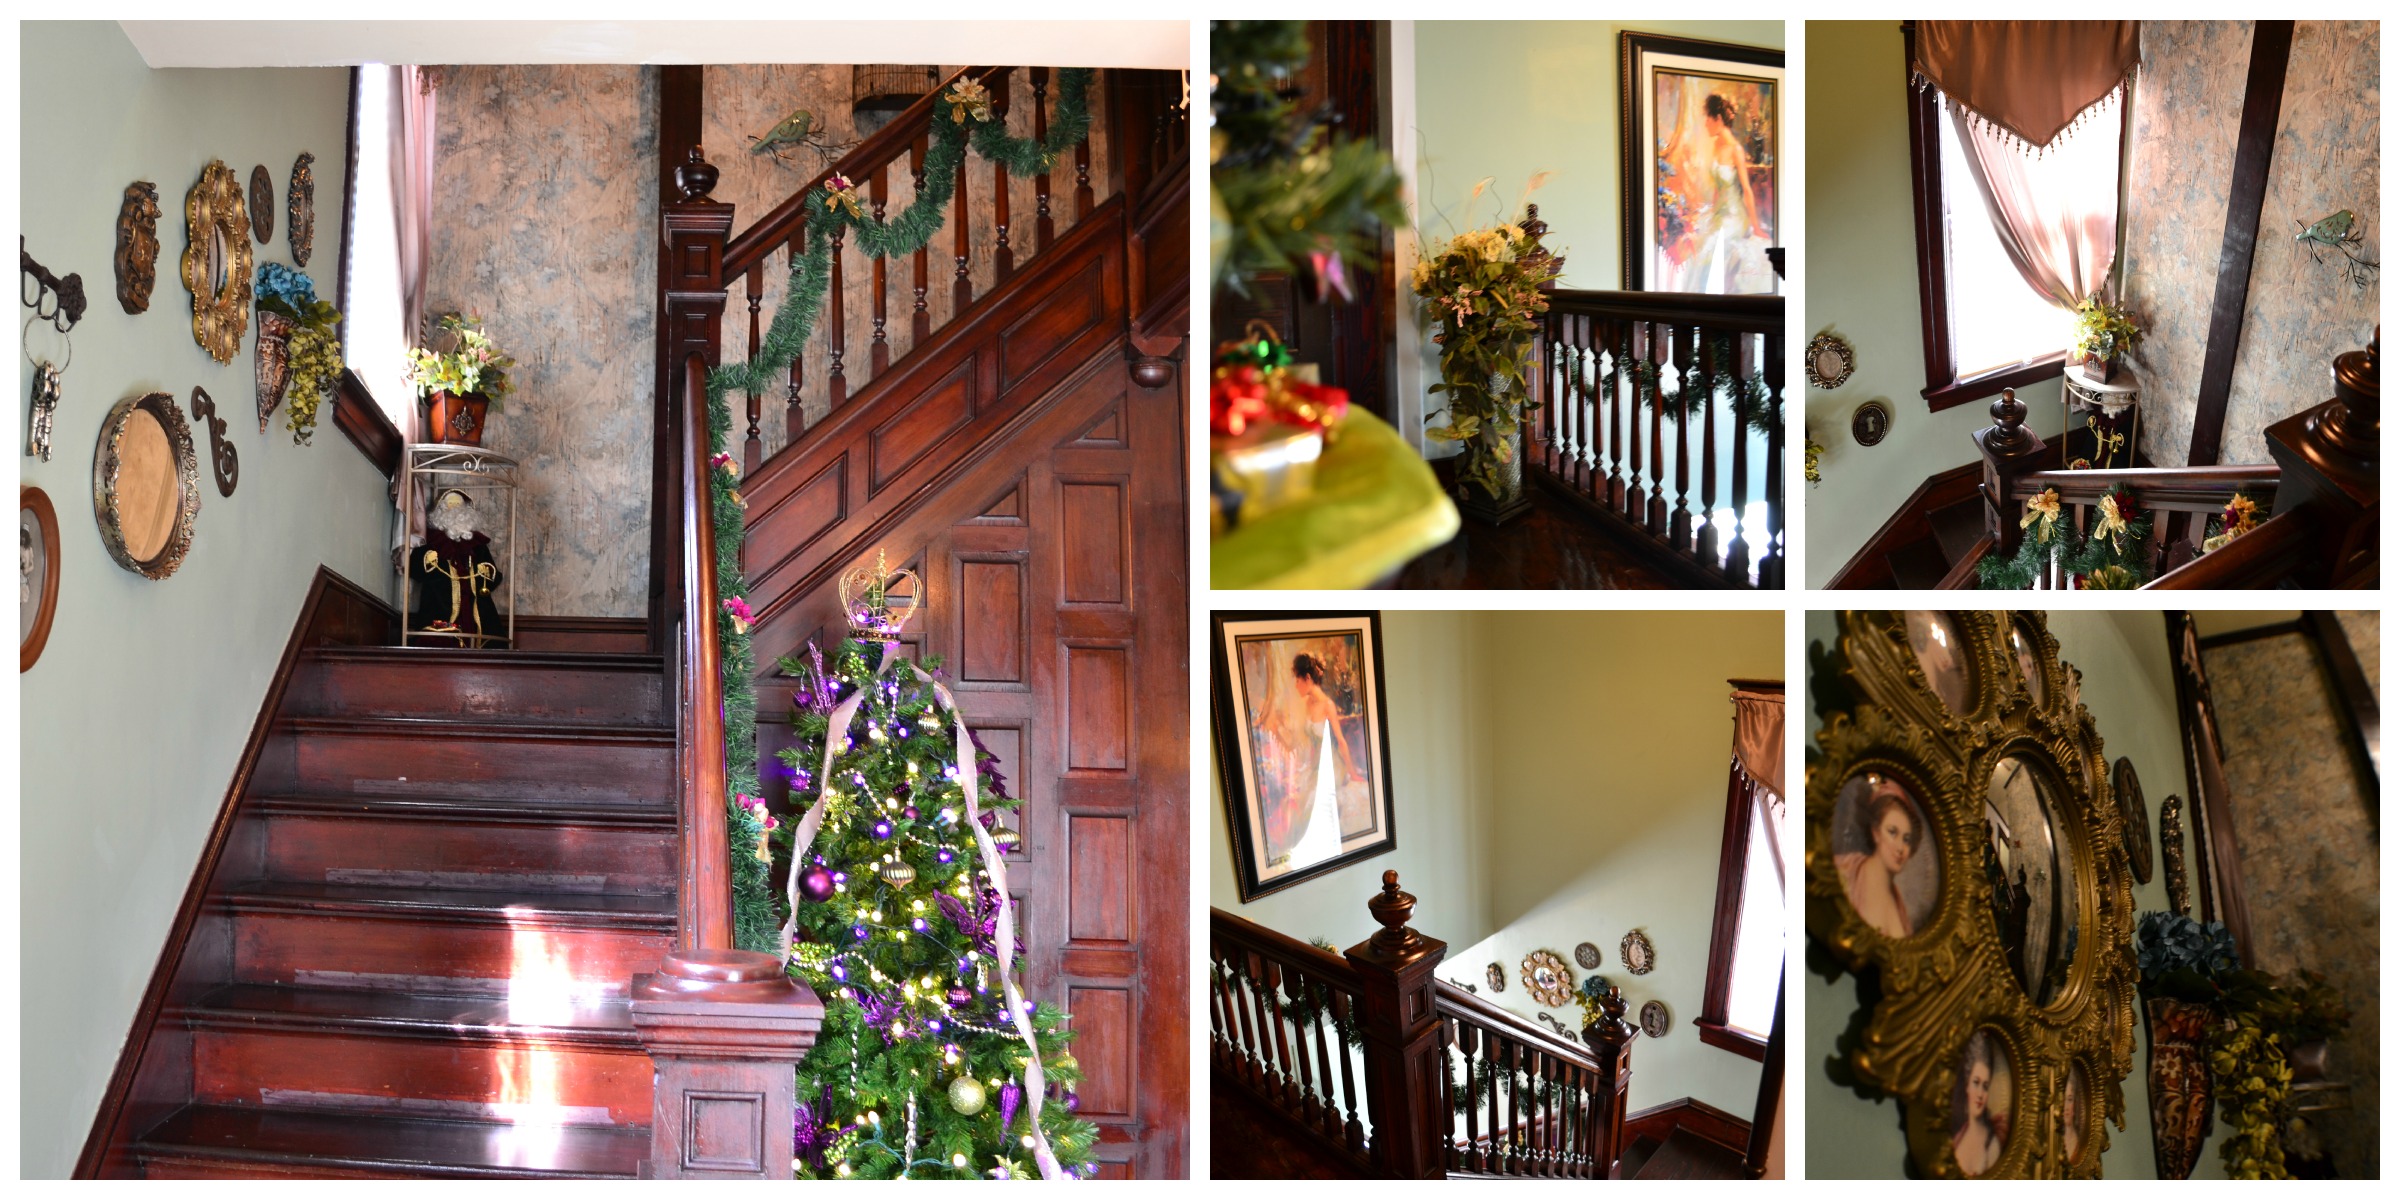
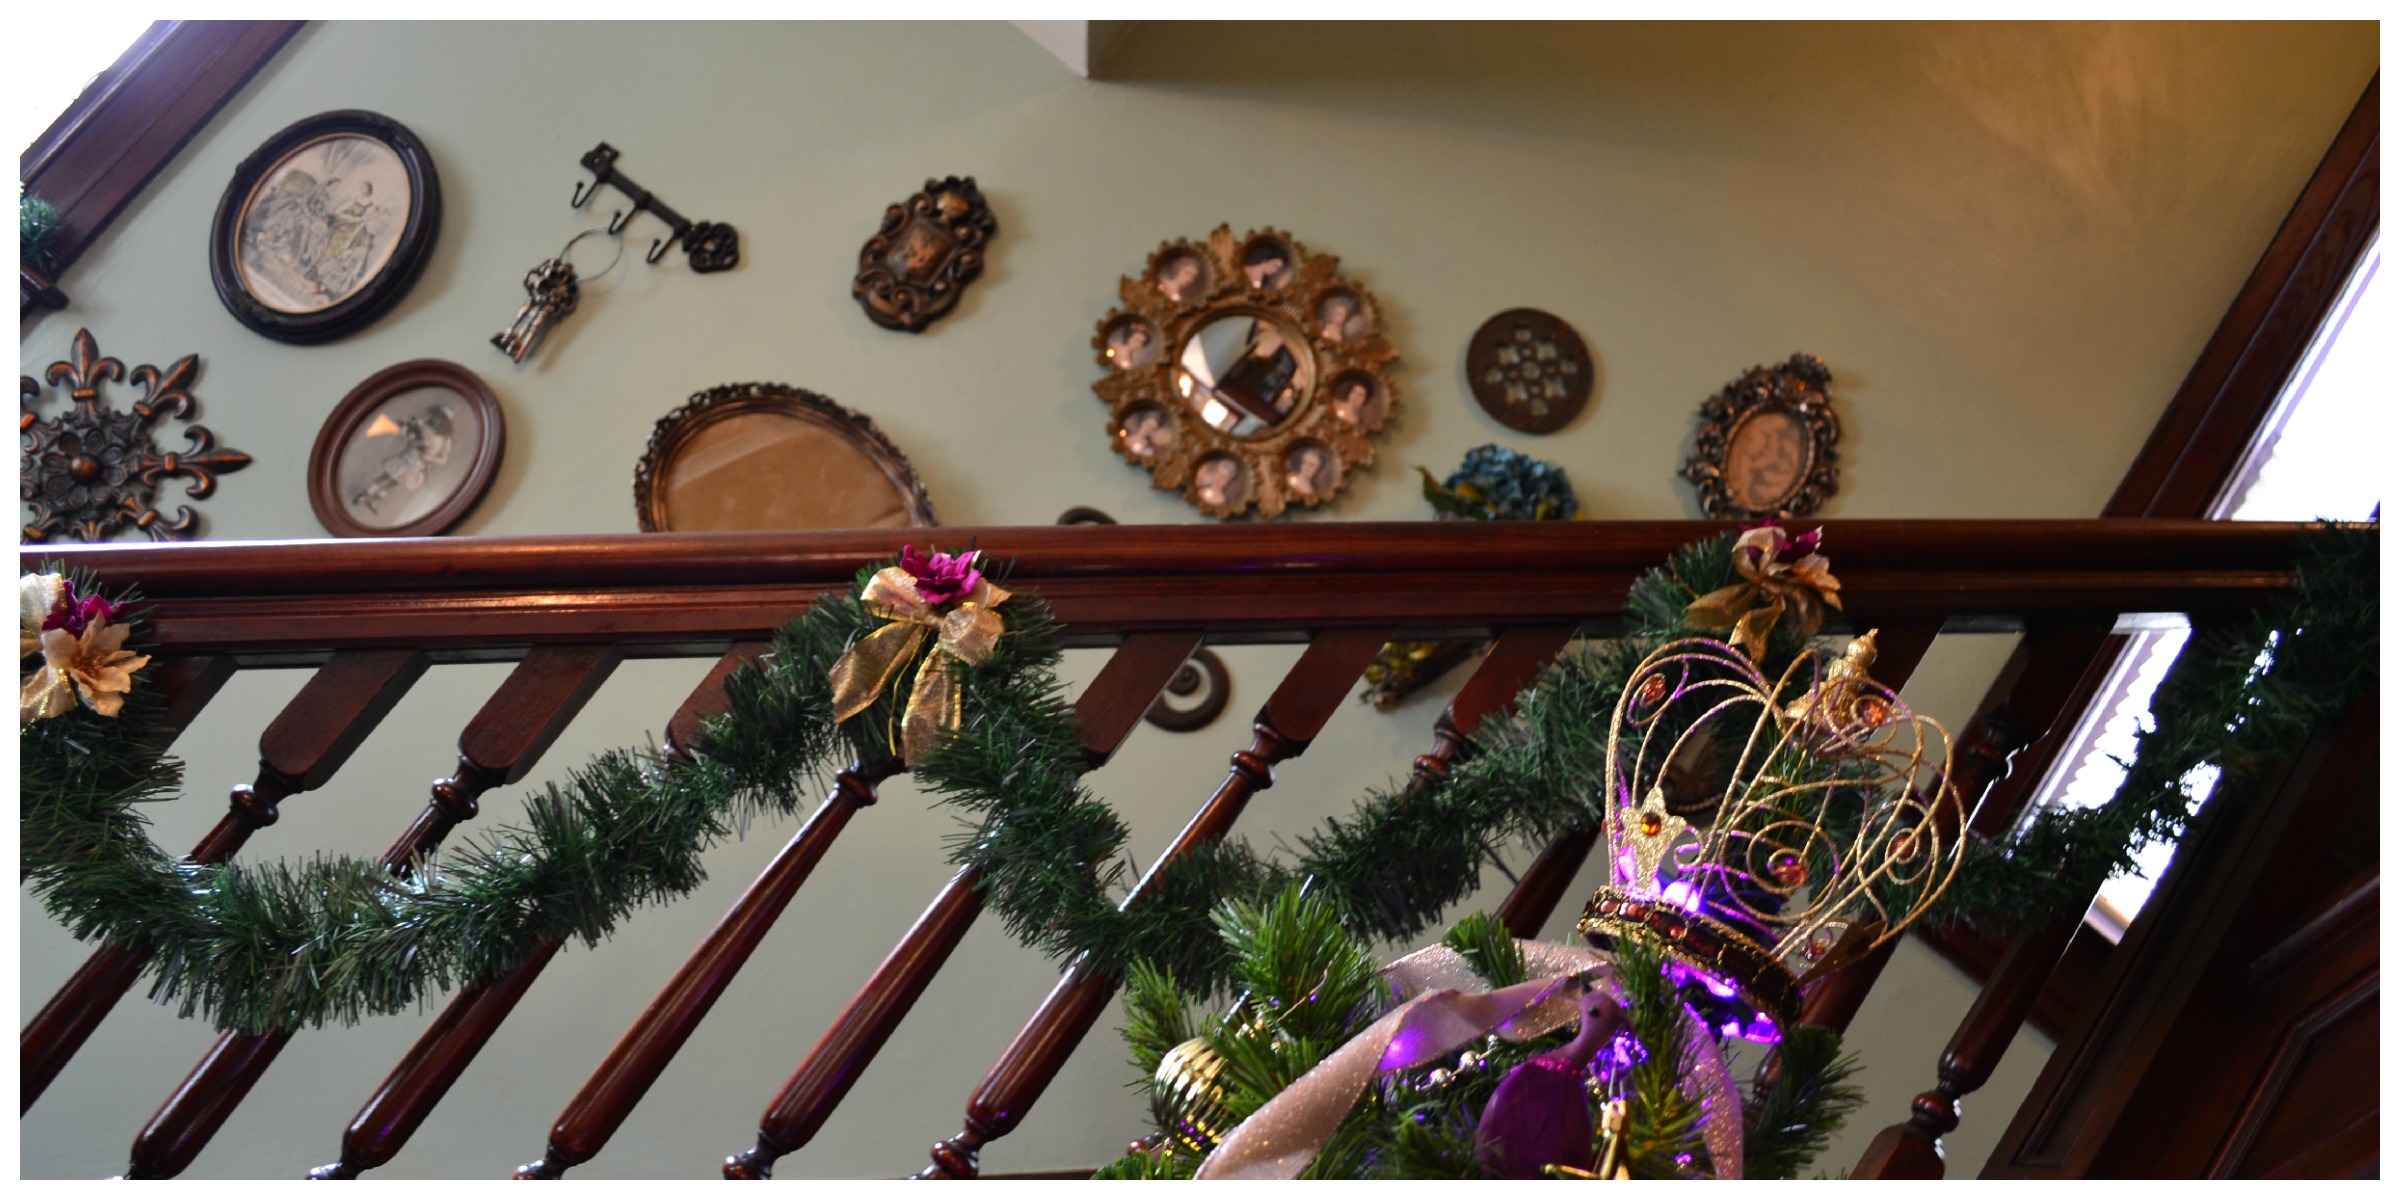
Foyer AFTER:
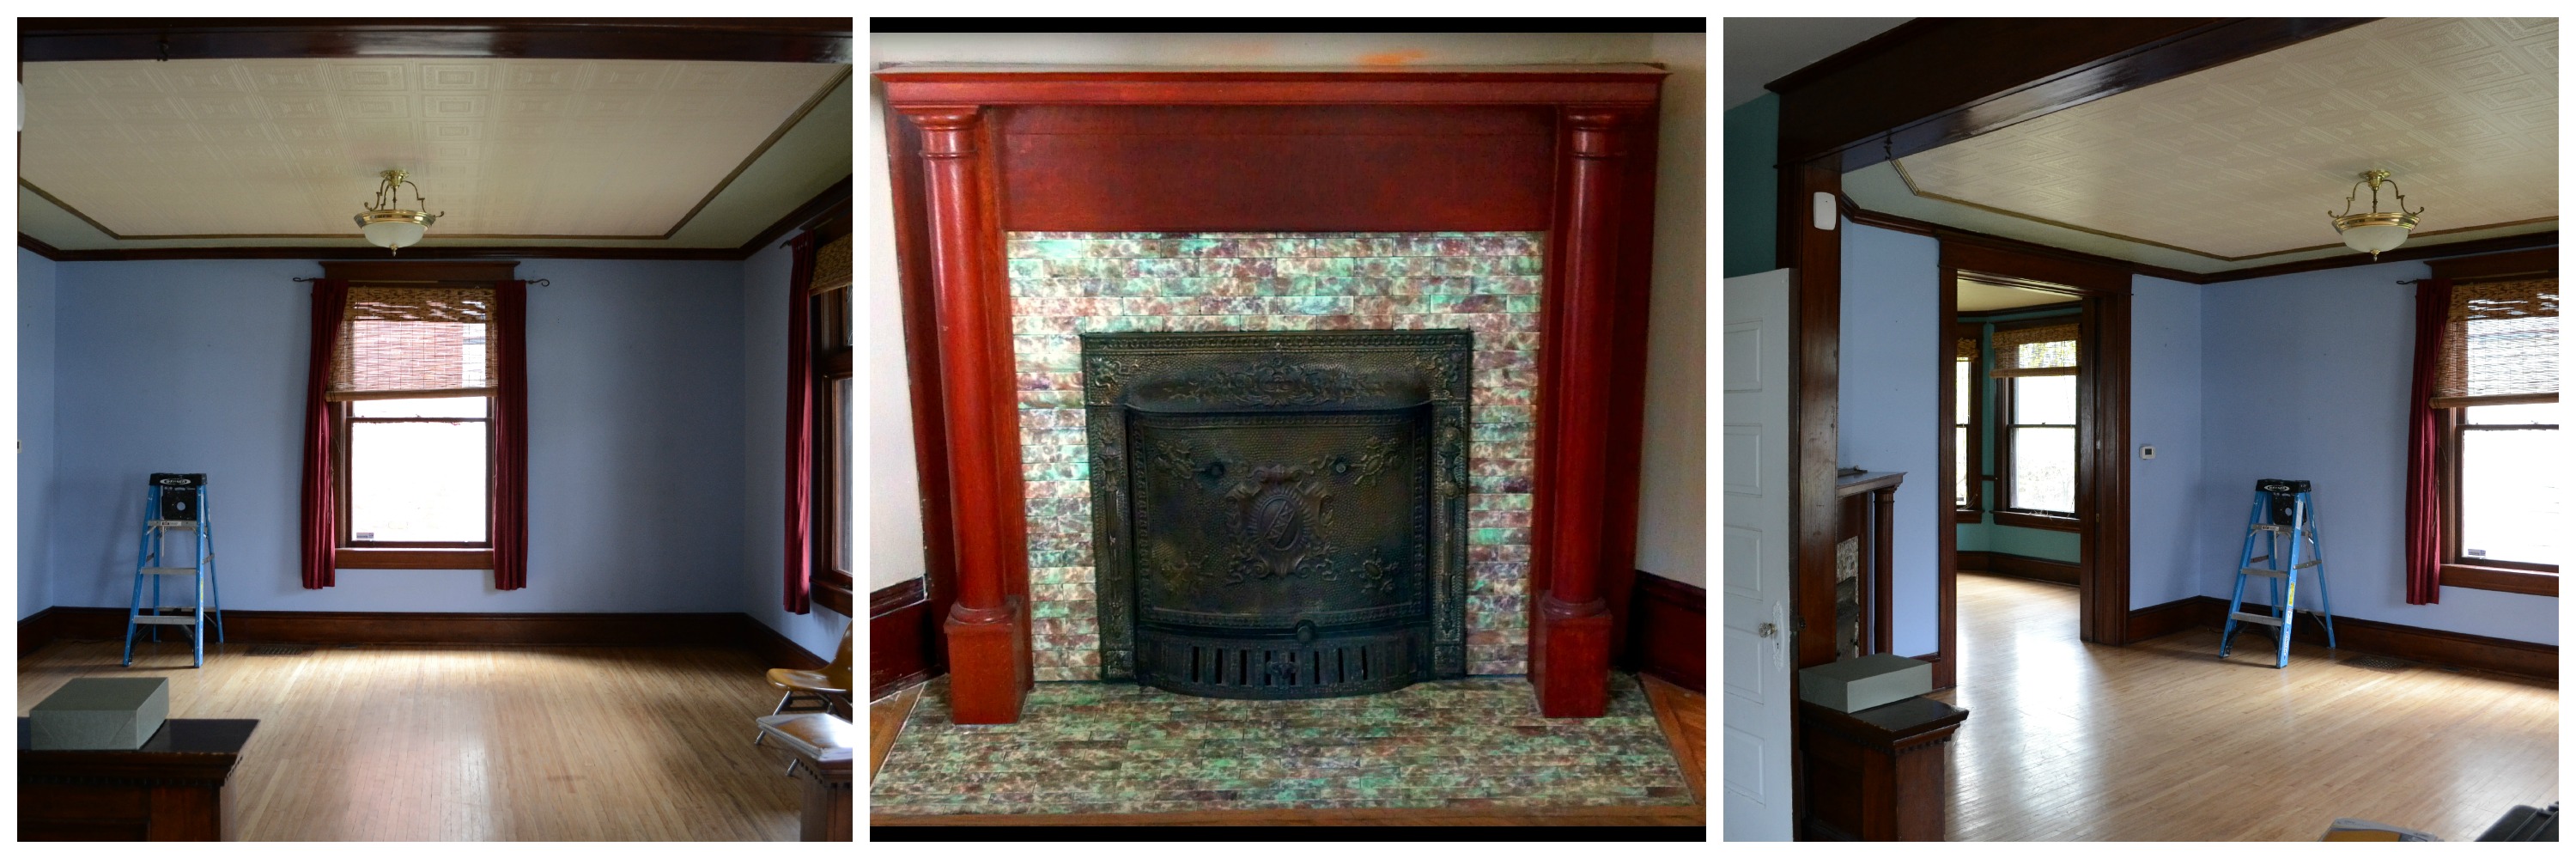
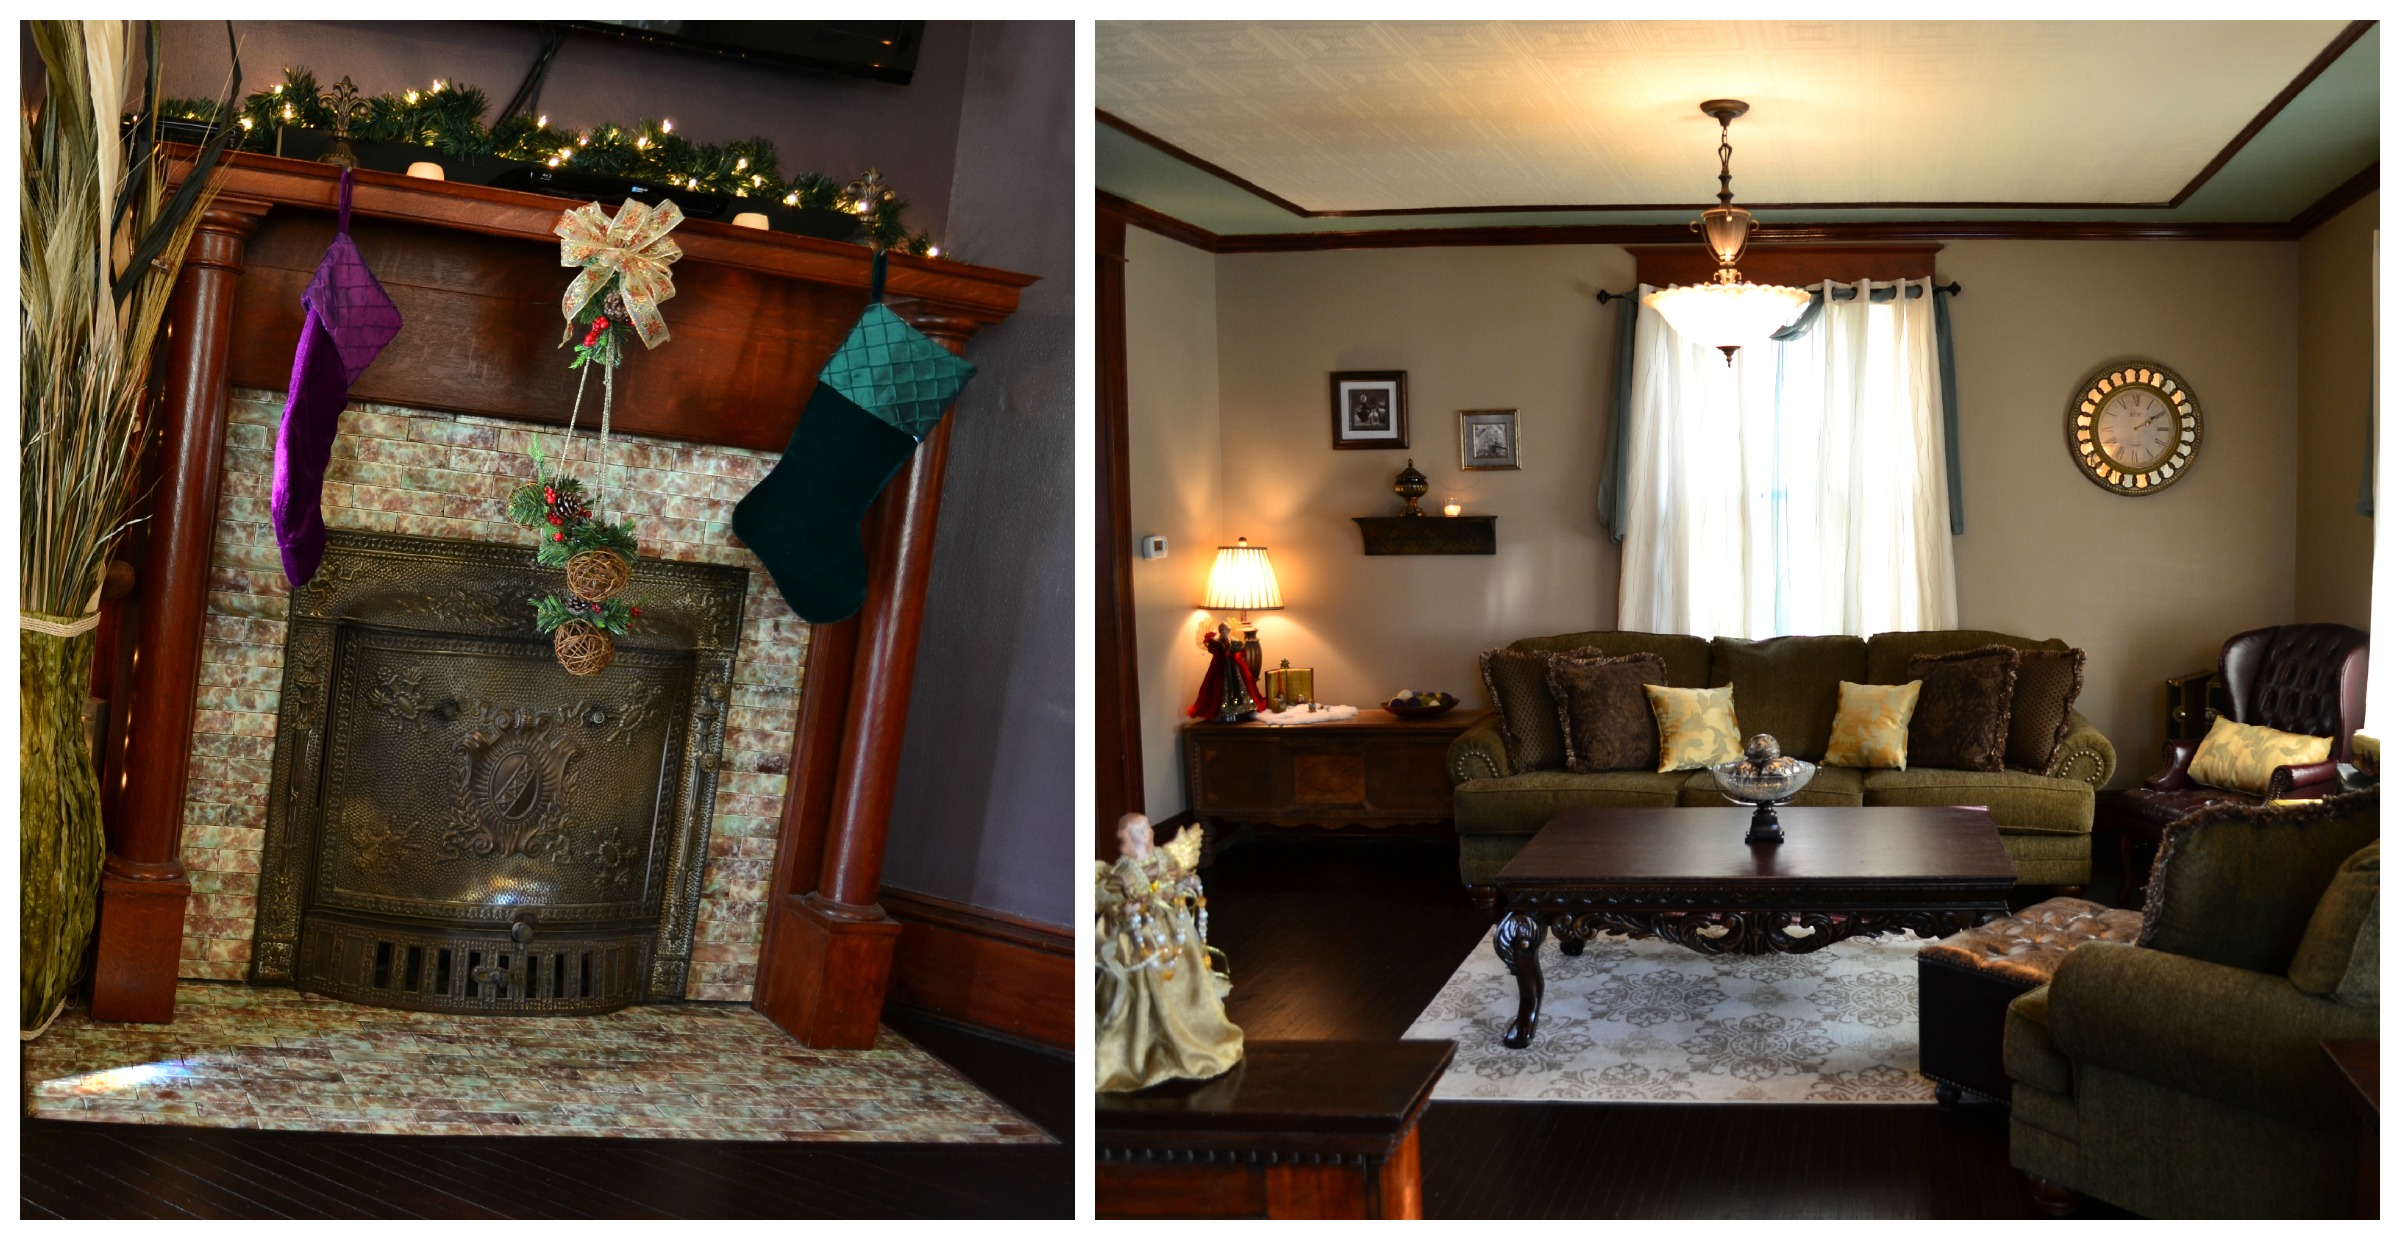
Living Room BEFORE:
Living Room AFTER:
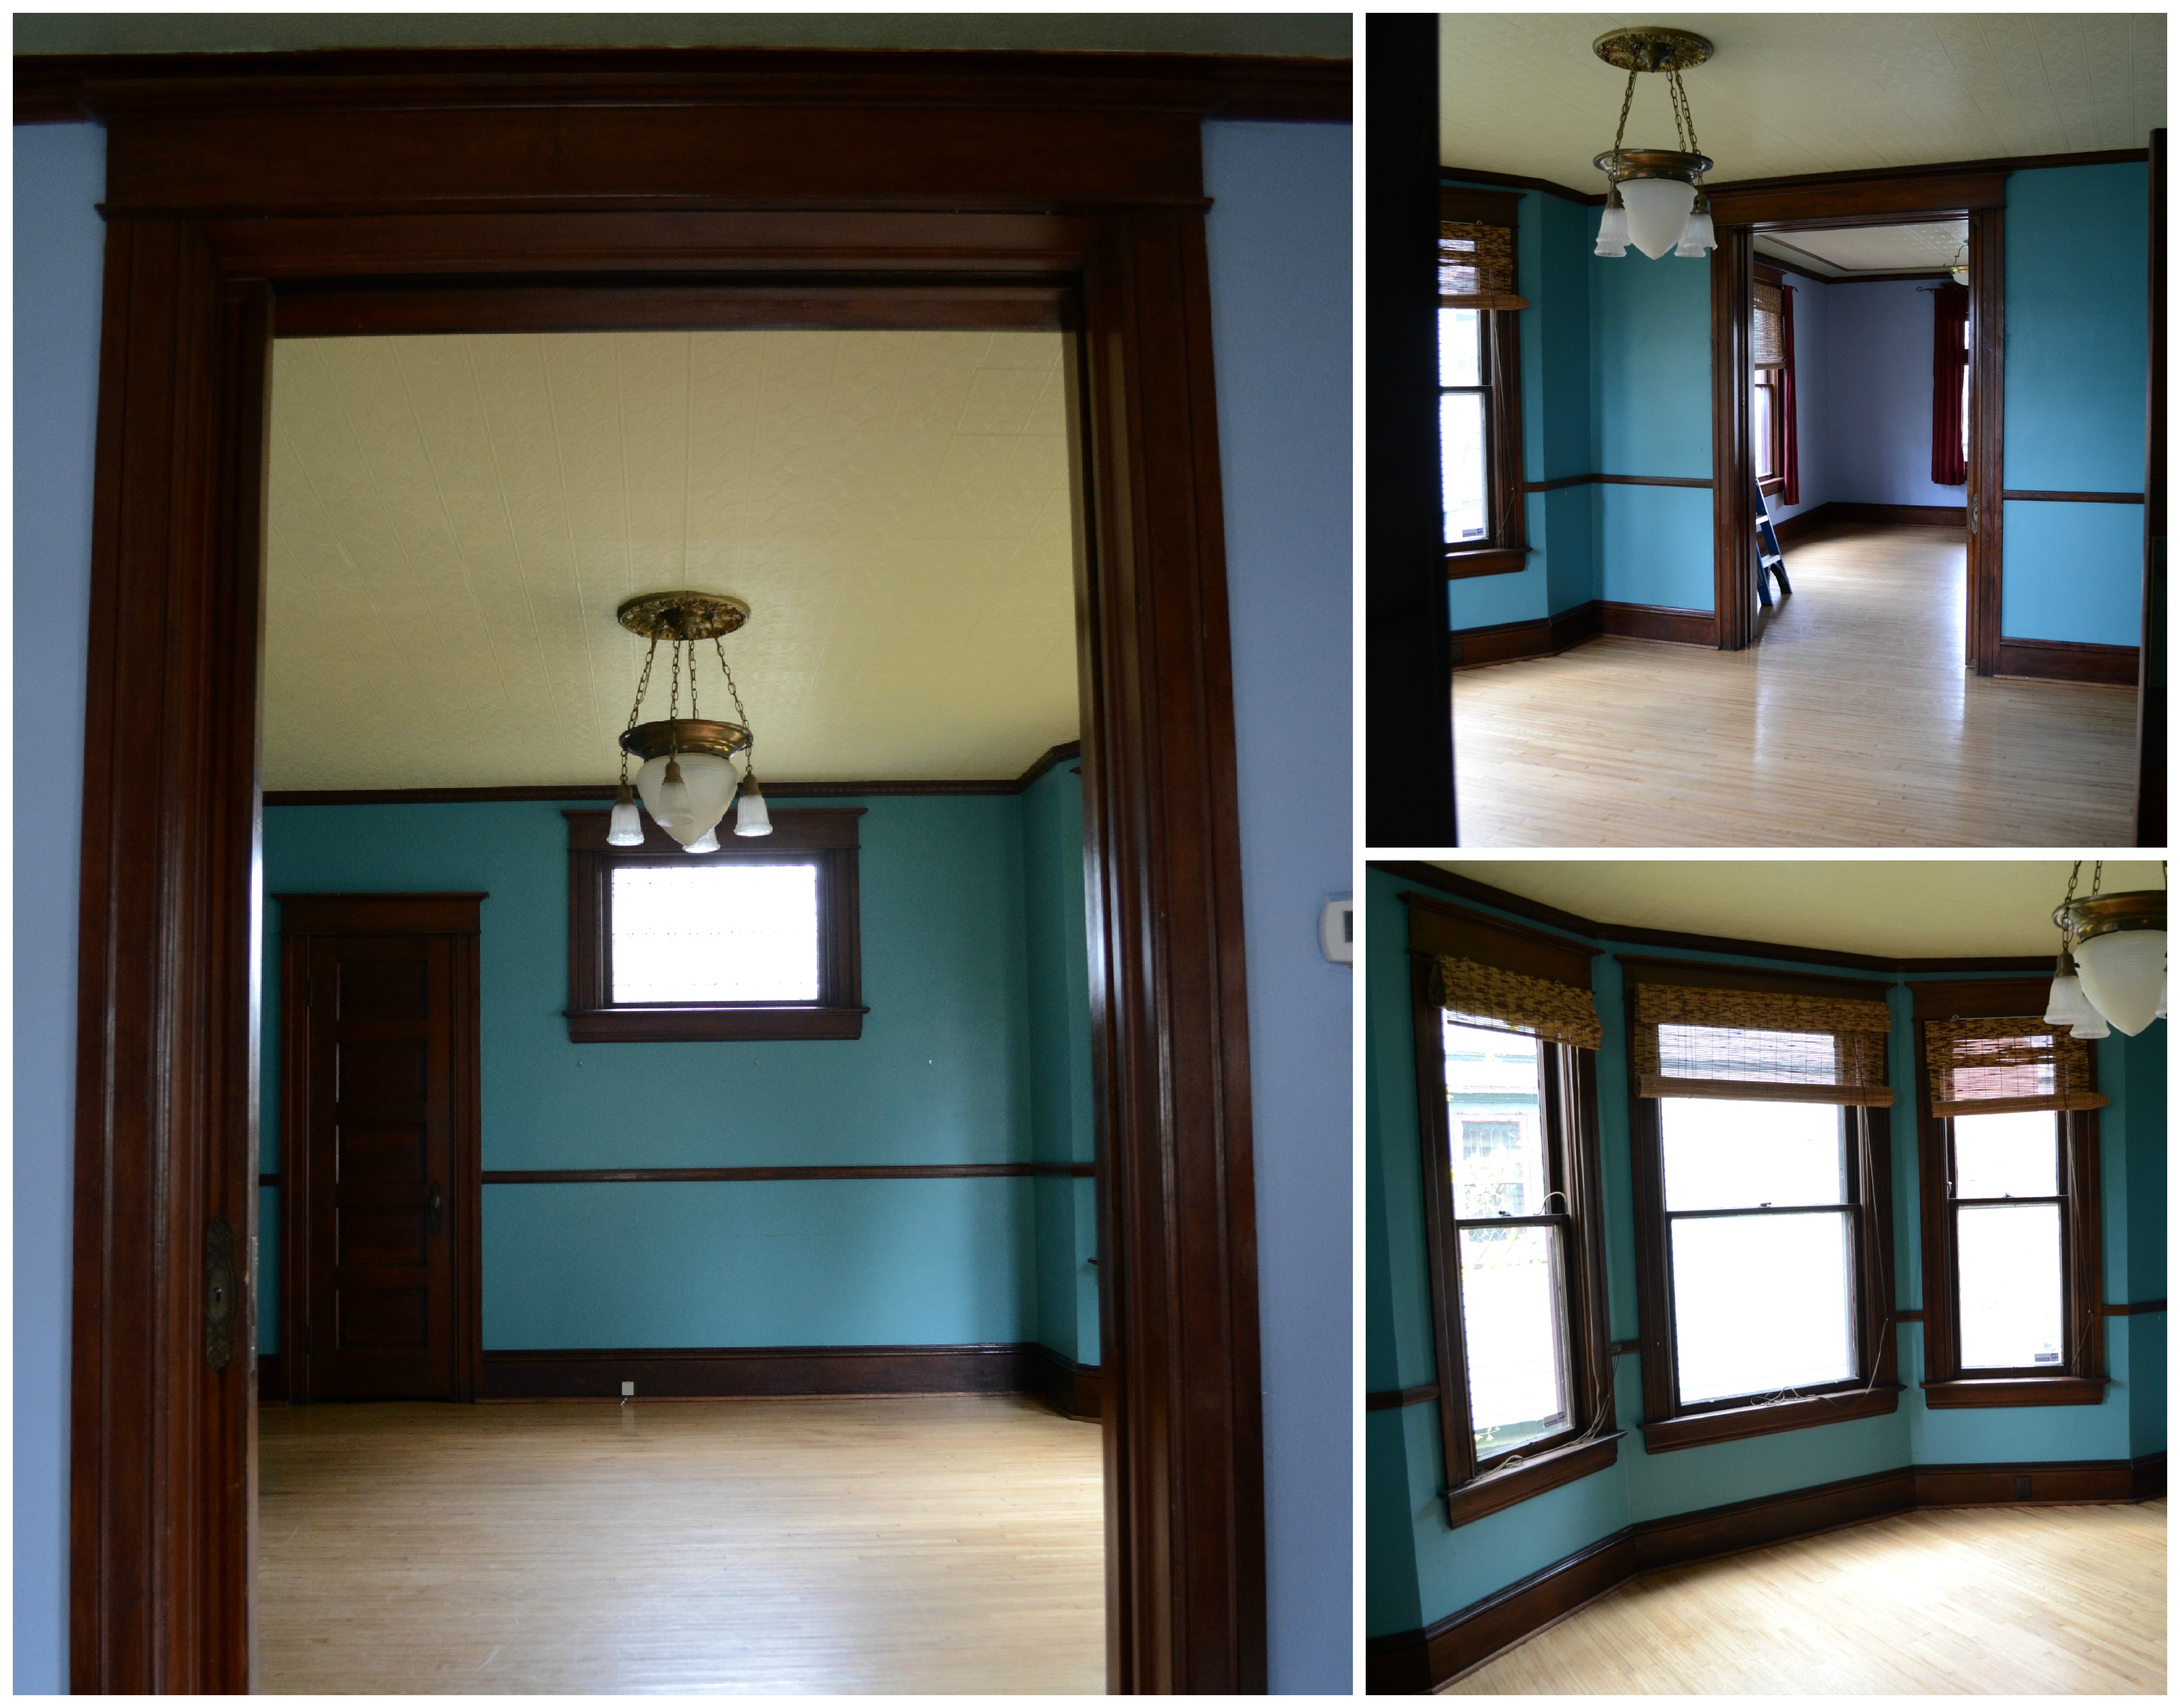
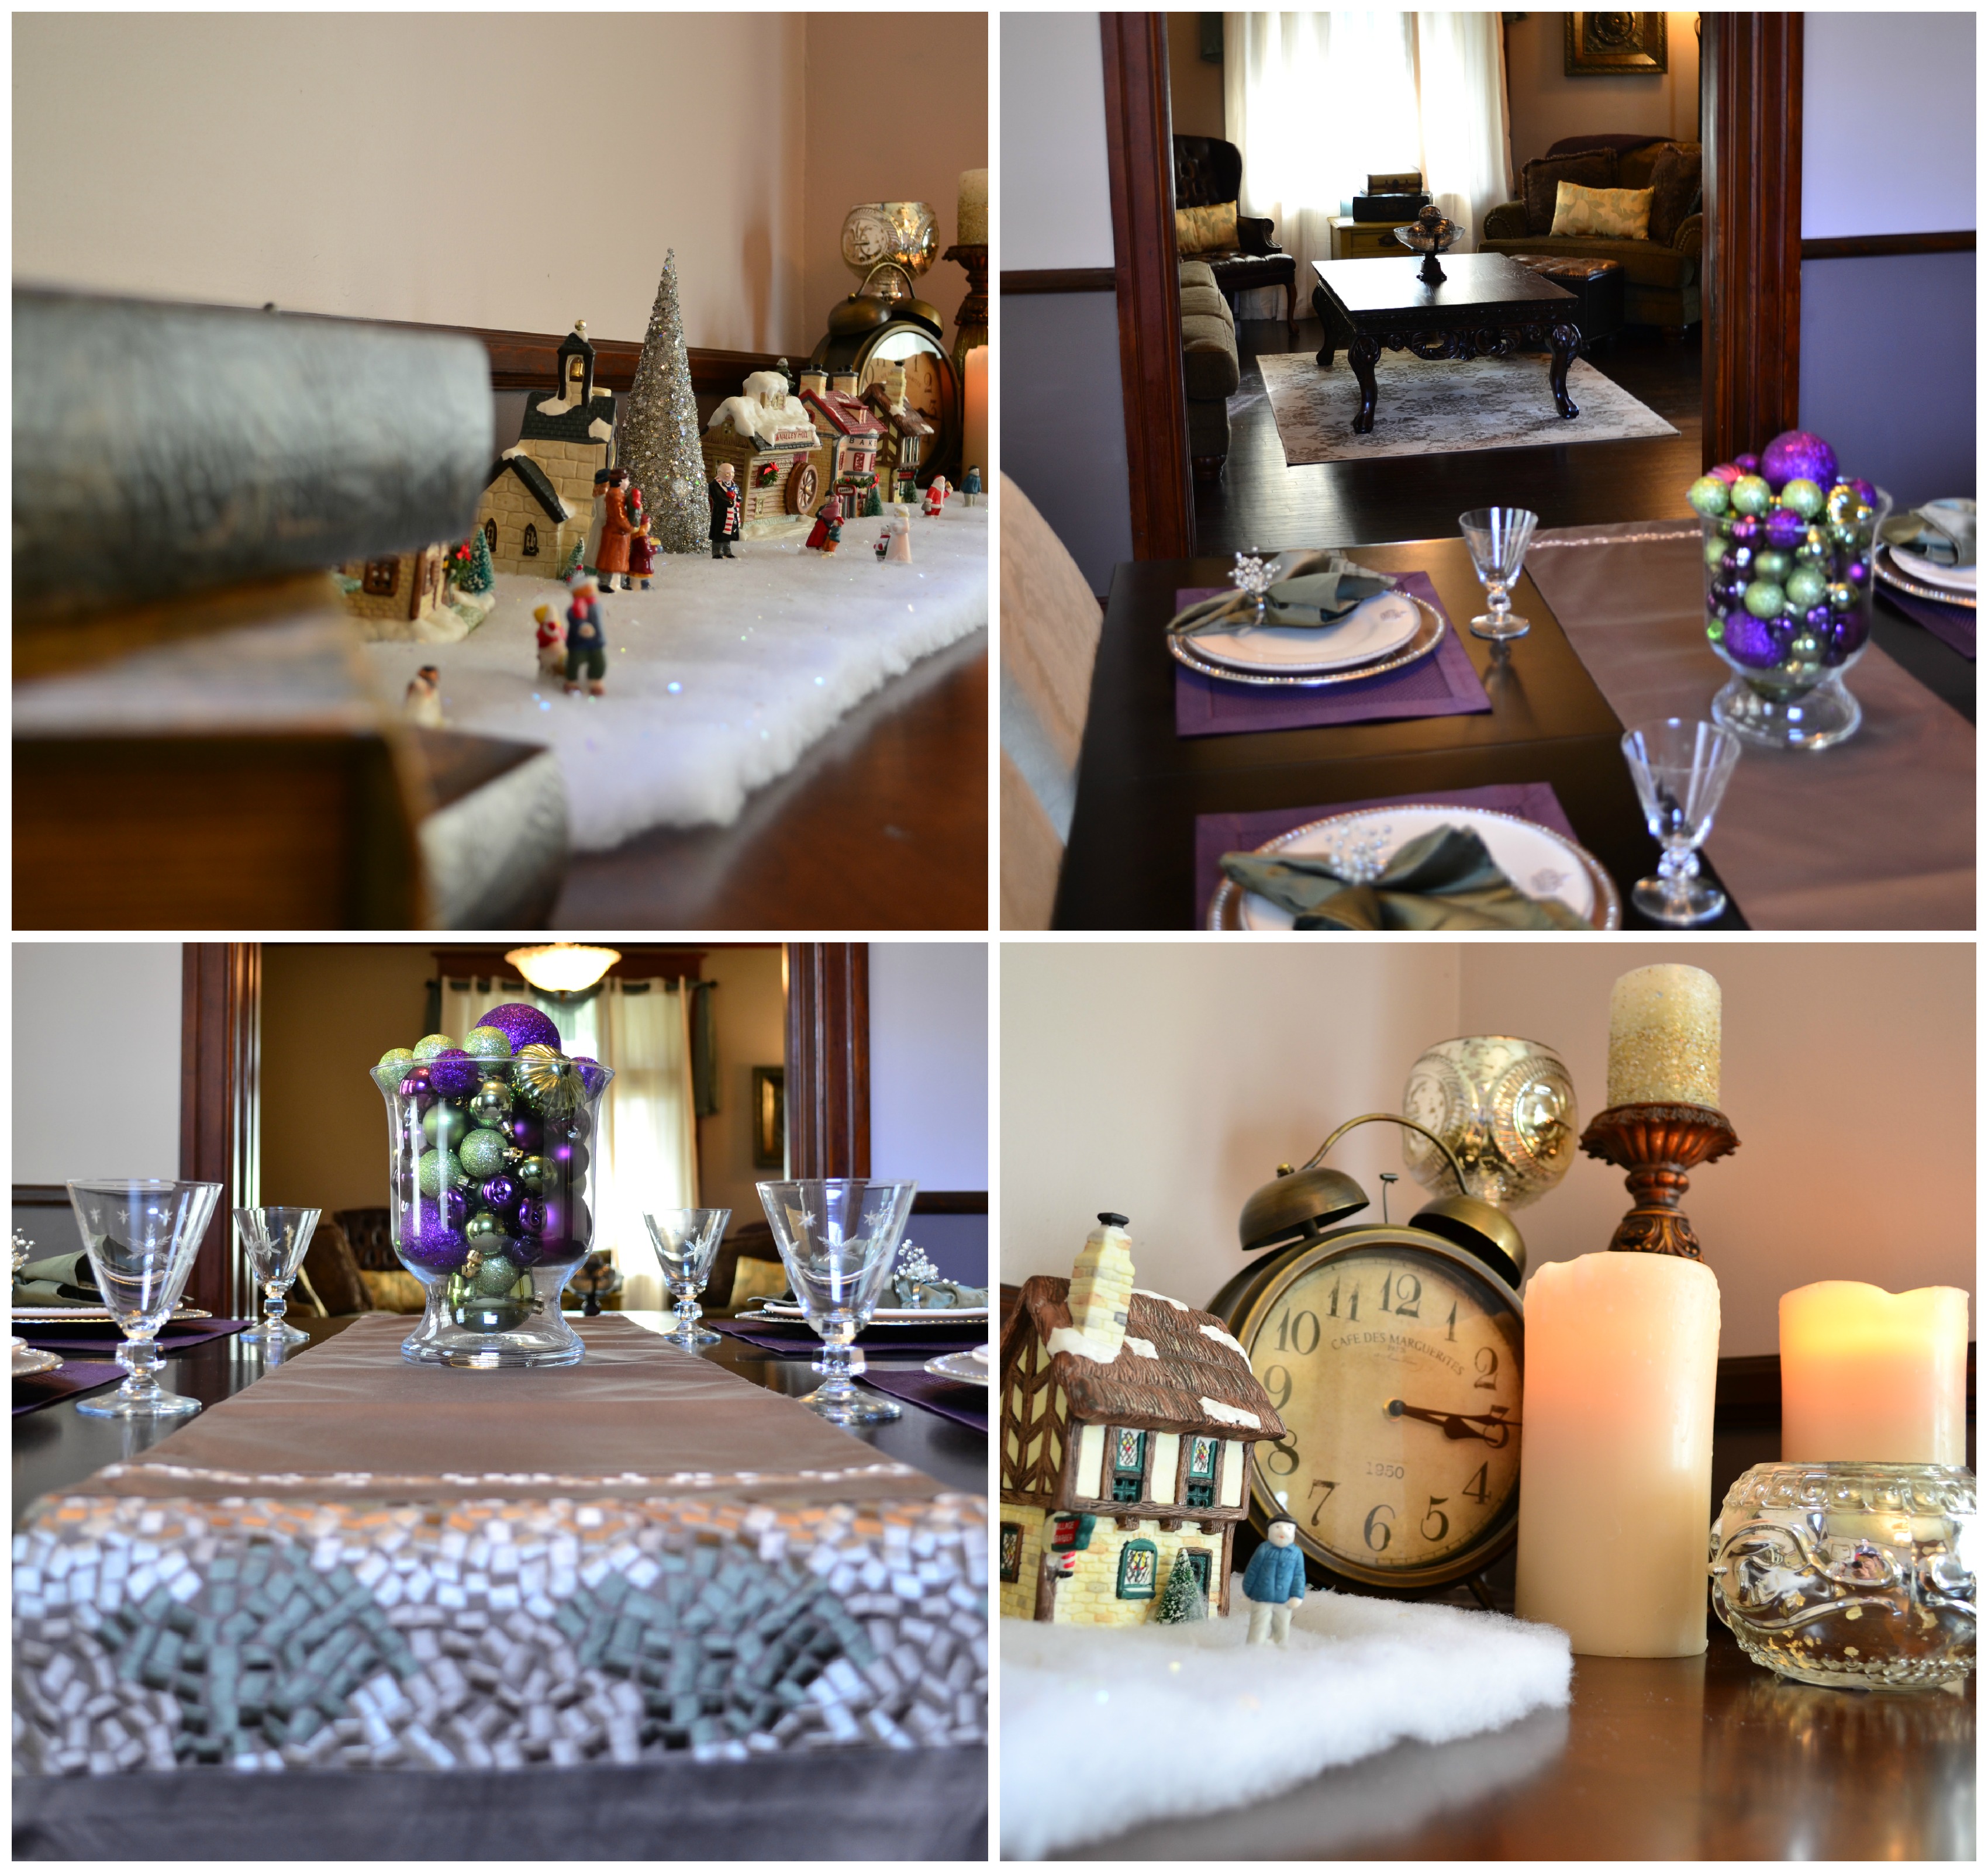
Dining Room BEFORE:
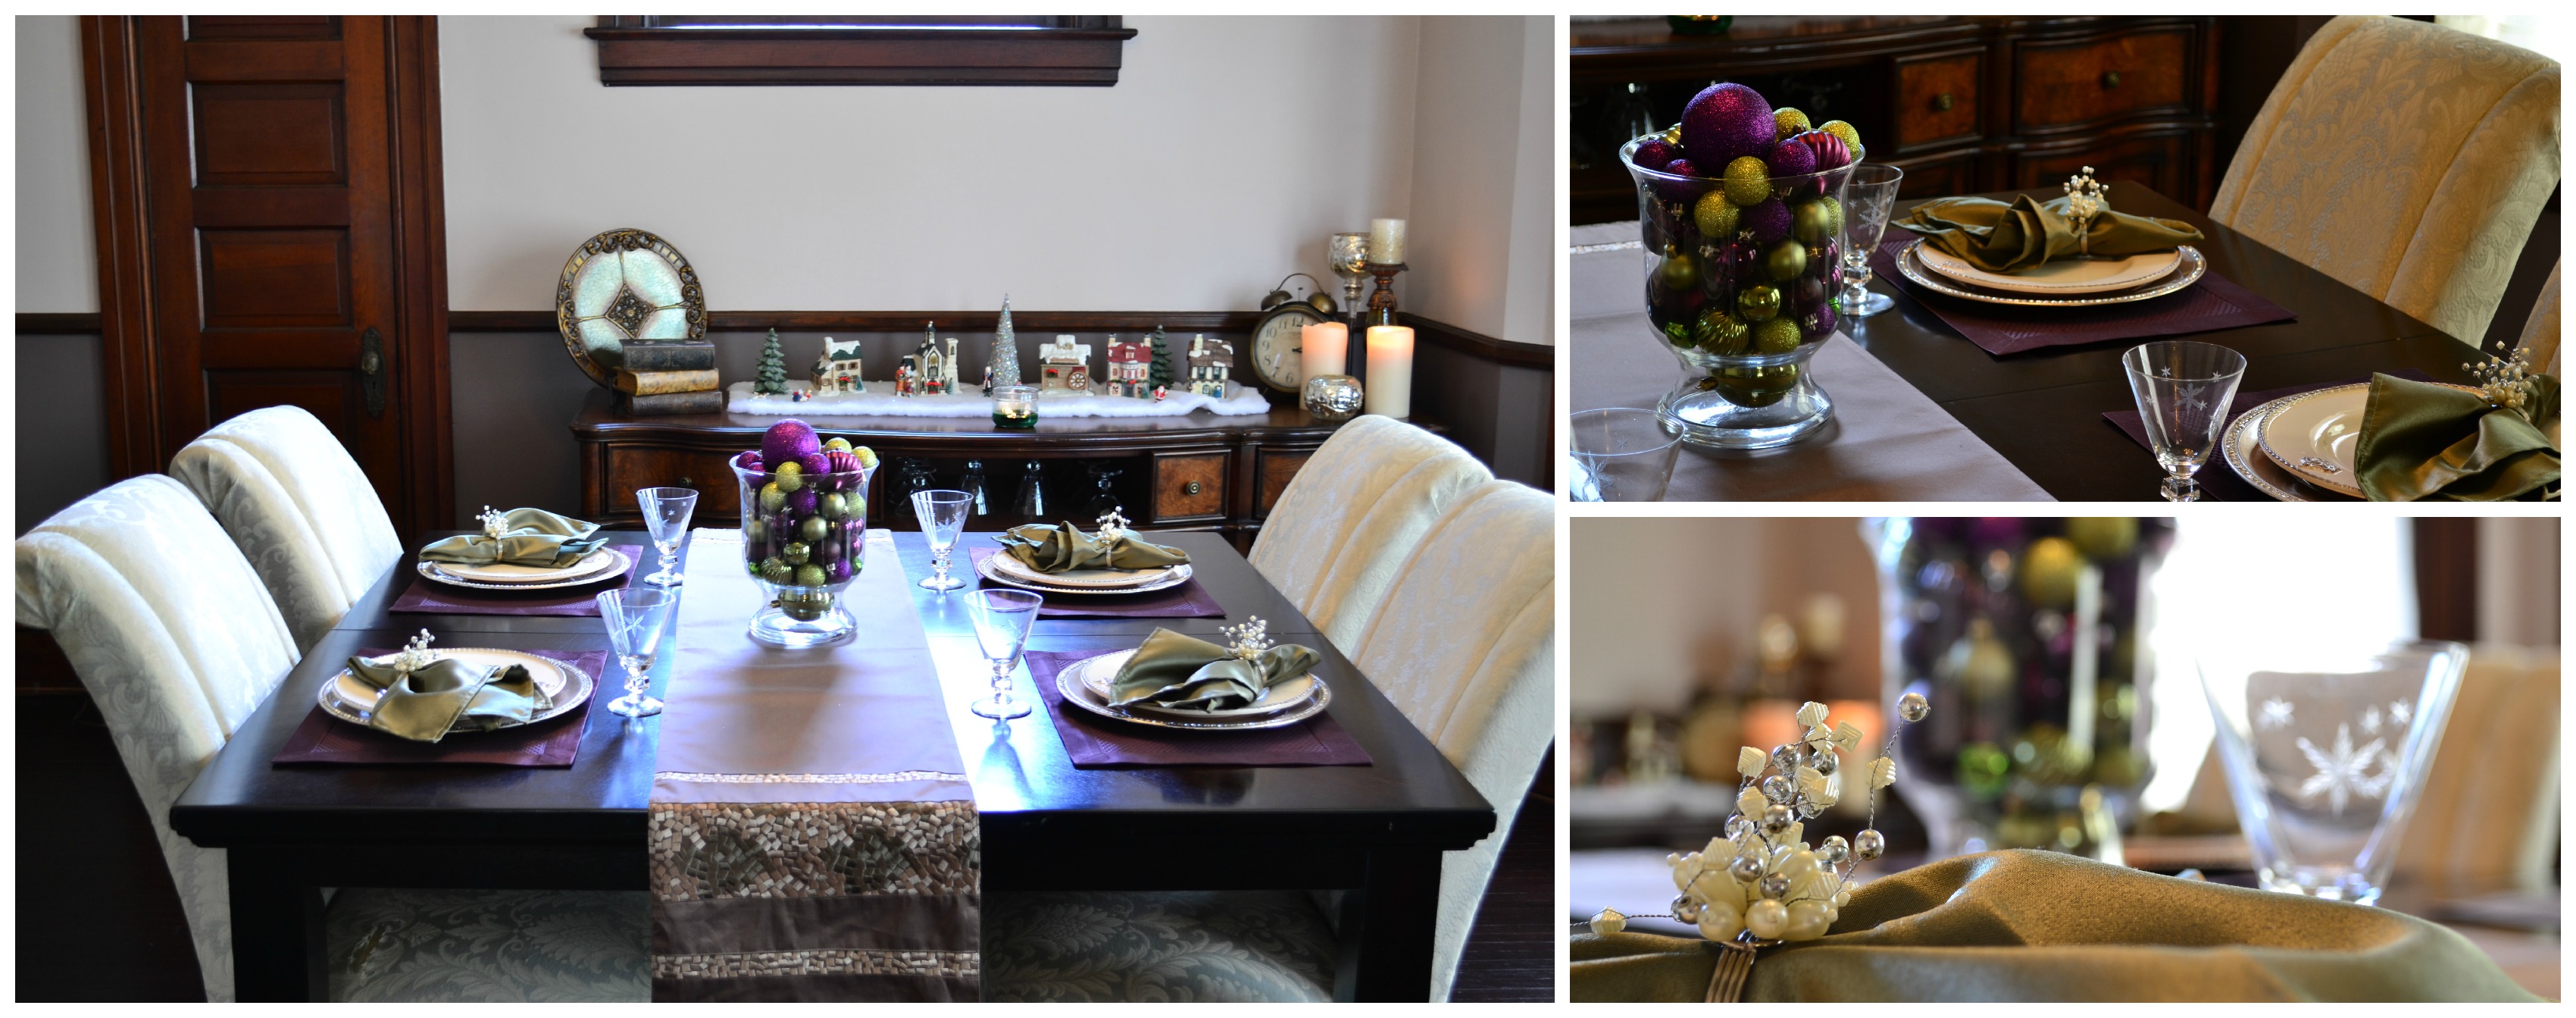
Dining Room AFTER:
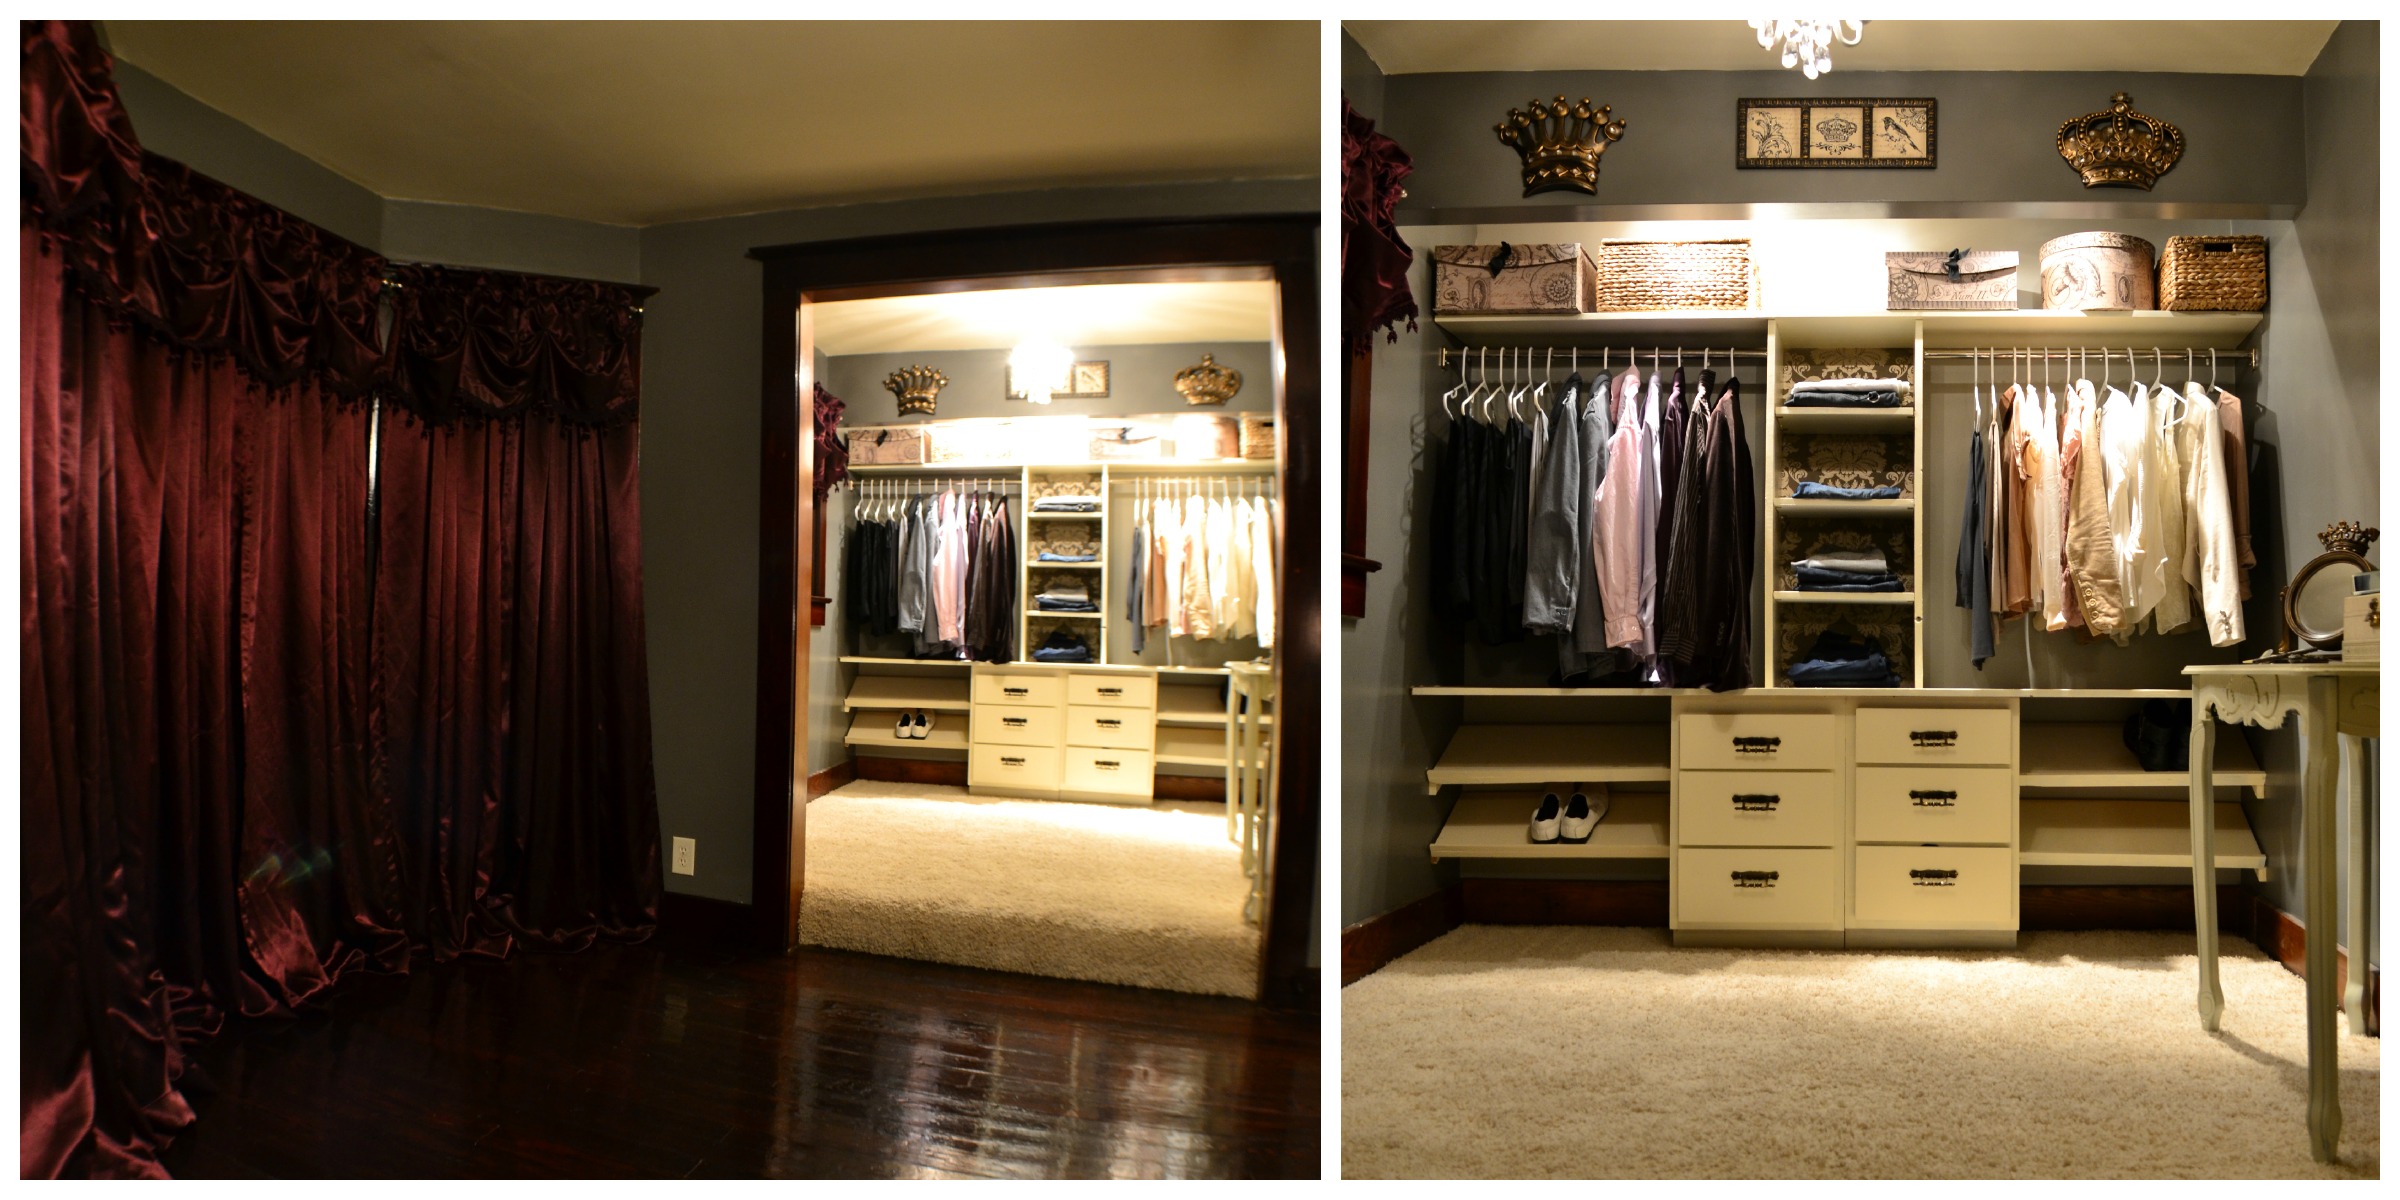
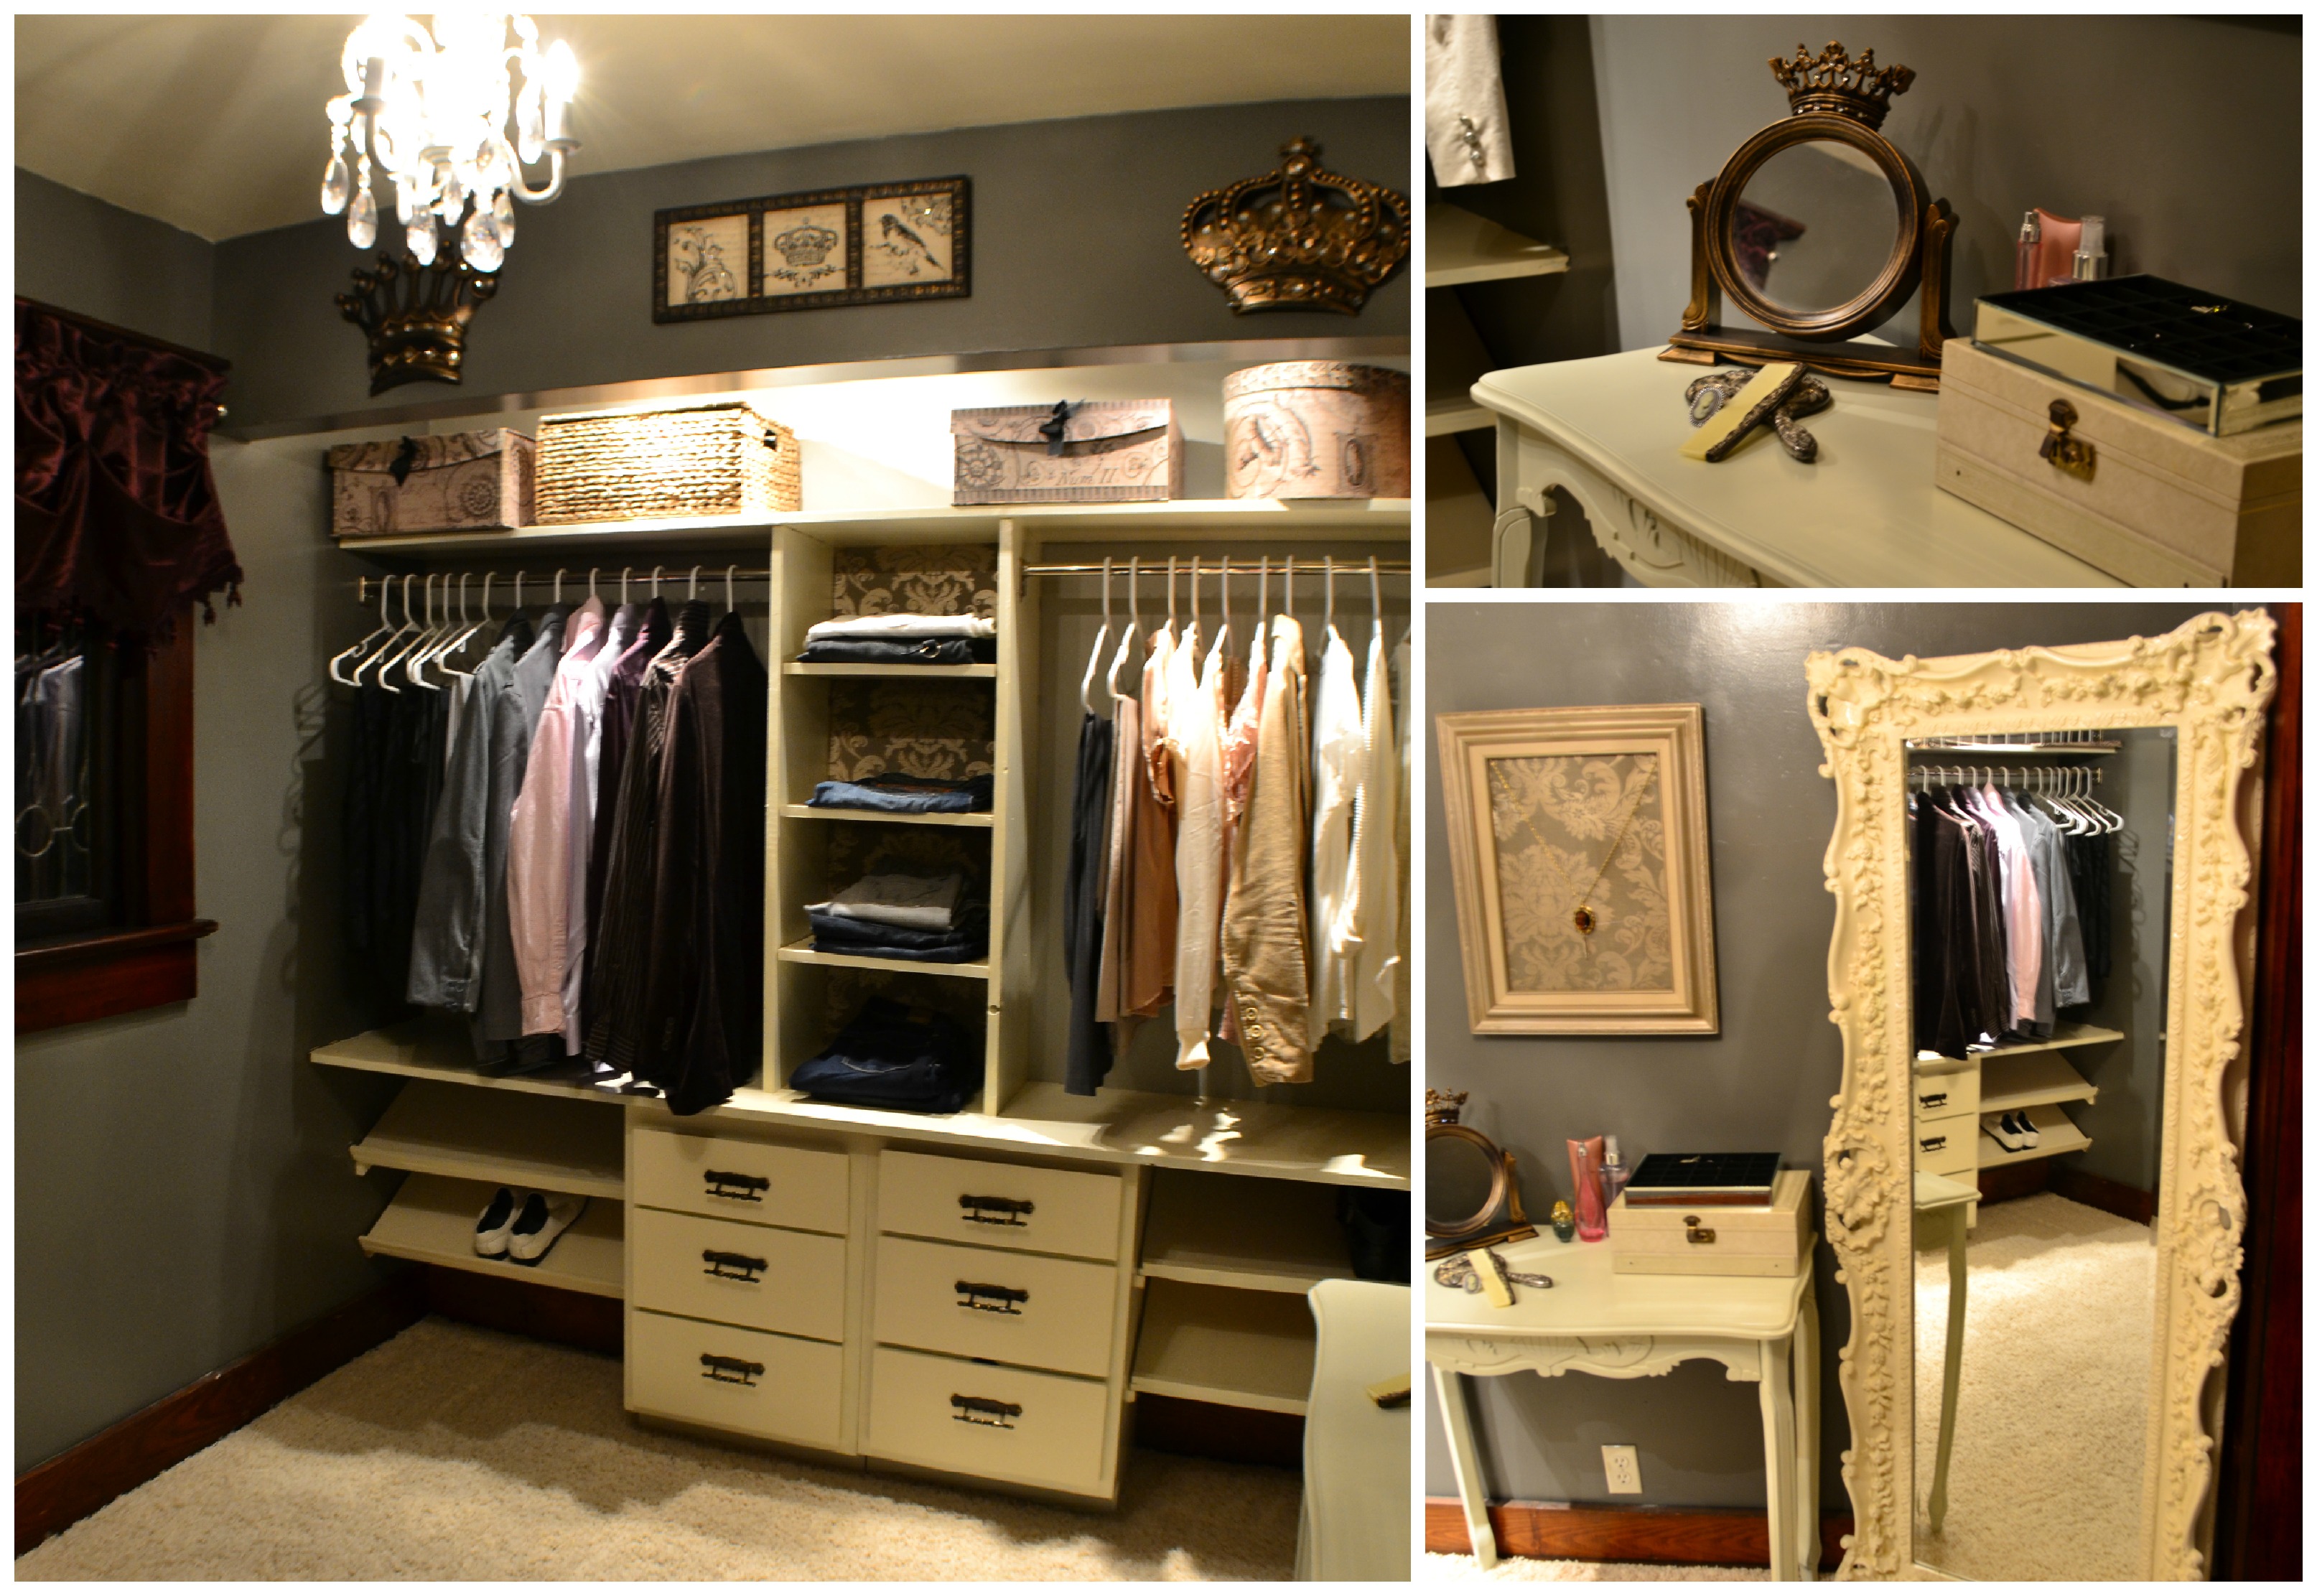
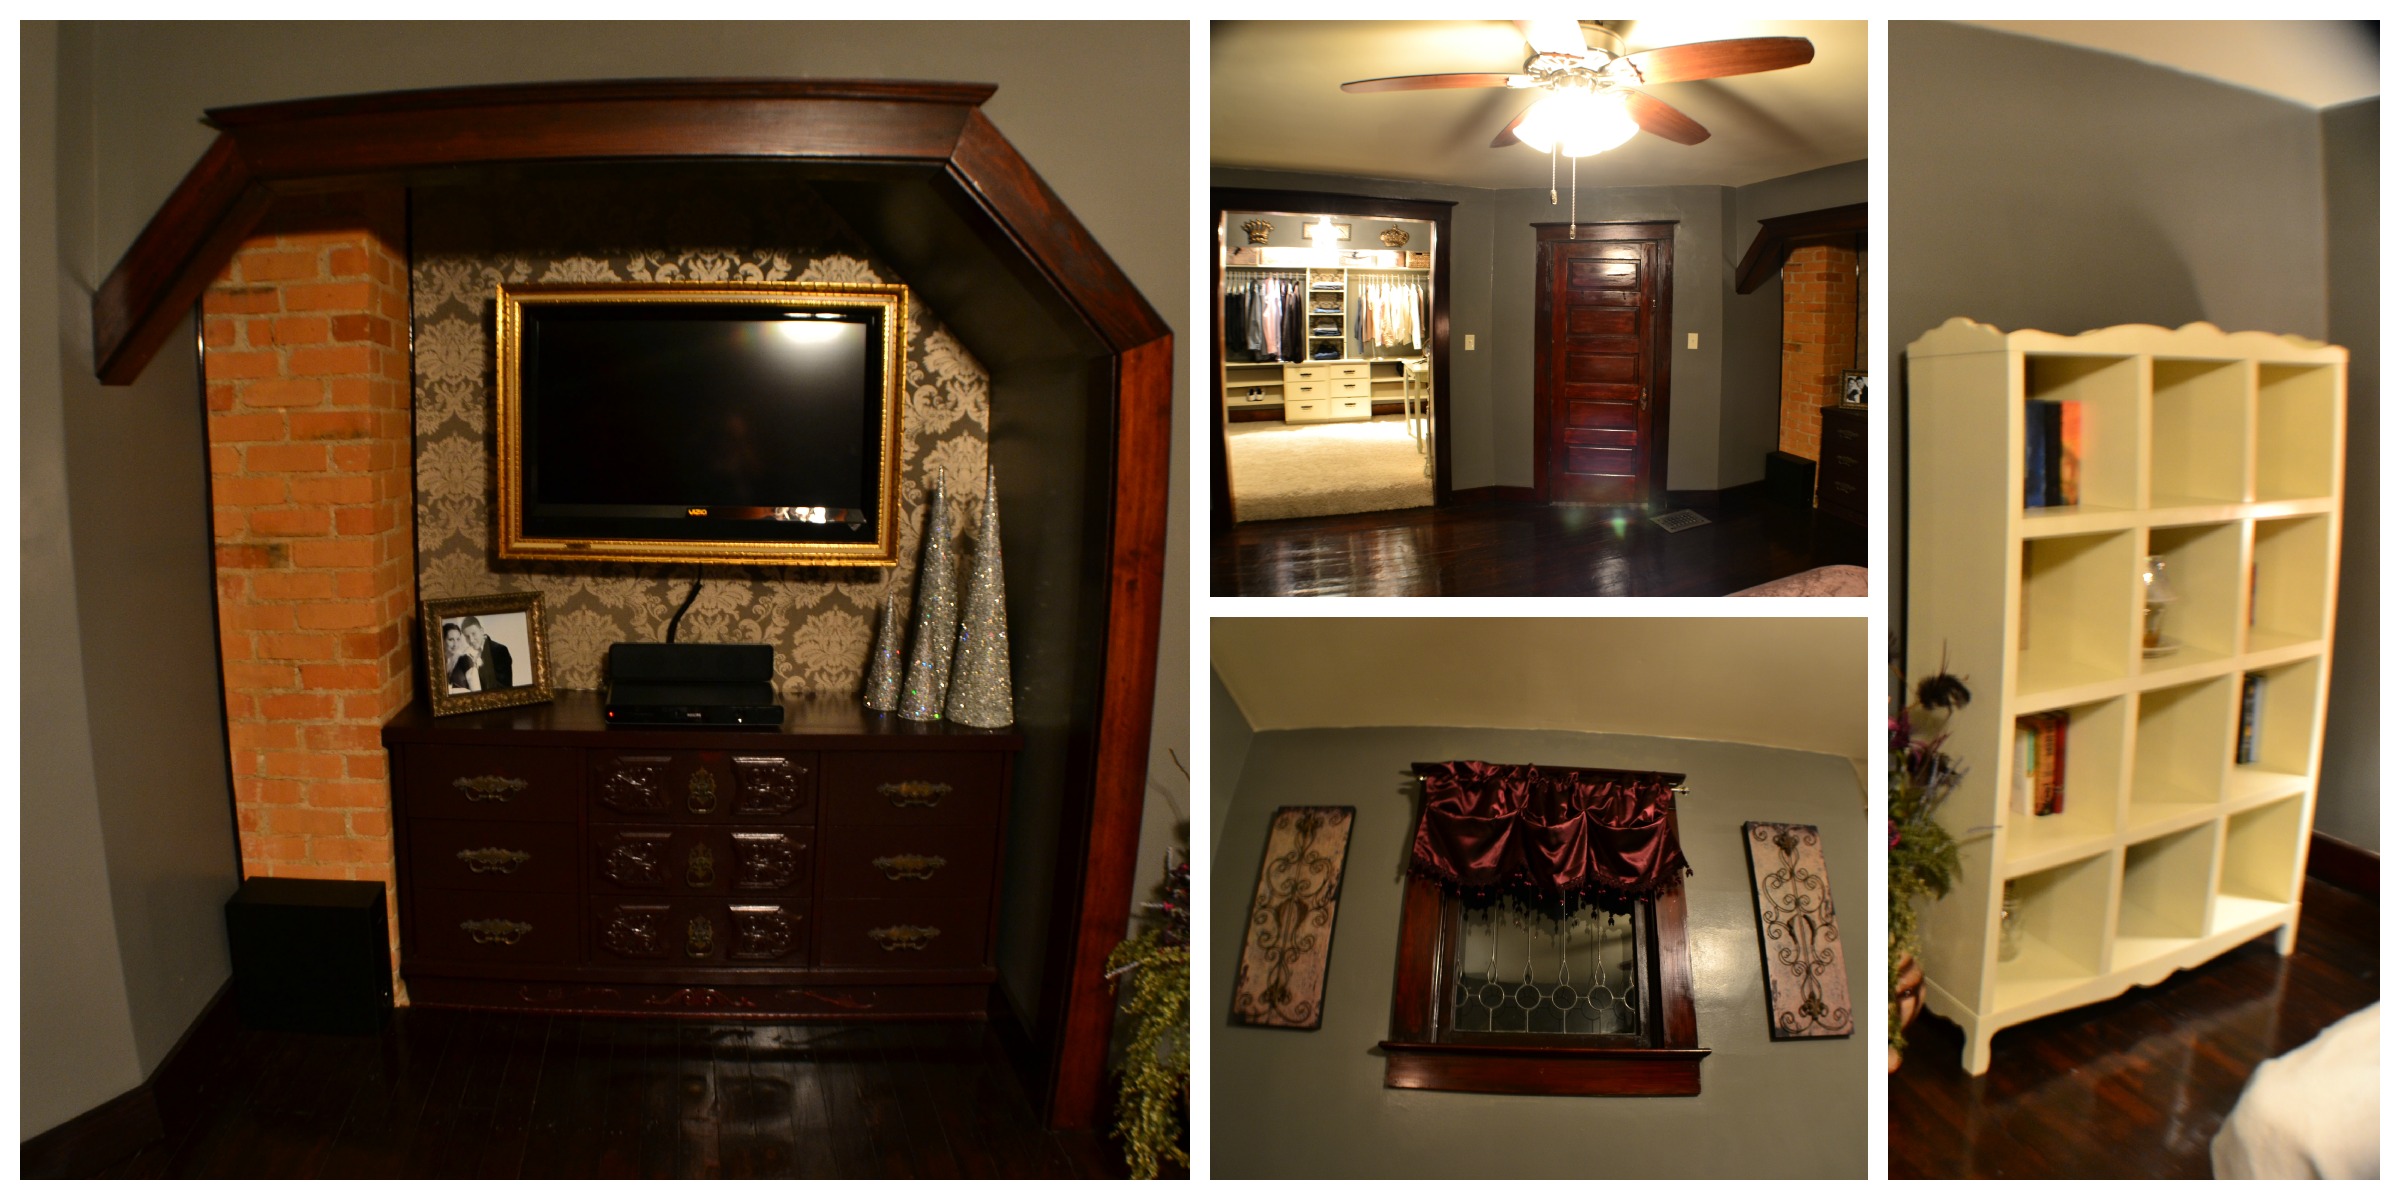
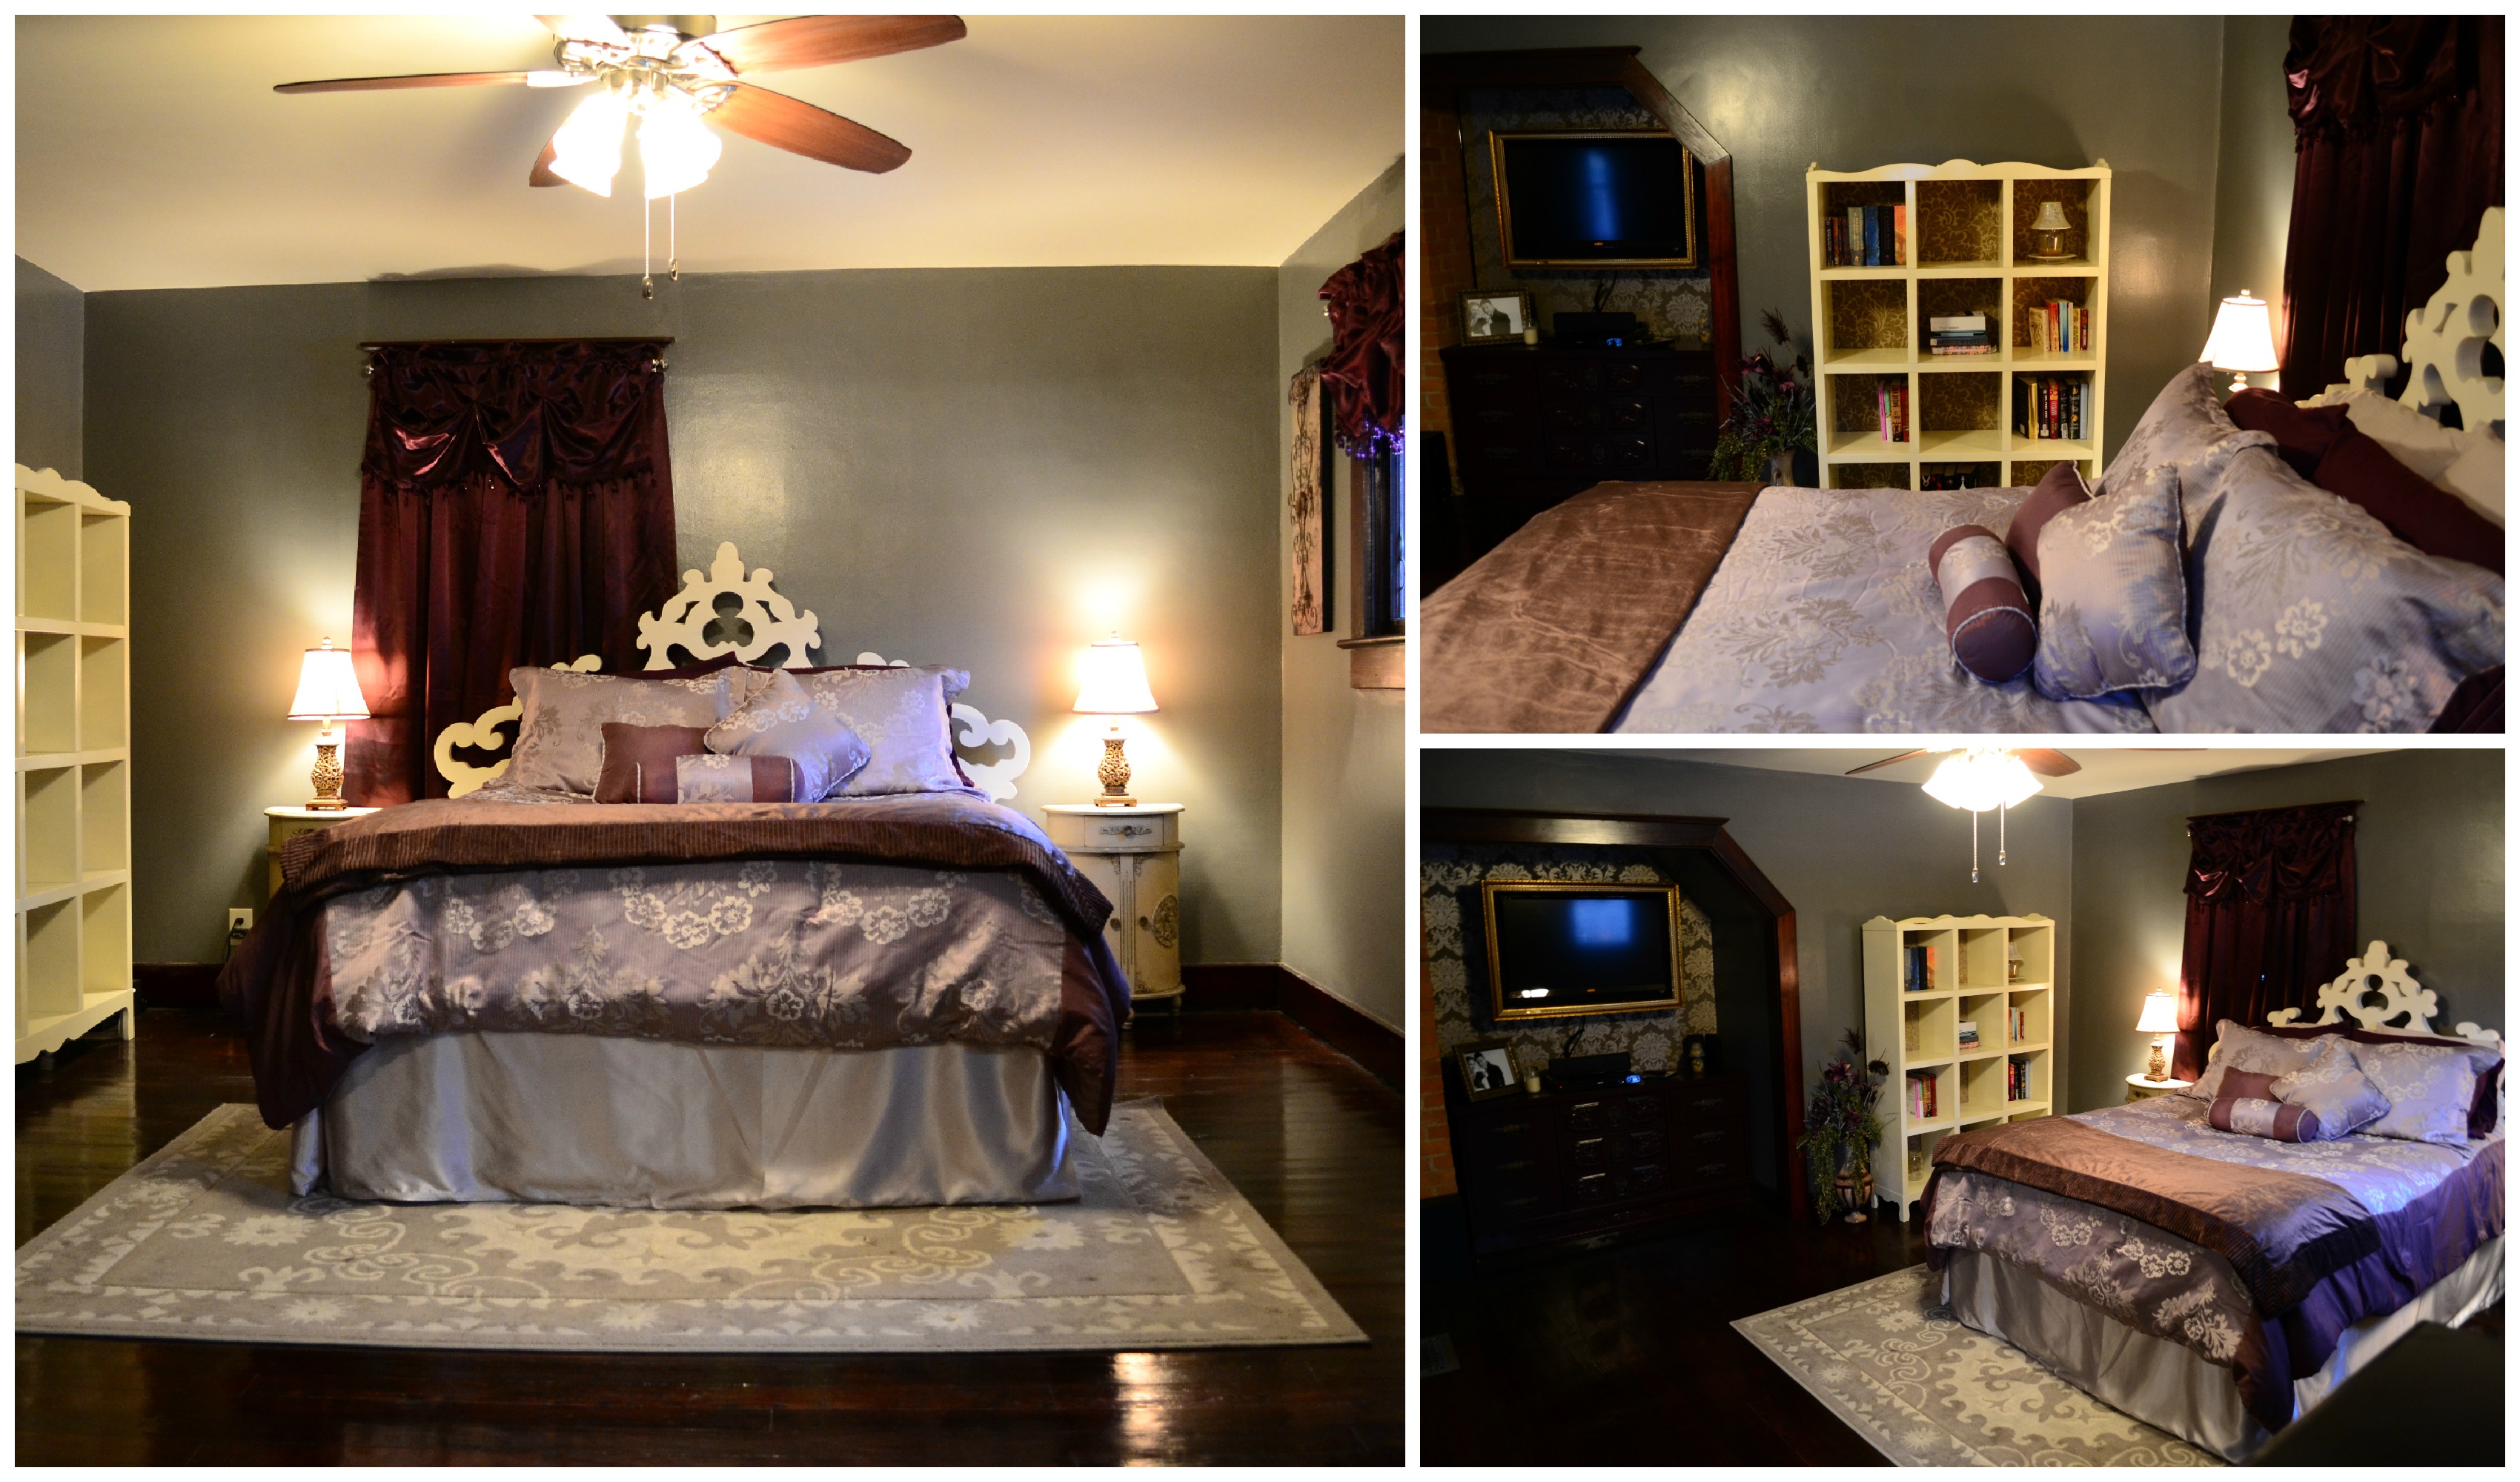
Master Bedroom BEFORE:
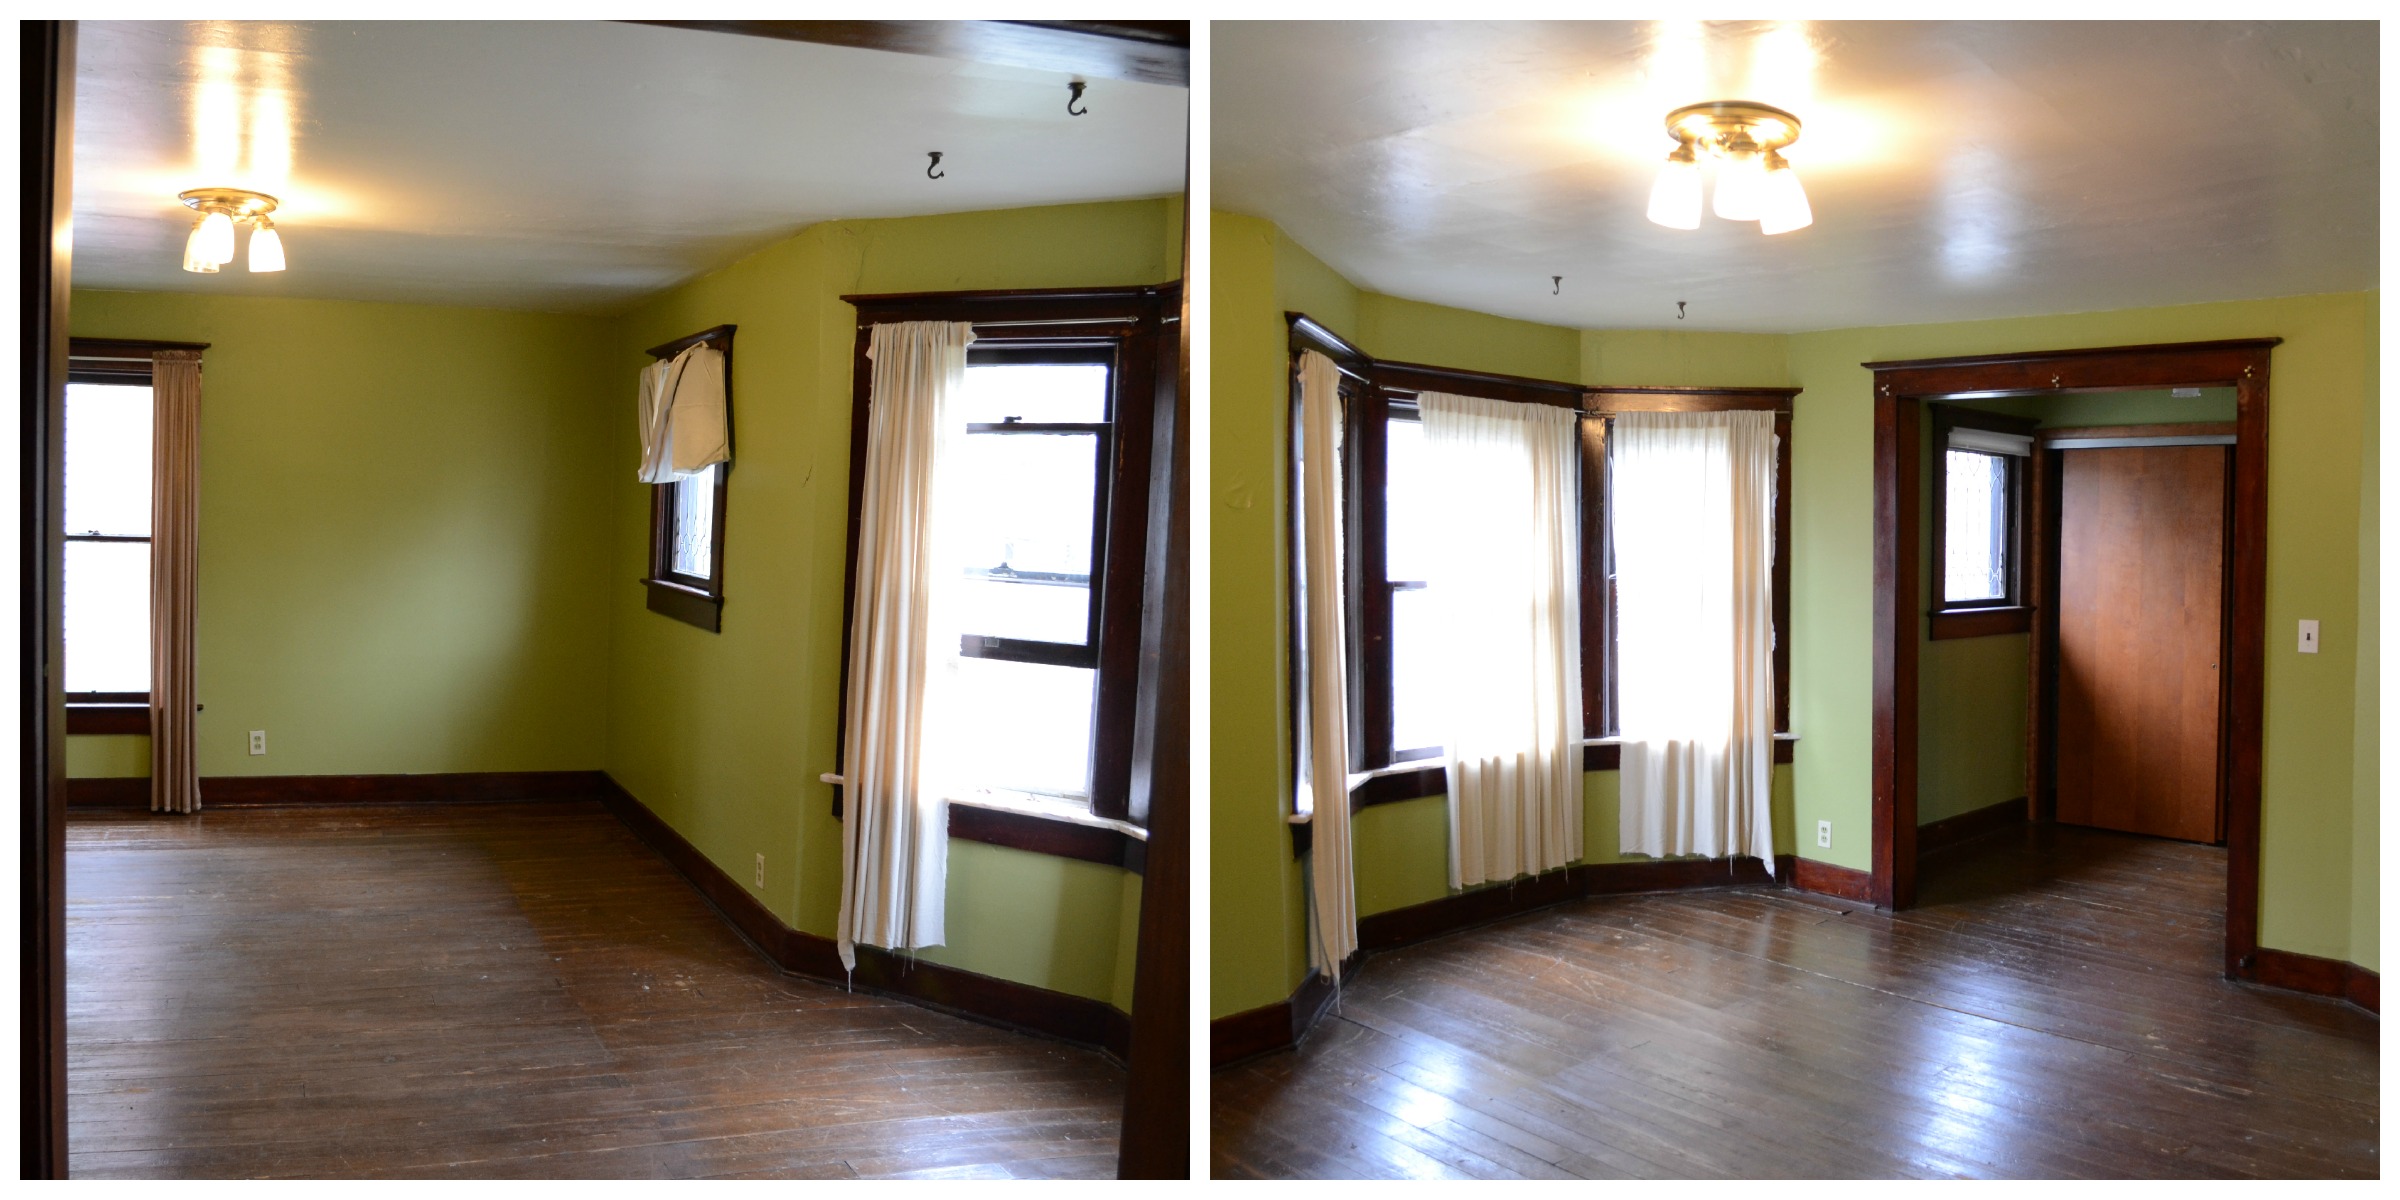
Master Bedroom AFTER:
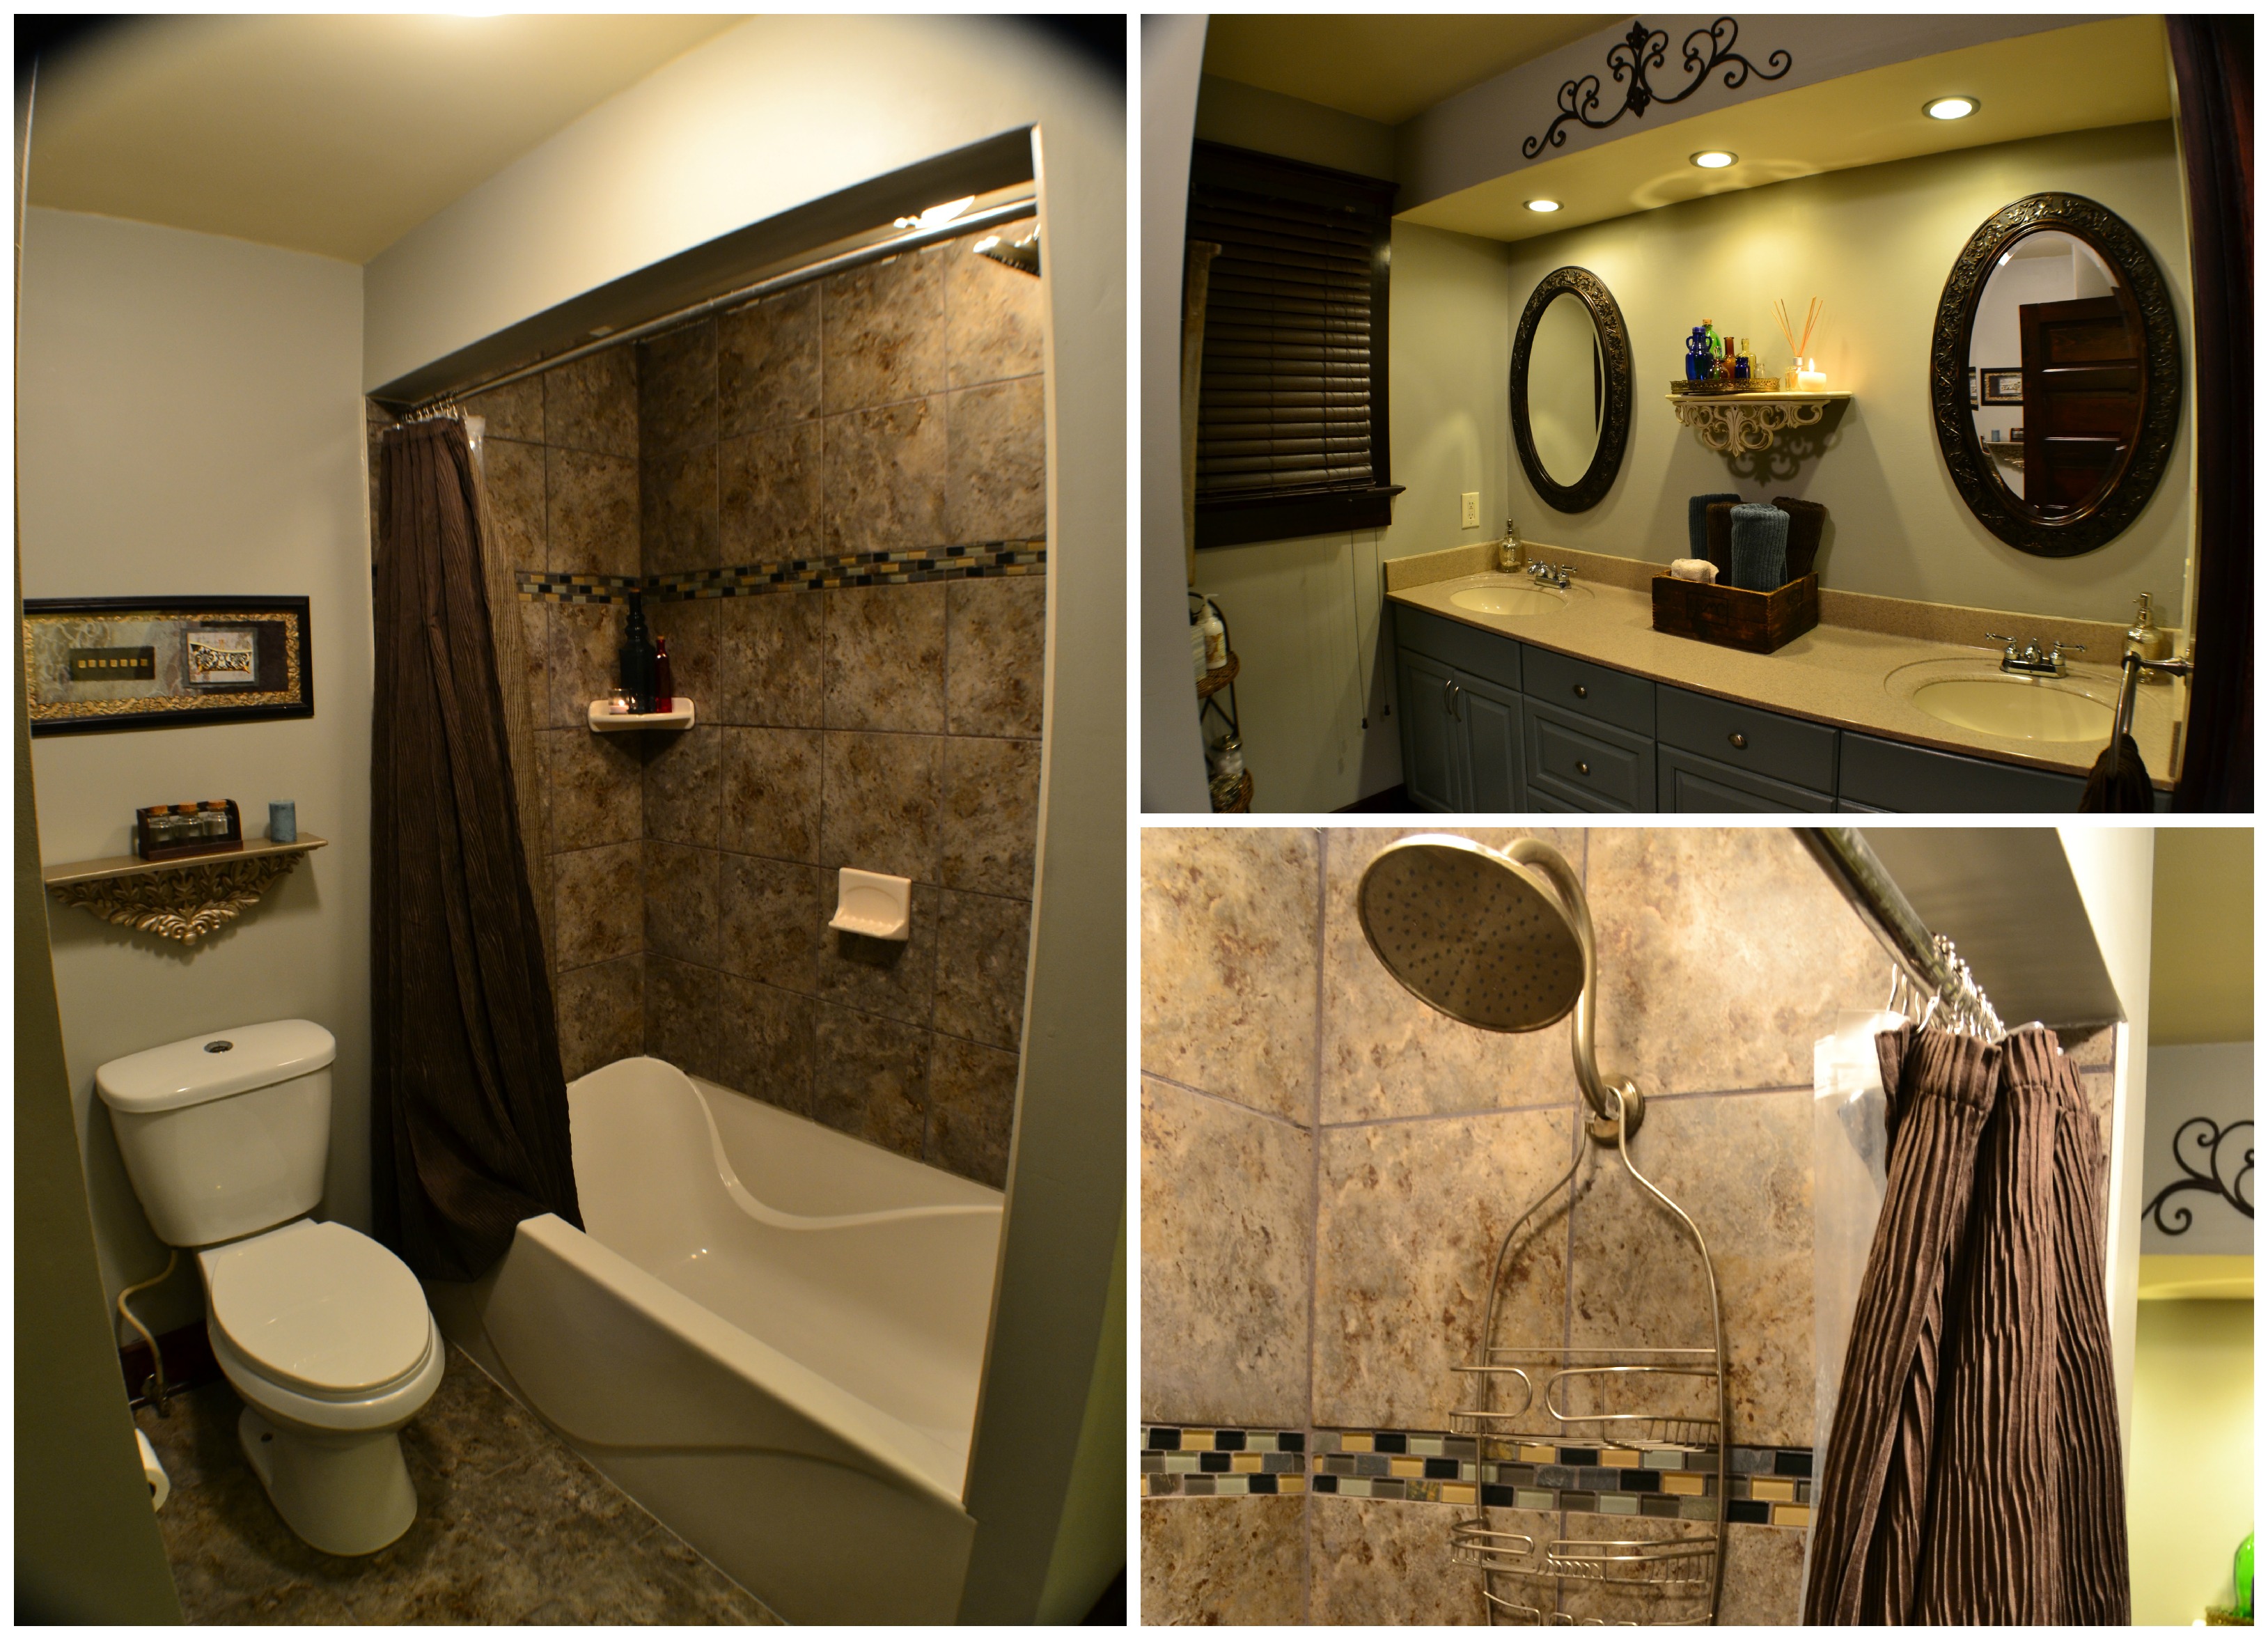
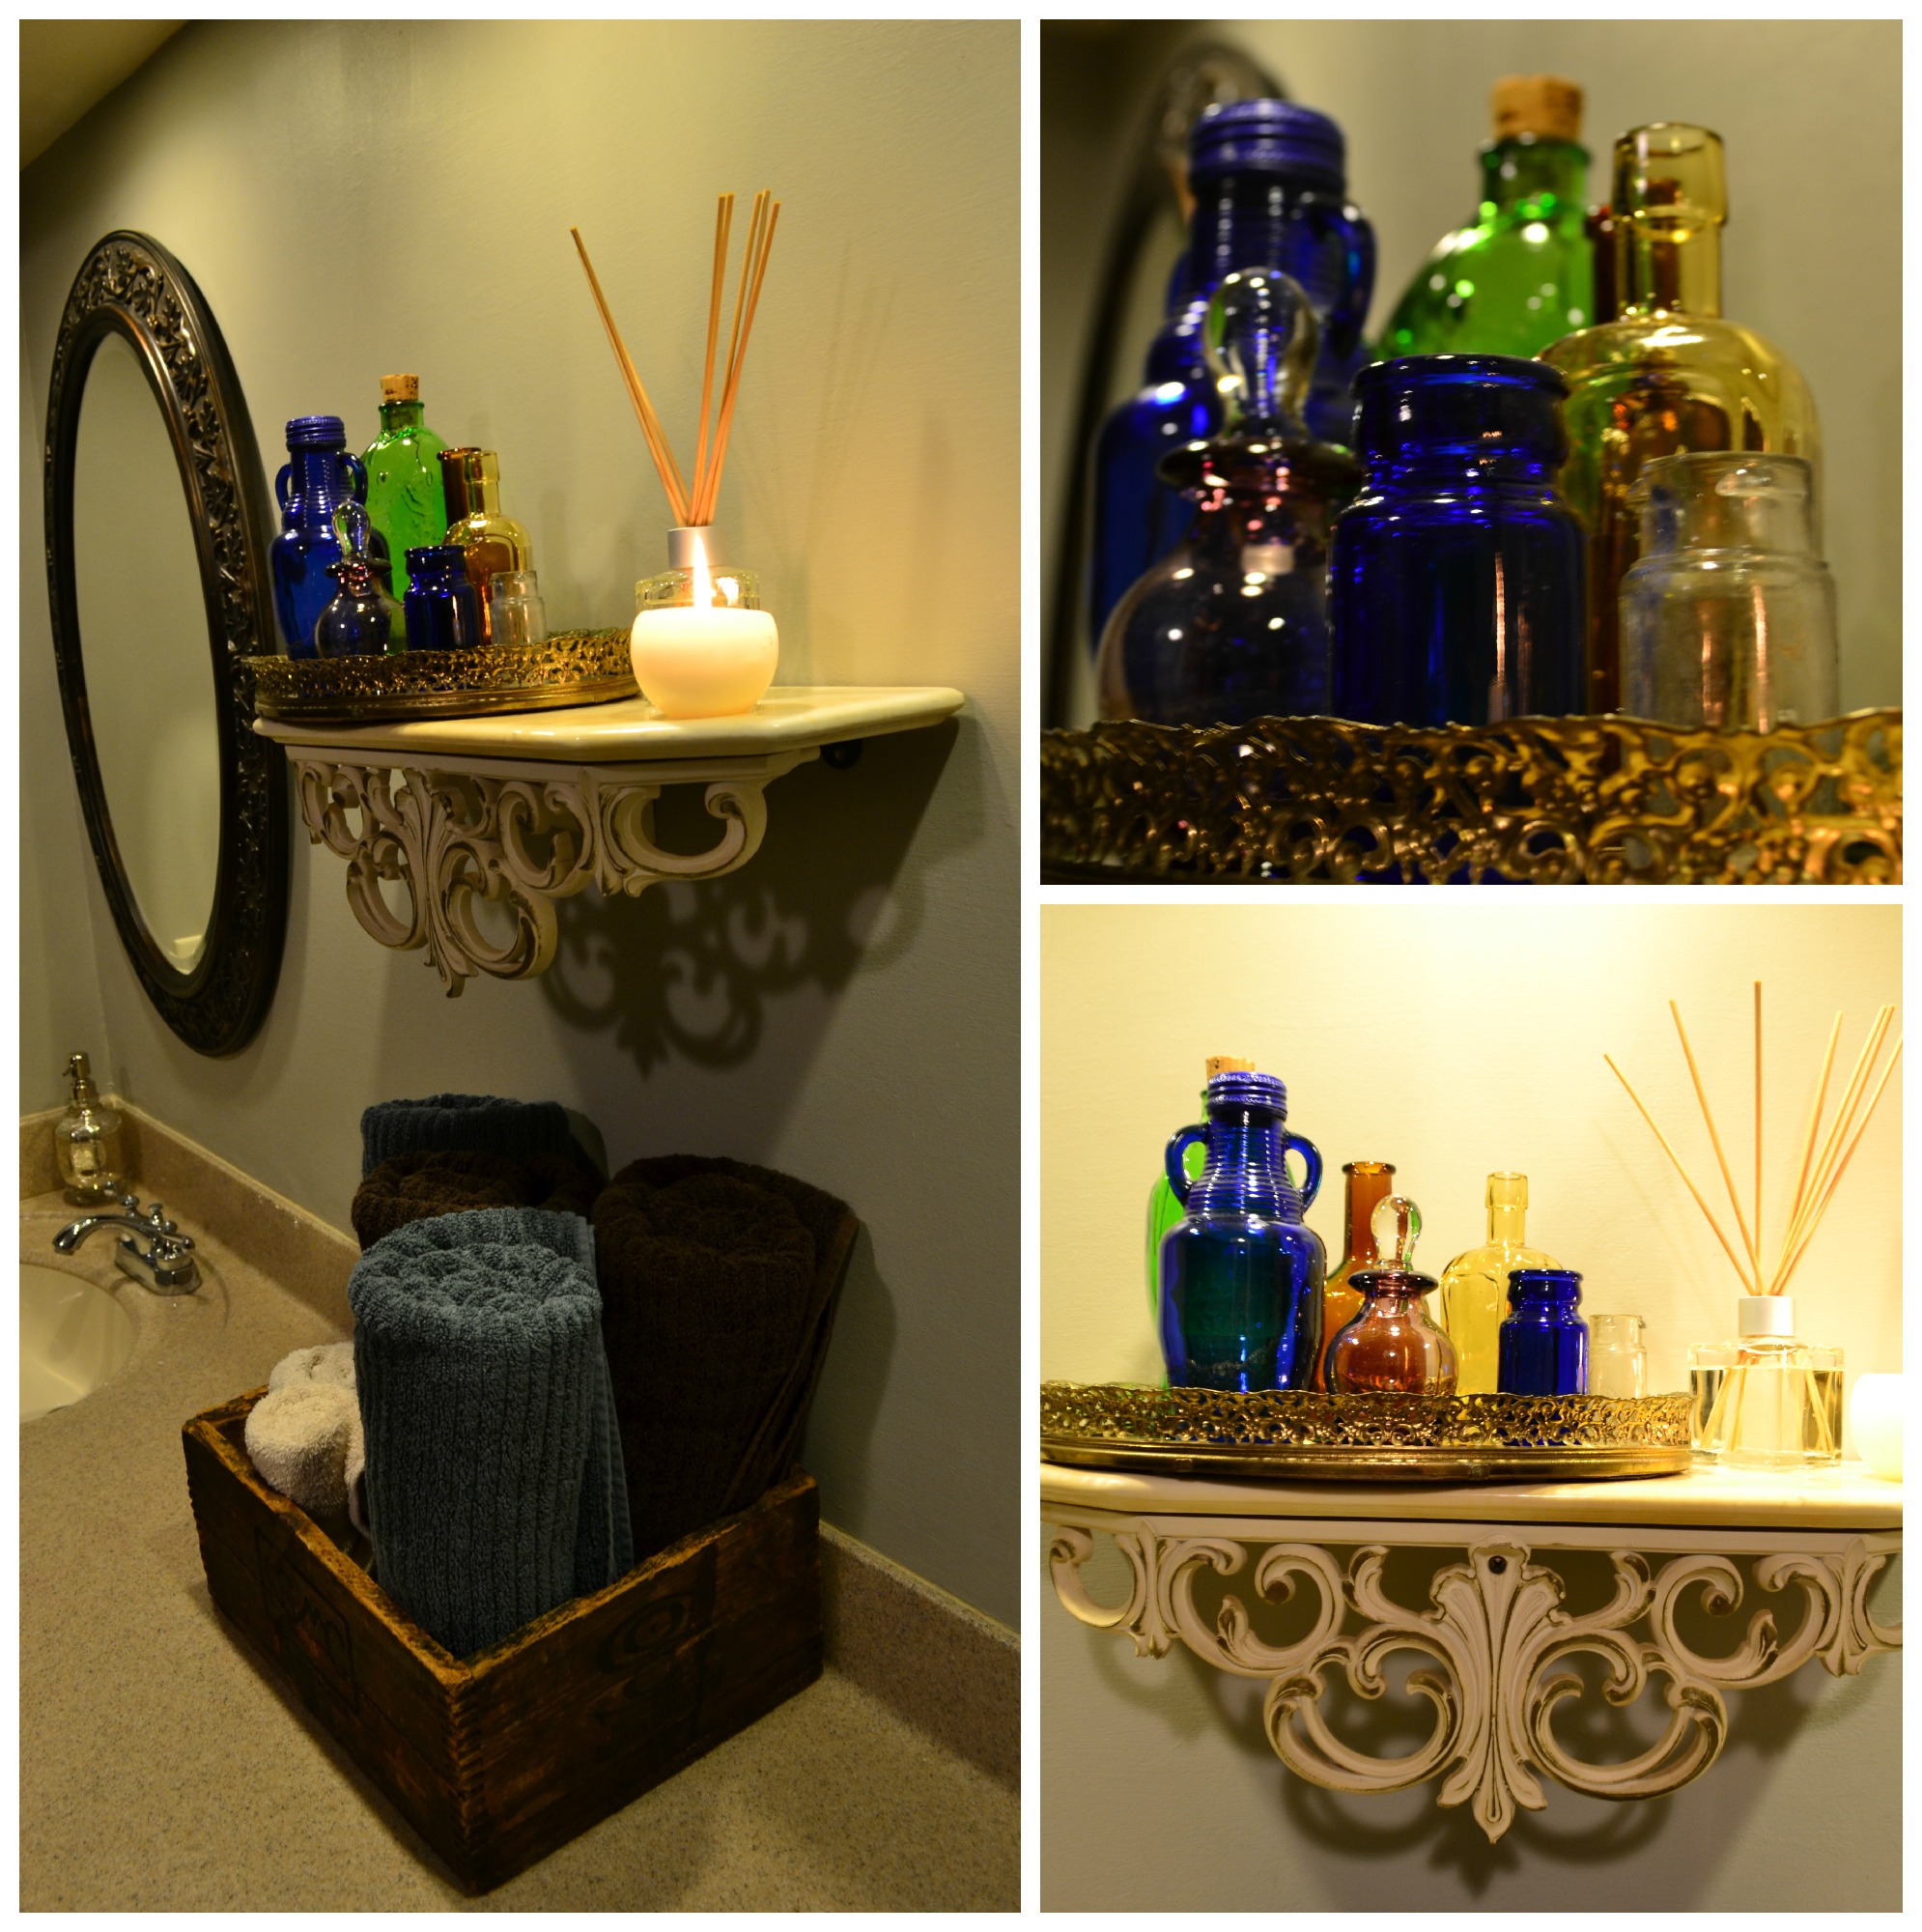
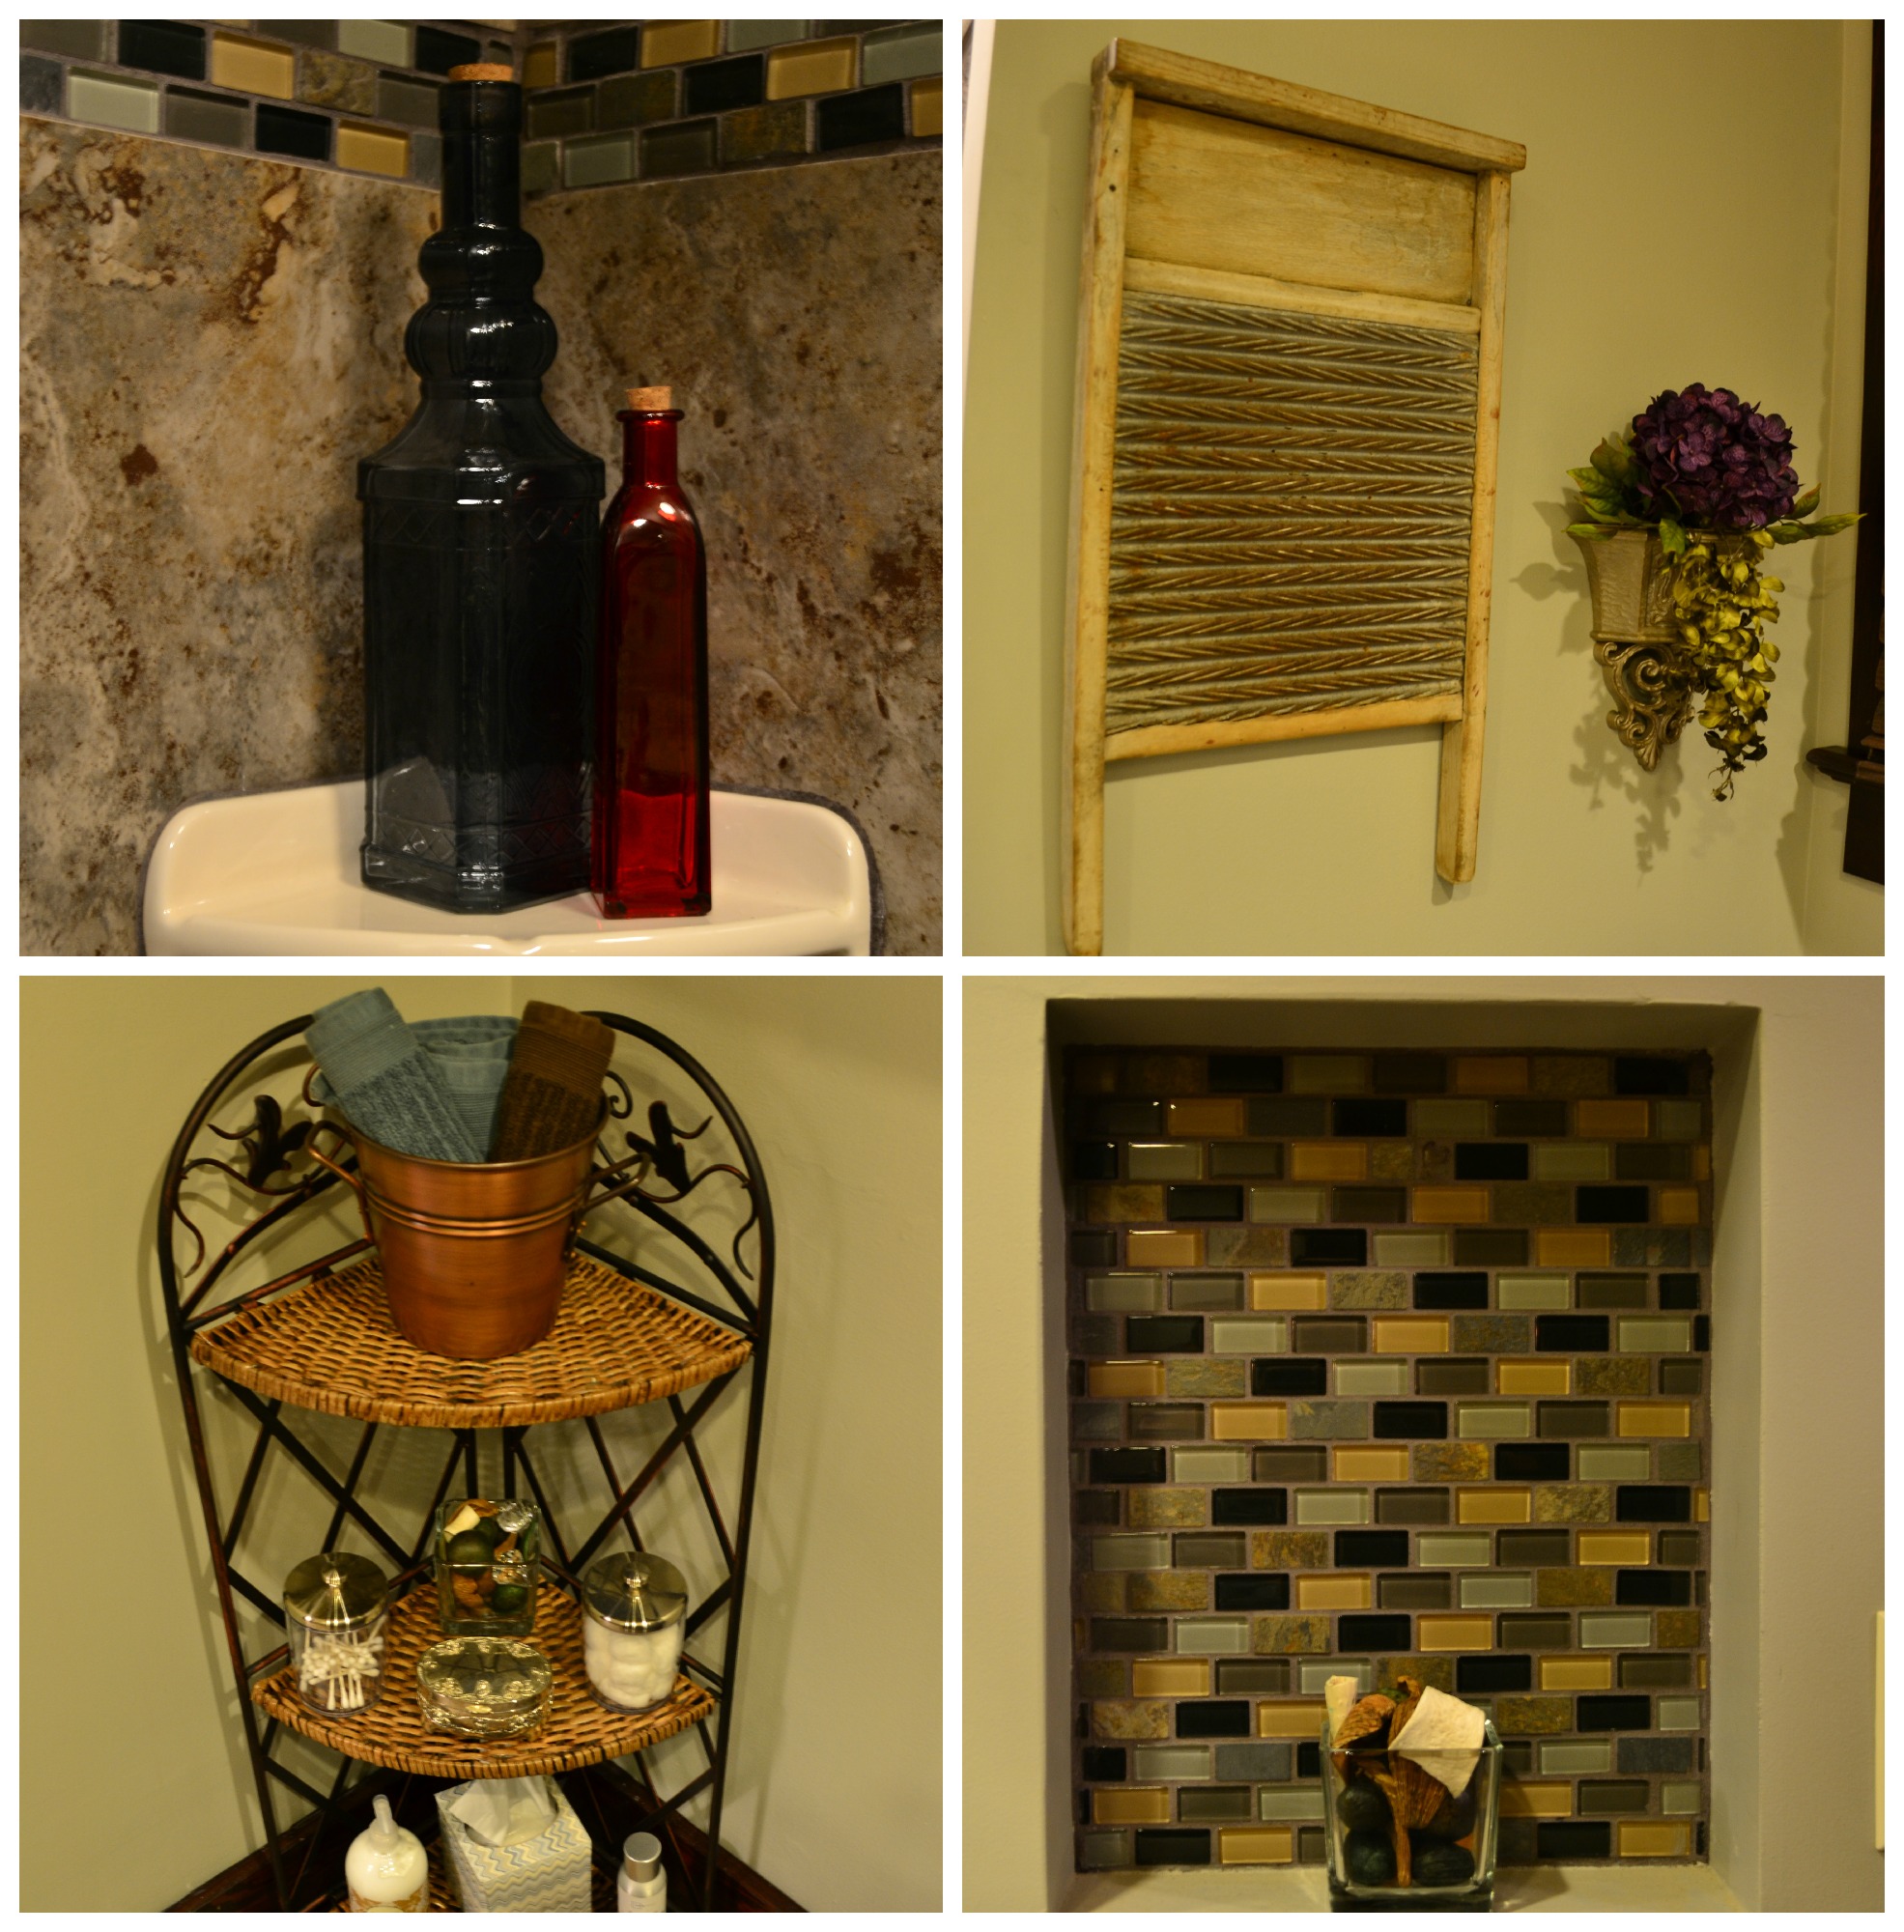
Bathroom BEFORE:
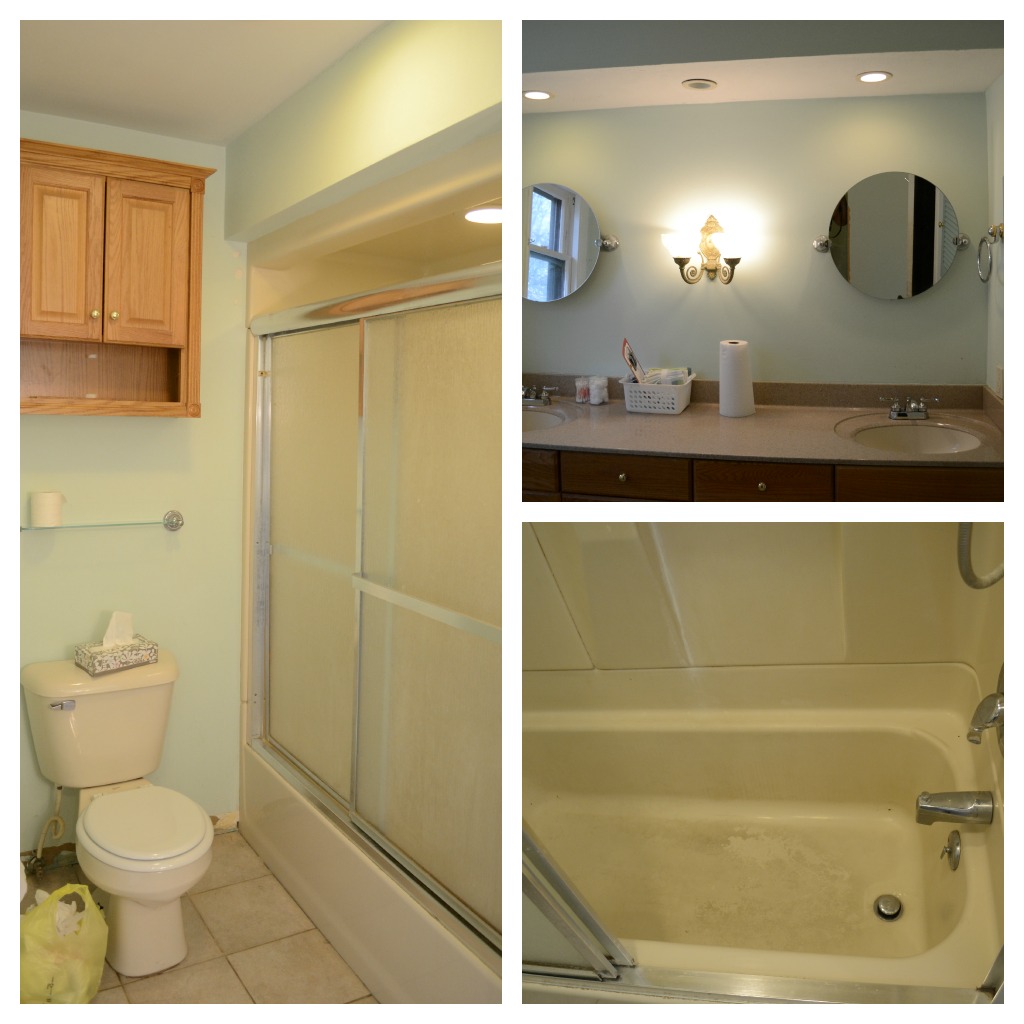
Bathroom AFTER: