
We were able to salvage a few cabinets from the pre-remodel kitchen but the majority of the cabinets for this renovations were custom made by my dad and Raul. It has taken weeks to get all of them done but economically it has been worth it. I would have spent $$$ thousands $$$ if we hadn’t done it this way. On the plus side everything is tailor-made to my needs and wants. On the downside, we still have a LOT of sanding and painting to do. All in good time, though!
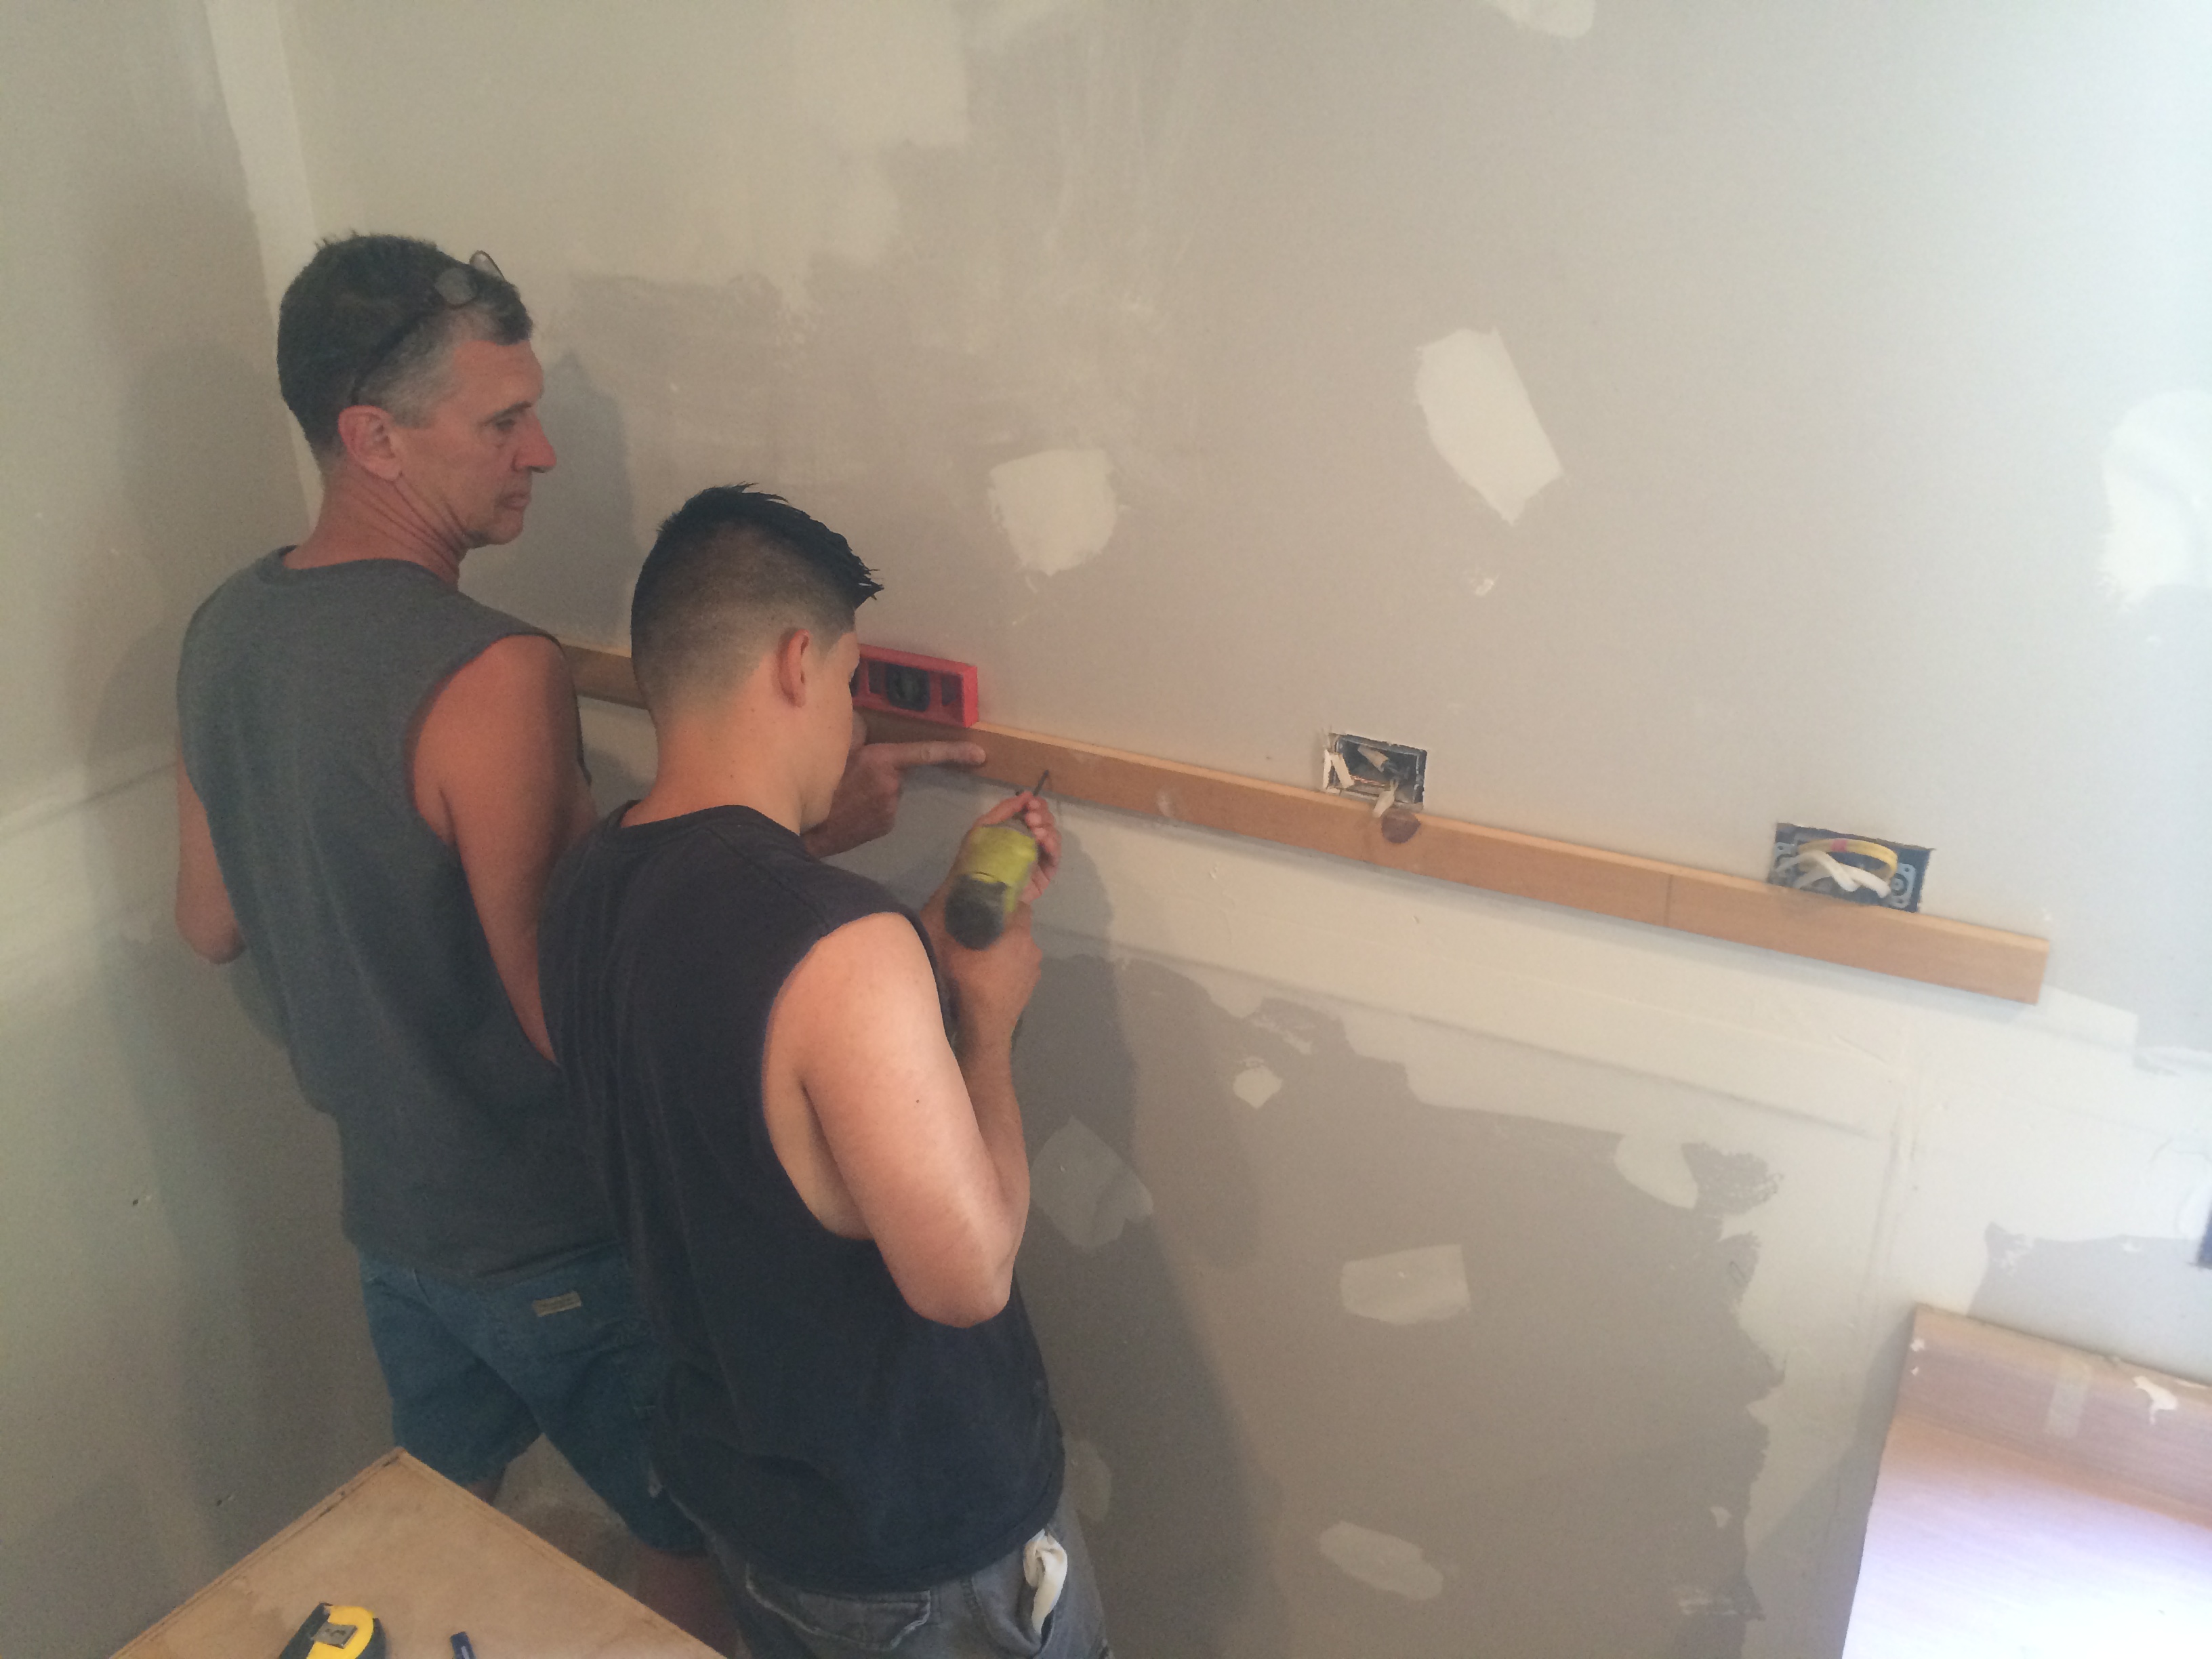
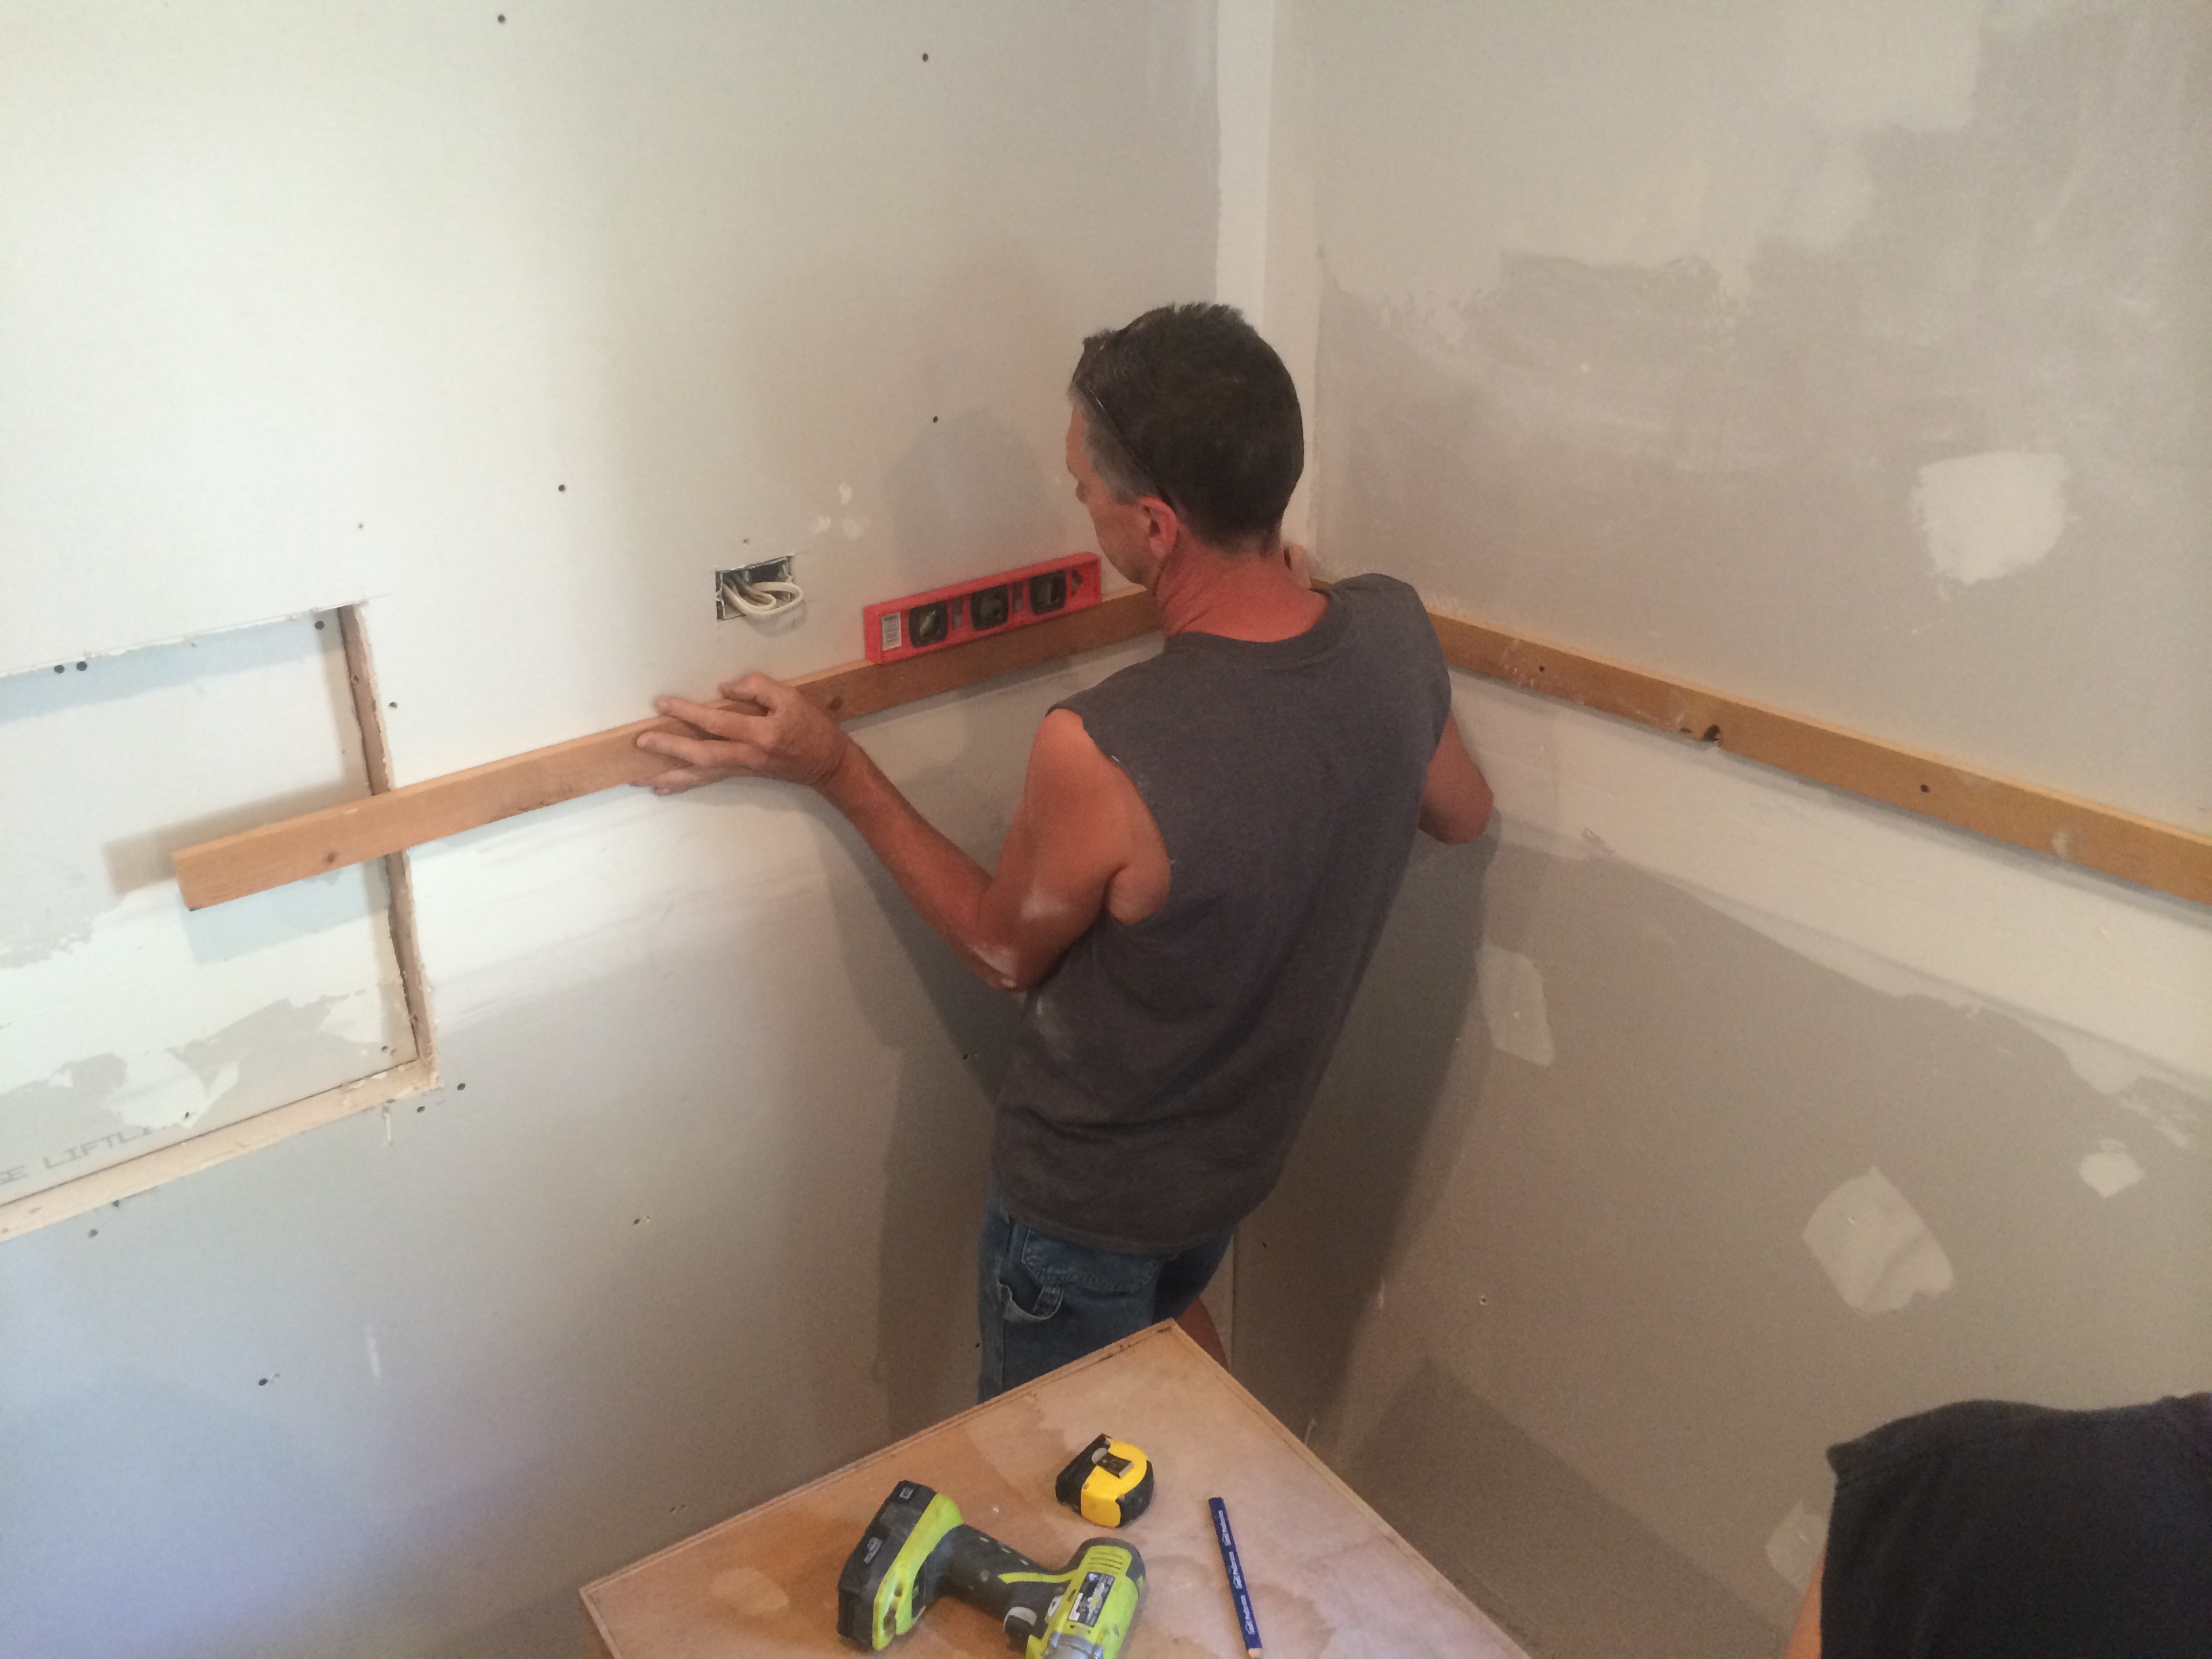
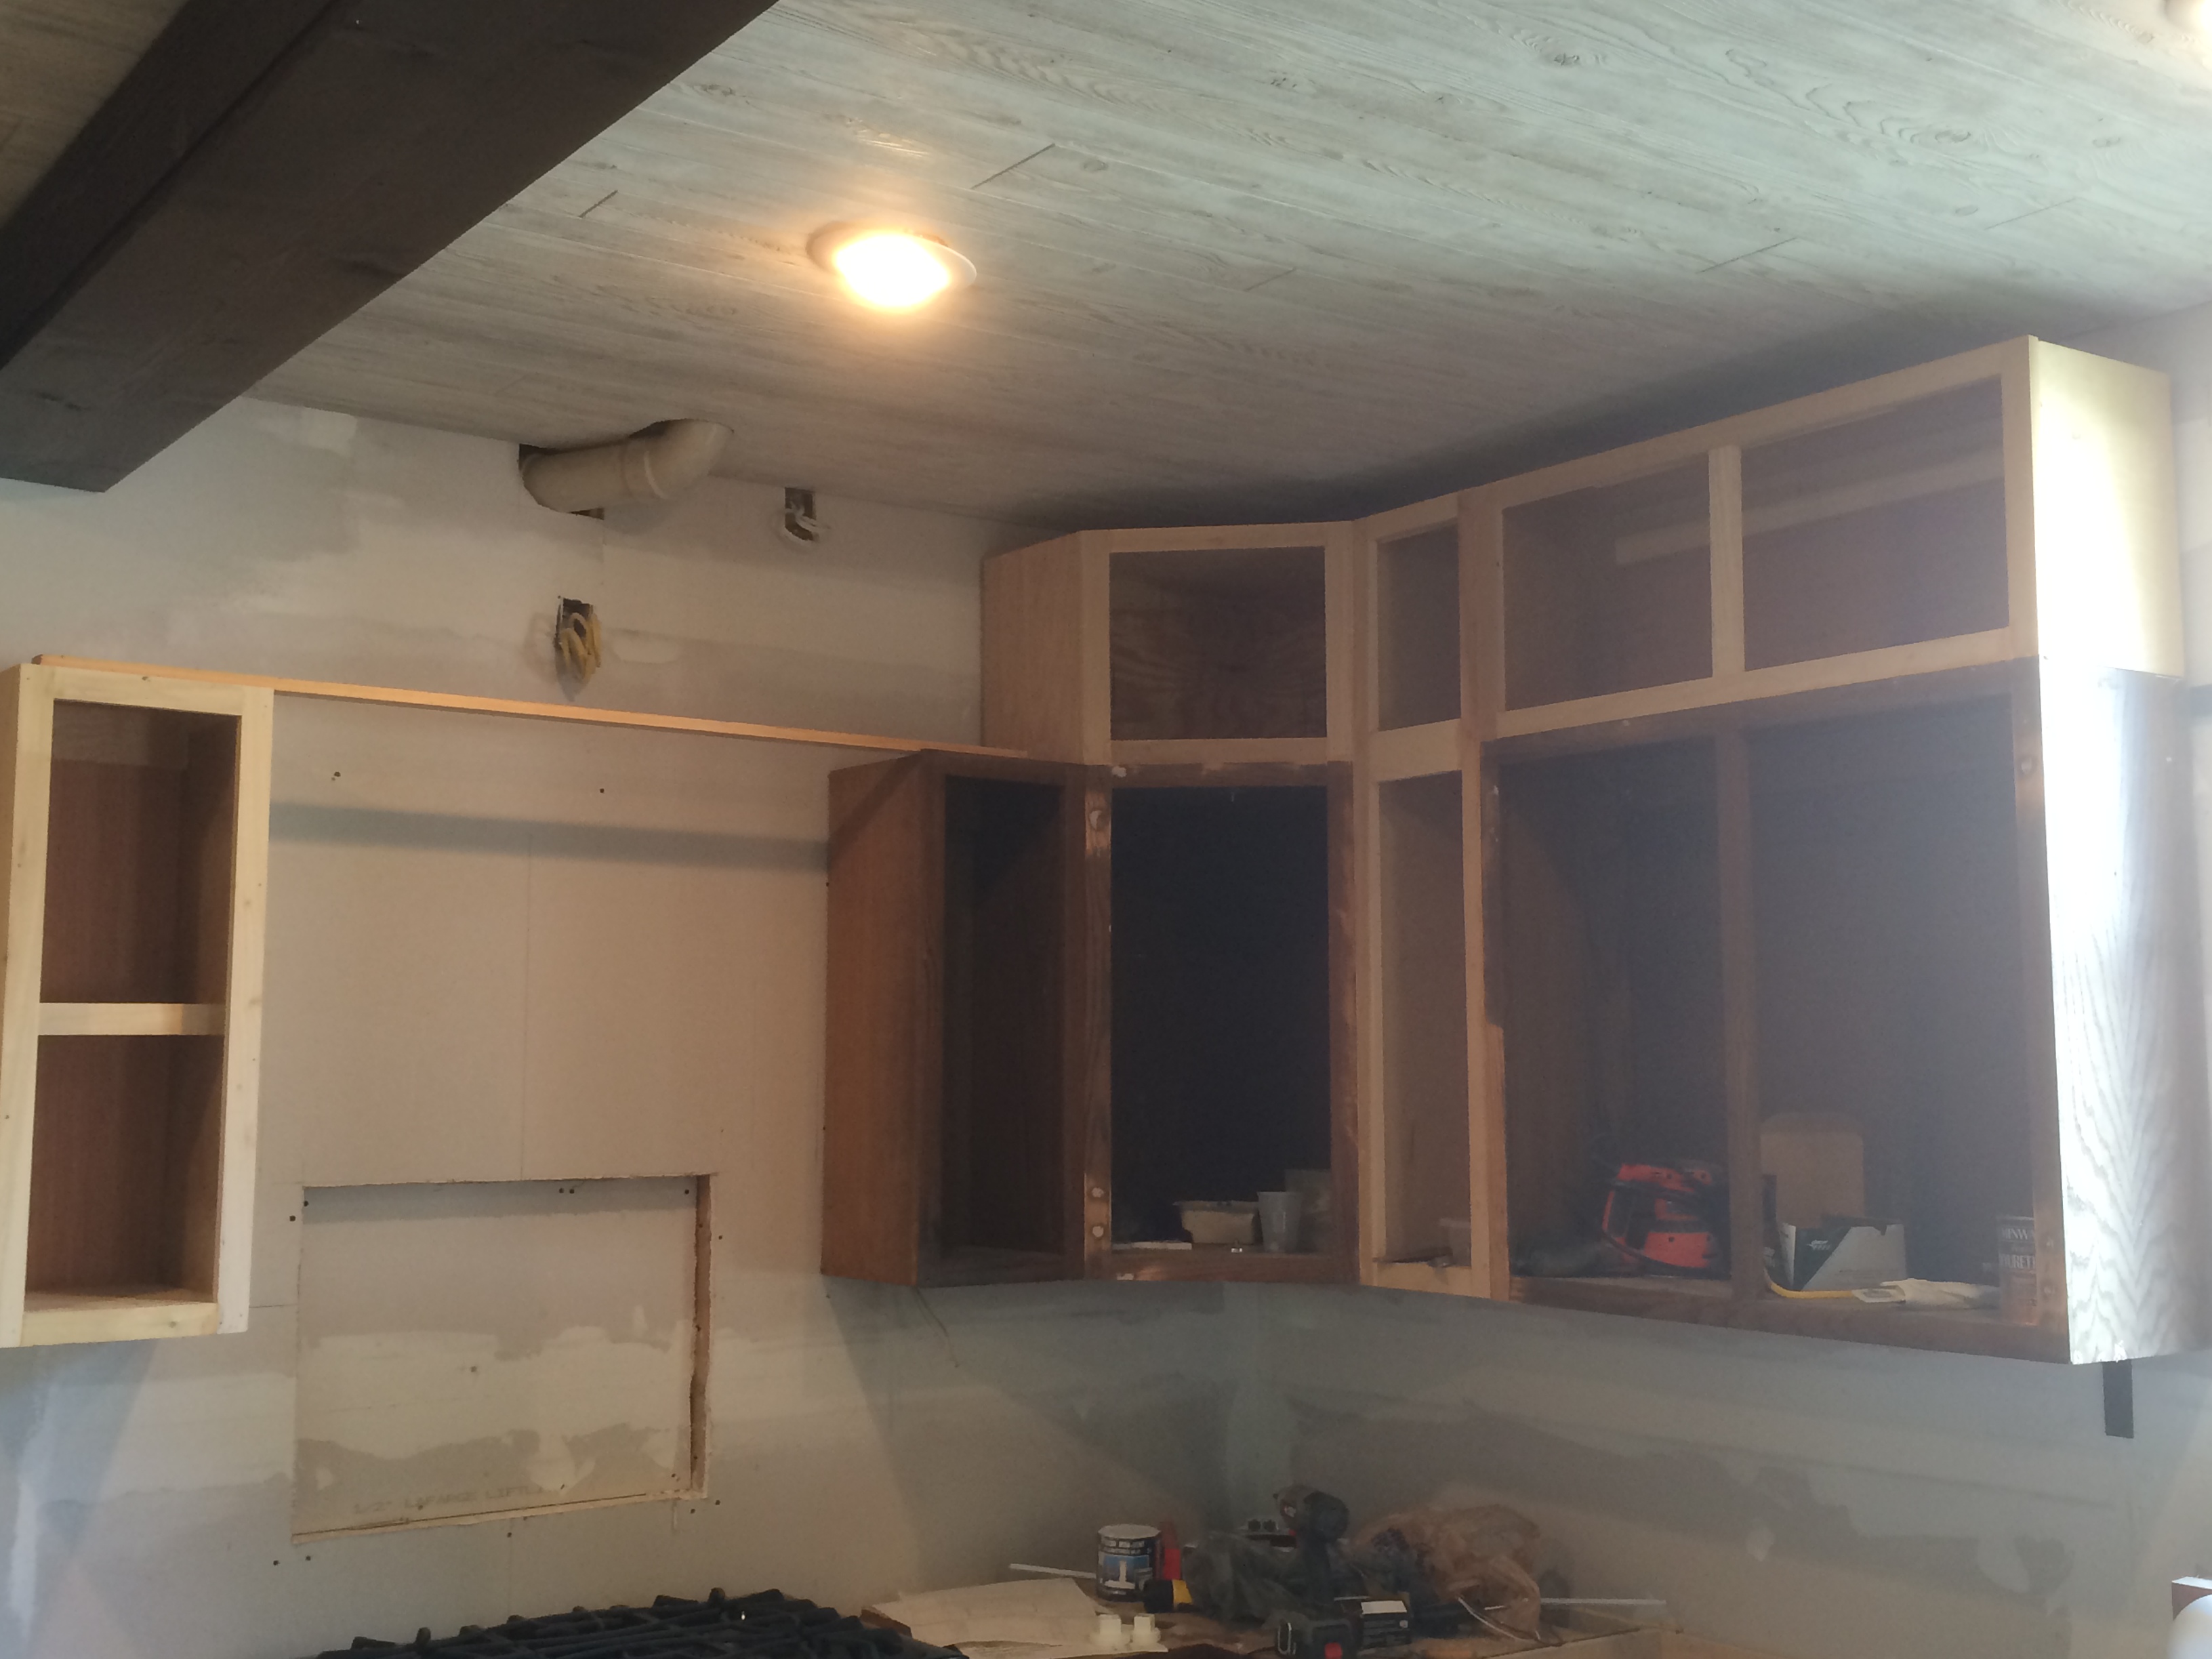
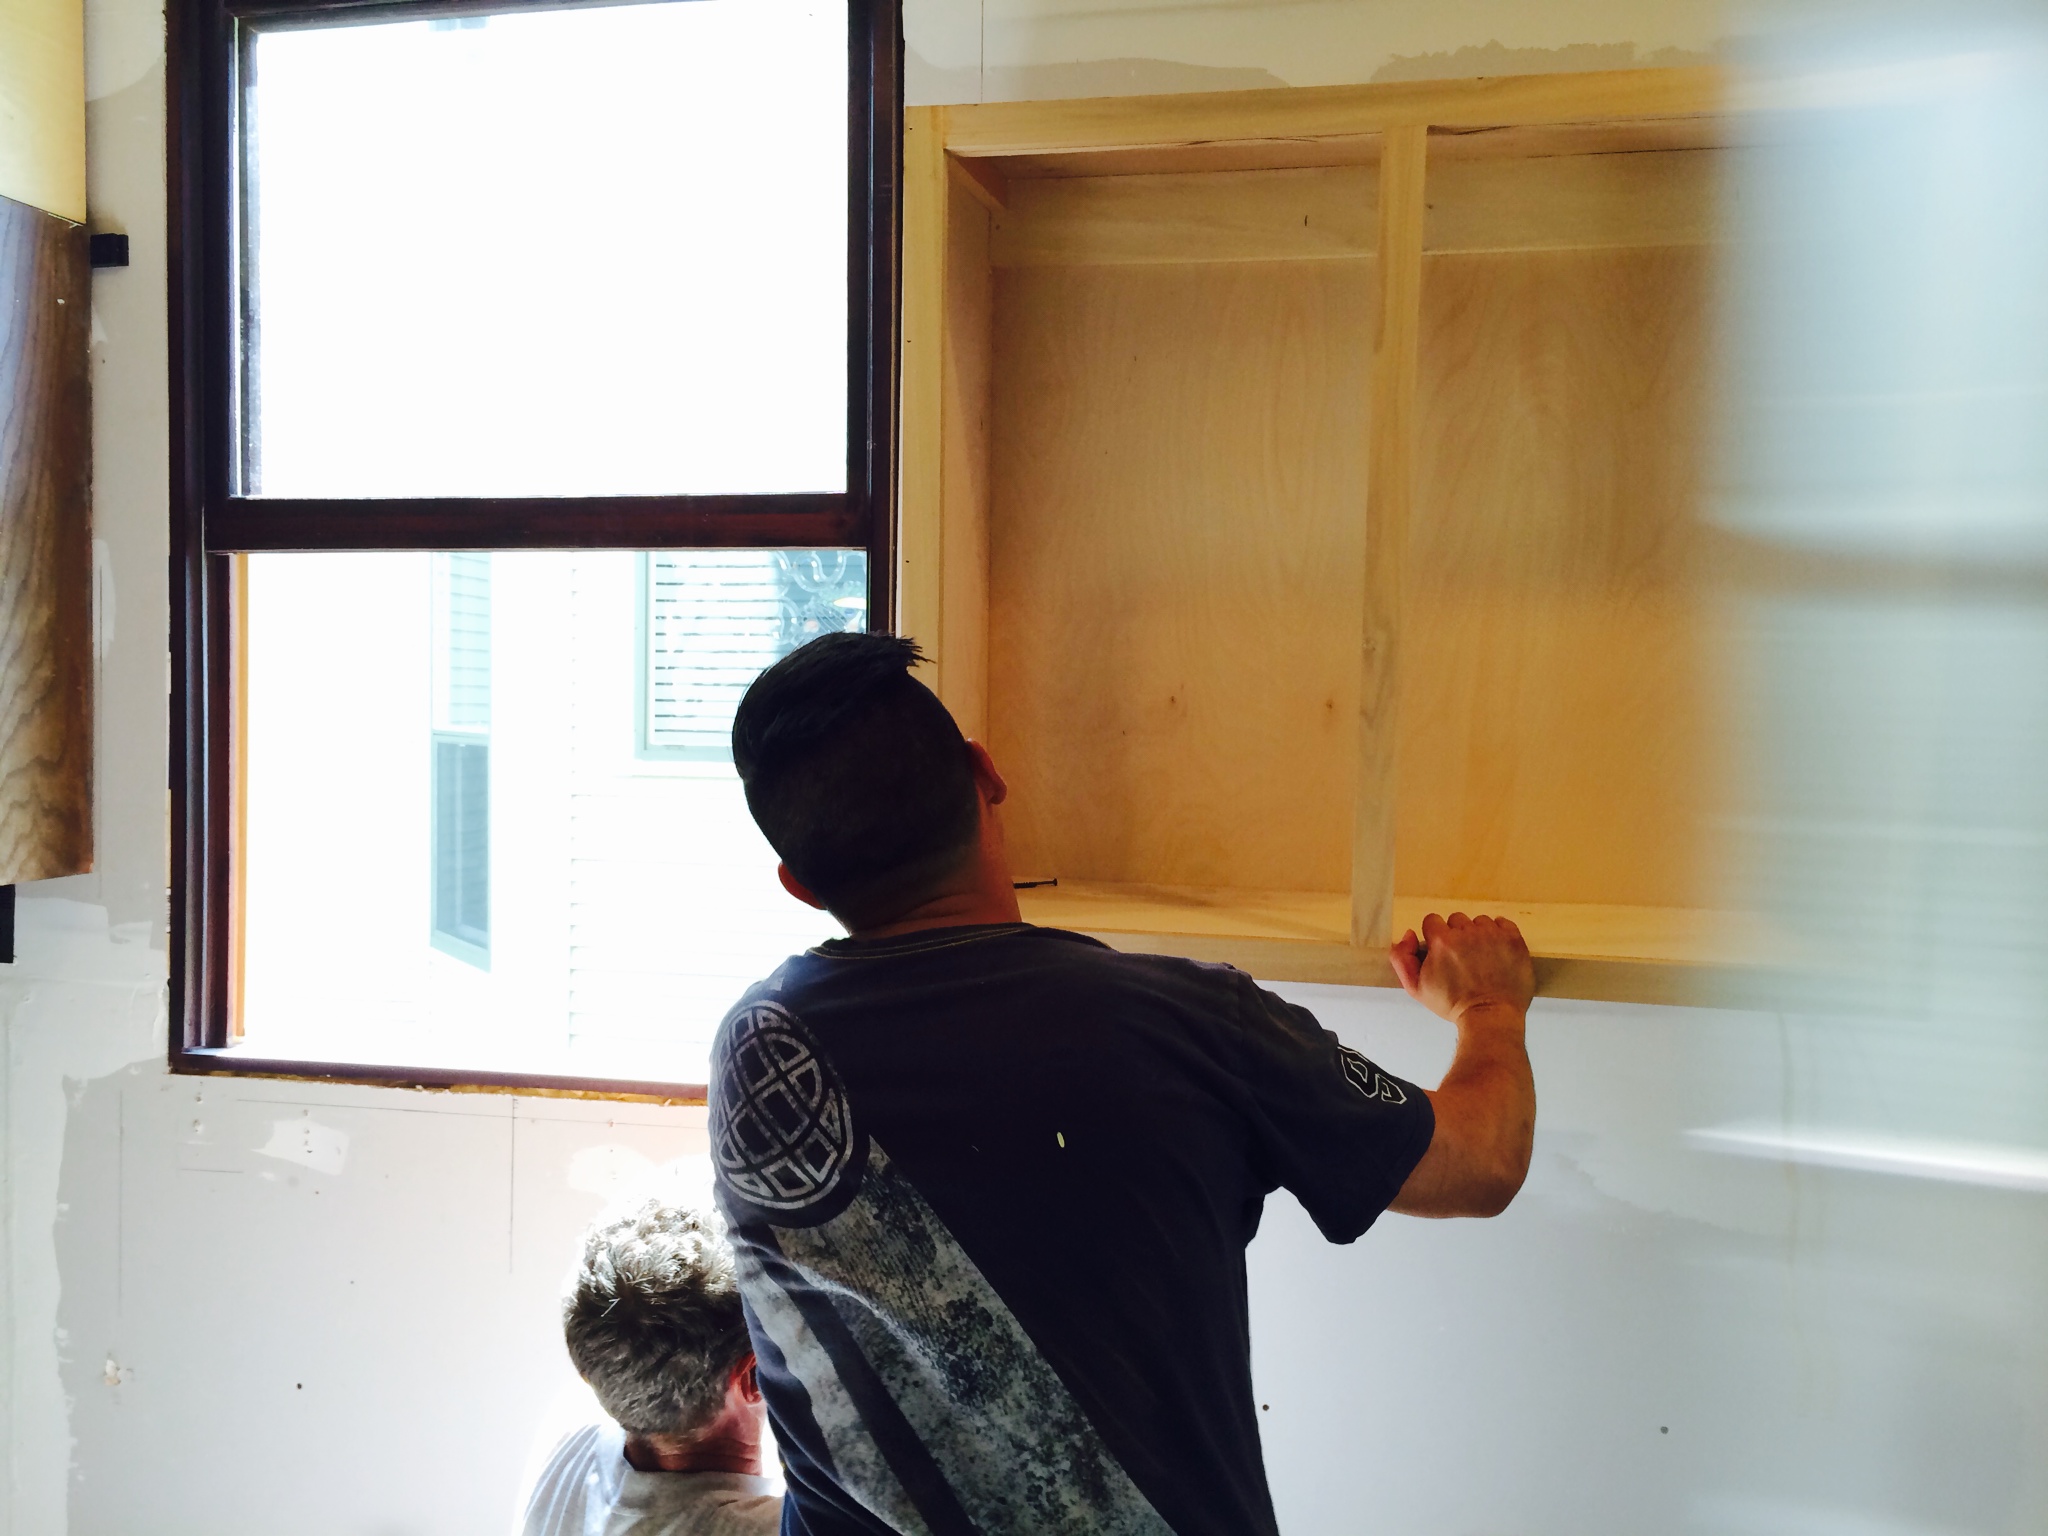
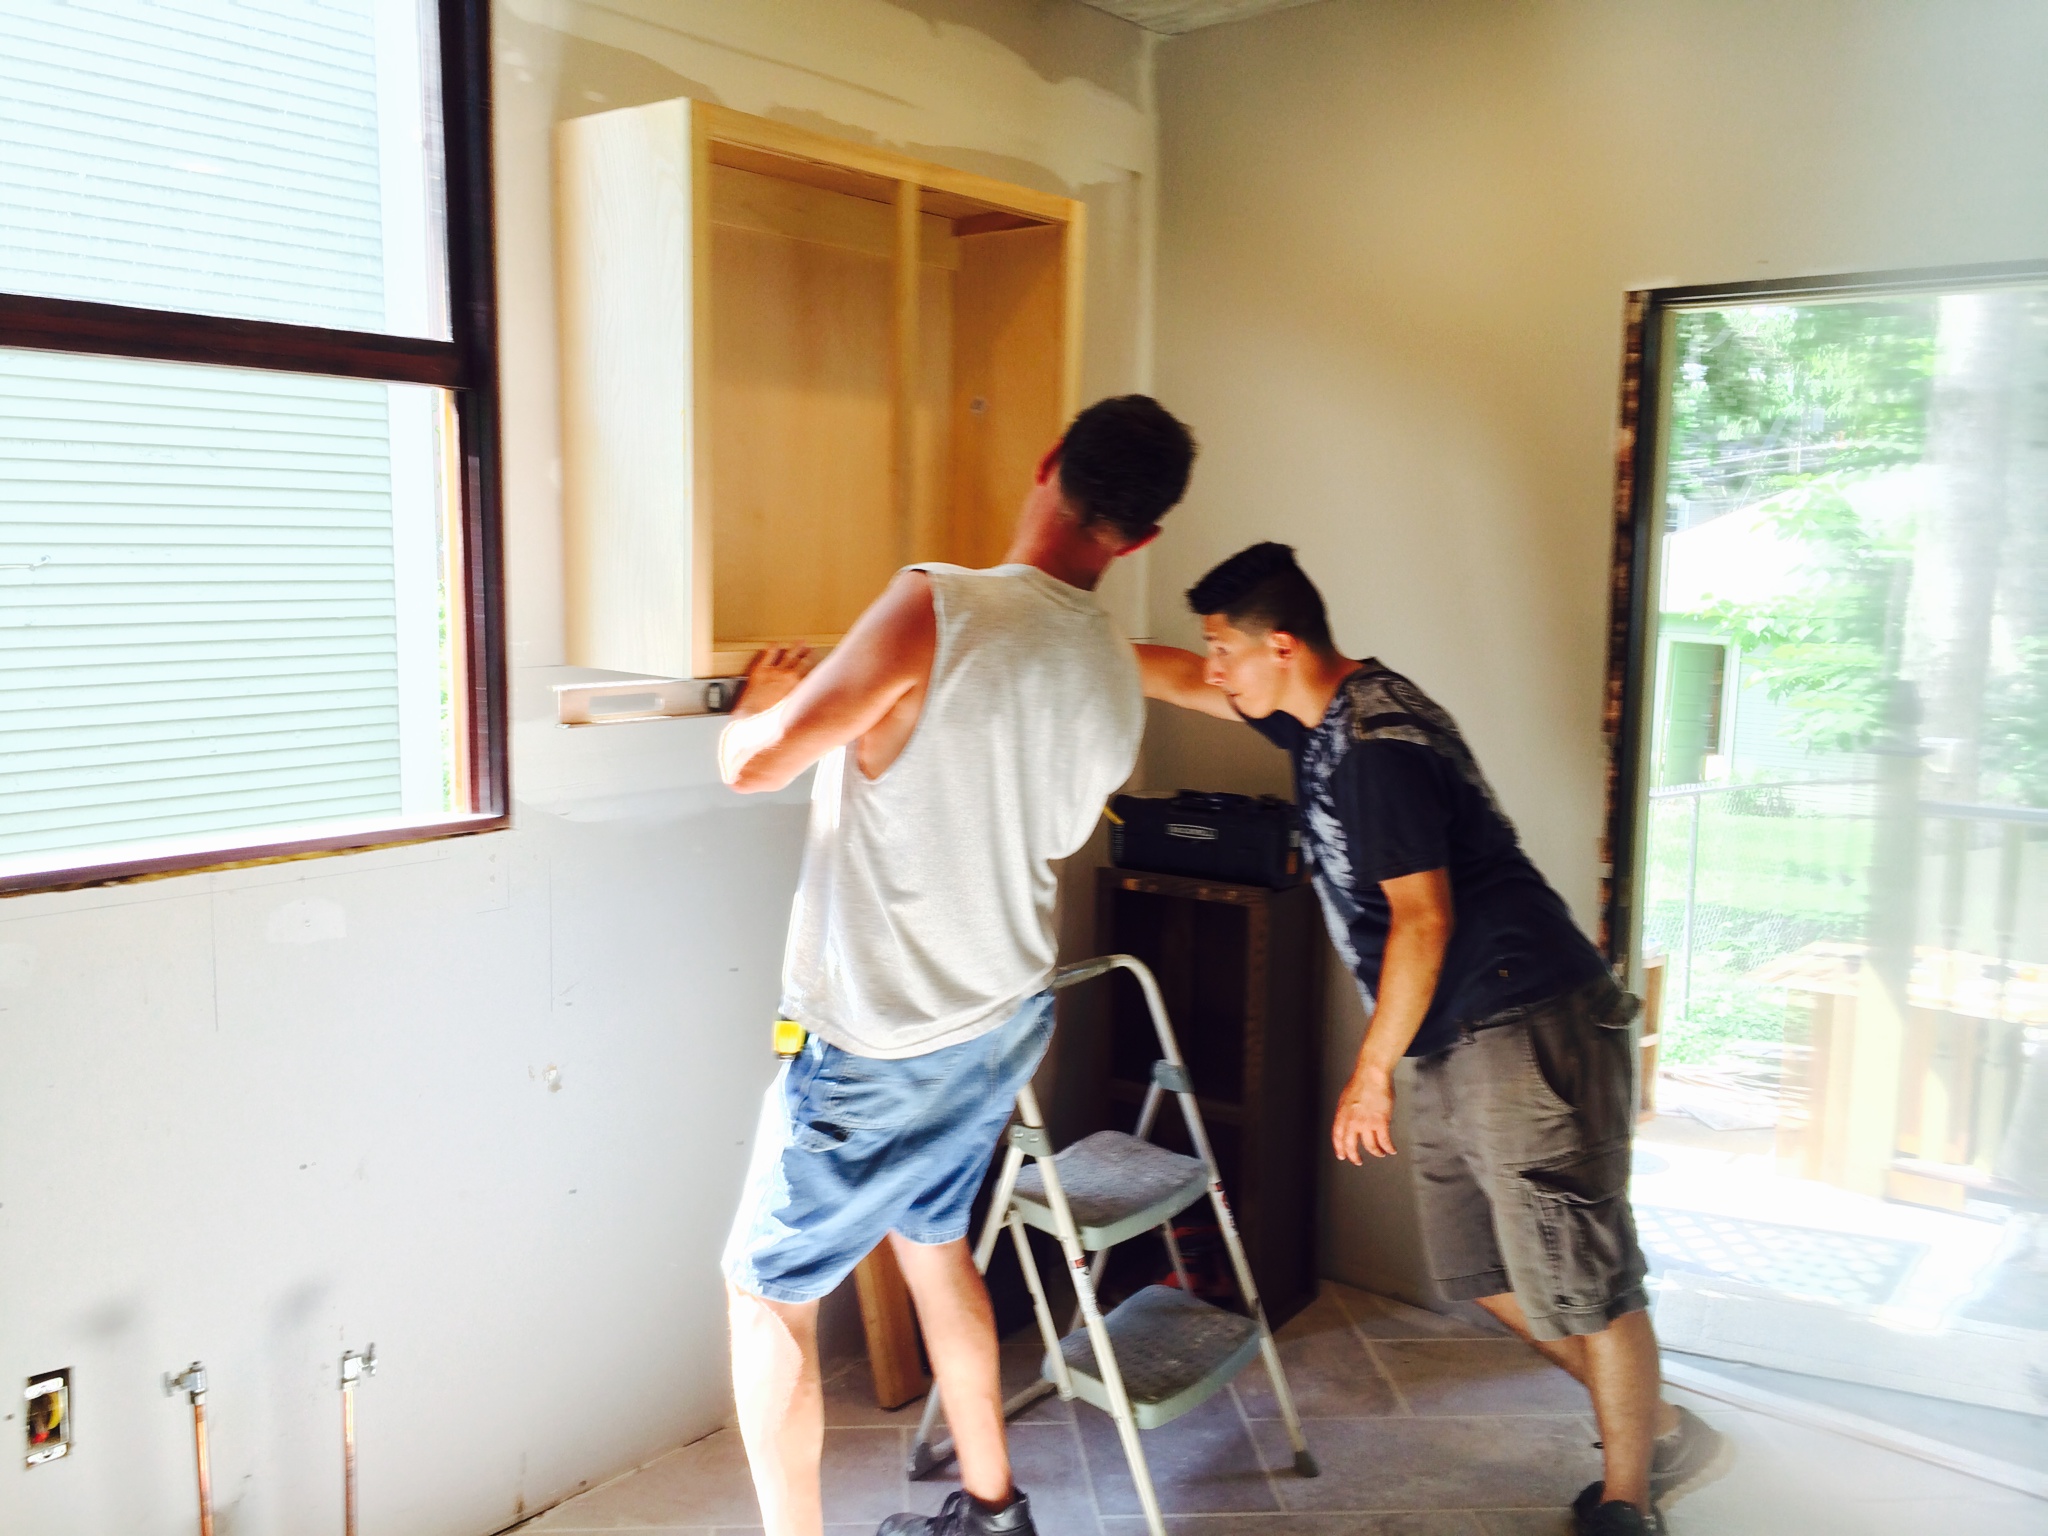
We started out by establishing our baseline for the upper cabinets.
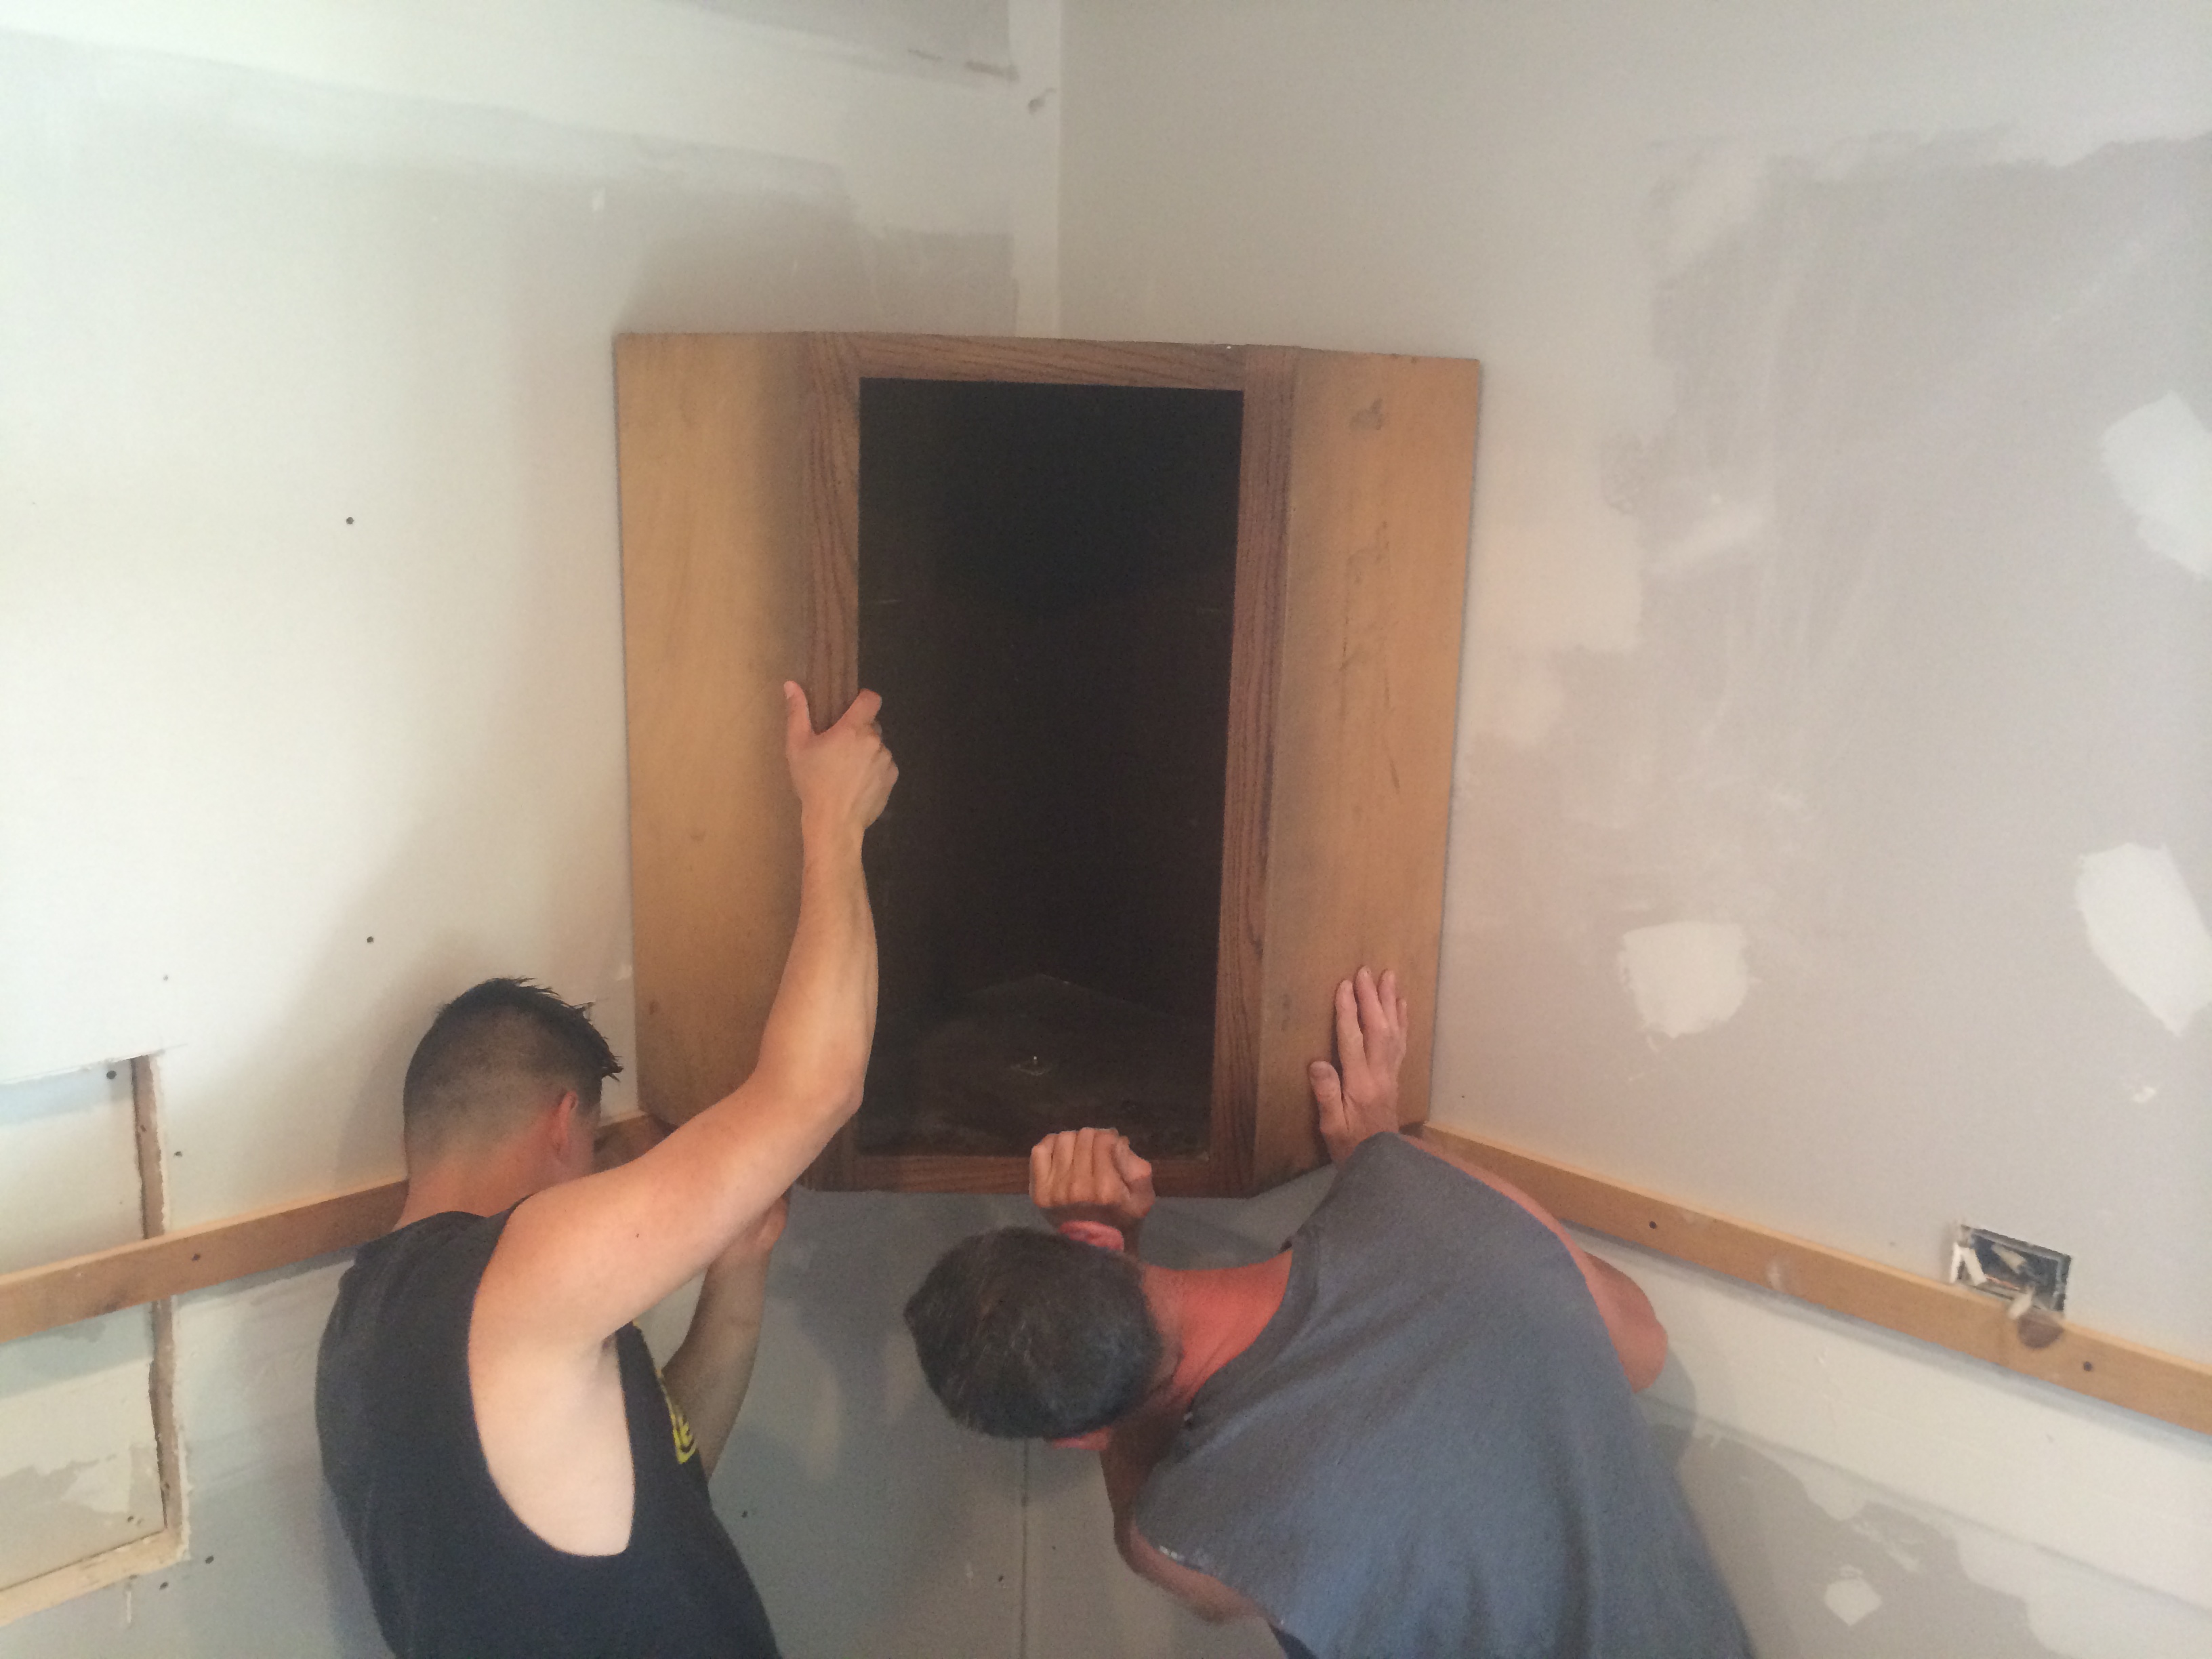
The first cabinet we hung was one of the corner cabinets that we had removed from the pre-remodel kitchen. The cabinet has a lazy susan insert that we really kind of liked before we tore everything out.
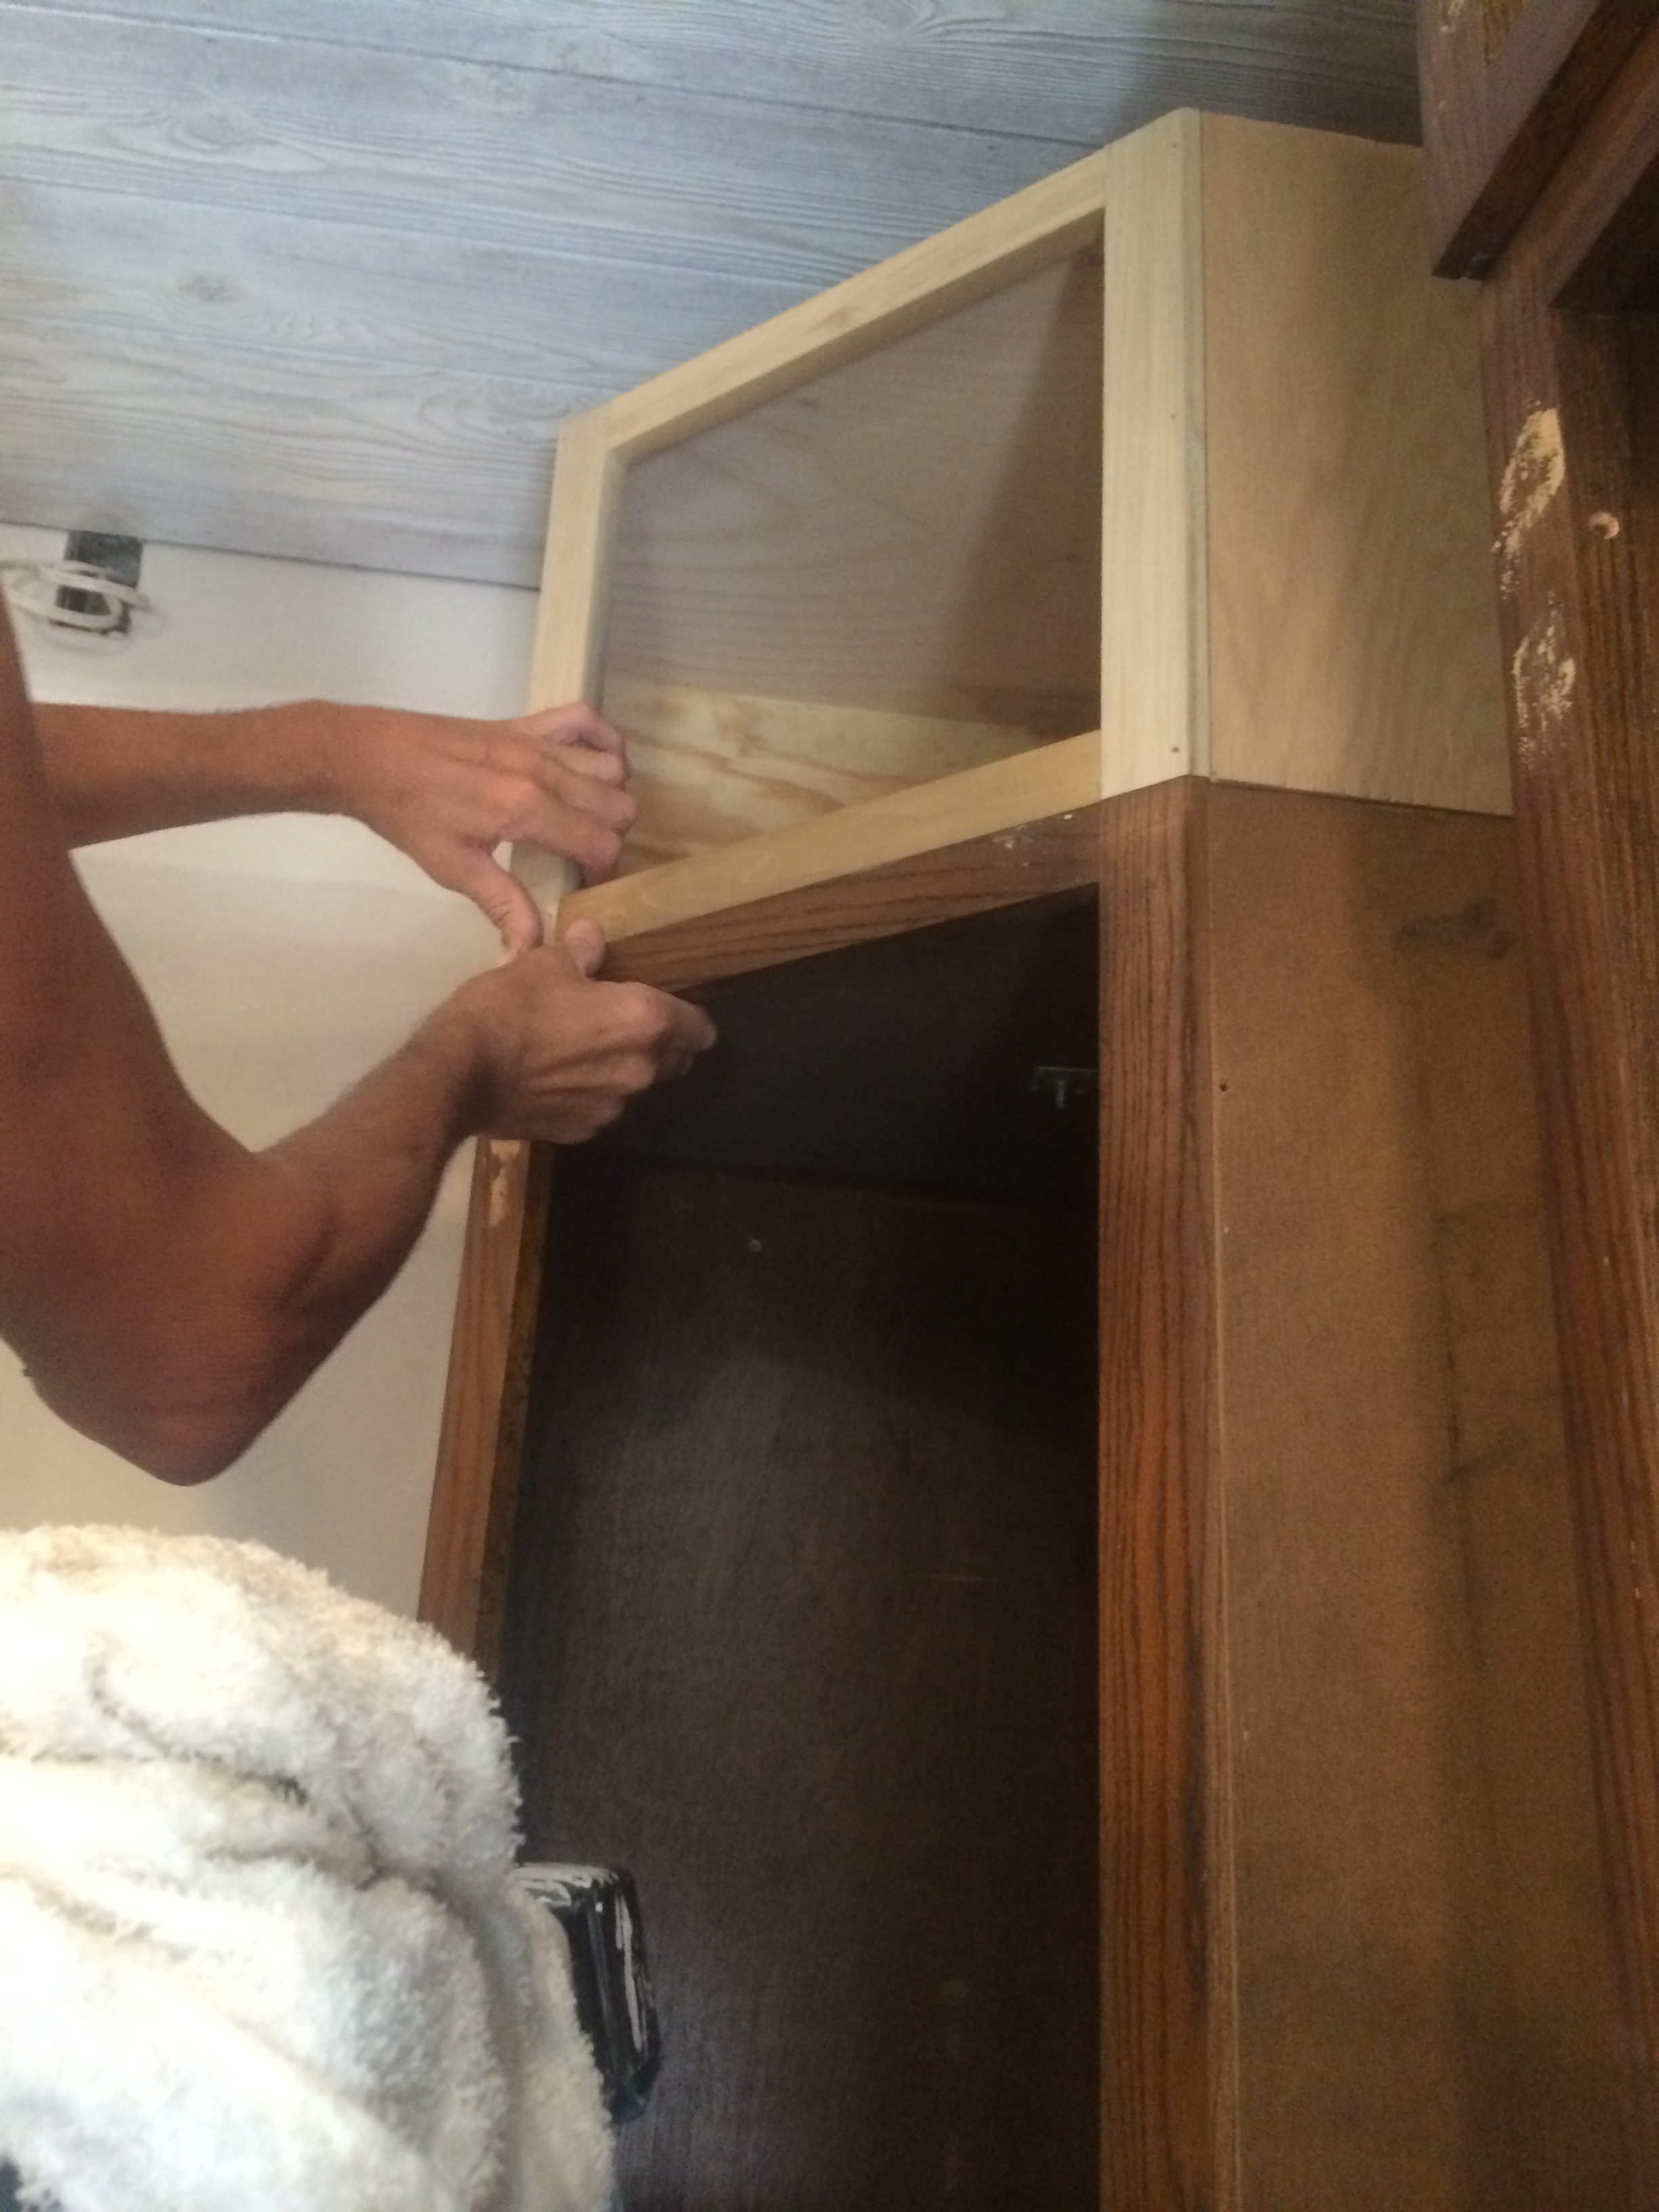
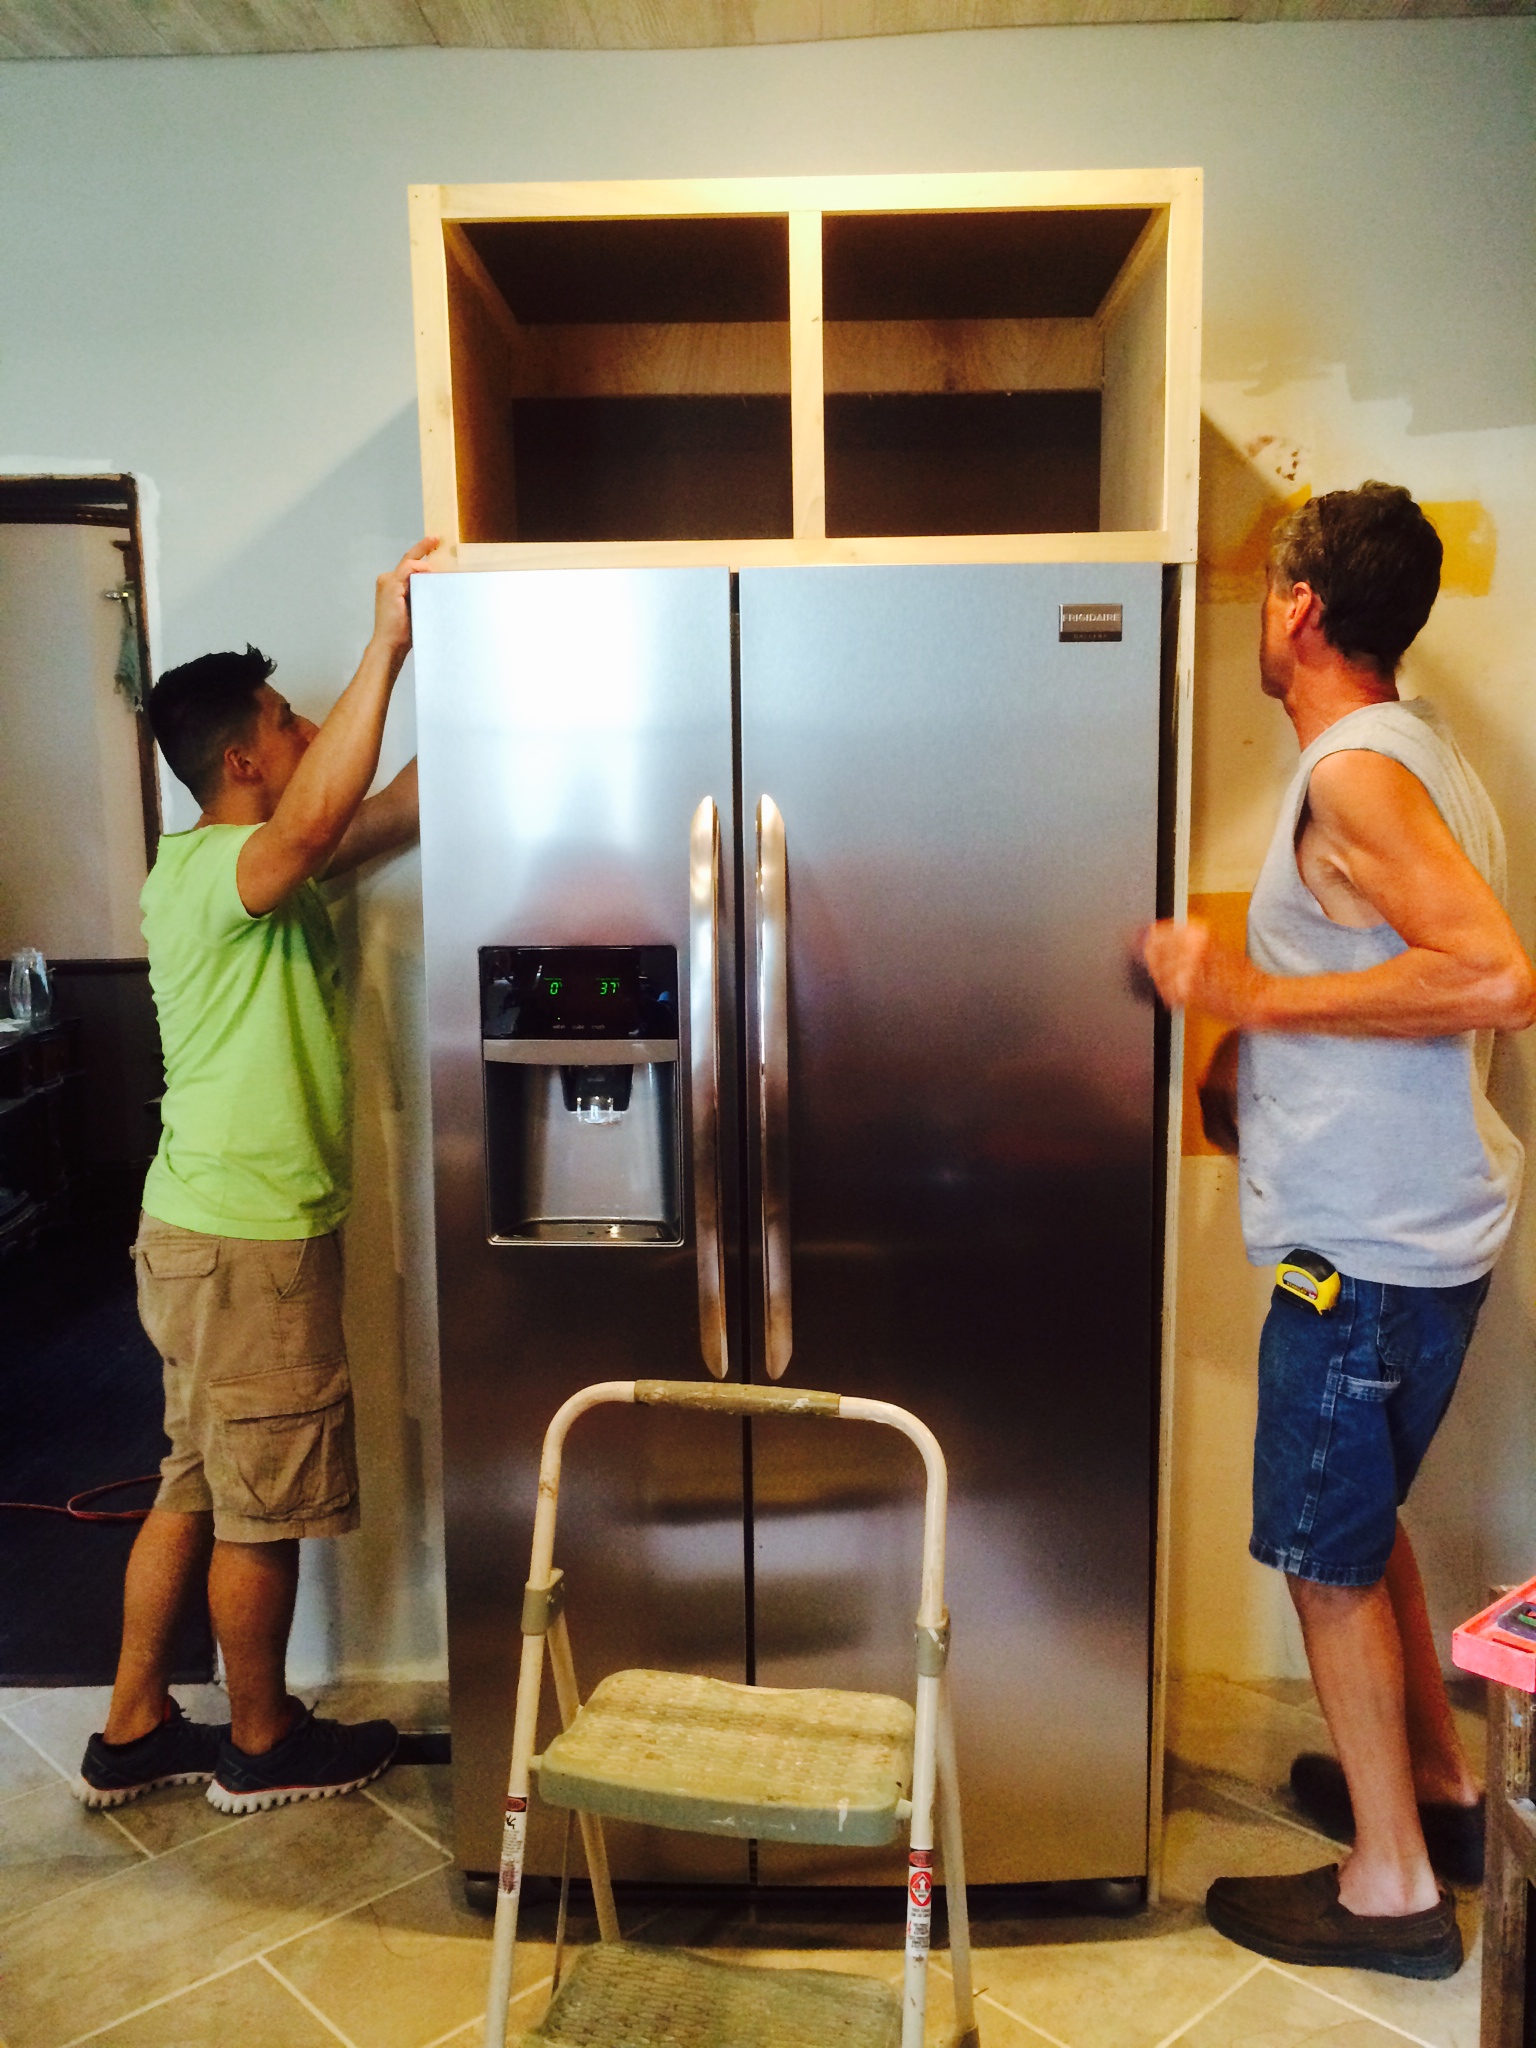
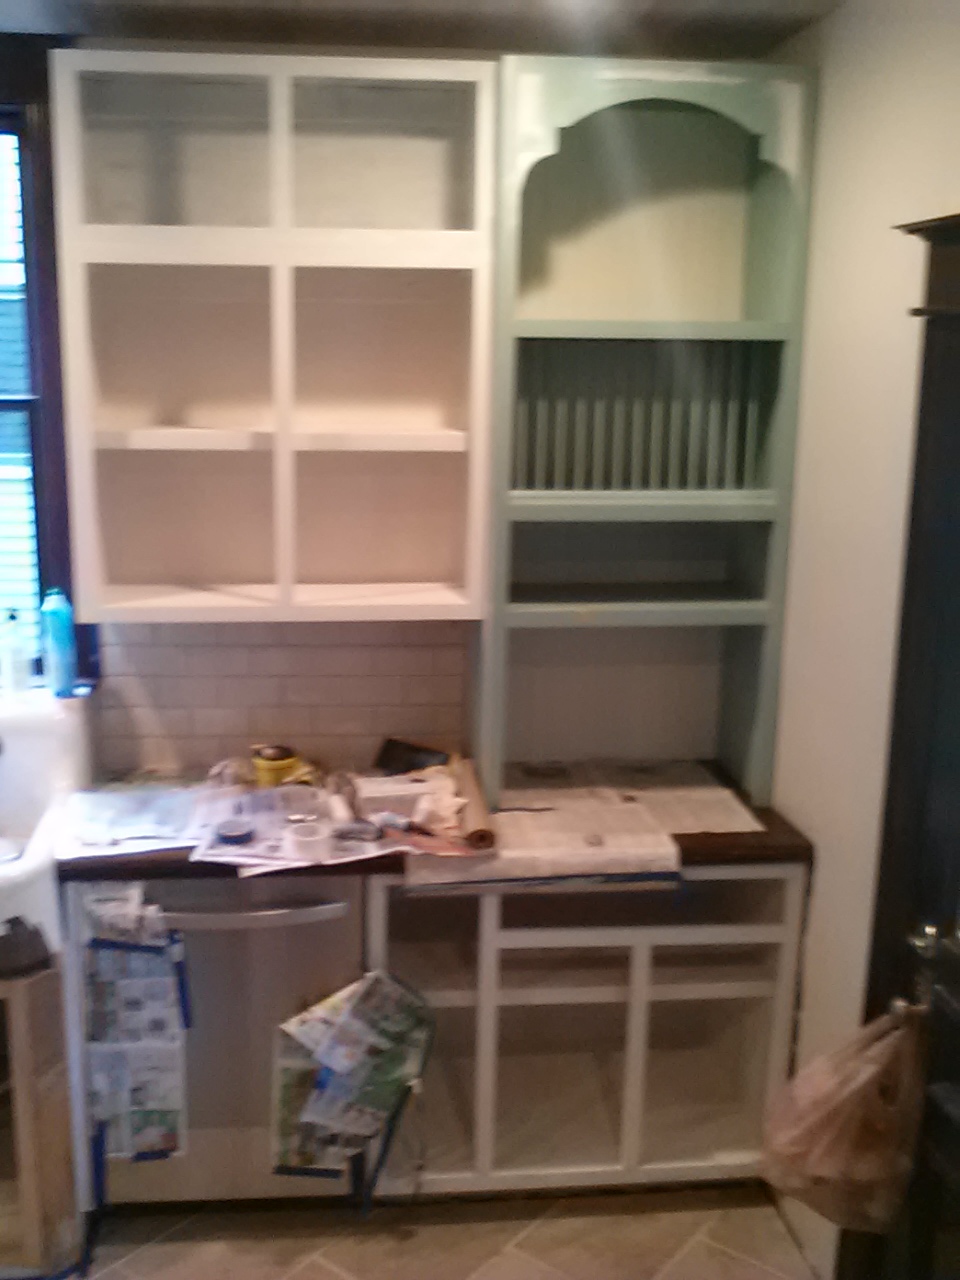
Since we wanted the new cabinets to extend all the way to the ceiling that meant that we would have two rows of upper cabinets in some places.
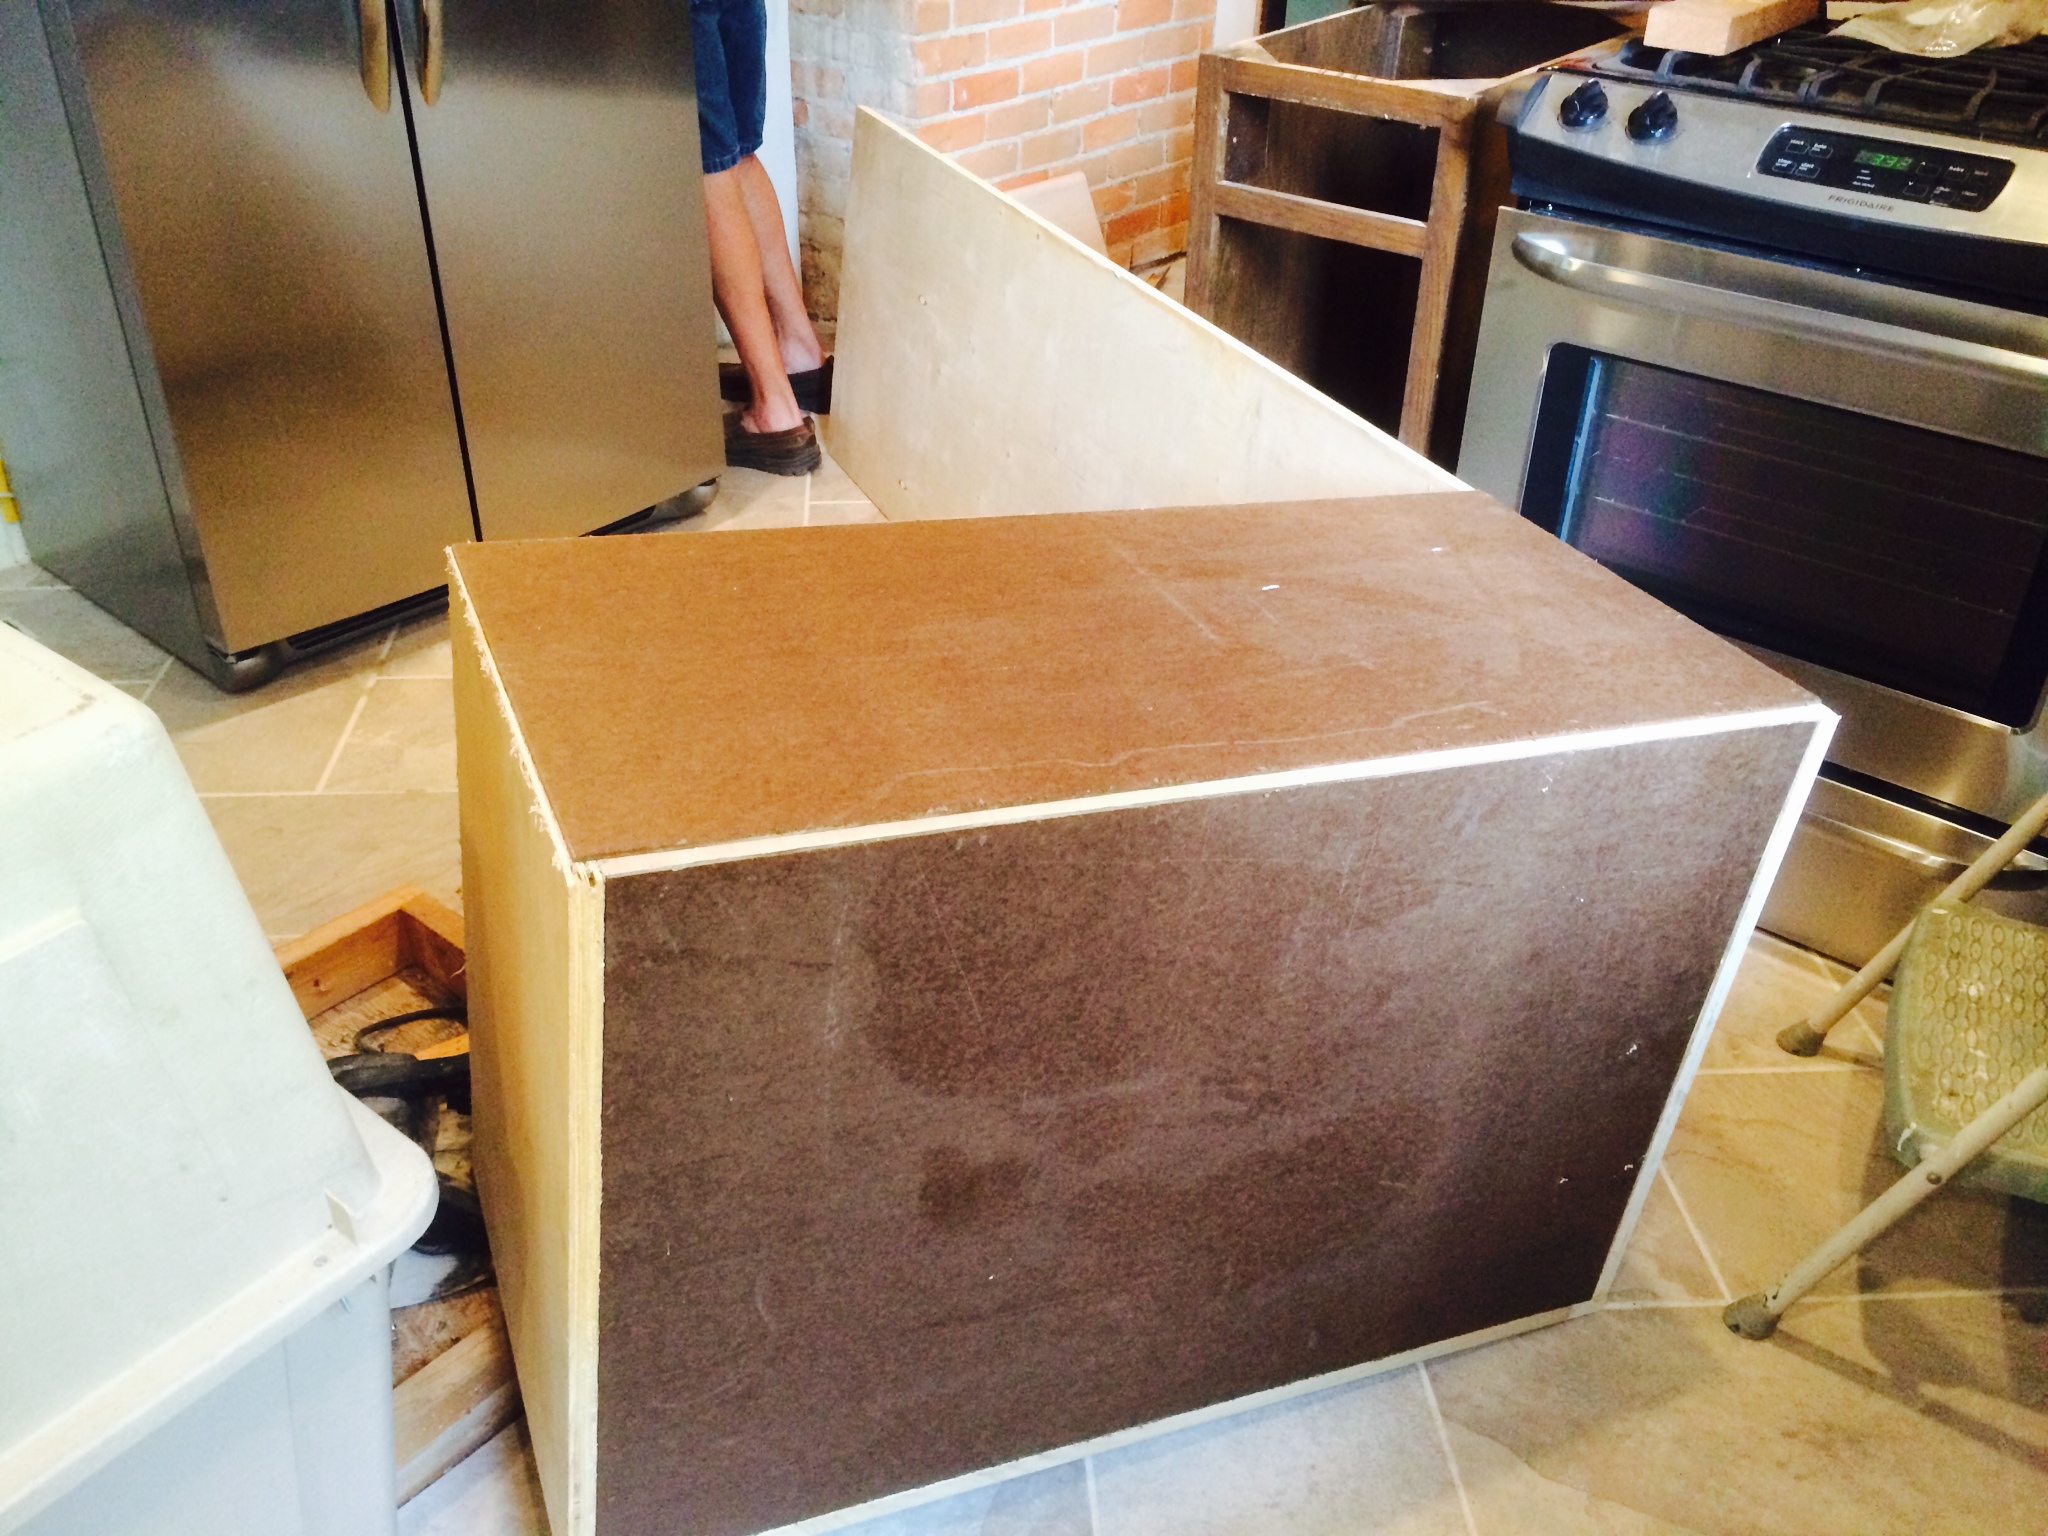
We had to build a smaller corner cabinet to sit on top of the one we had just installed.
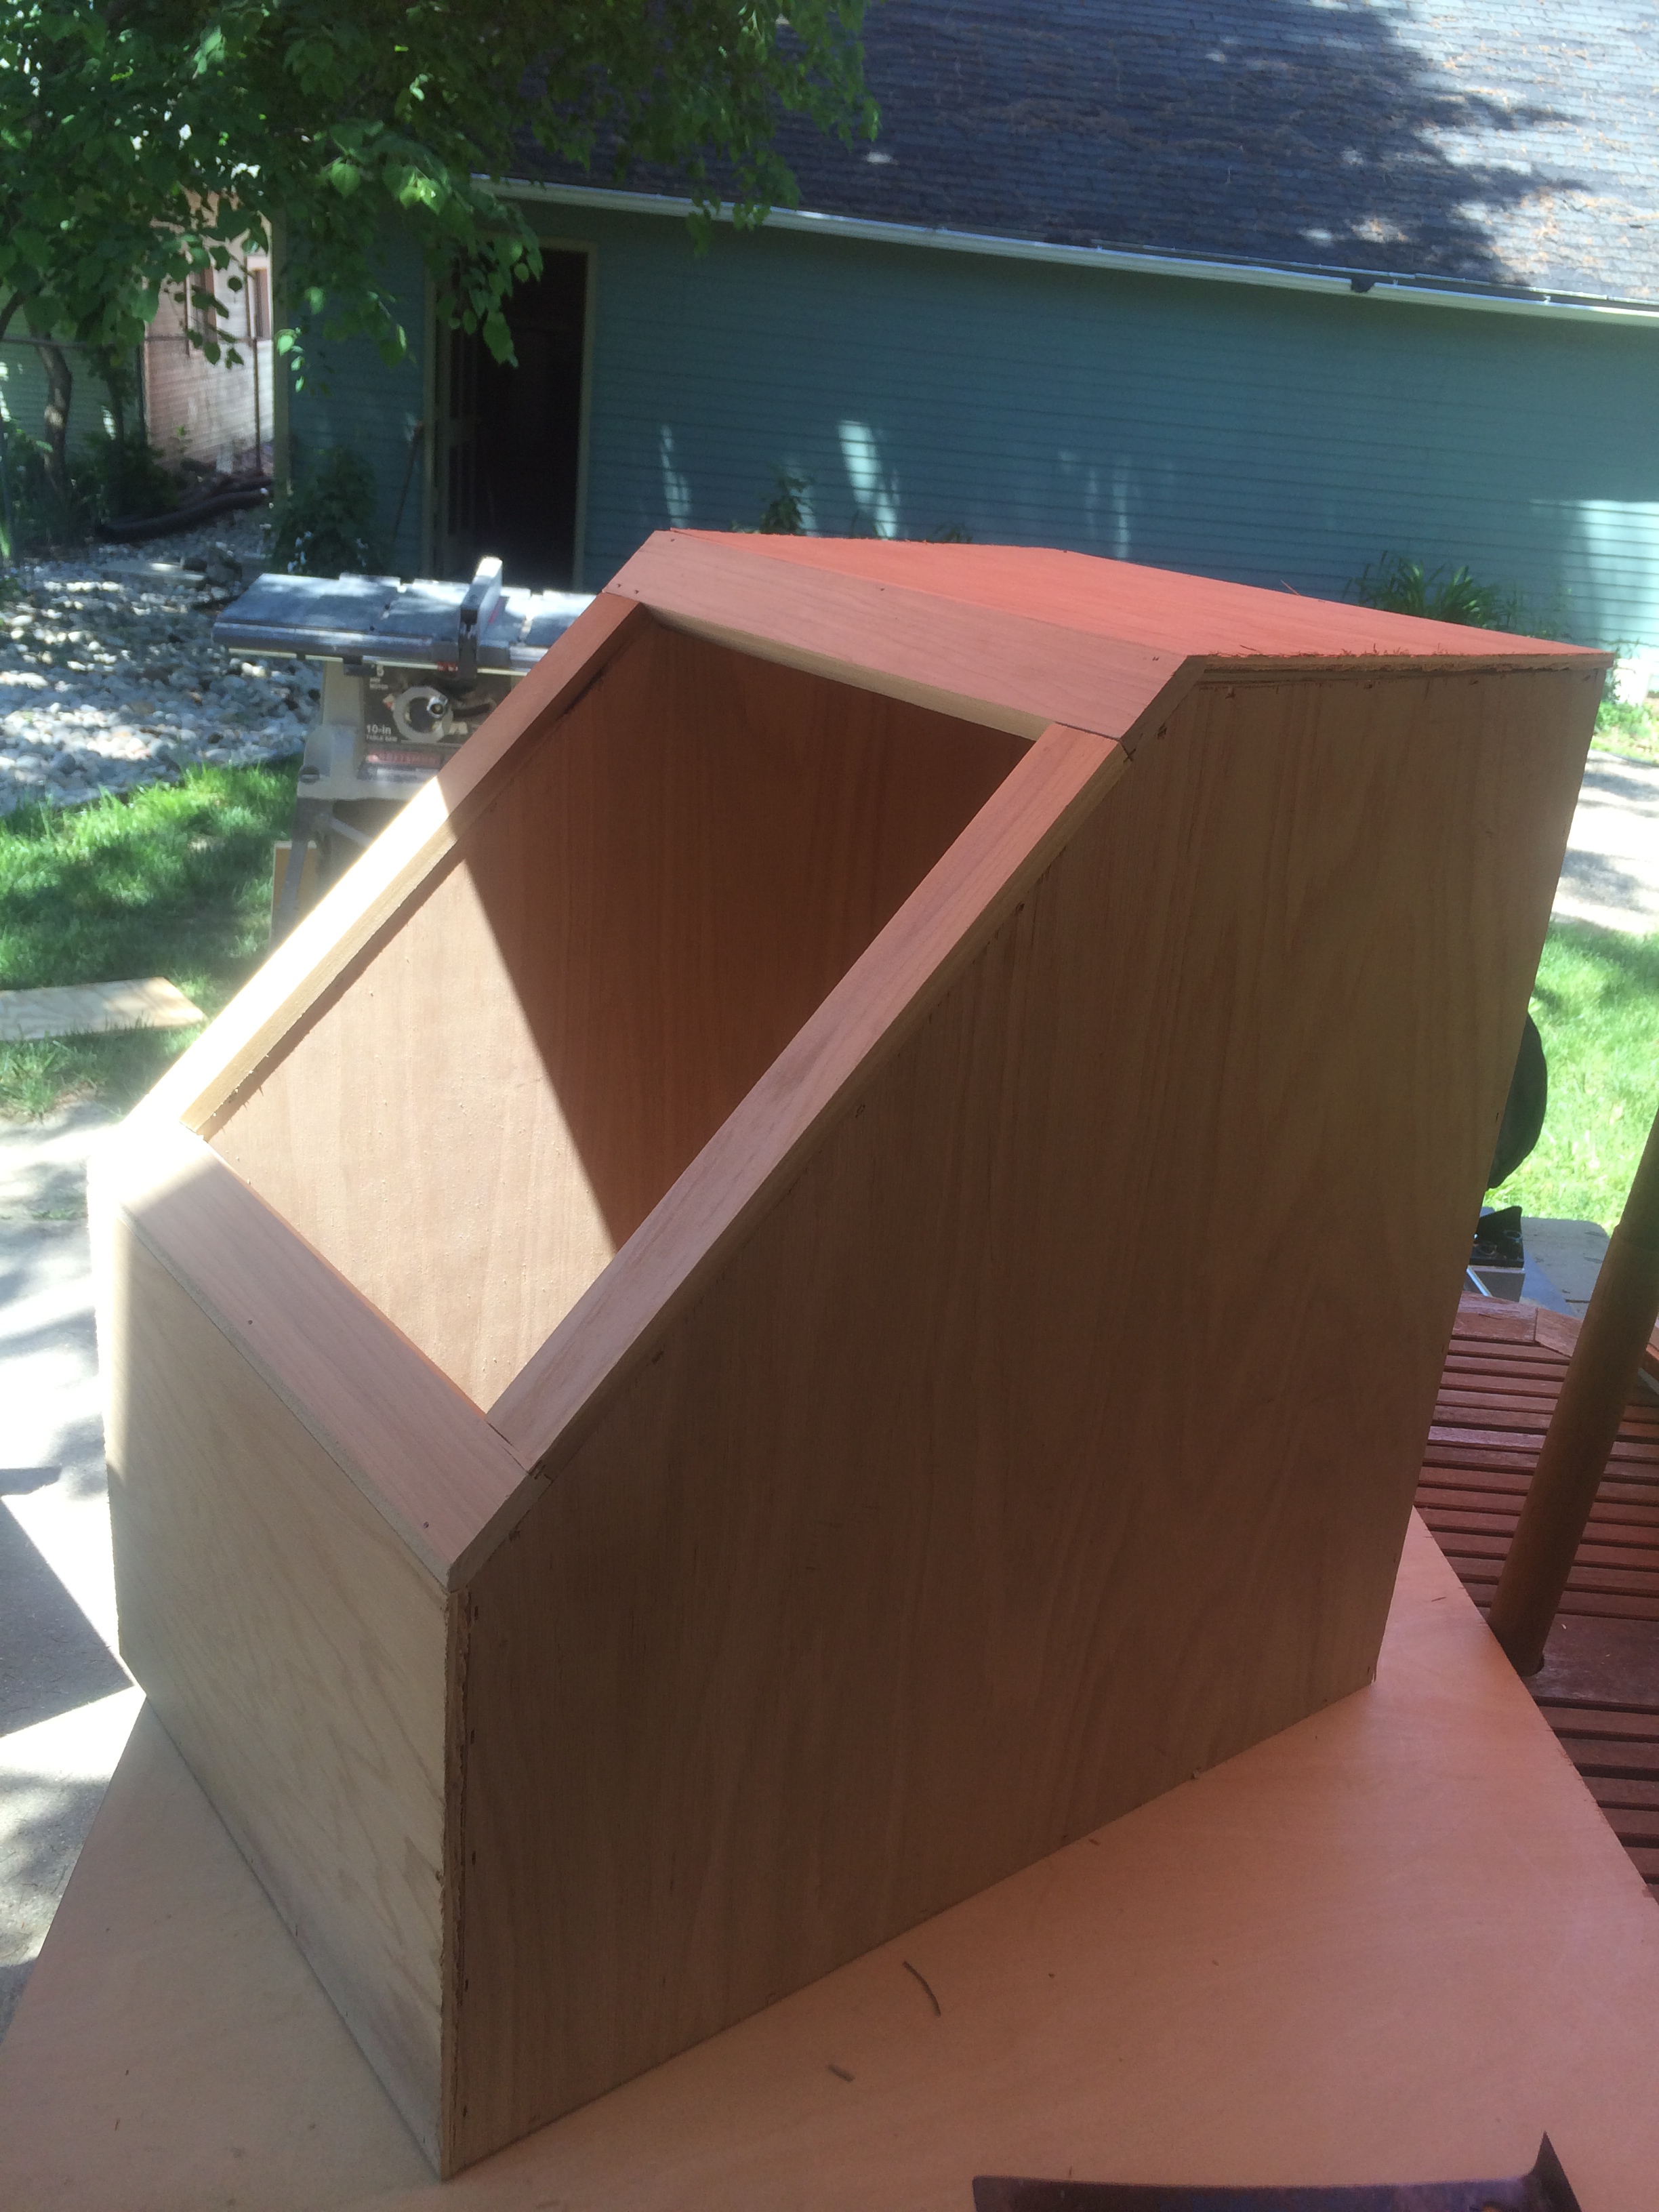
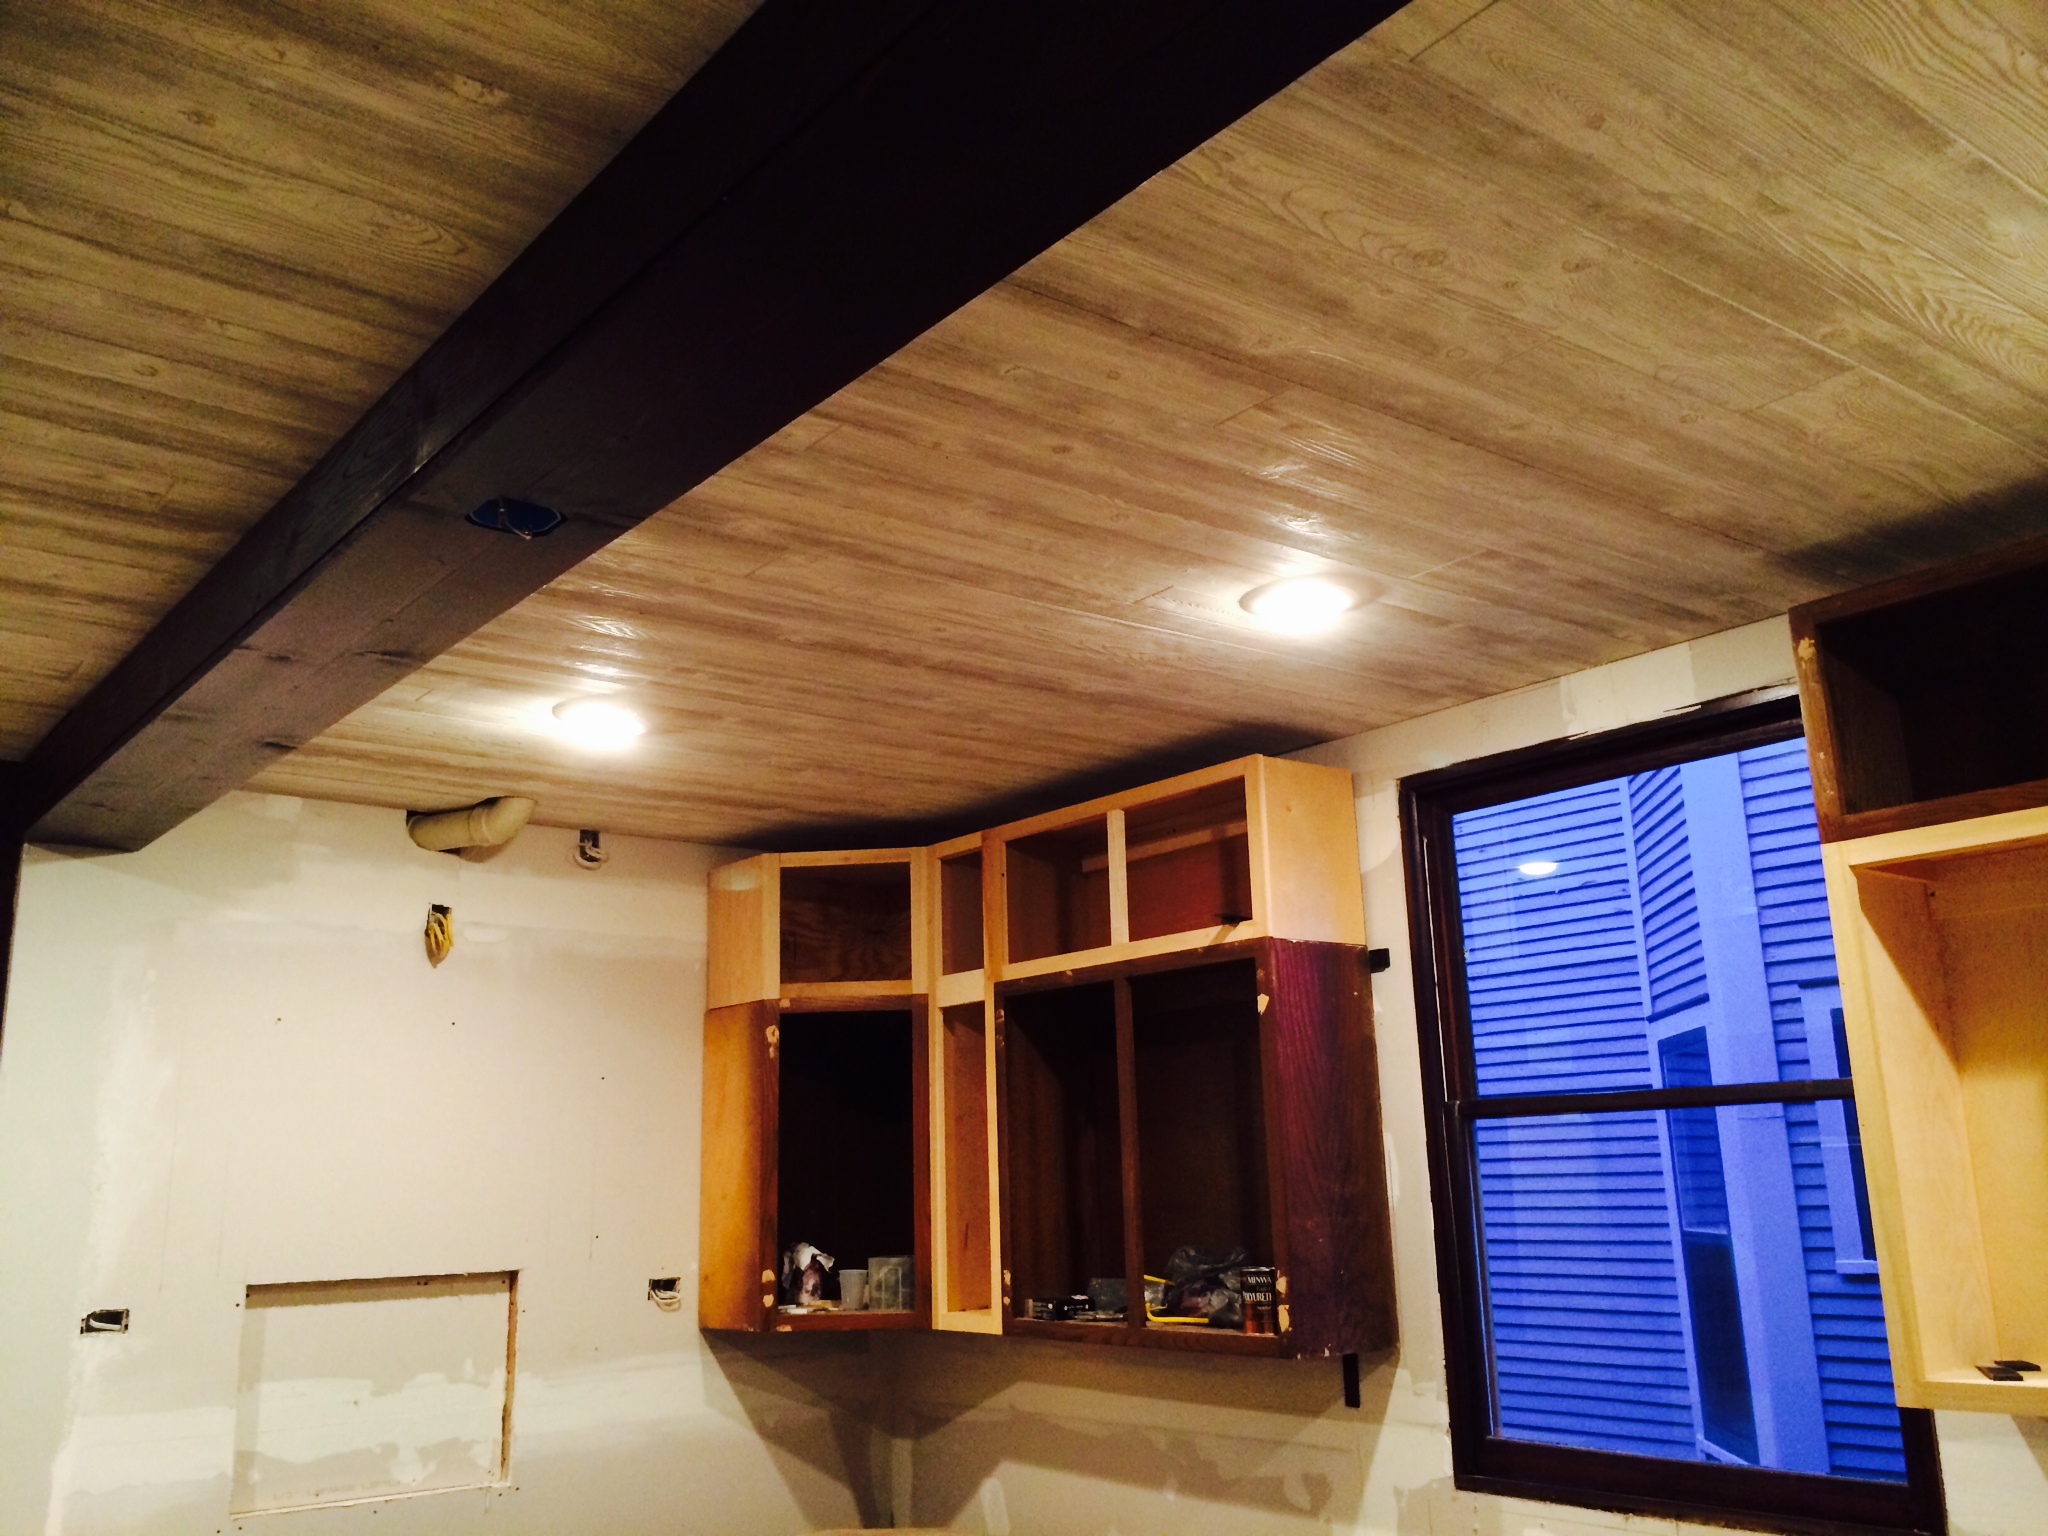
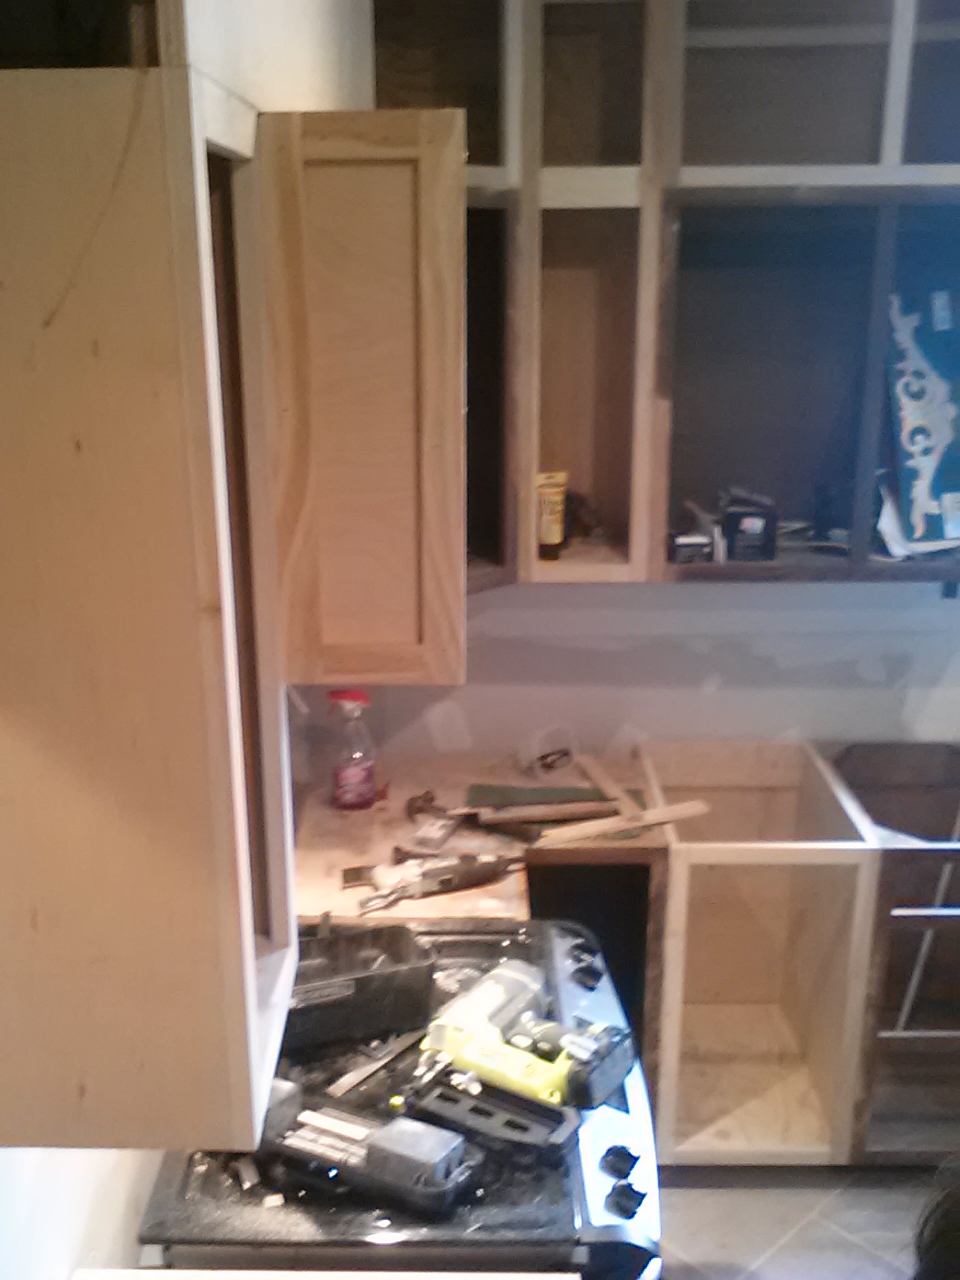
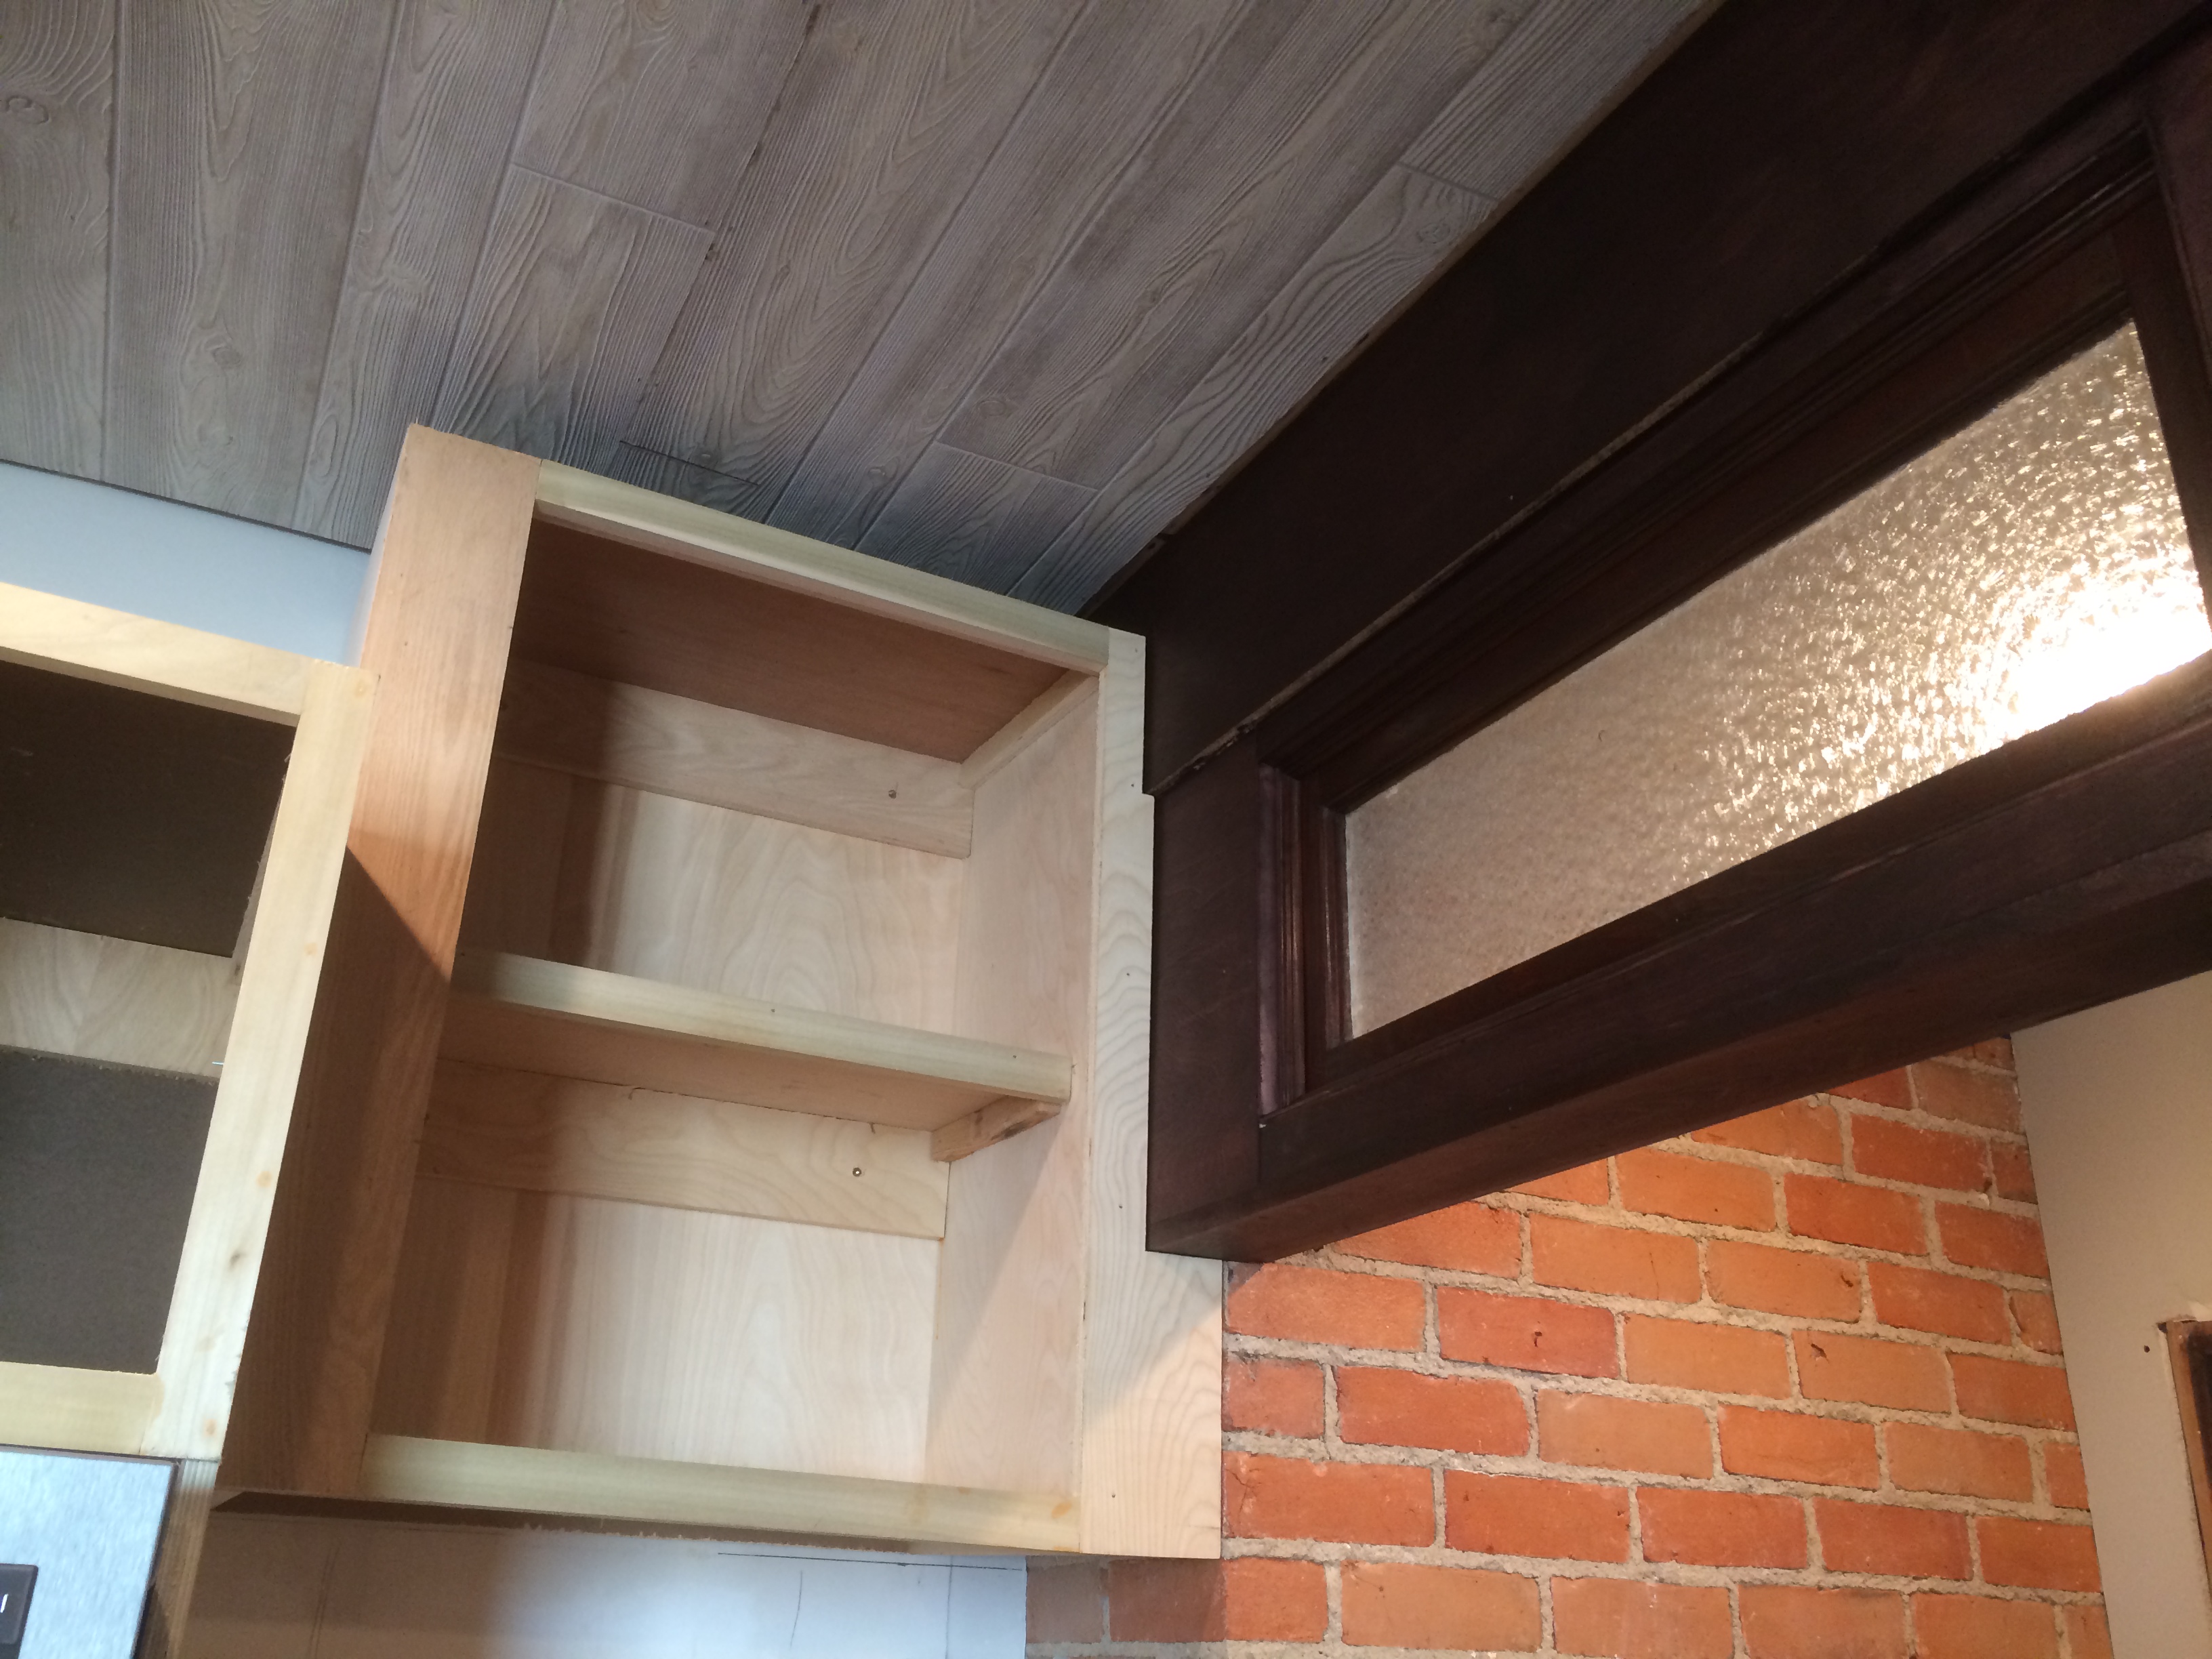
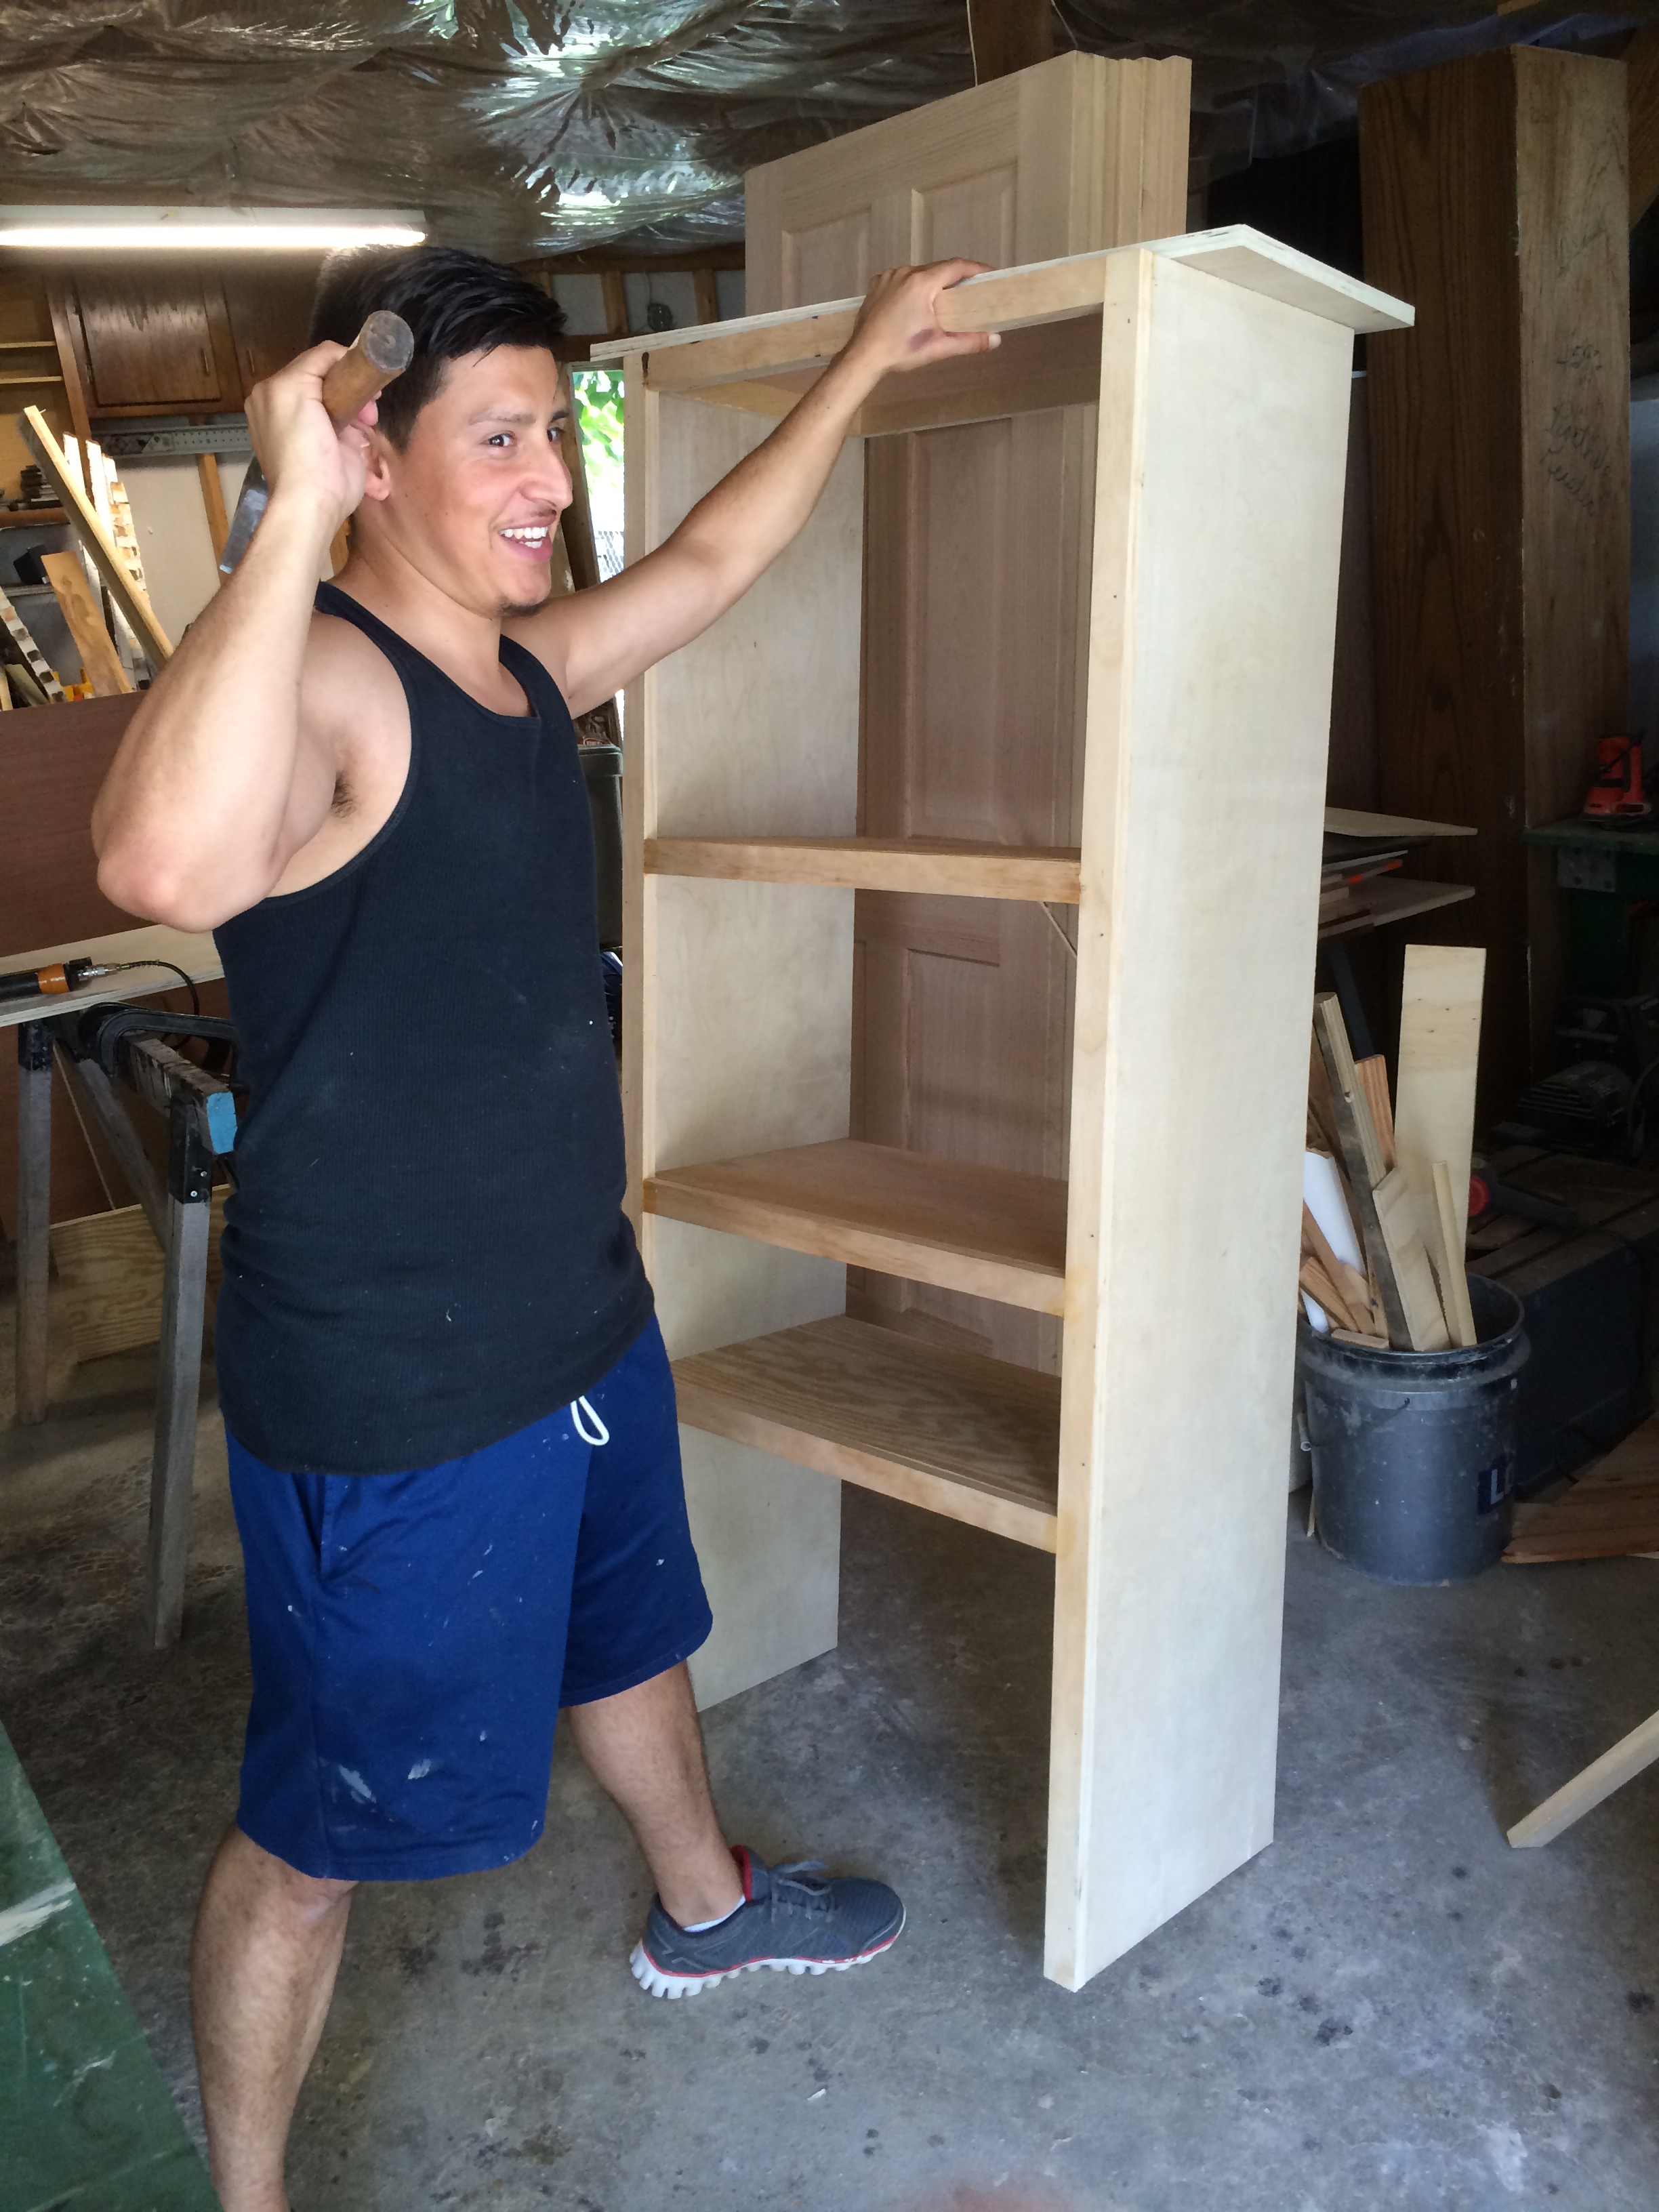
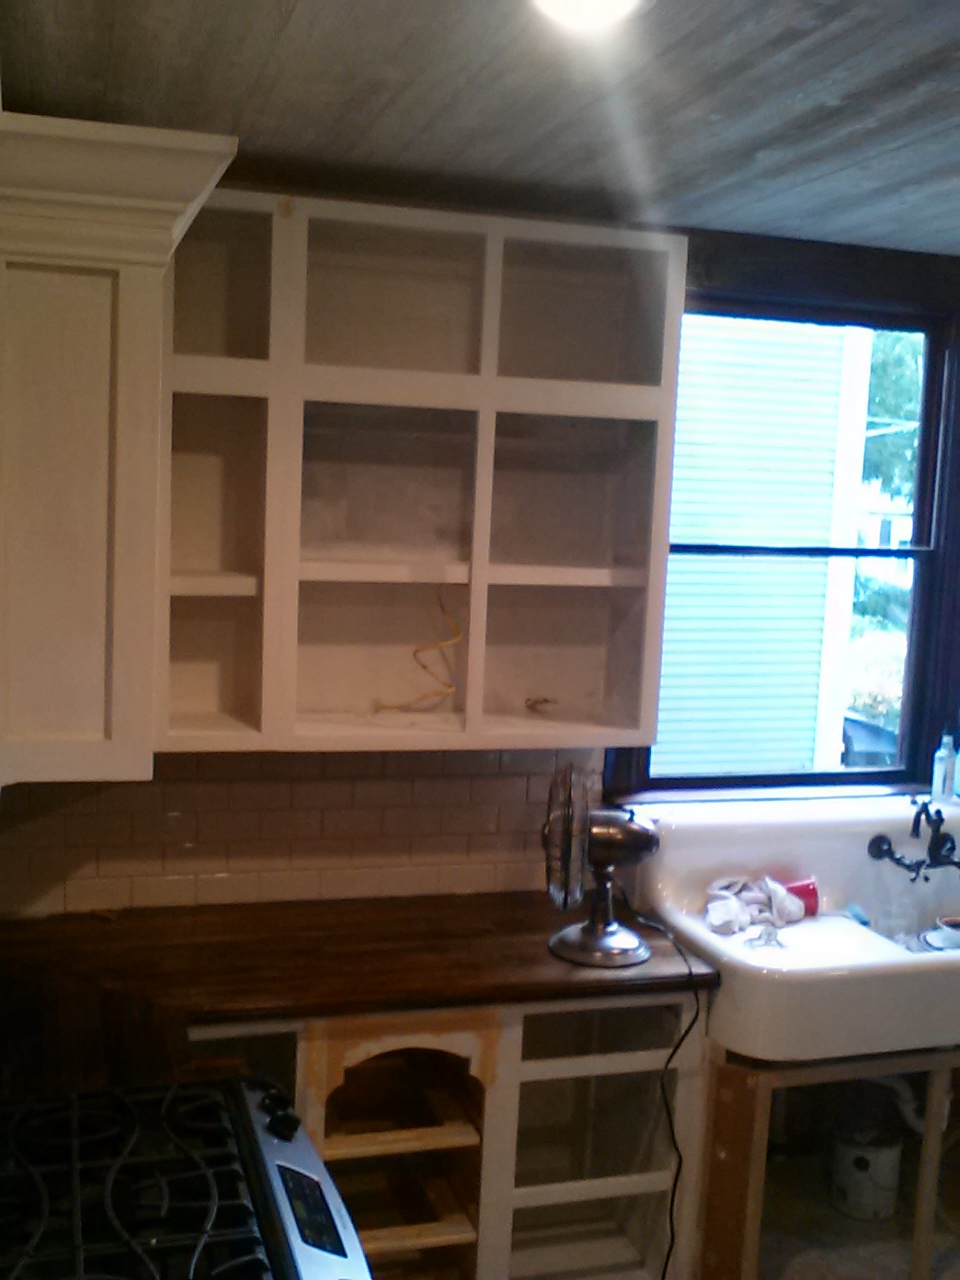
Next we started filling in and making the rest of the uppers. Everything seen that is the dark colored wood were cabinets we salvaged and reused. The lighter colored cabinets were made by my dad and Raul using 3/4″ plywood and 1″x 2″s for the frame. The backs were created from 1/4″ plywood and the shelves were created from high grade 1/2″ plywood.
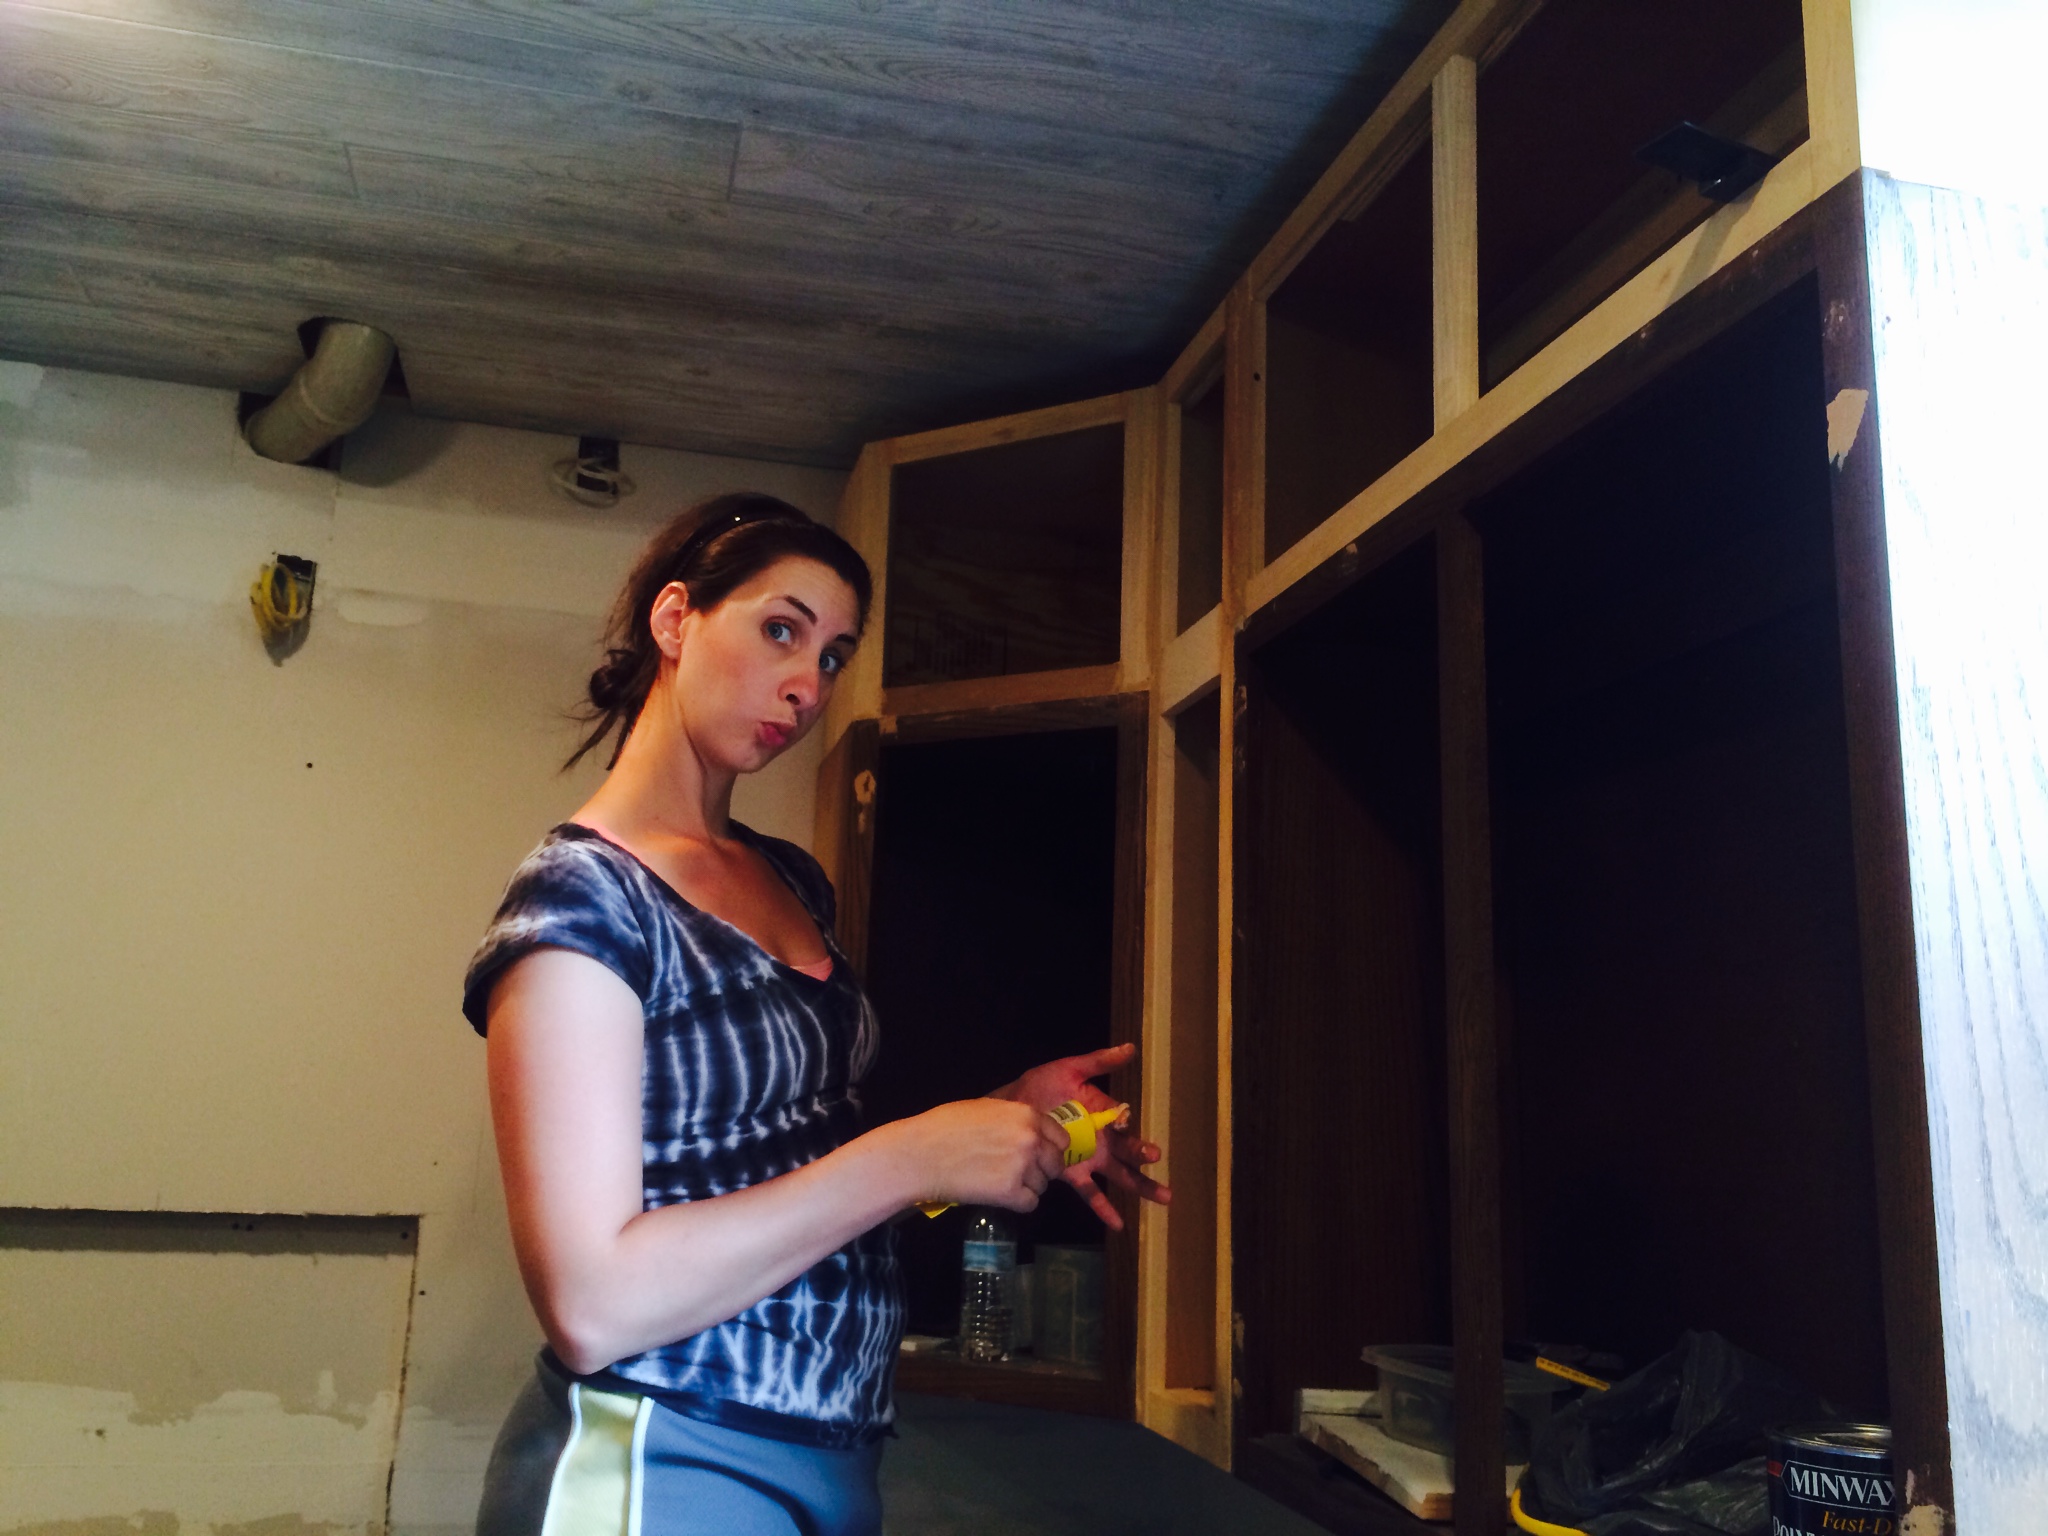
My job was to go along and fill in any cracks or holes with wood filler or paintable caulk.
We left a gap between these upper cabinets for our custom hood range.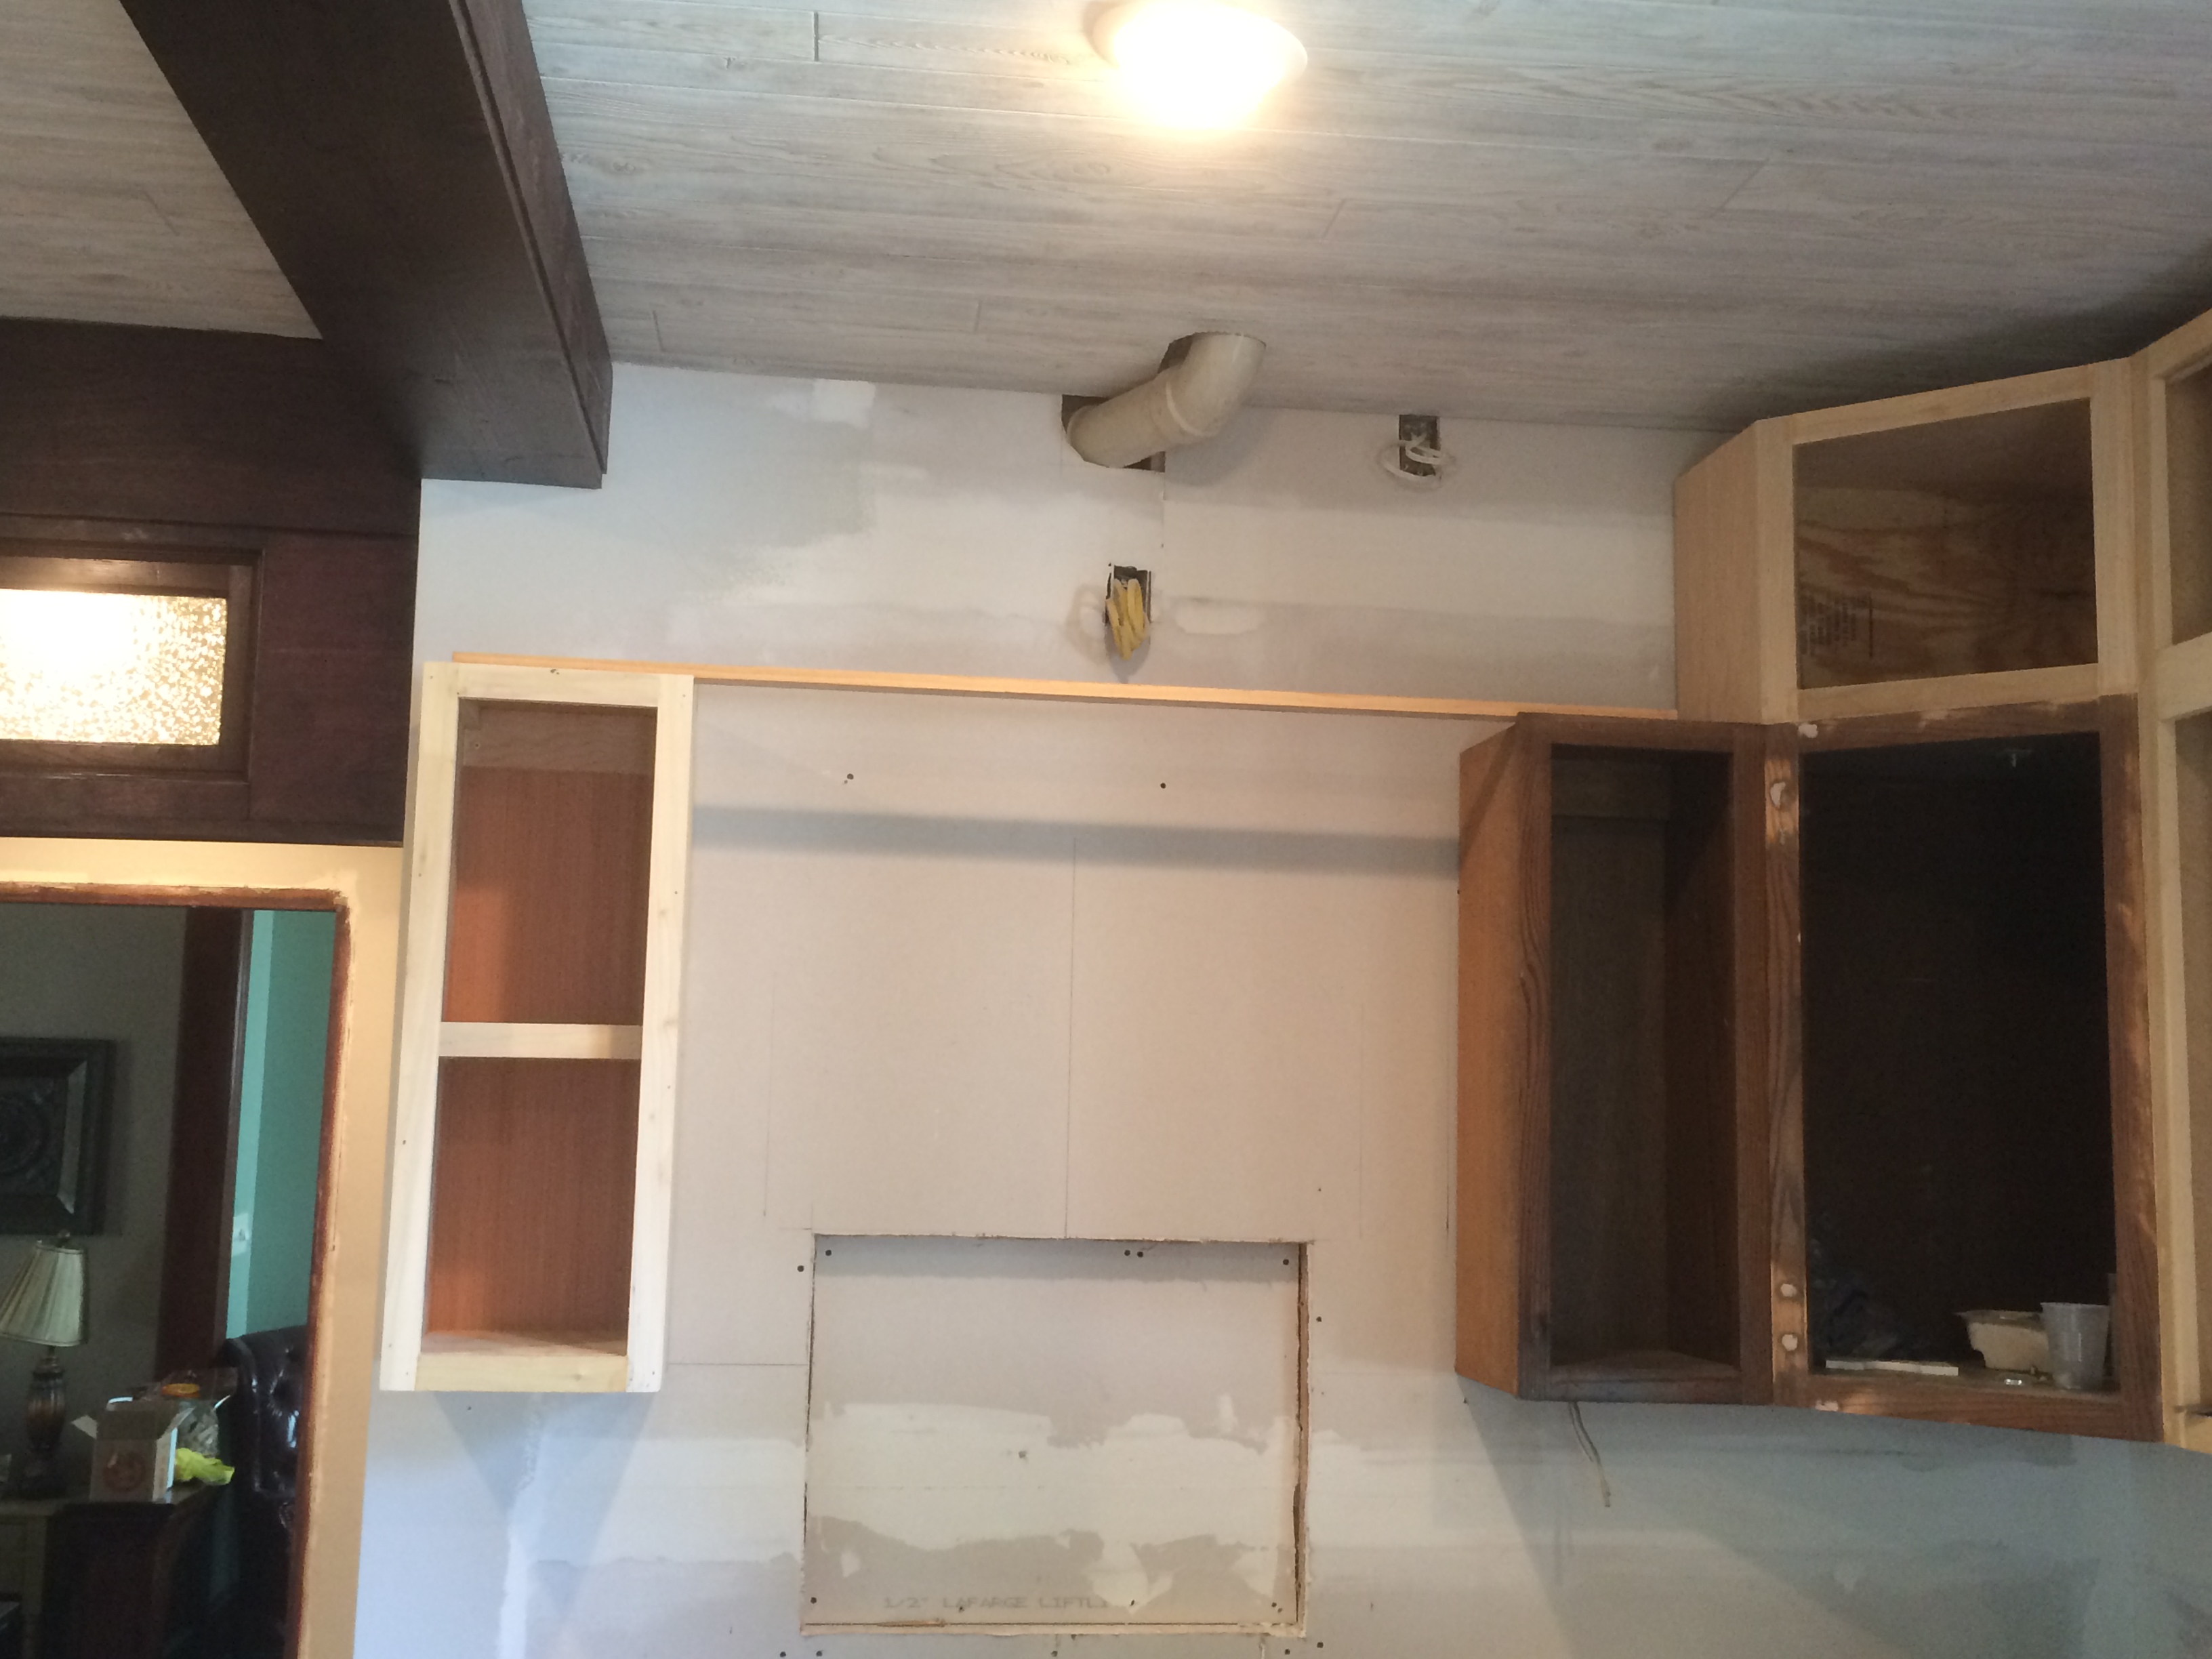
Yay! Lower cabinets, too!
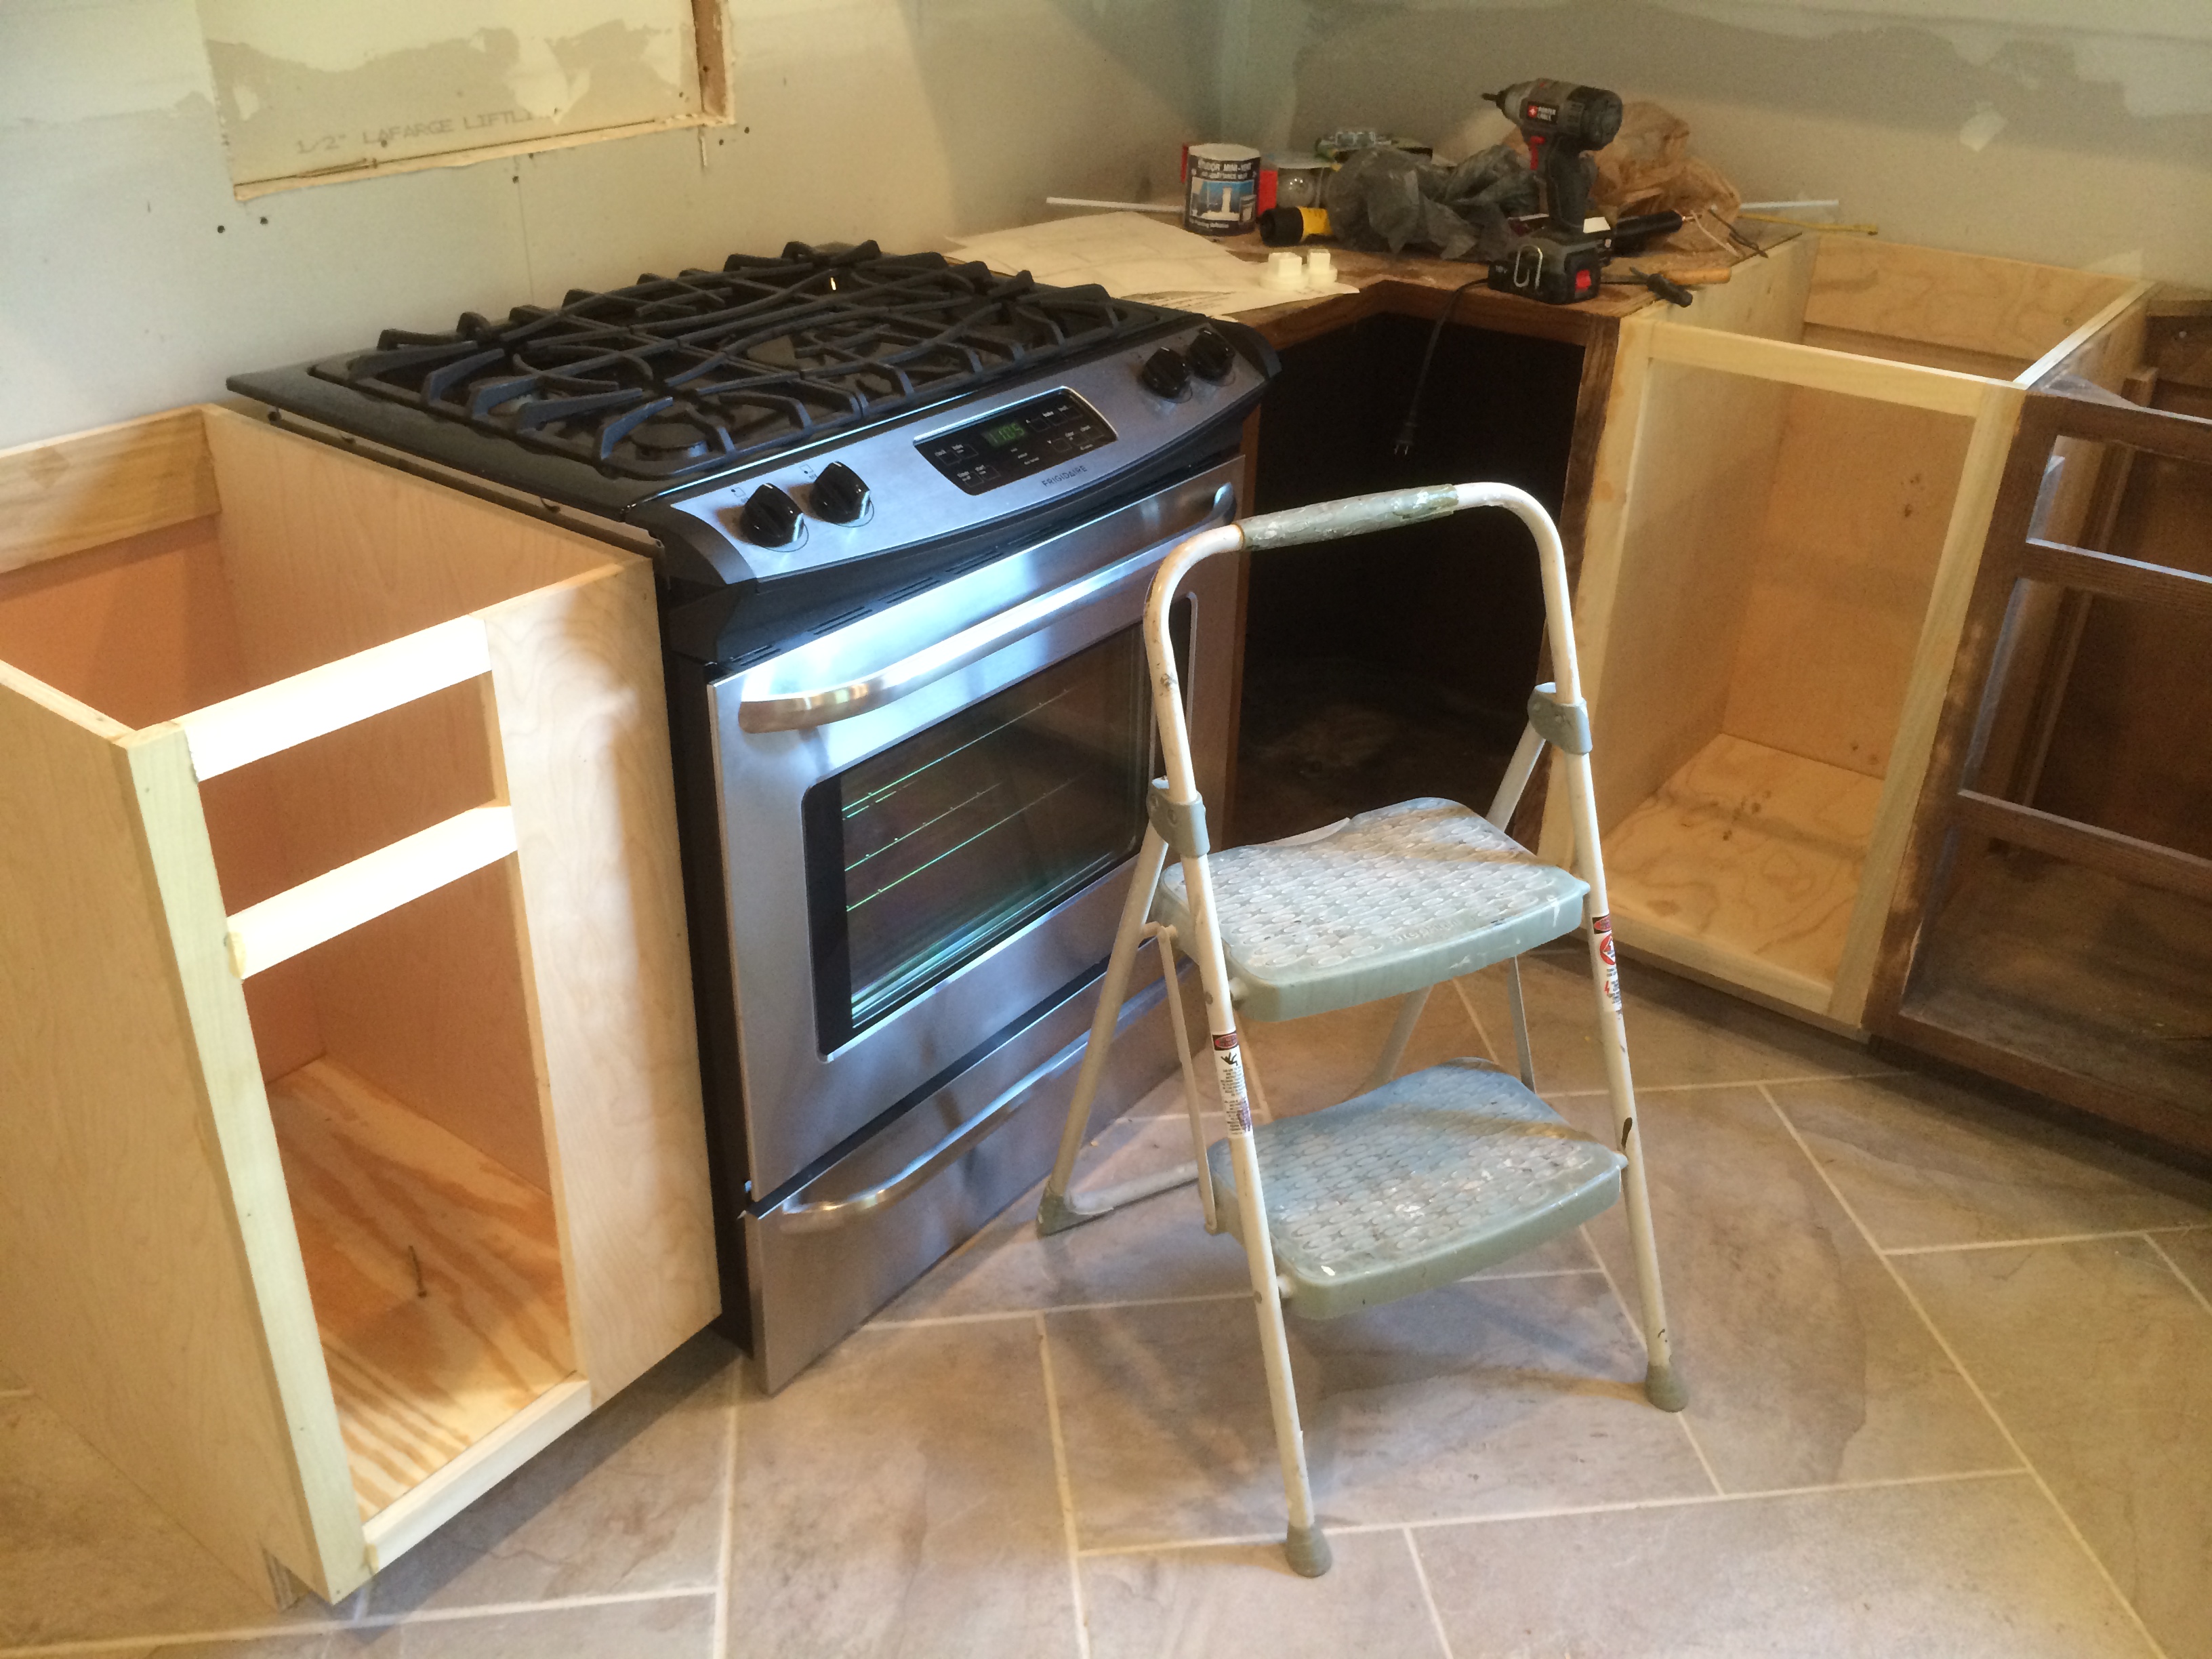
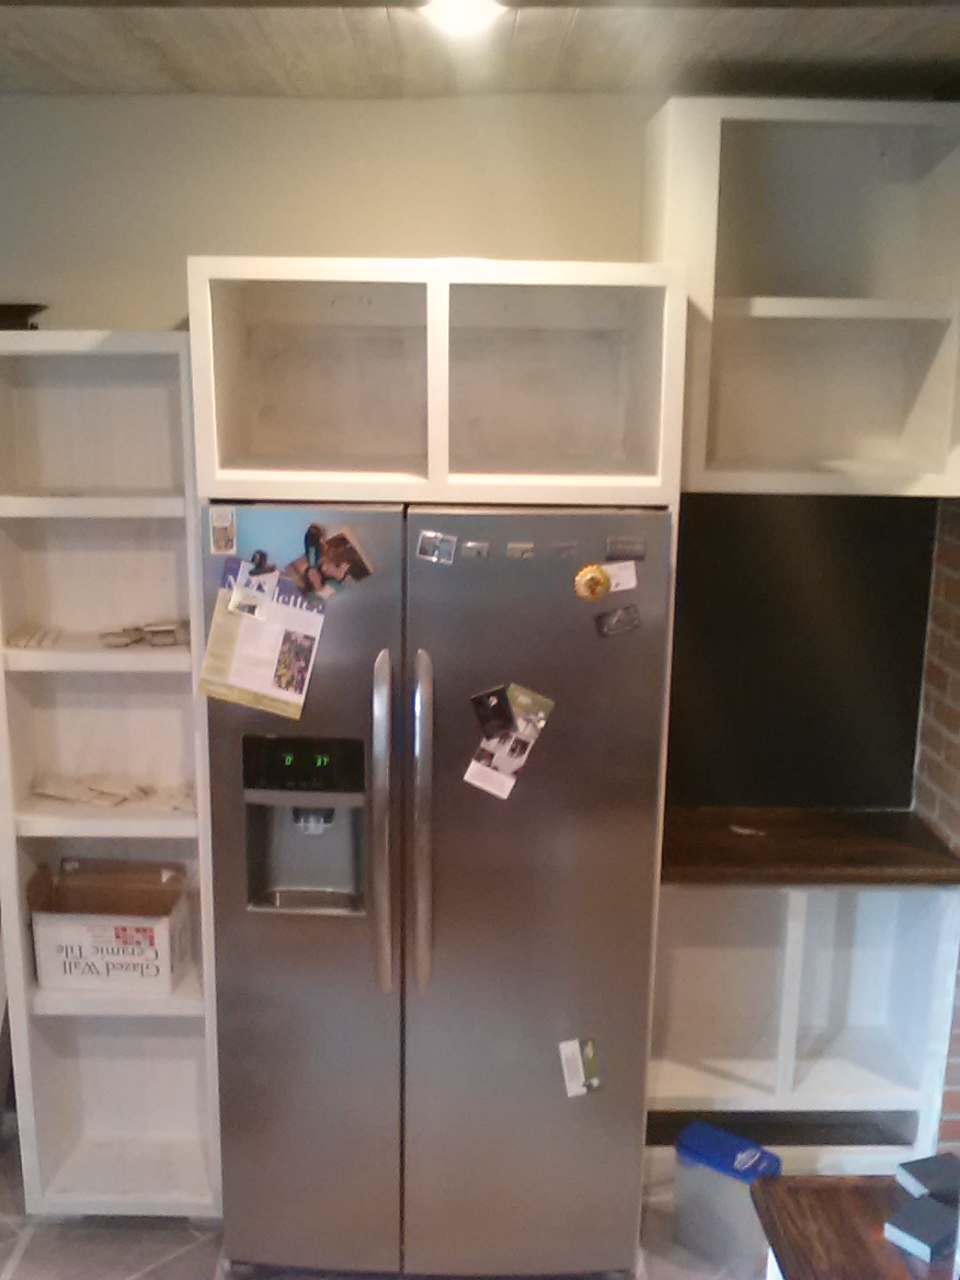
We purchased a new counter-depth refrigerator. Here my dad is taking measurements for the pantry and storage unit that we built to surround the refrigerator.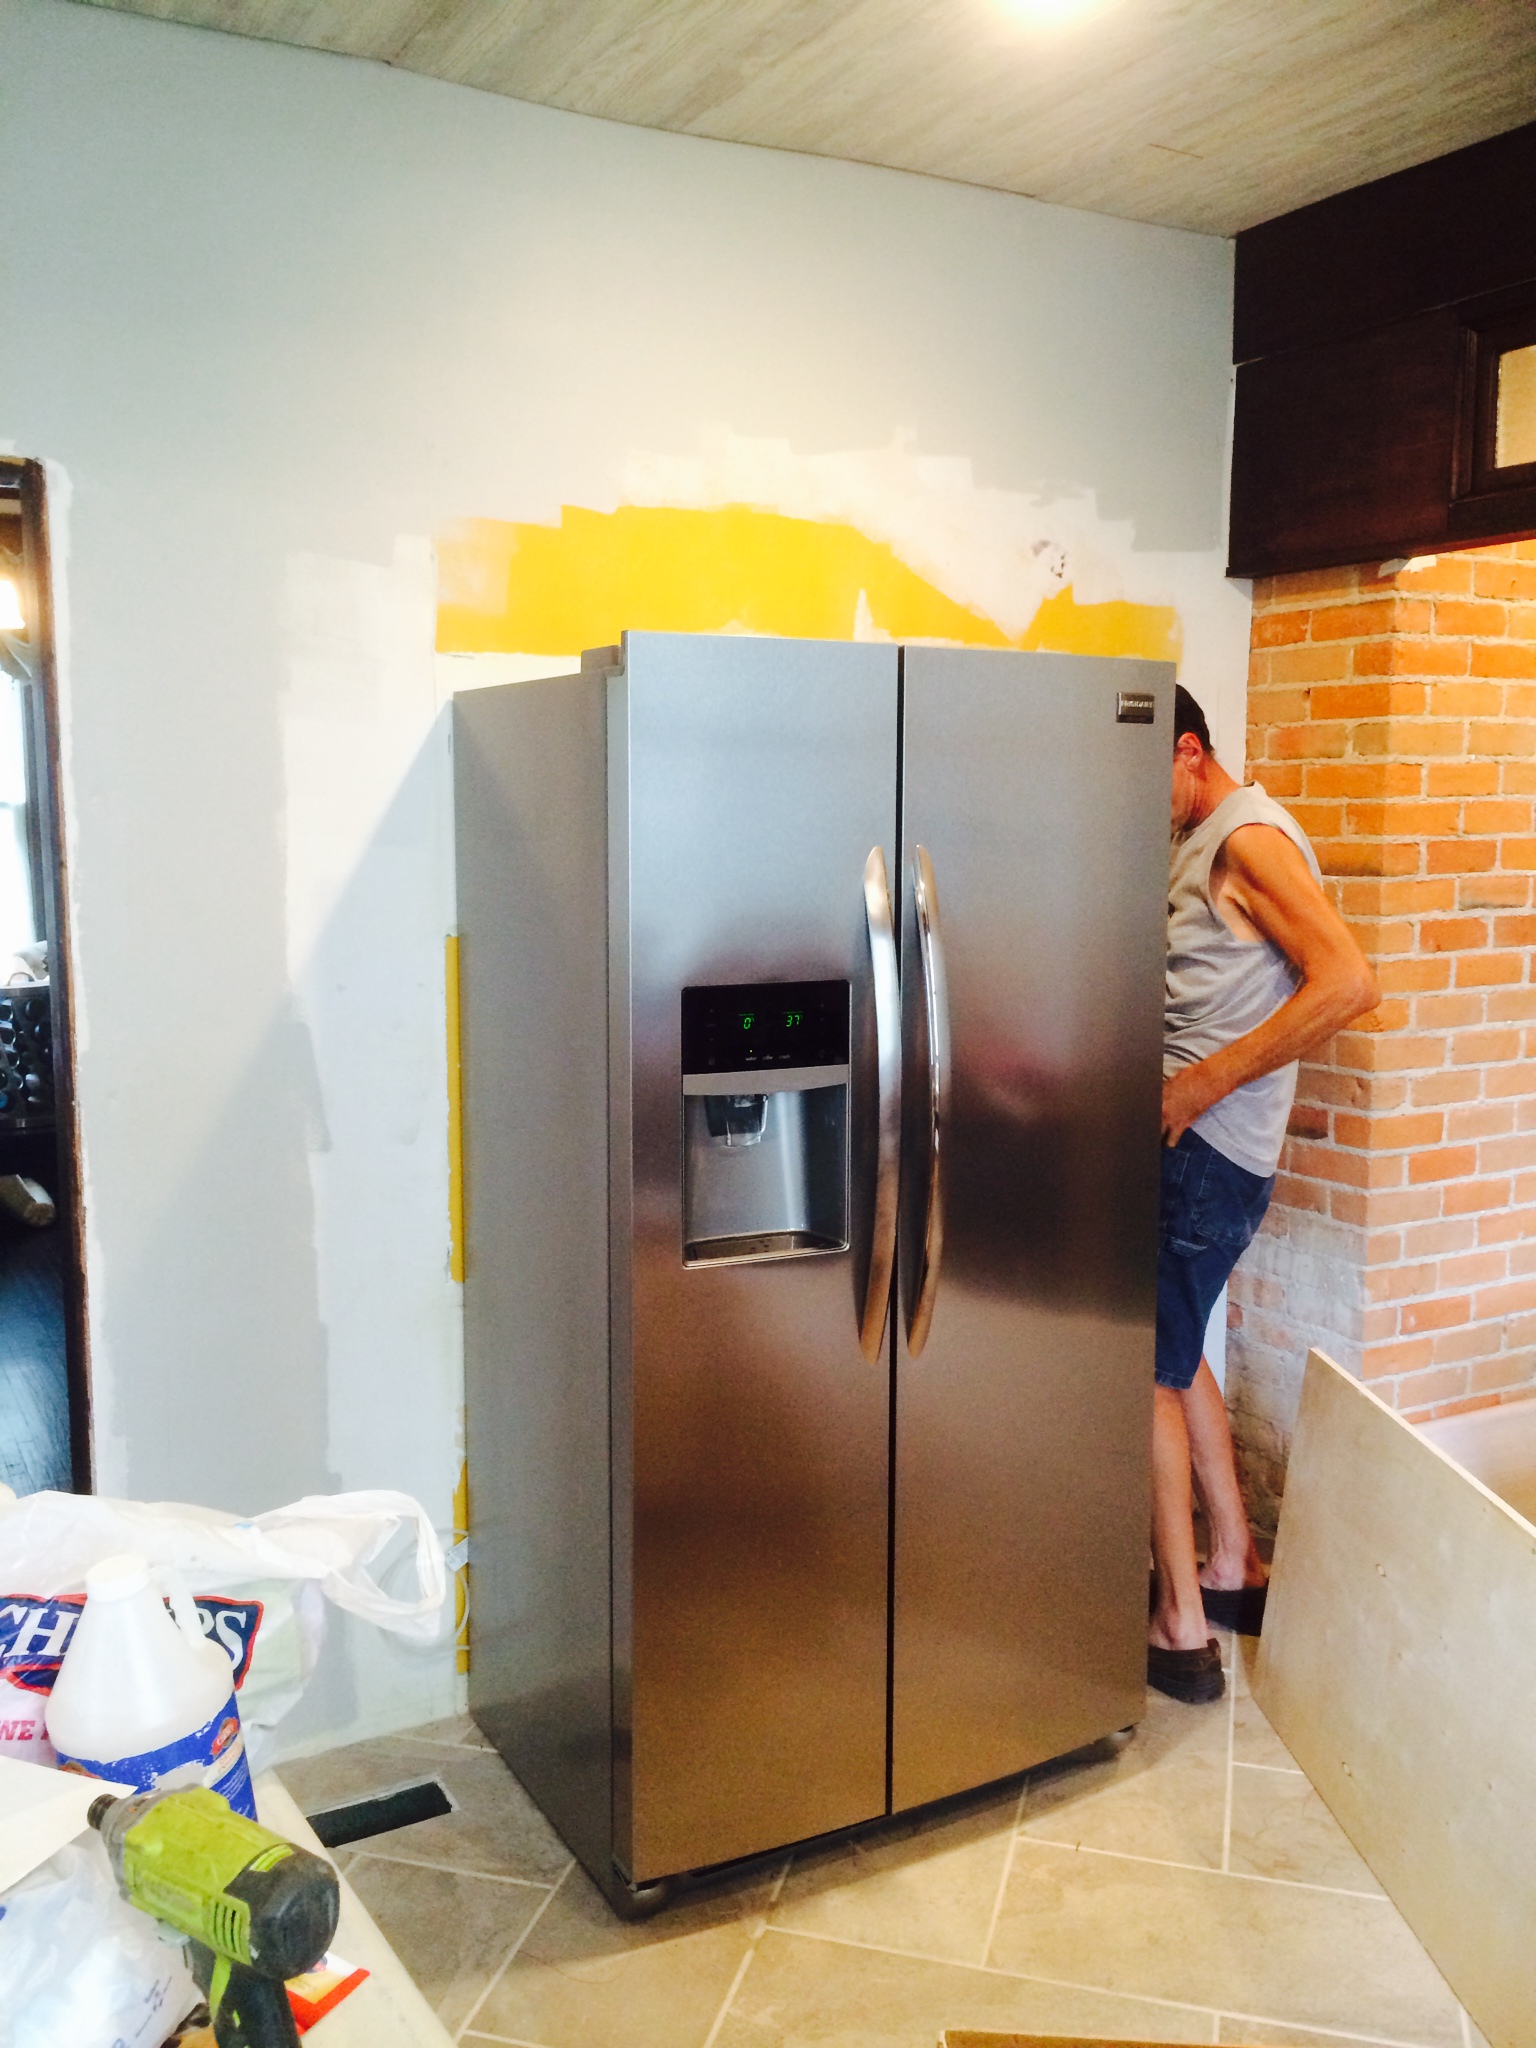
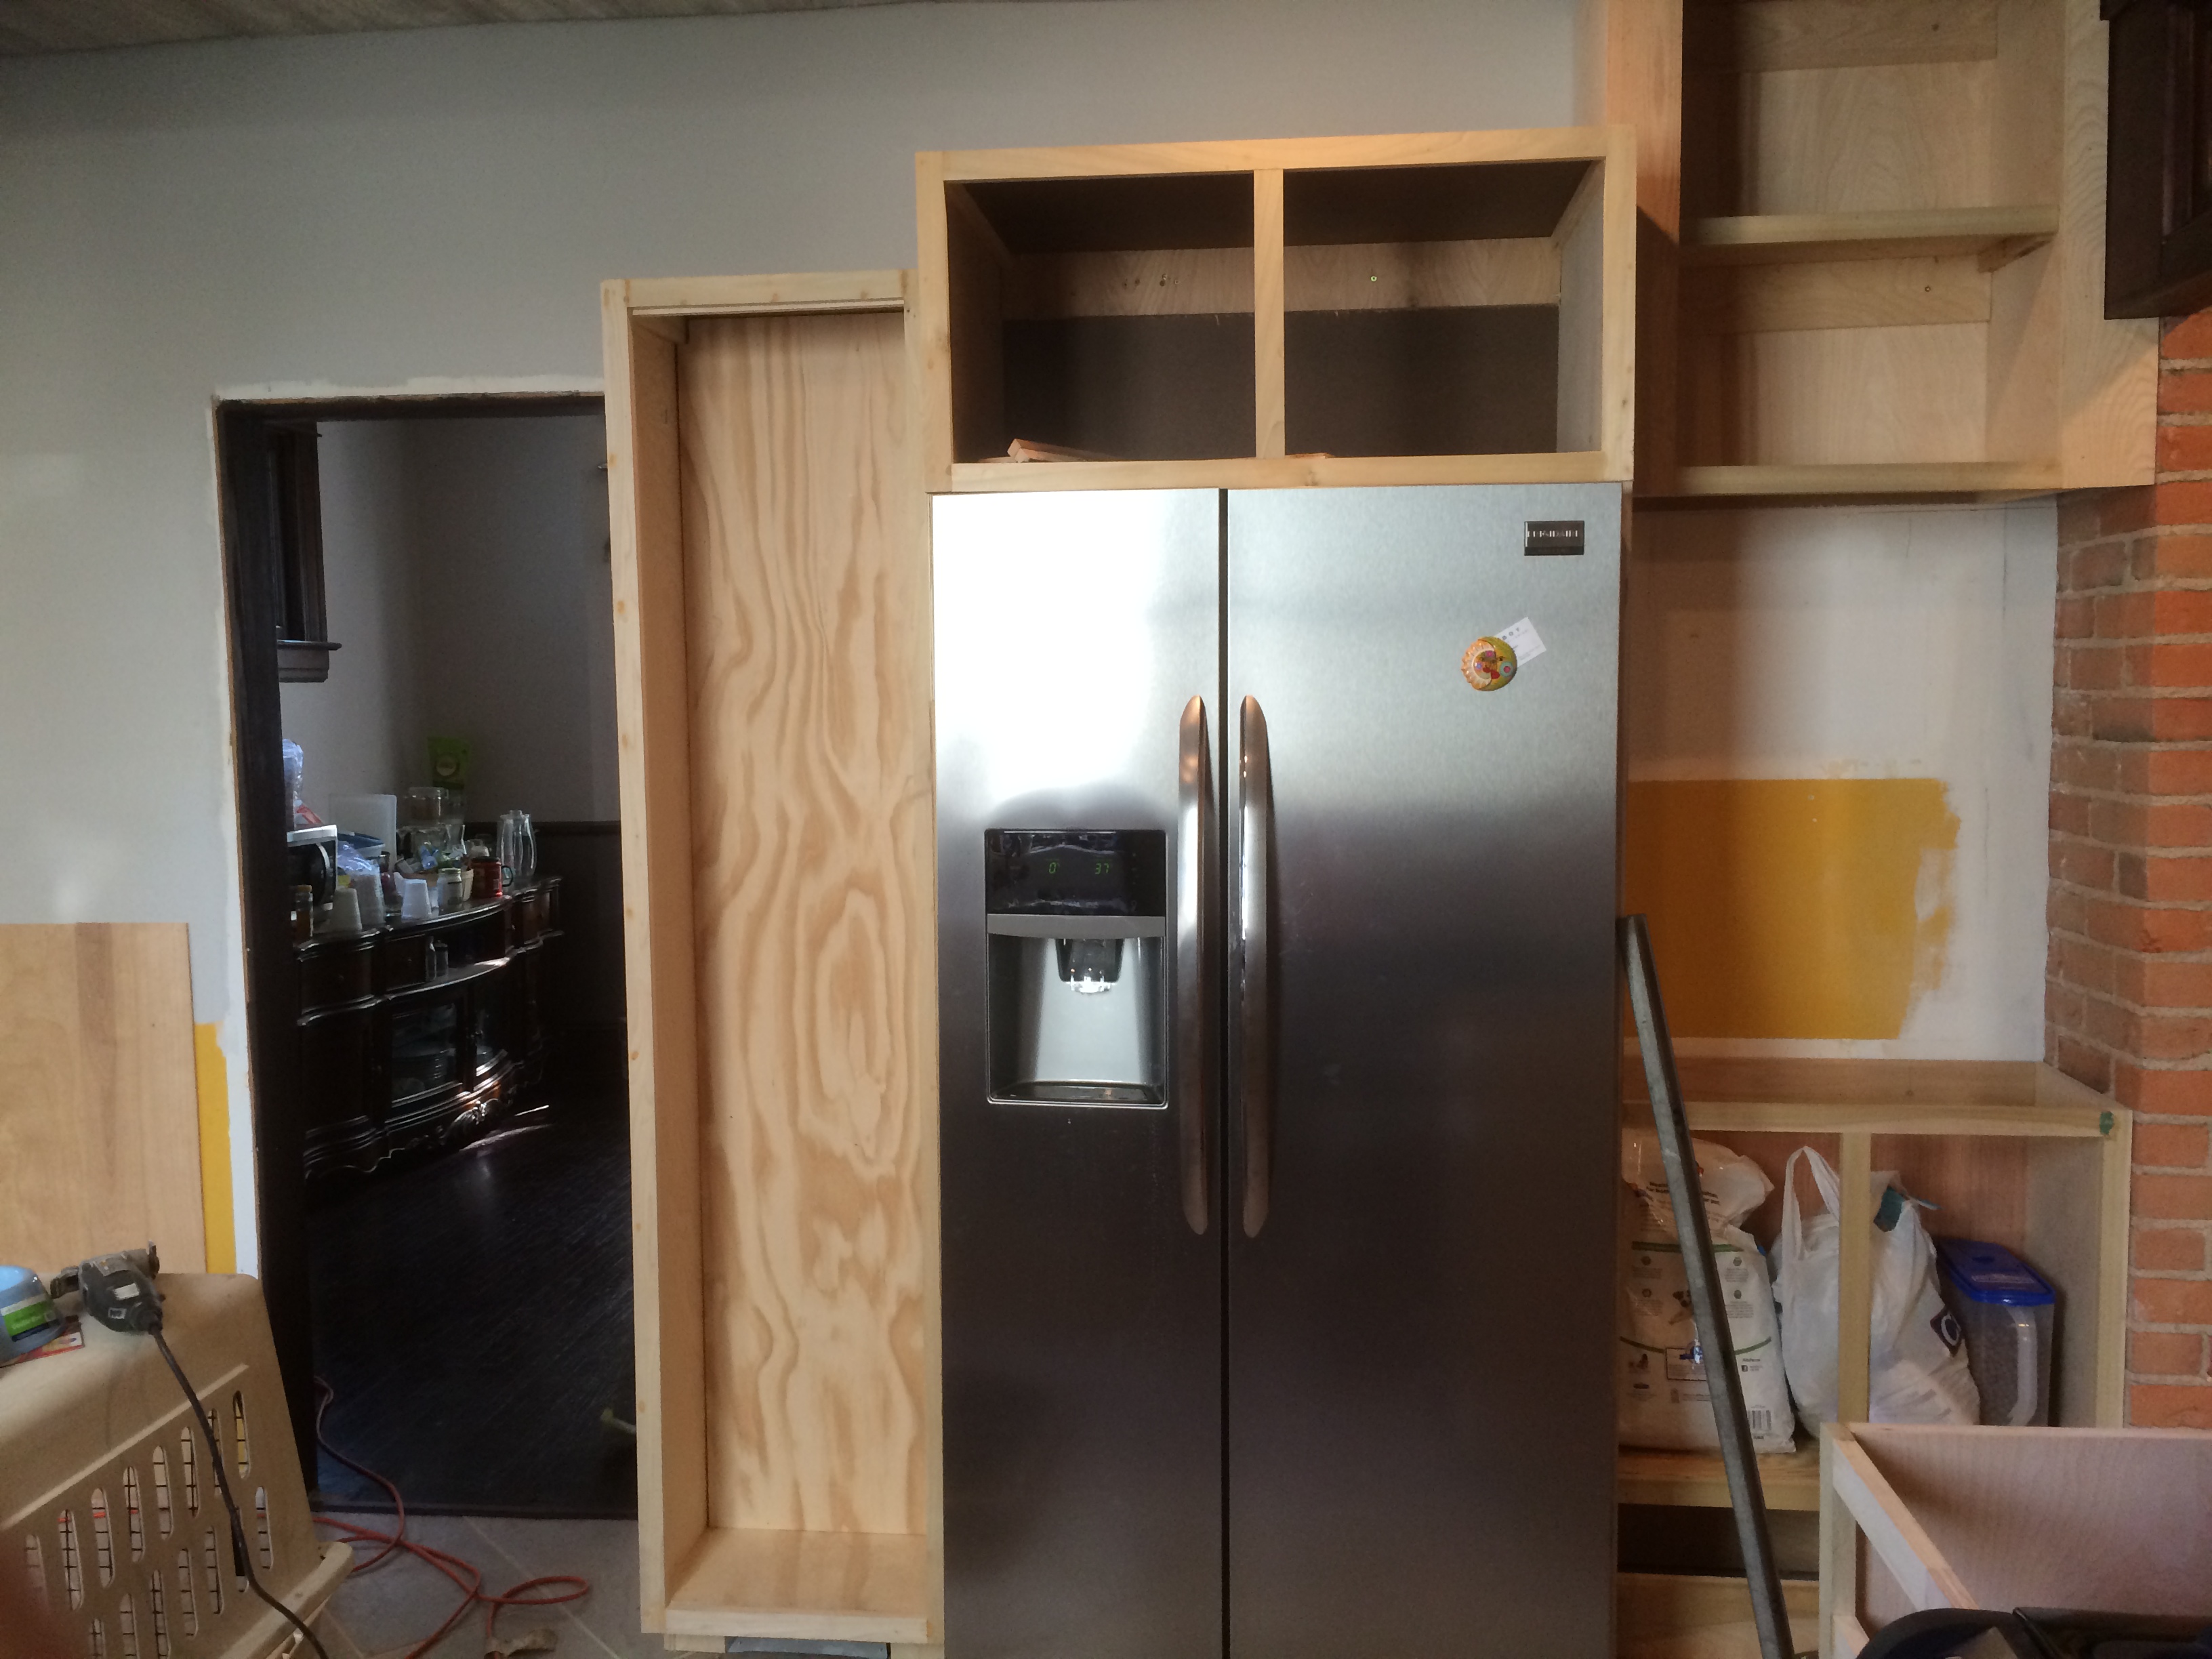
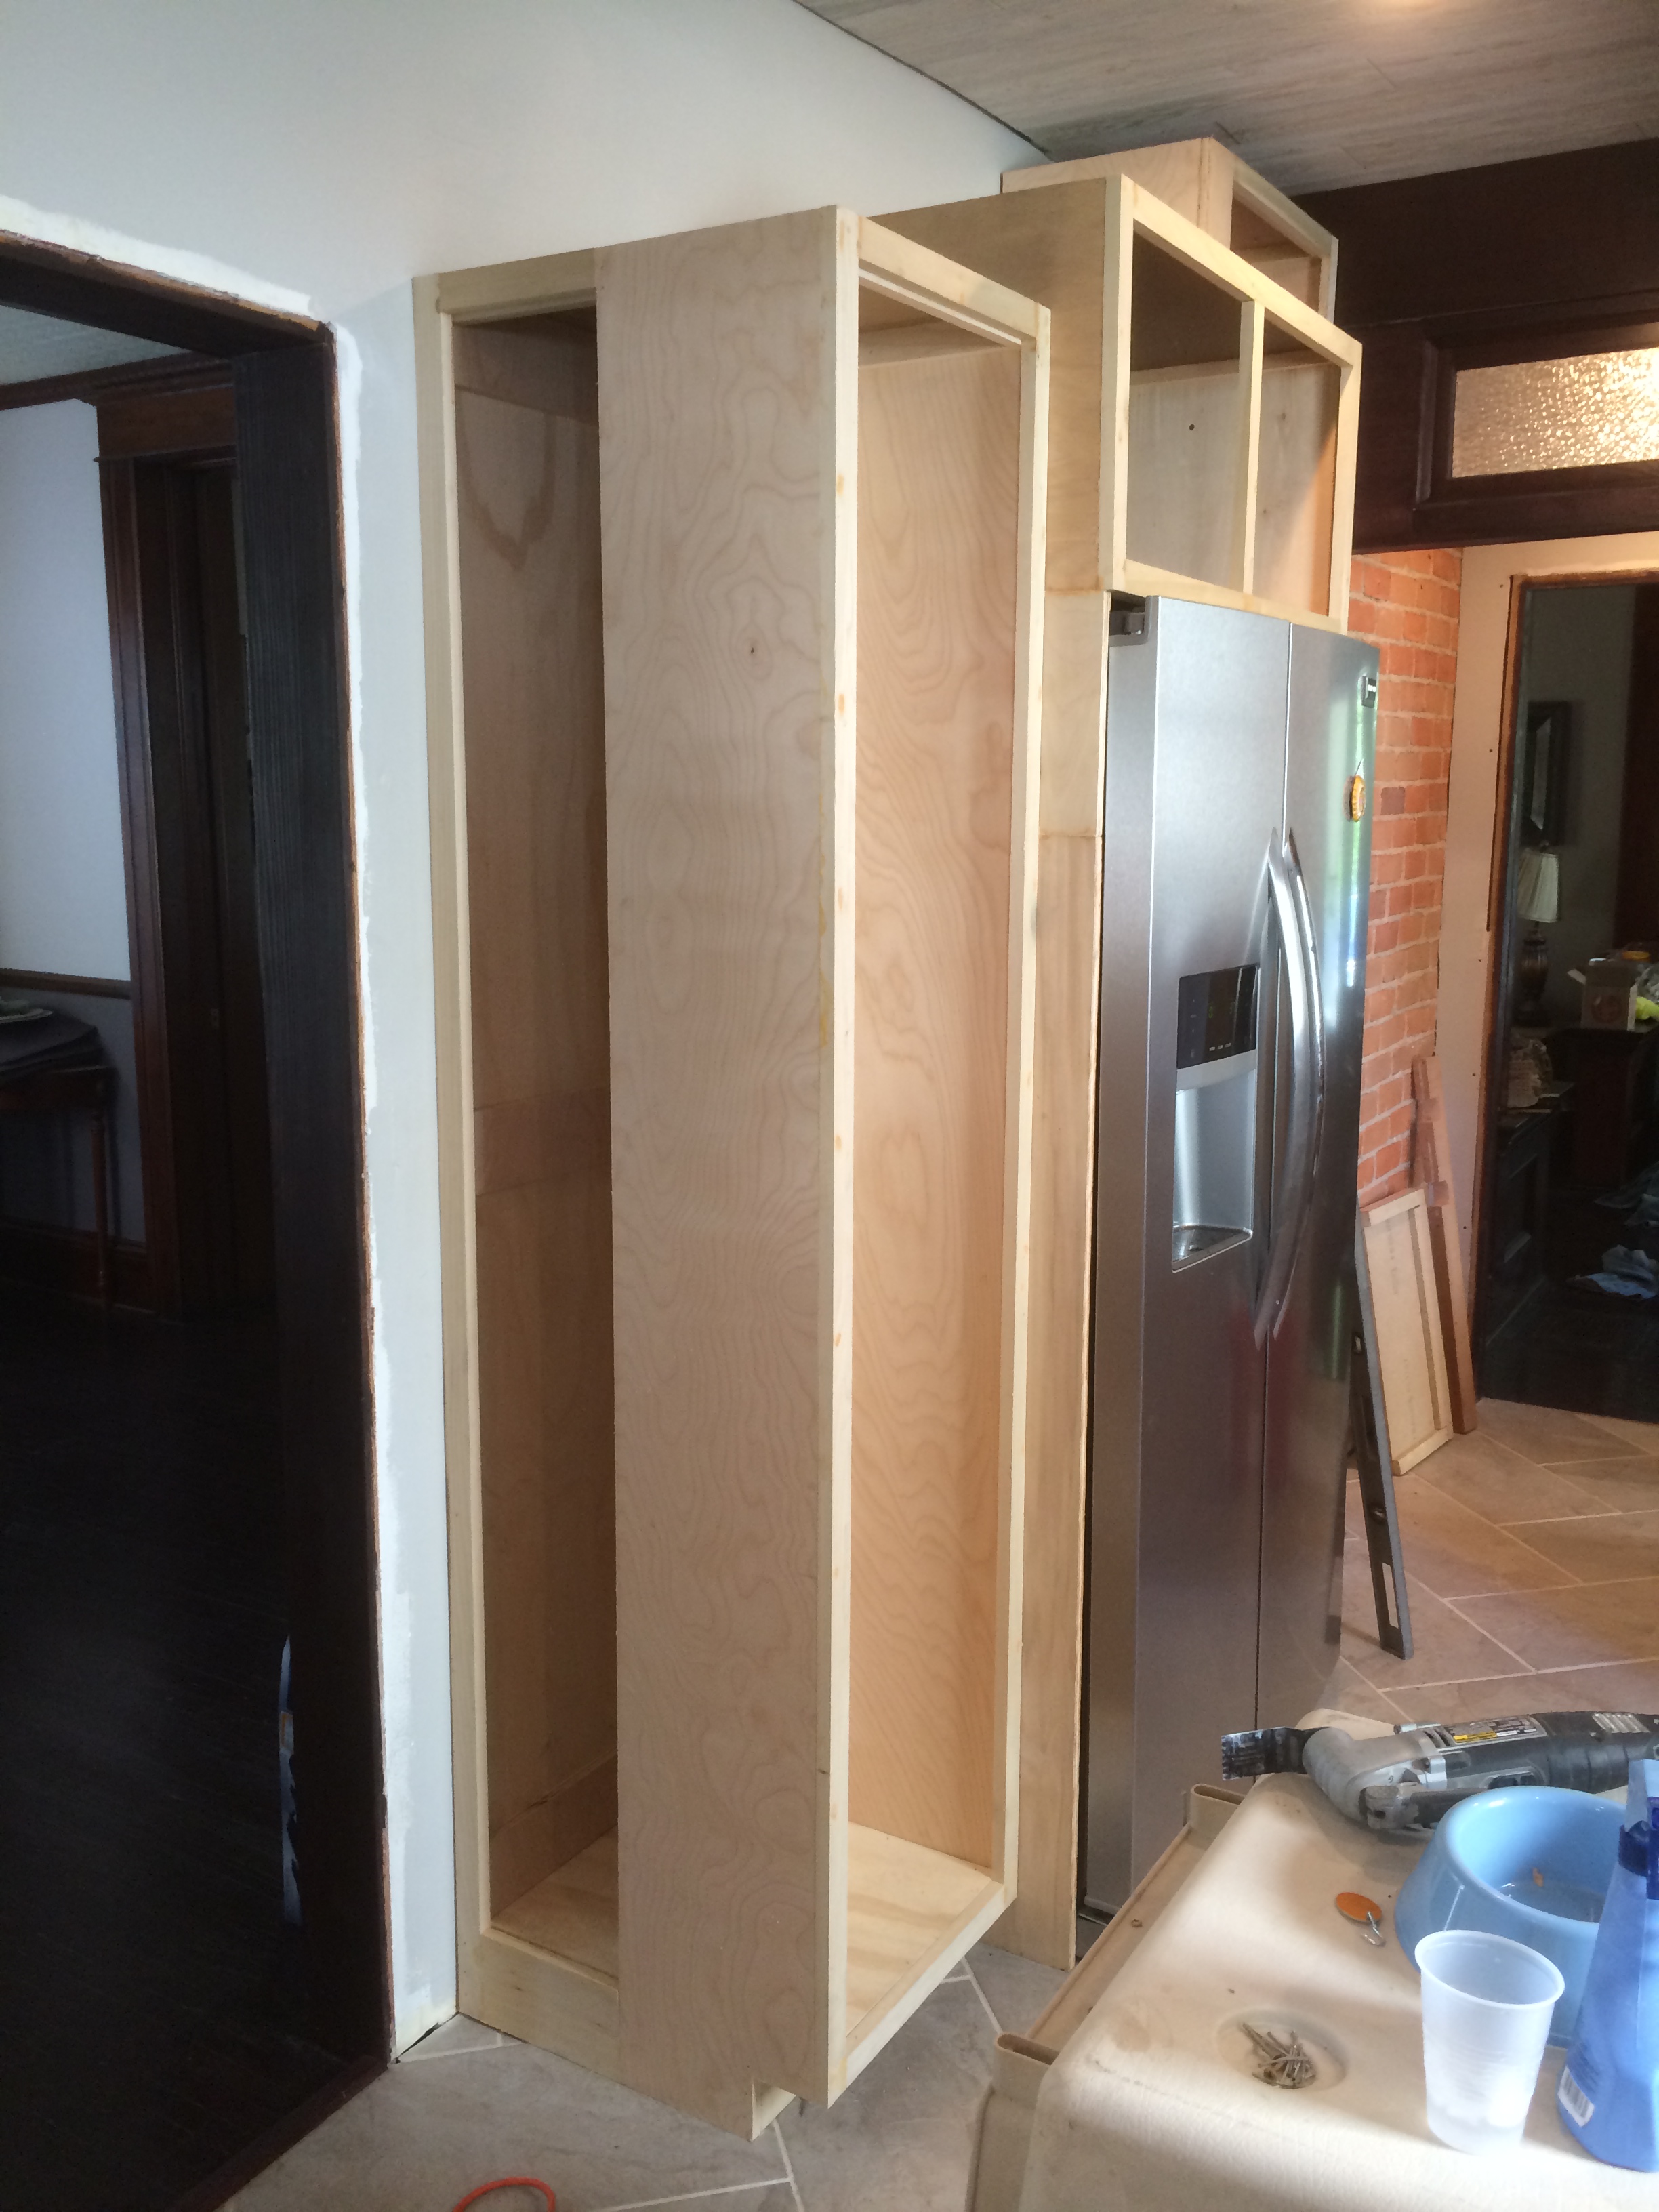
Broom closet anyone?!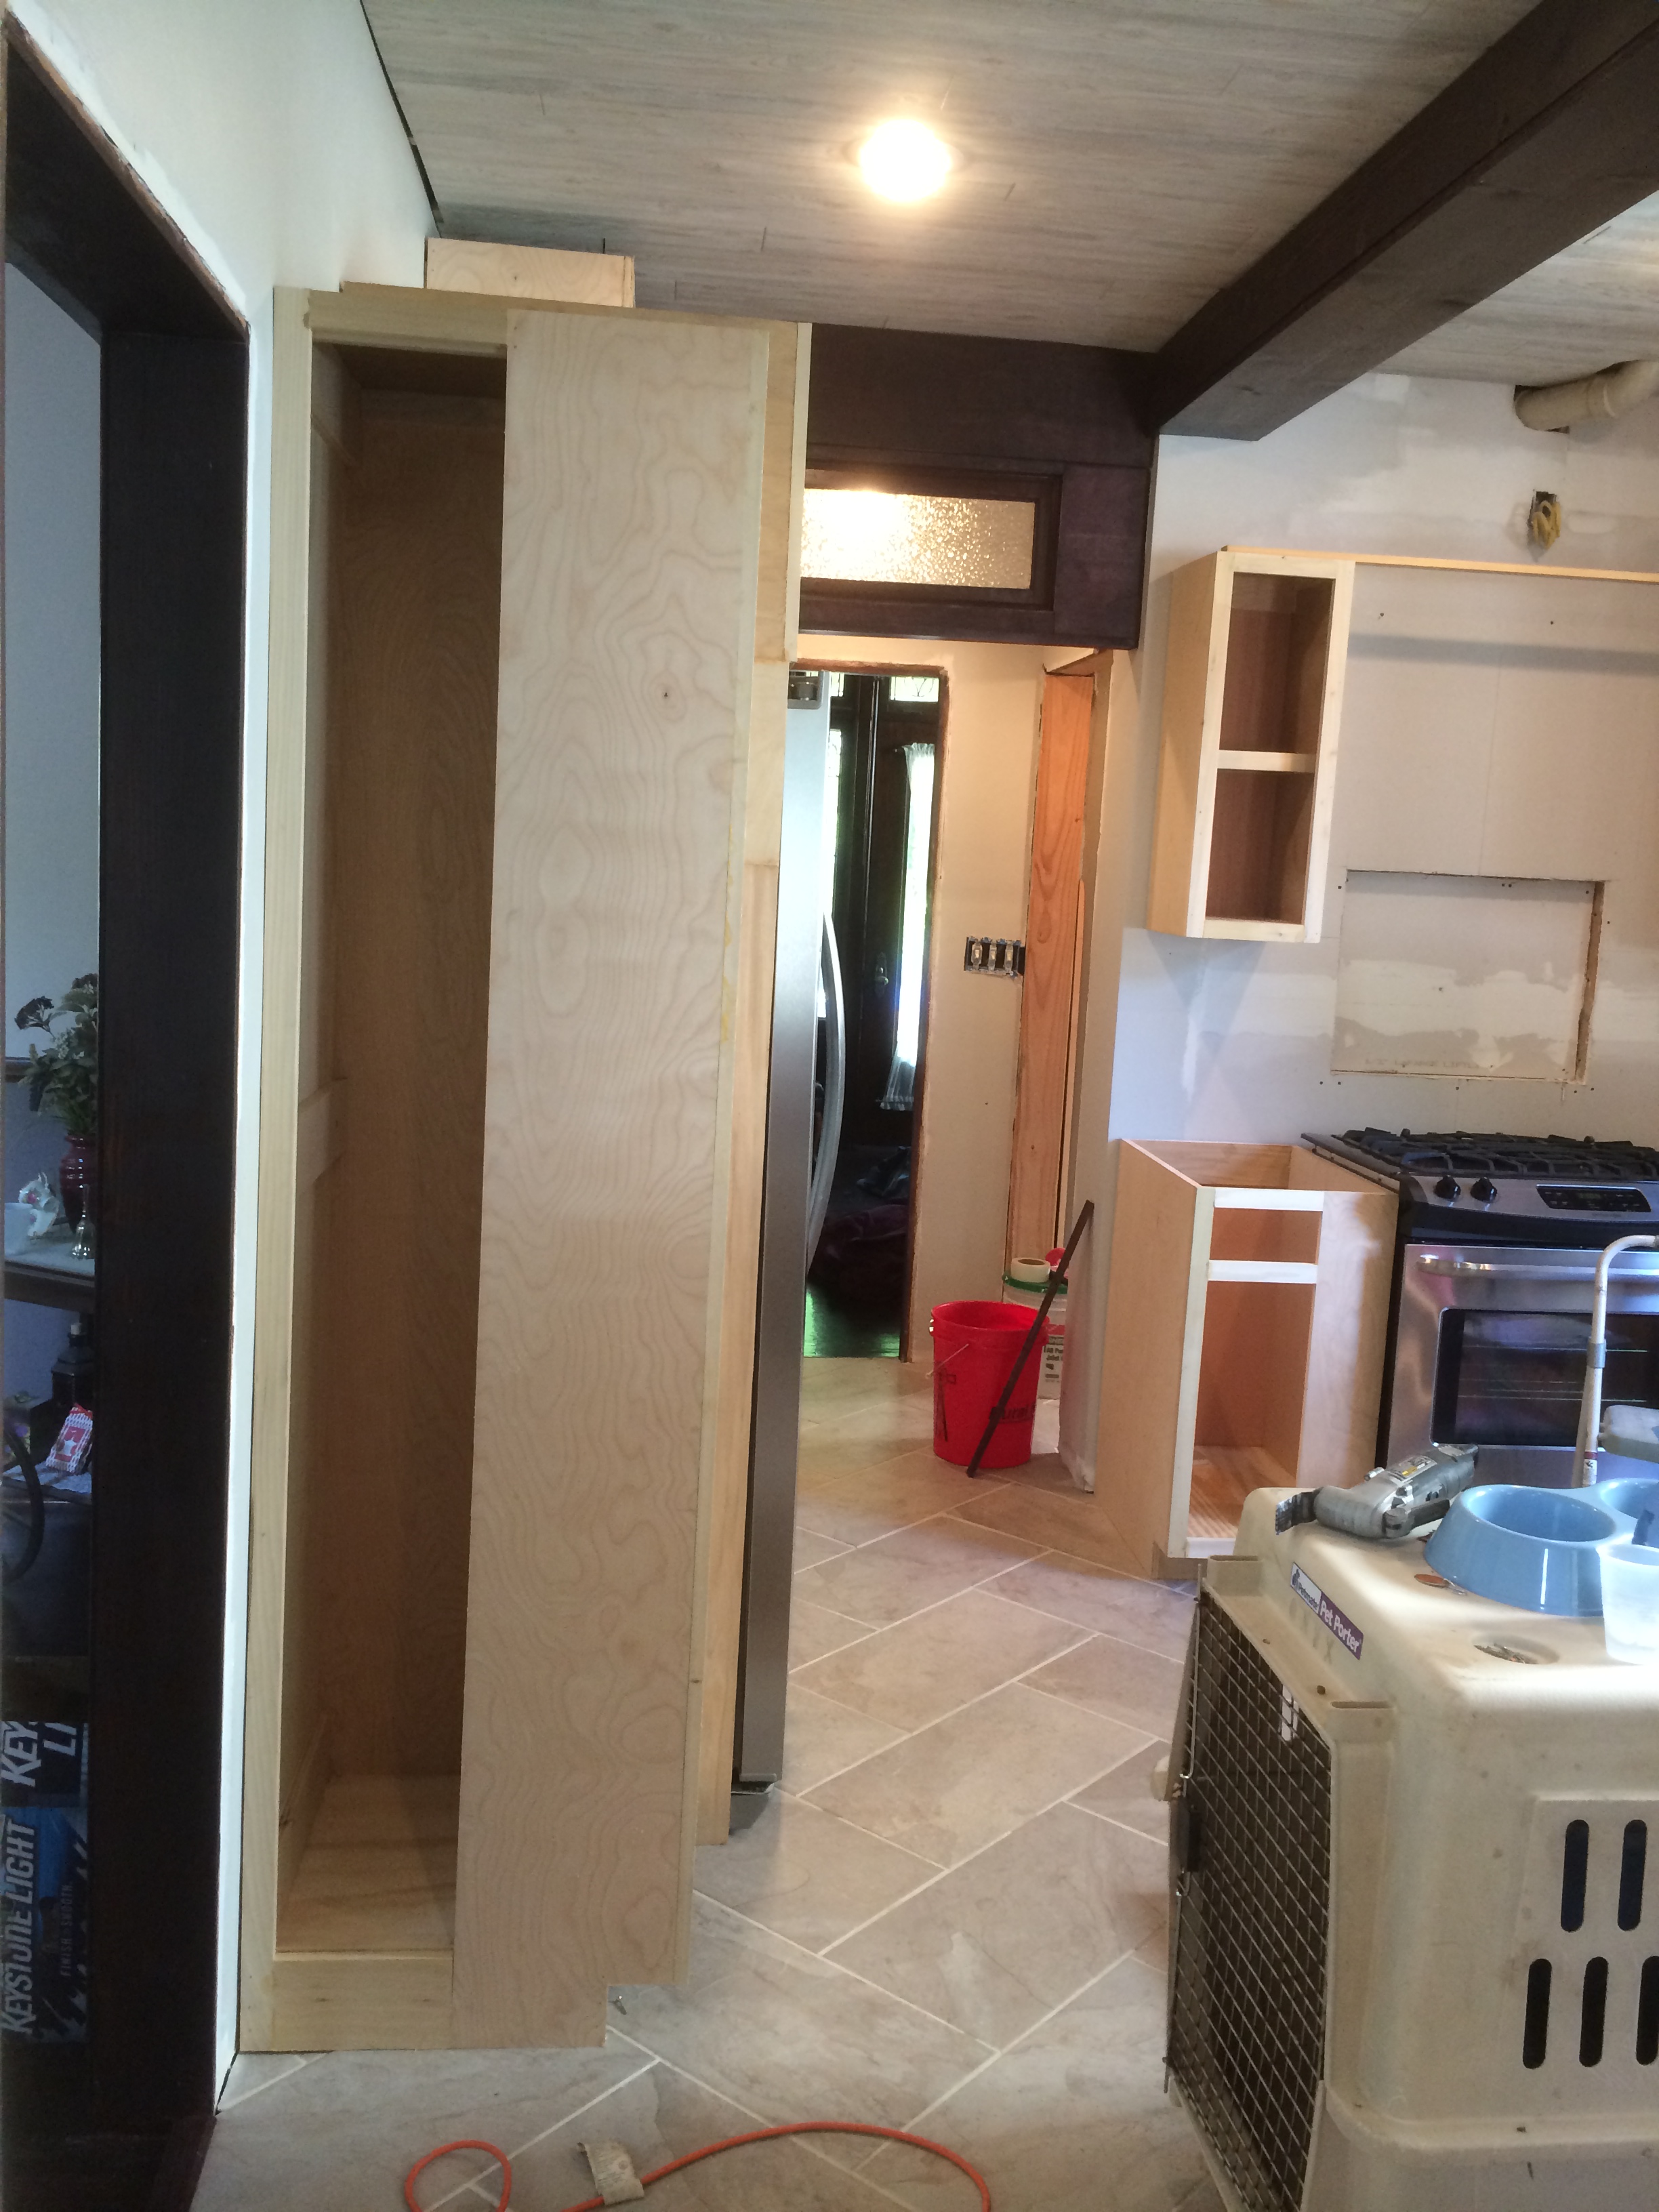
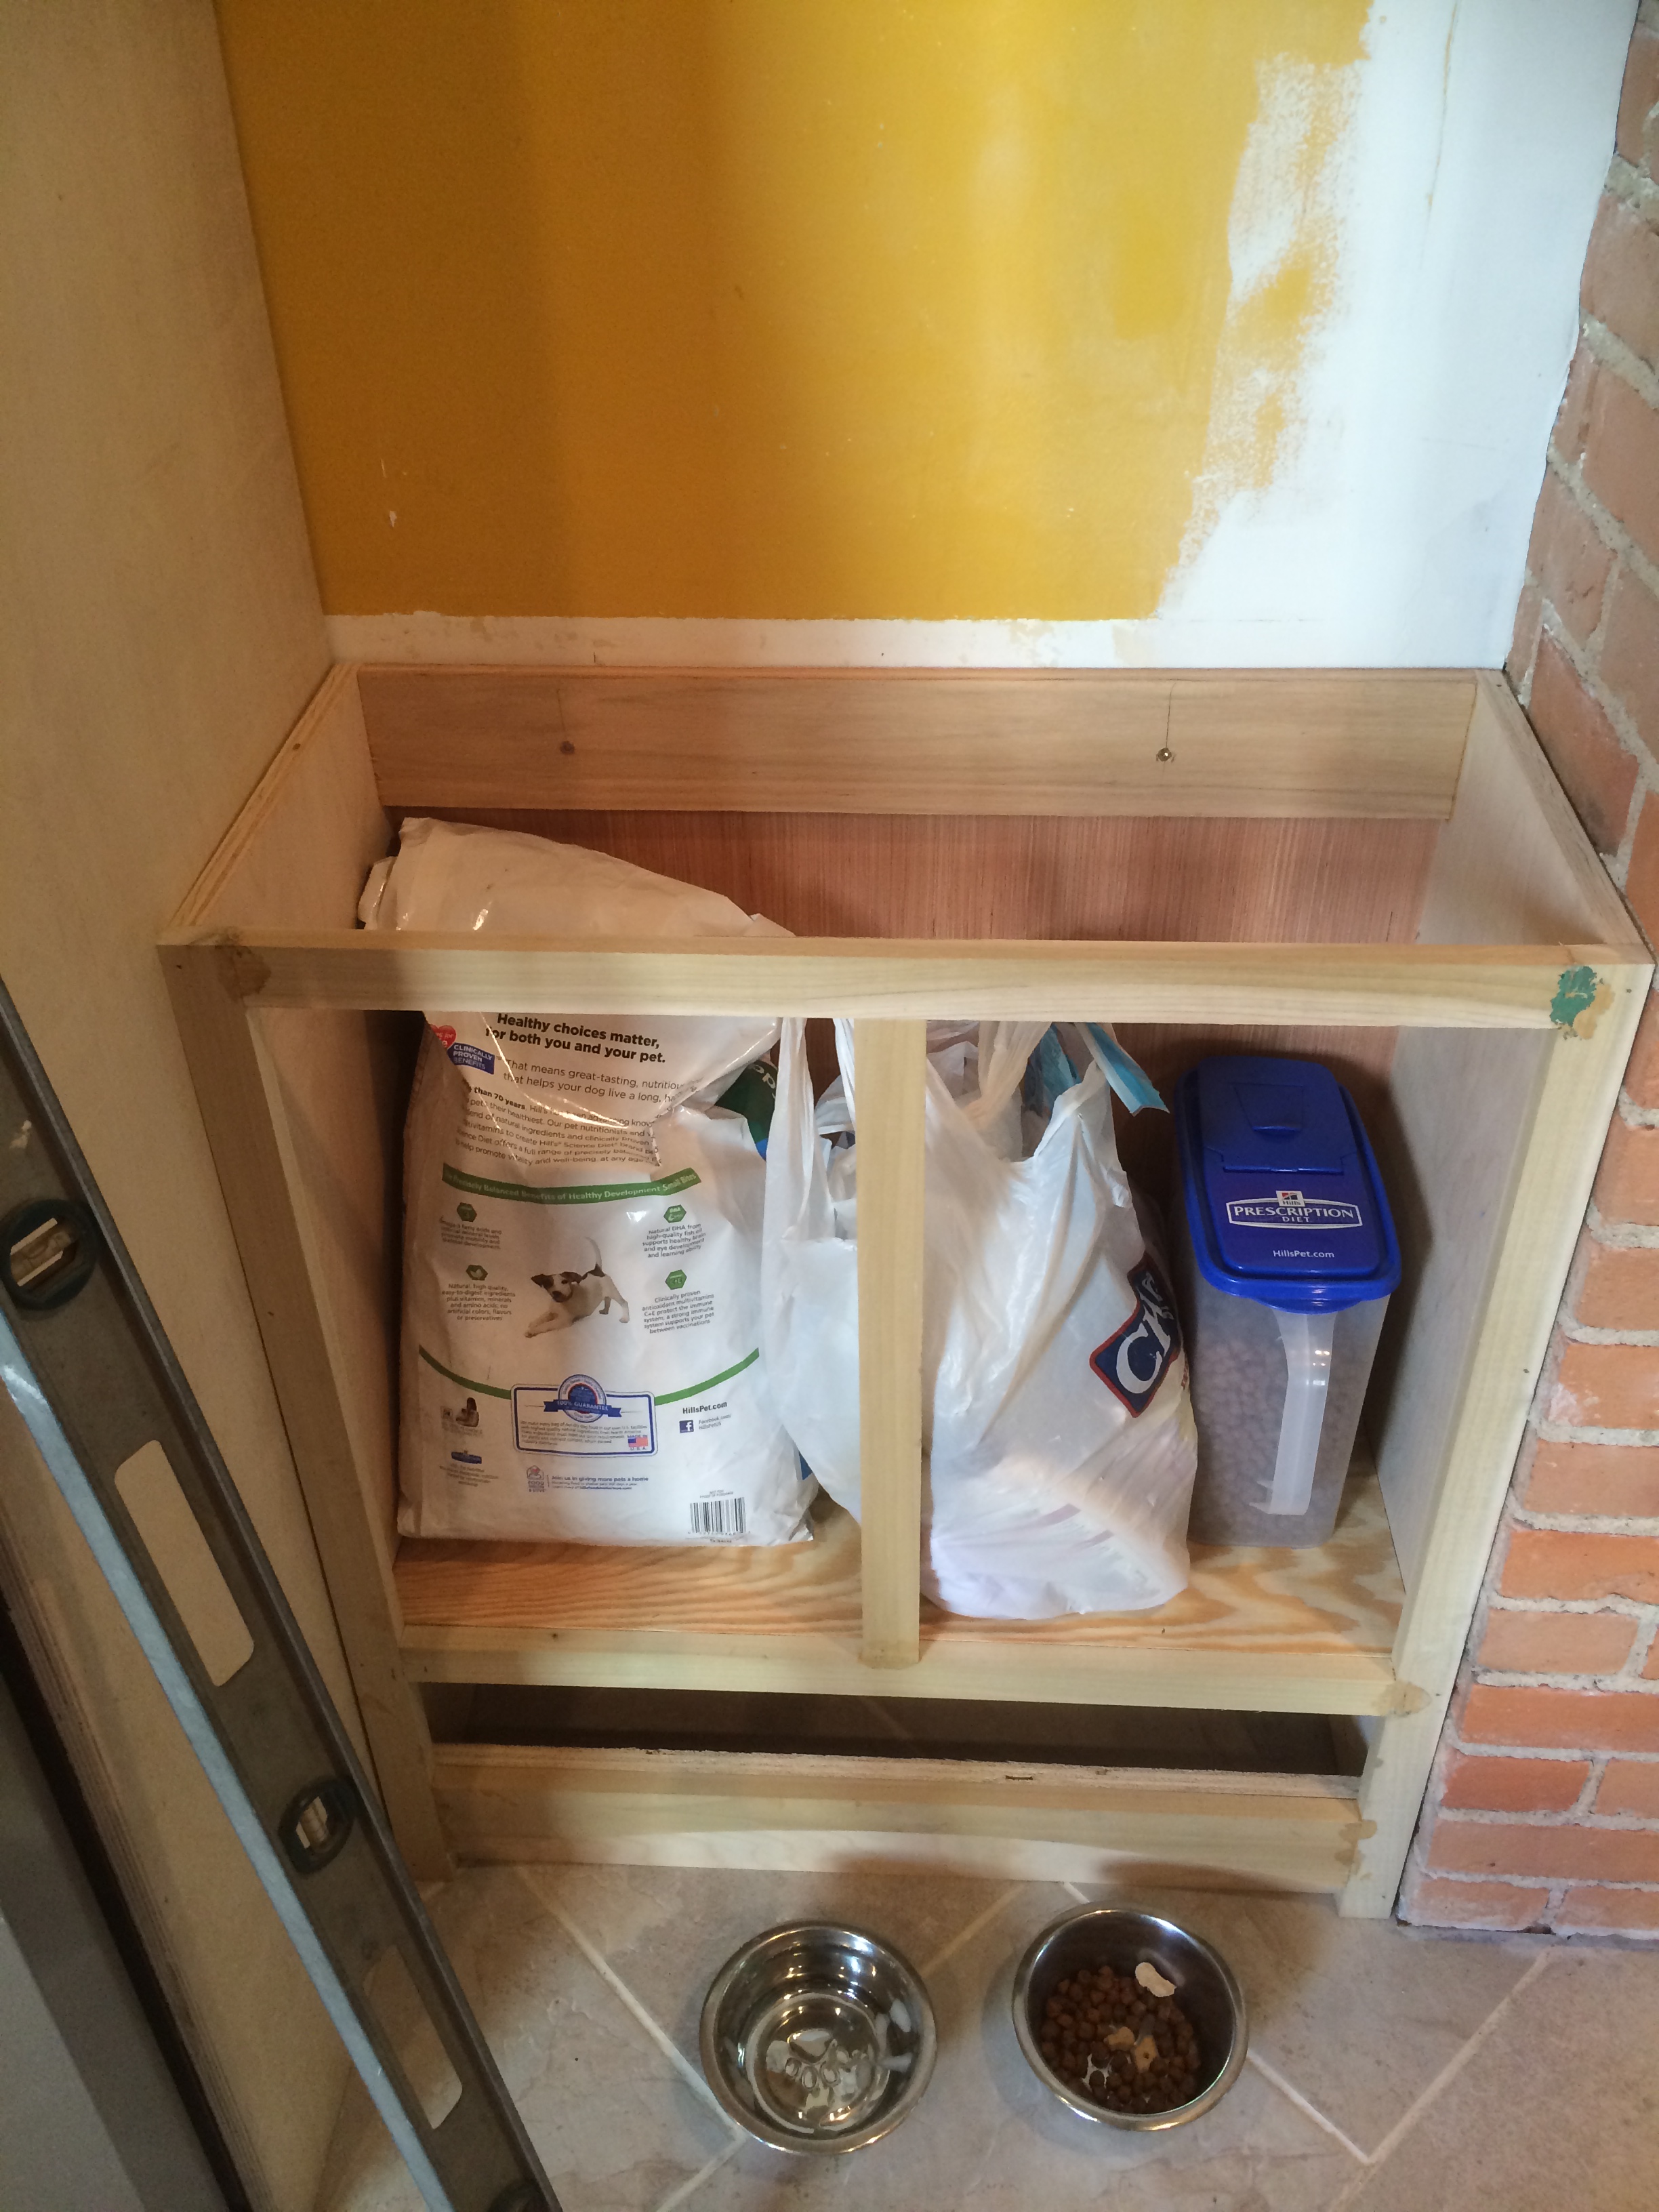
Ruco’s dog station! A handy way to hide all the puppy “stuff” including a pull out drawer which will hold his food and water bowls.
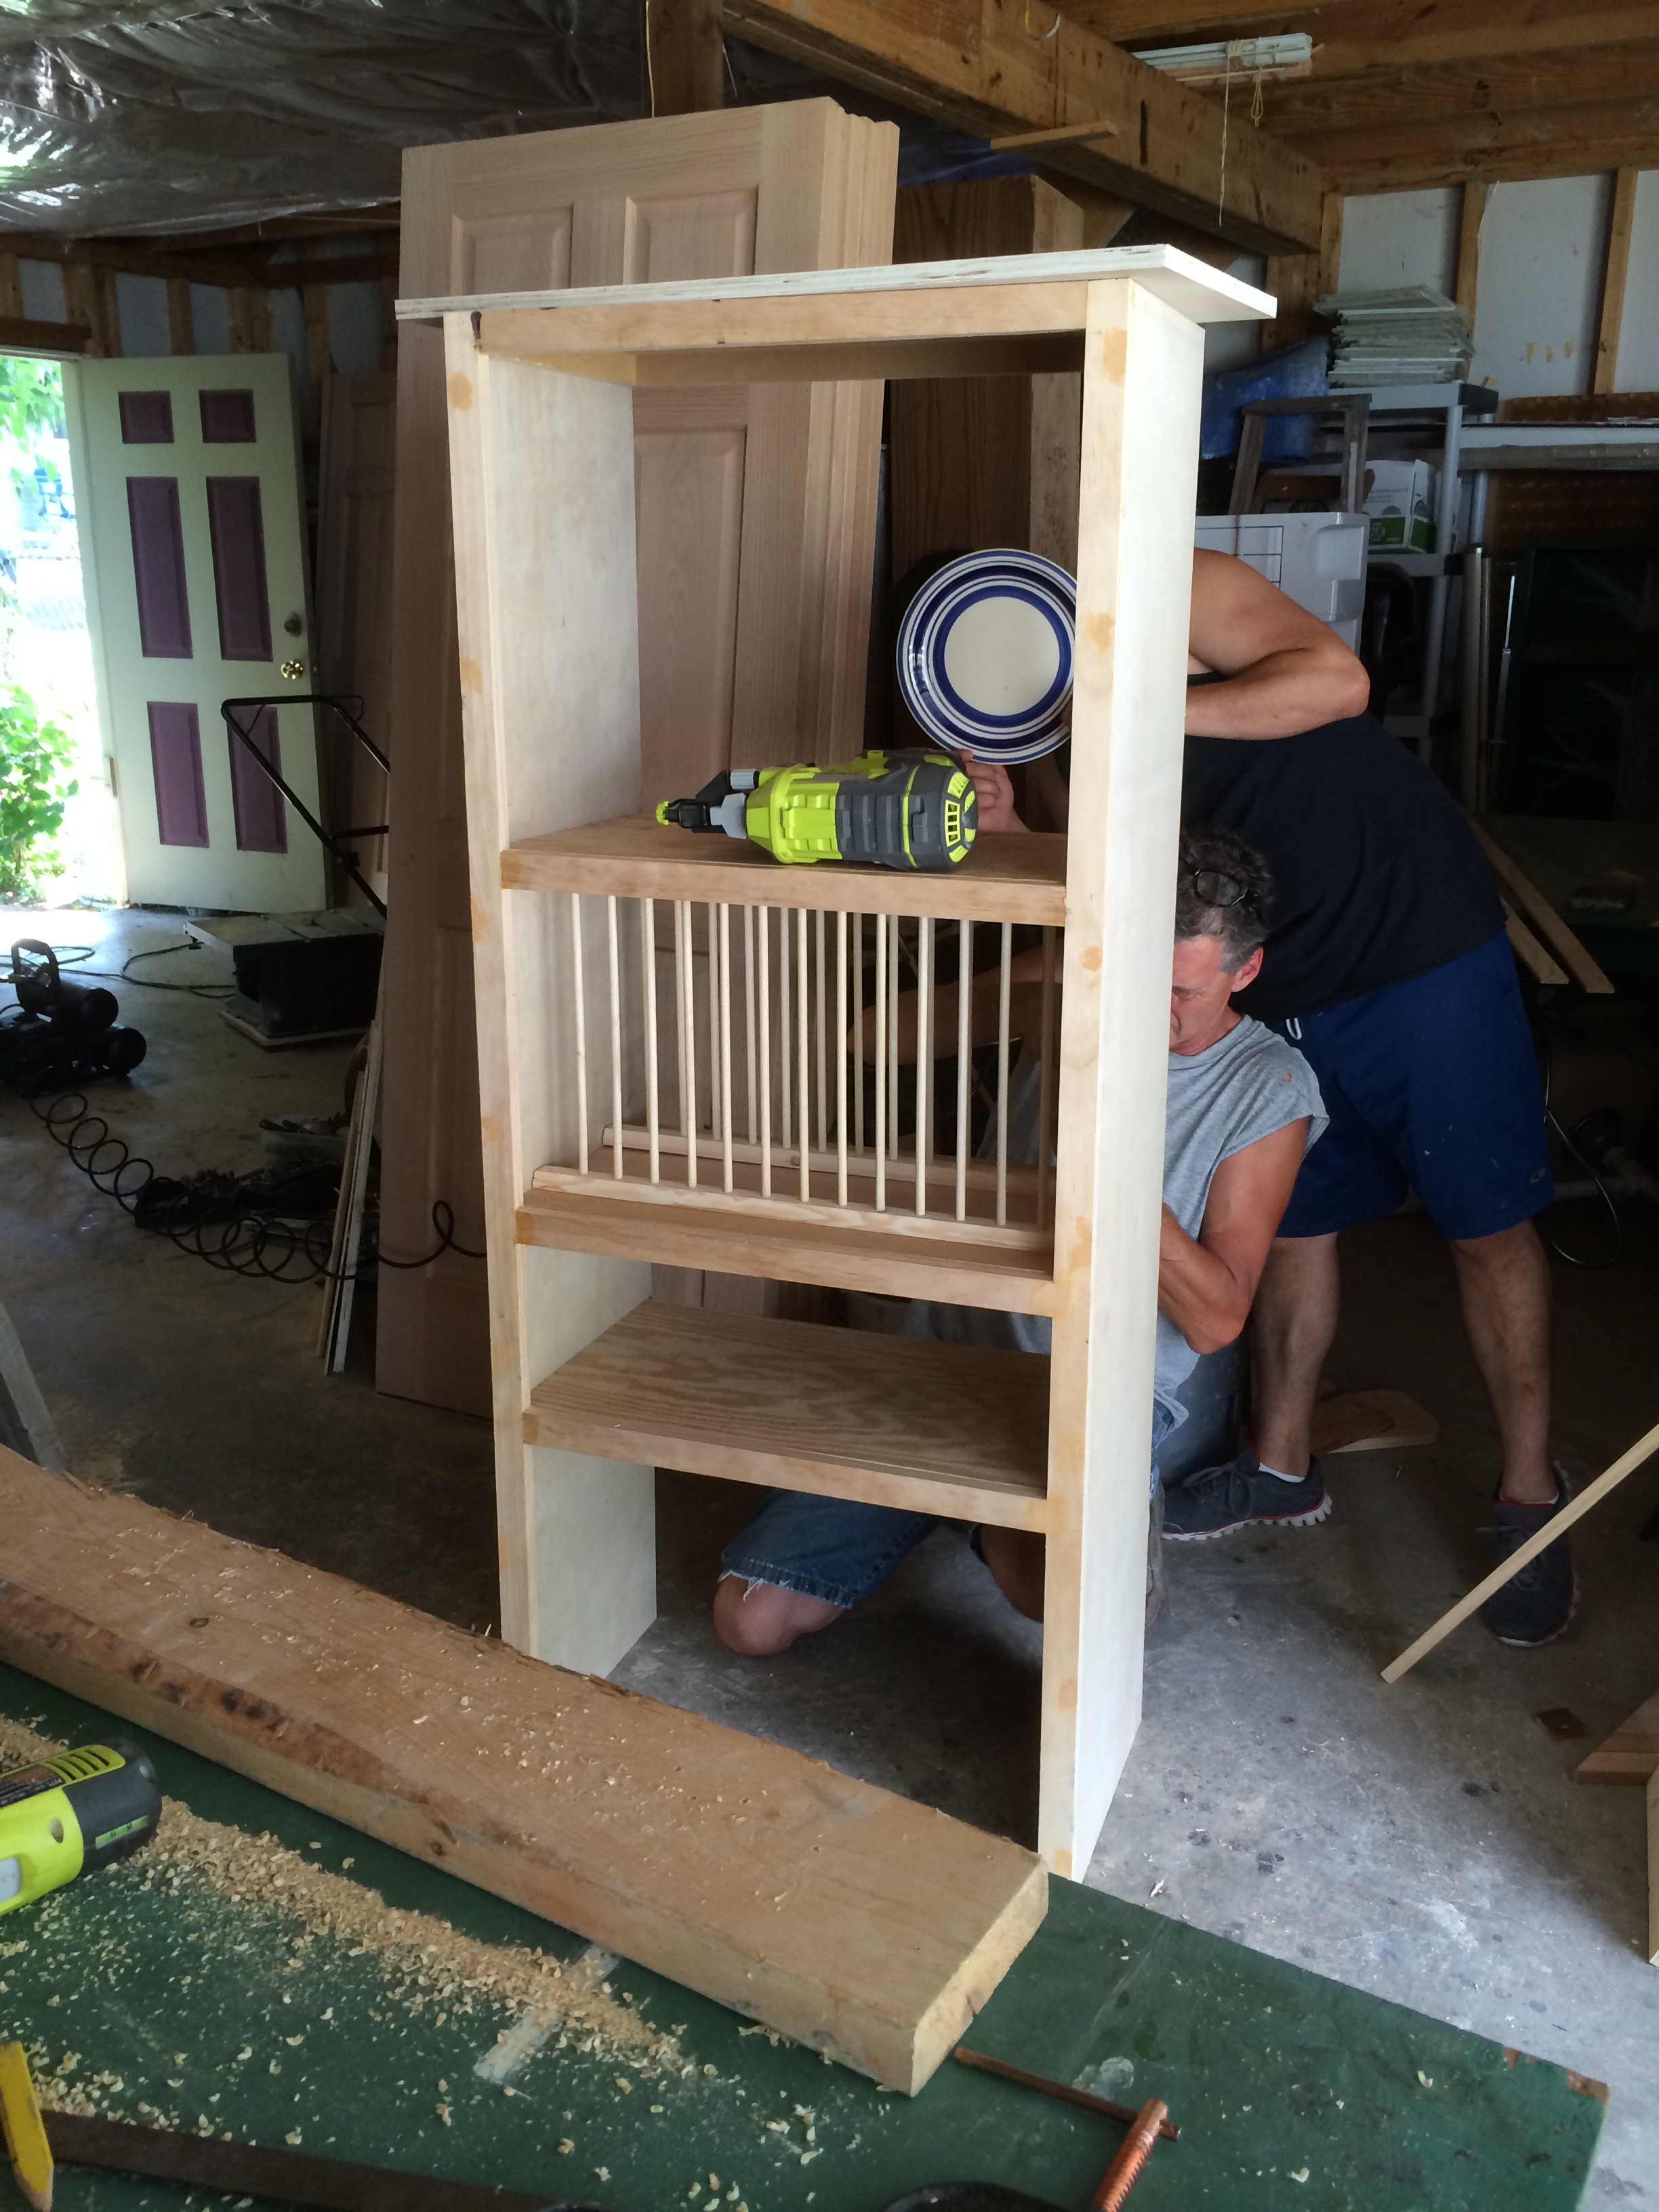
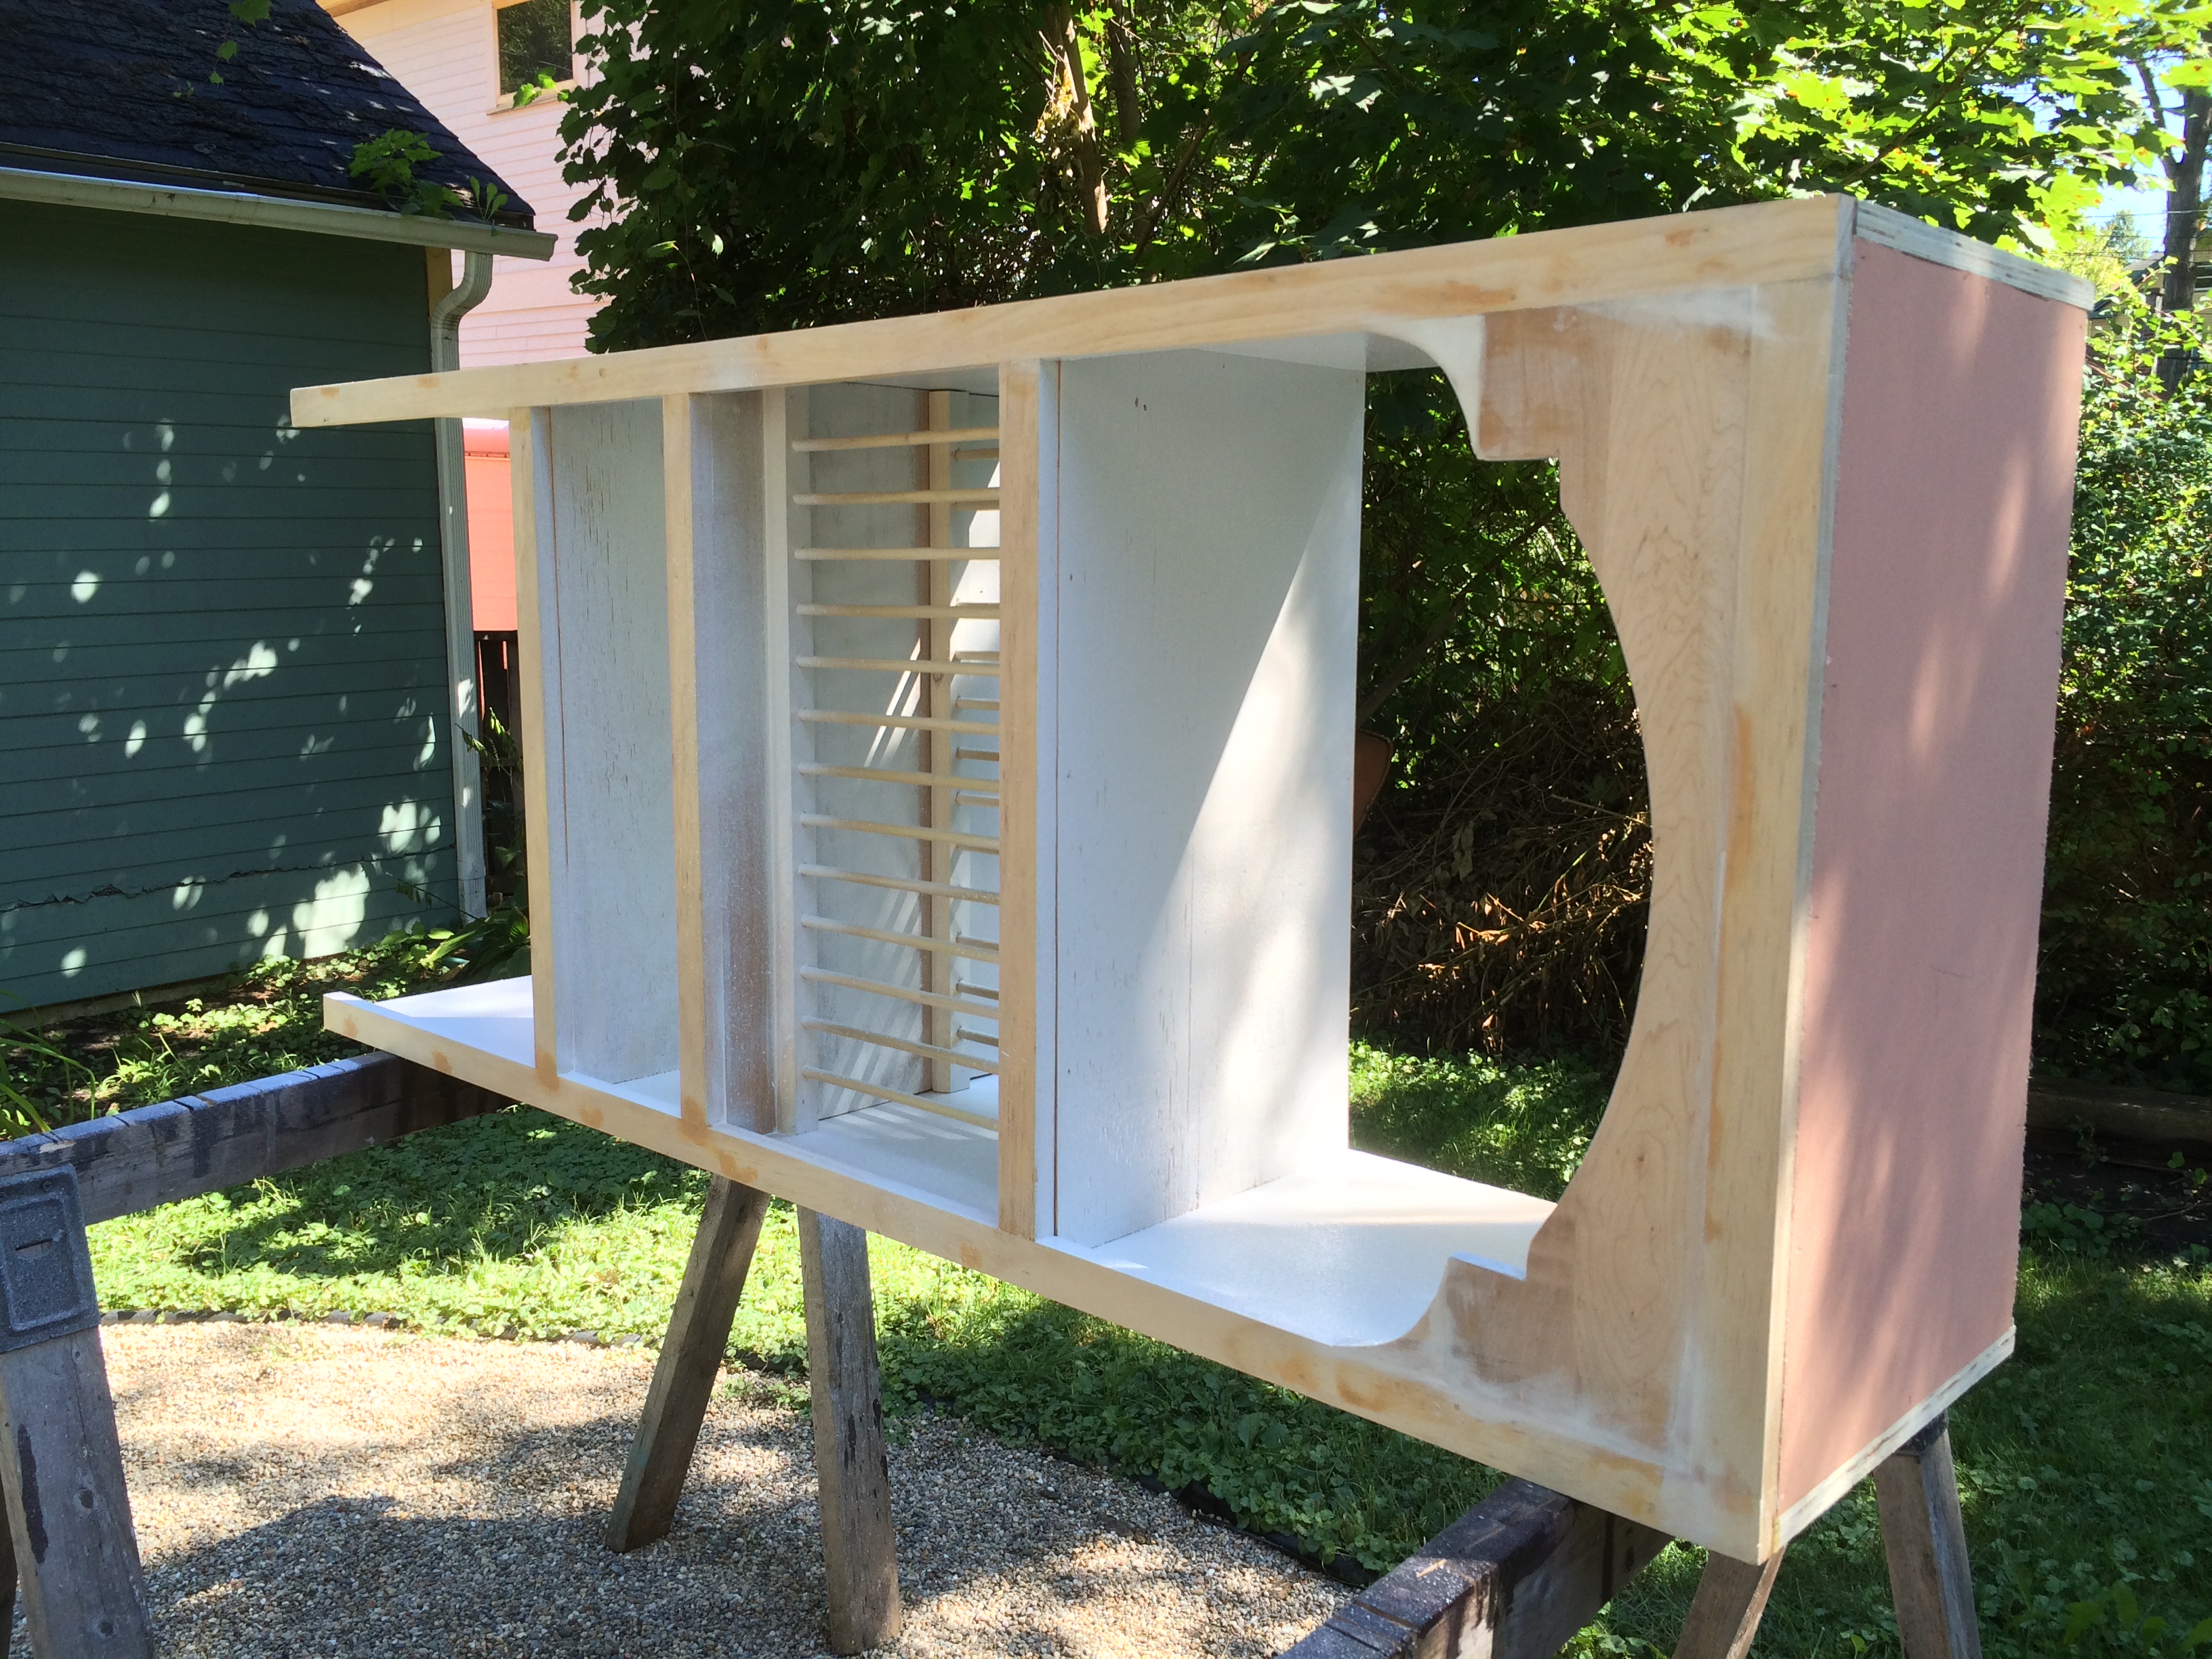
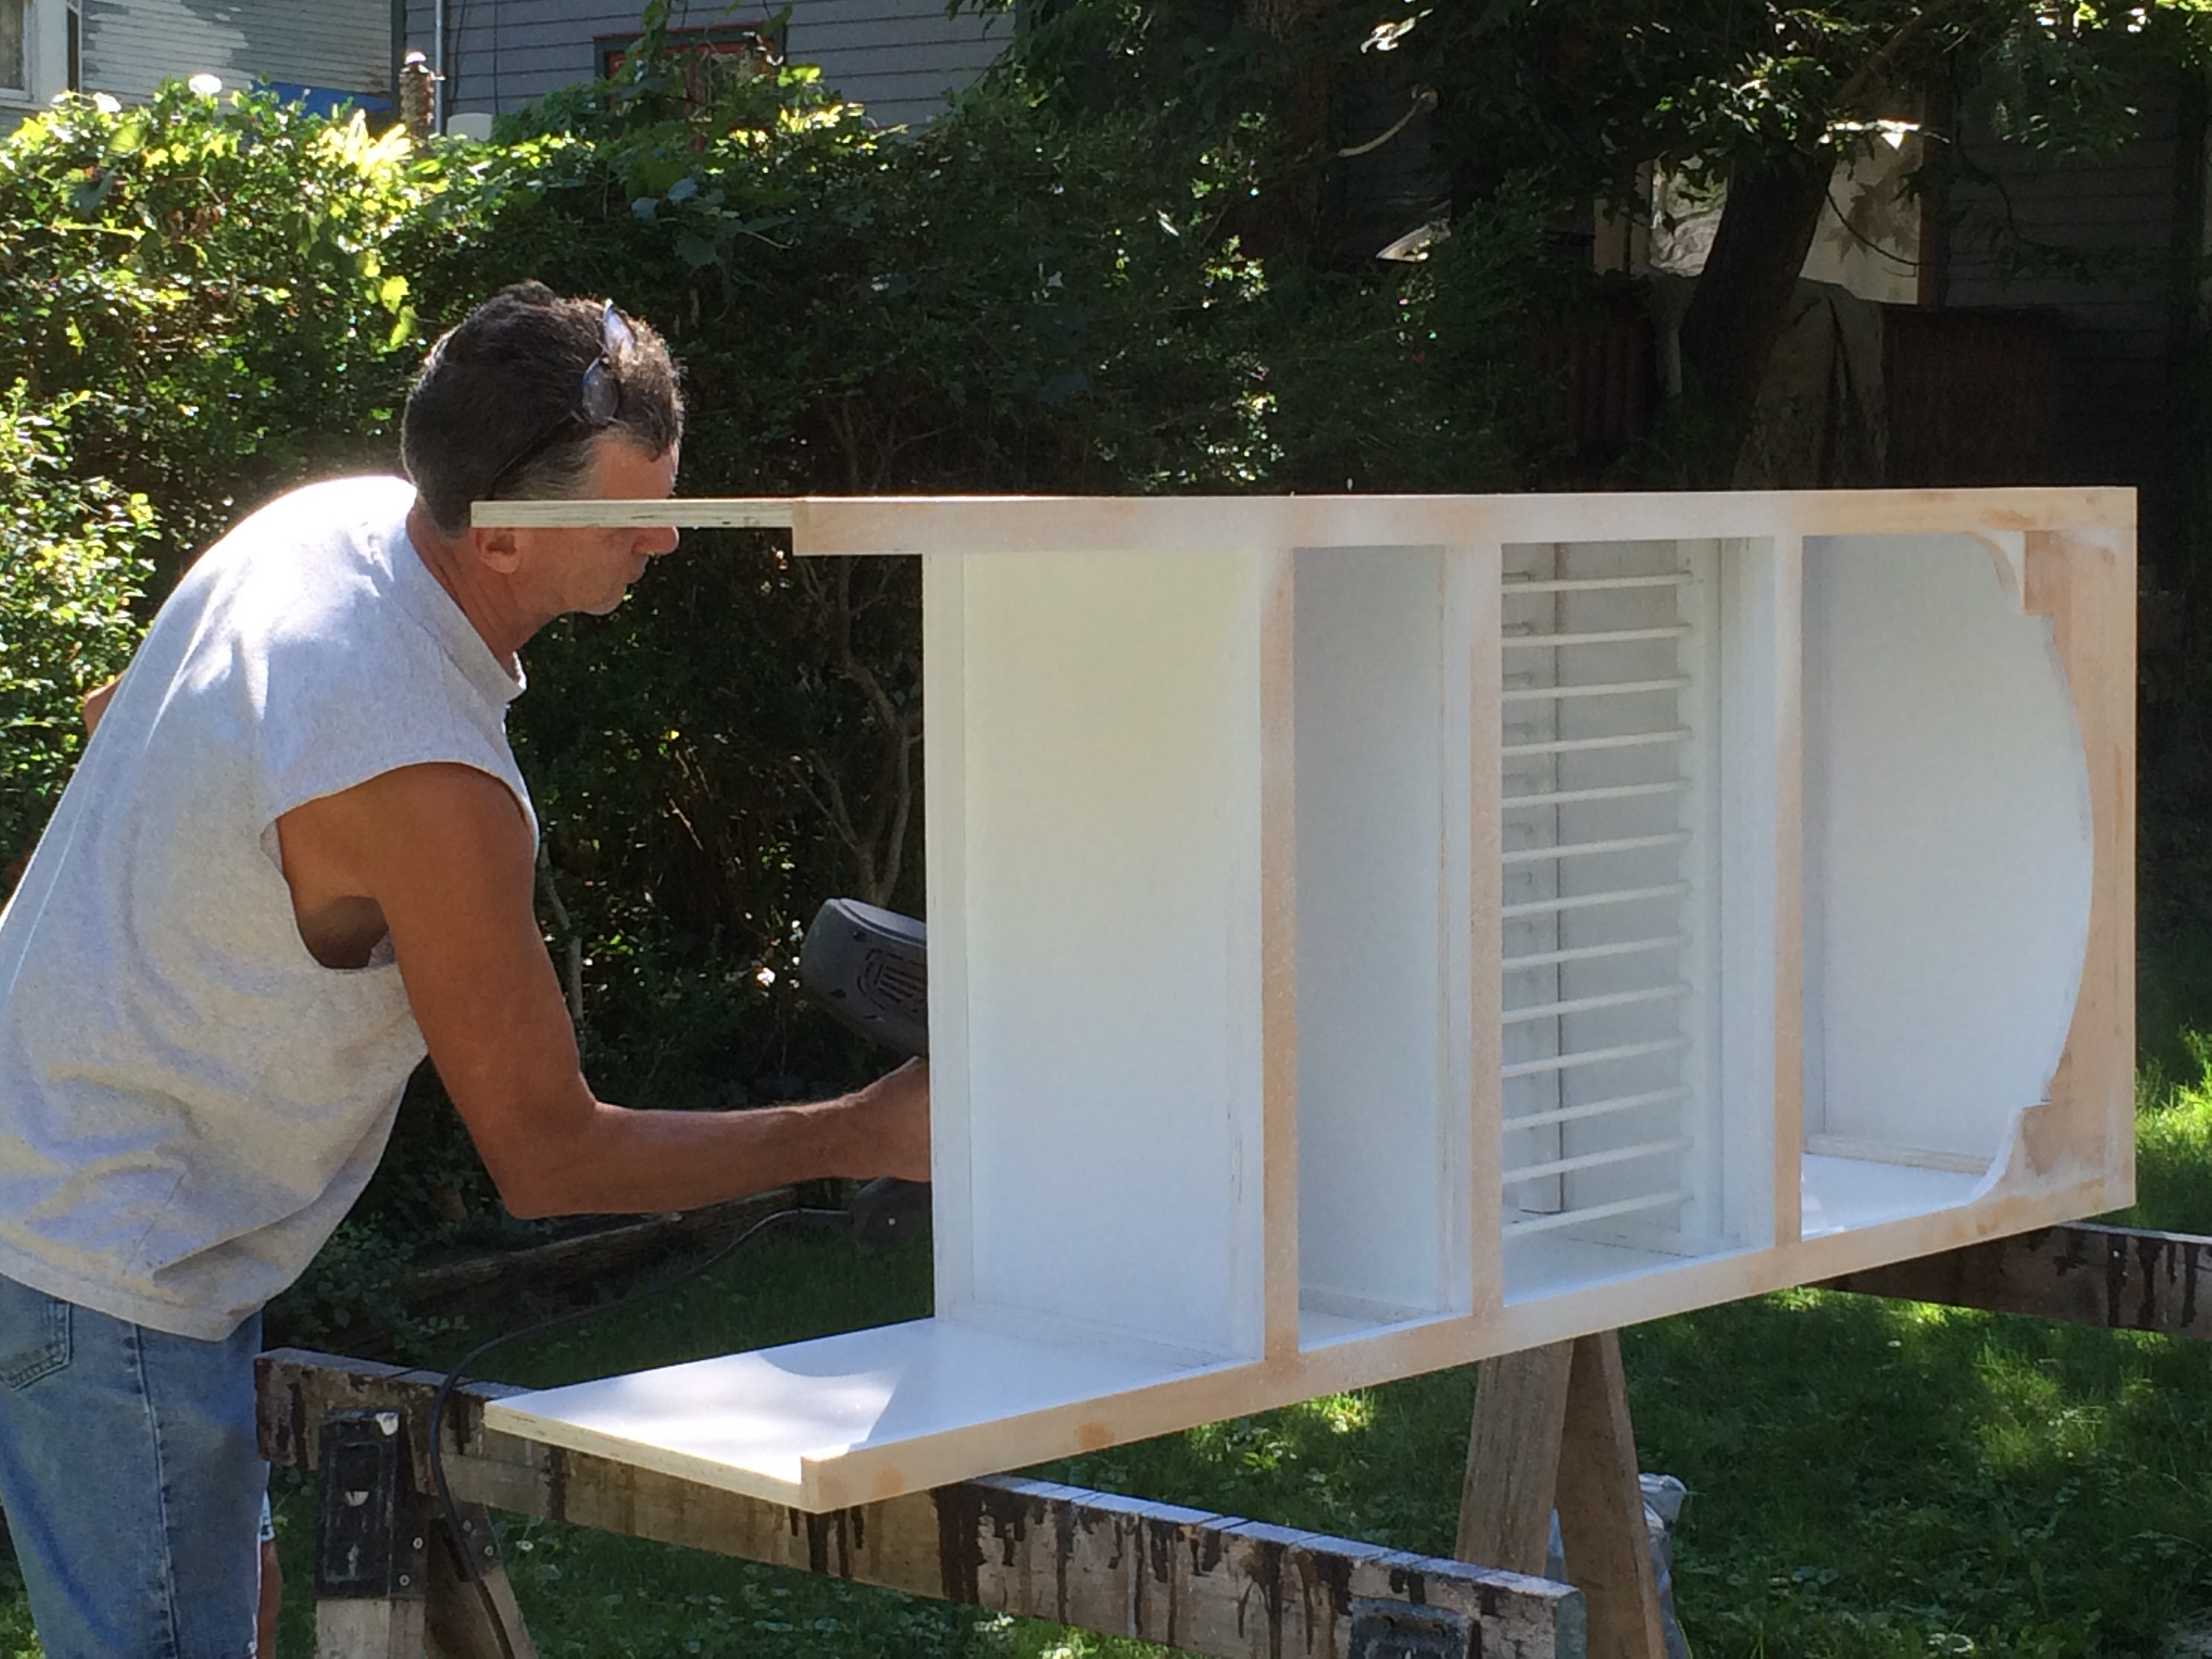
On the other side of the kitchen we added a handy coffee nook complete with a shelf for the coffee mugs and topped off with a dish rack.

After everything was built we started the long and stinky process of priming everything. Since we had to prime cabinets which were previously installed in our kitchen (and likely very greasy and grimy) we chose to use Zinnser’s Cover Stain oil-based primer.
Finally, everything is the same color and the kitchen is starting to look a lot more cohesive!
Next up, we have to sand and paint all of these! (ugh)
Until next time!
-L
