I find that one of the focal points of a kitchen is the range hood. There are many styles and designs to choose from. In sticking with the overall vibe of the home we decided that we wanted to keep the range hood pretty traditional. To me, that meant covering the stainless steel vent hood with a bit of plywood and molding to make it seem as if the hood were really just part of the cabinetry.
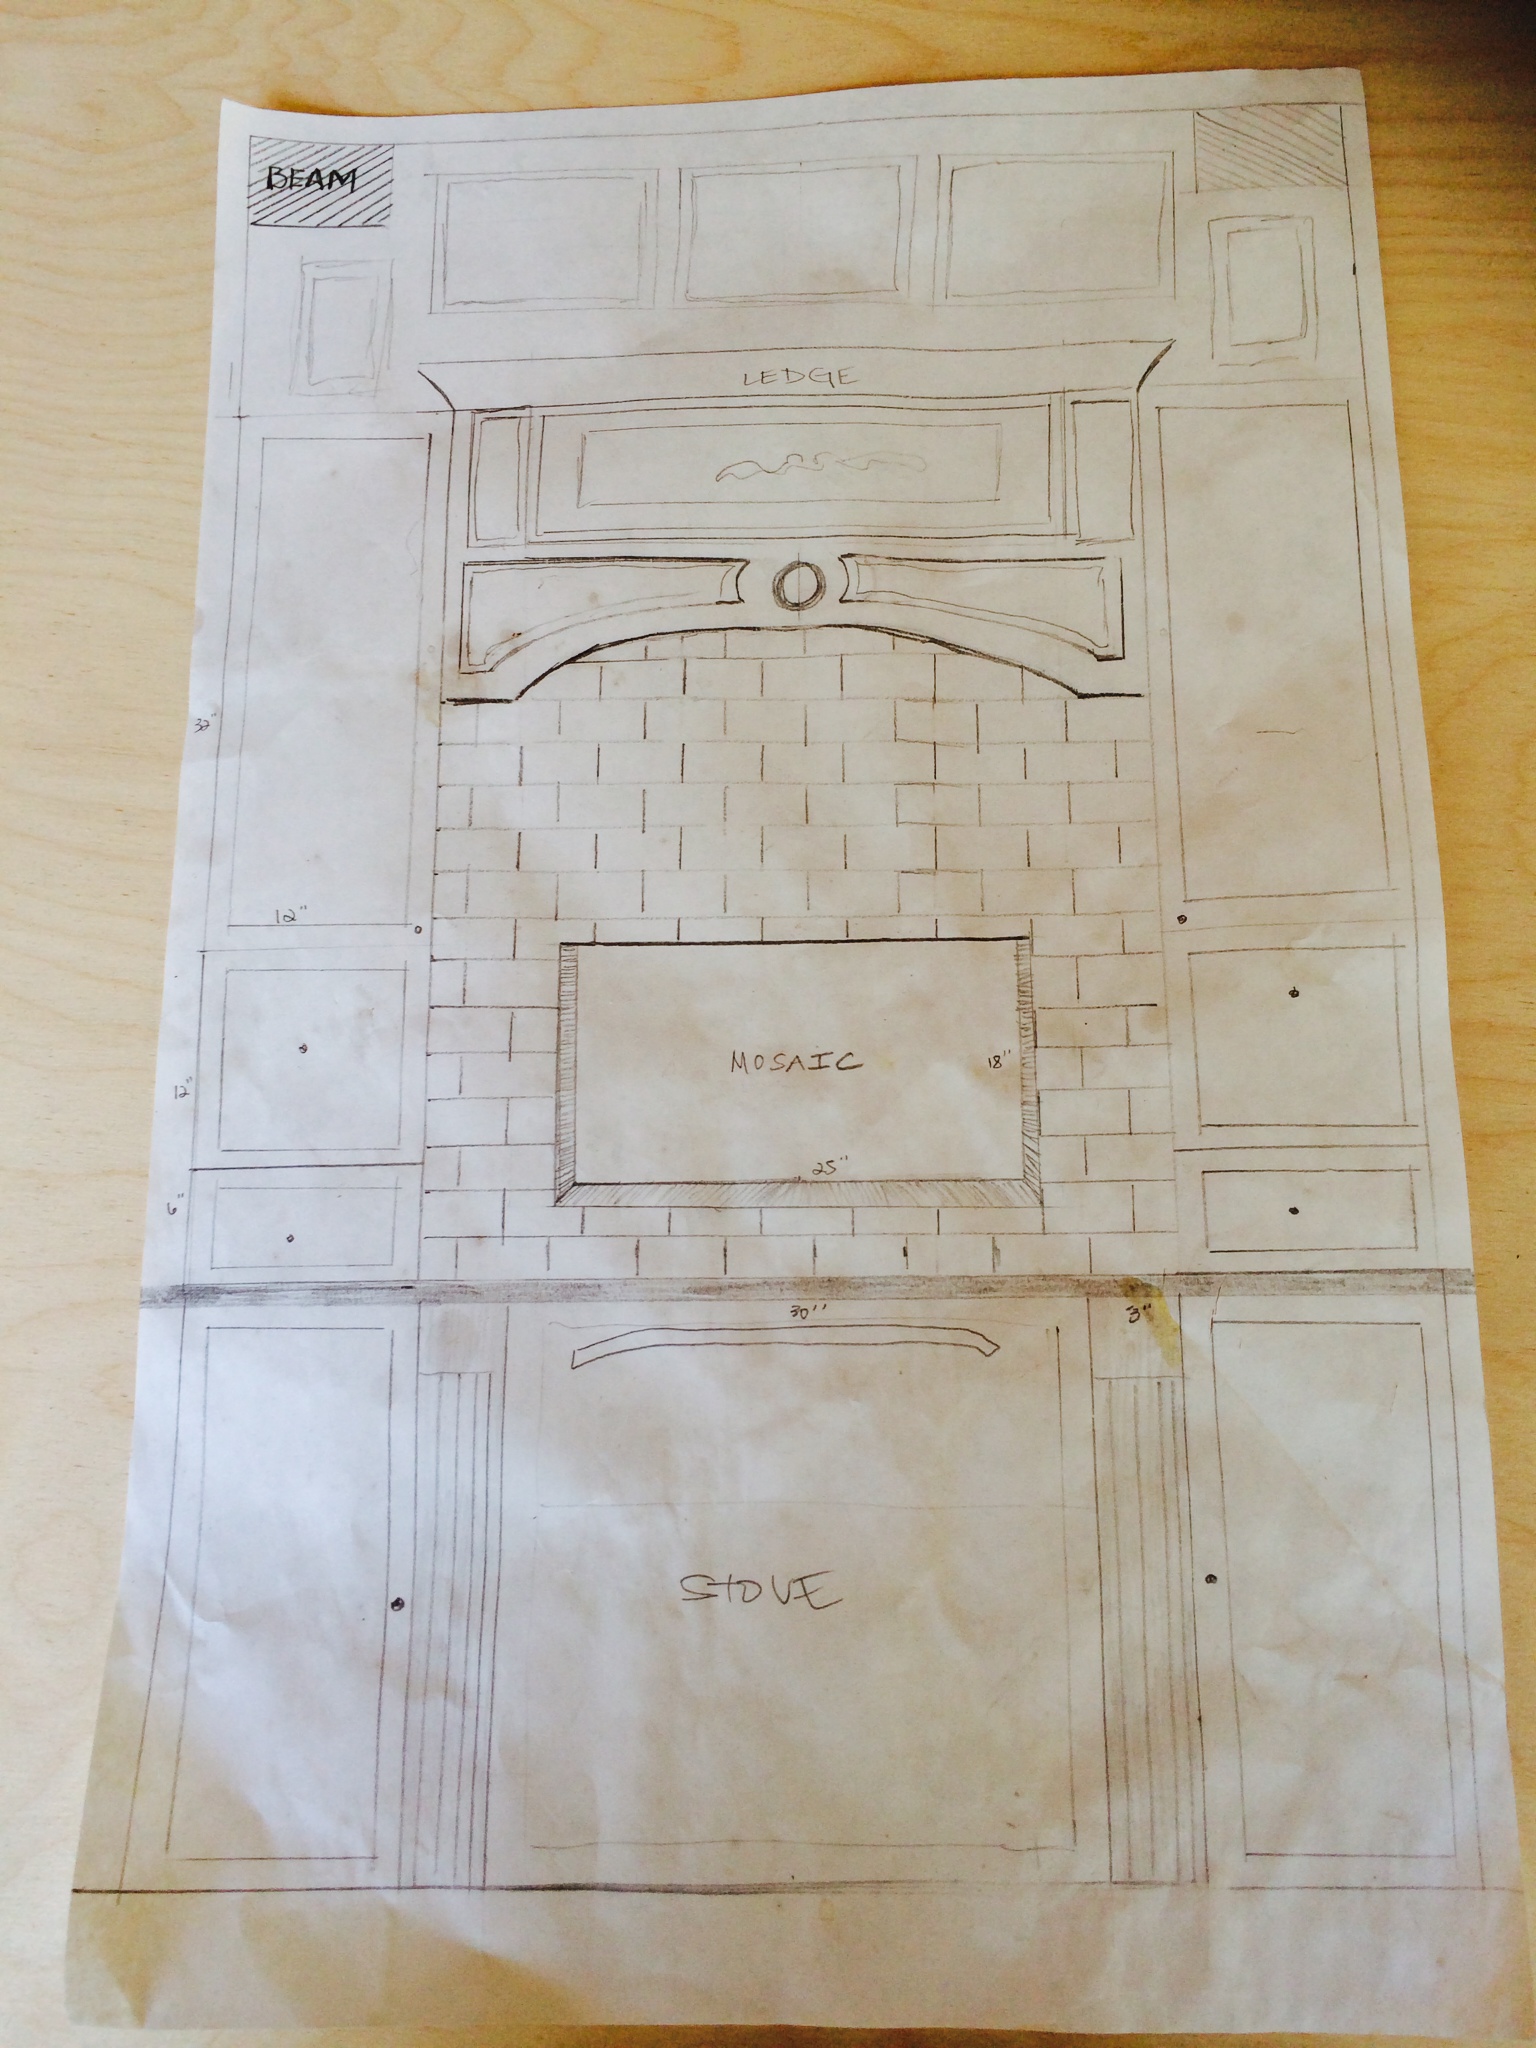
I started out by gathering a few reference pictures on Houzz and Pinterest. Then, I took the elements from each design that I liked the best and combined them into something that would work in the space that we had. I needed to show something to my dad so that he could help me turn my dream into reality so I had to brush up a bit on my sketching skills 😉
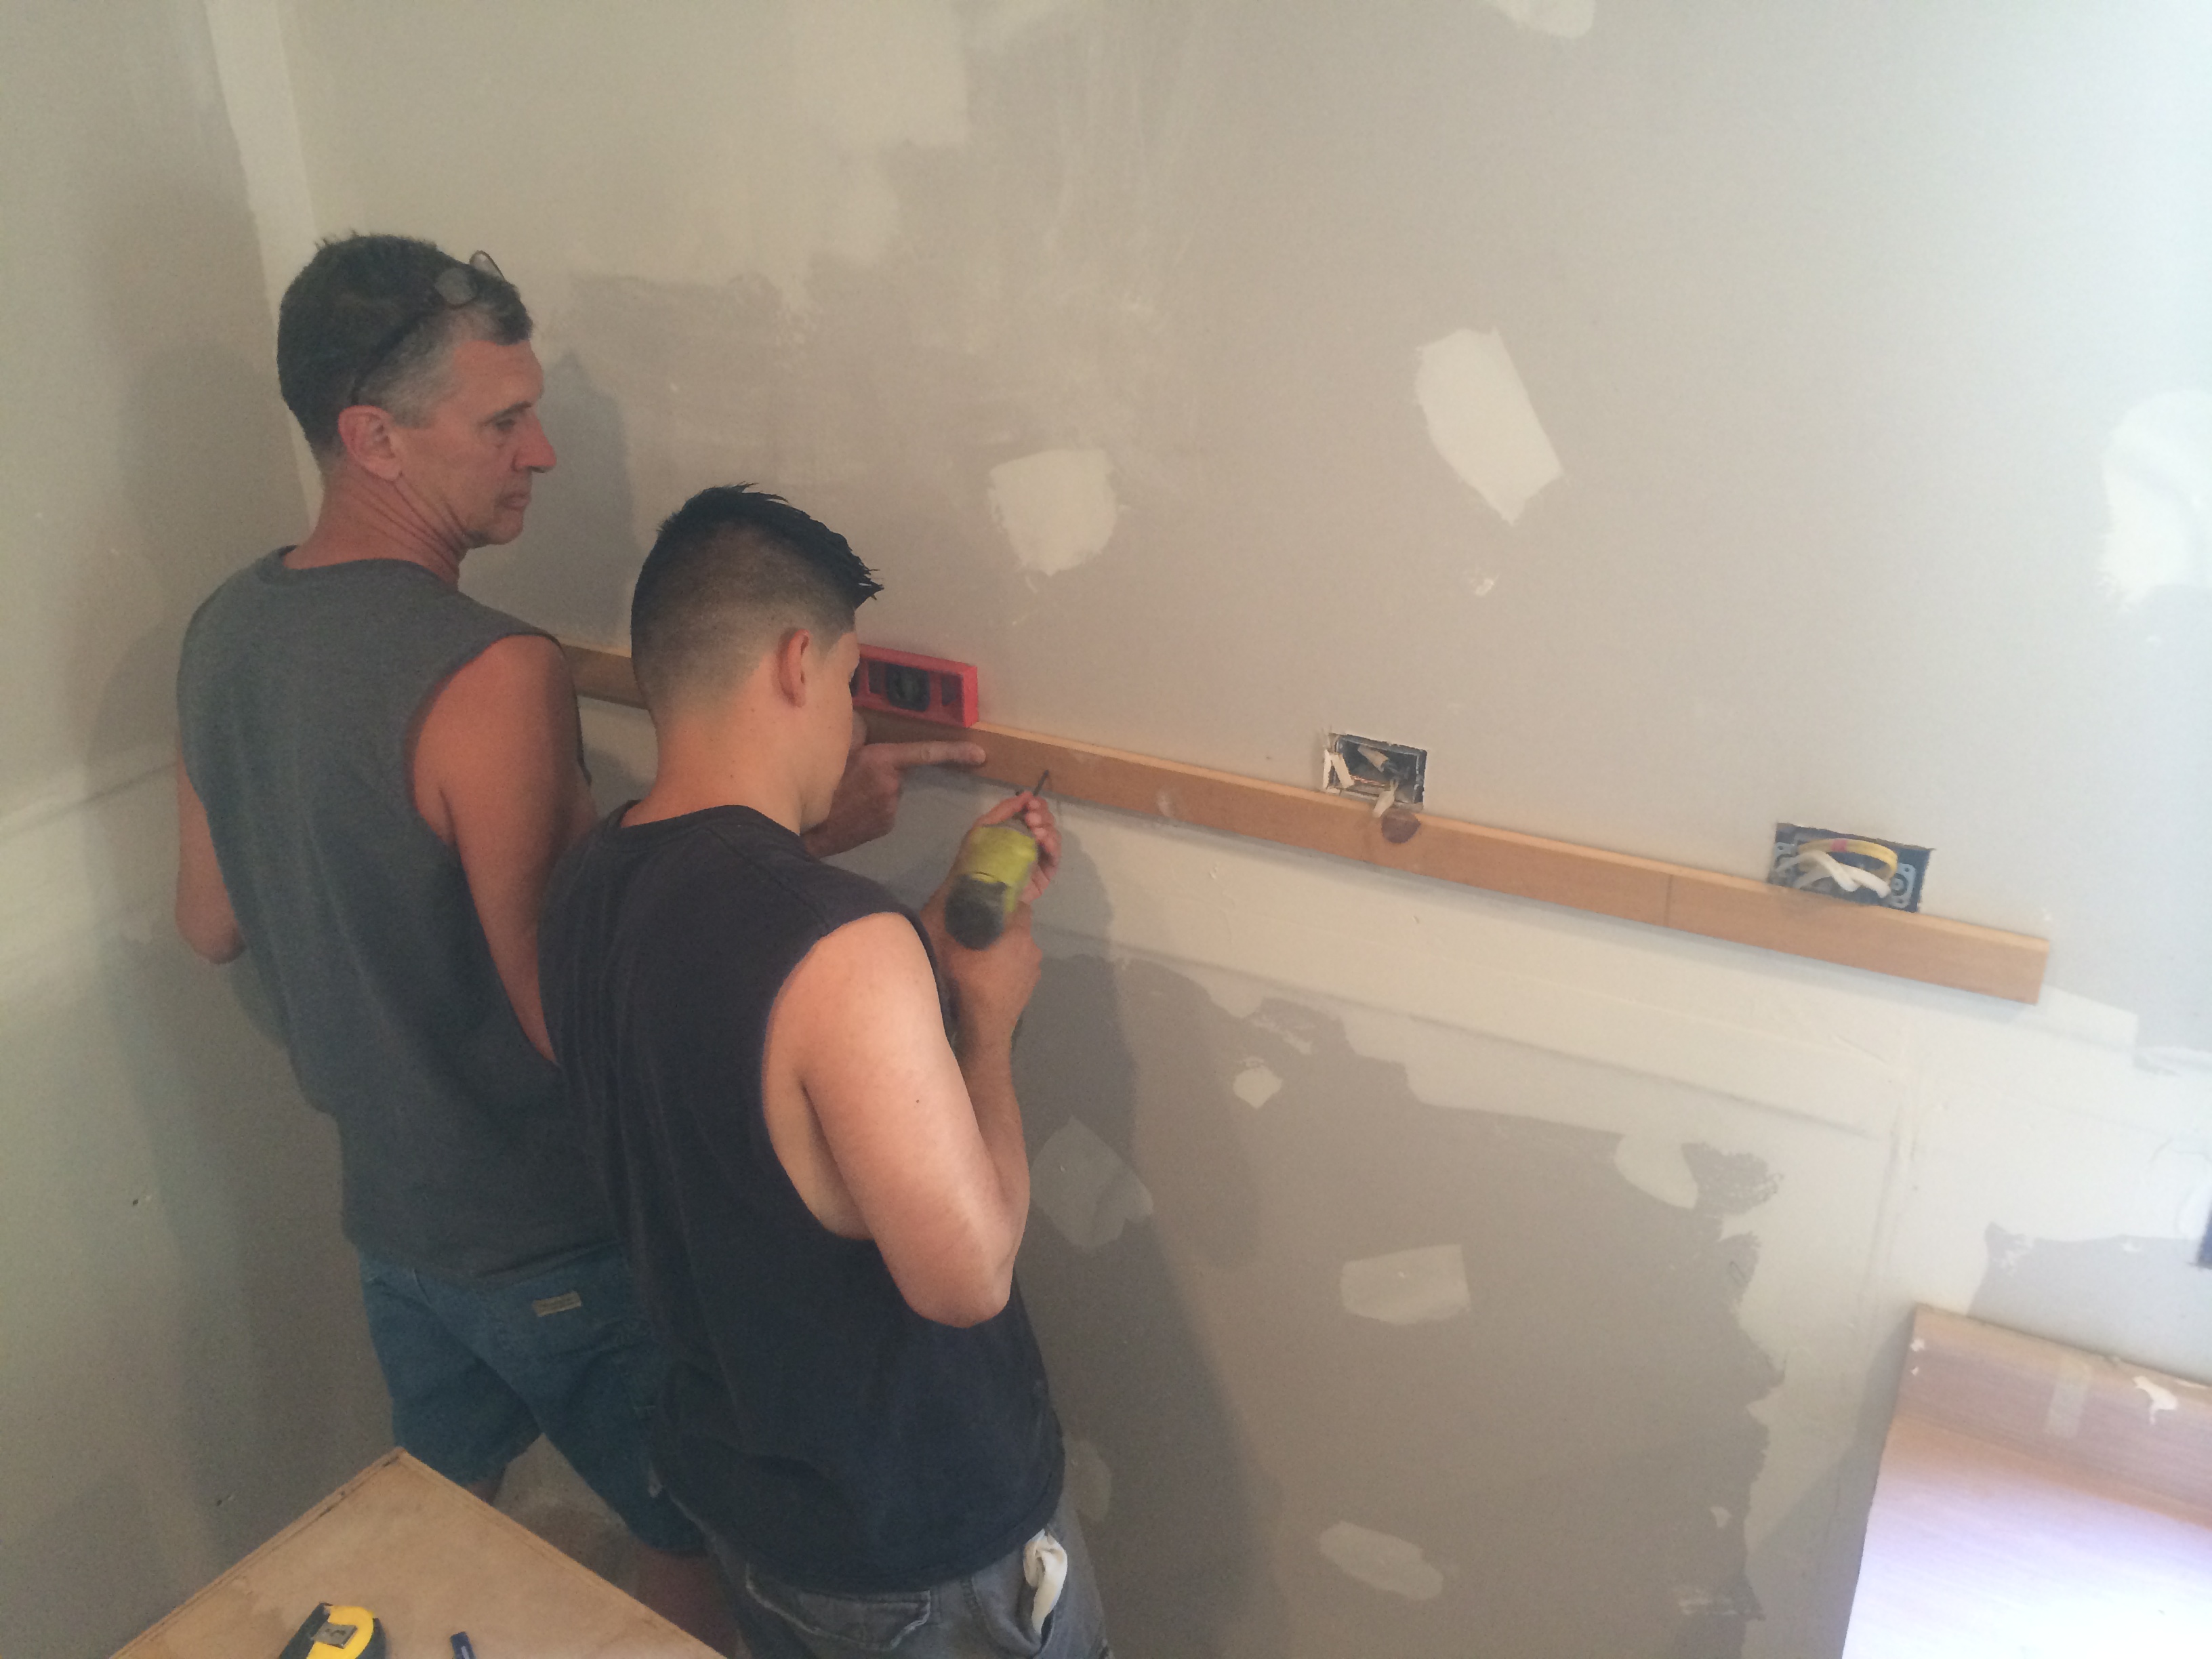
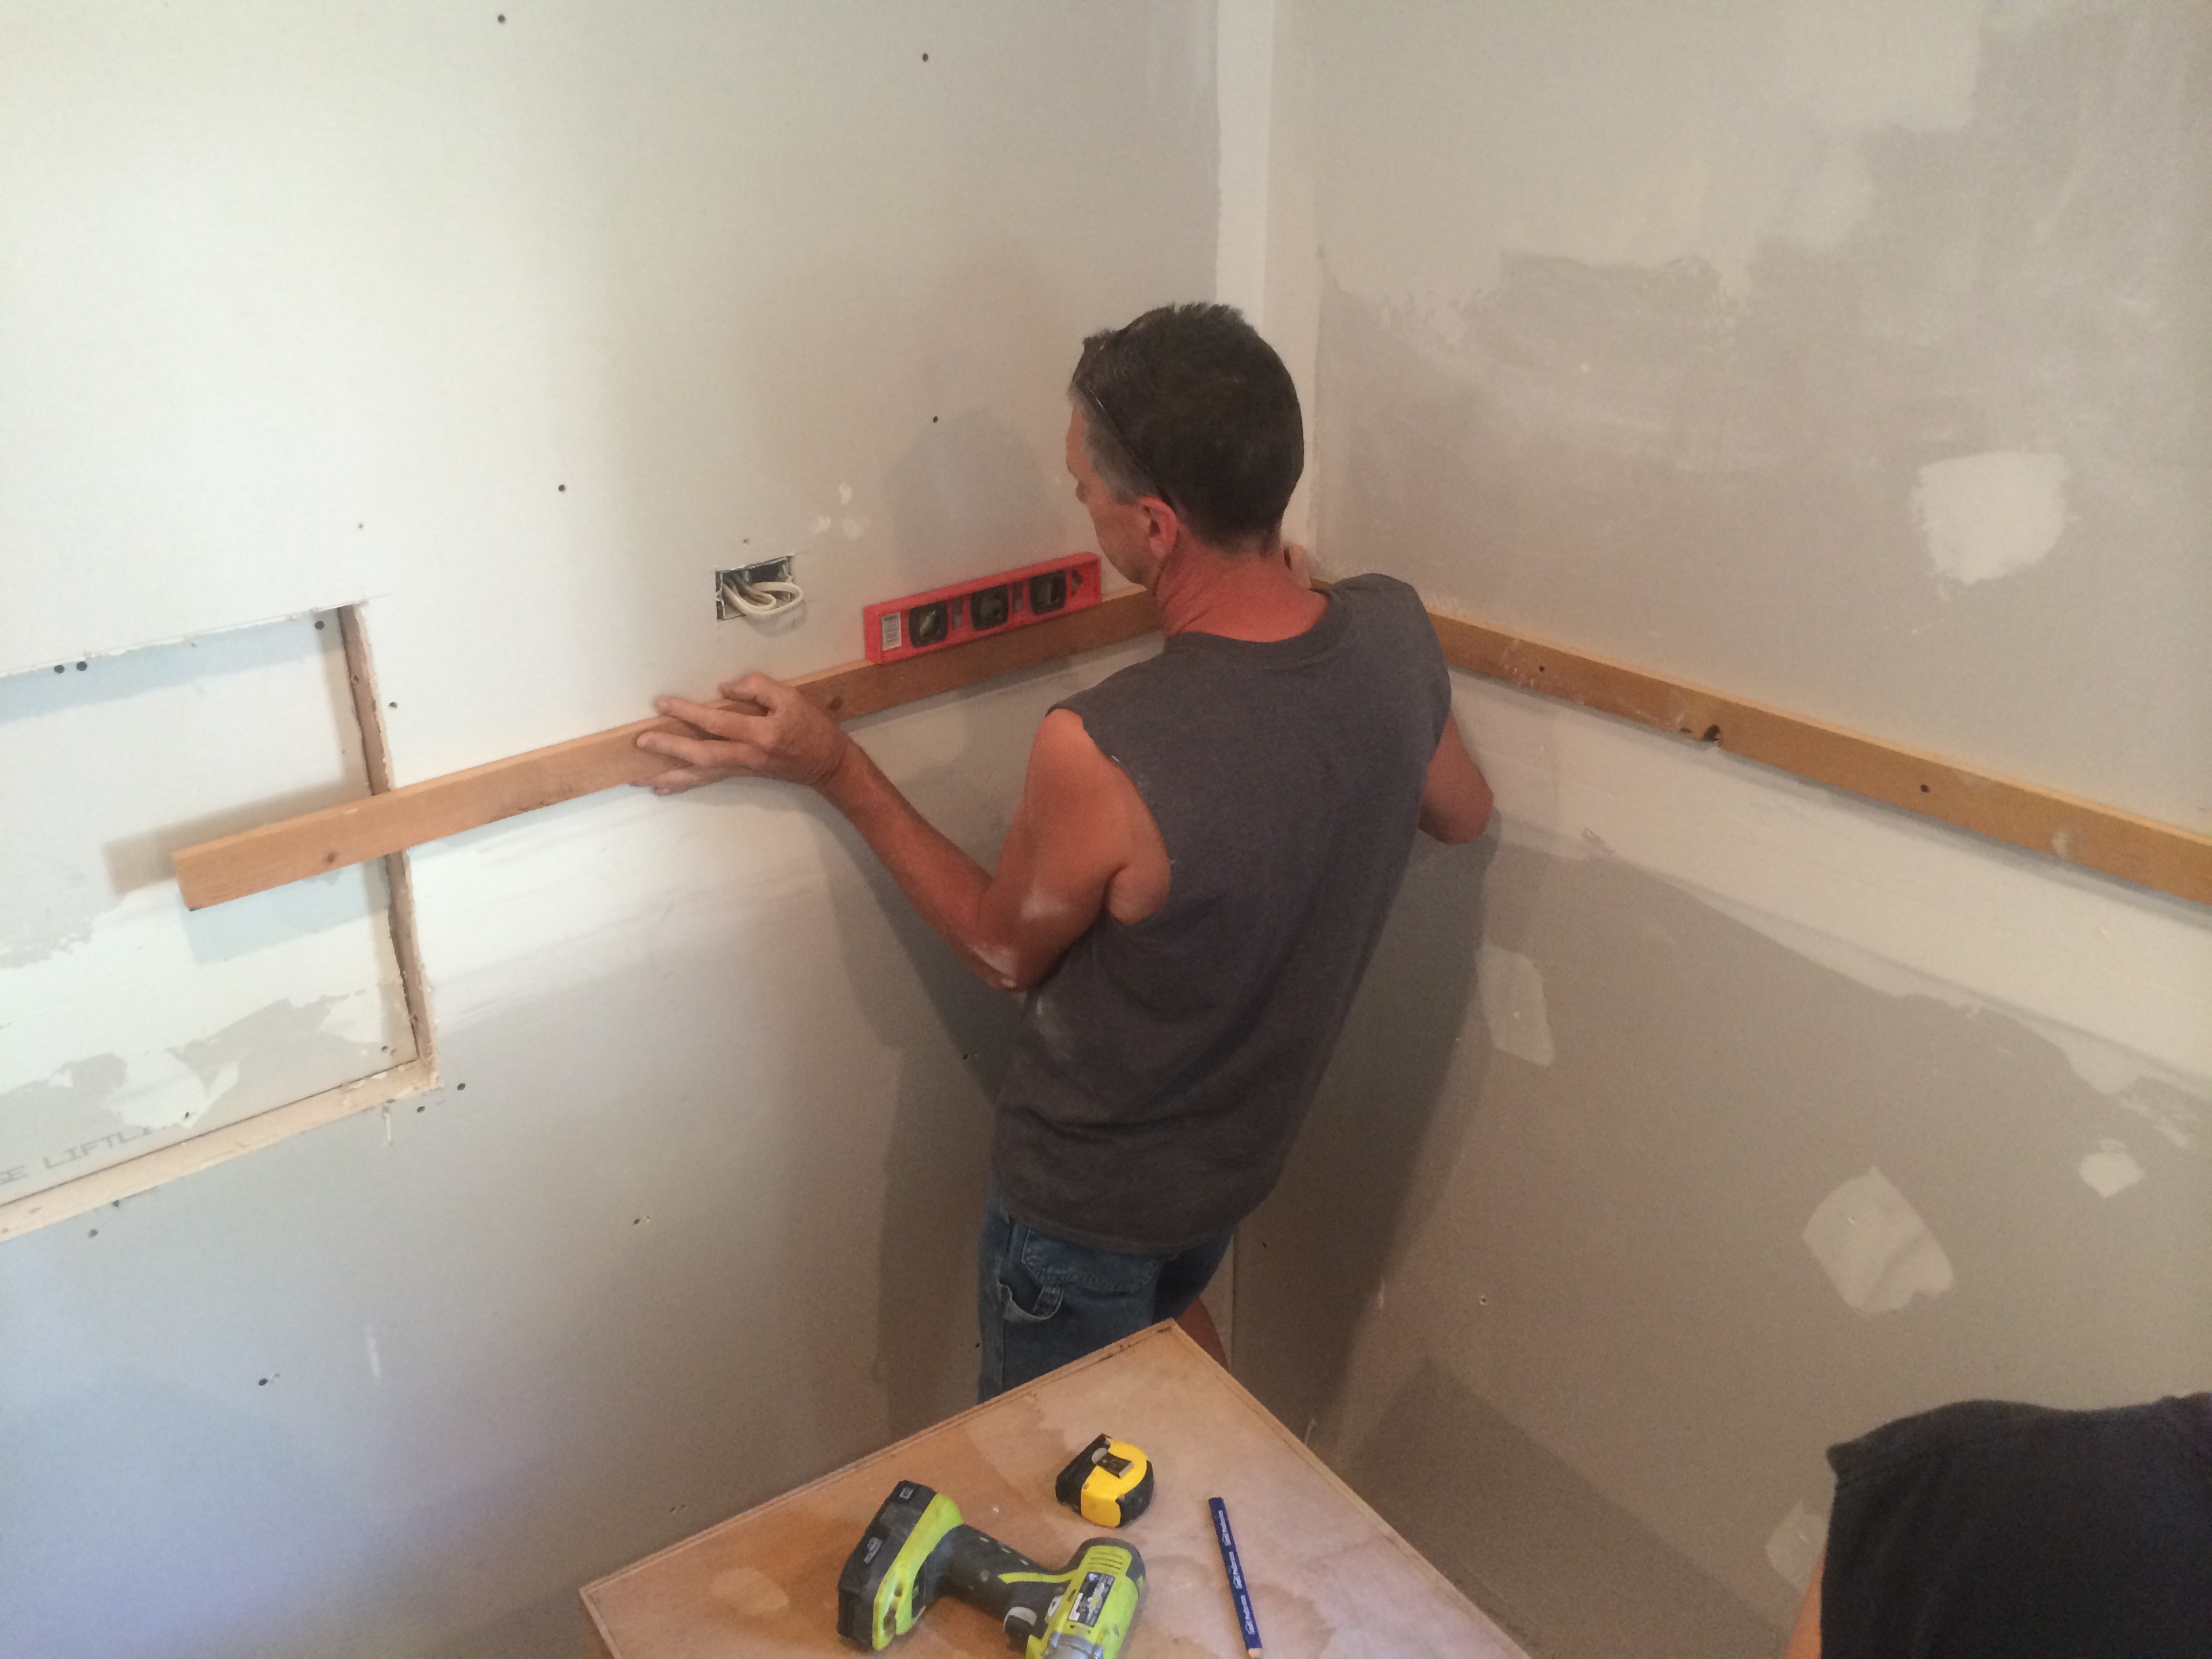
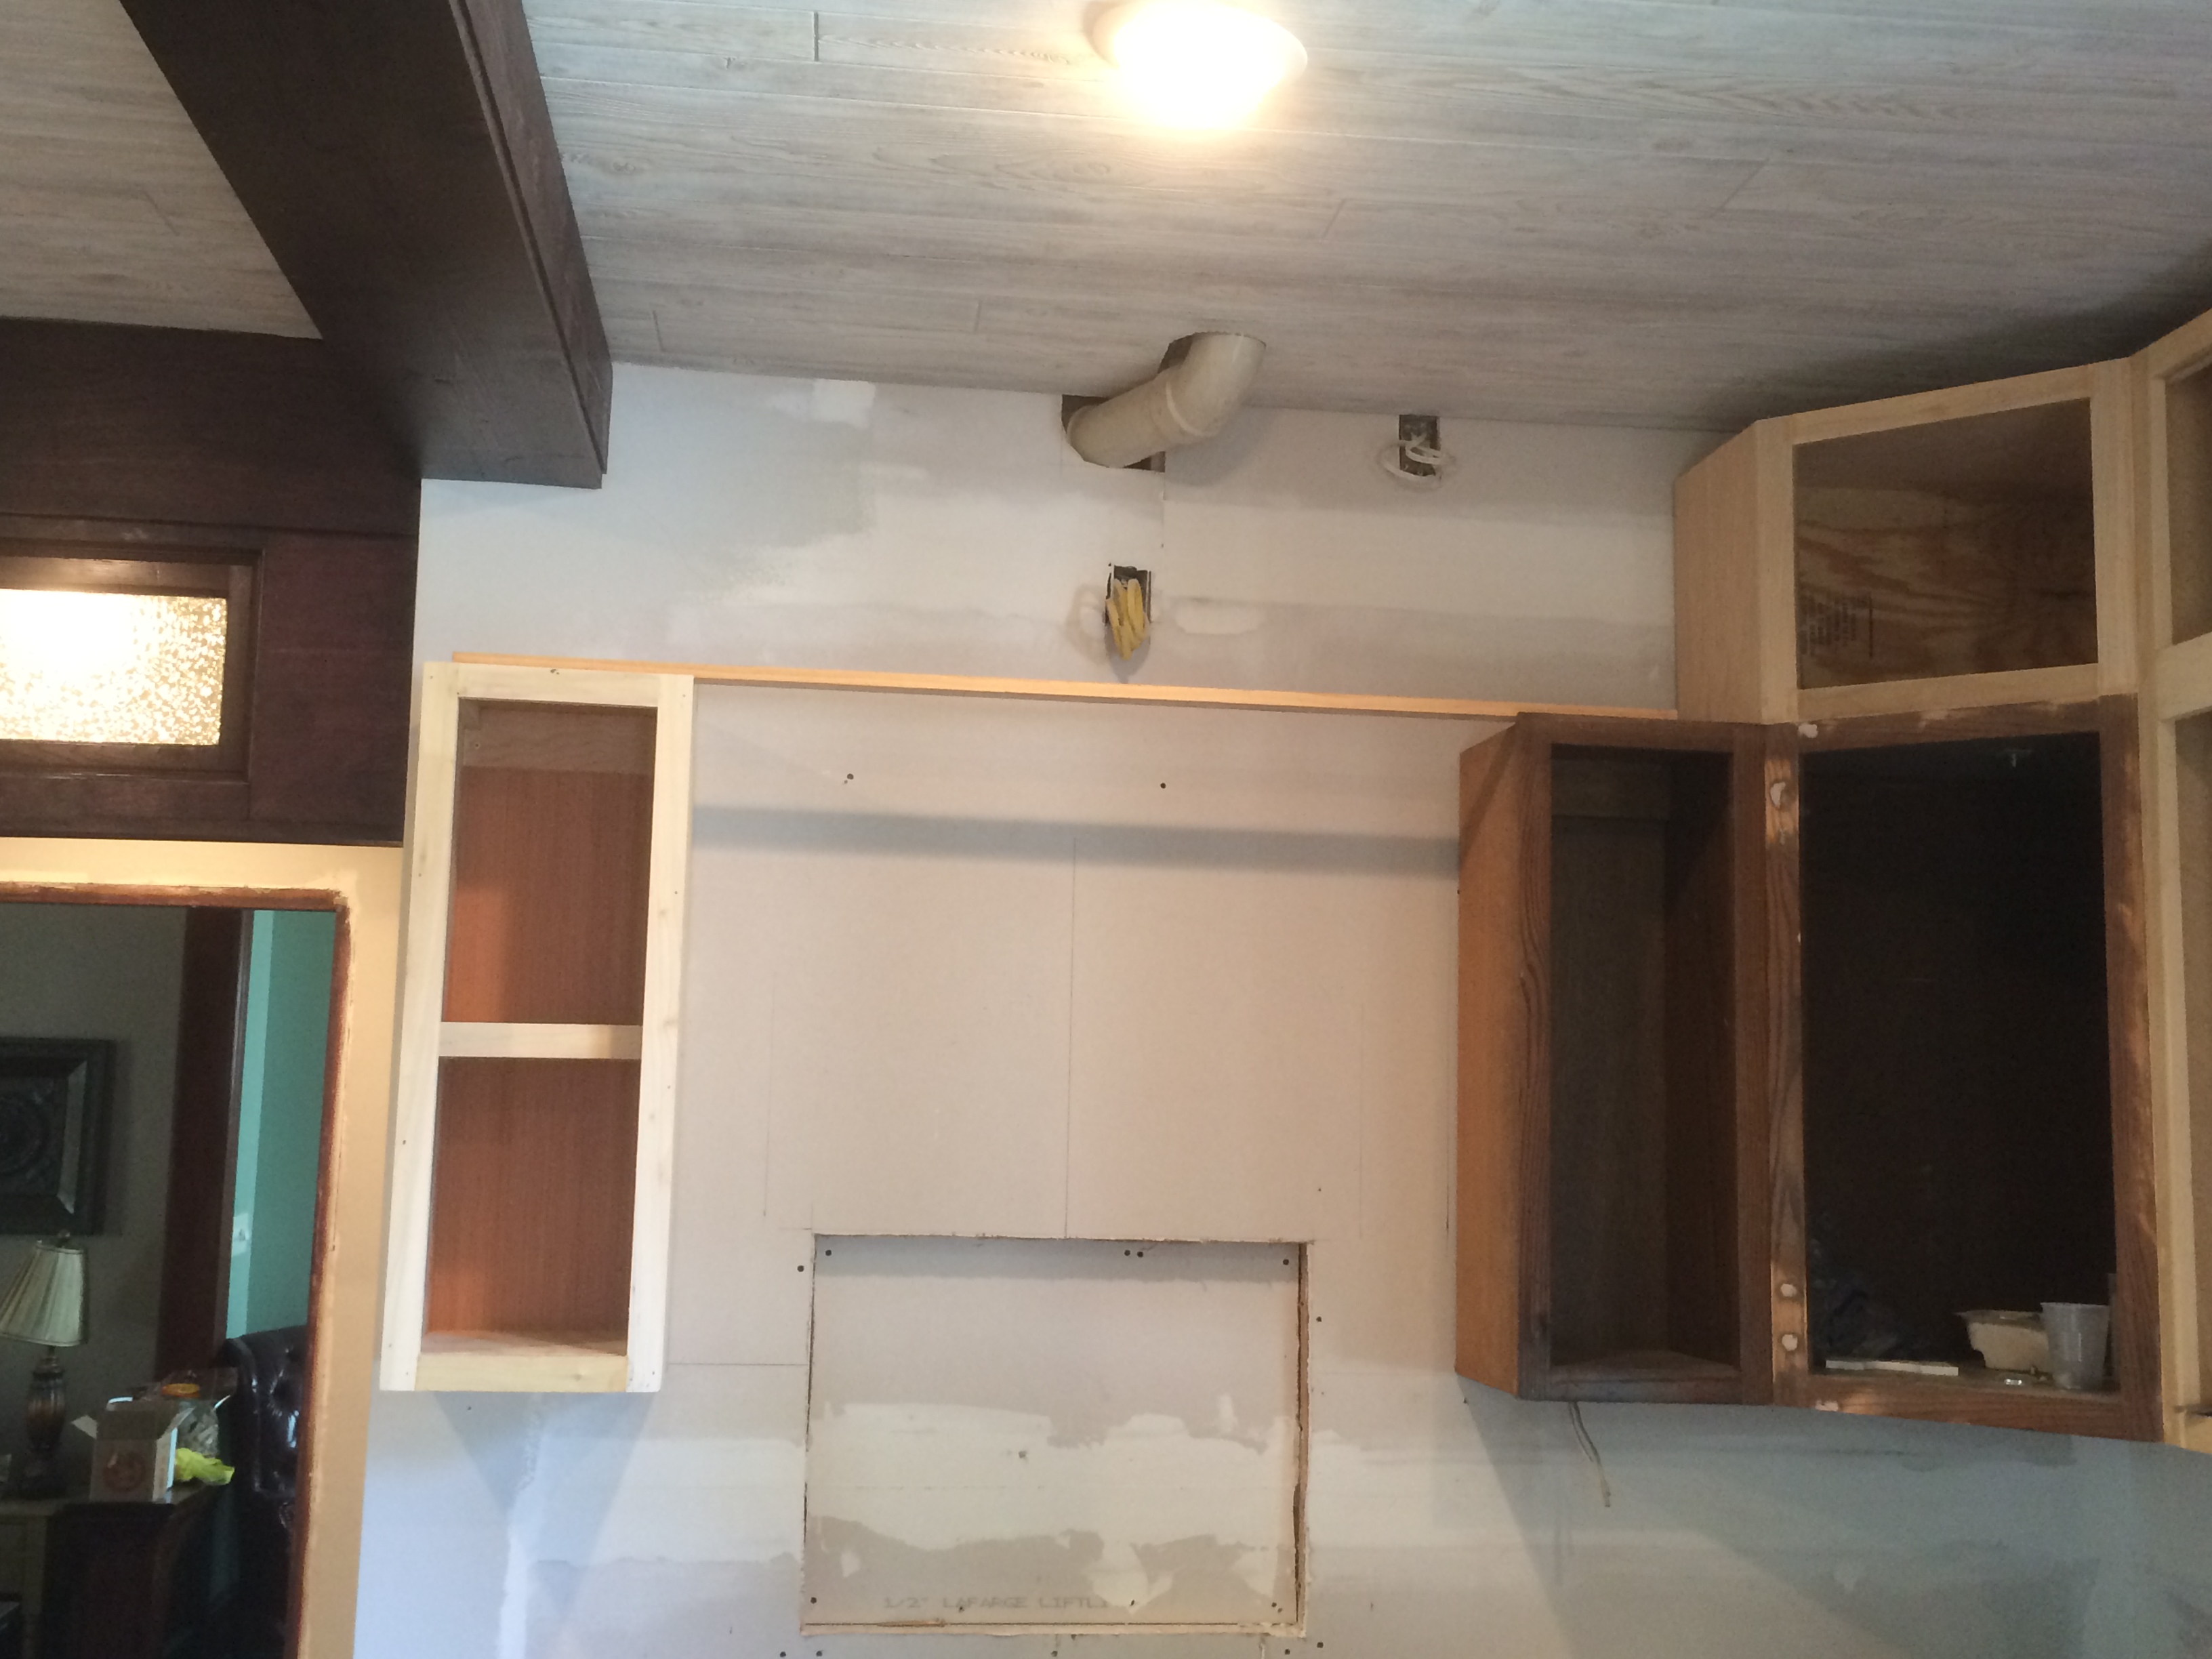
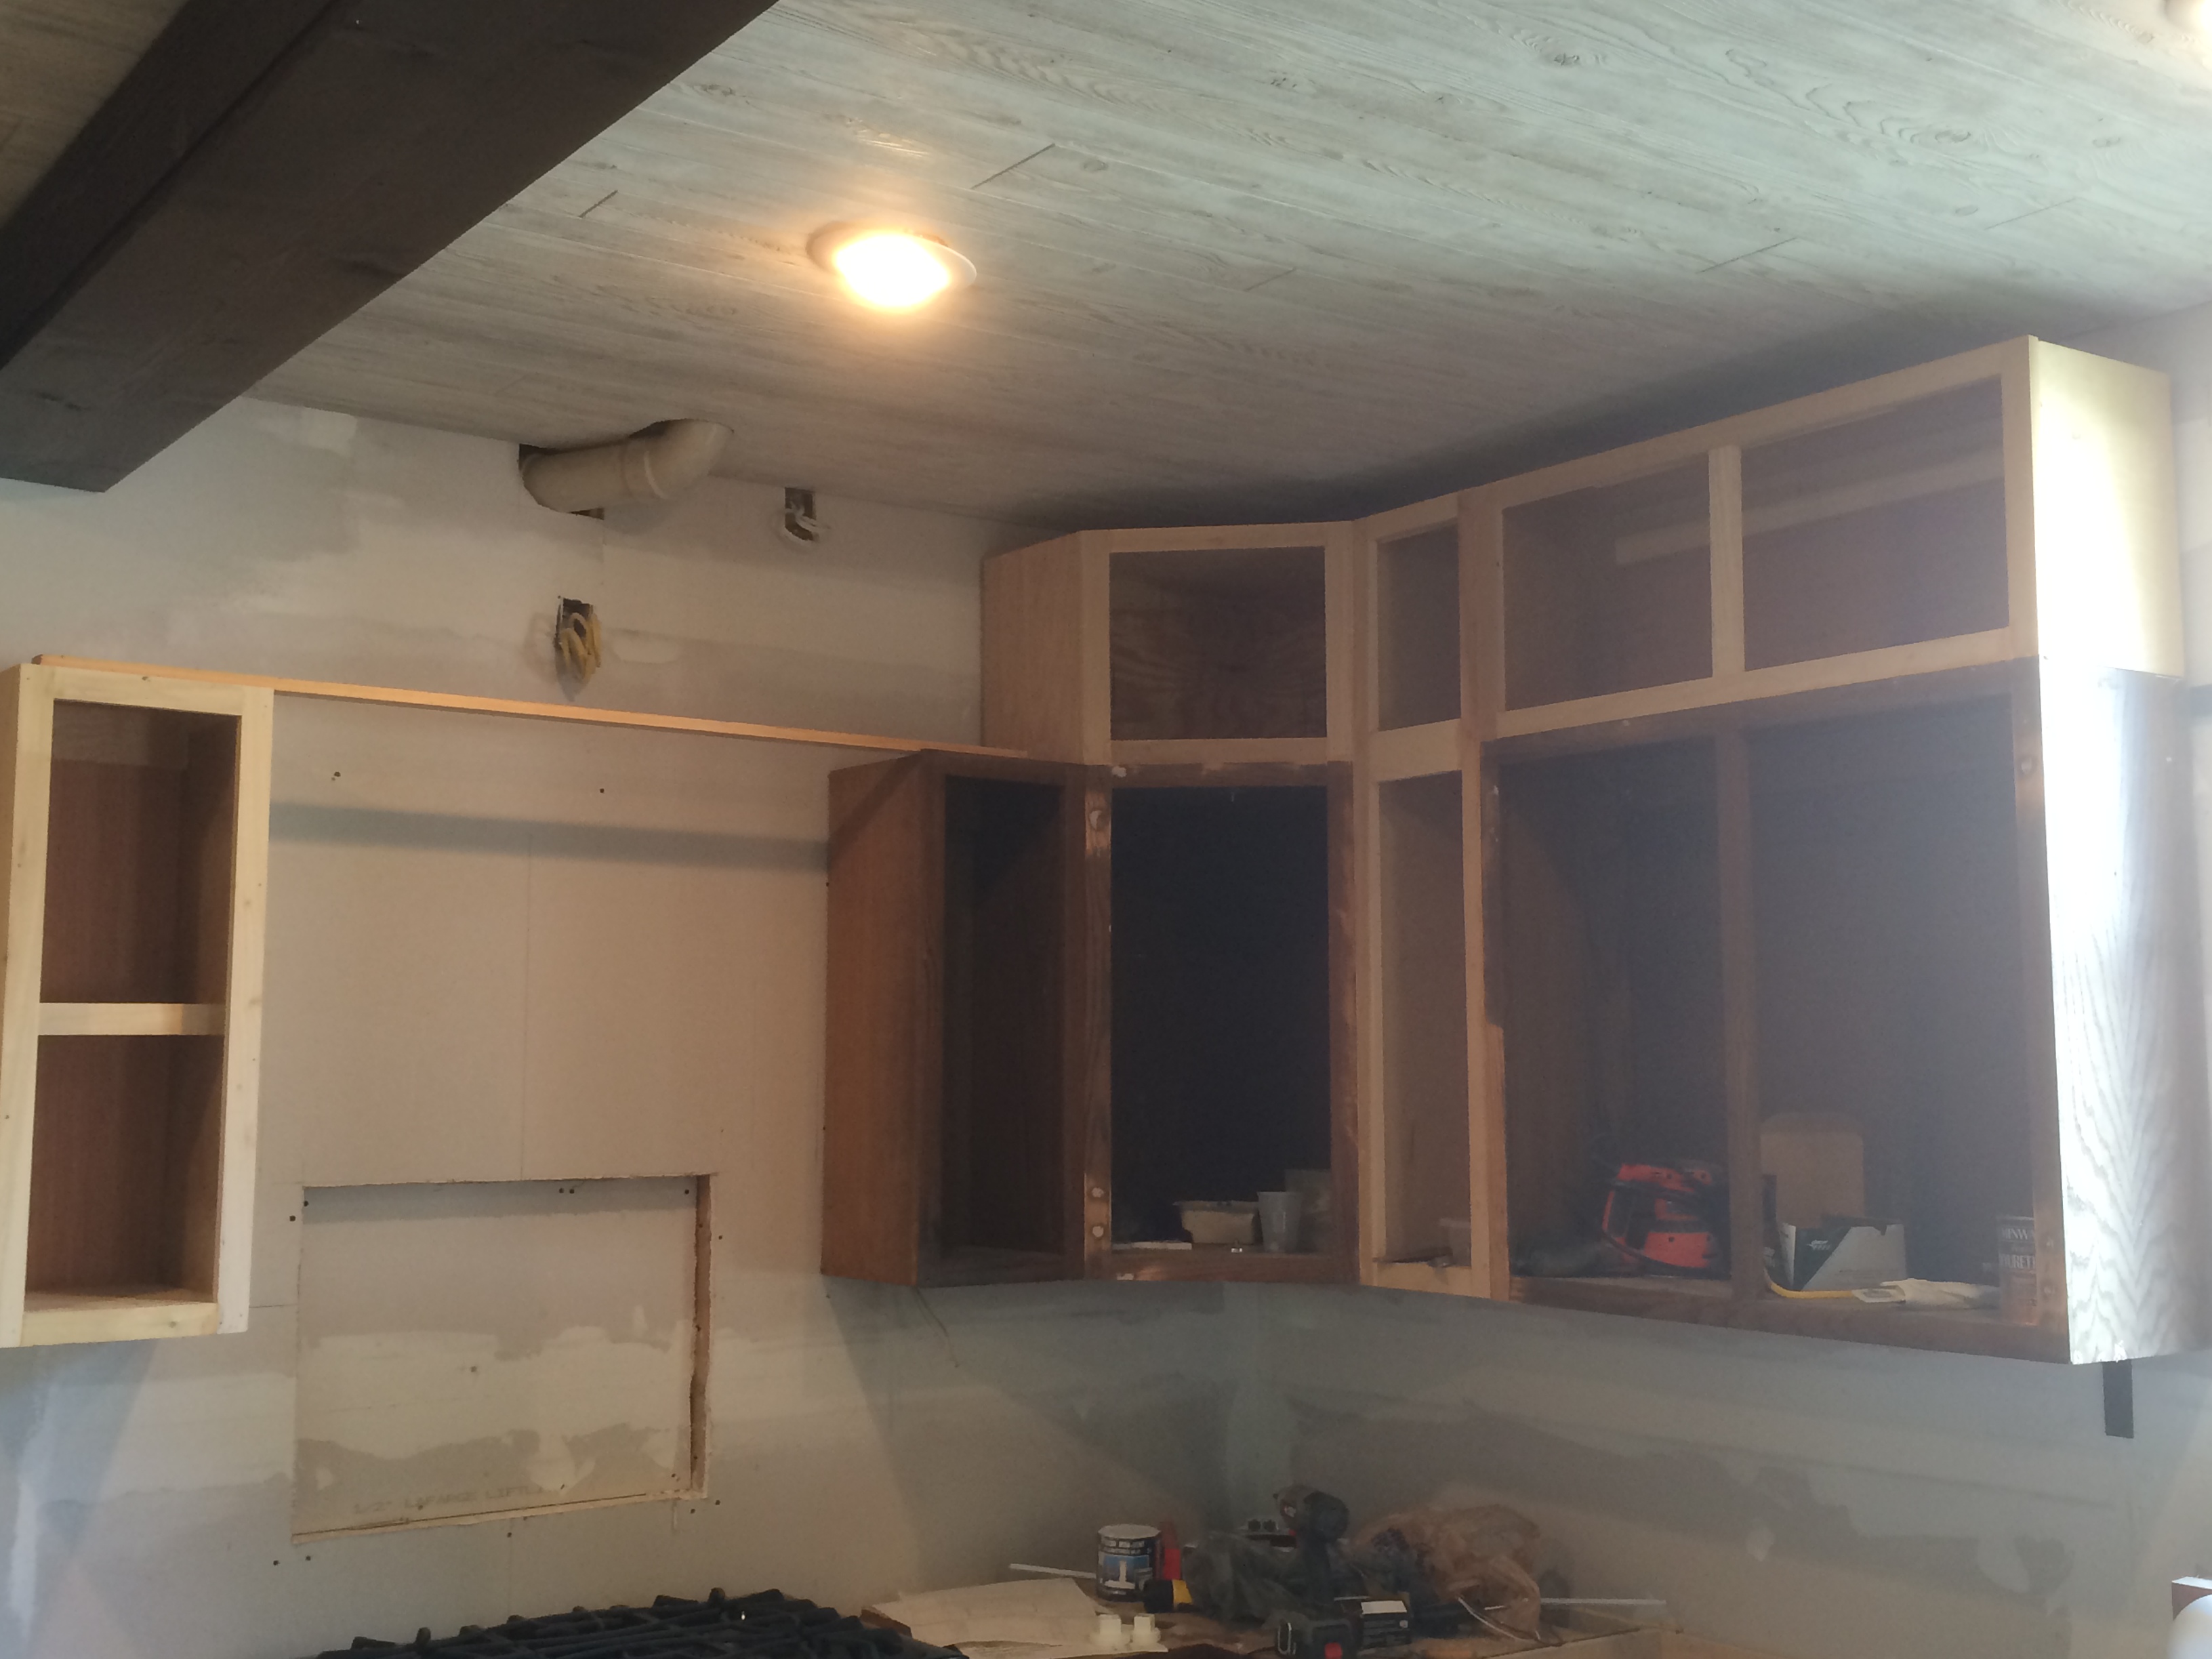
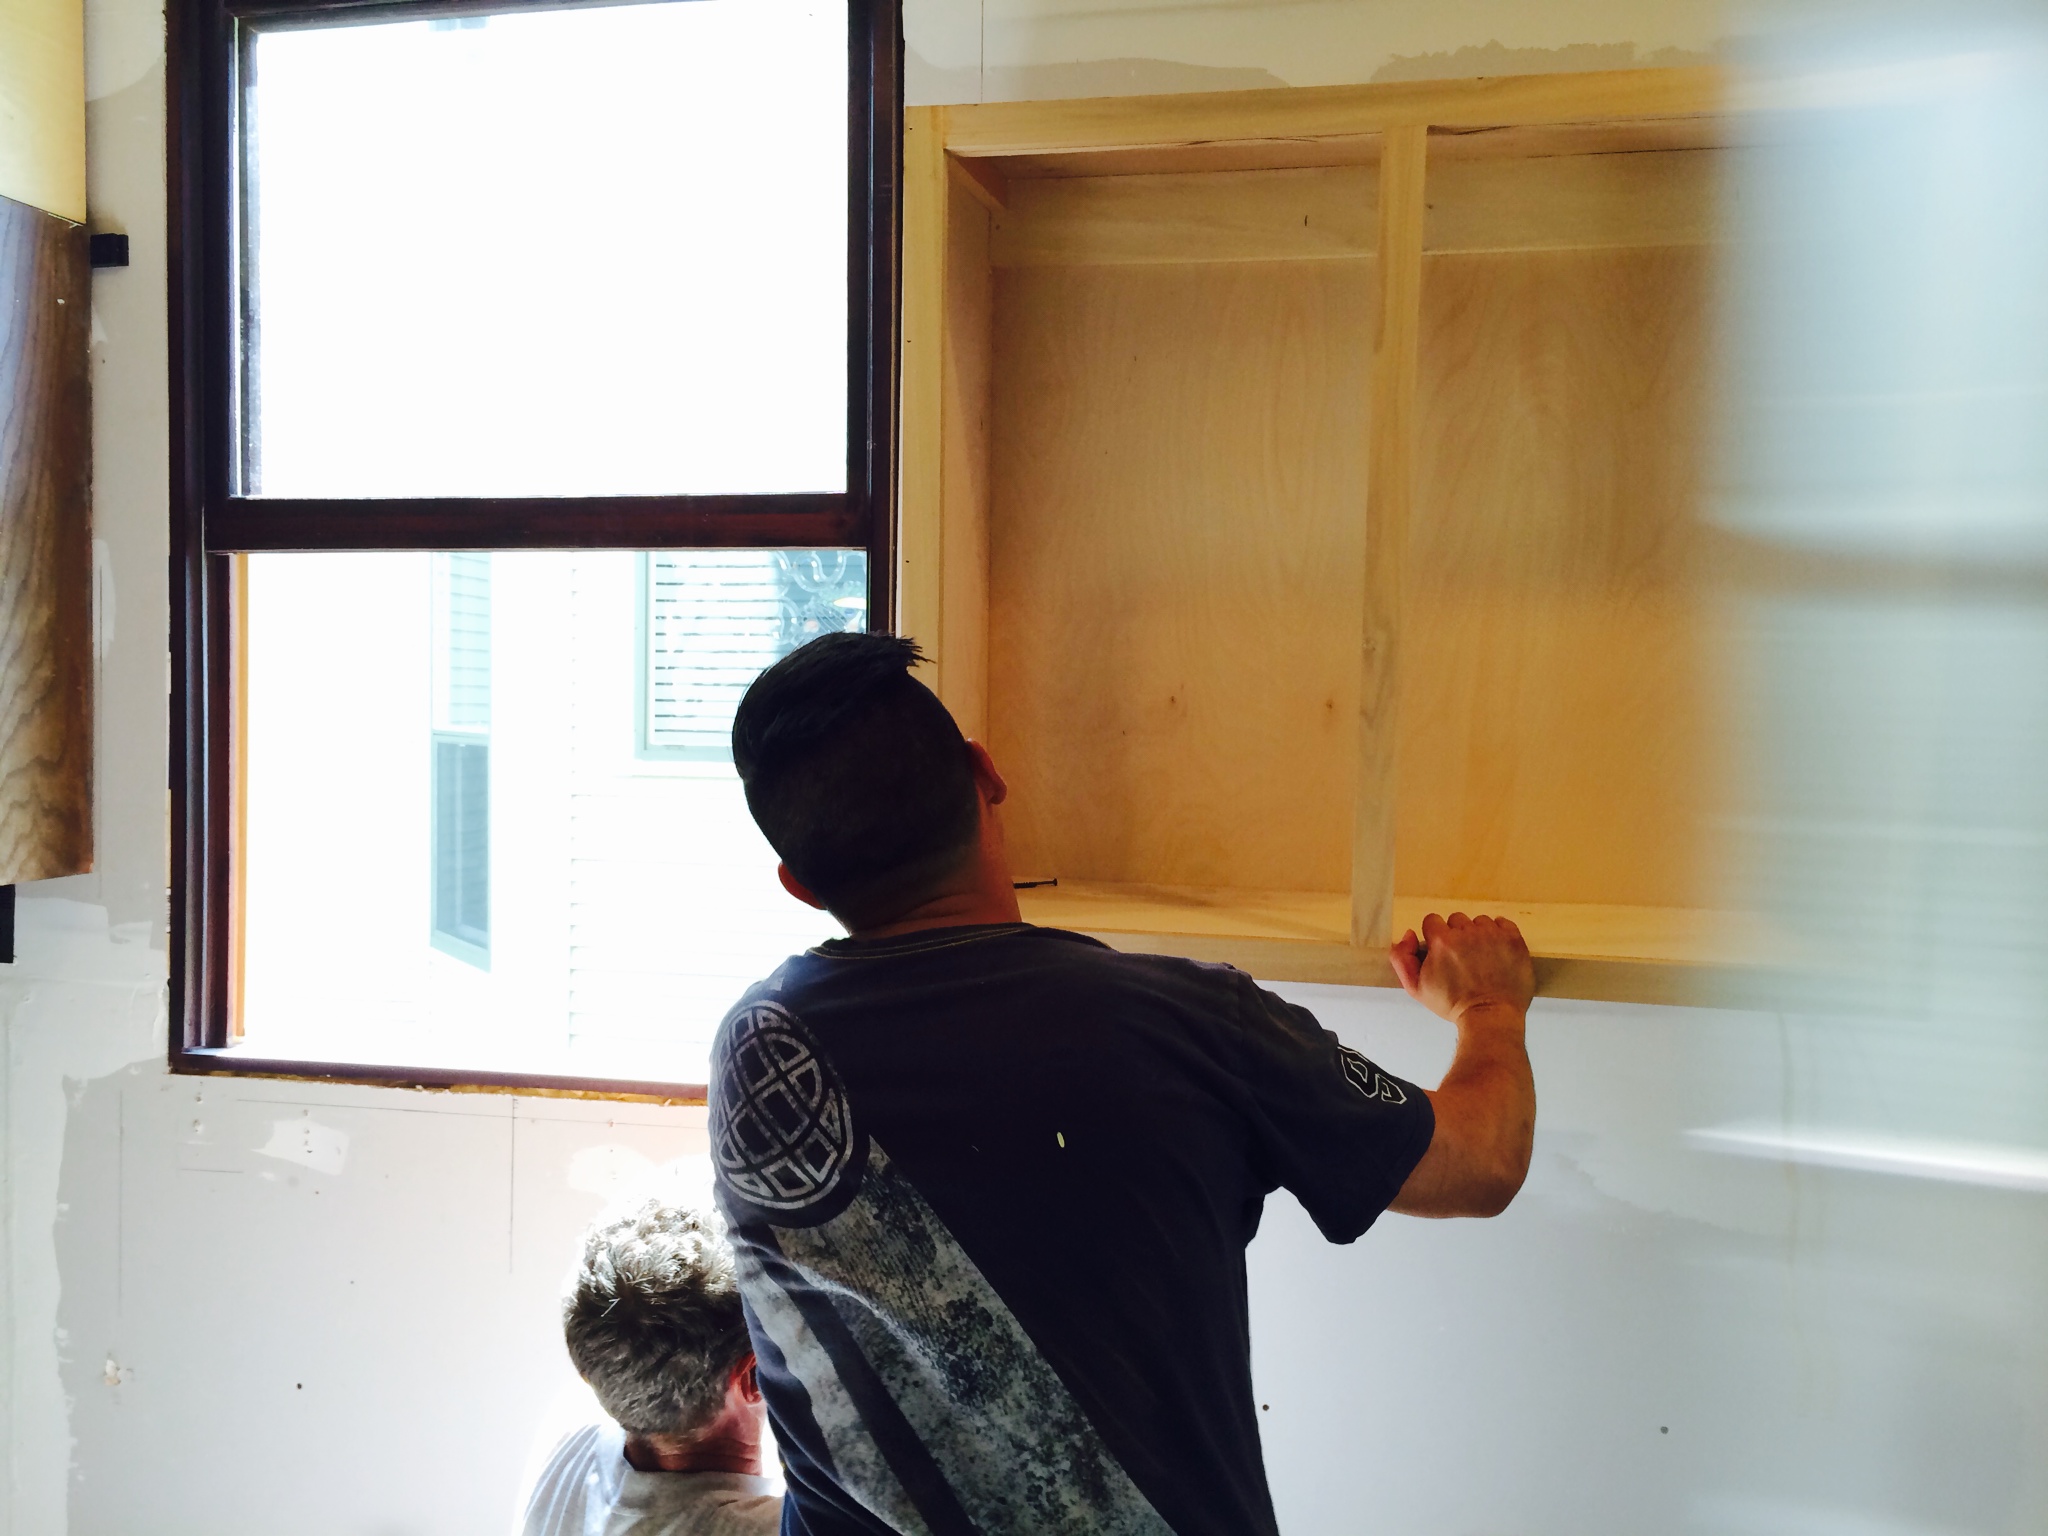
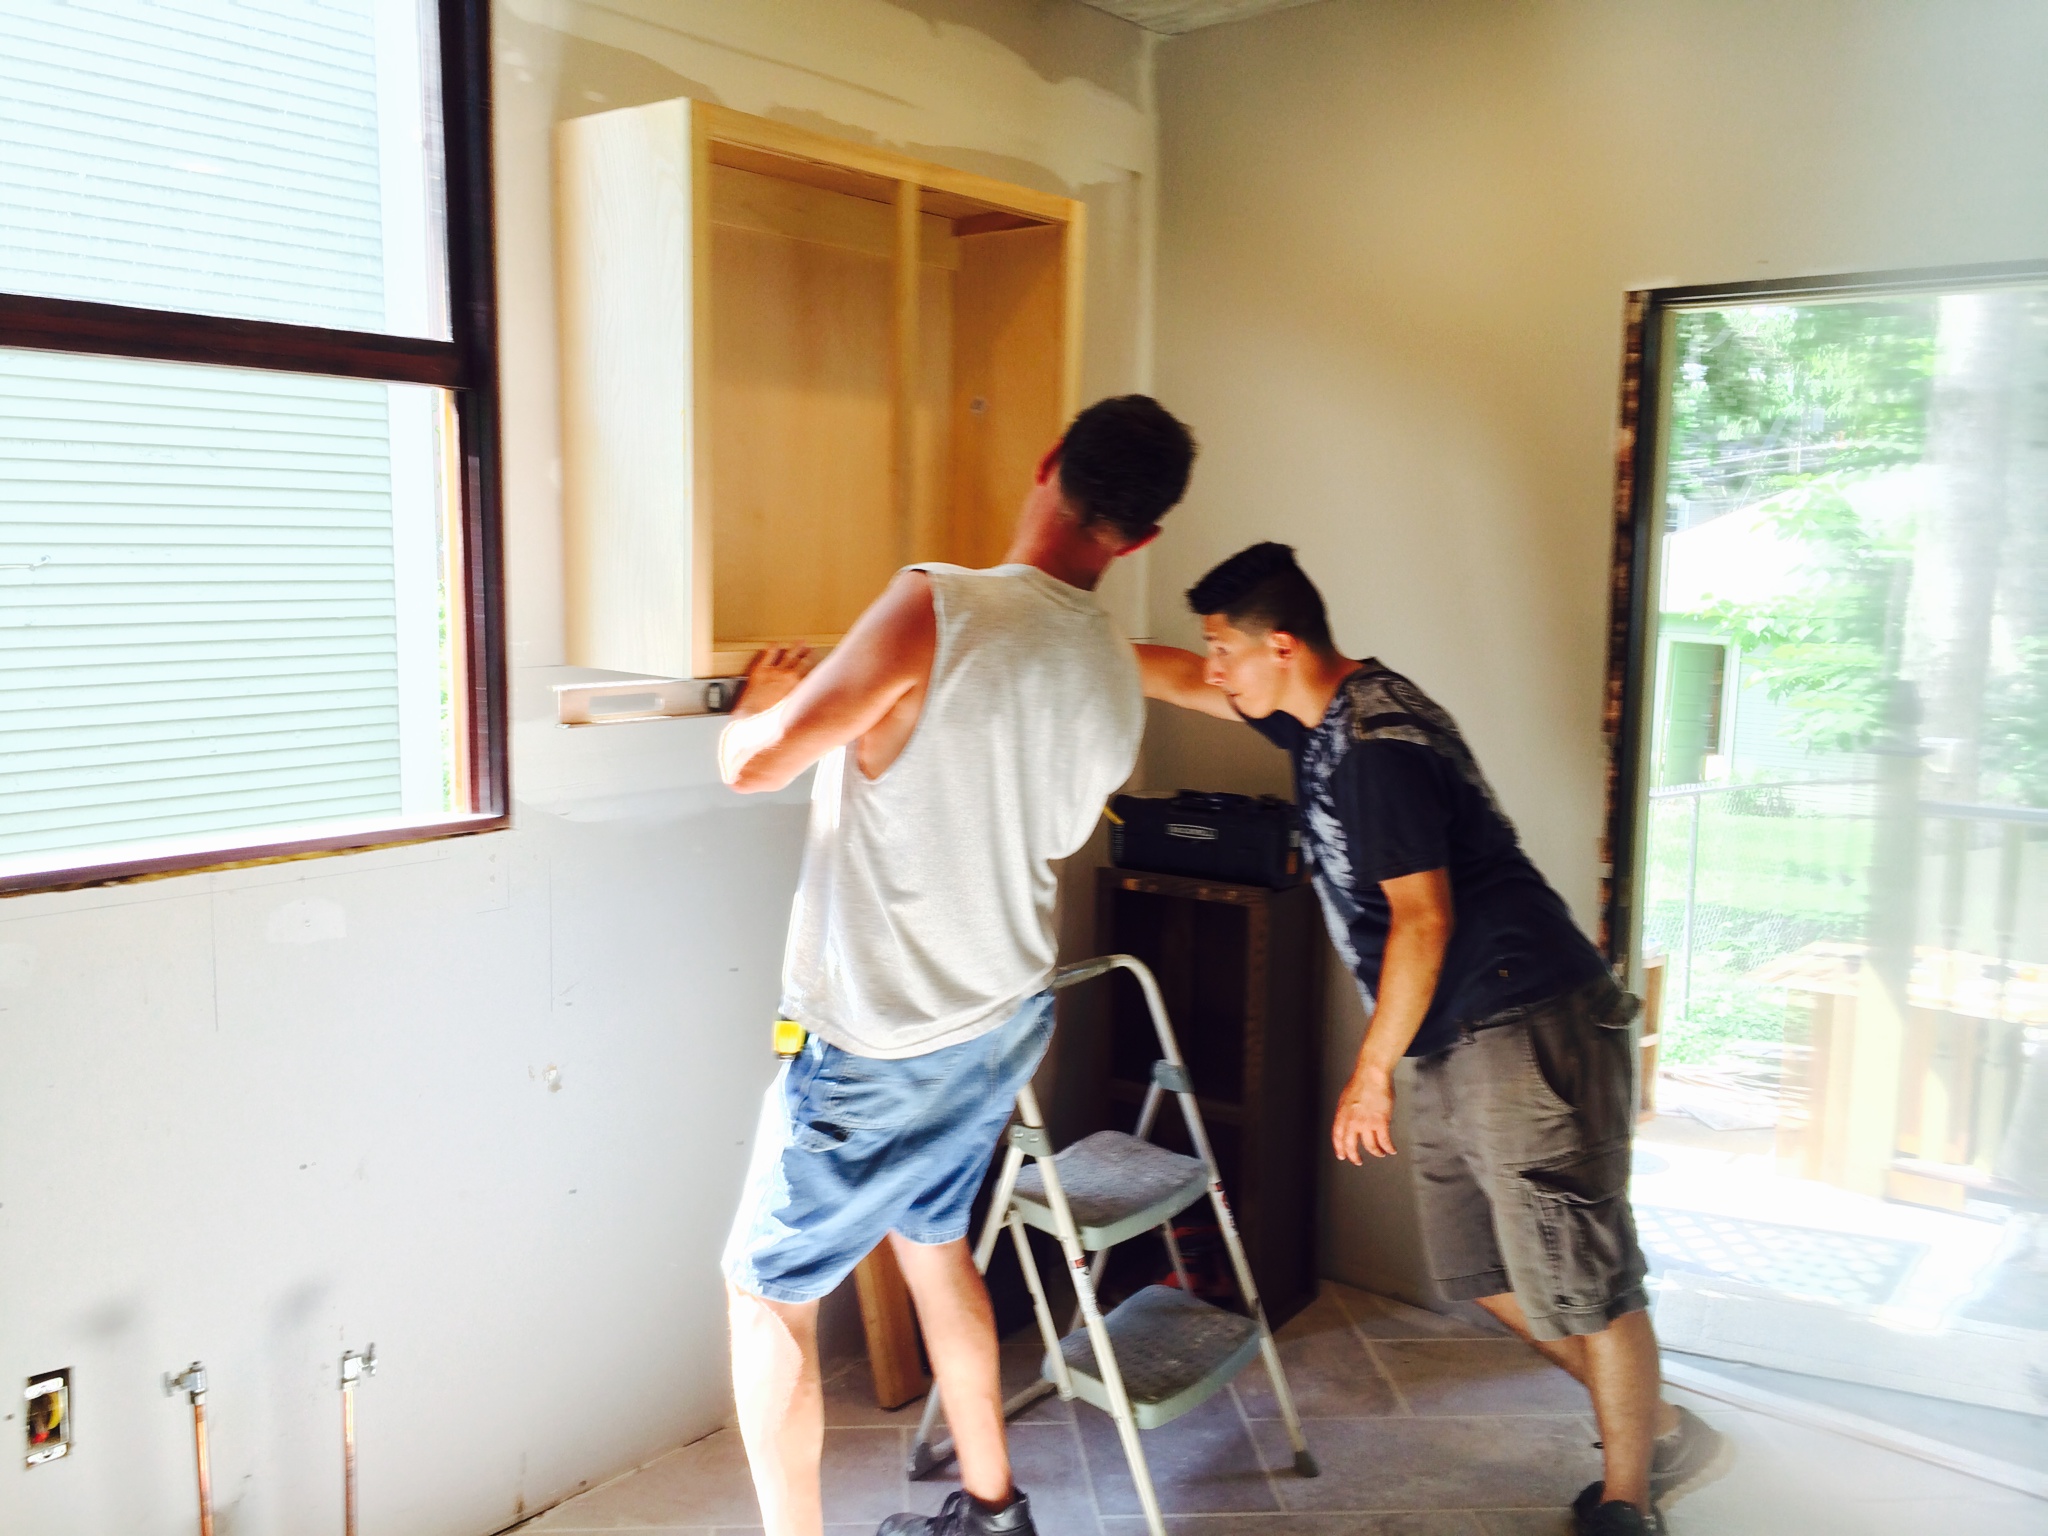
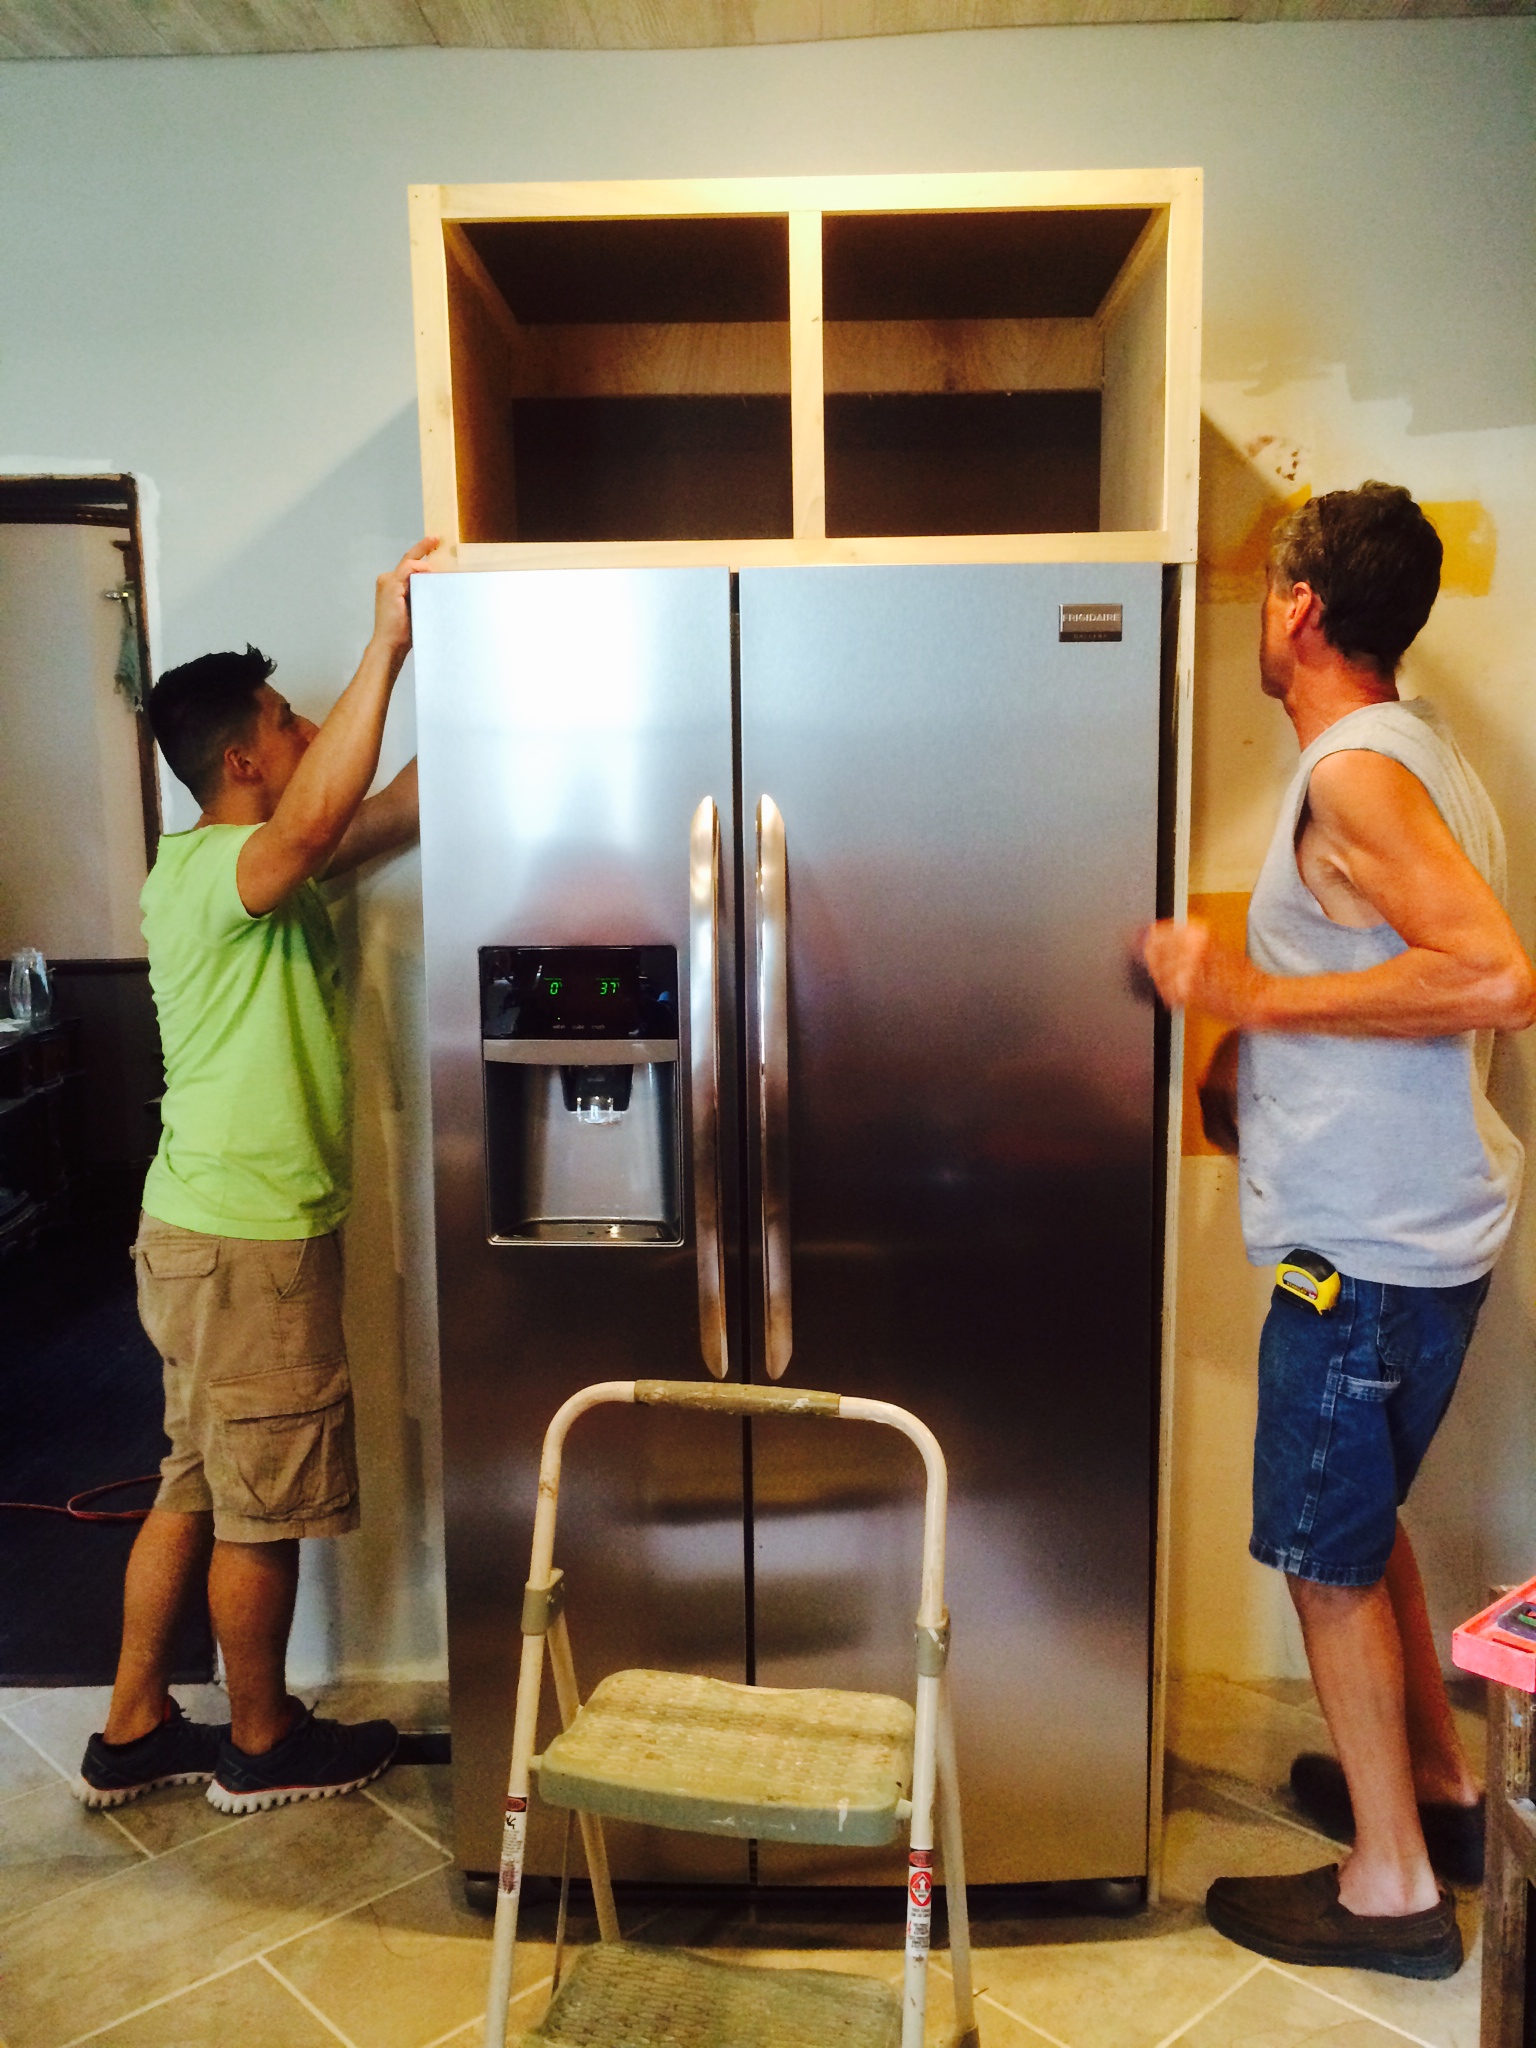
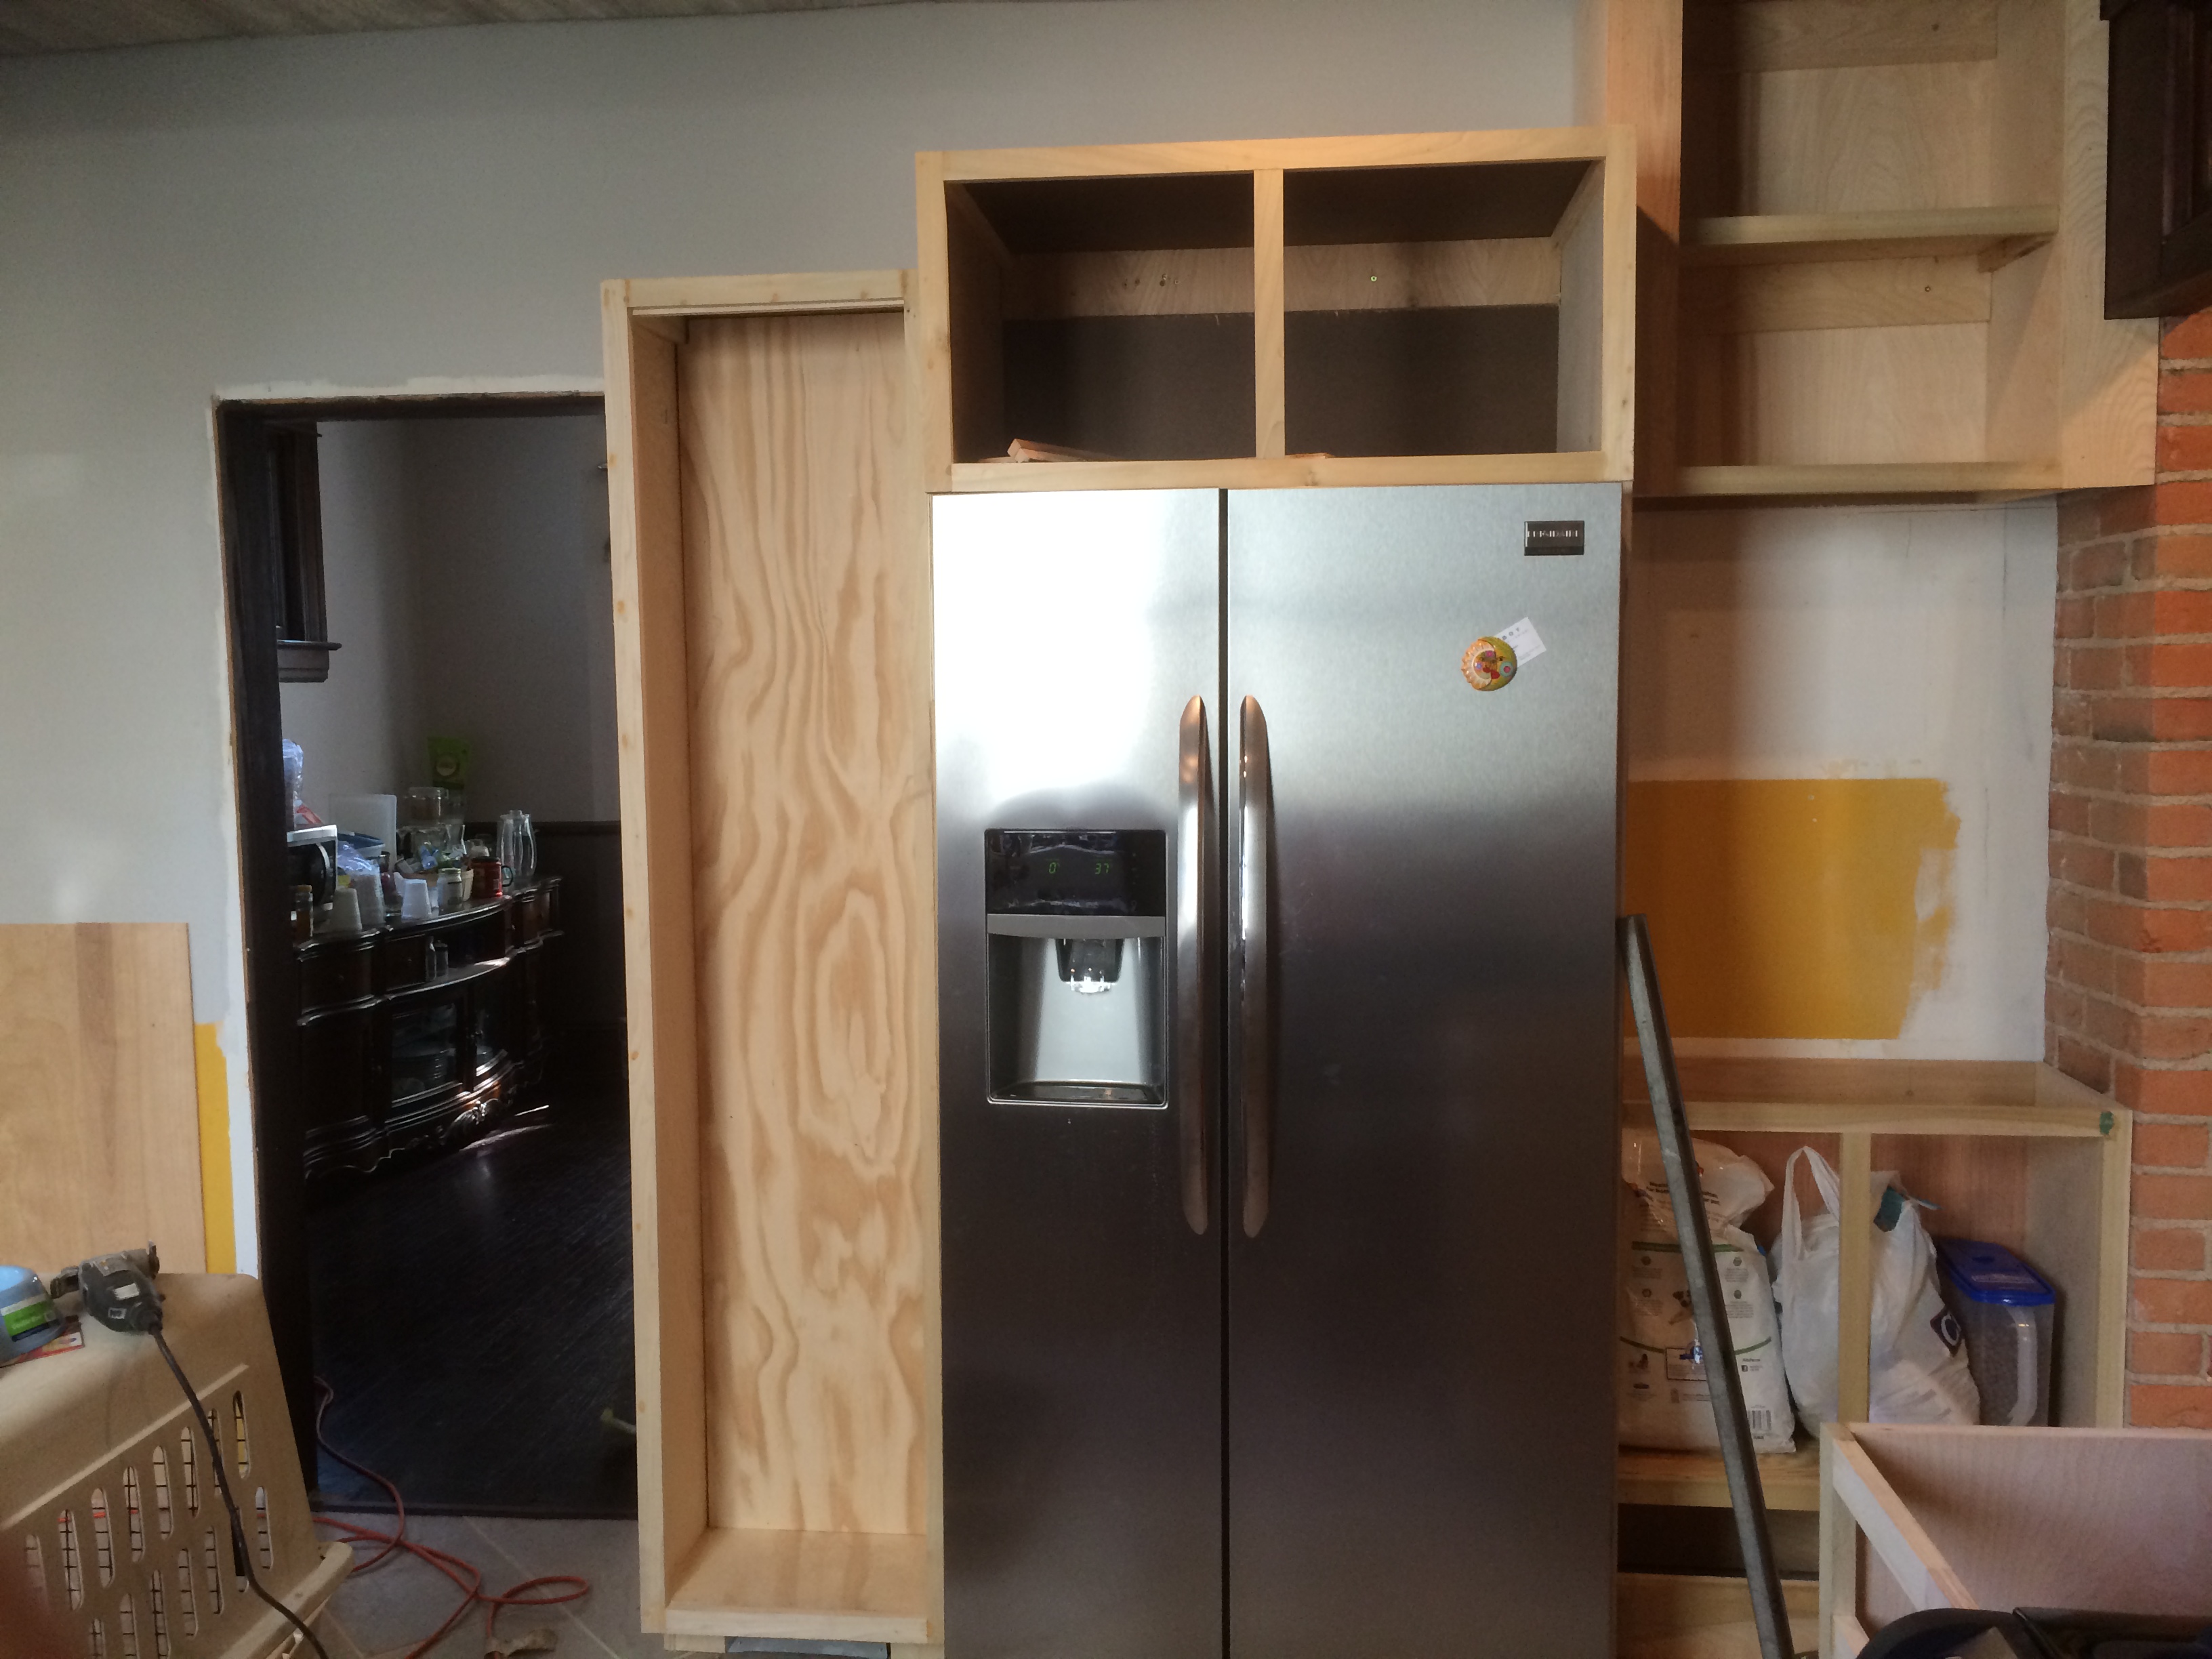
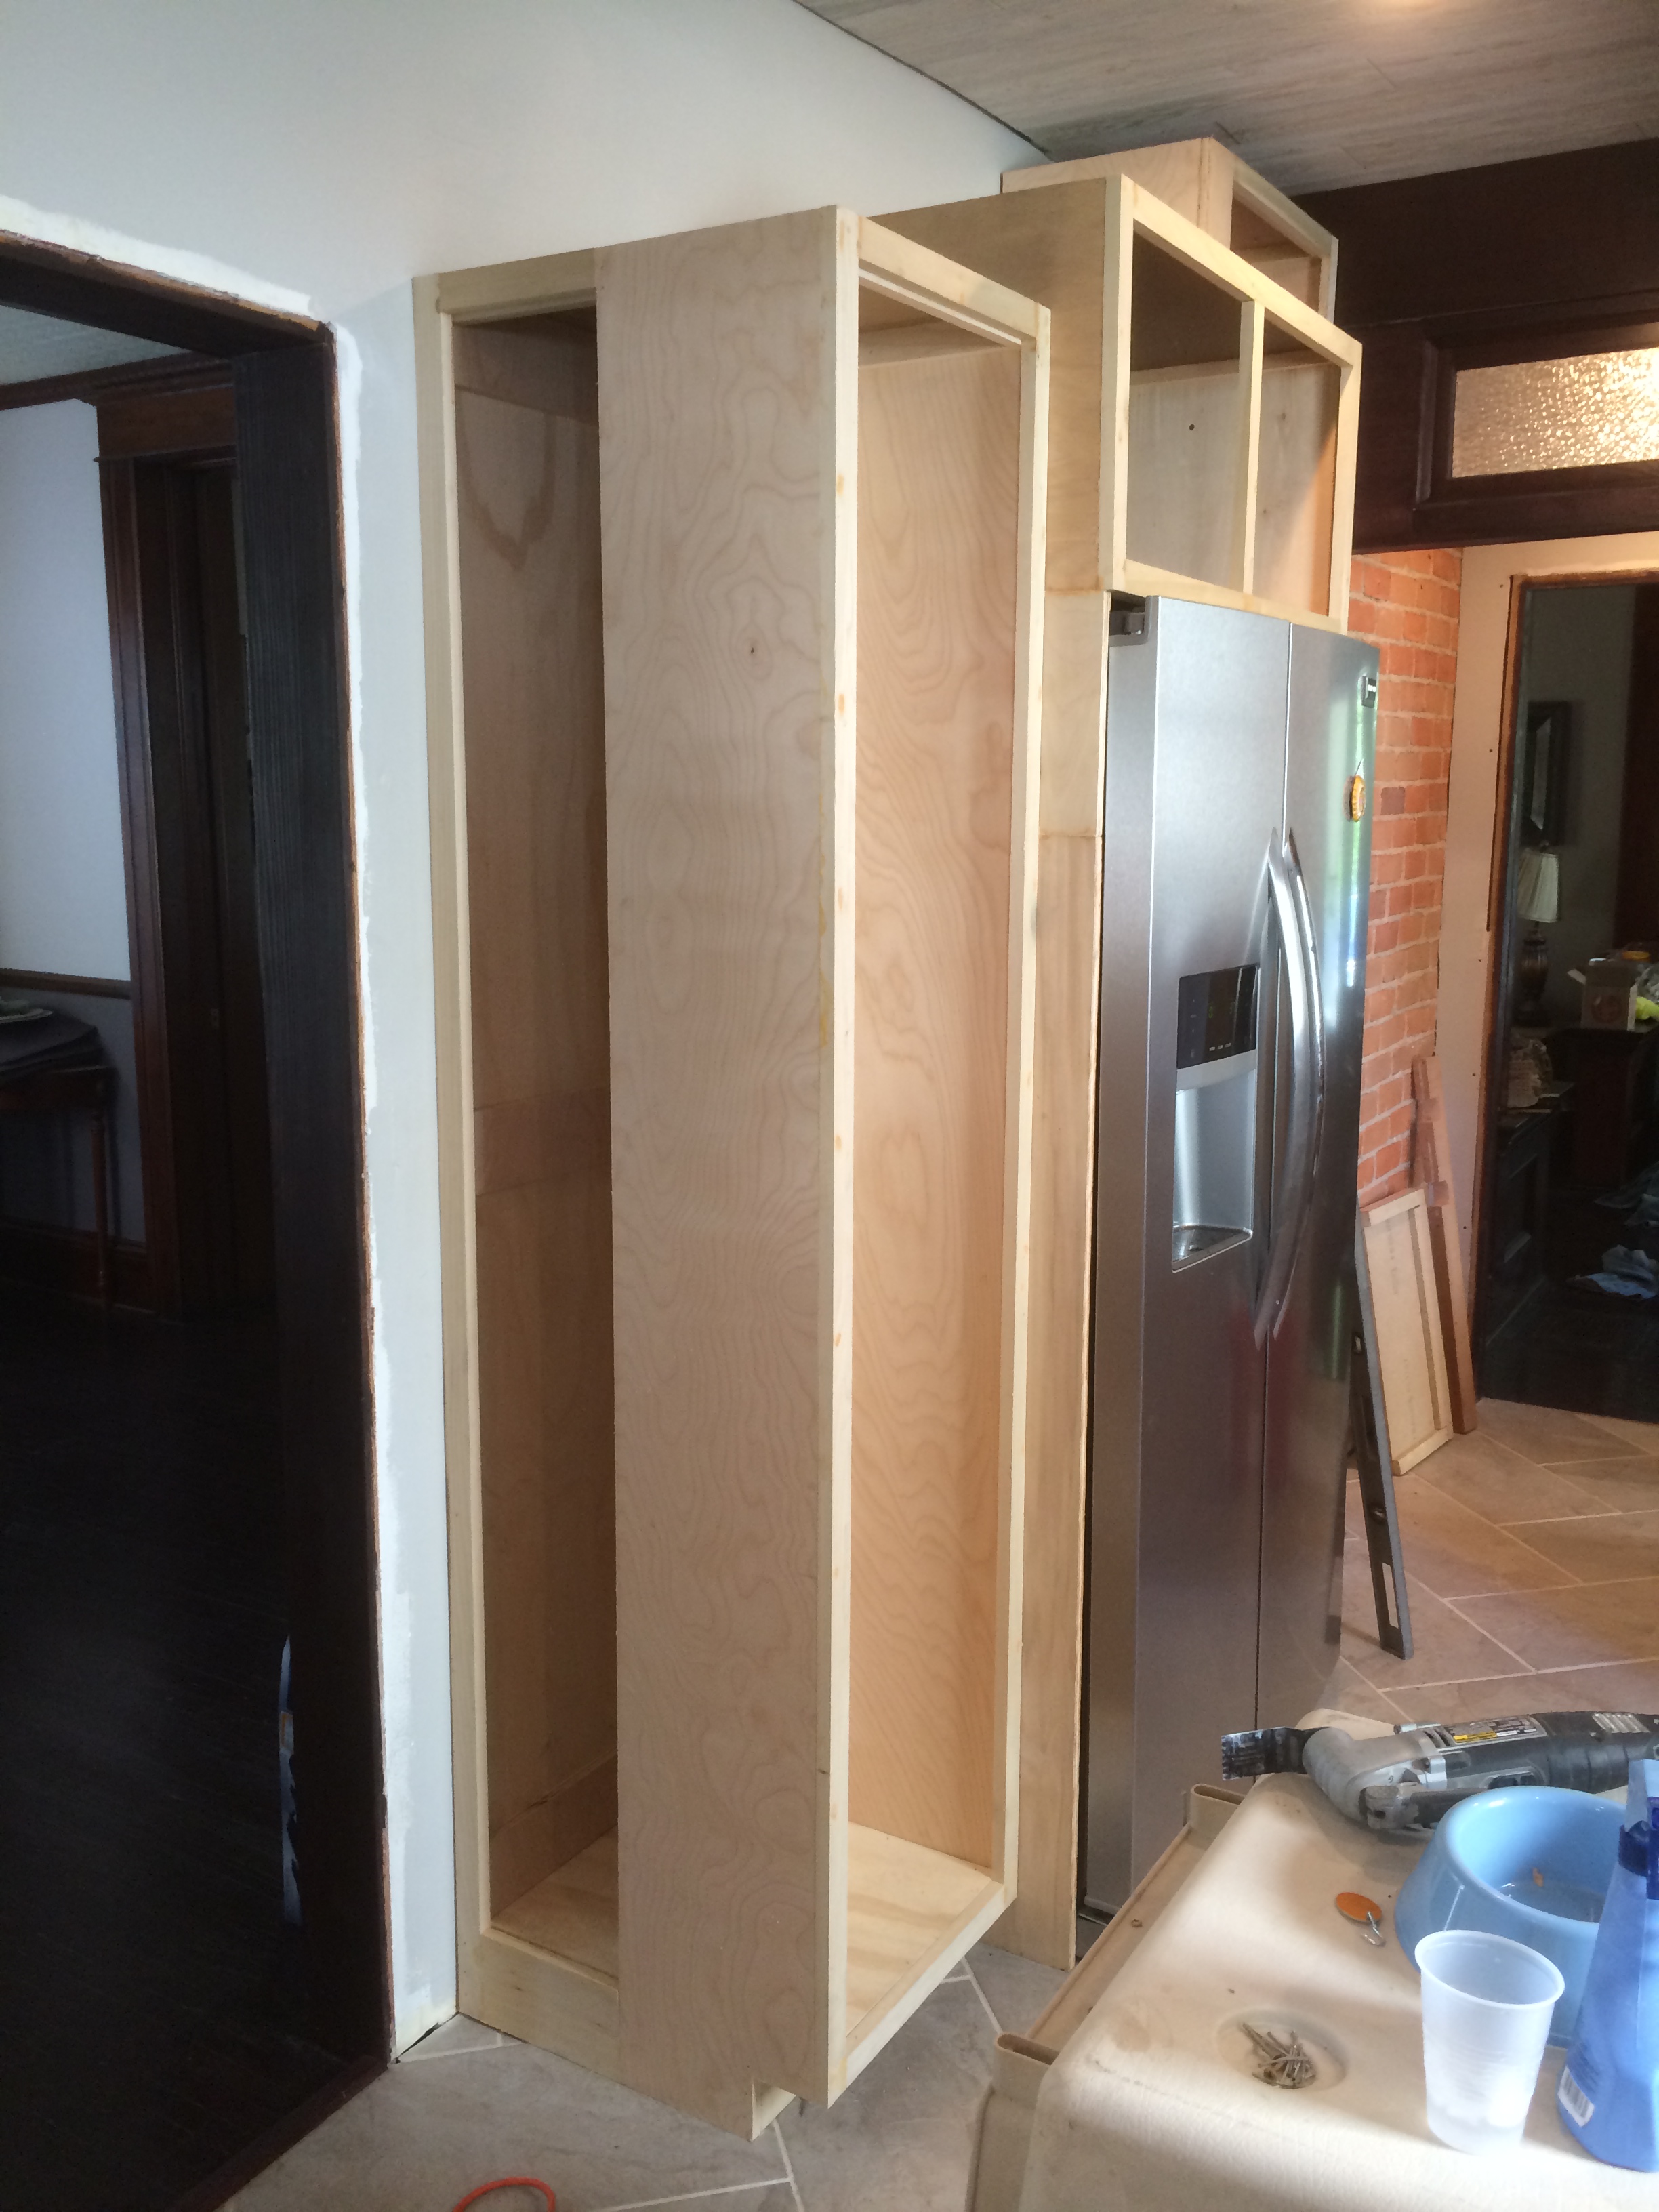
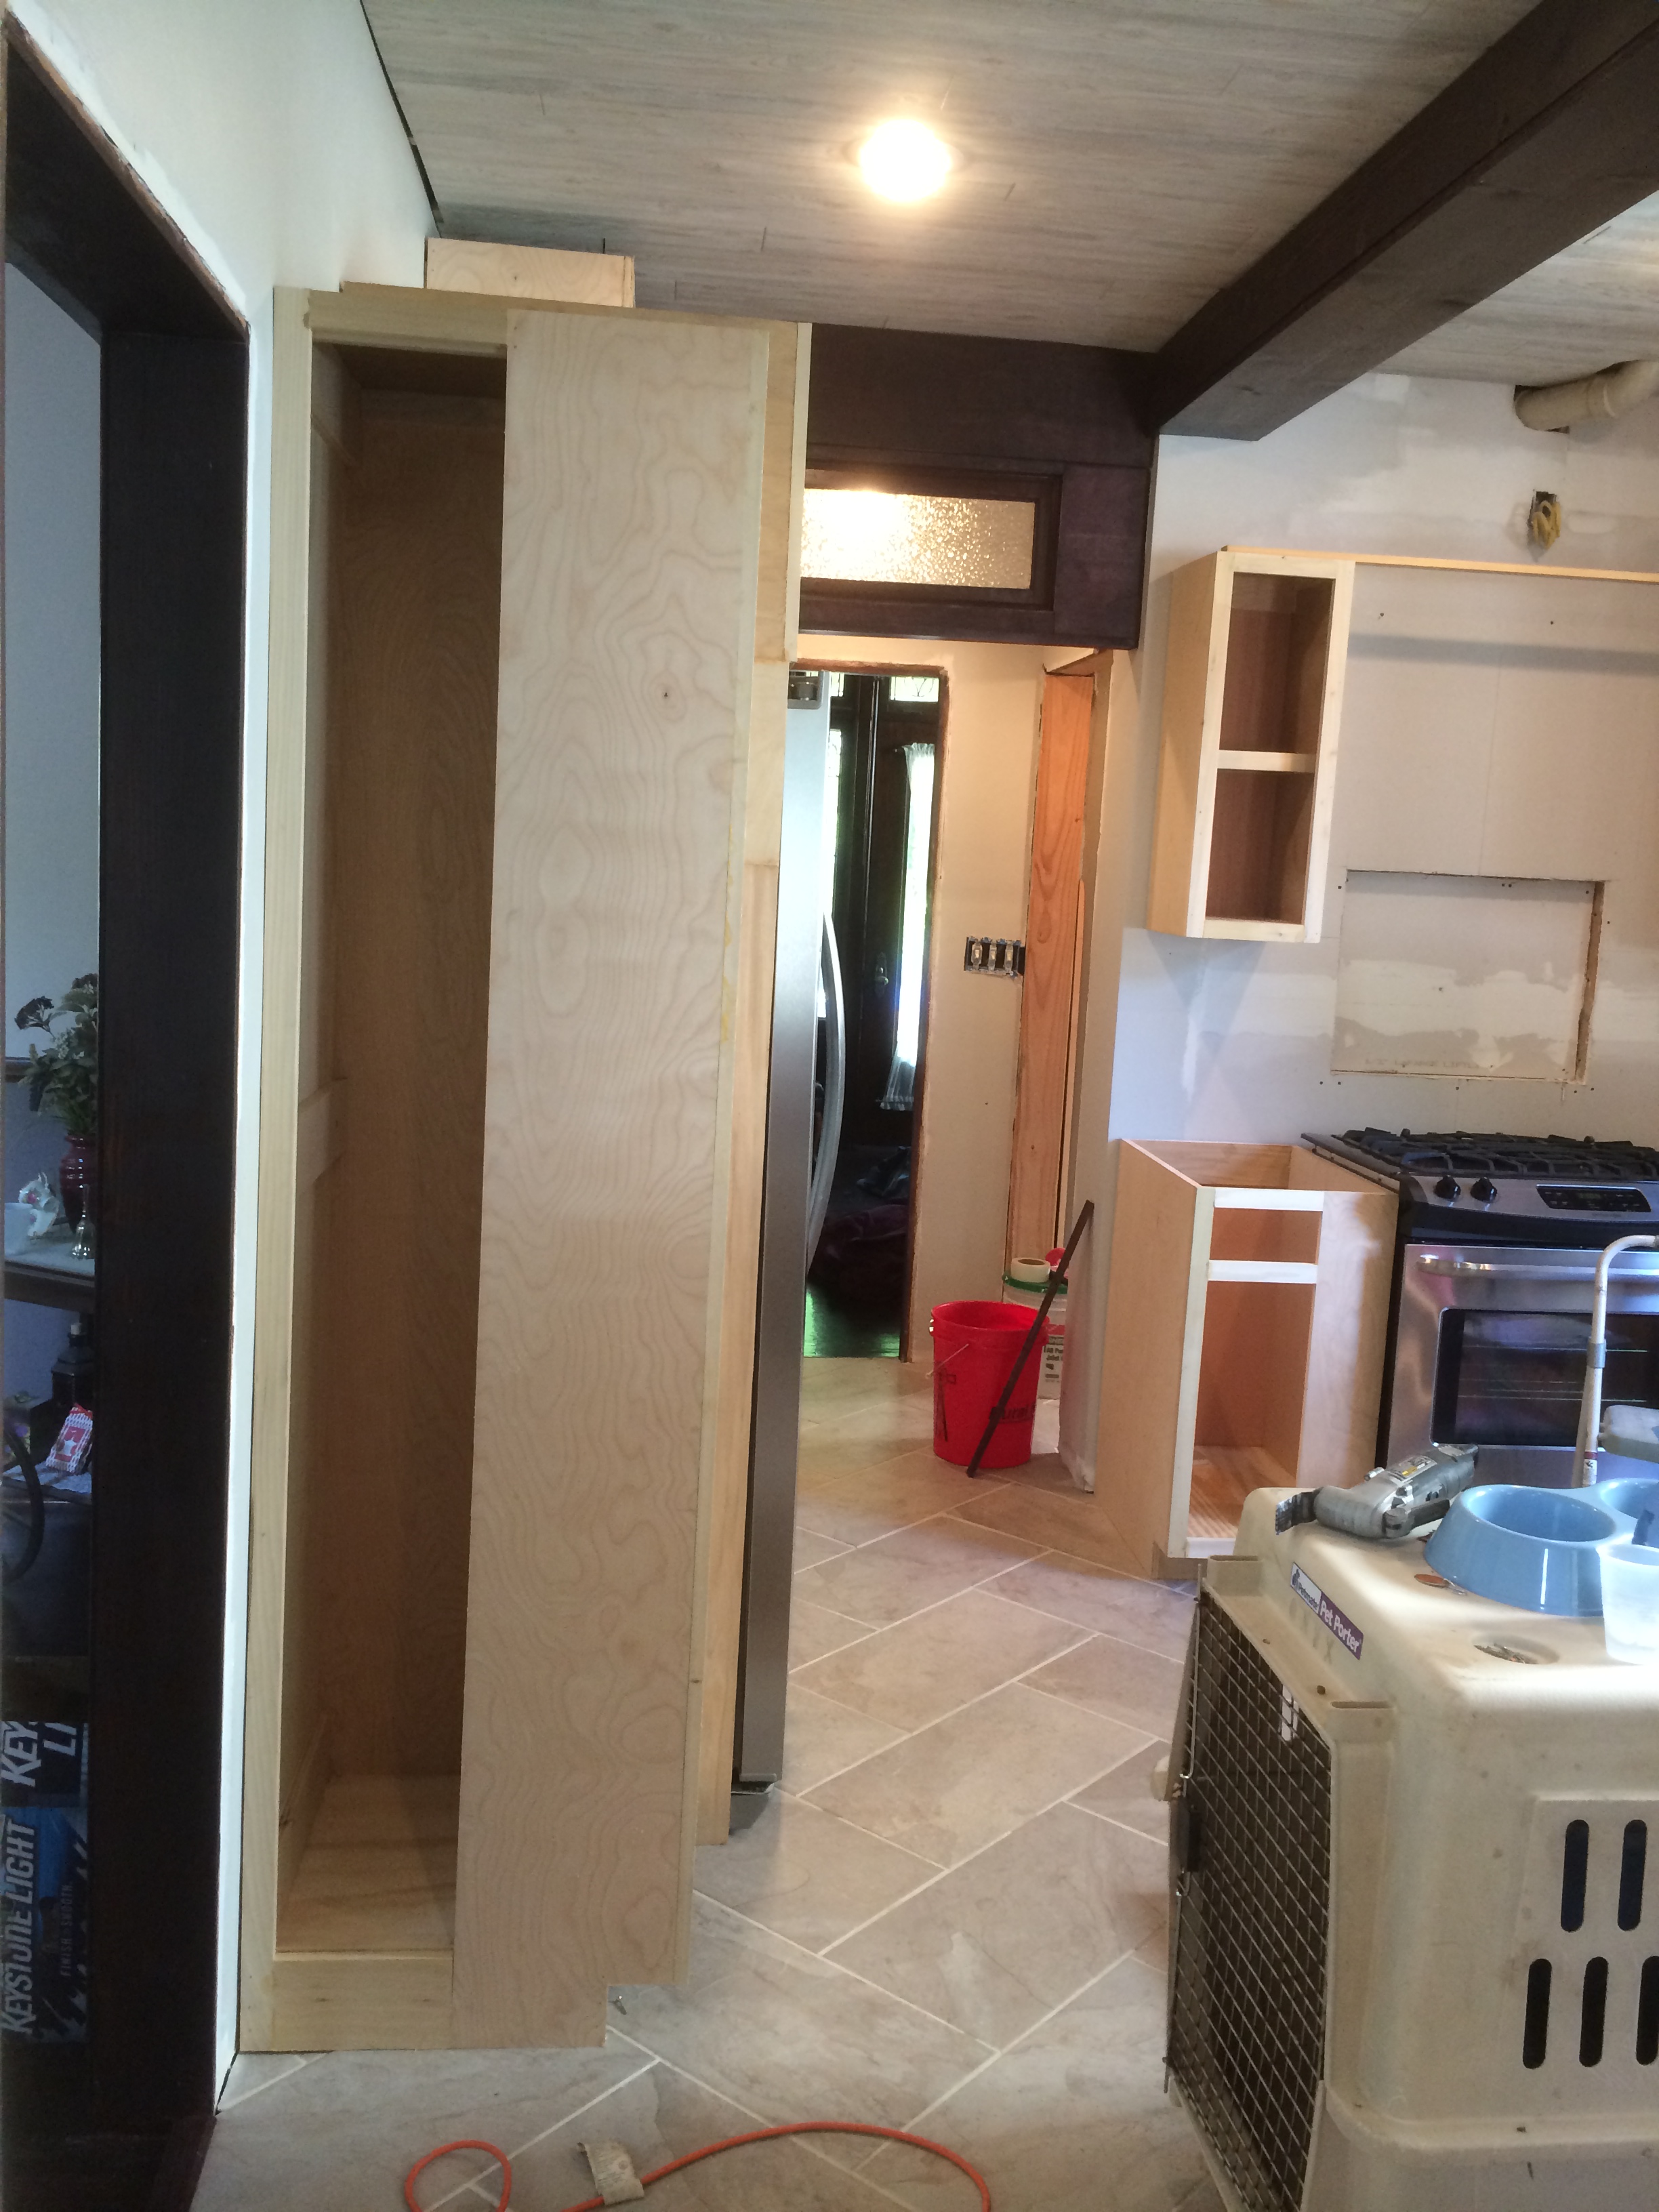
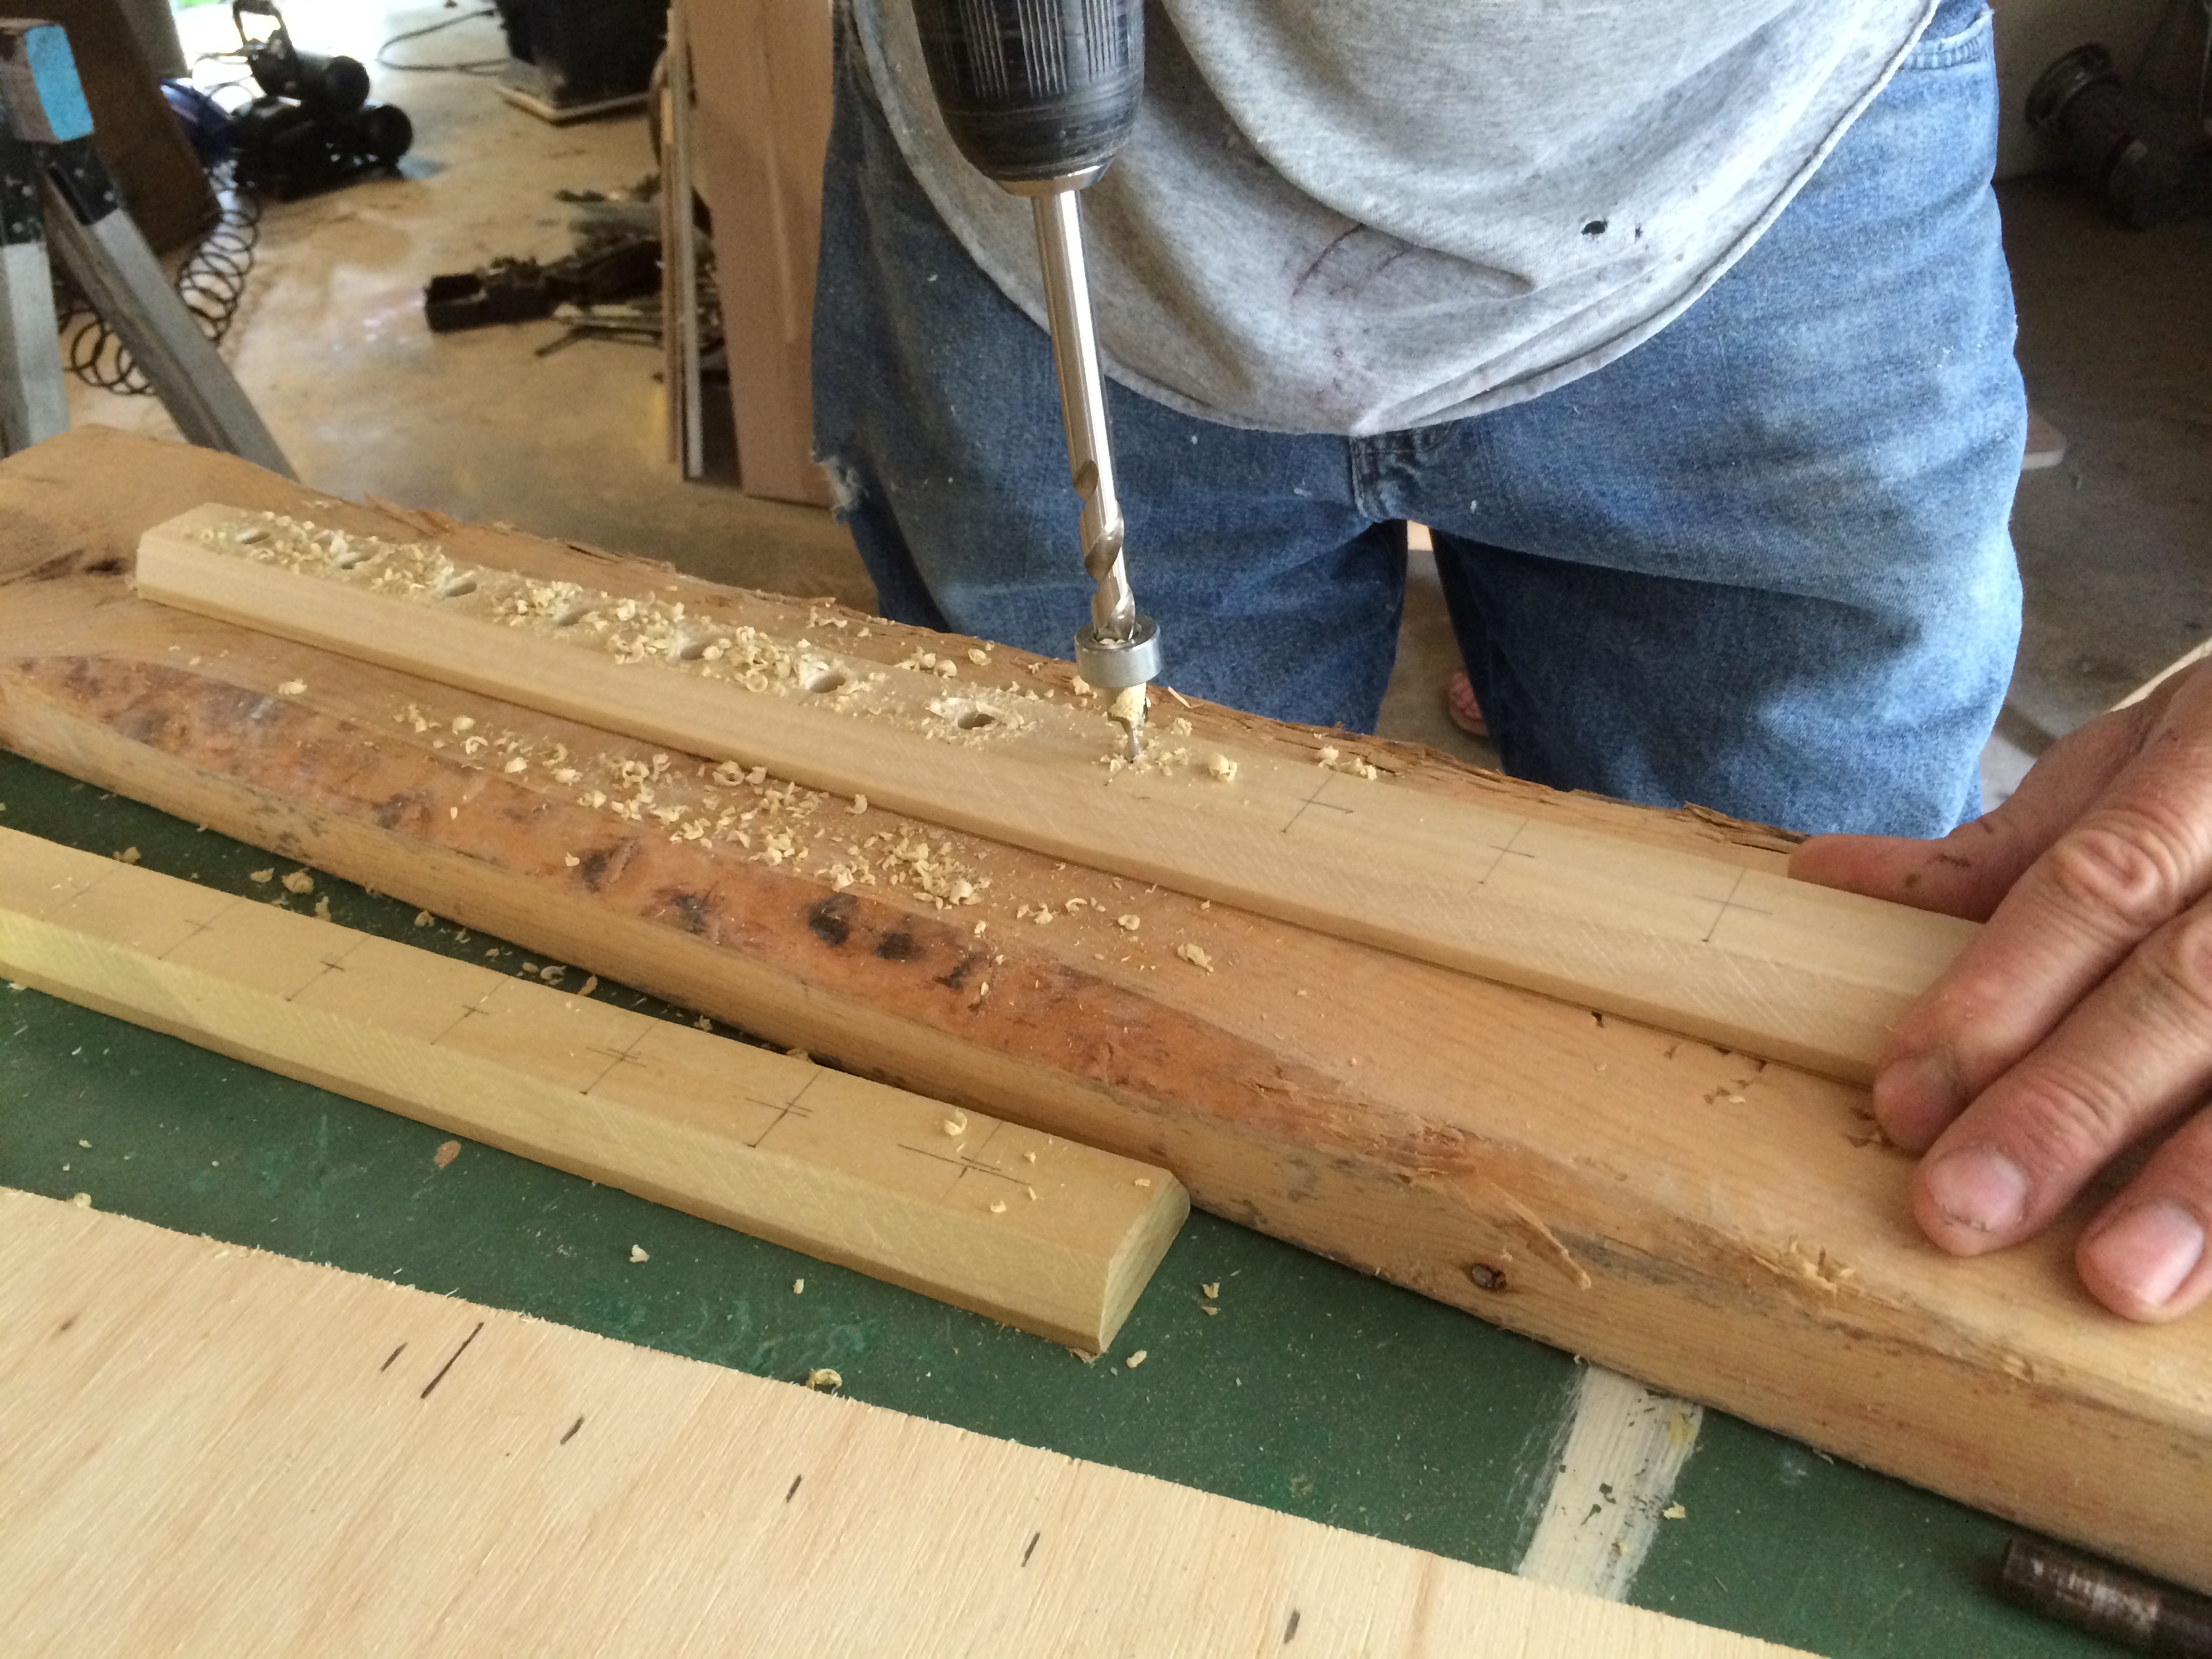
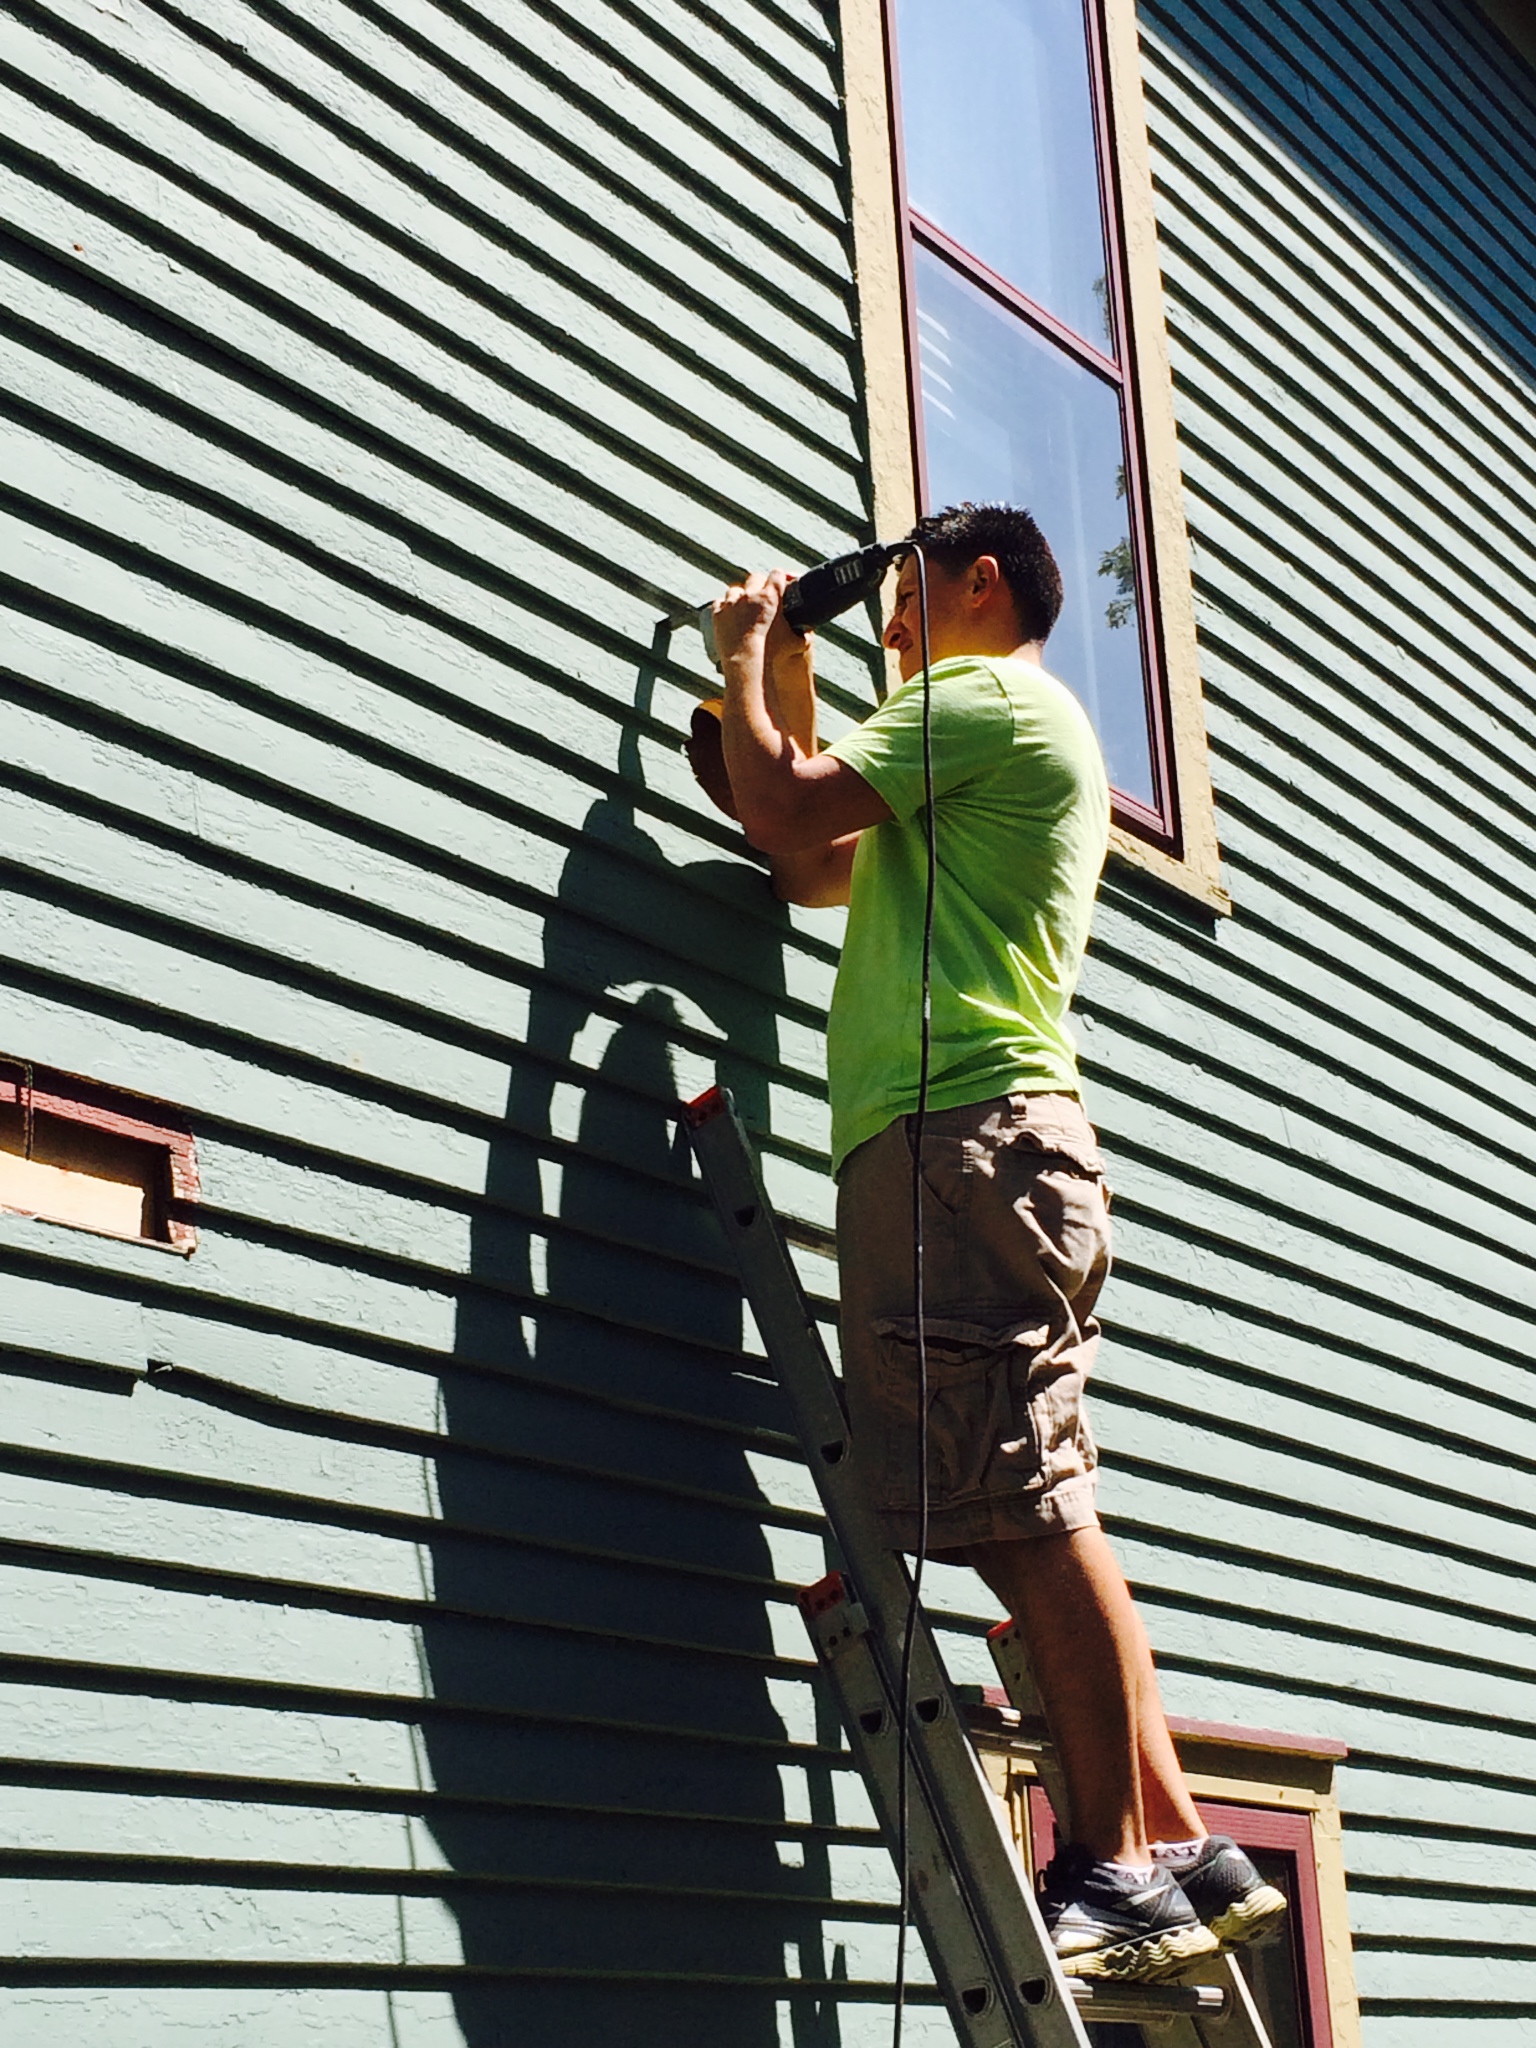
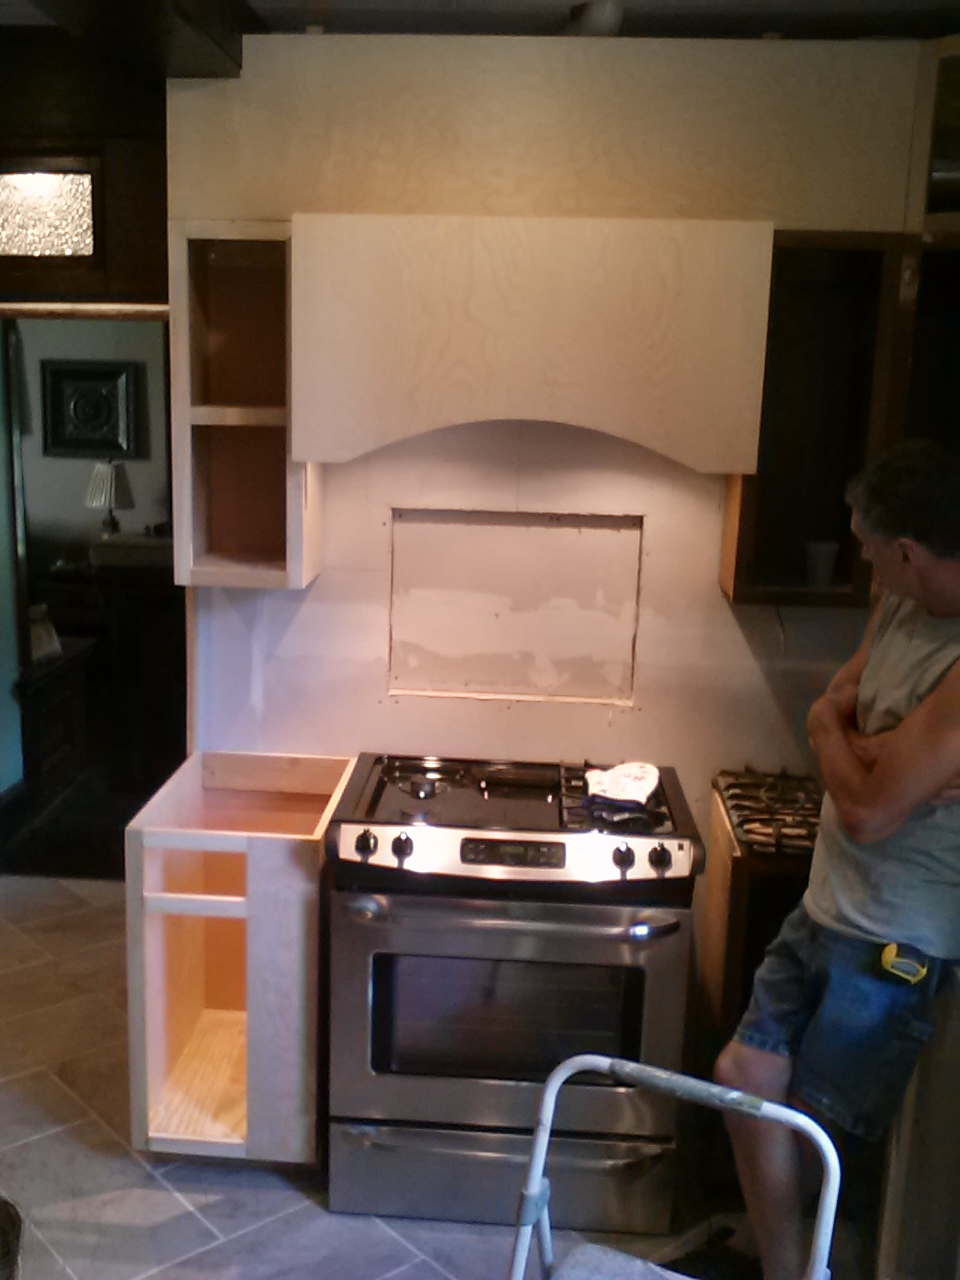
Once we had established a plan of action we got to work building a frame for the range hood itself and a place for the exhaust to be pushed out of the kitchen and to the outside air.
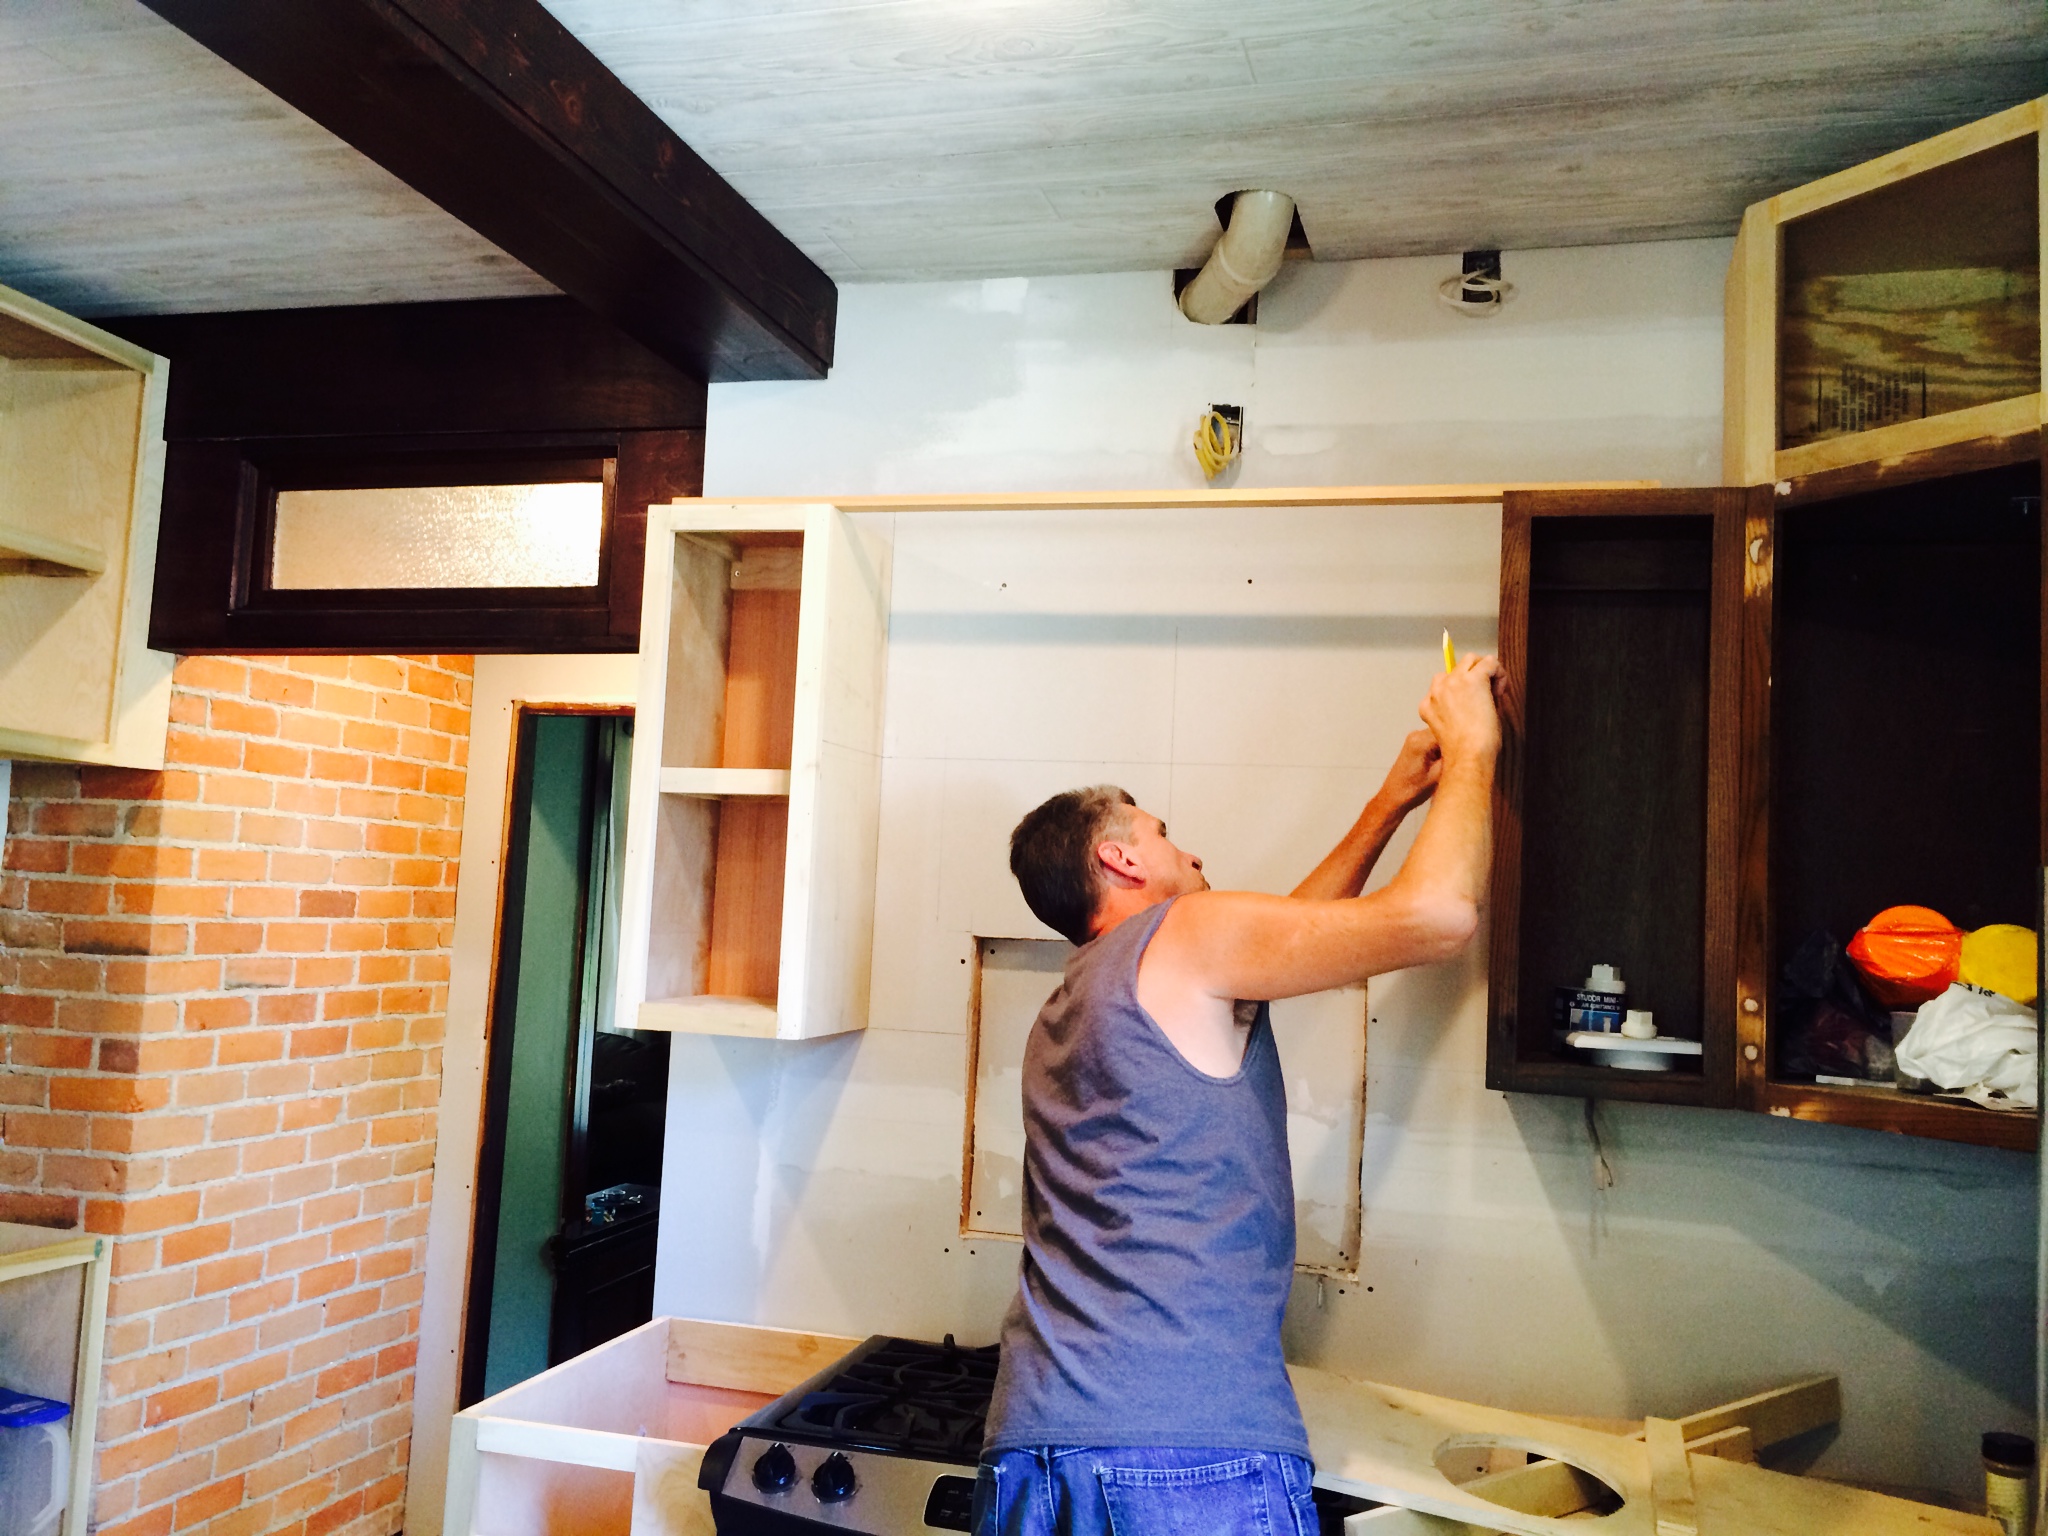
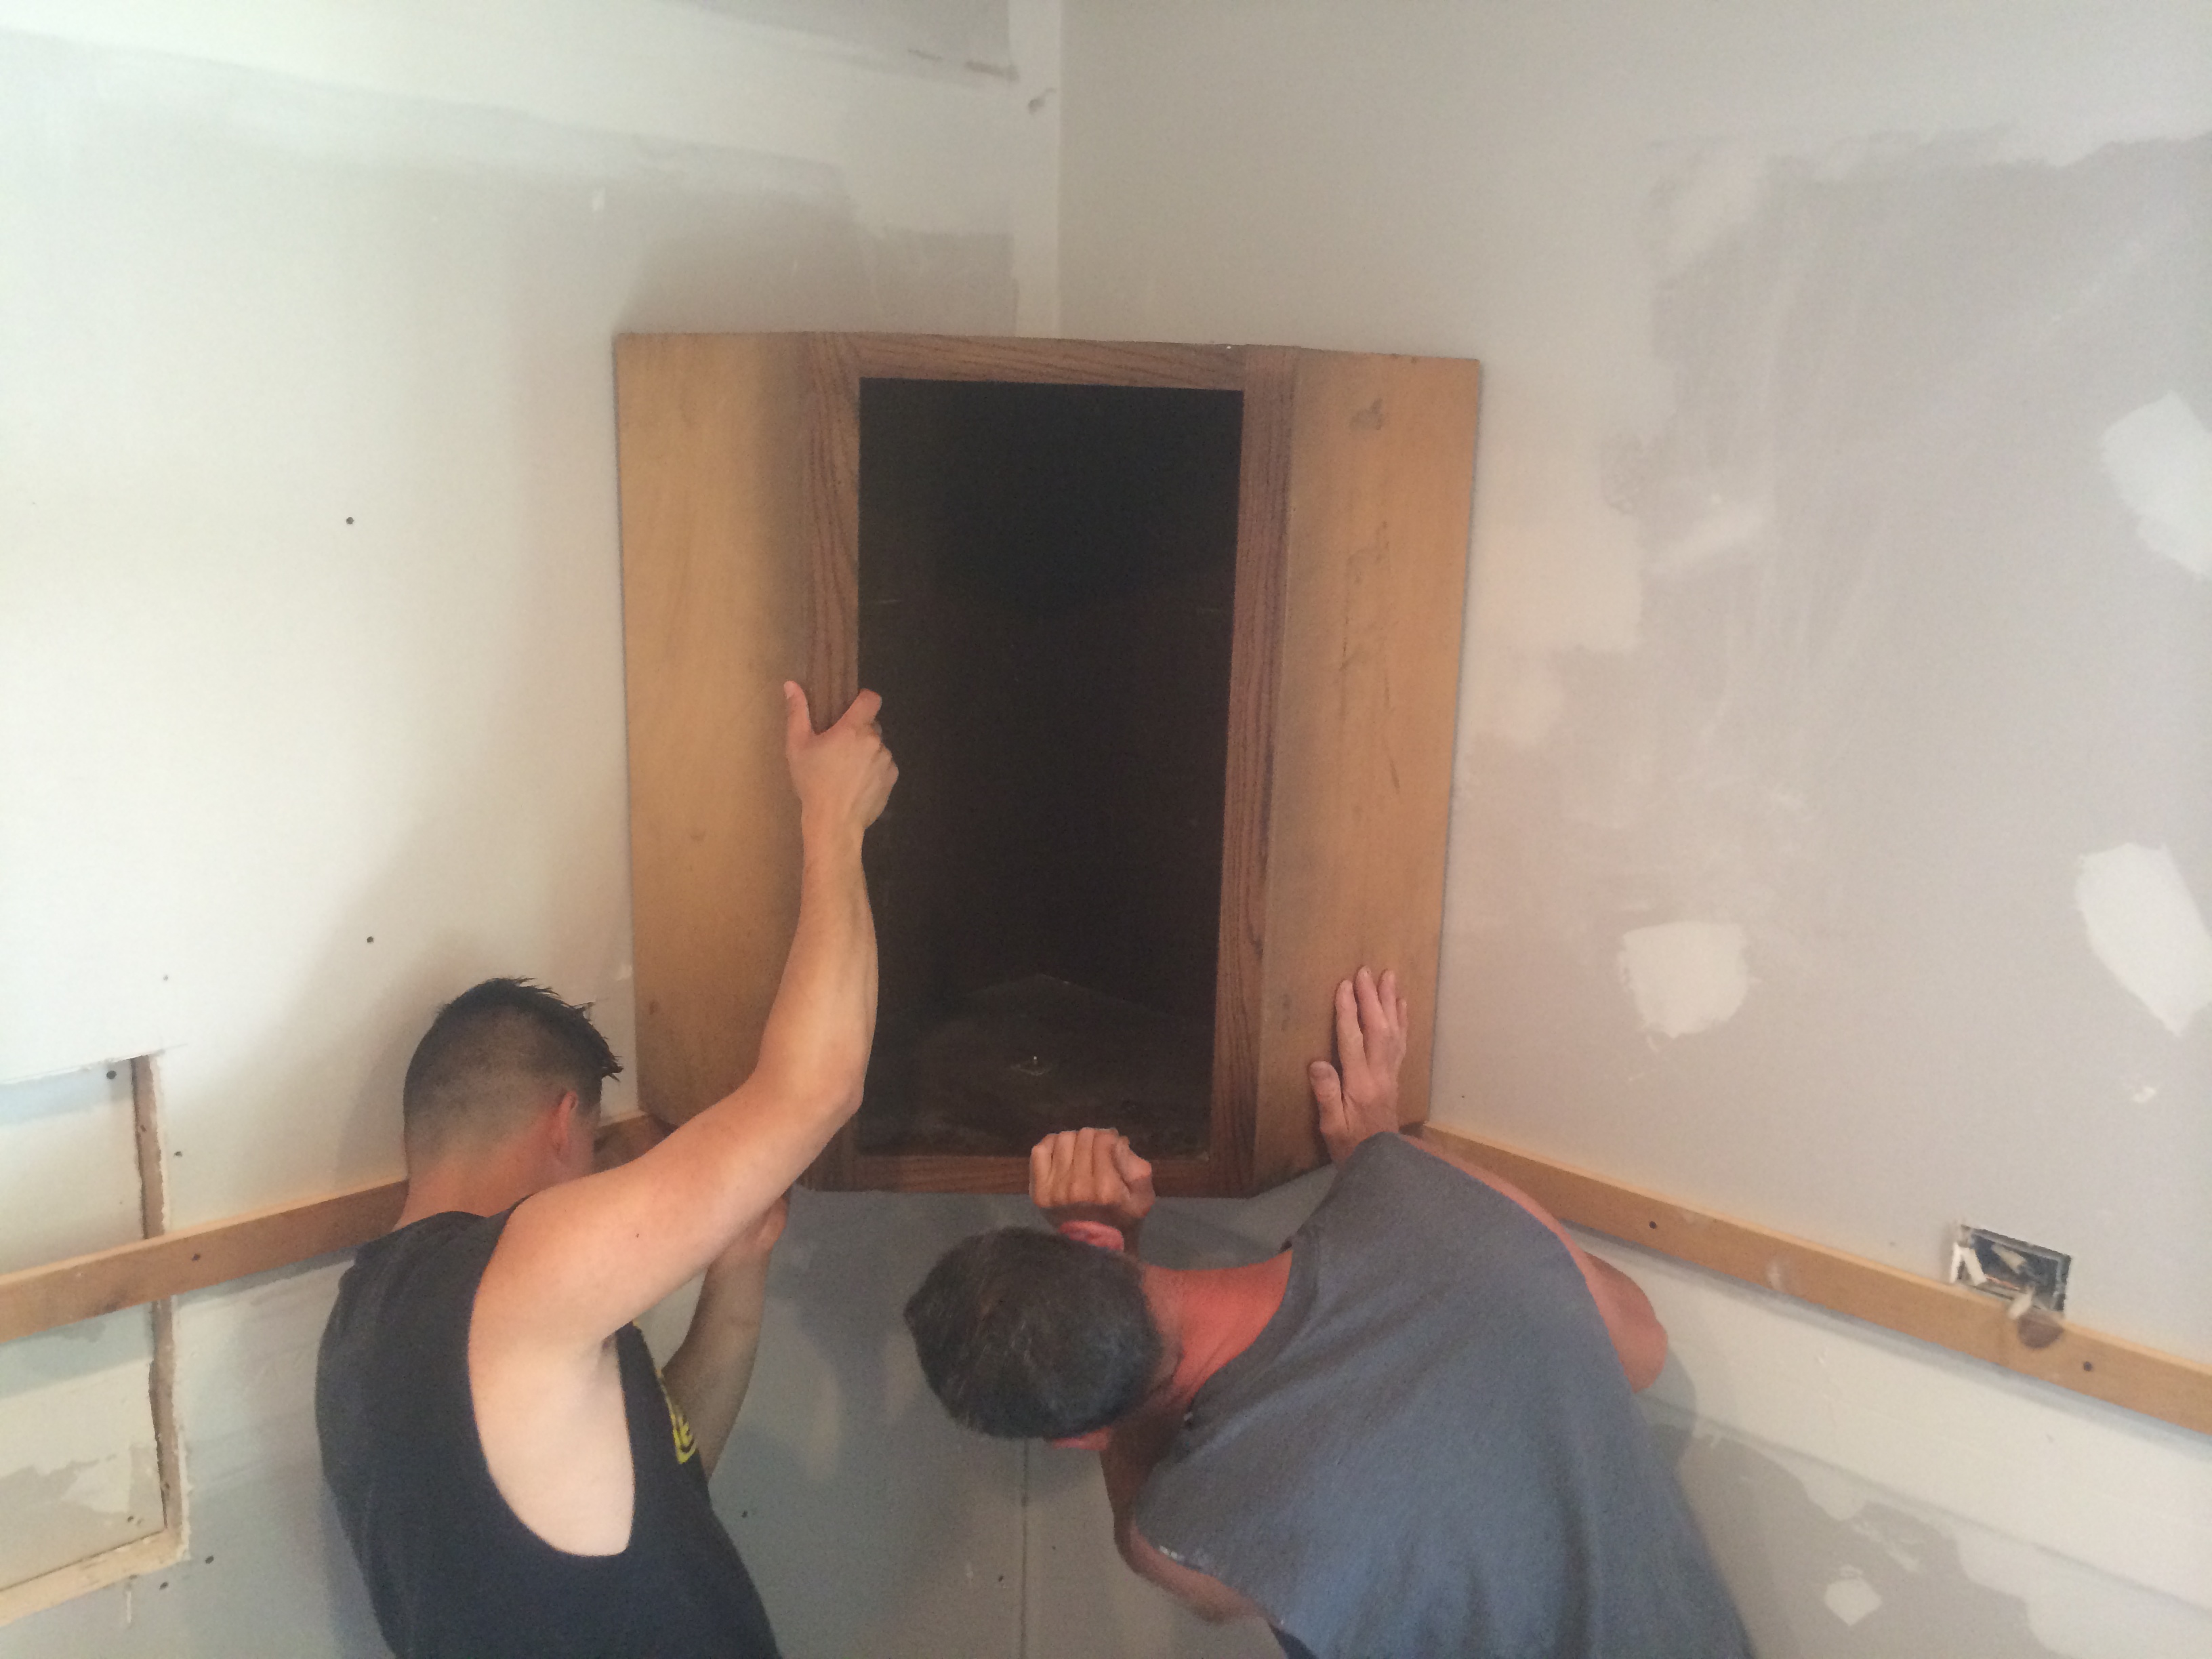
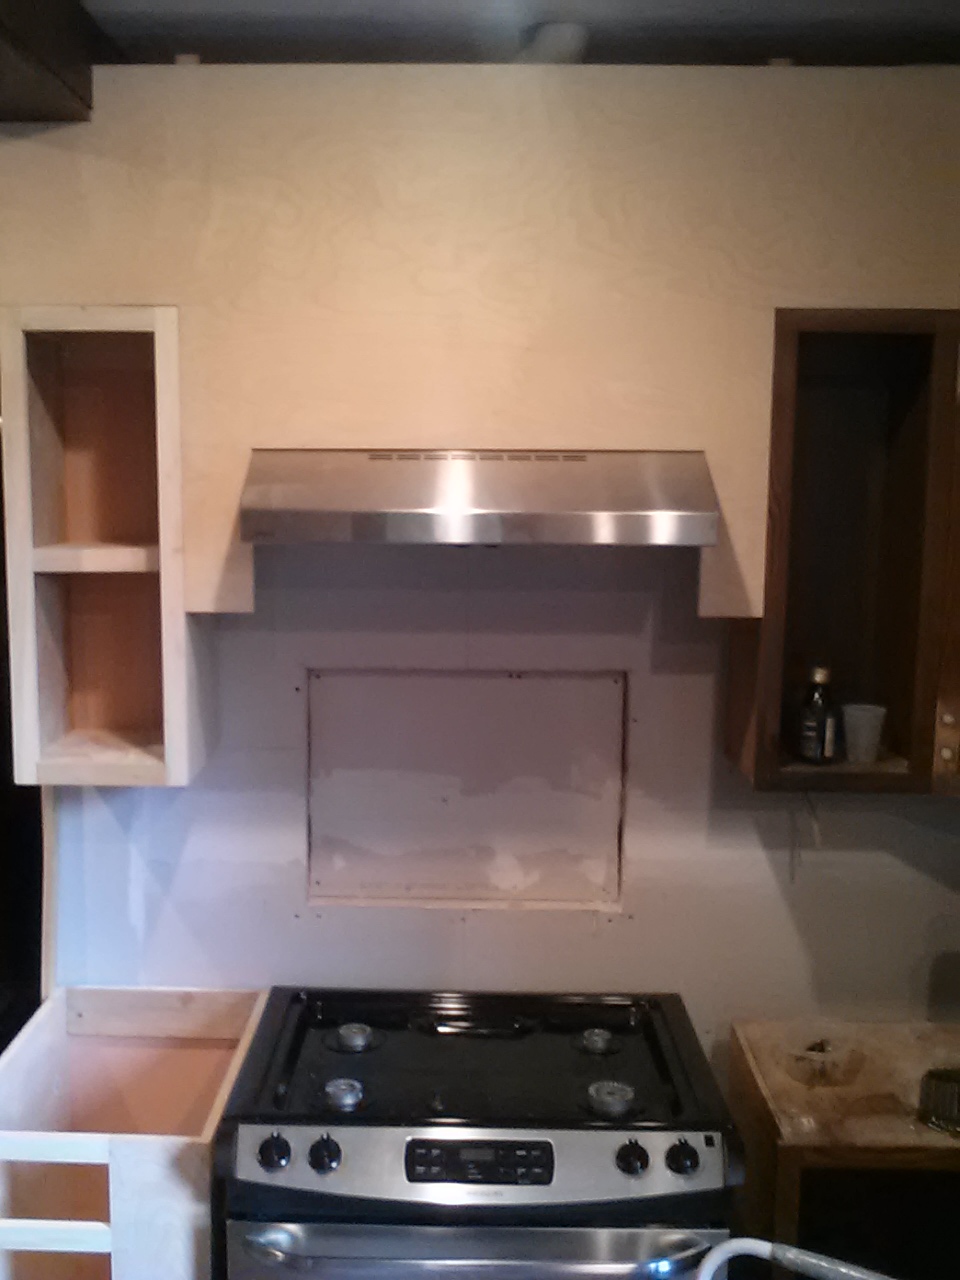
We cut a piece of plywood to mount the range hood to.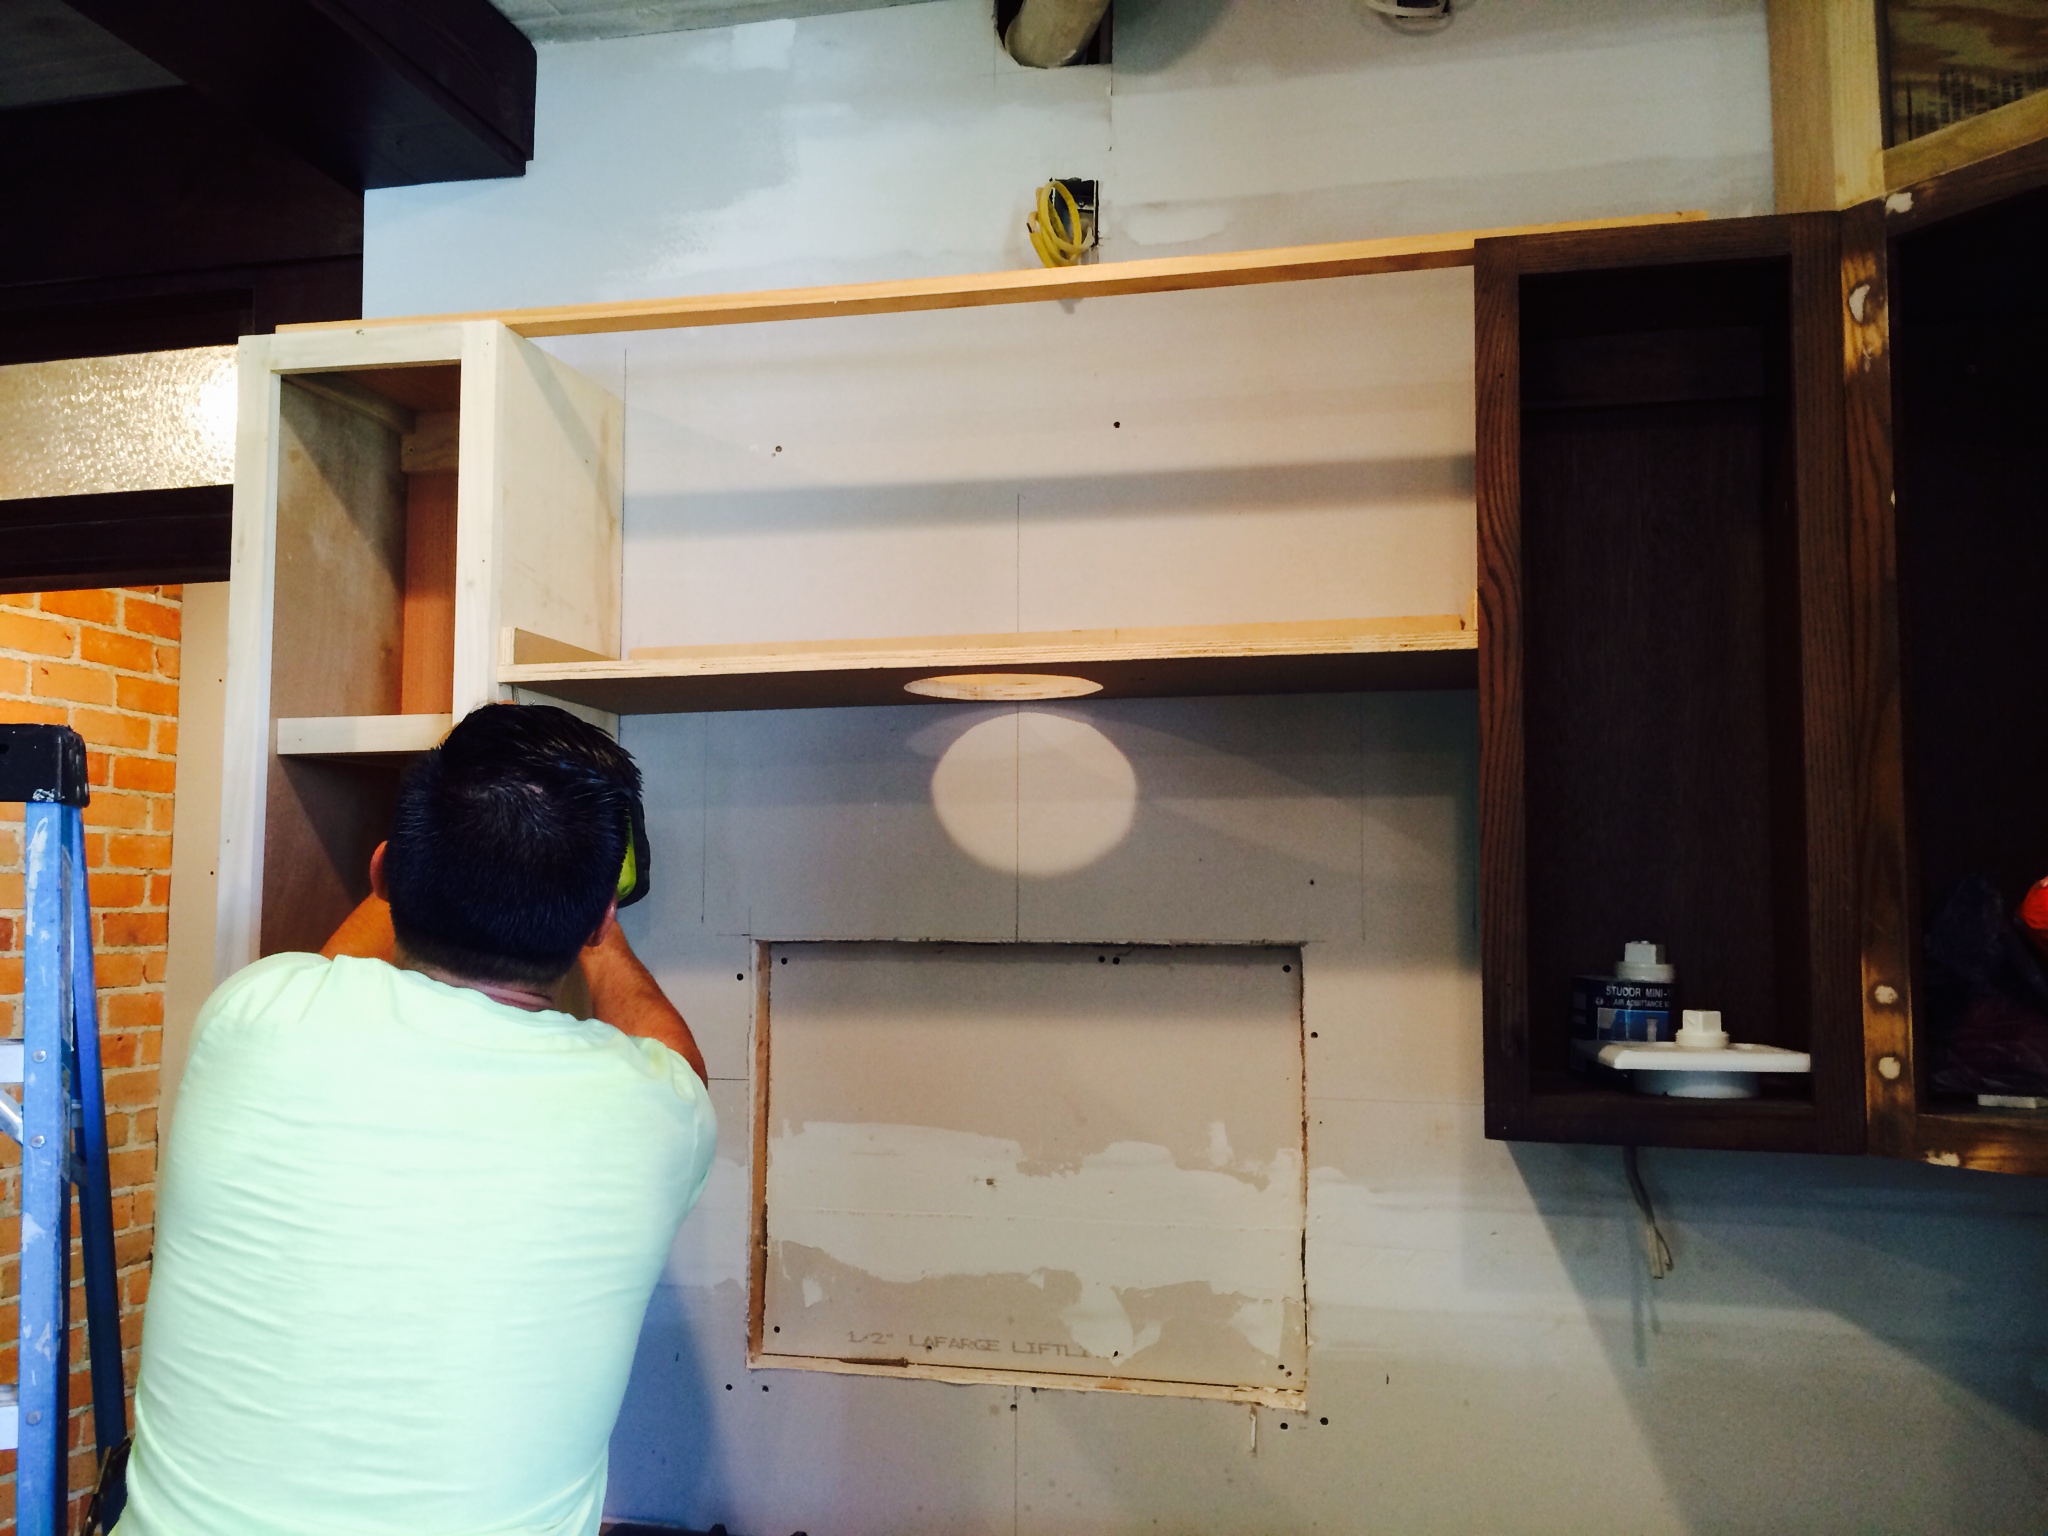
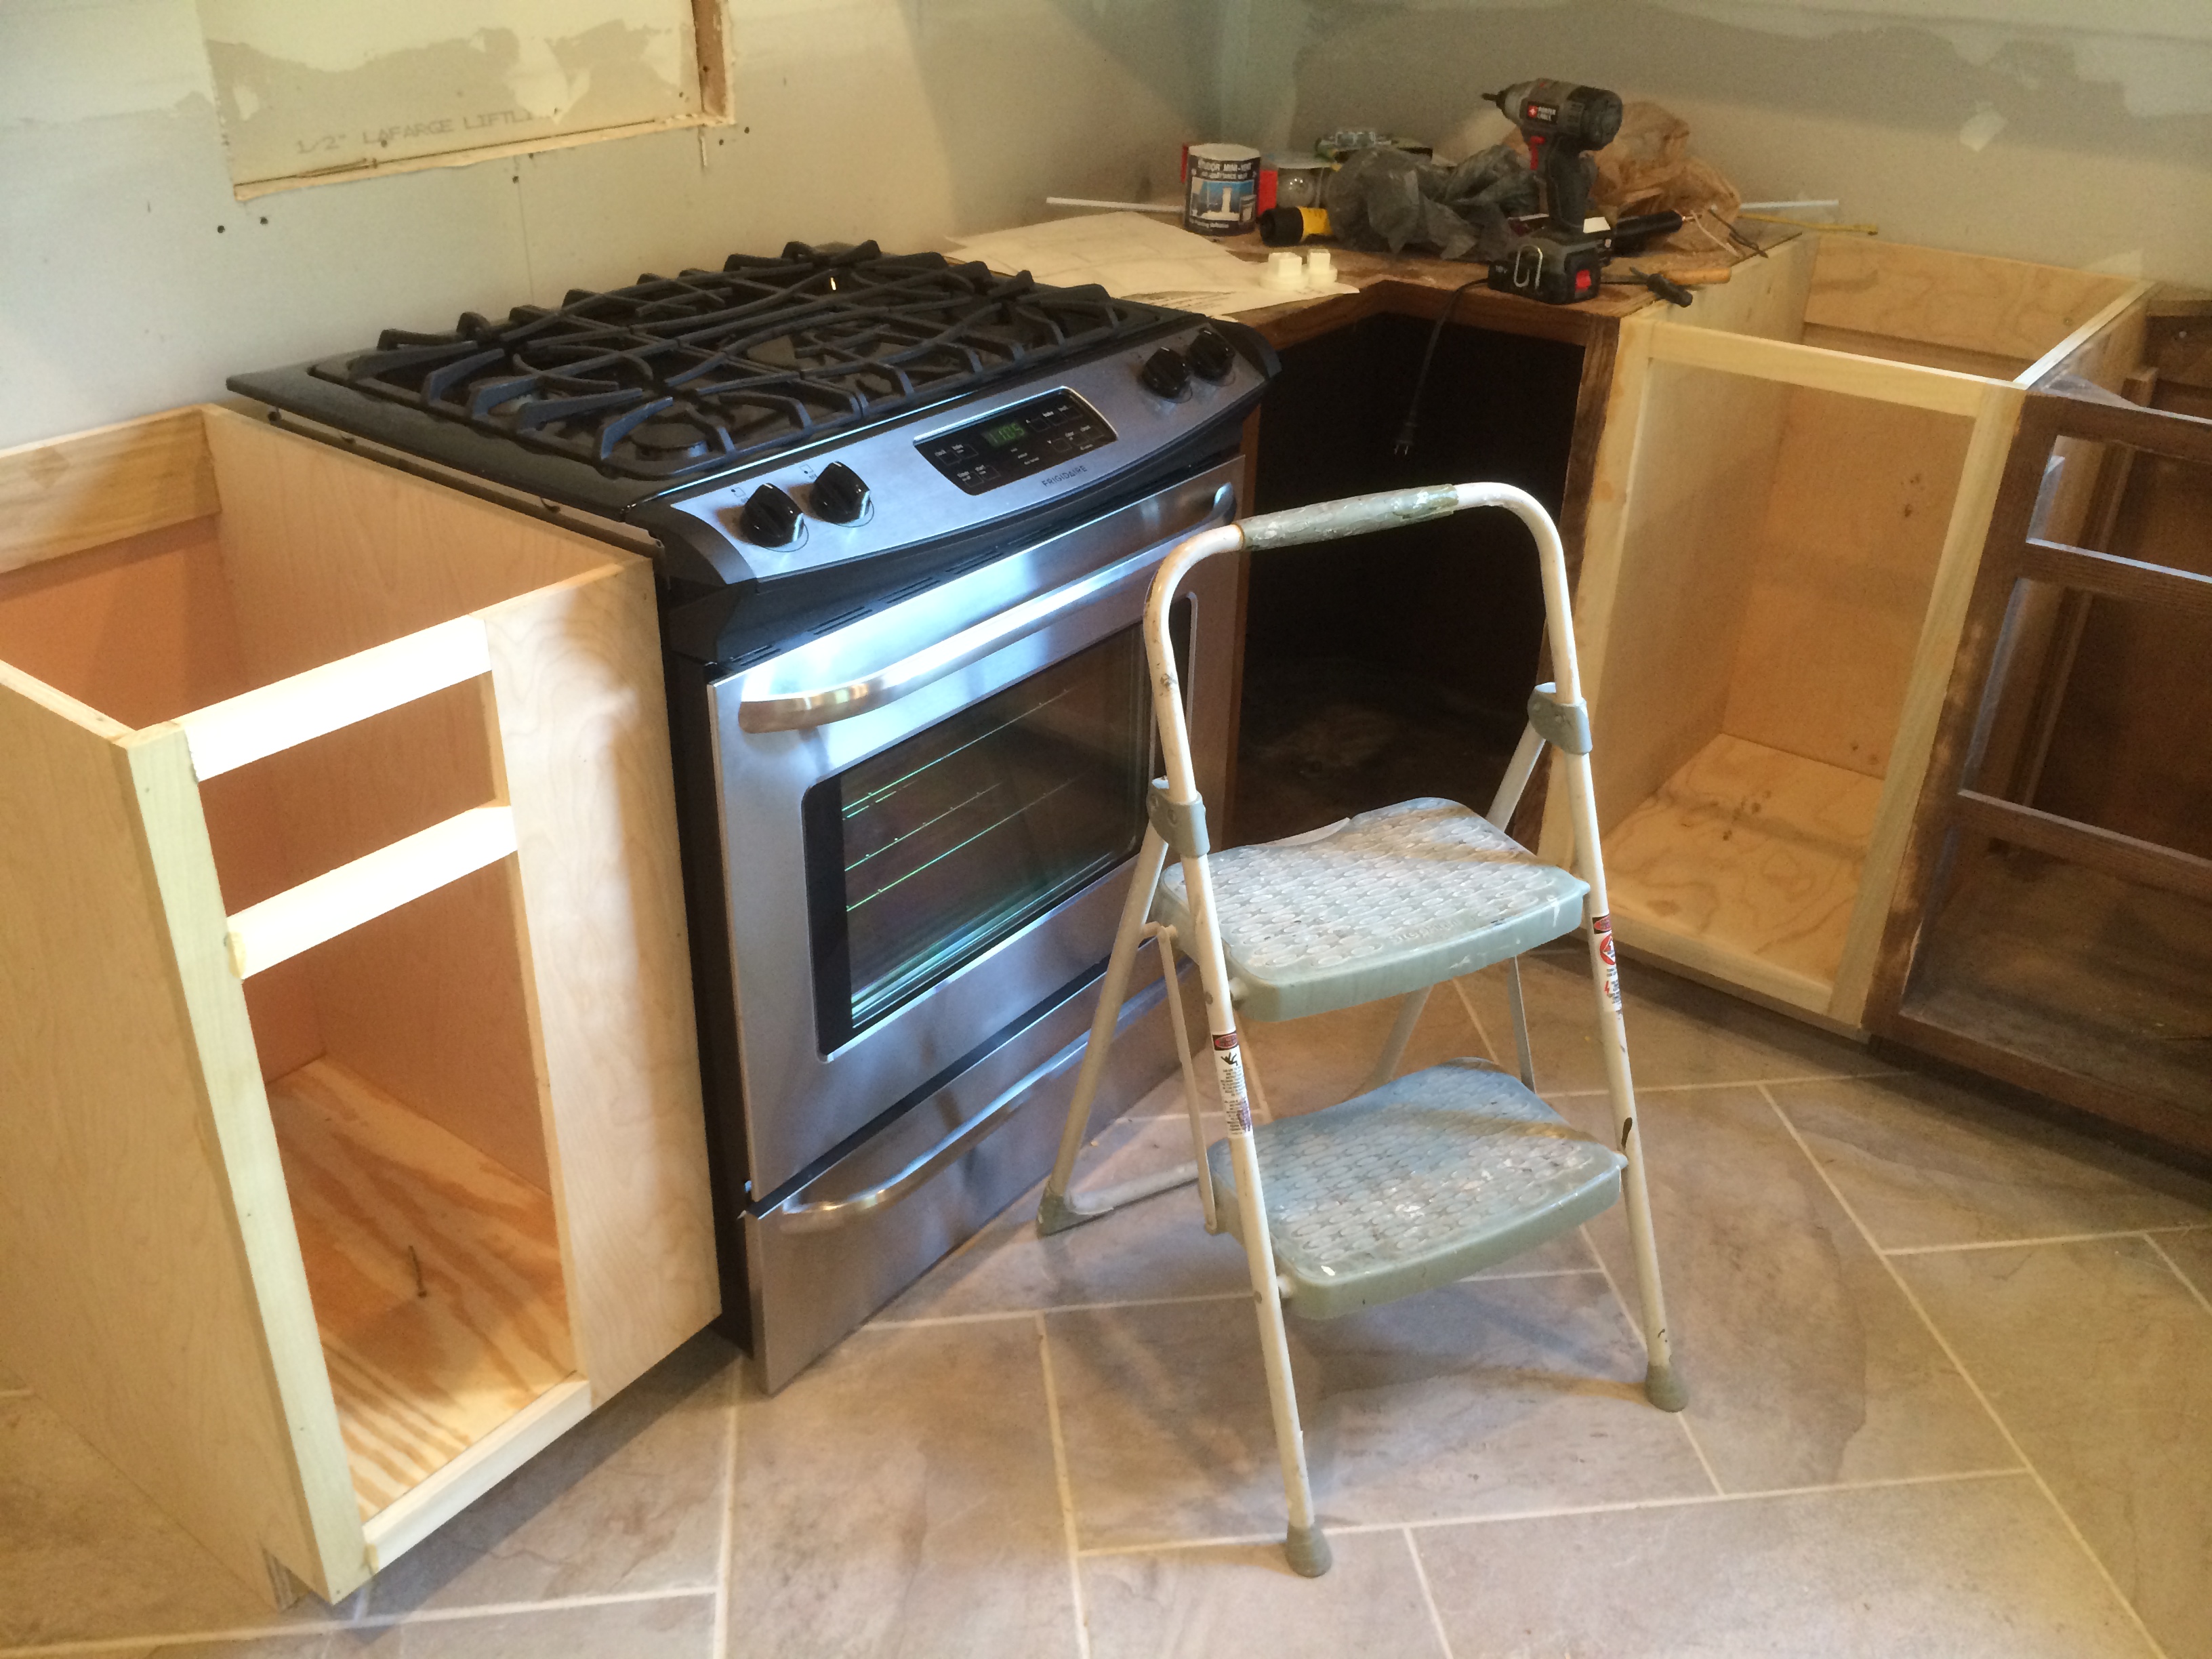
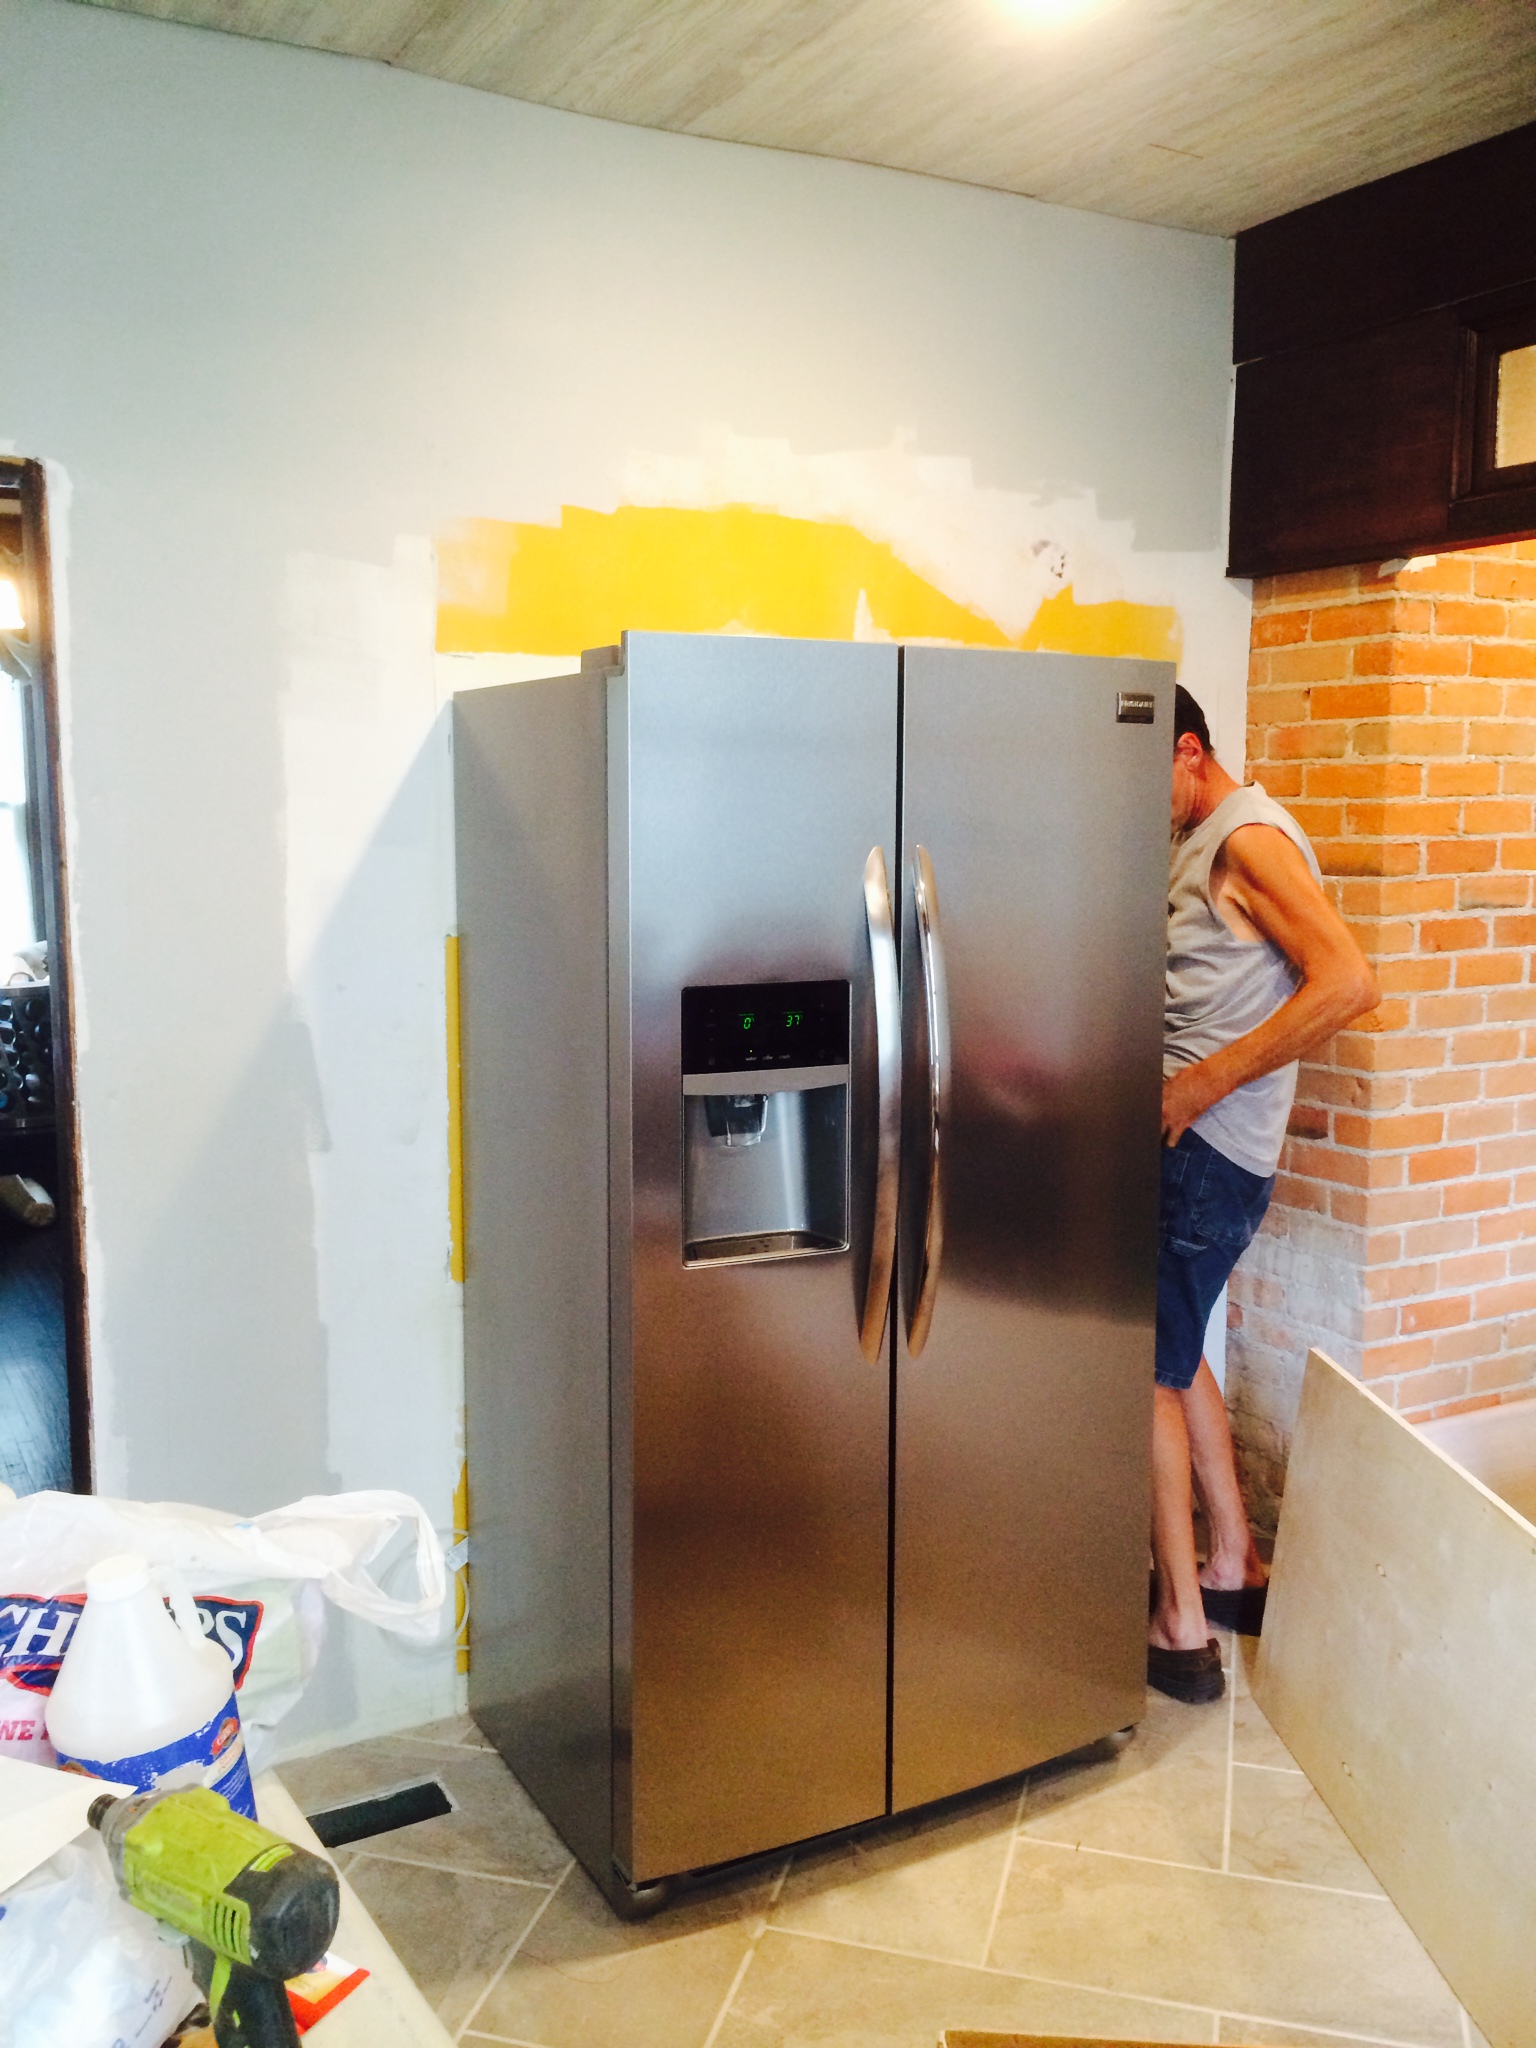
We purchased this standard stainless steel range hood. Make sure the controls for the fan and light are on the underside of the hood and not on the front. If you are going to cover your range hood you want to make sure you don’t restrict access to the functional part of the hood.

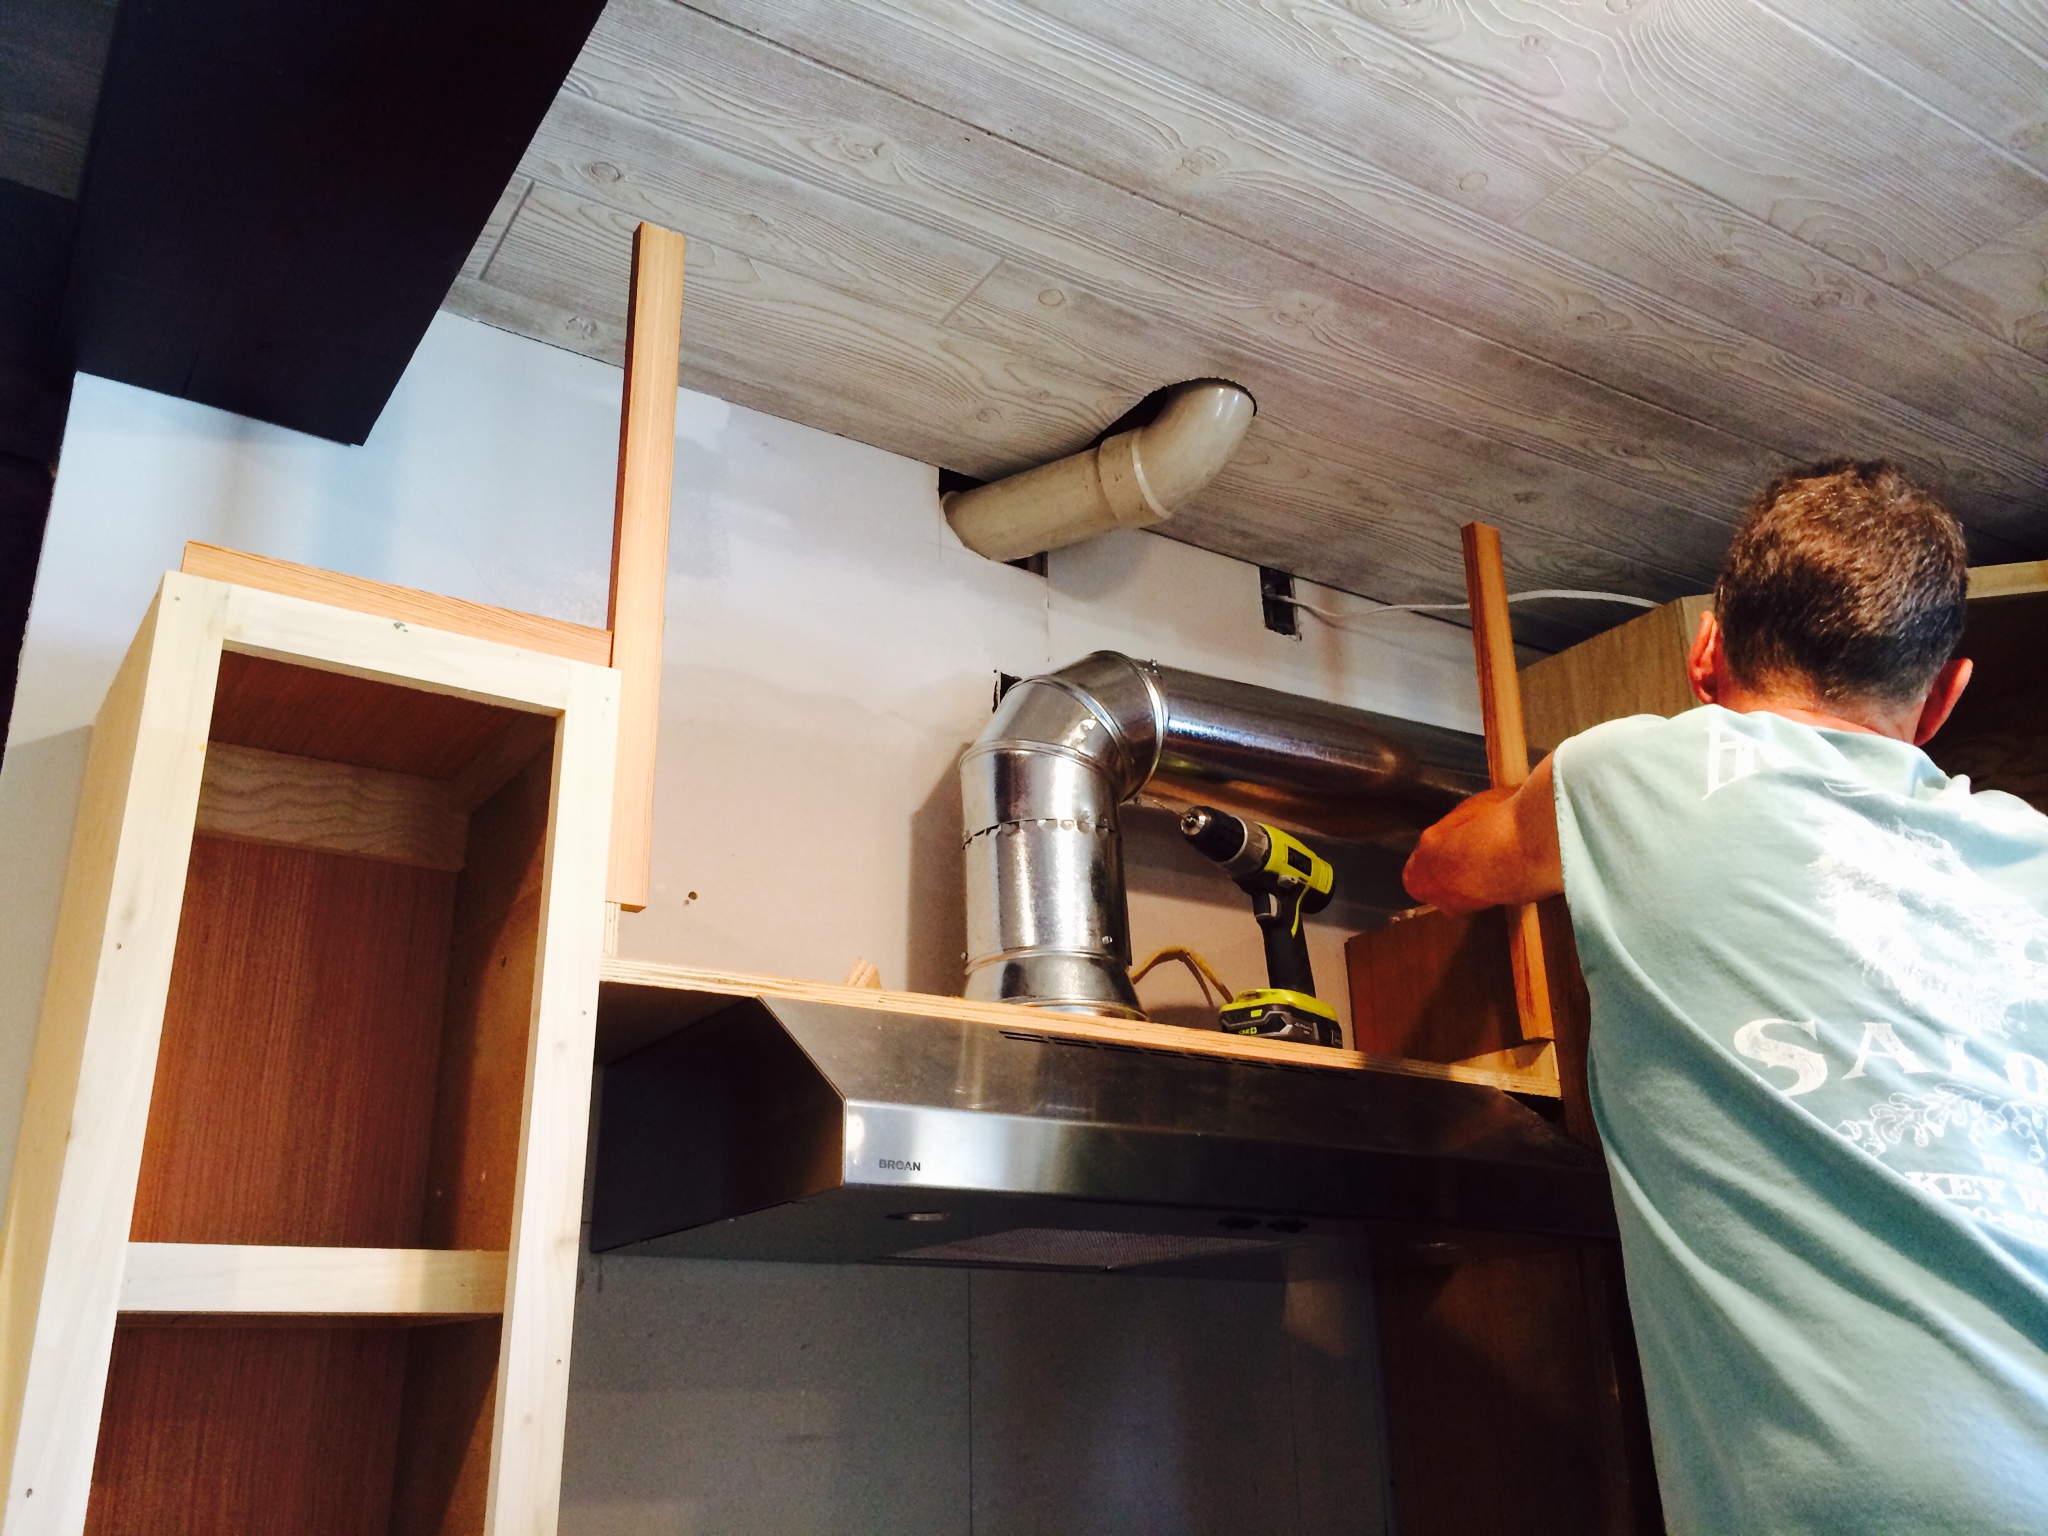
We attached the range hood to the frame we had built.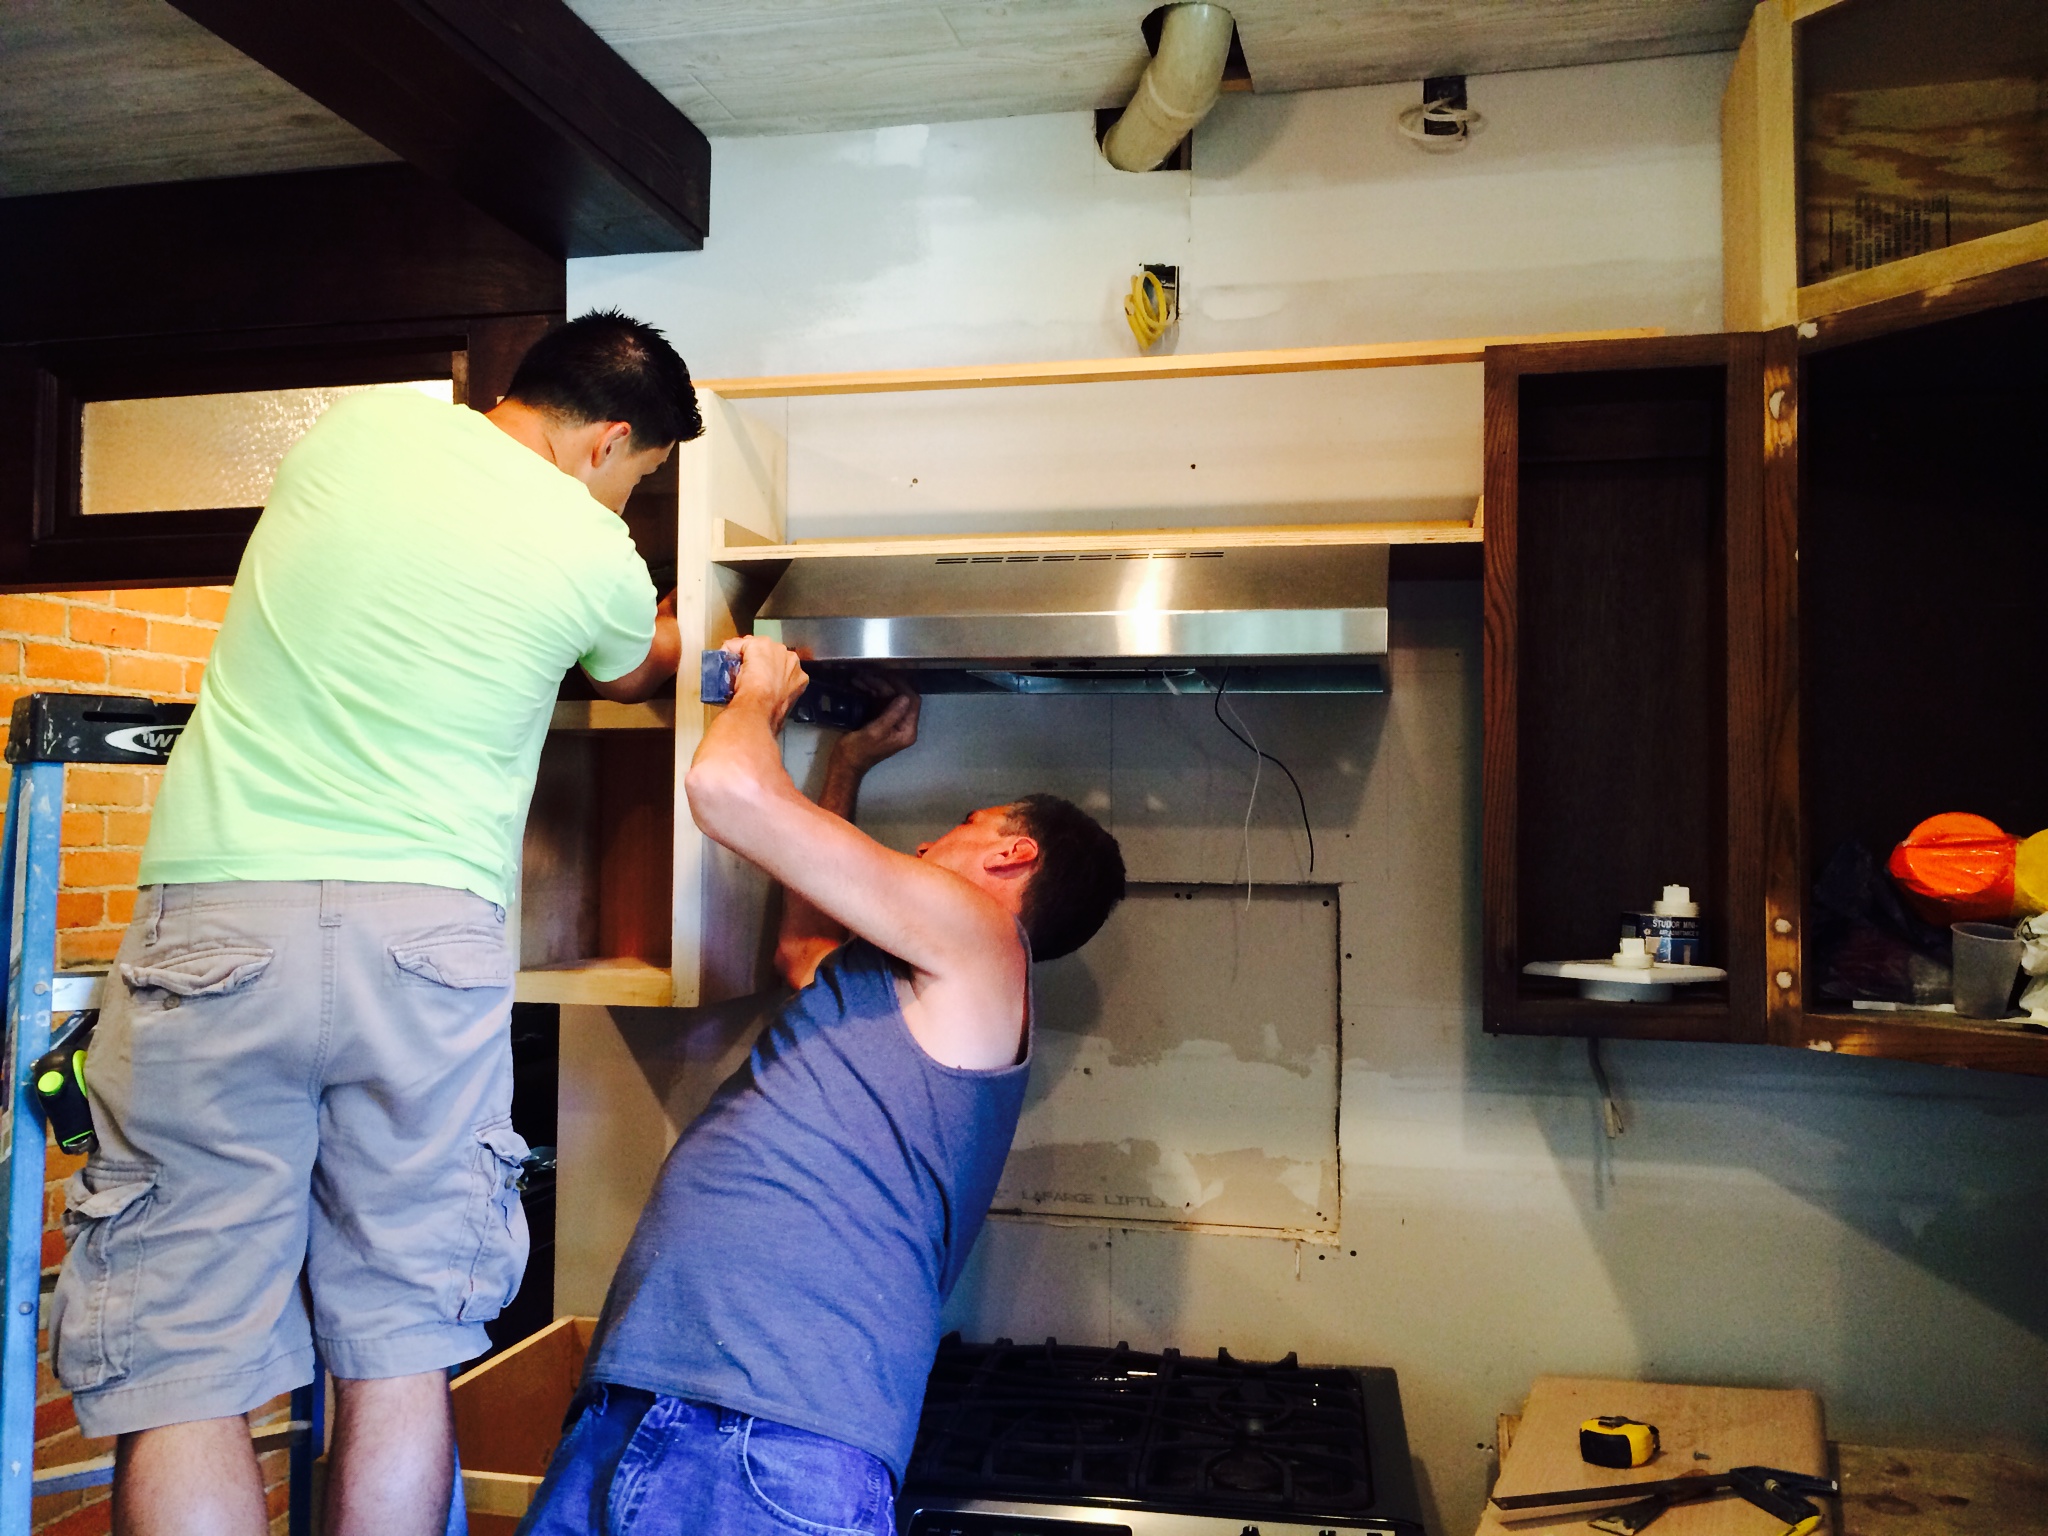
After that we cut a hole for the exhaust fan.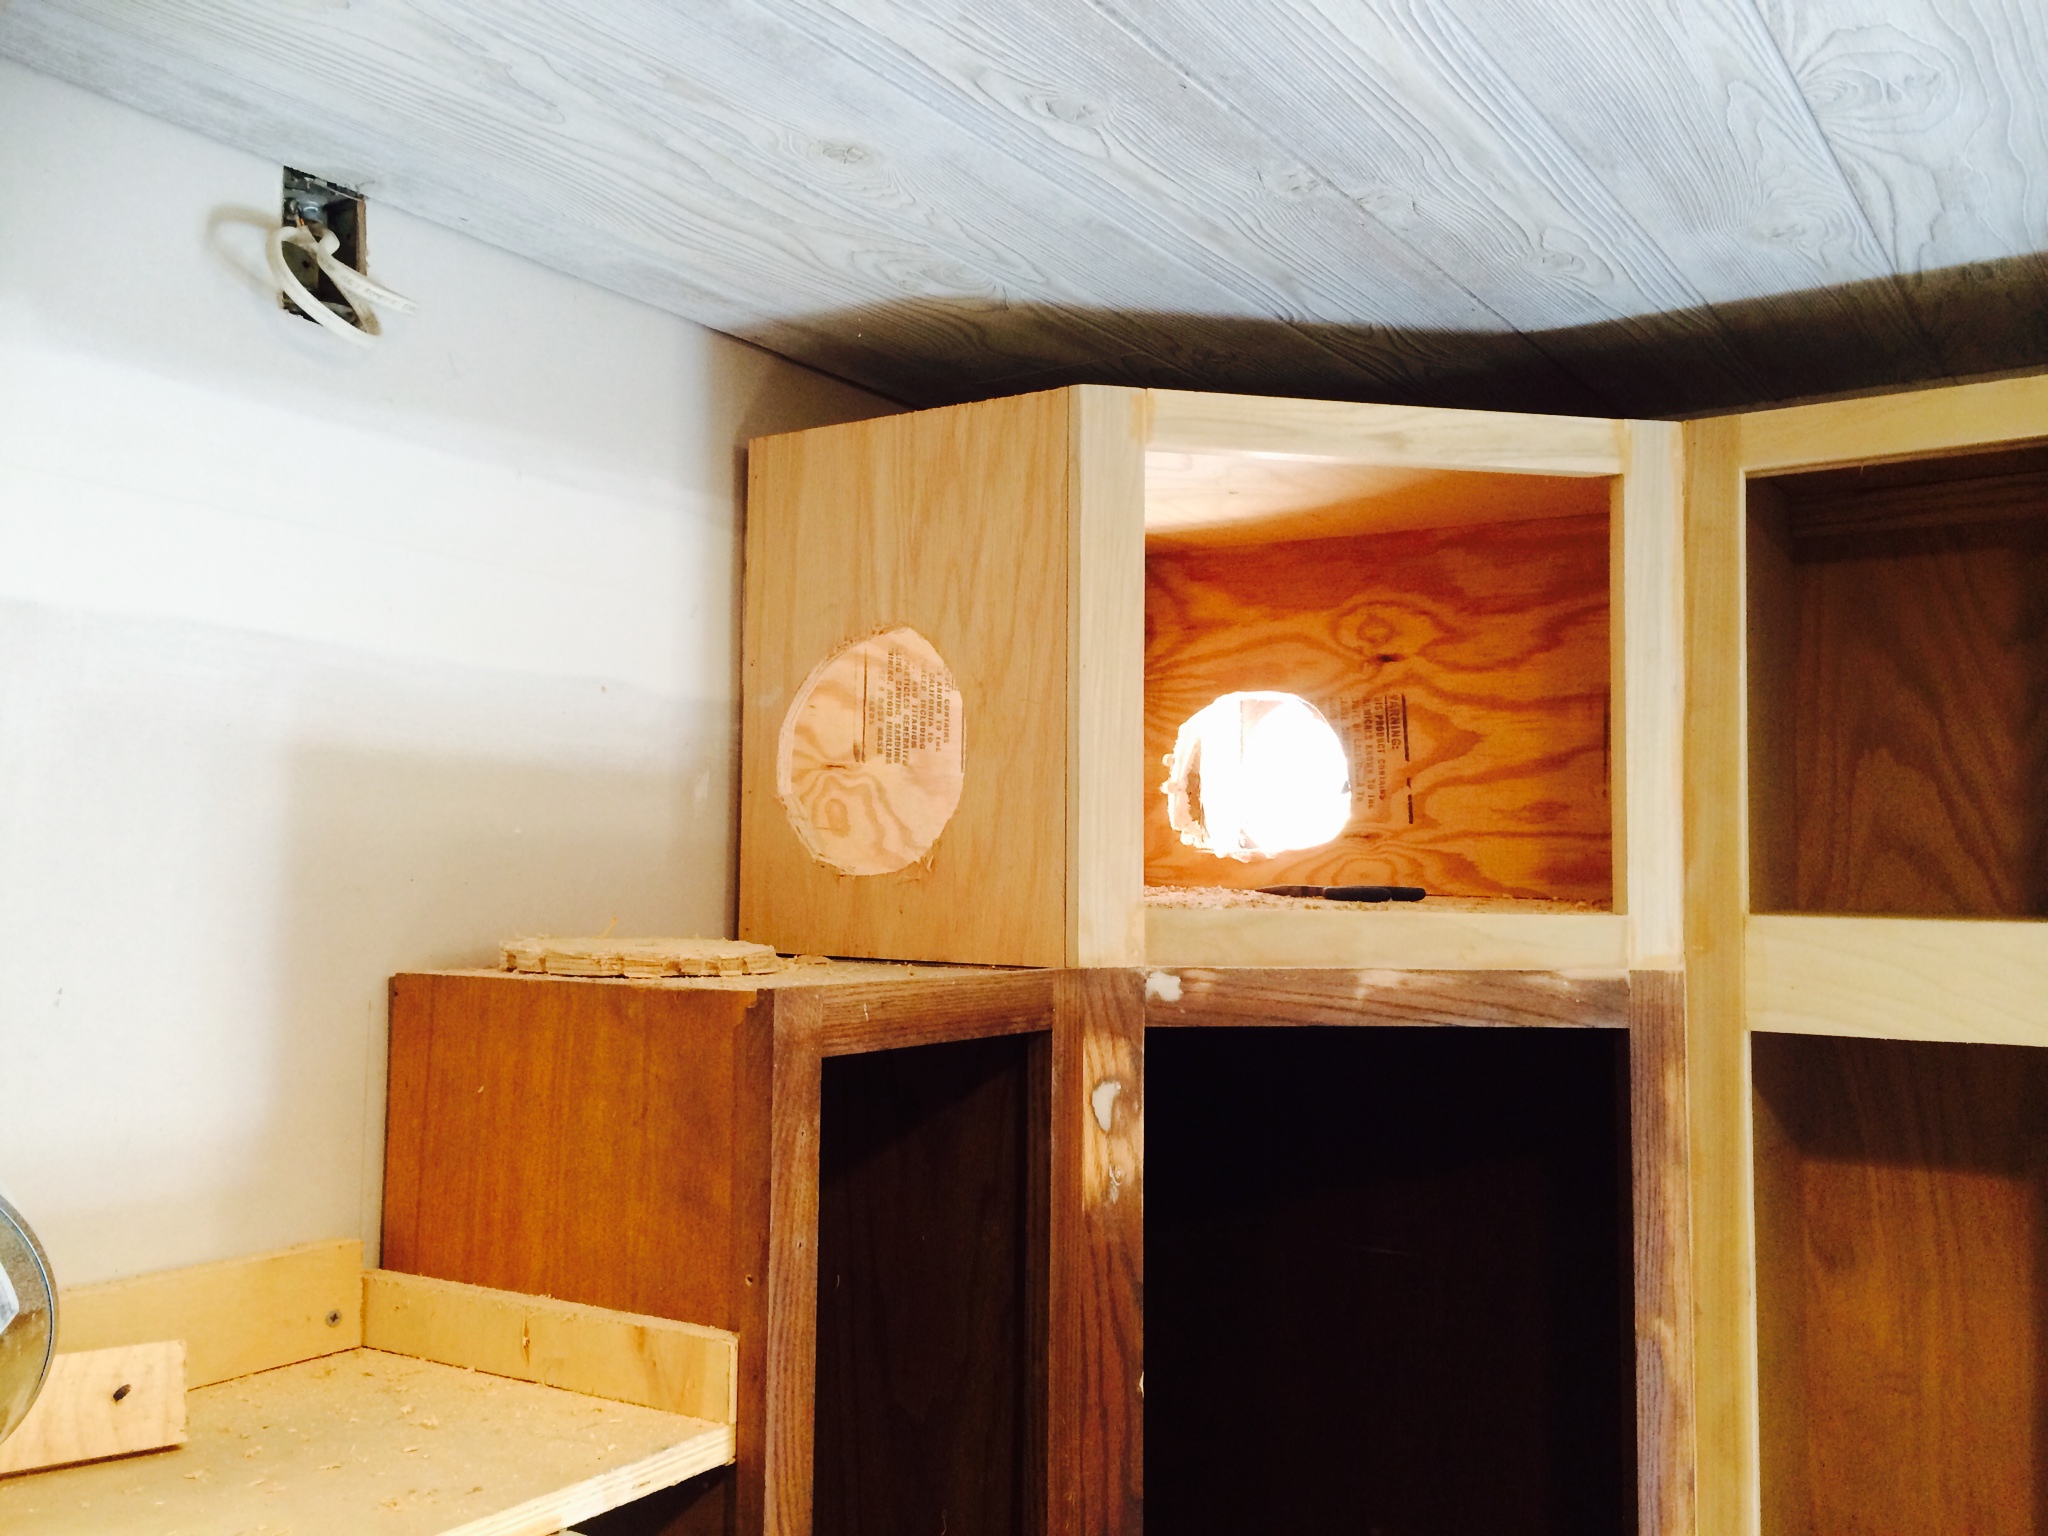
Then, we installed the vent system.
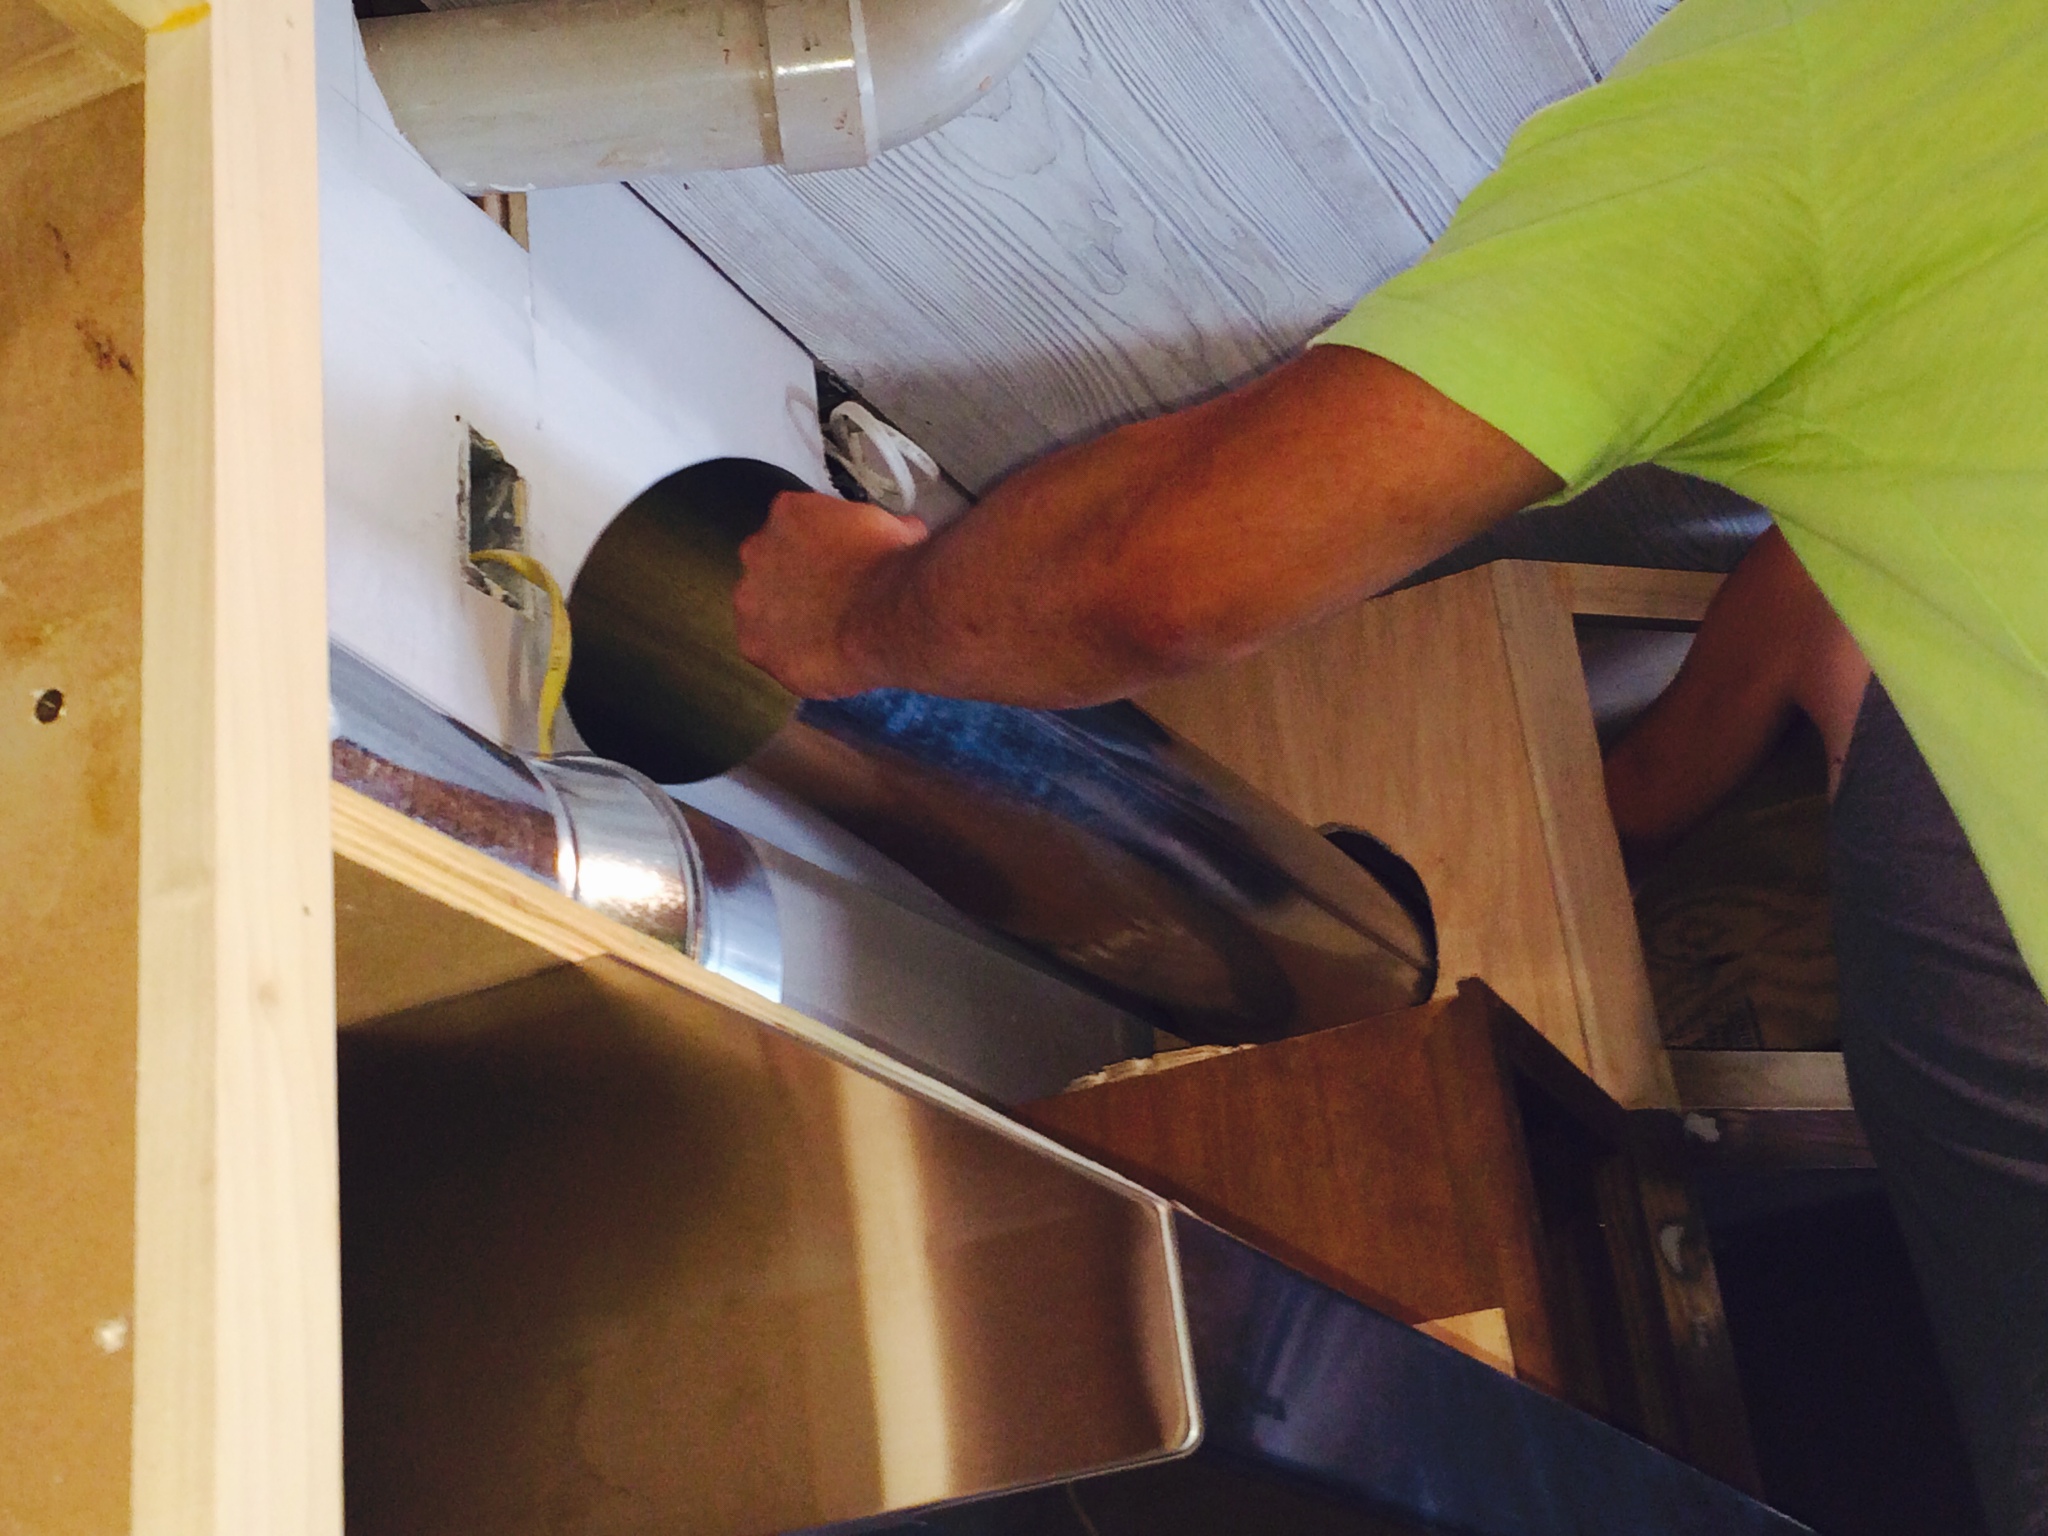
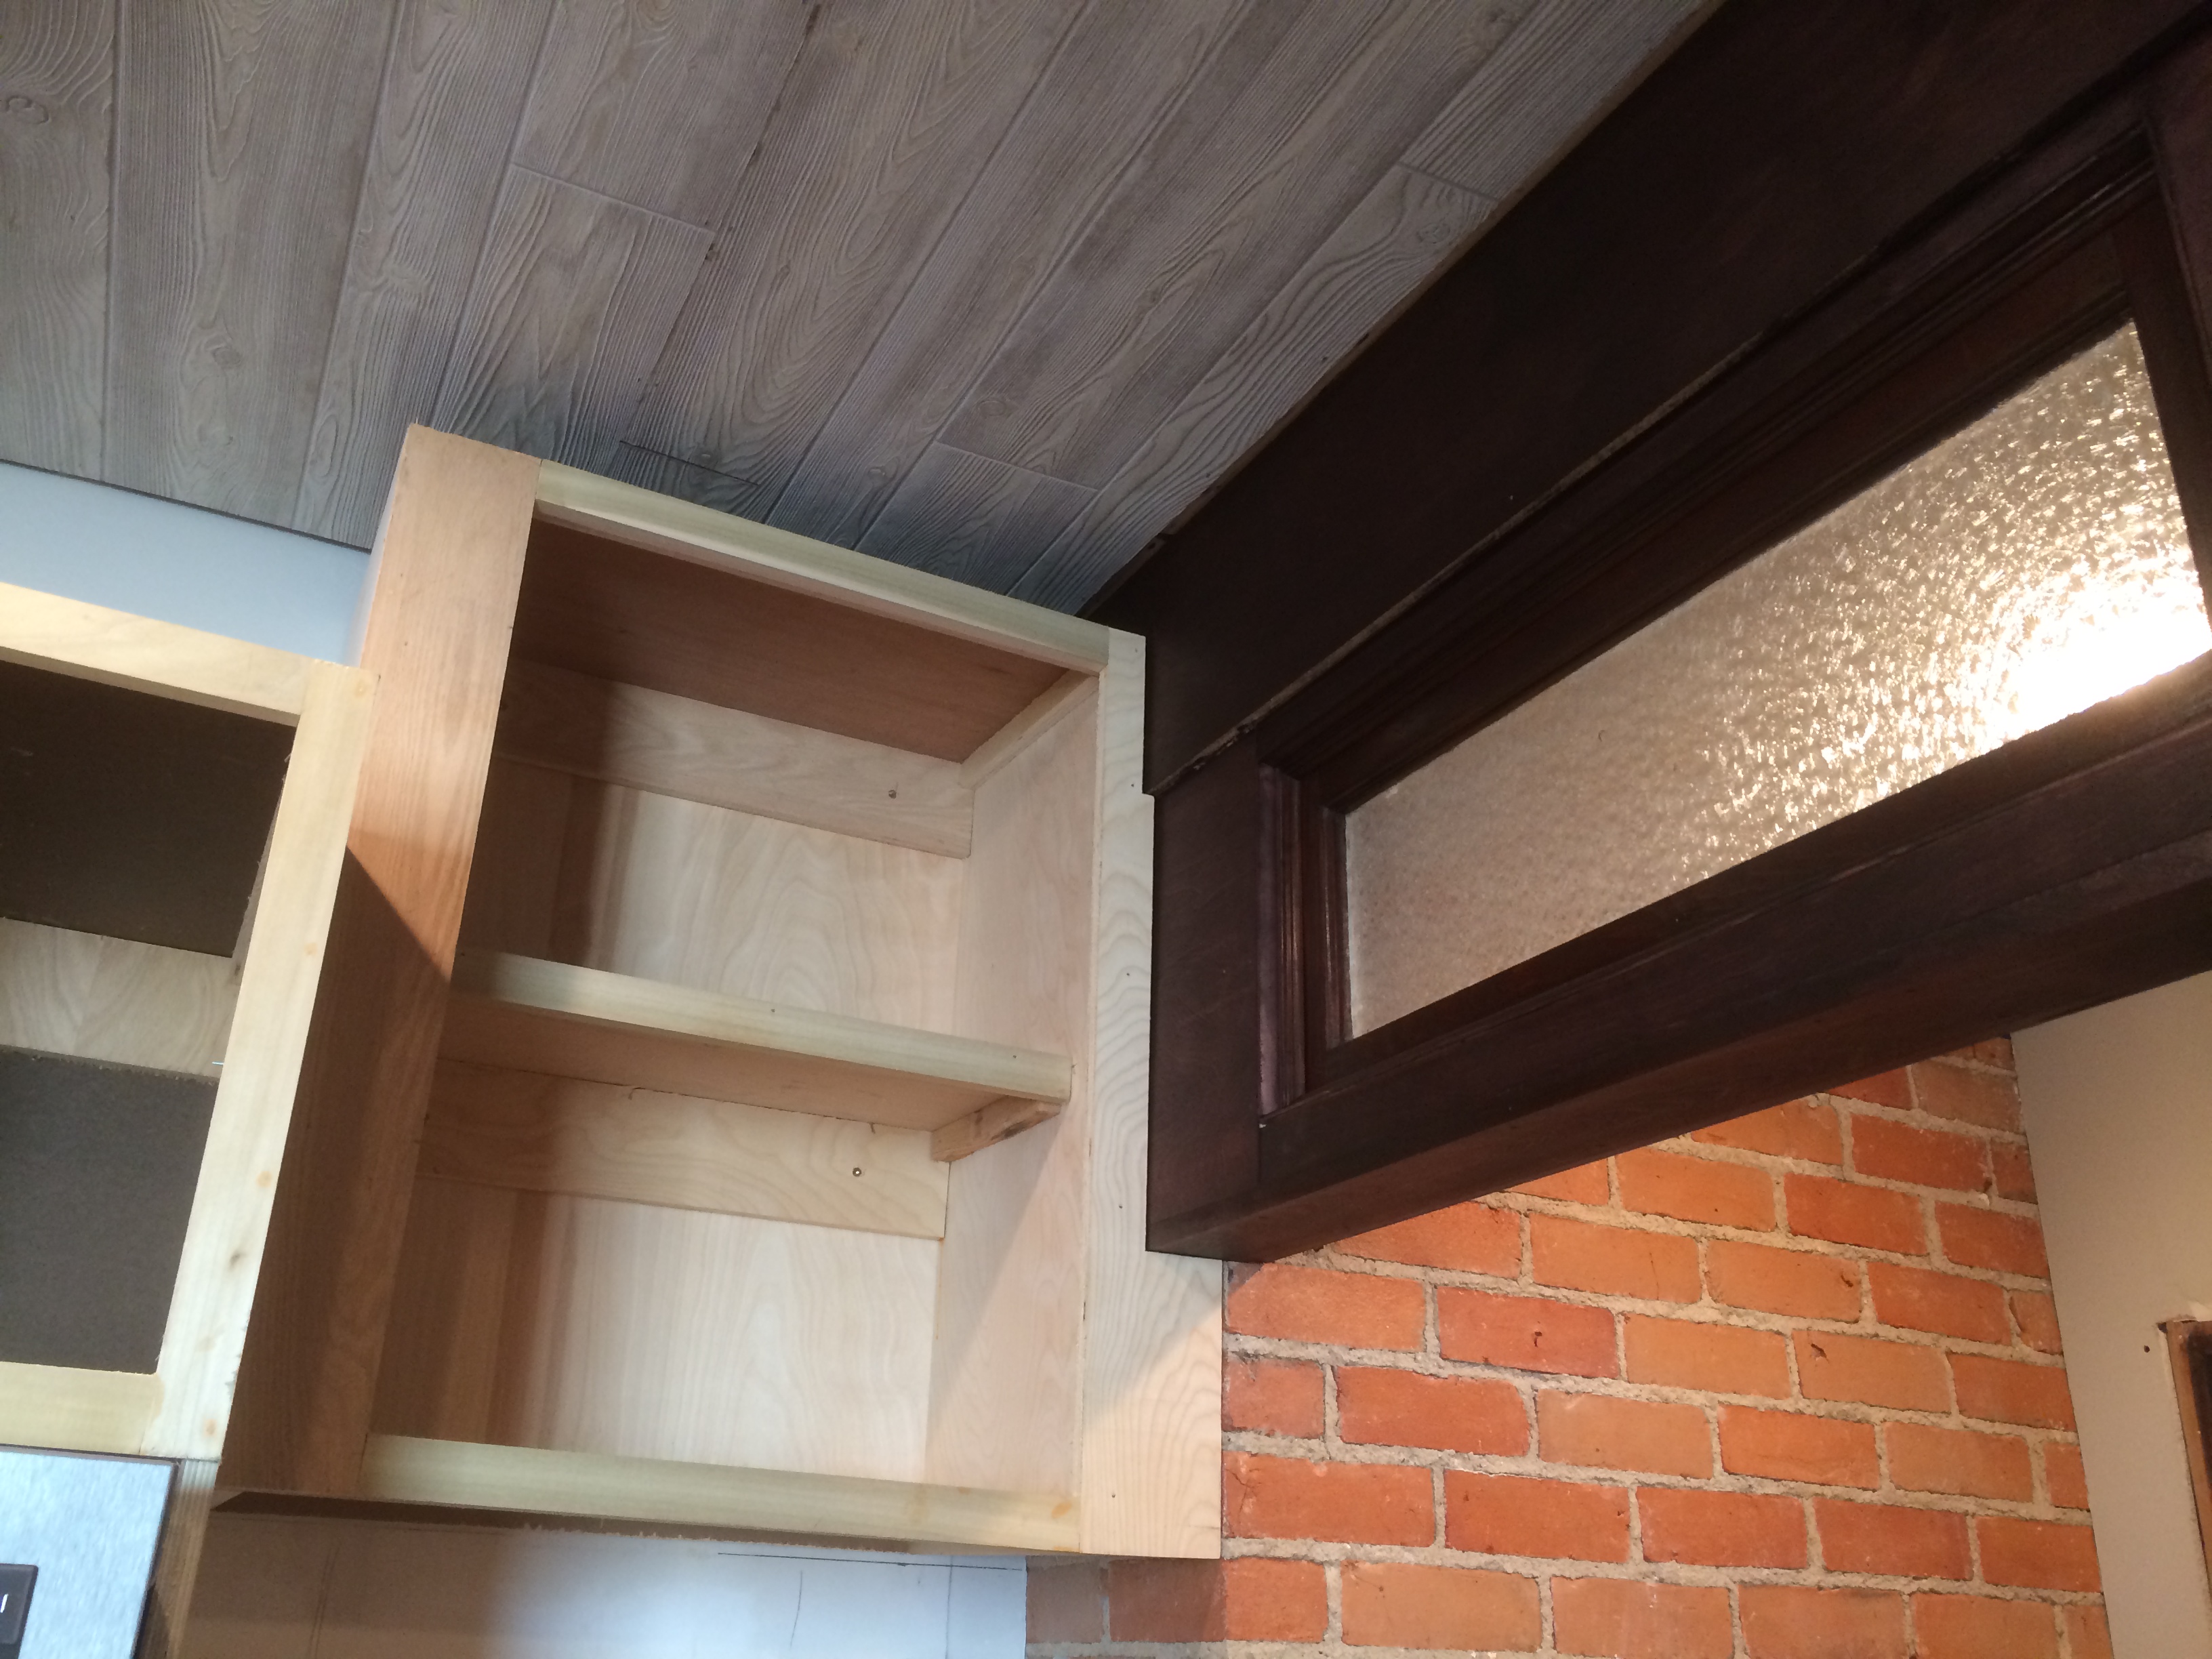
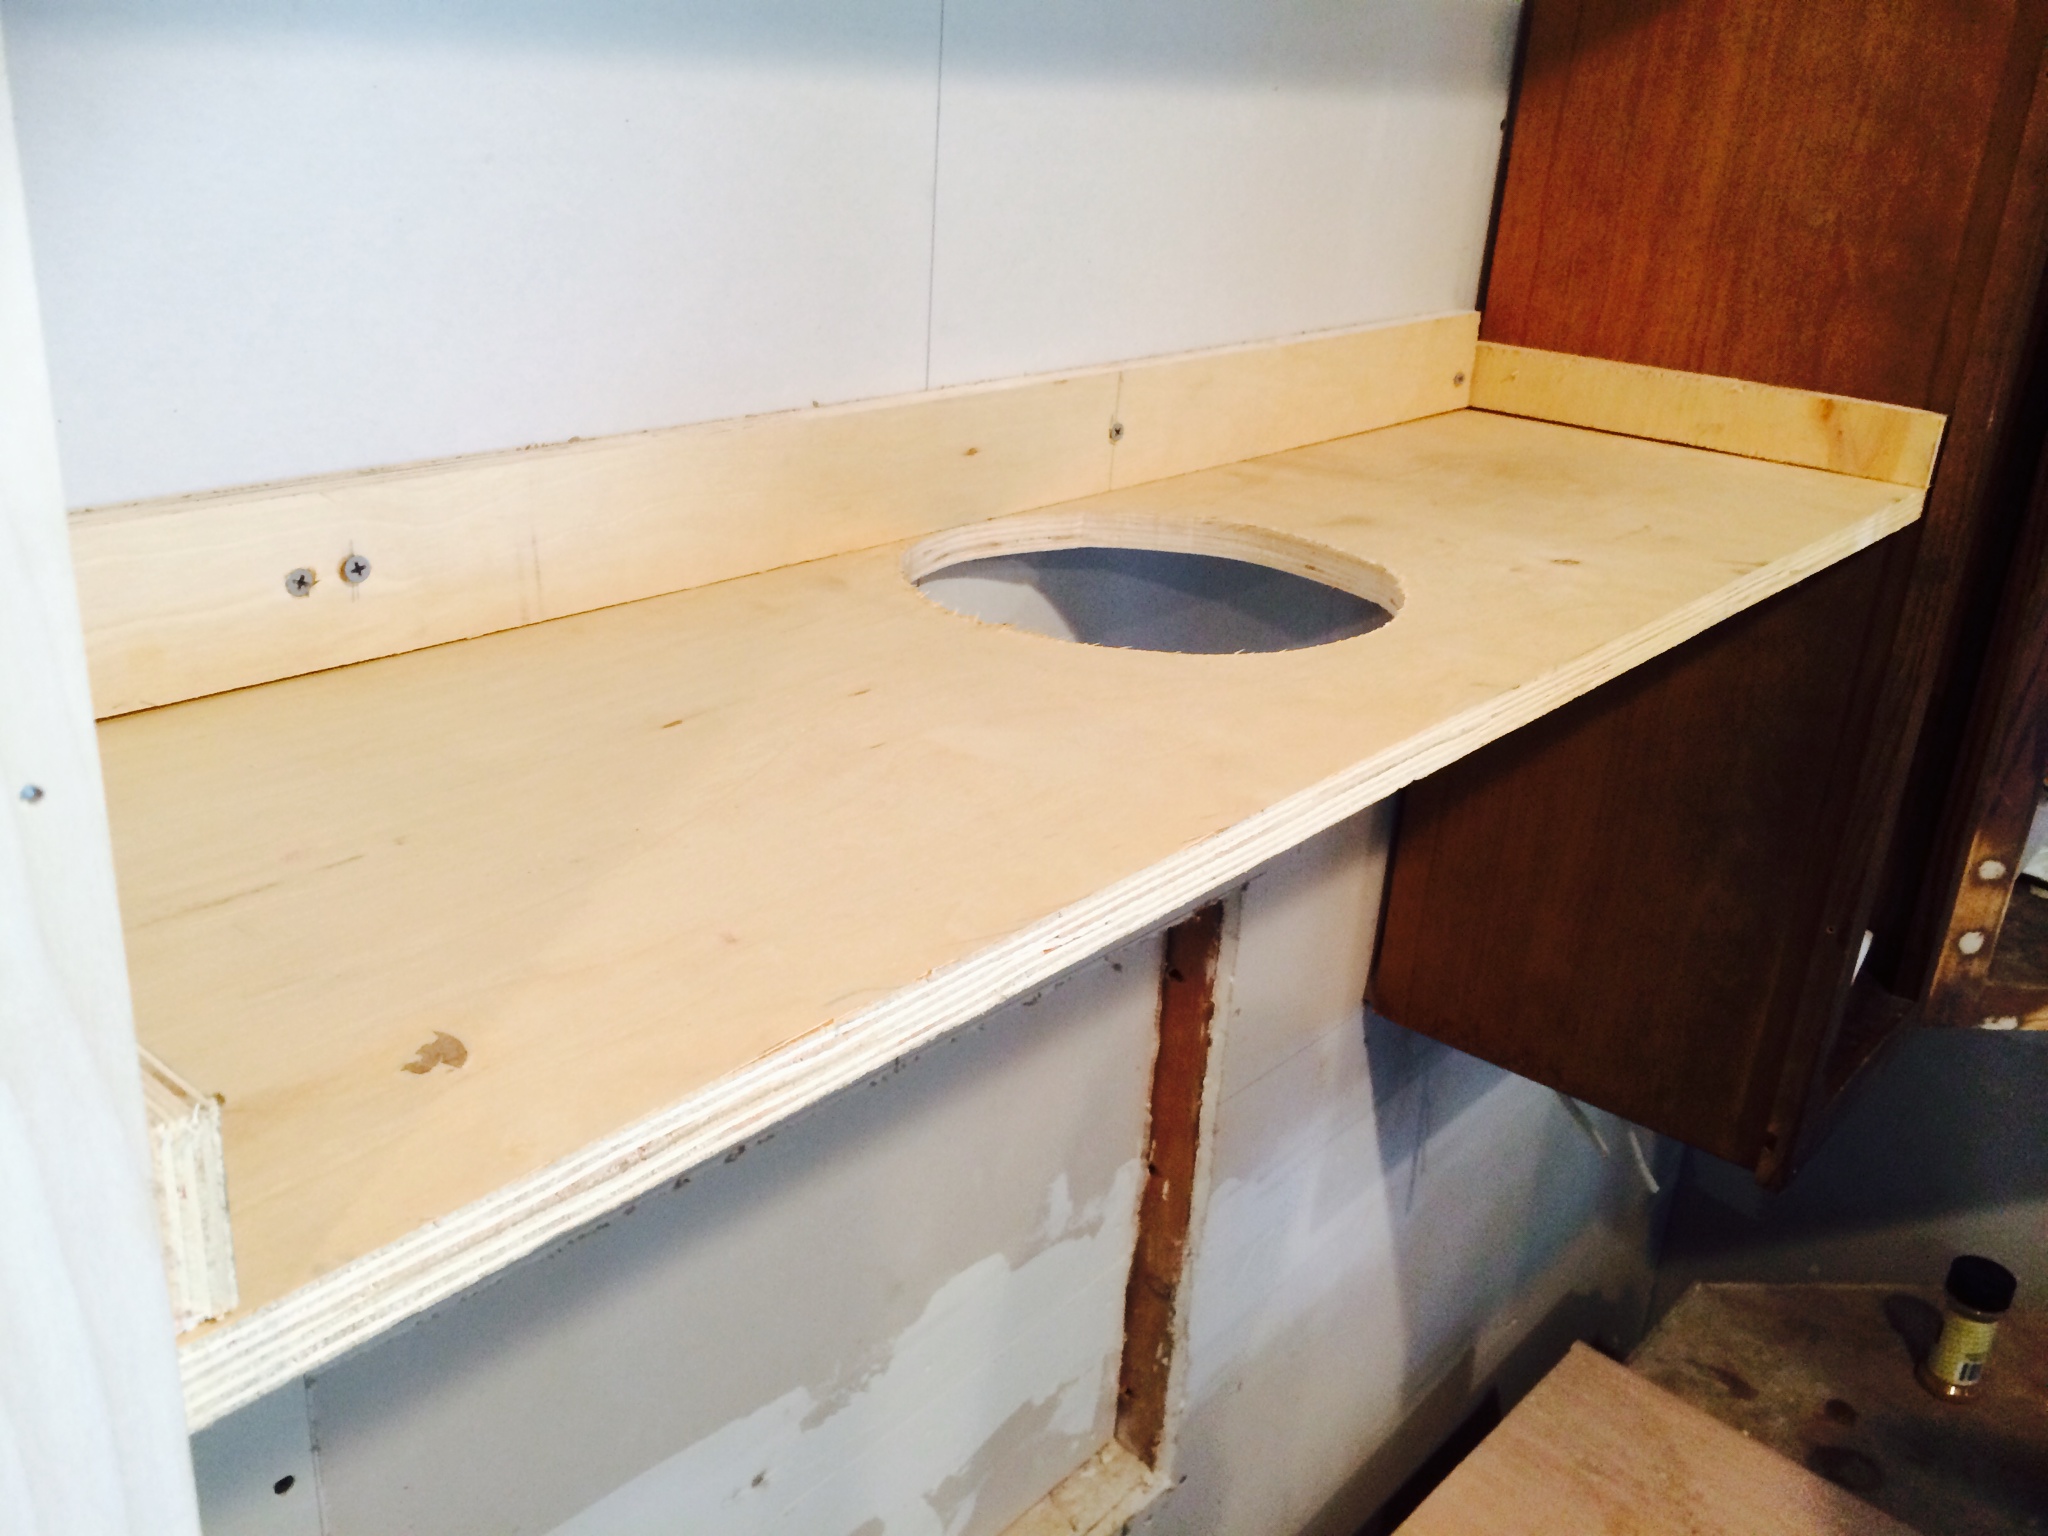
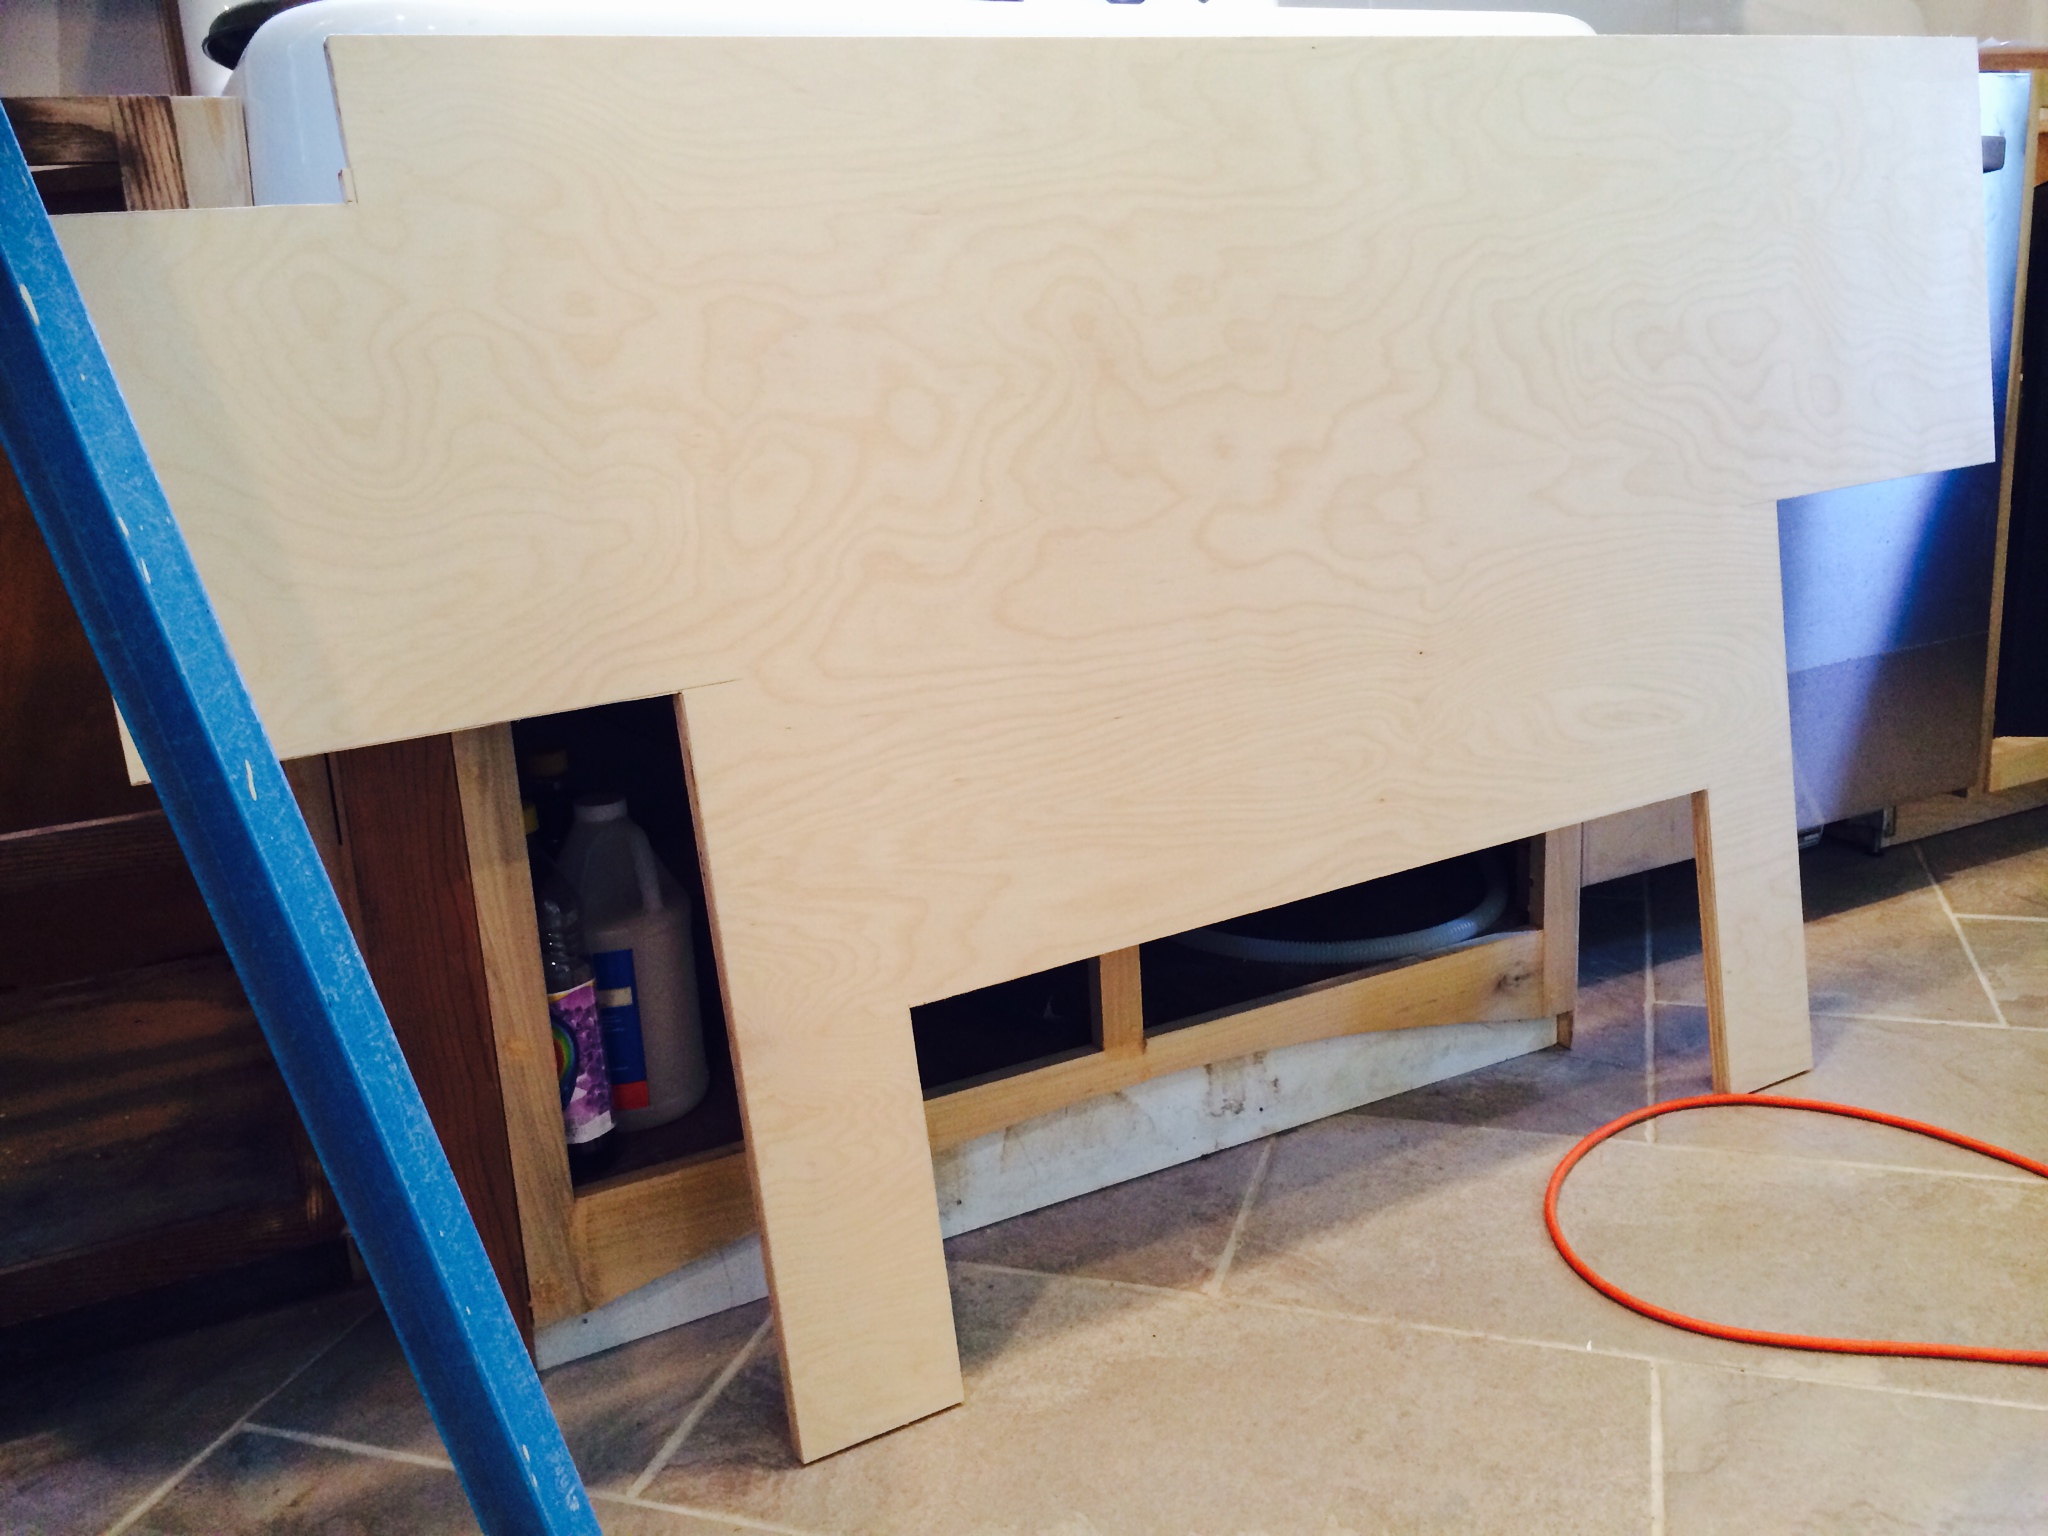
Once the hood itself was installed and functioning we custom fit a piece of plywood which would essentially hide all of the inner workings of the exhaust system (not to mention that pipe you see which is the plumbing from the upstairs bathroom!).
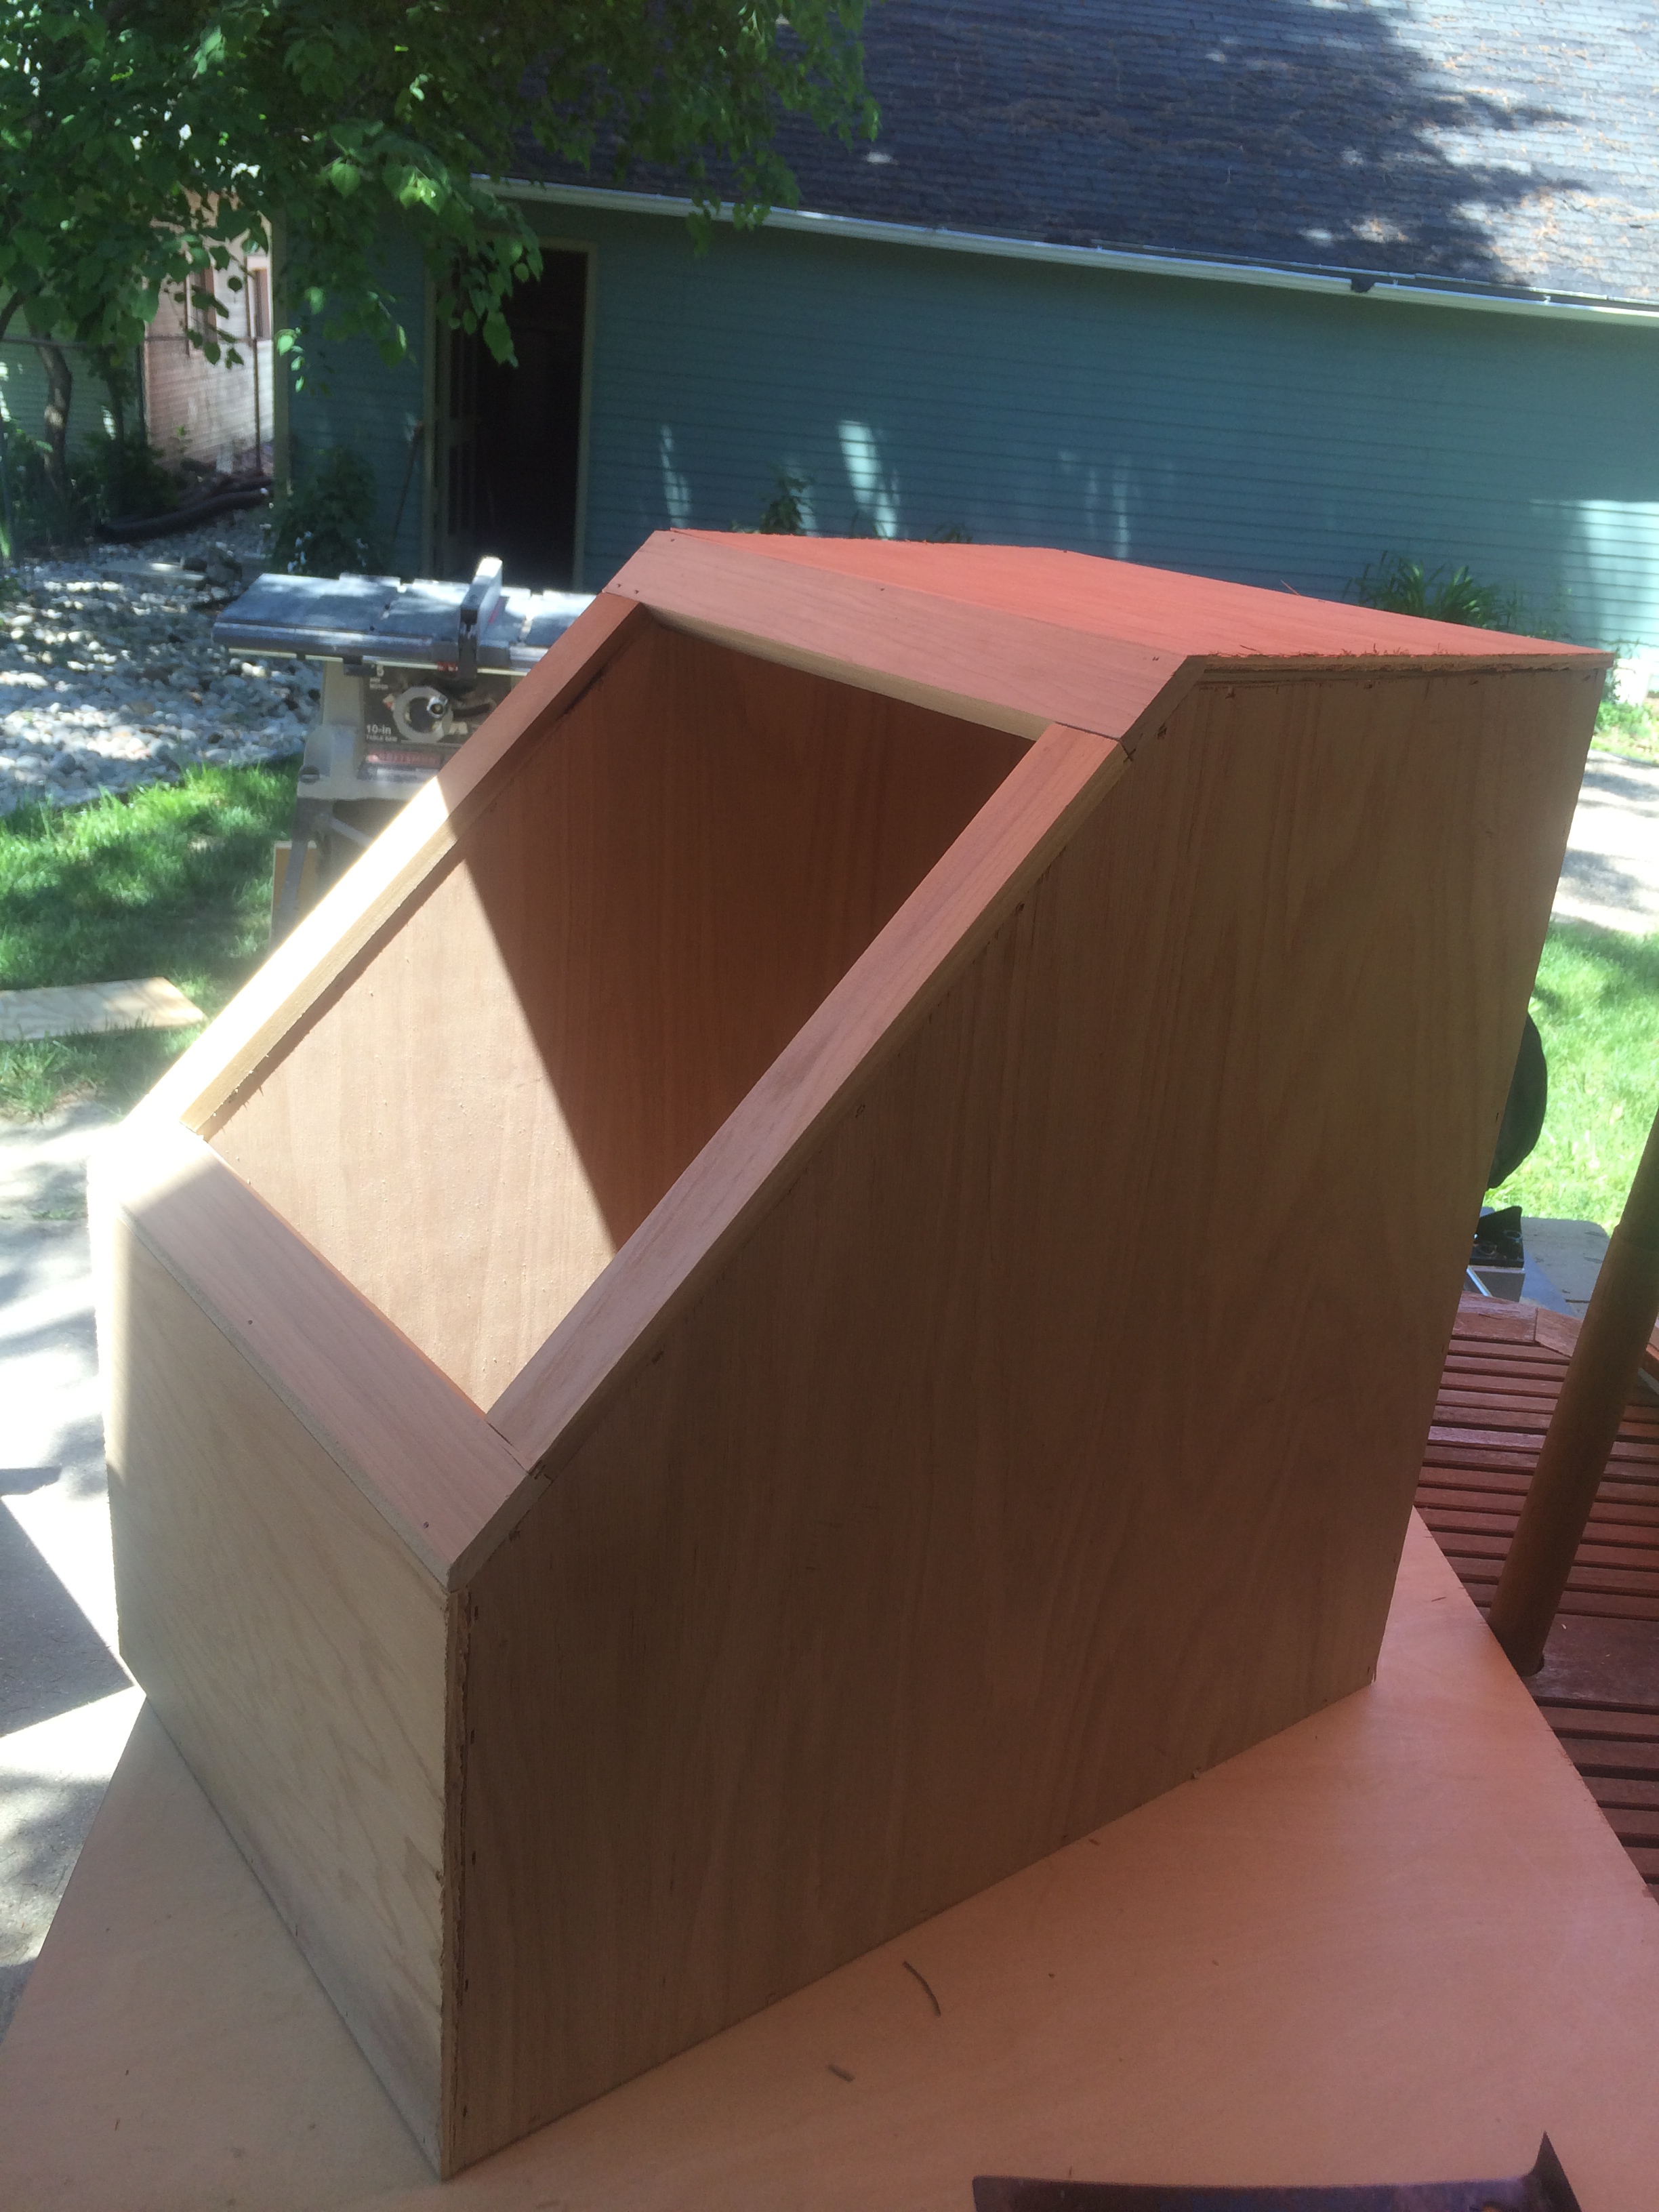
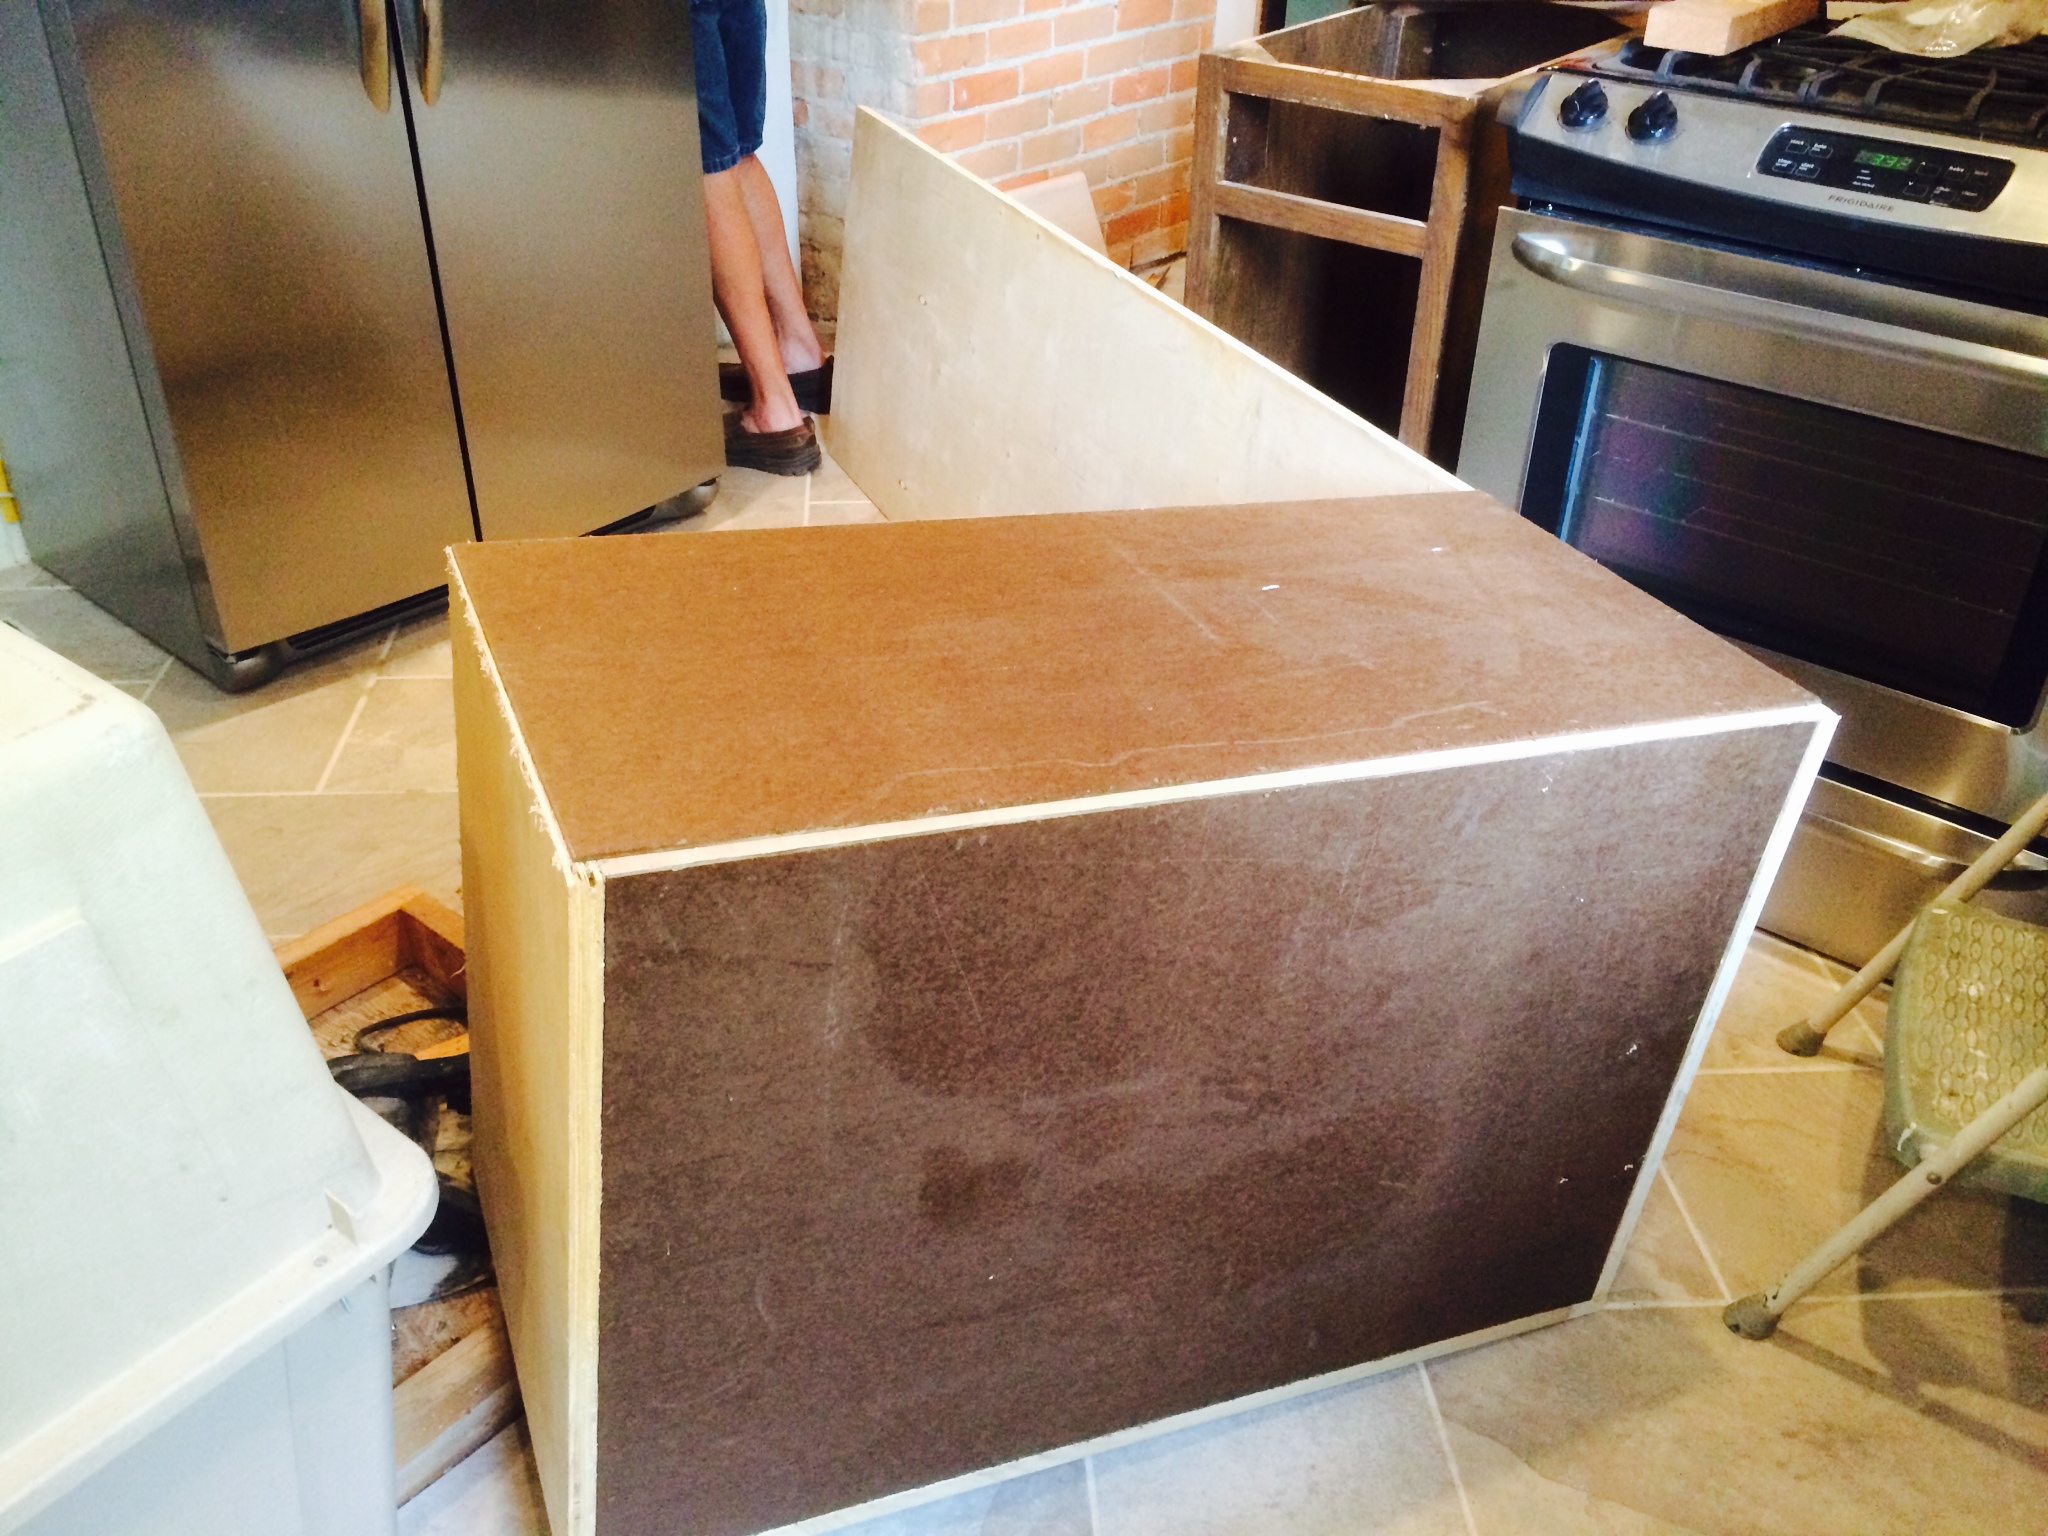
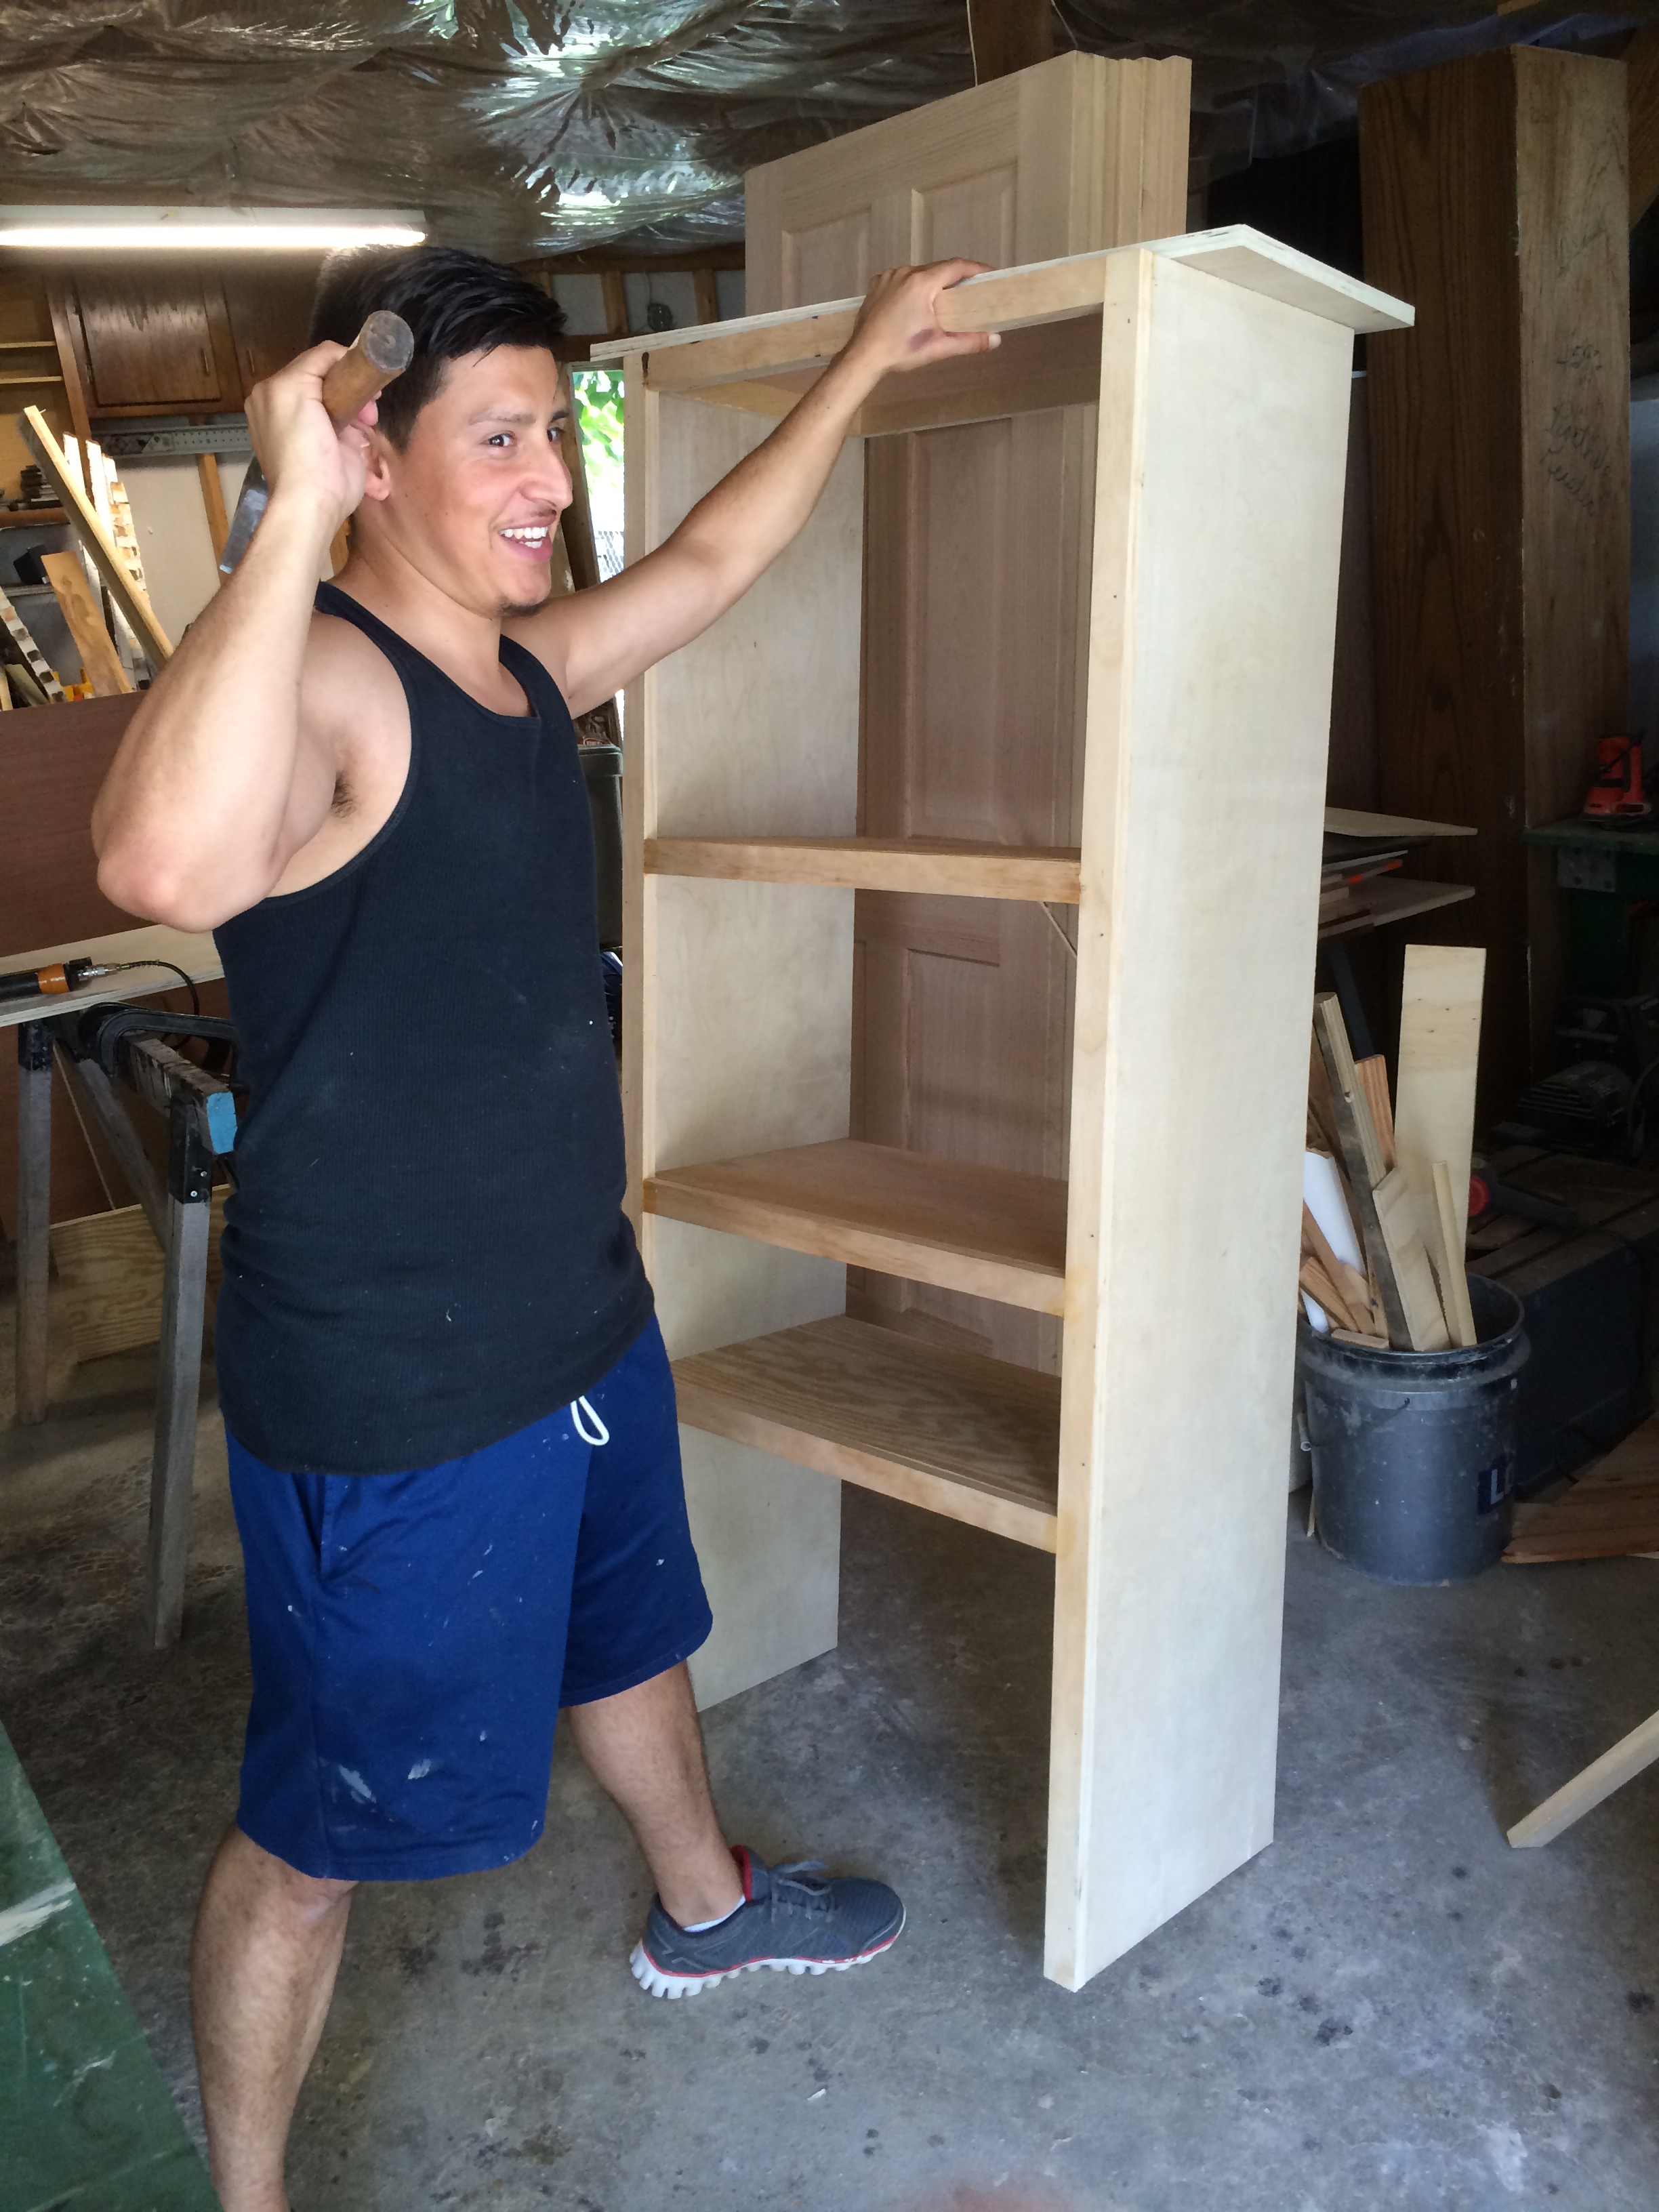
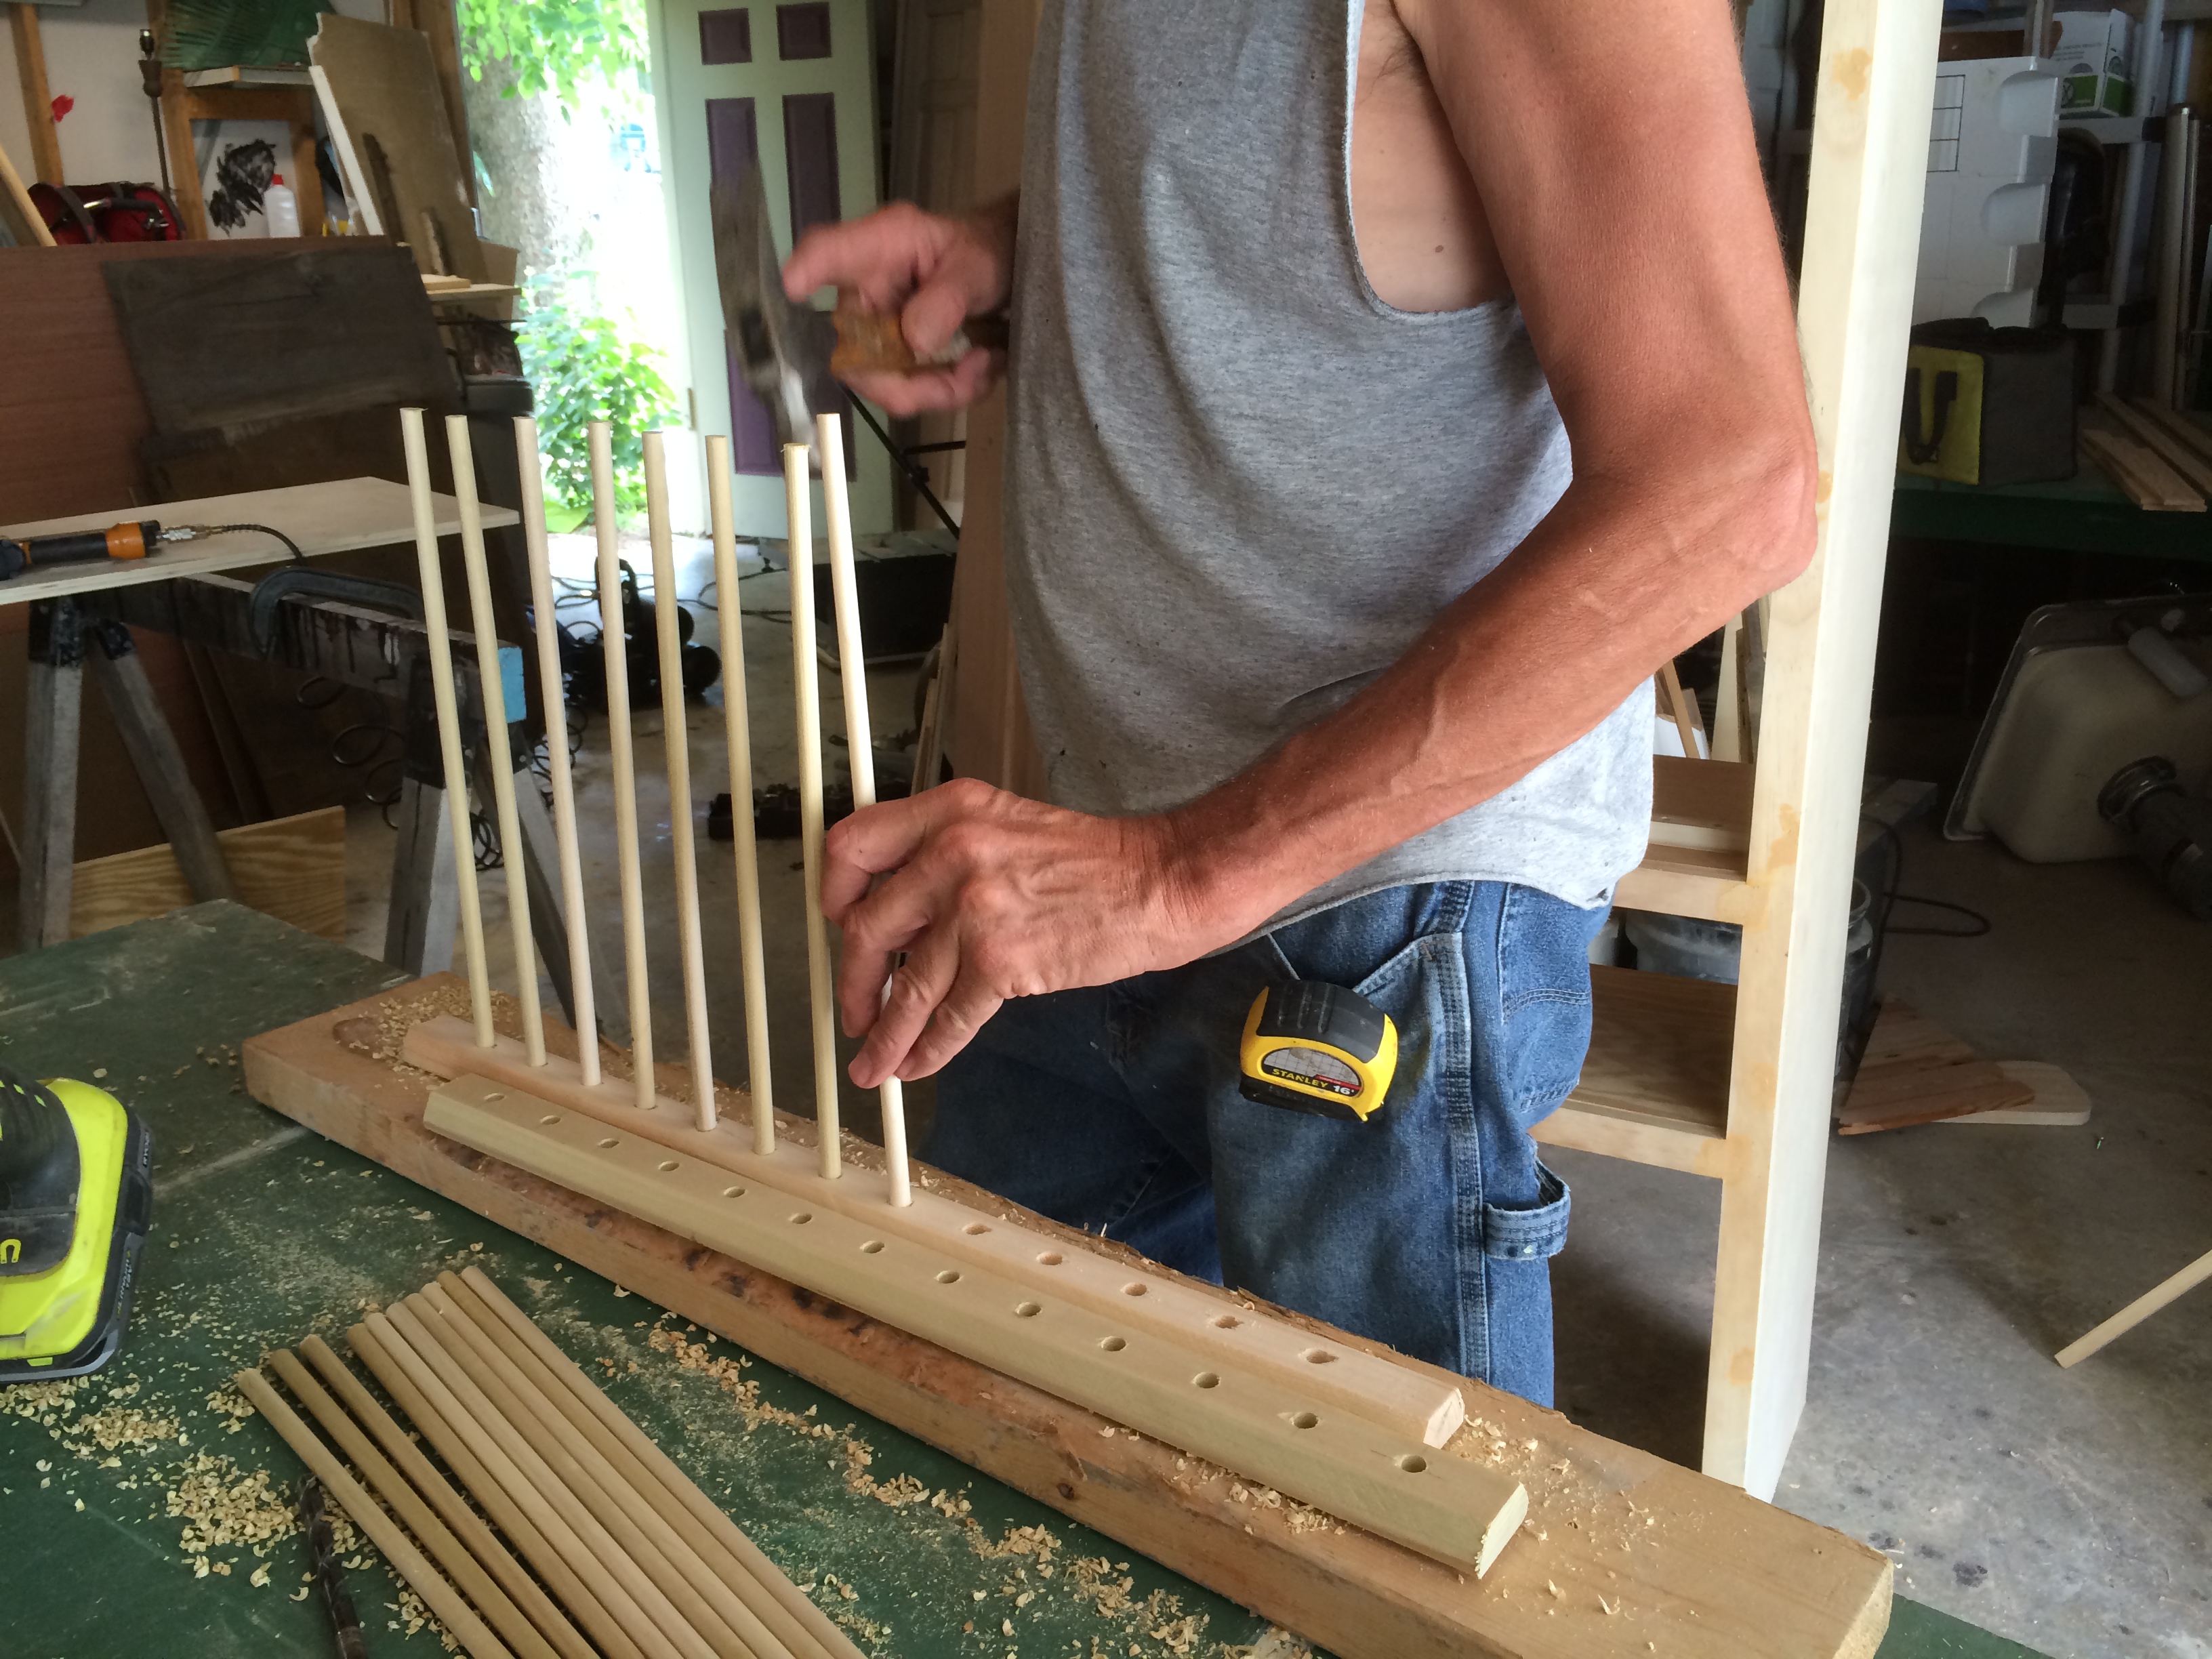
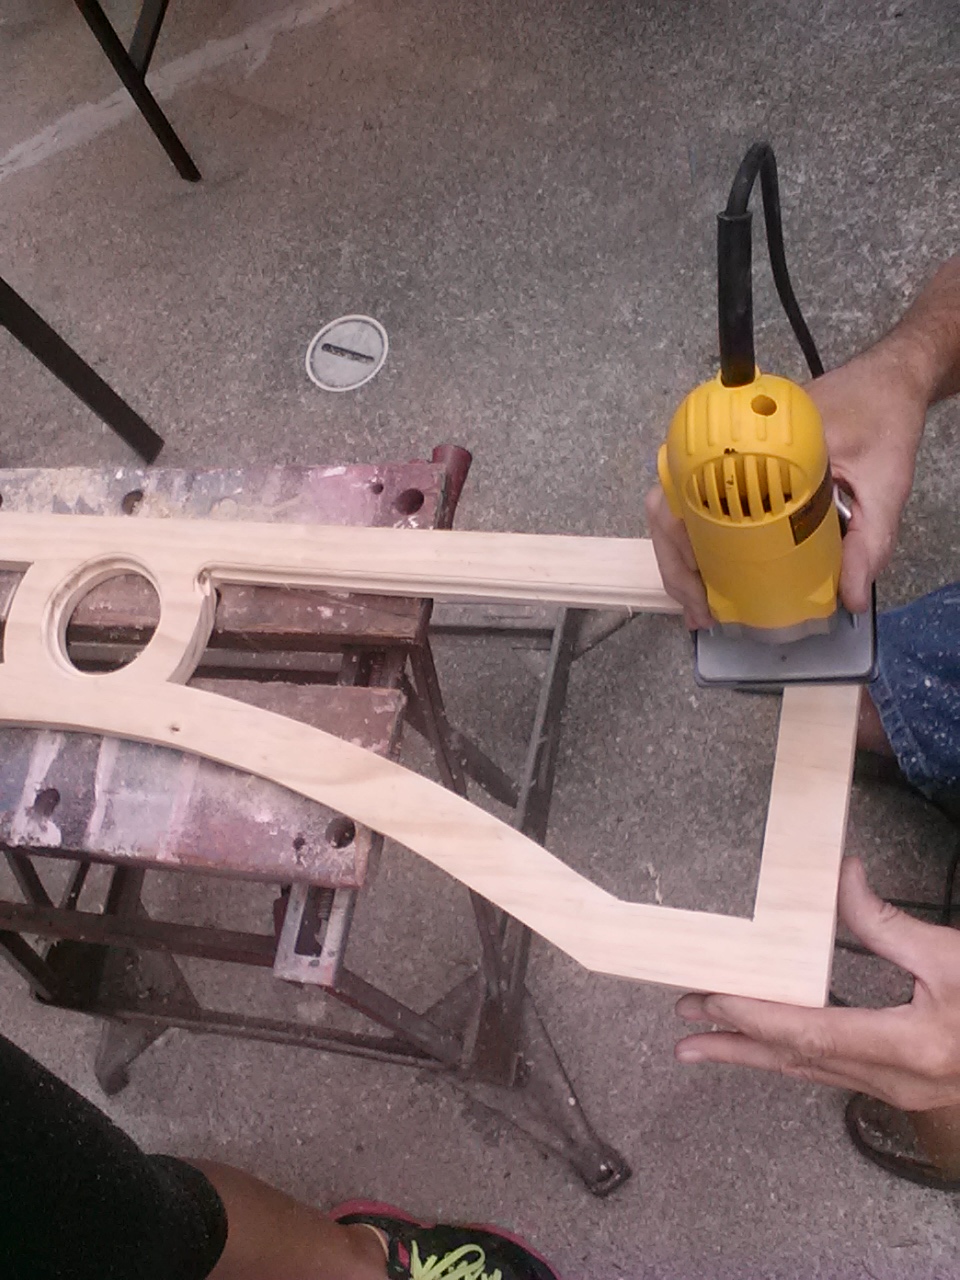
We then created a box that would serve as the cover for the range hood itself. I knew that we wanted the box to have a curved bottom so we started by bending a flexible, thin piece of wood to create the pattern for our arch.
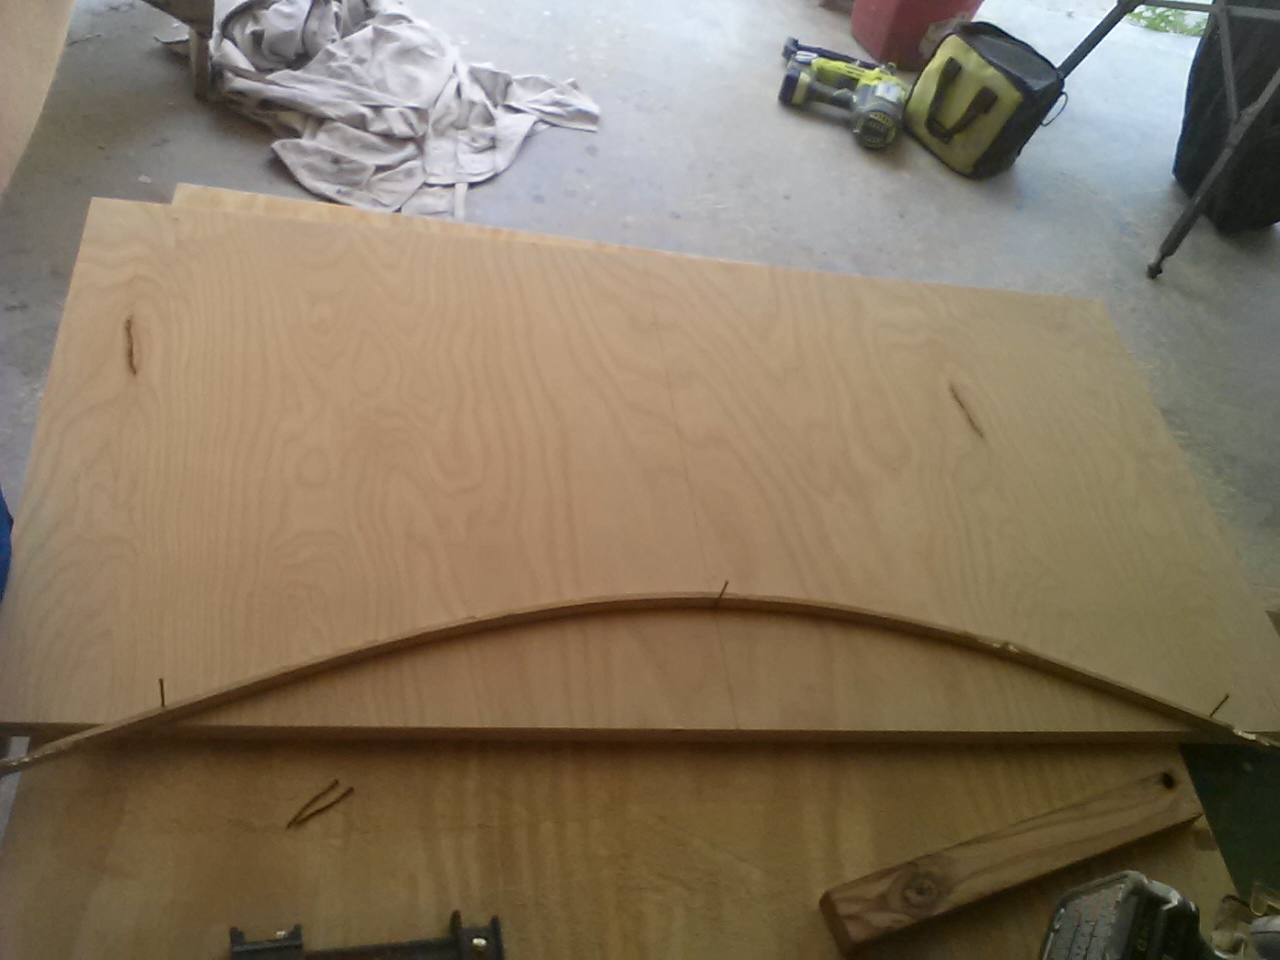
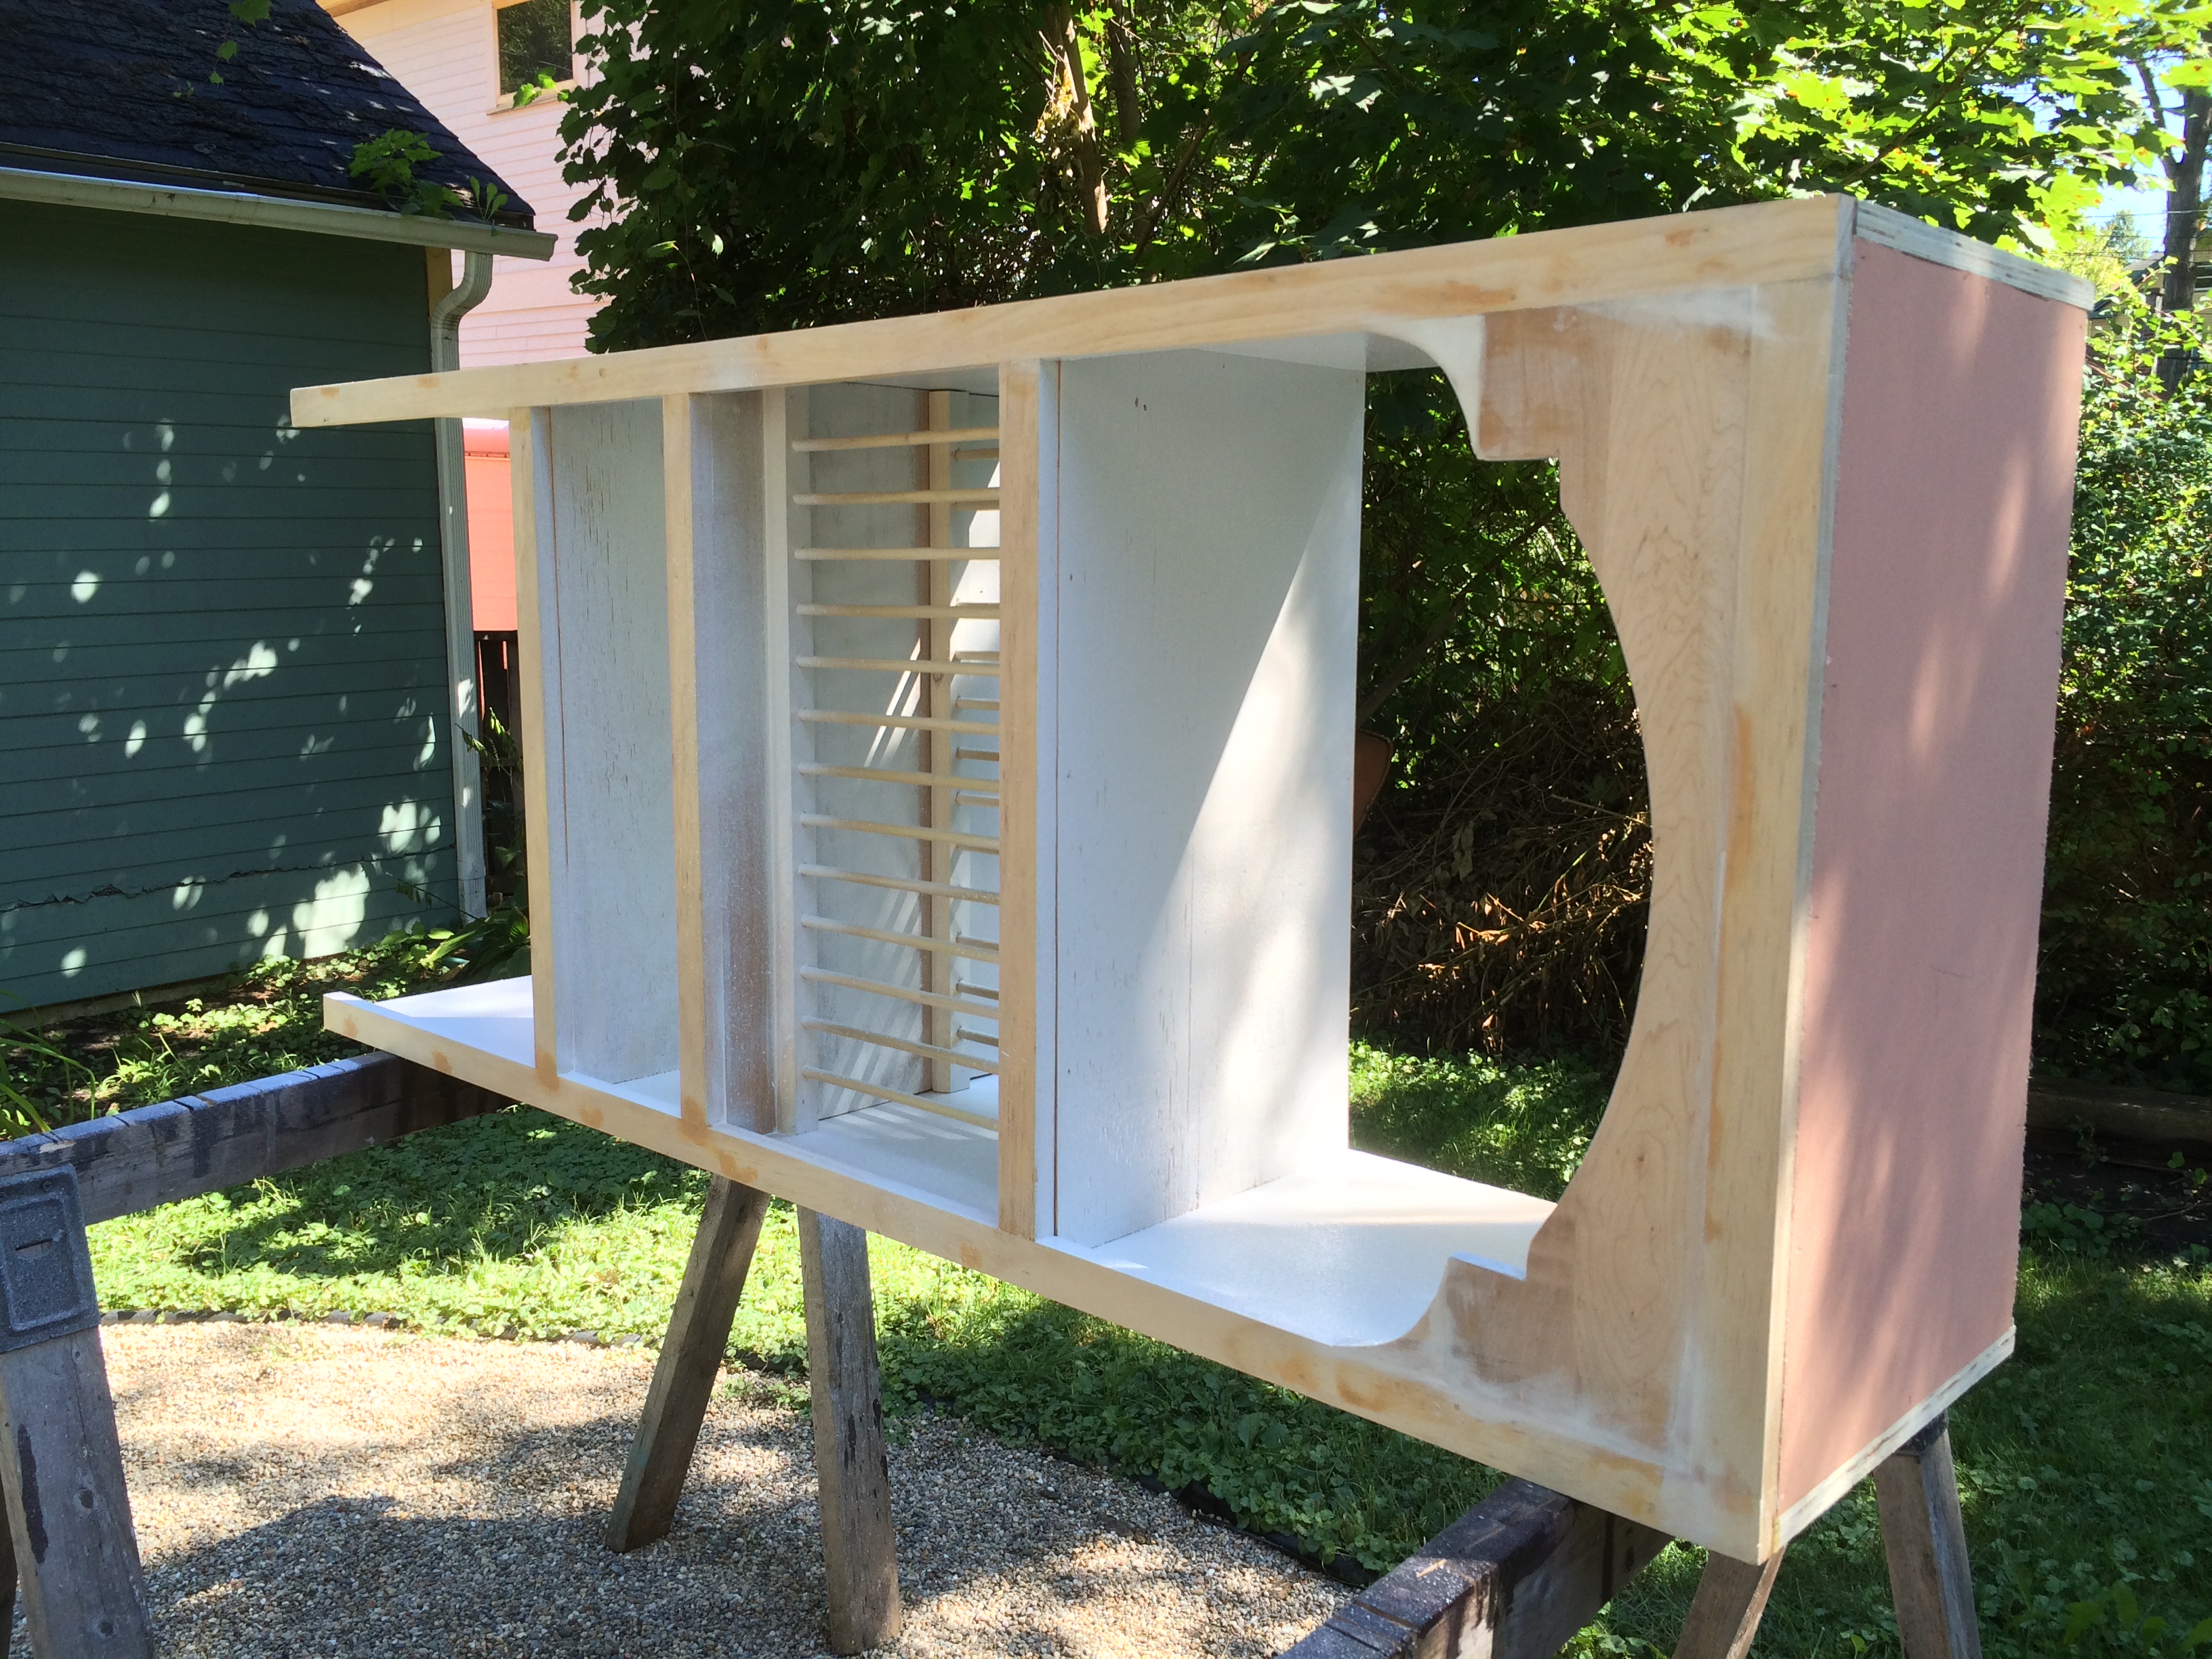
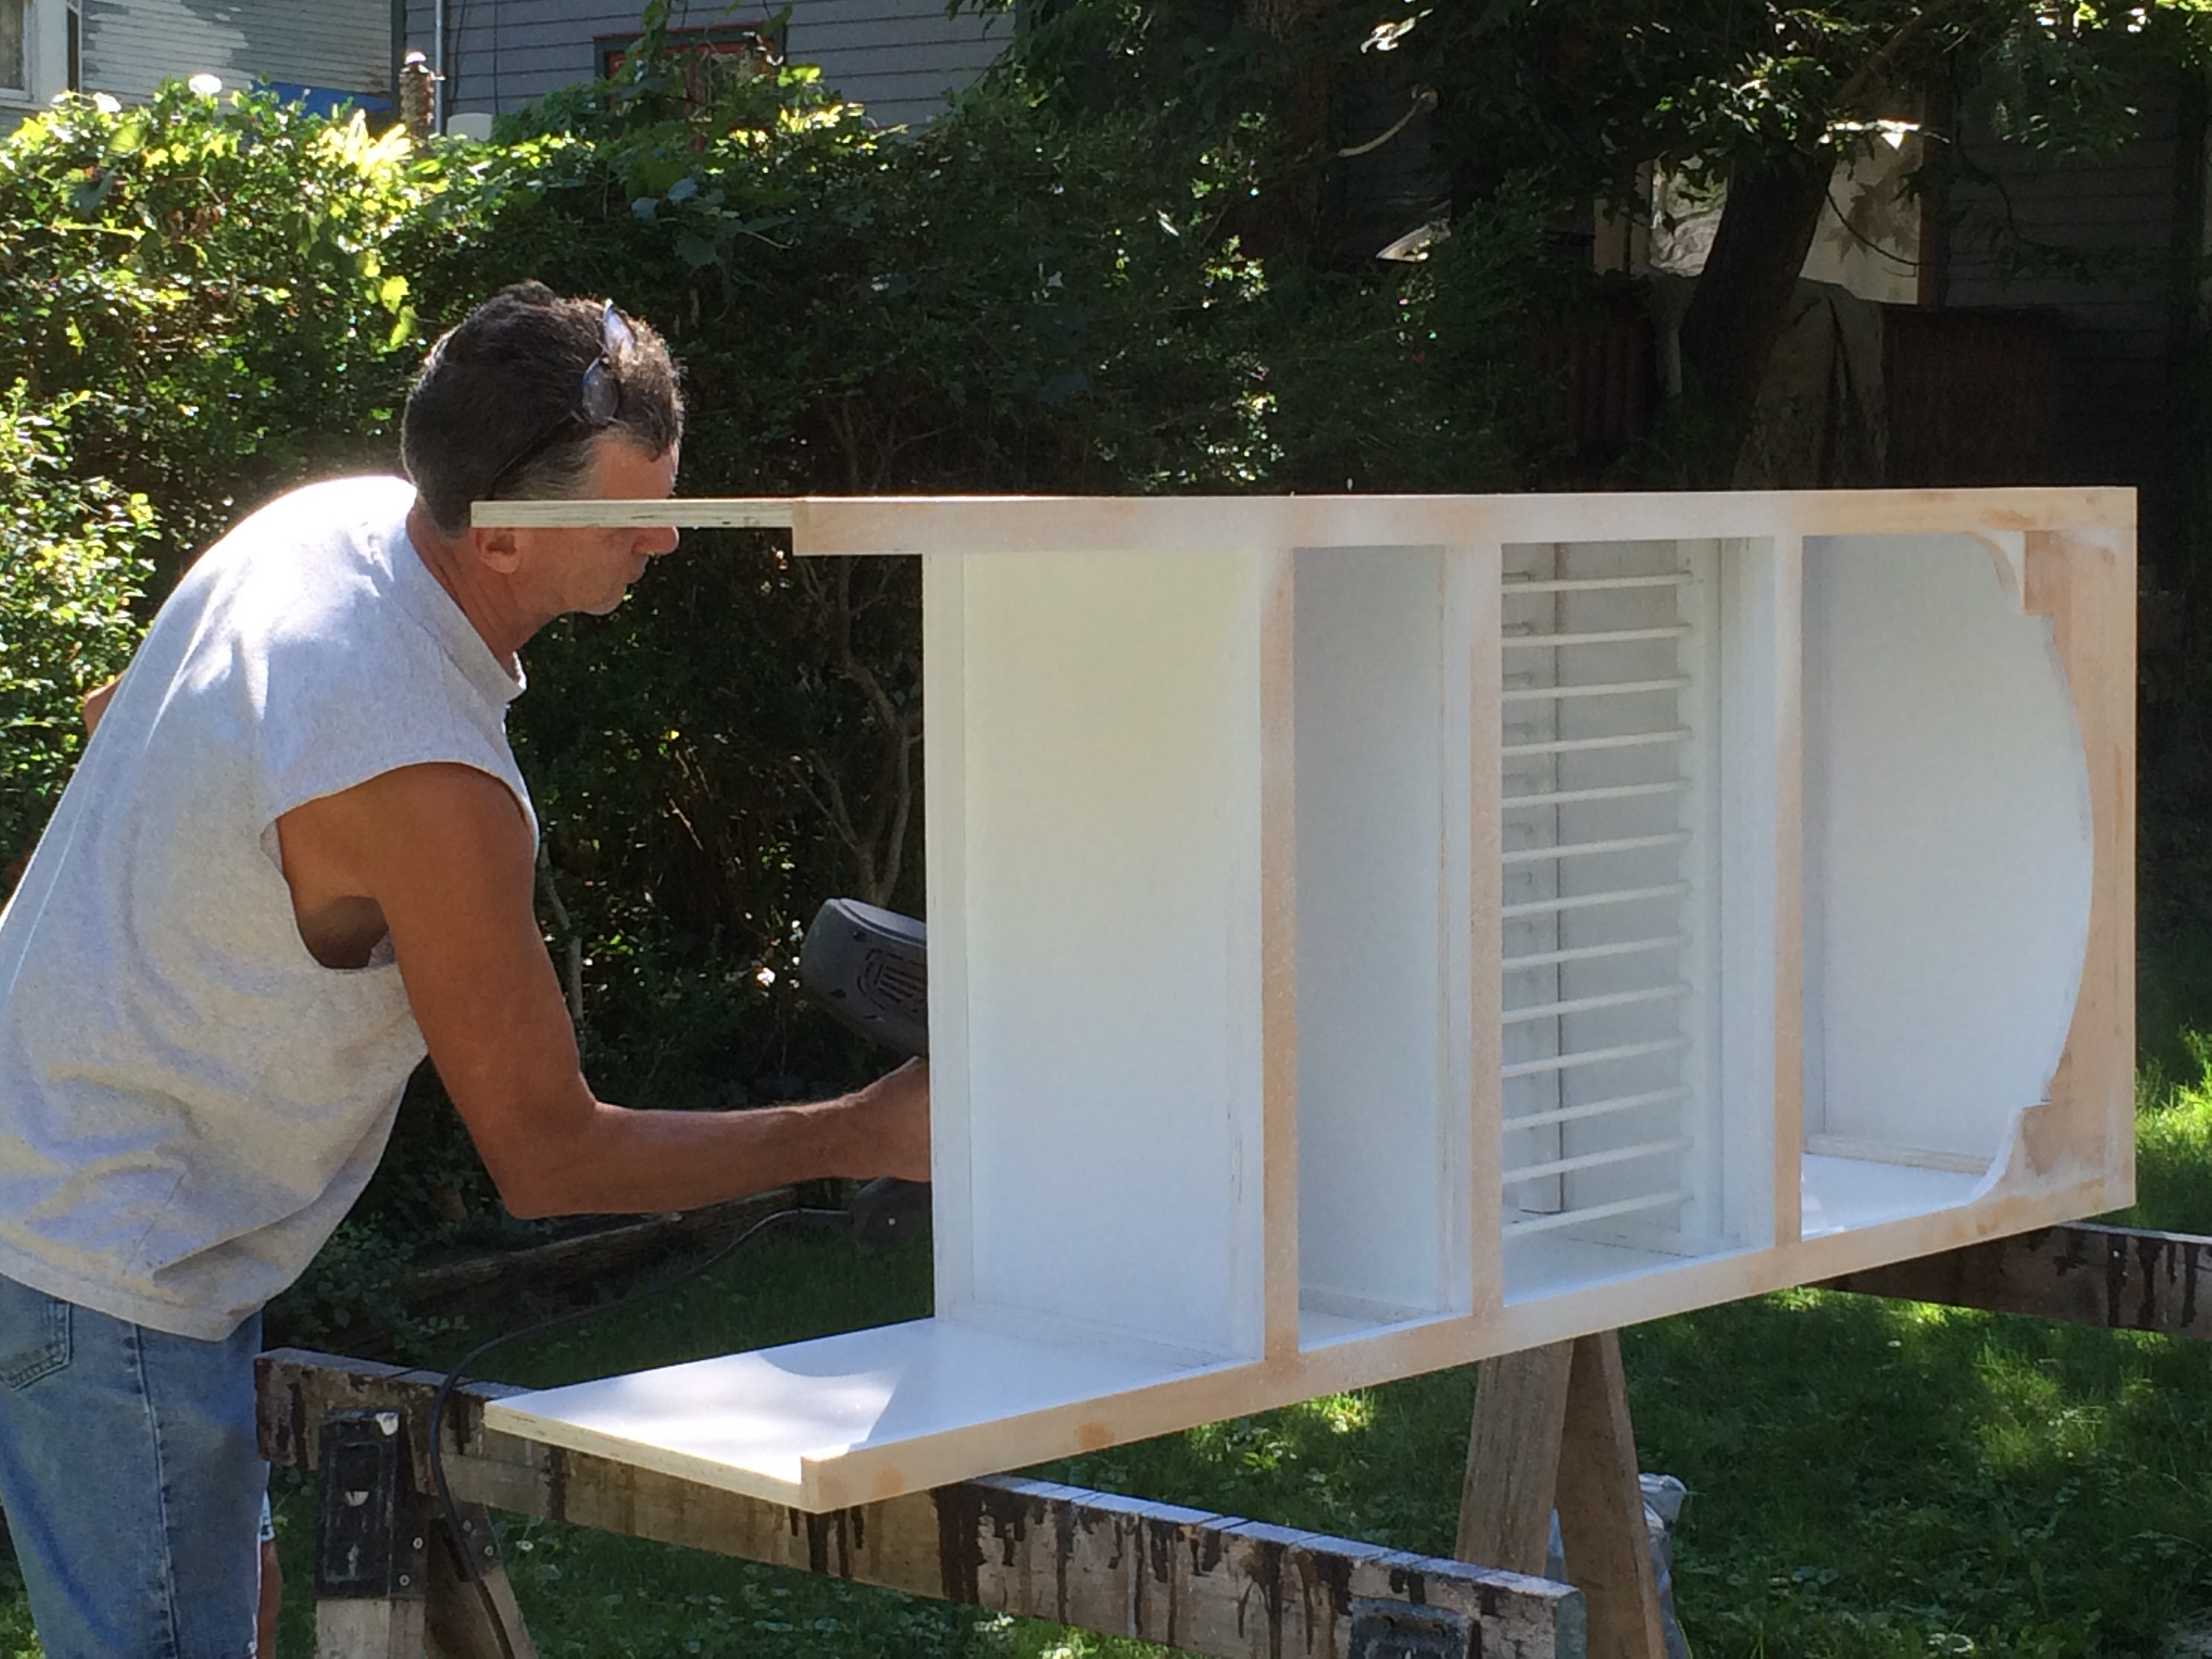
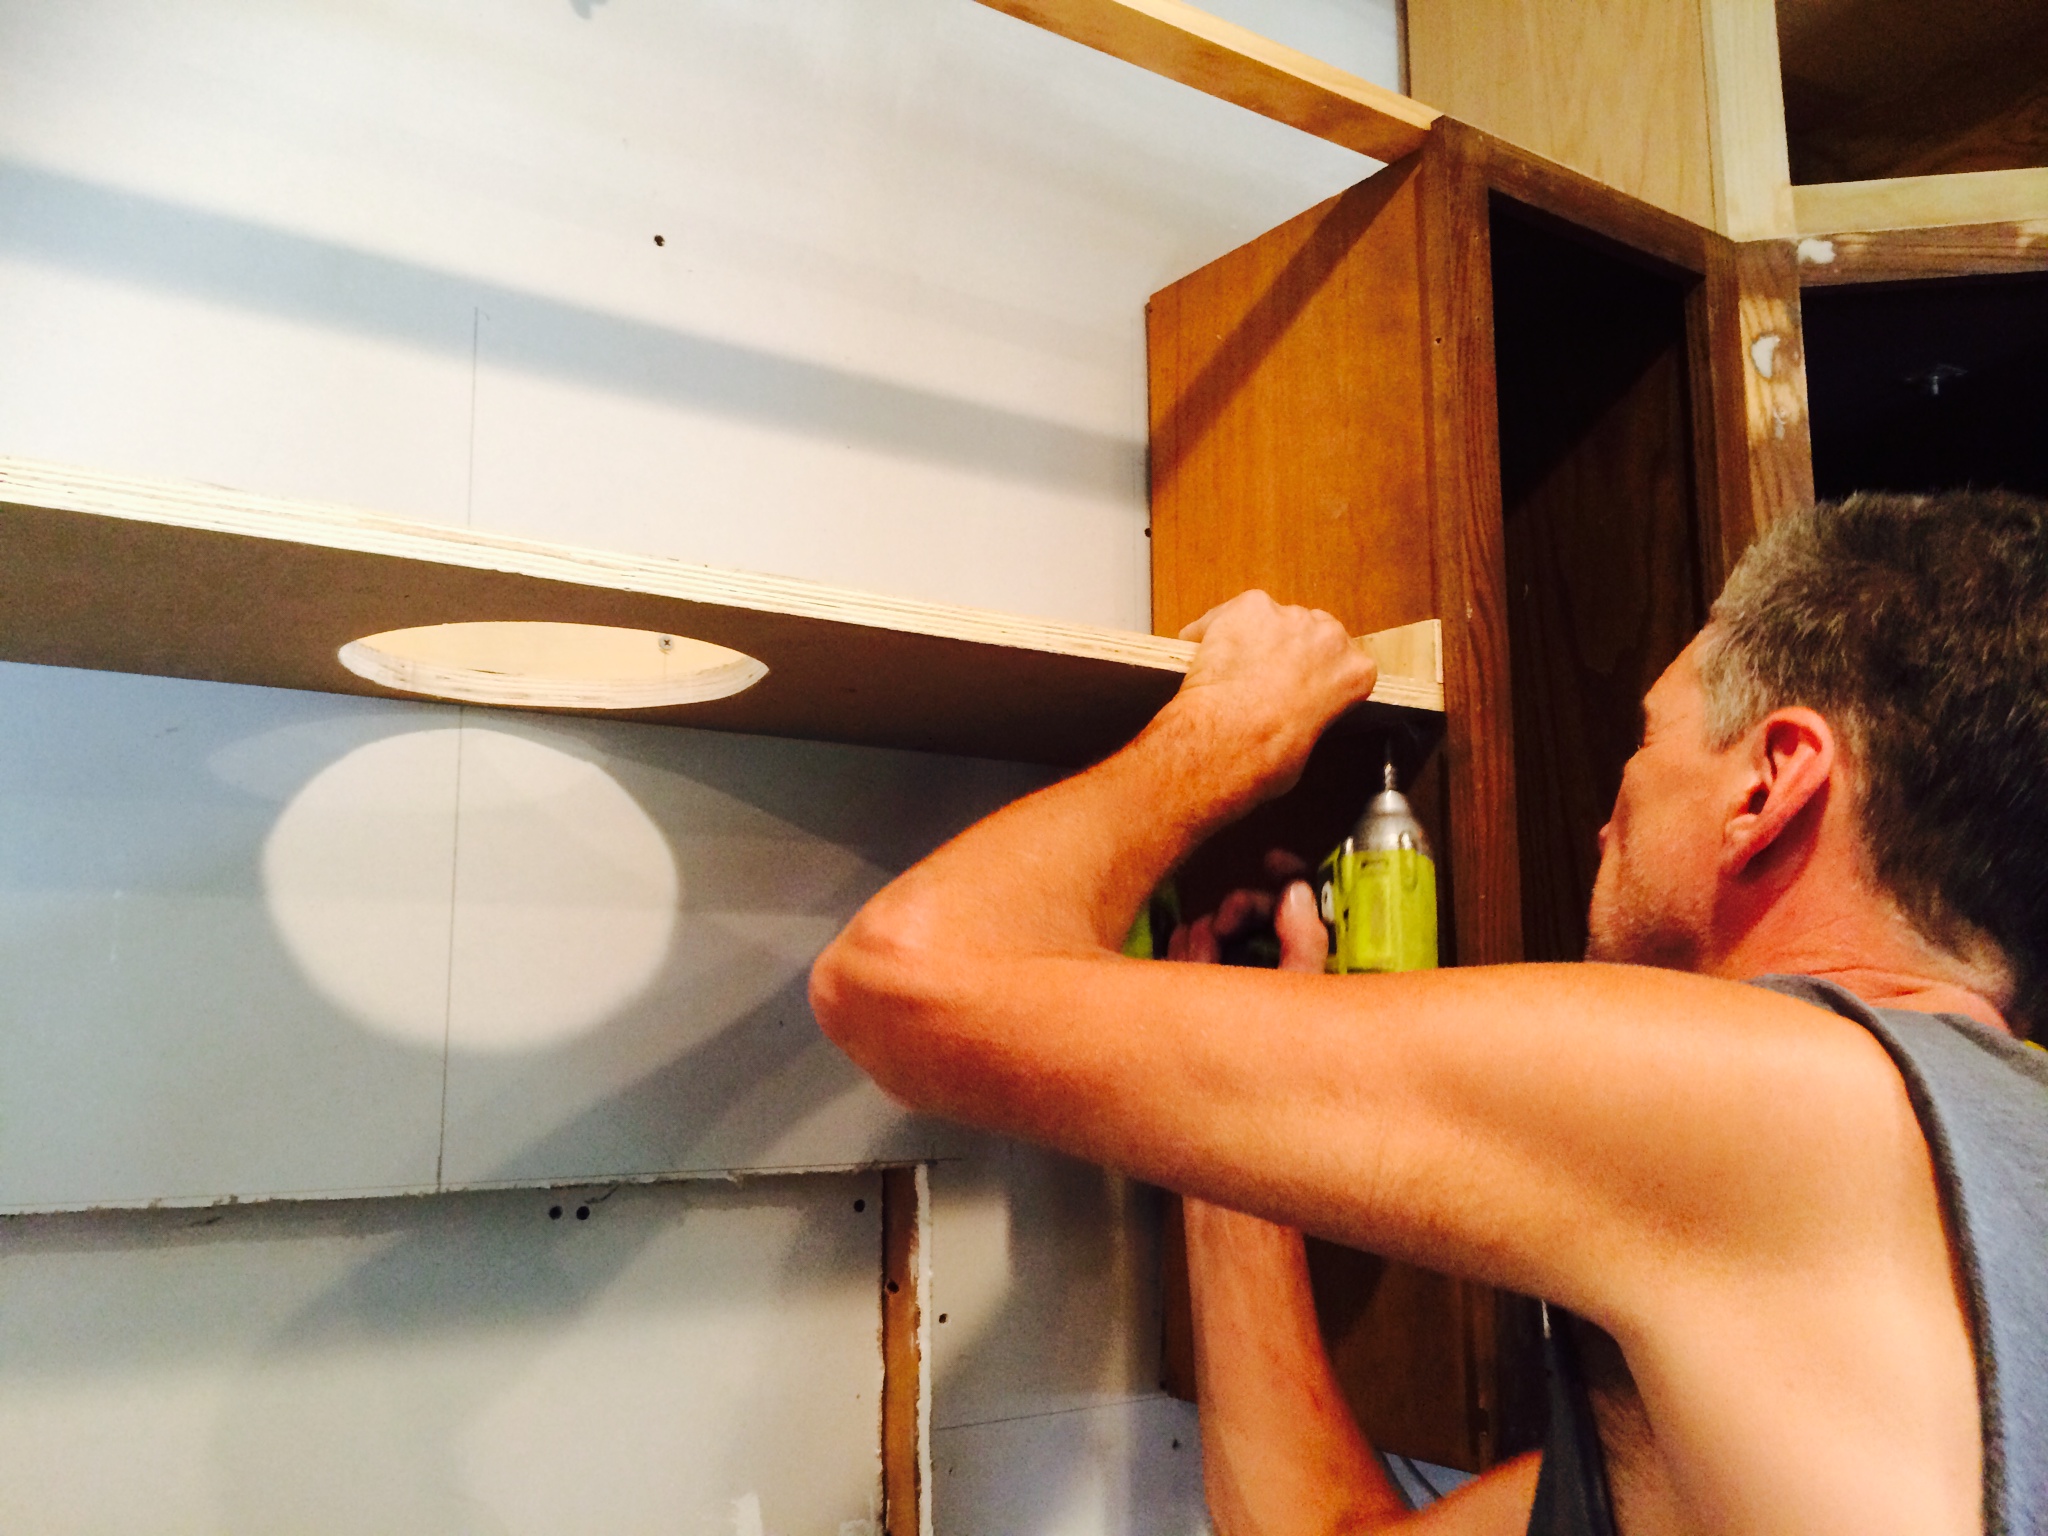
With our line now drawn we could begin to cut out the design and then sand it to make sure the arch was perfectly symmetrical.
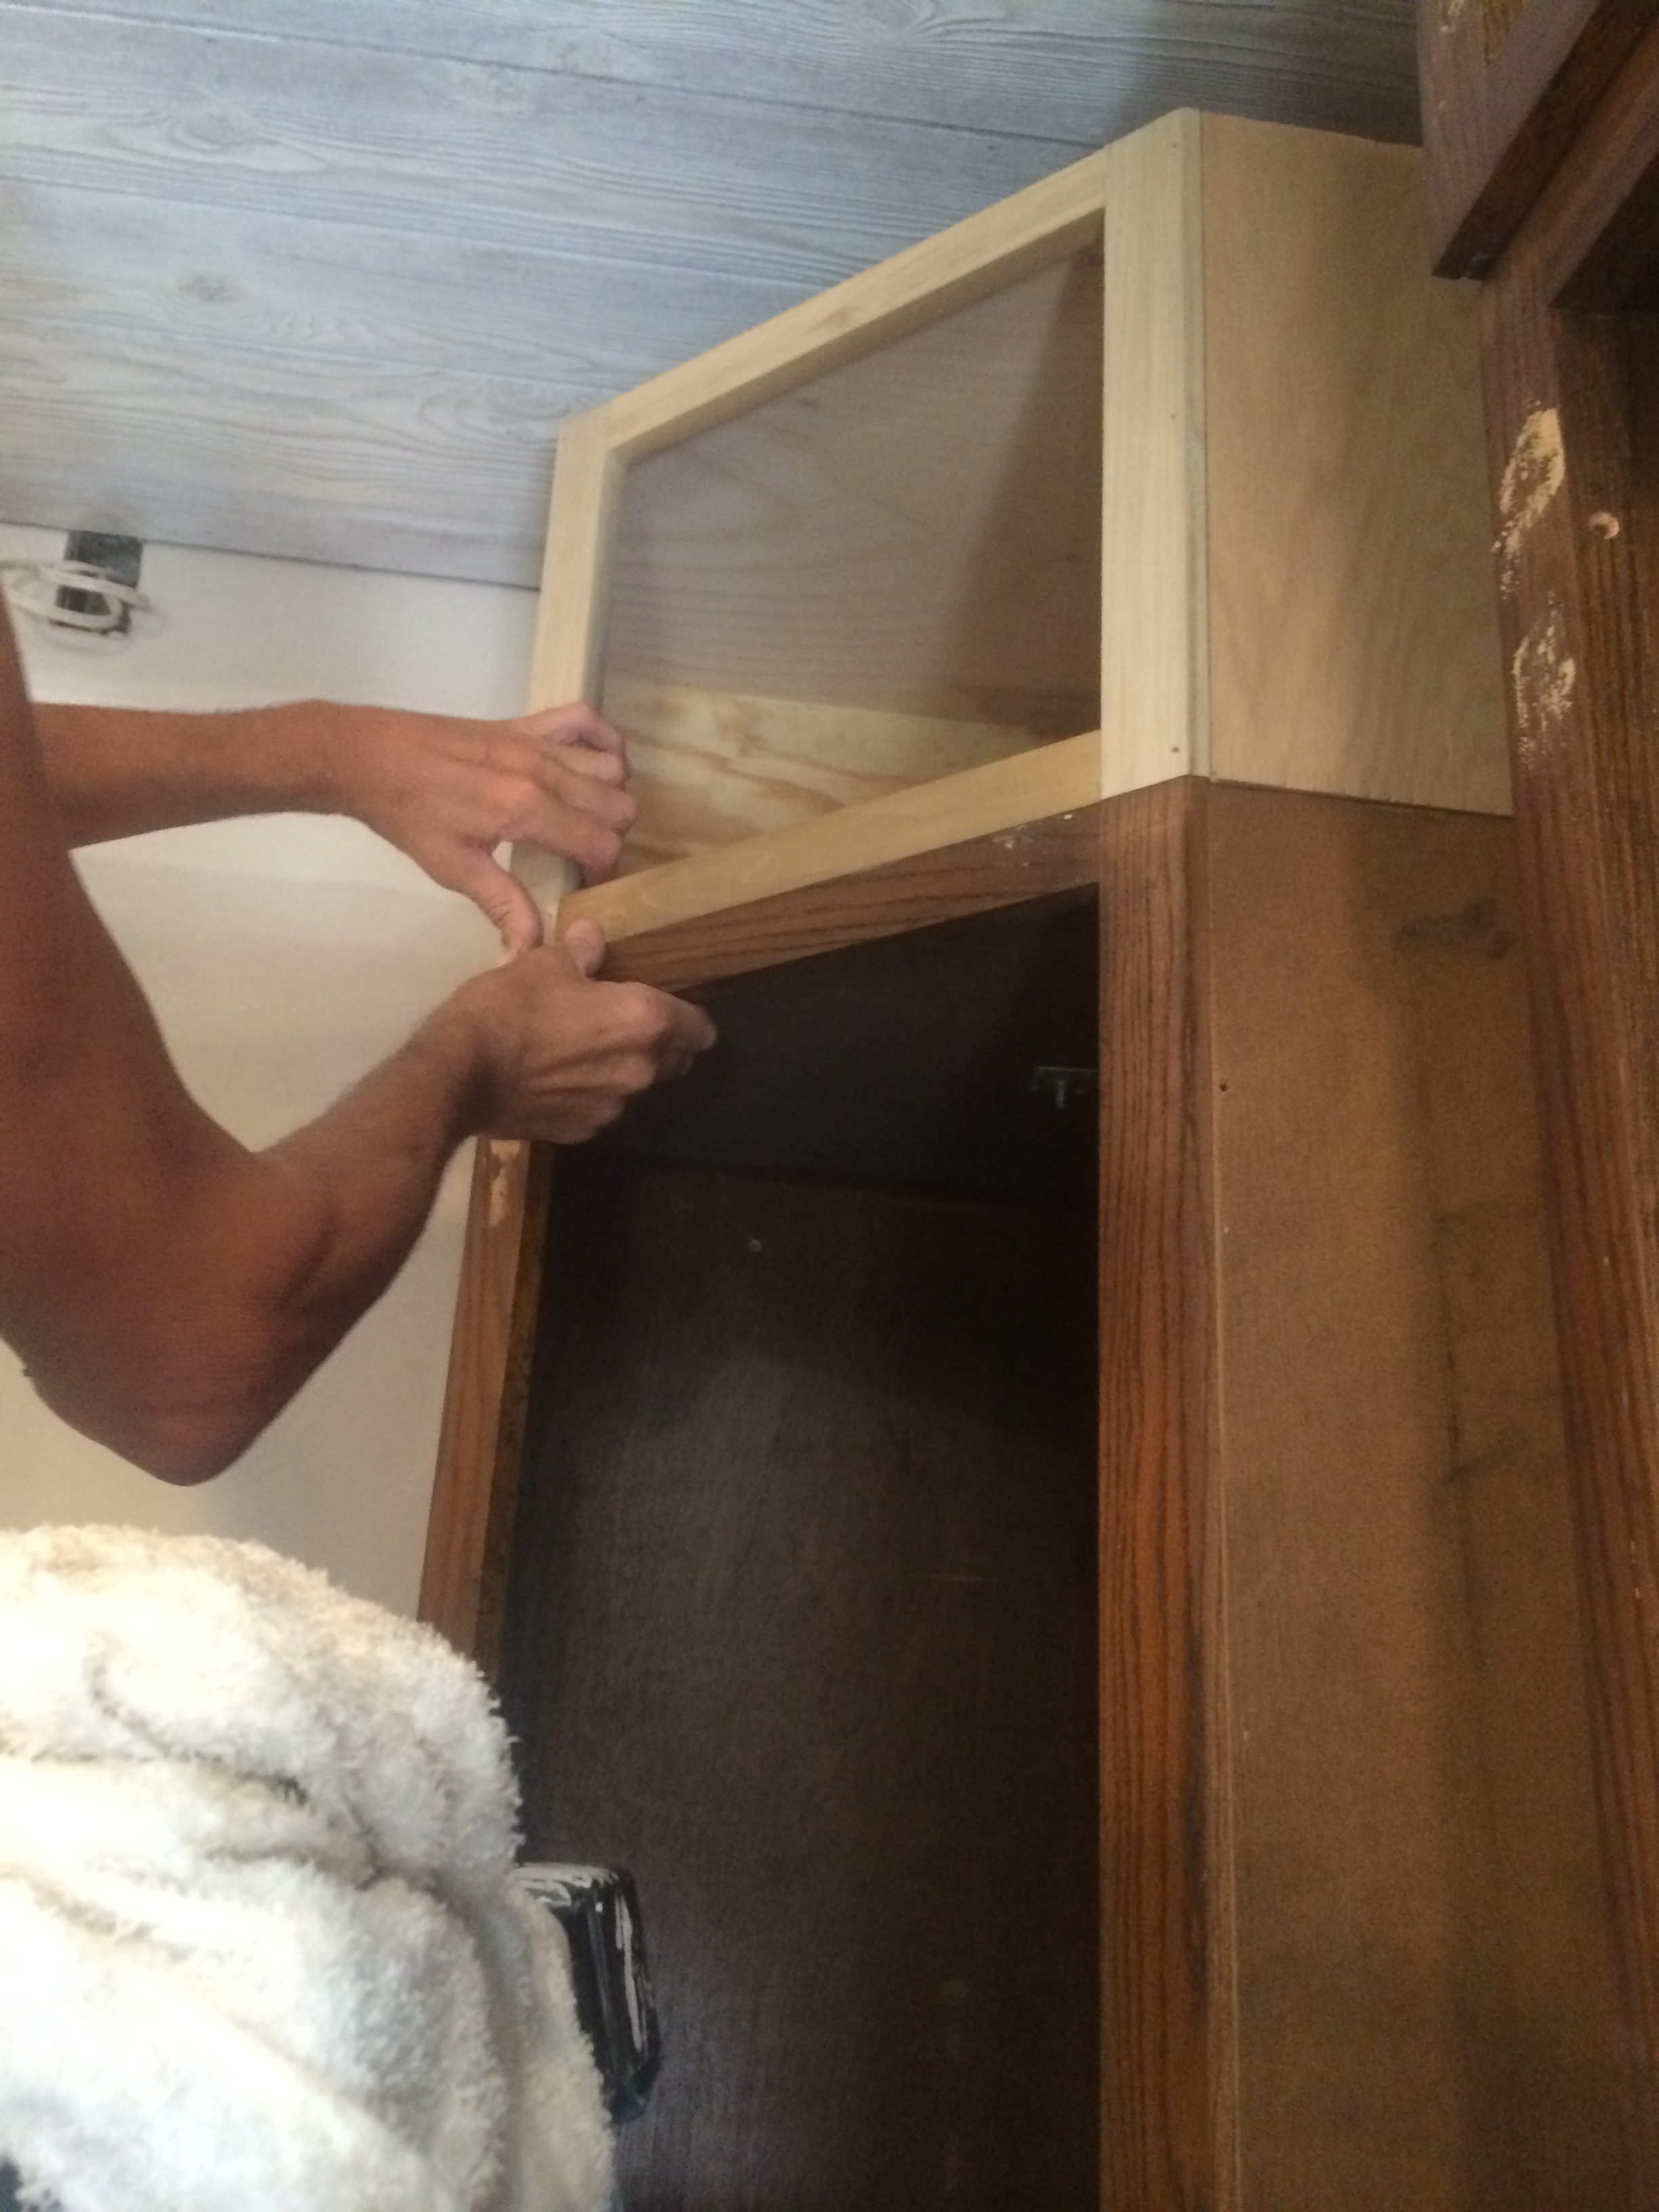
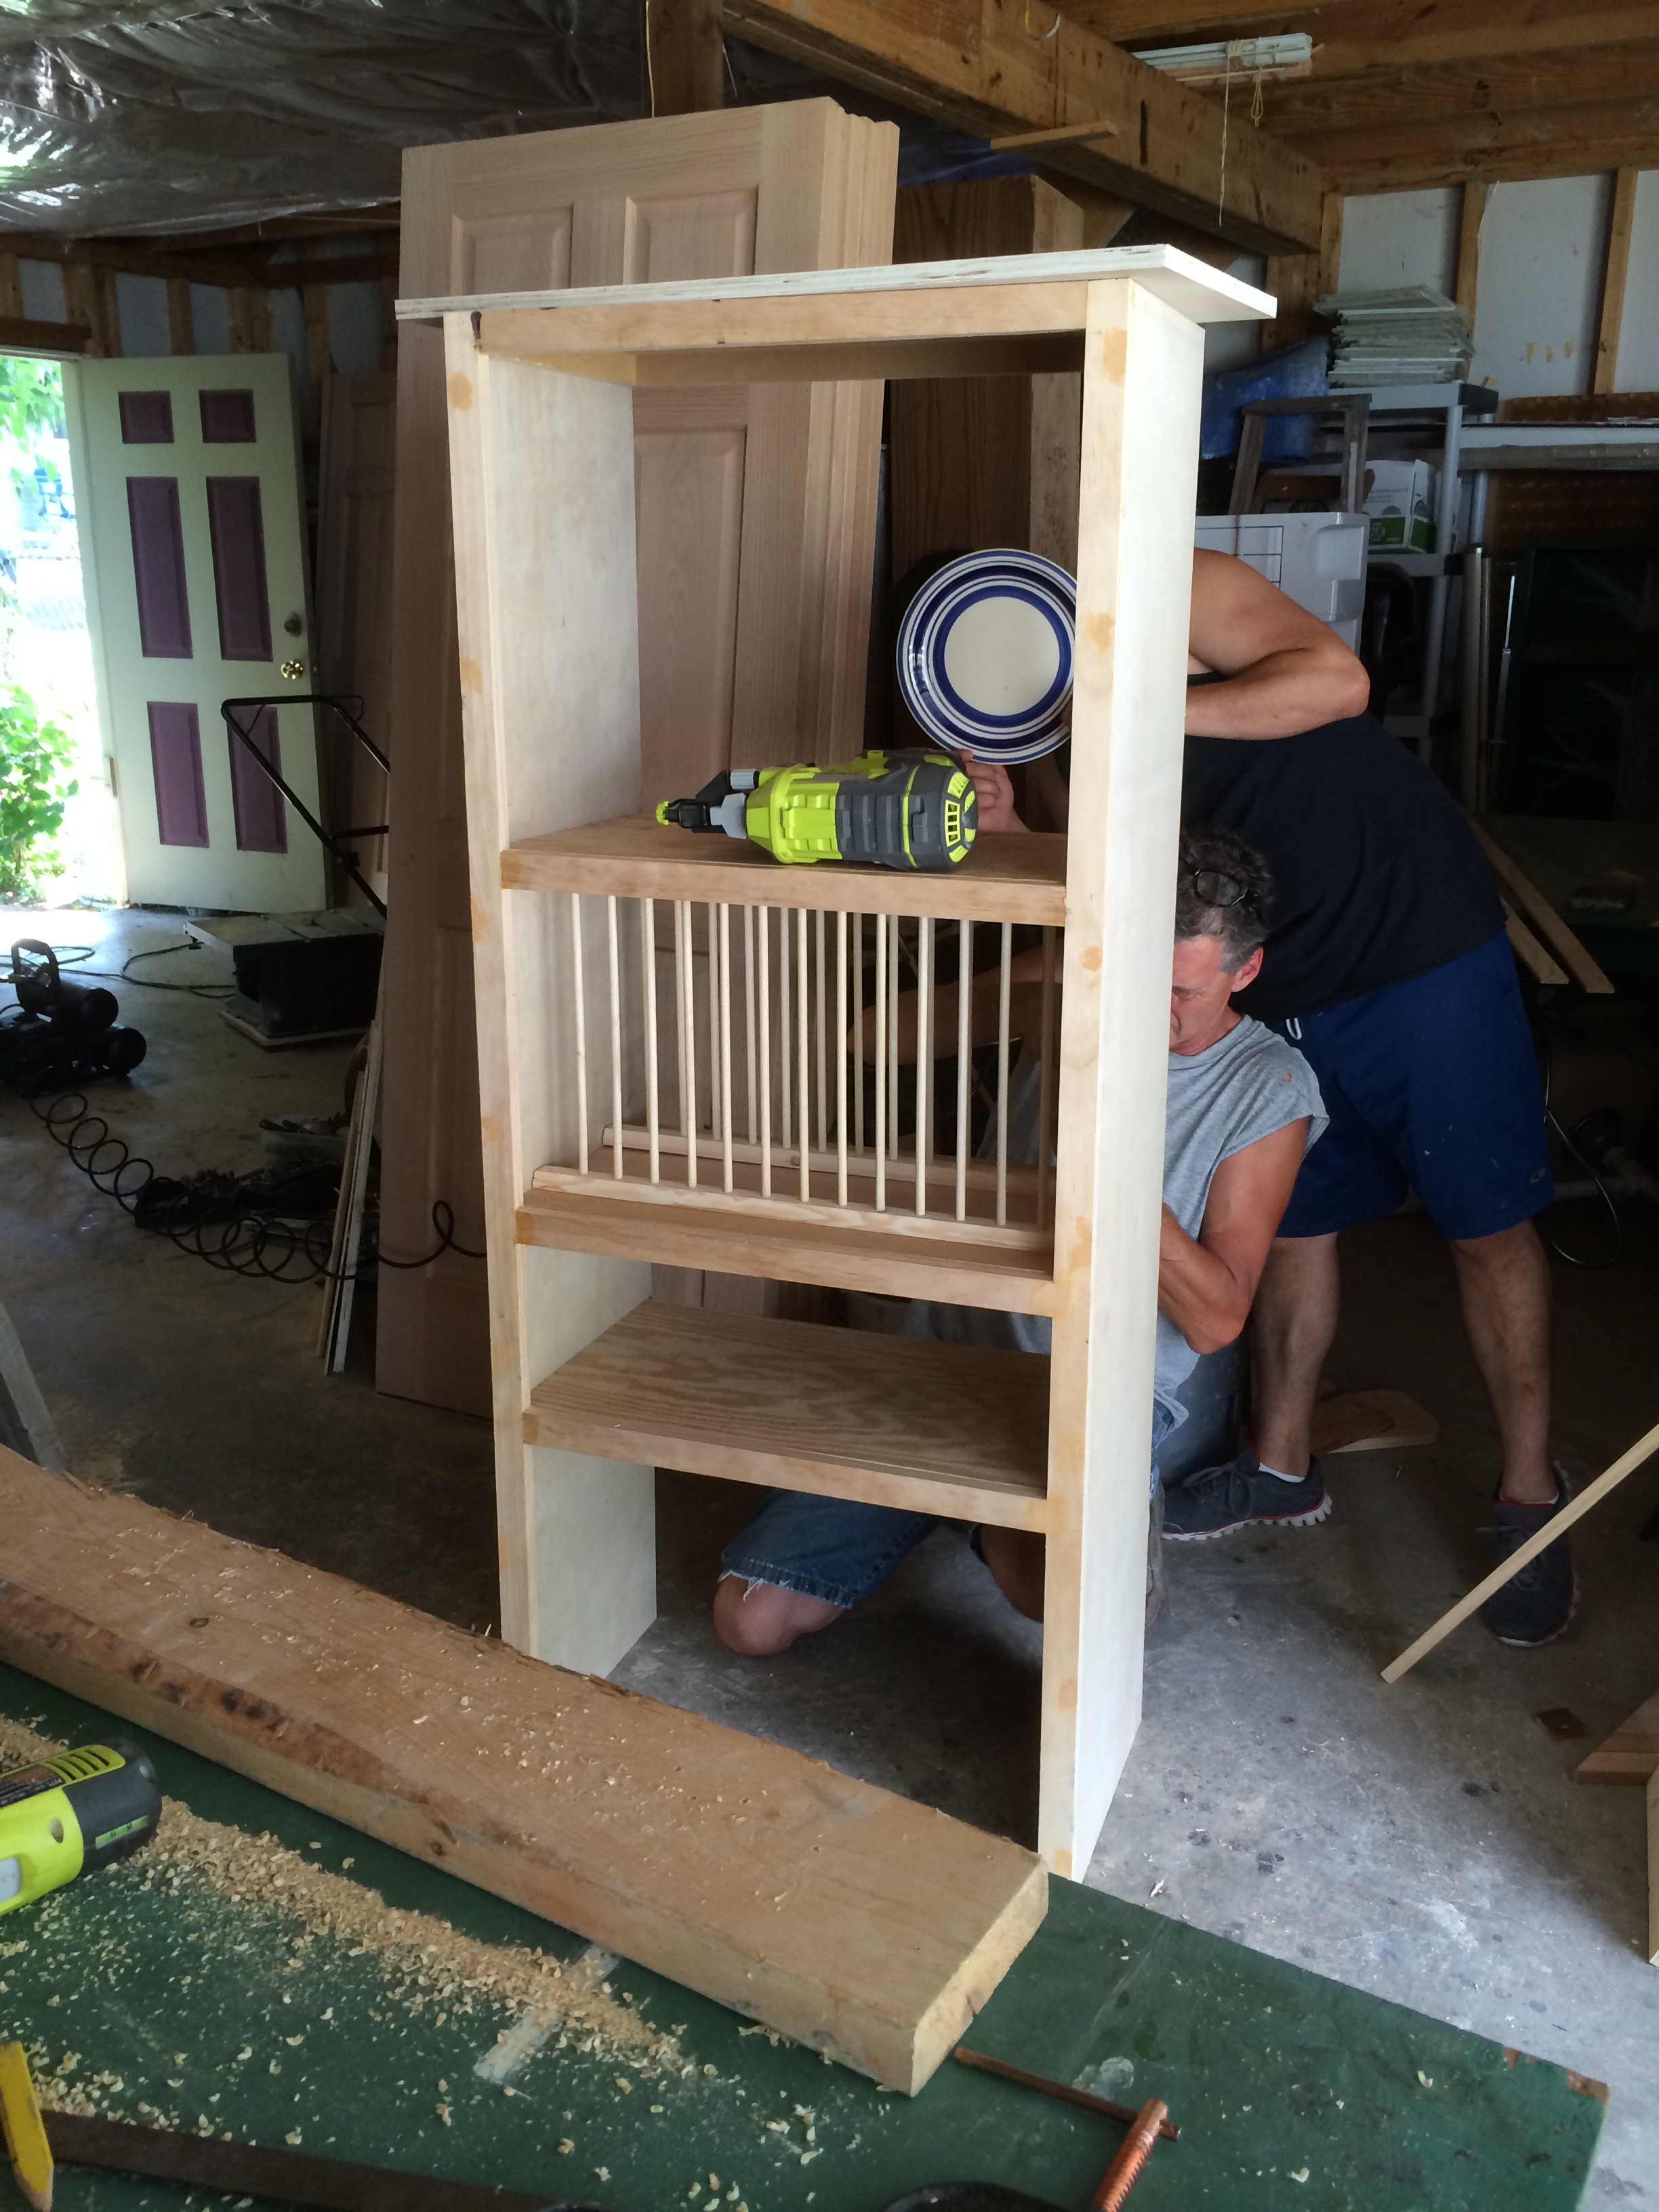
Once the box was mounted the real fun began!
We wanted a layered look with multiple depths so we created this overlay piece using a saber saw and a hand router.
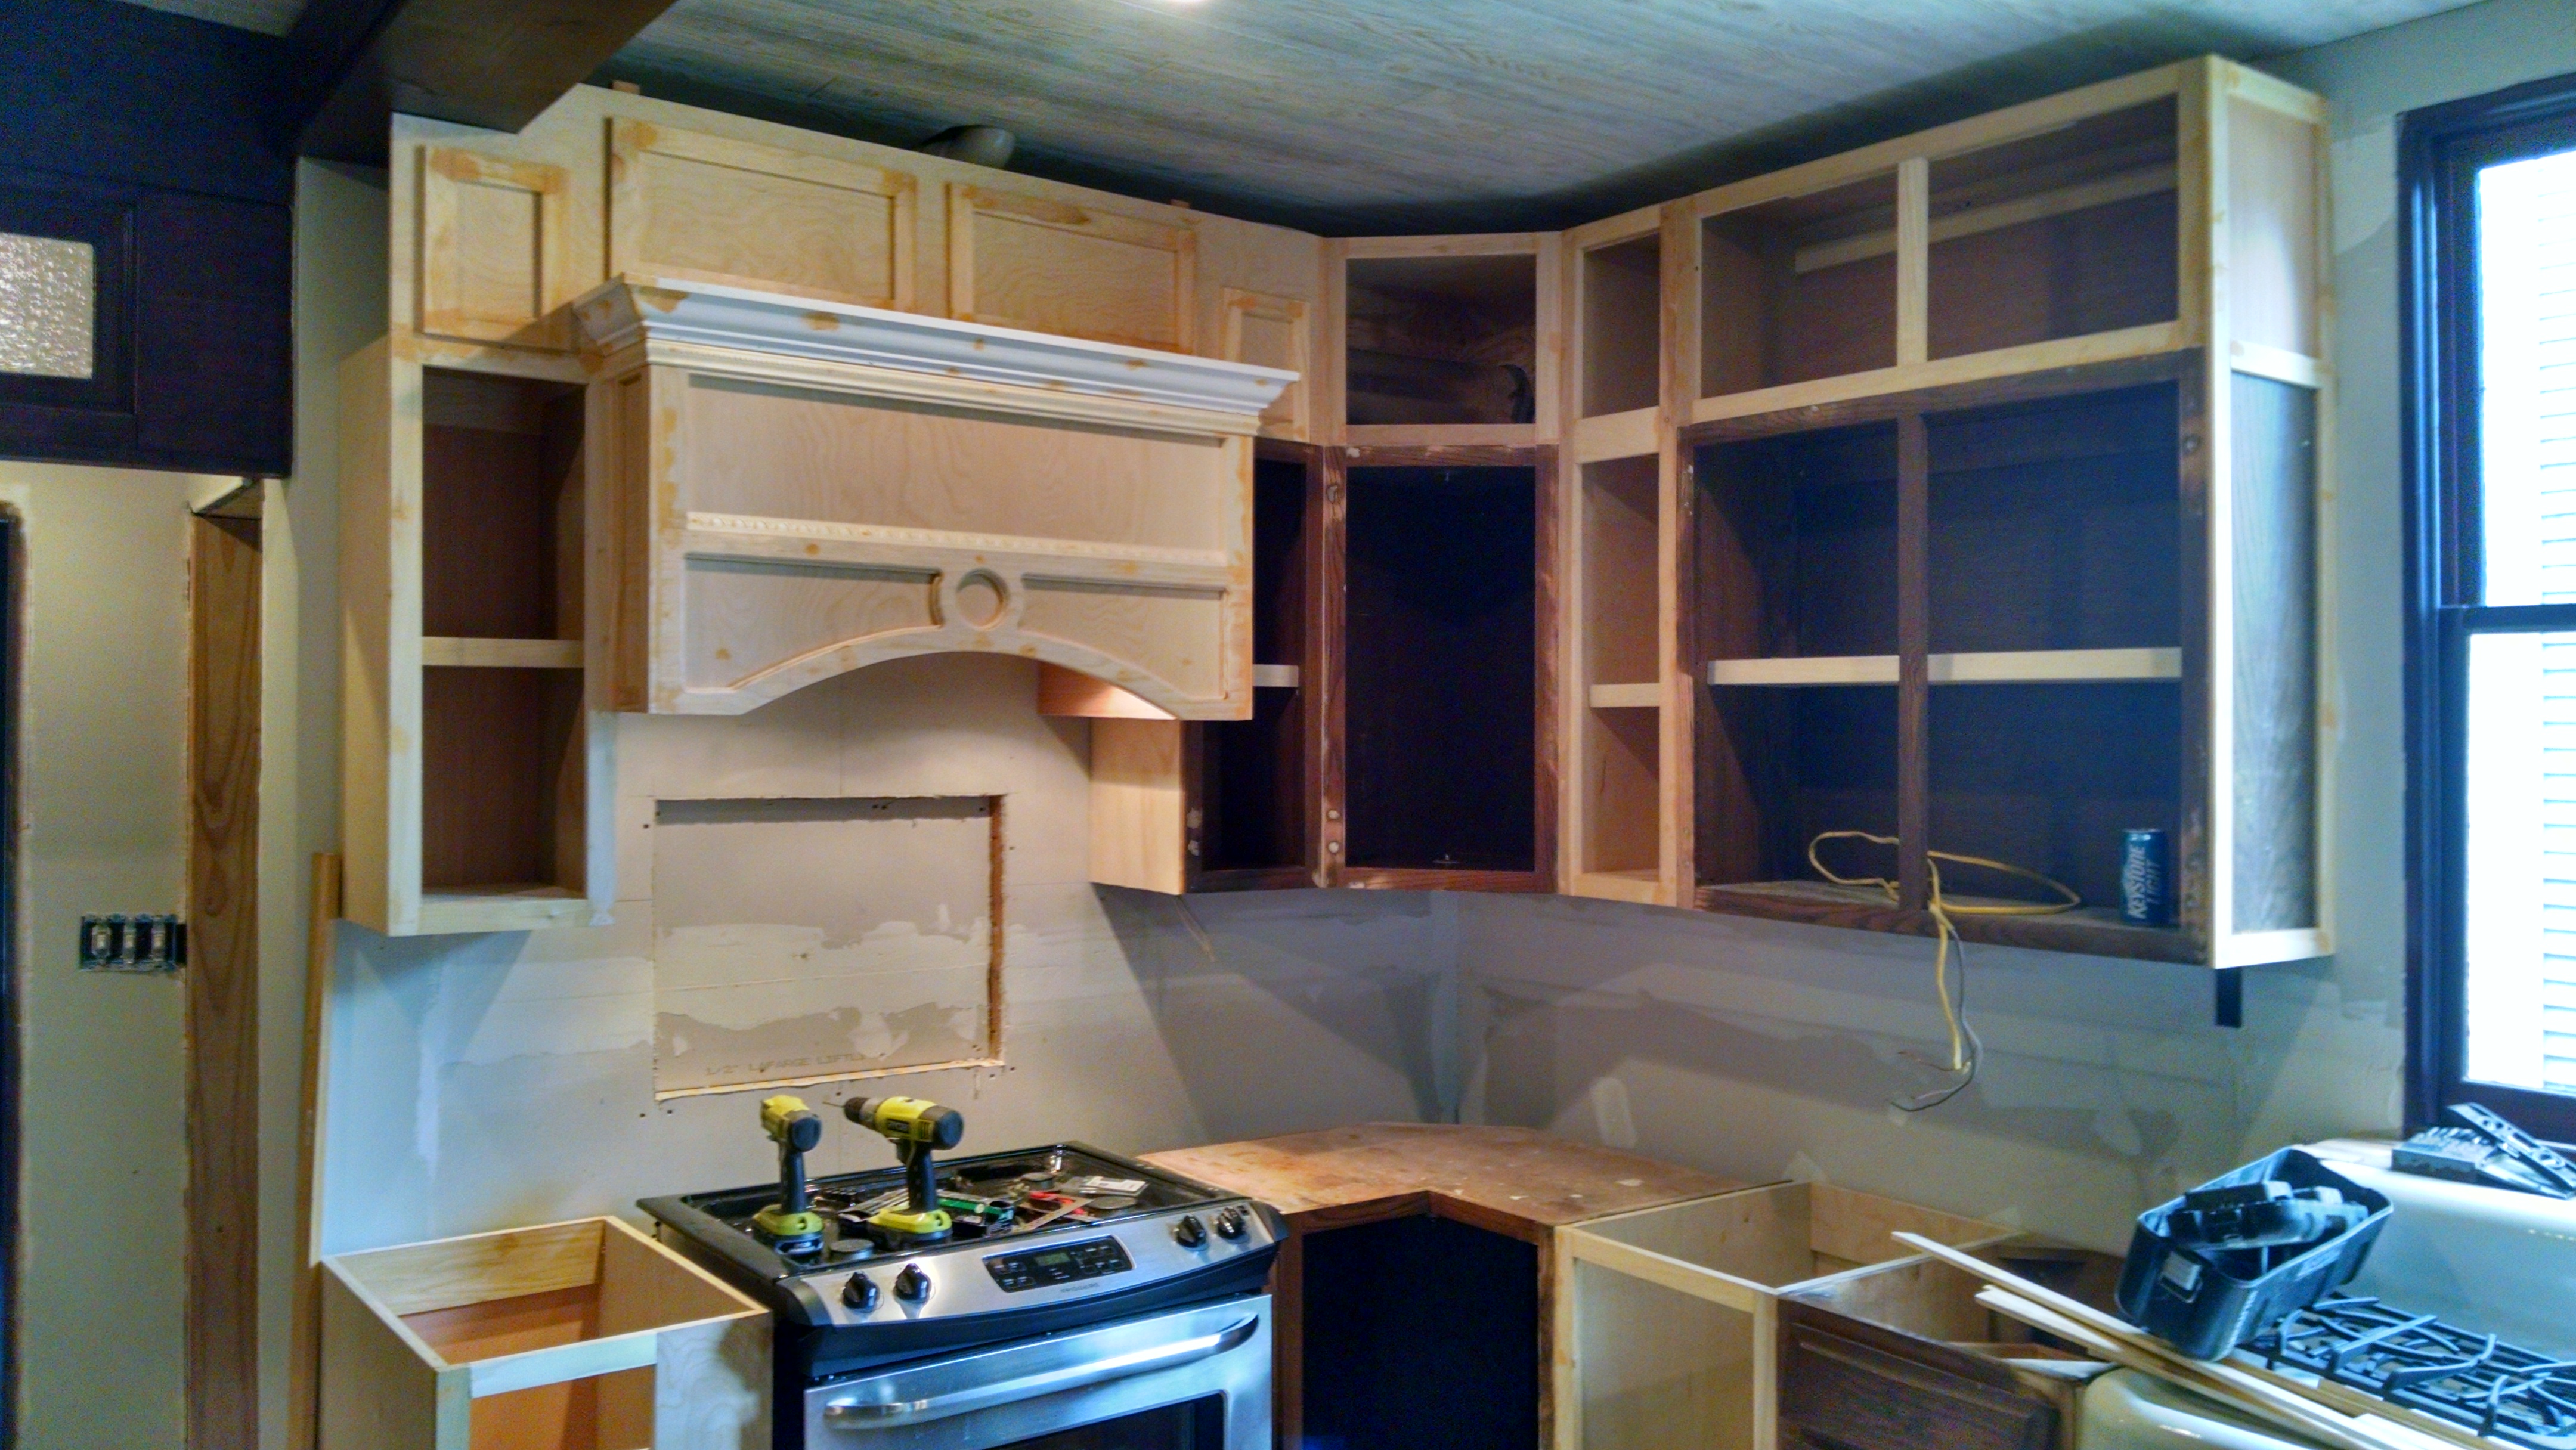
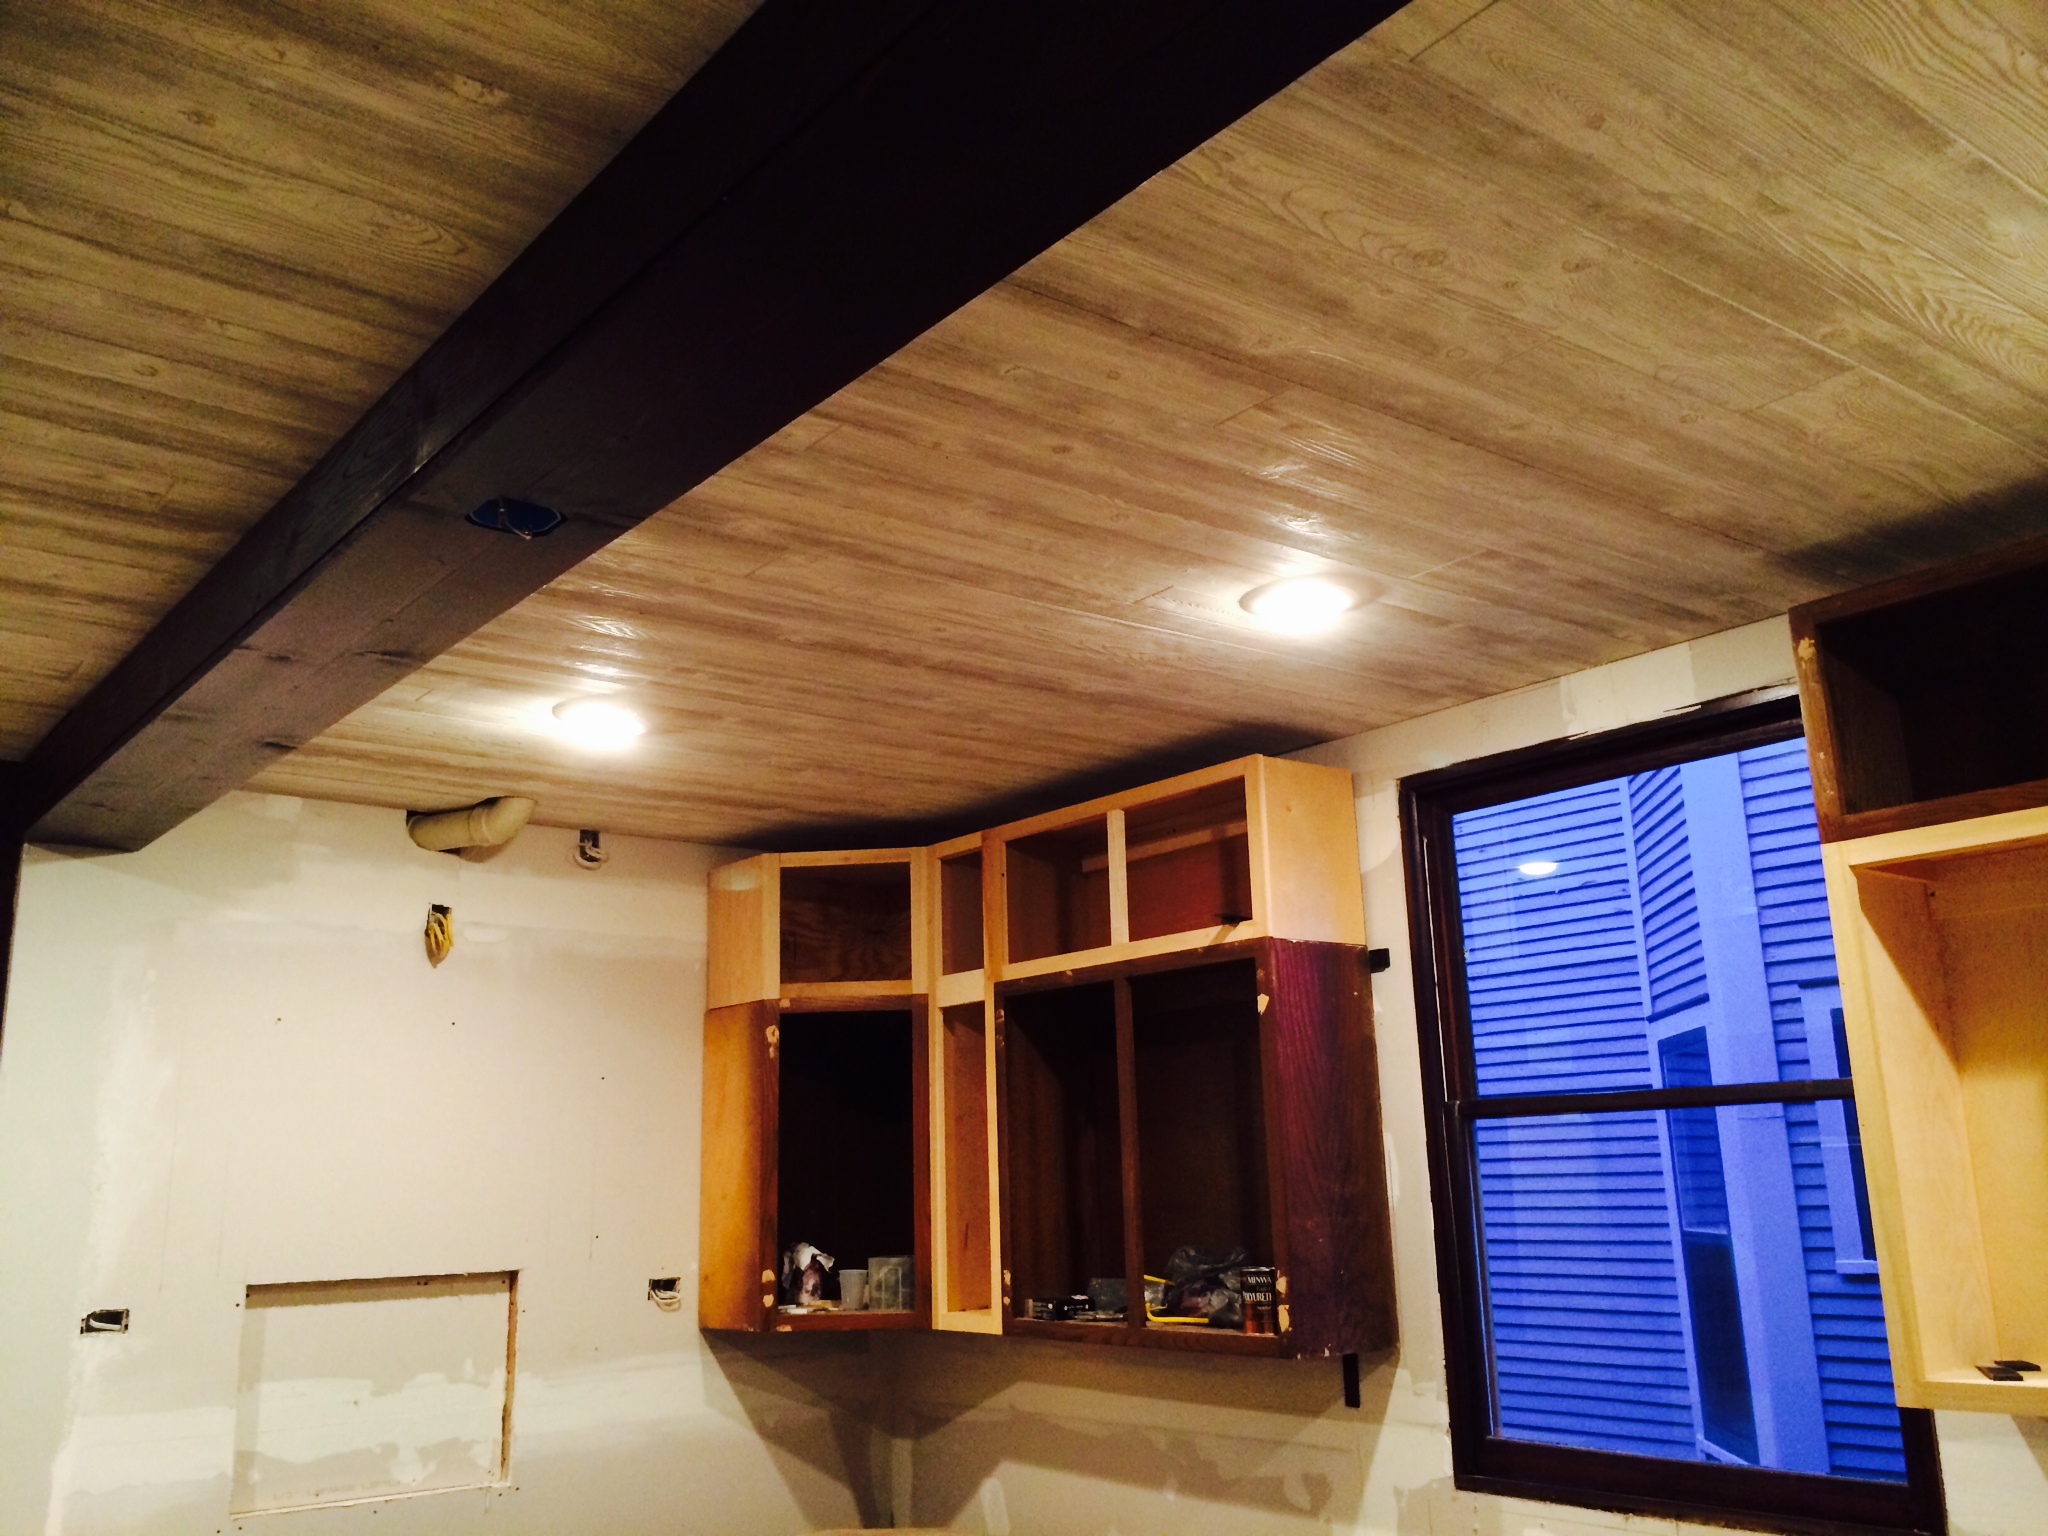
Once our overlay was attached to the hood cover we began to trim the box out with molding and also the panels above the box itself.
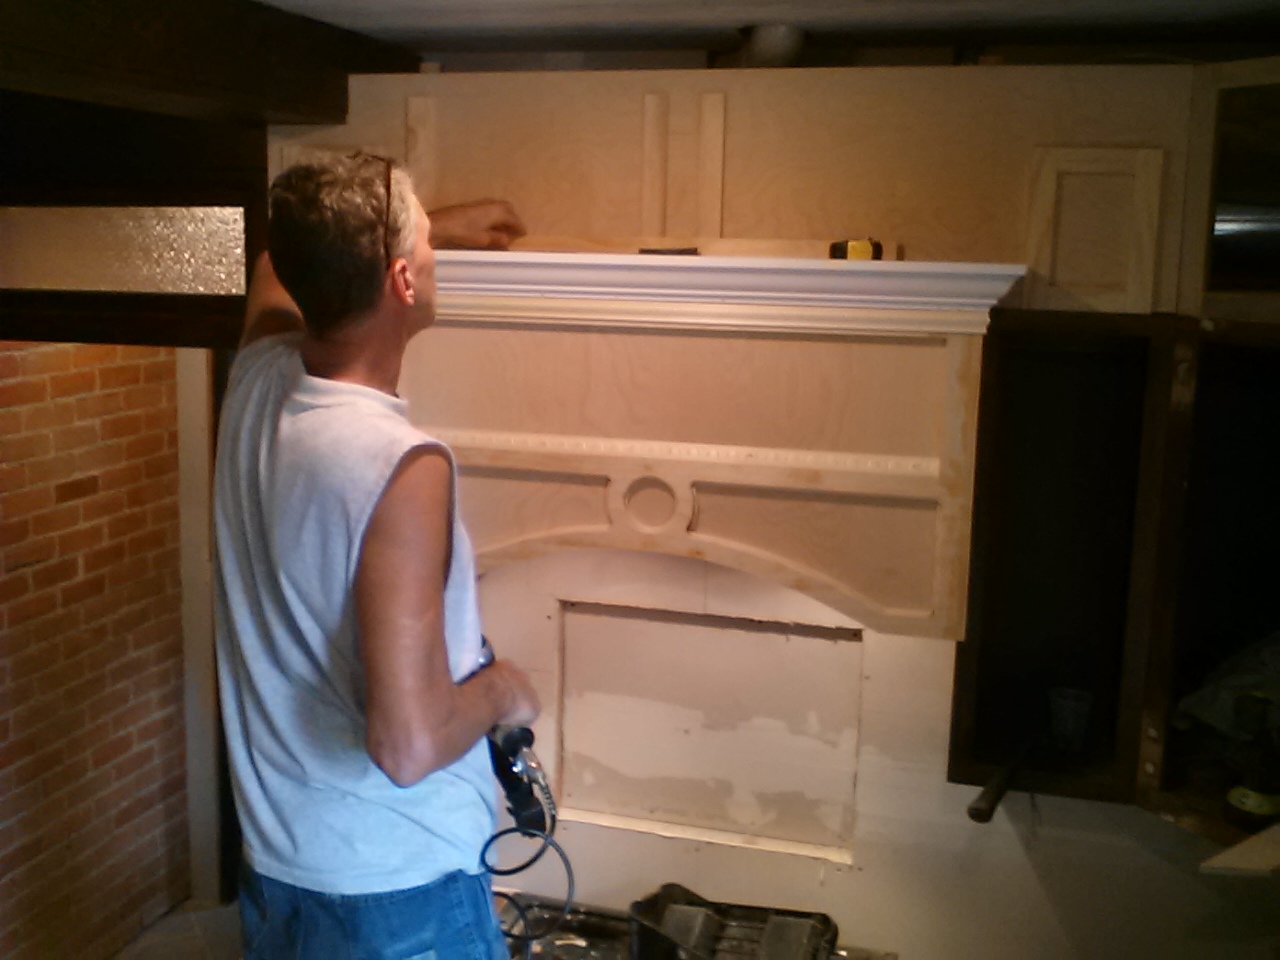

We decided to add an applique to the center of the cover. We ended up liking that so well that we added one more to the panel on either side of the hood as well.
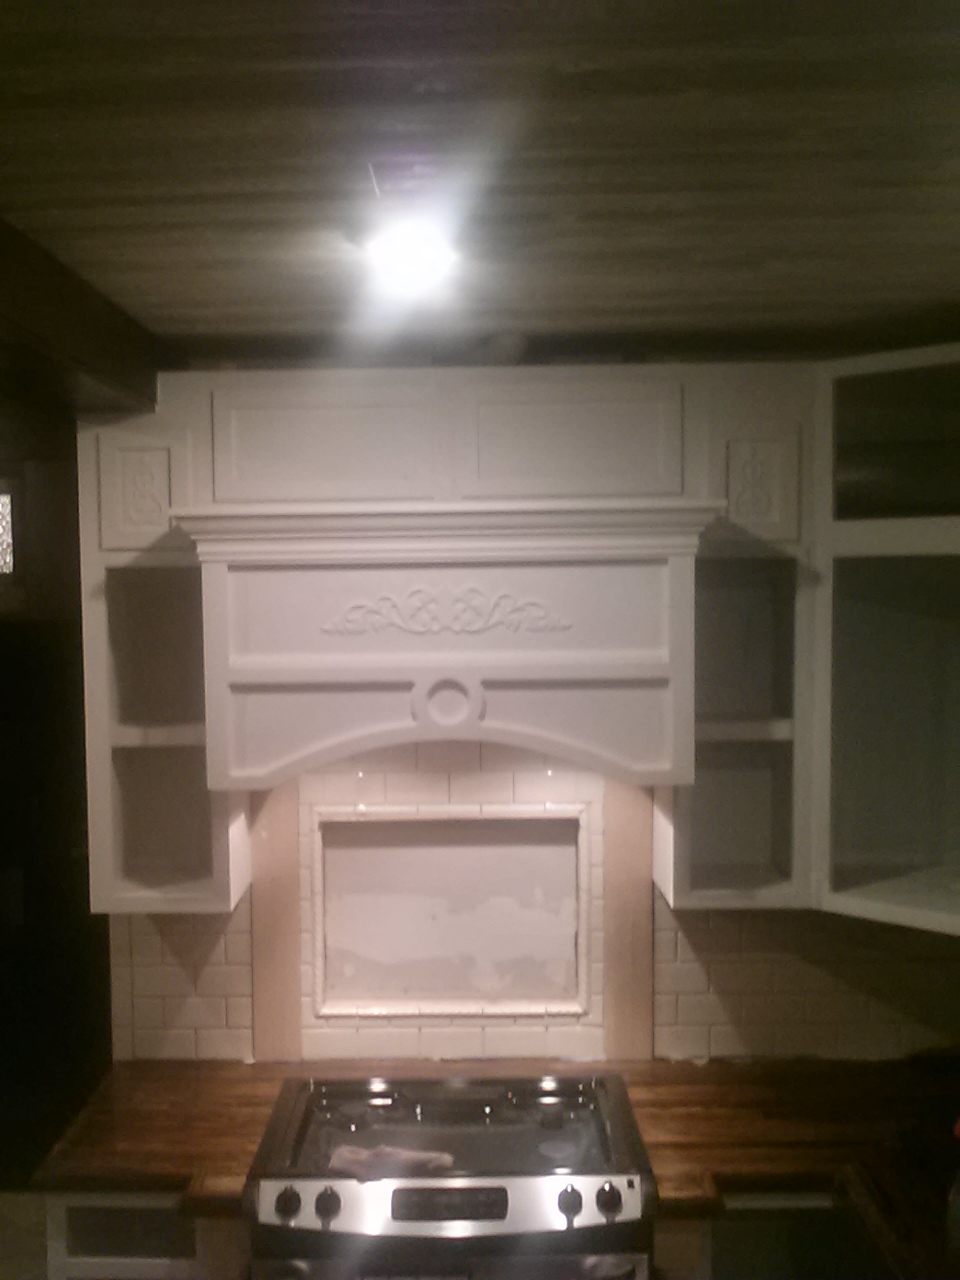
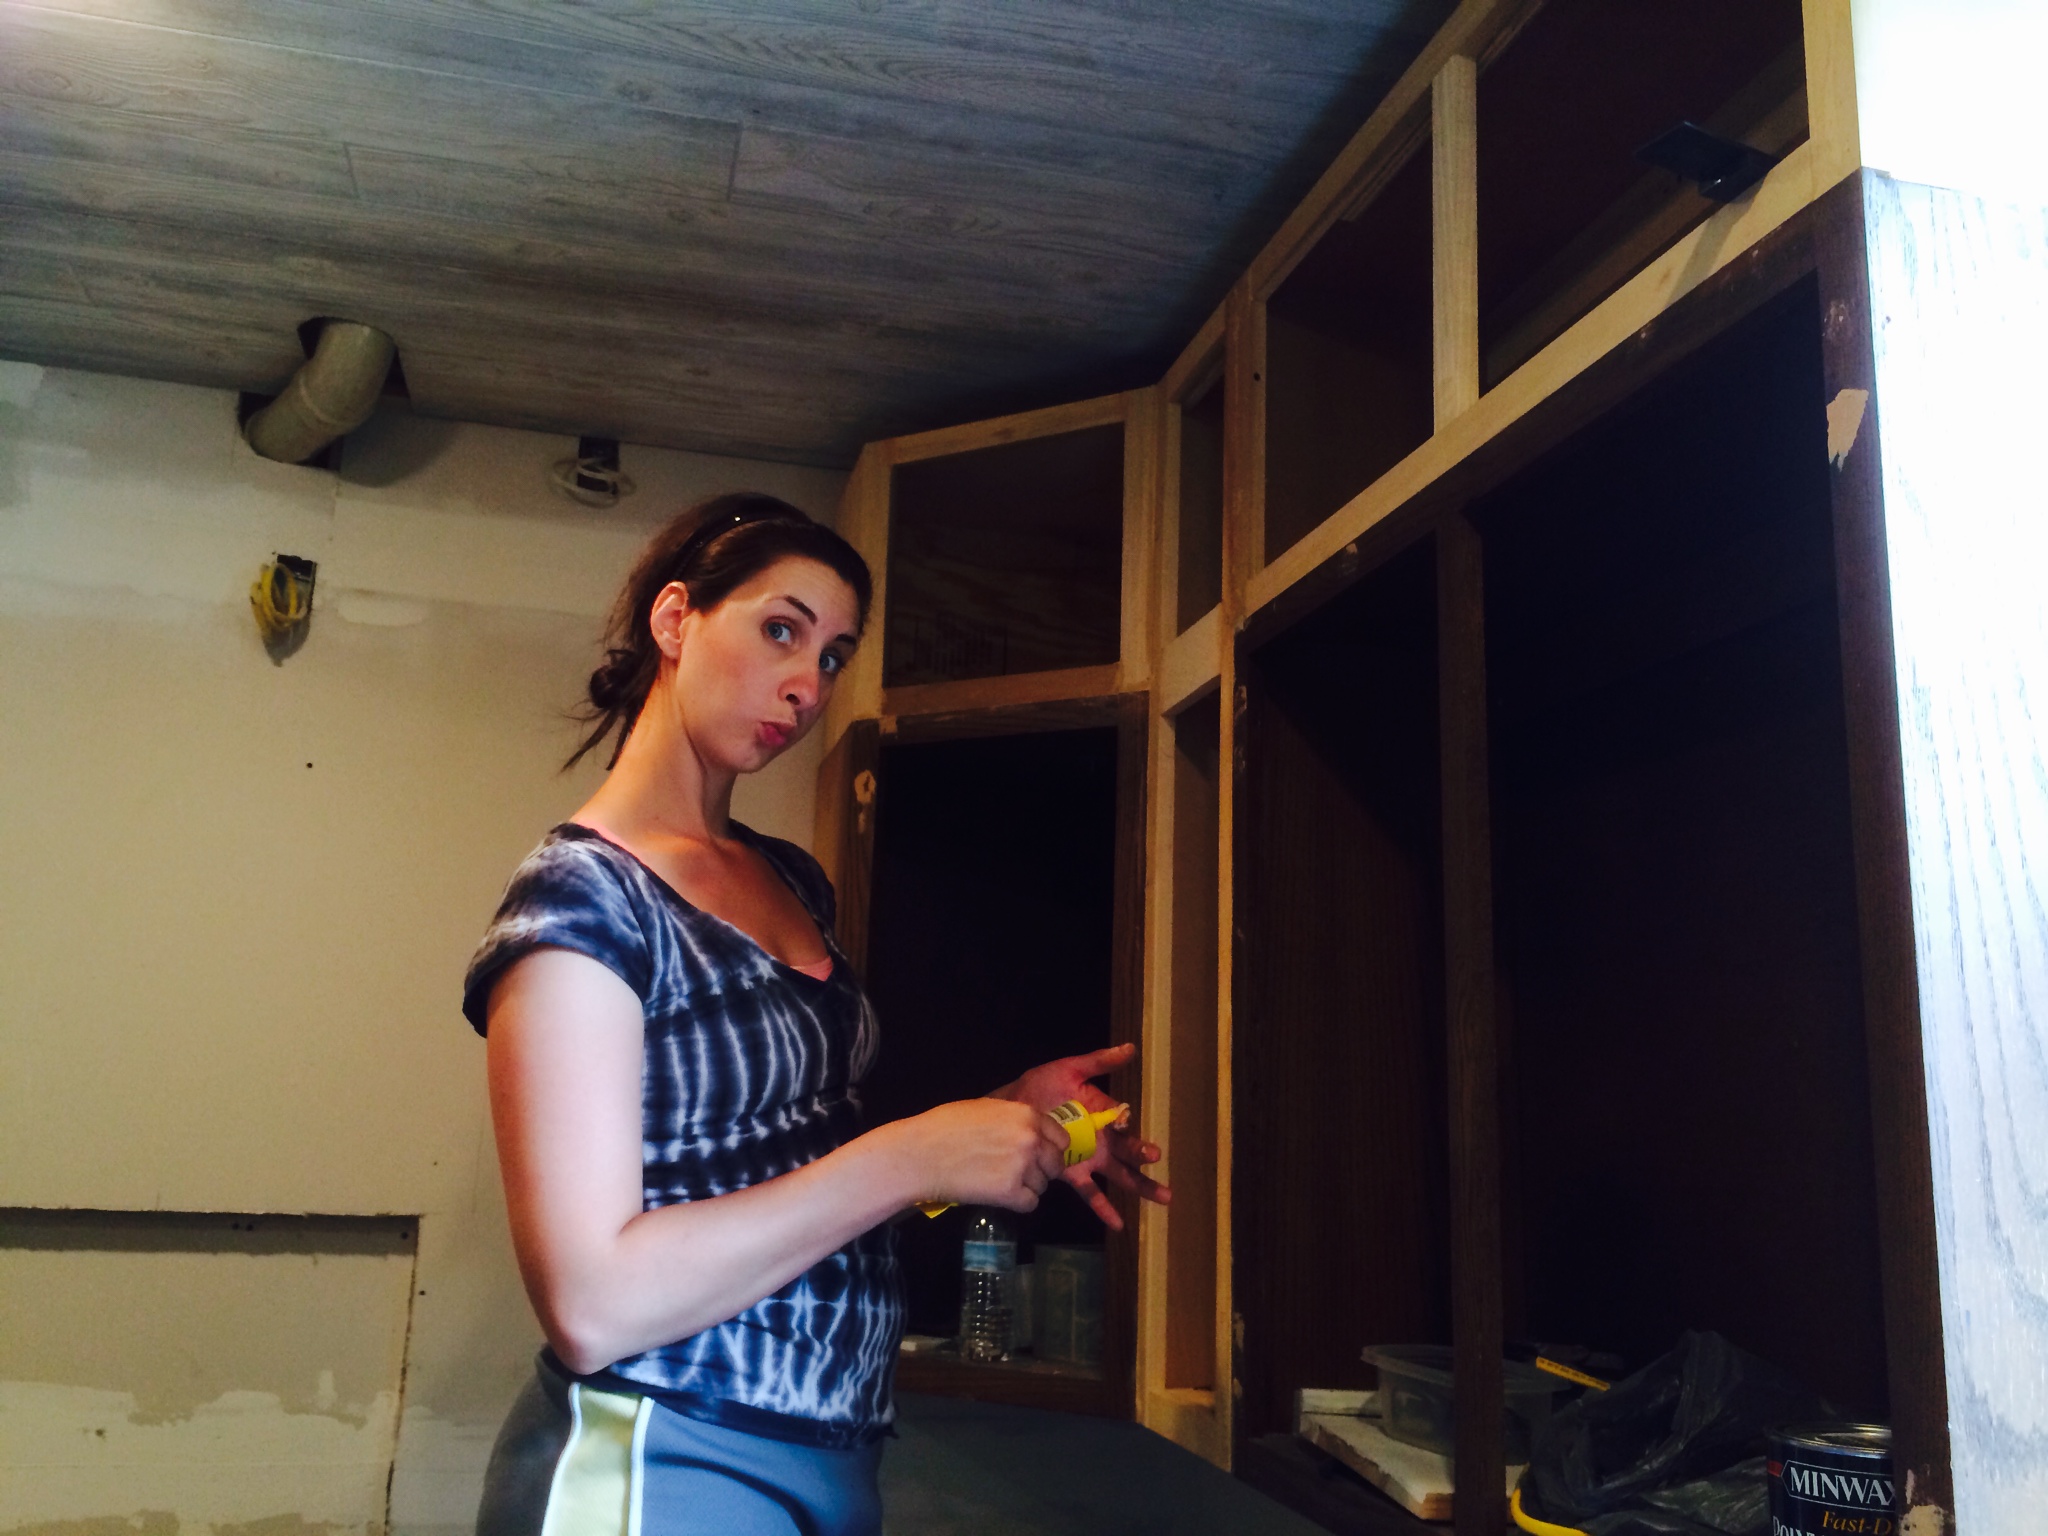
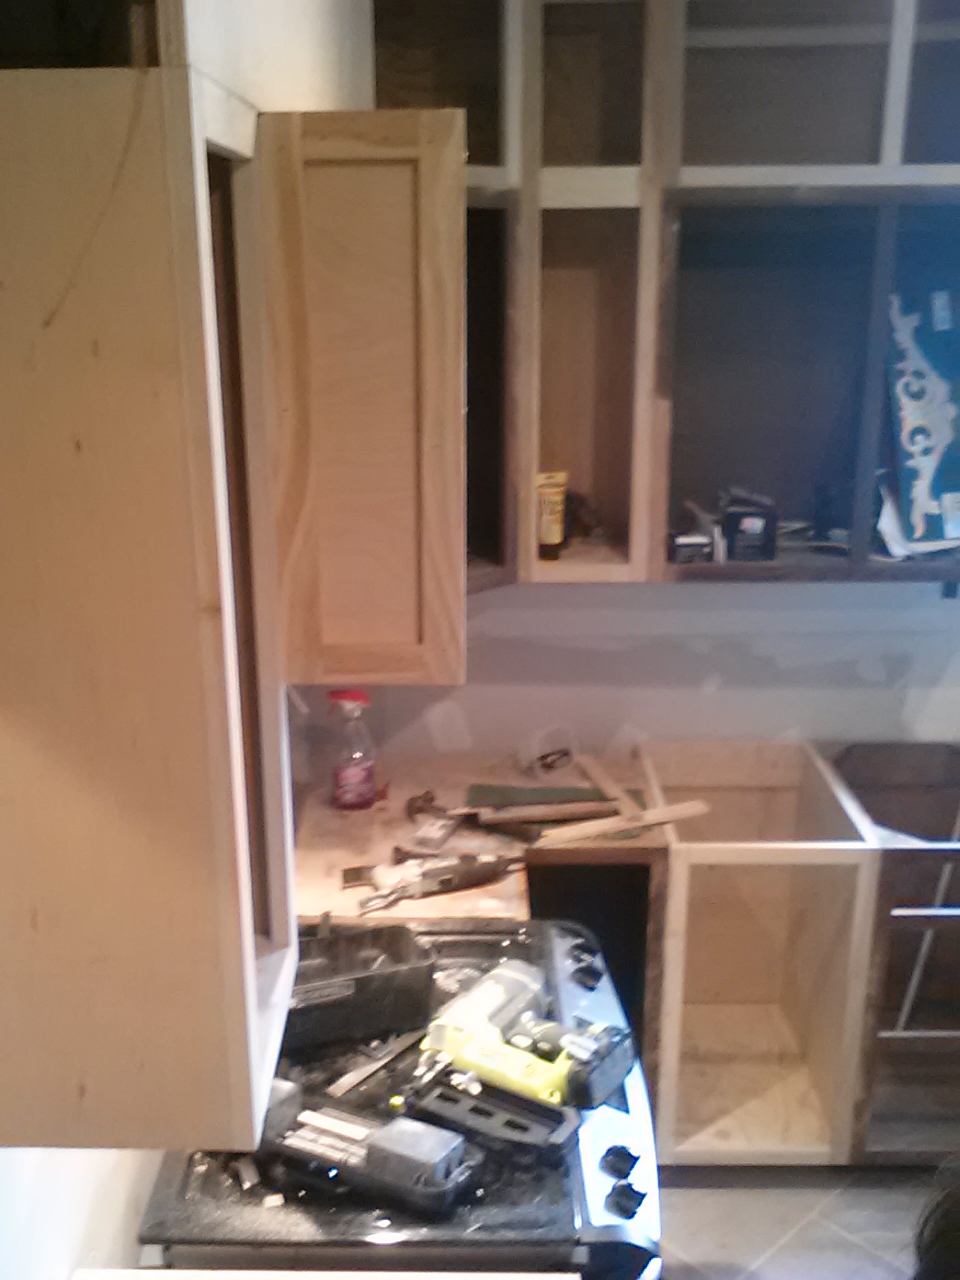
*Sorry, for the poor quality photograph but my camera lens is scratched and I sent Raul on an errand to check out some tile for our mosaic backsplash that we are hoping to install this weekend so… no nice Iphone photos 😦
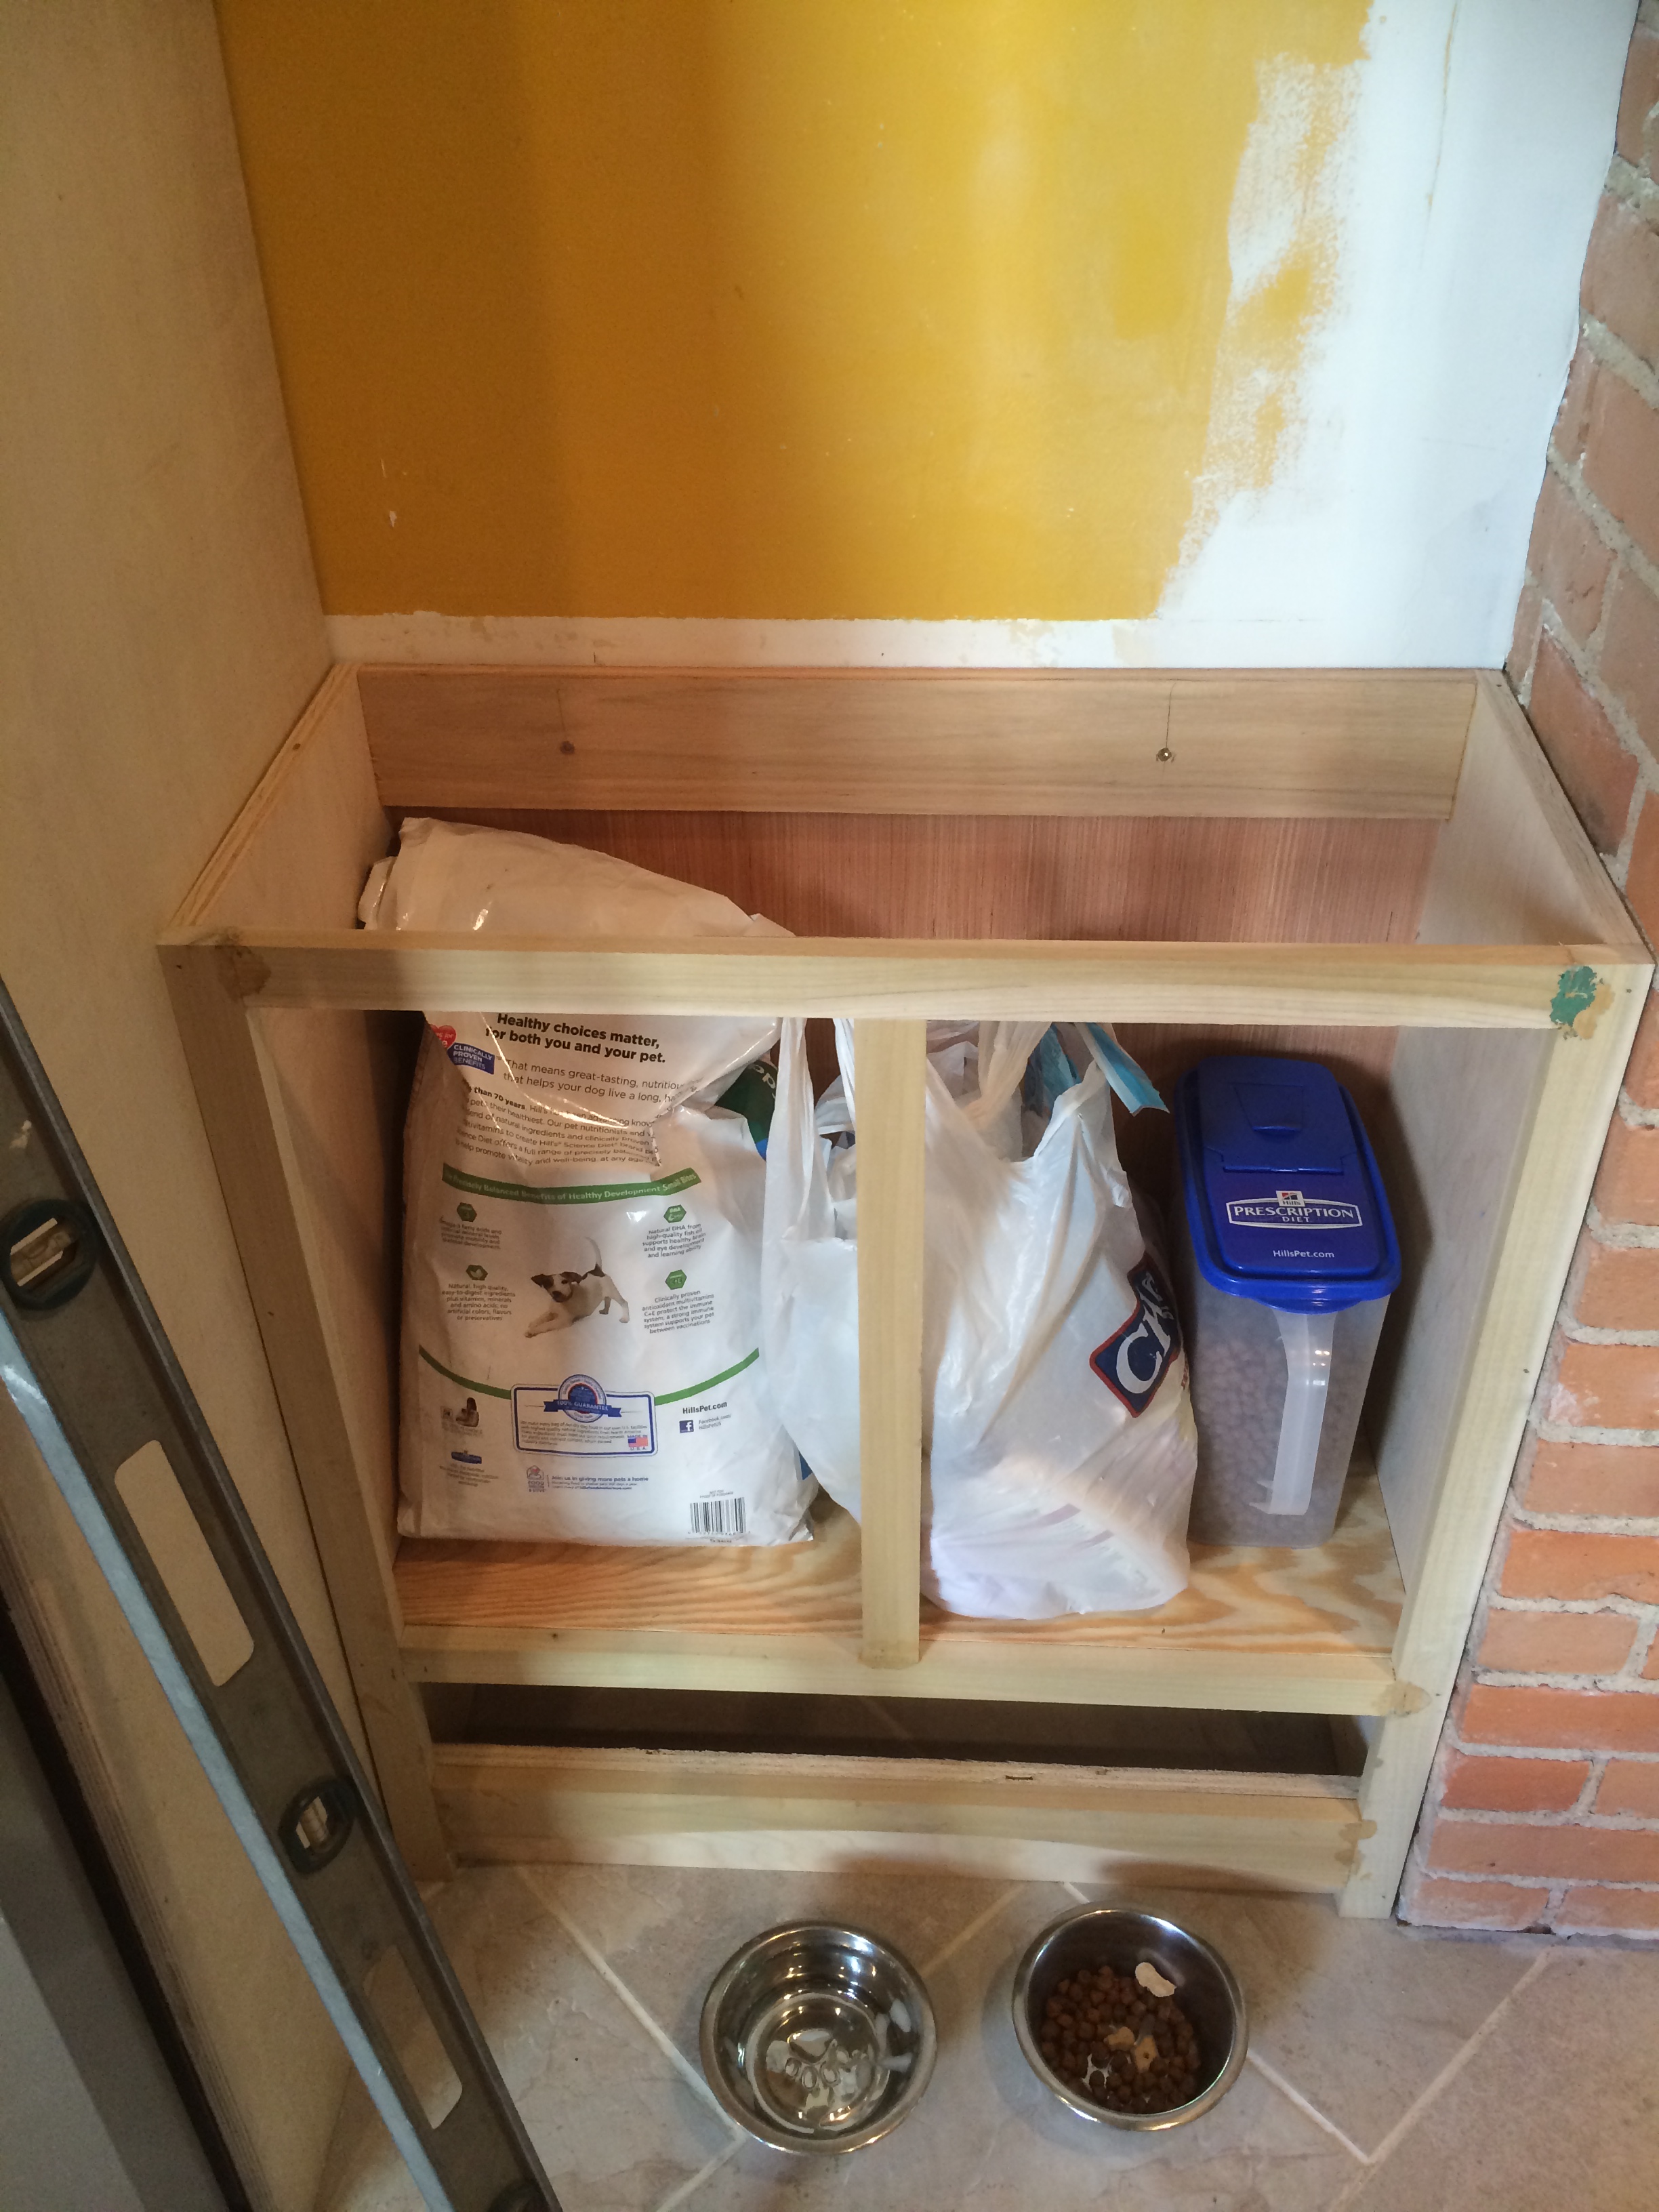
Seems like the only one who isn’t working his tail off to finish this kitchen remodel is the little pup Ruco 😉