
During our quest to bring a bit of vintage flavor to our new kitchen remodel we did a lot of research on what kind of sink we wanted. There are tons of options- stainless steel, copper, farmhouse, under mount, yada yada yada, the list goes on. We really had one requirement- the sink had to be big and deep. We didn’t want to deal with the same kind of problem we were facing with our old sink. I couldn’t even fit one skillet in the sink basin to wash it after use.
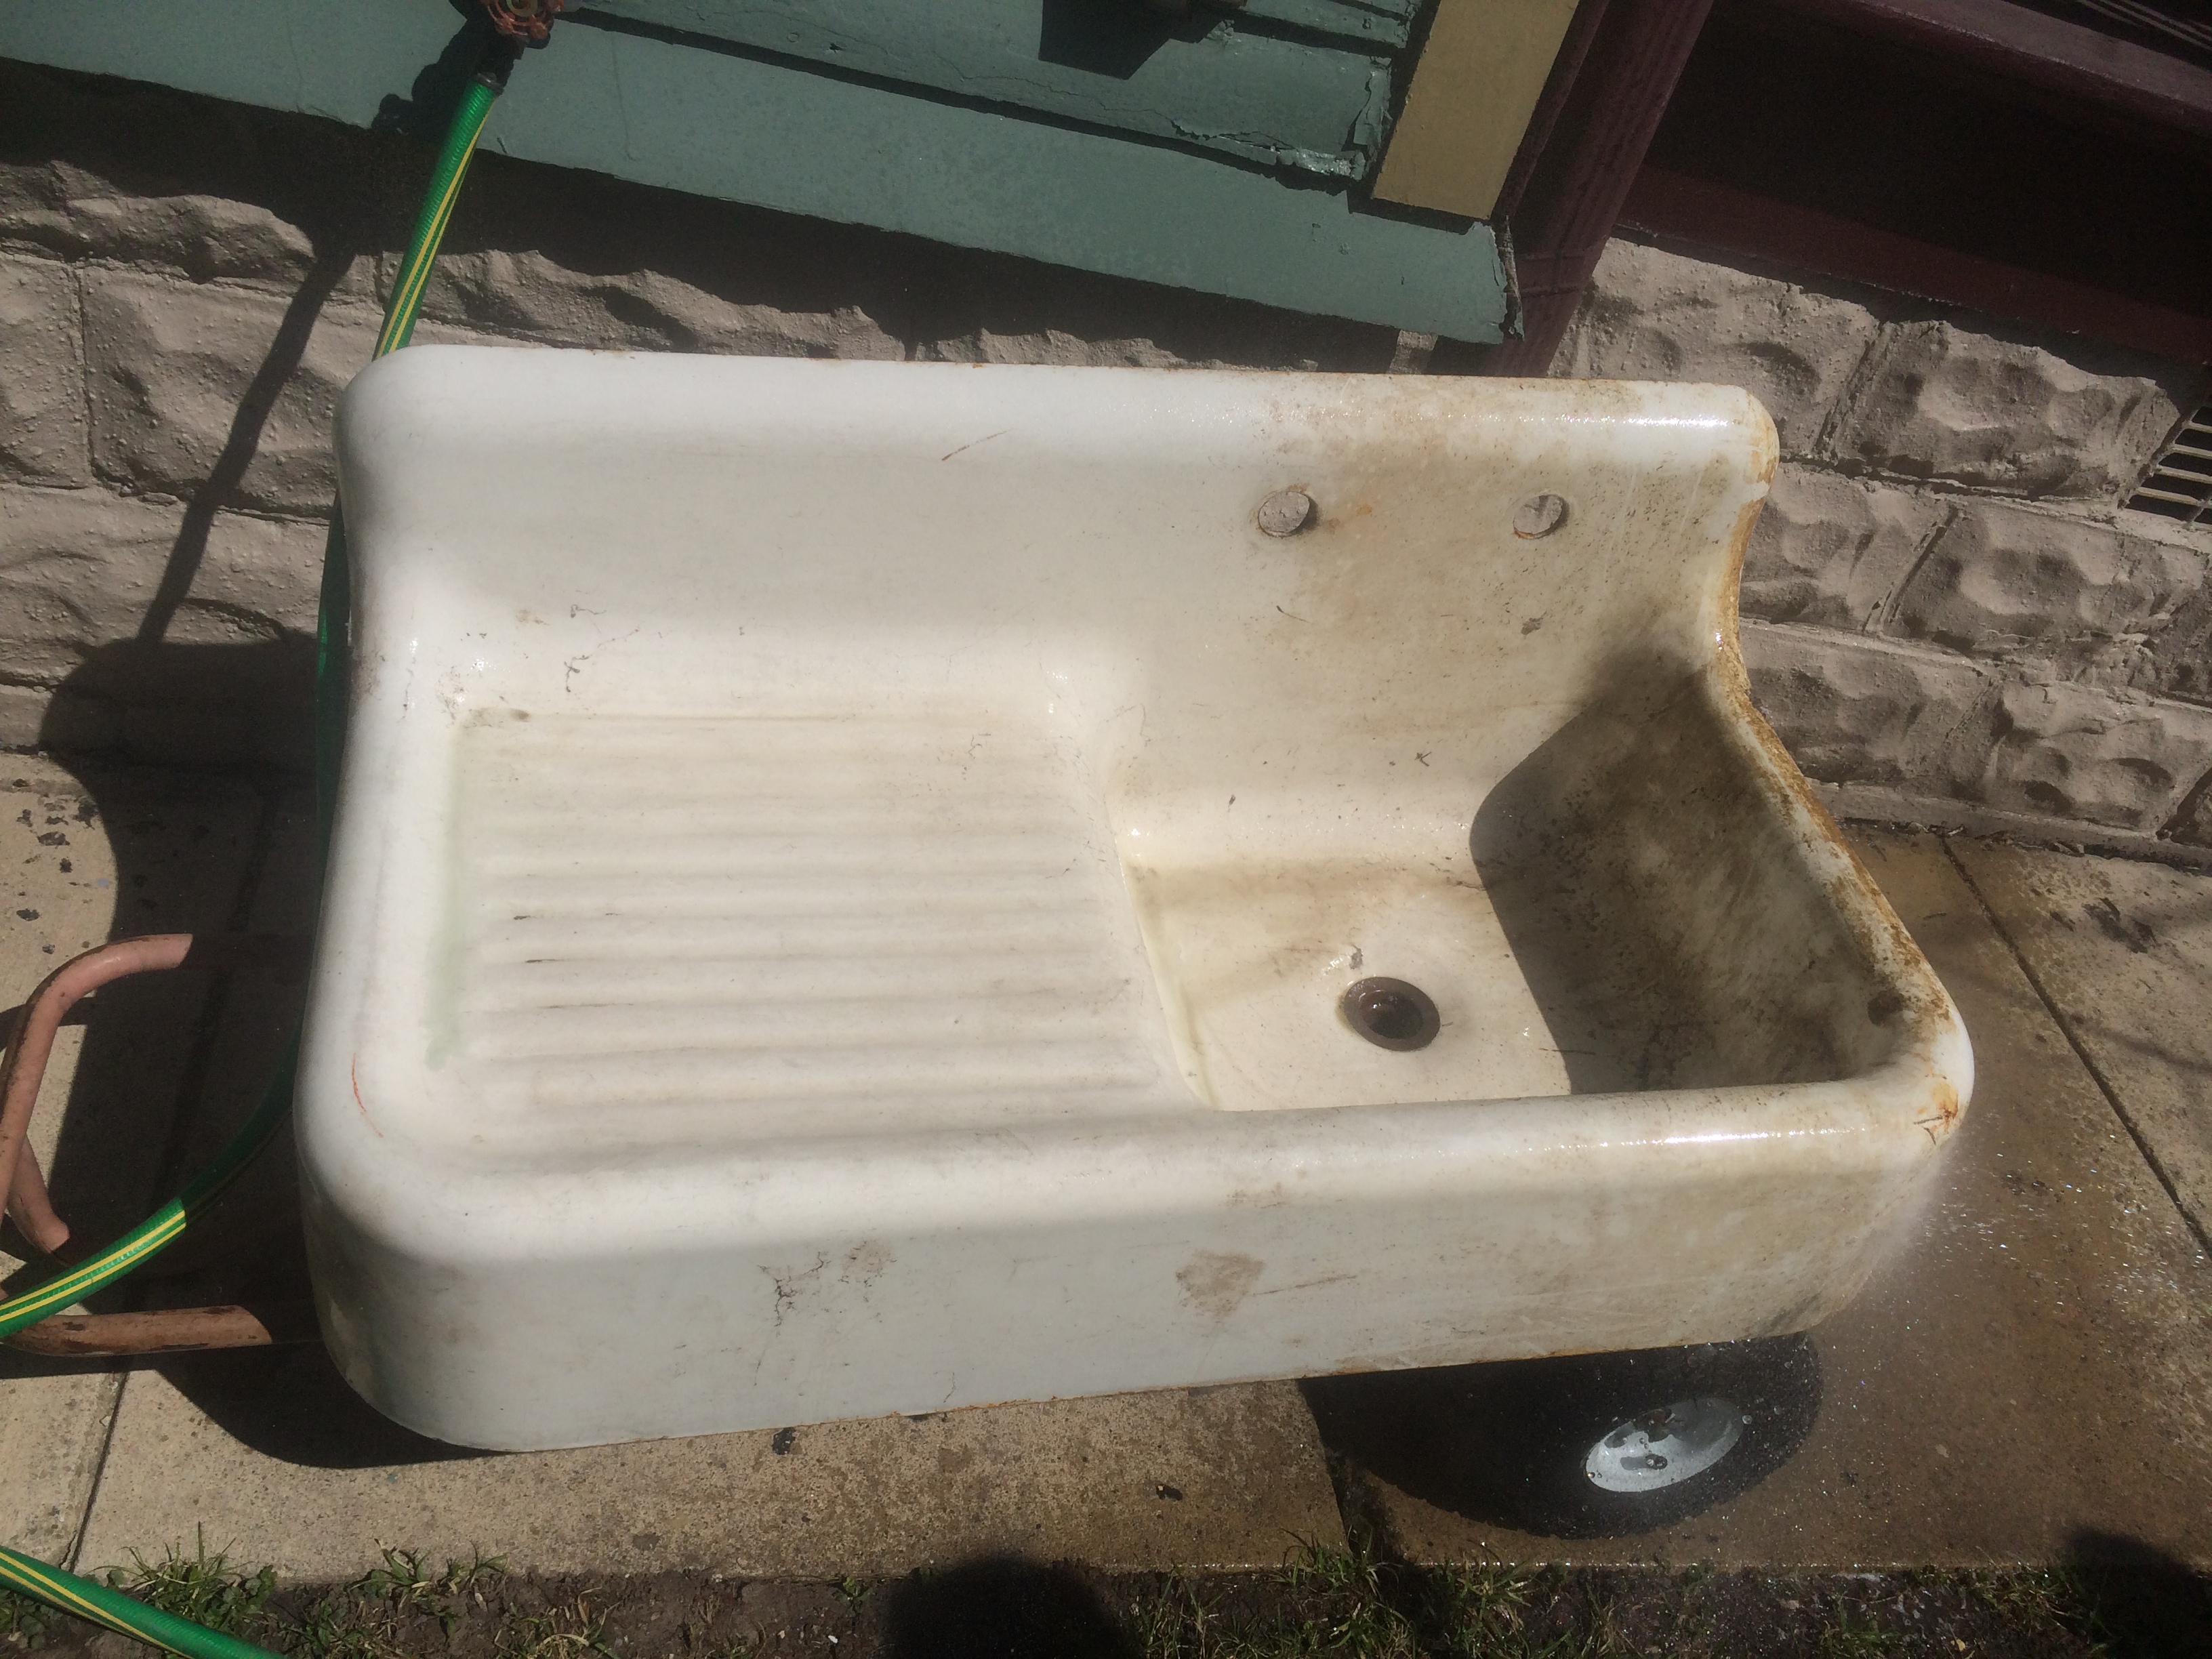
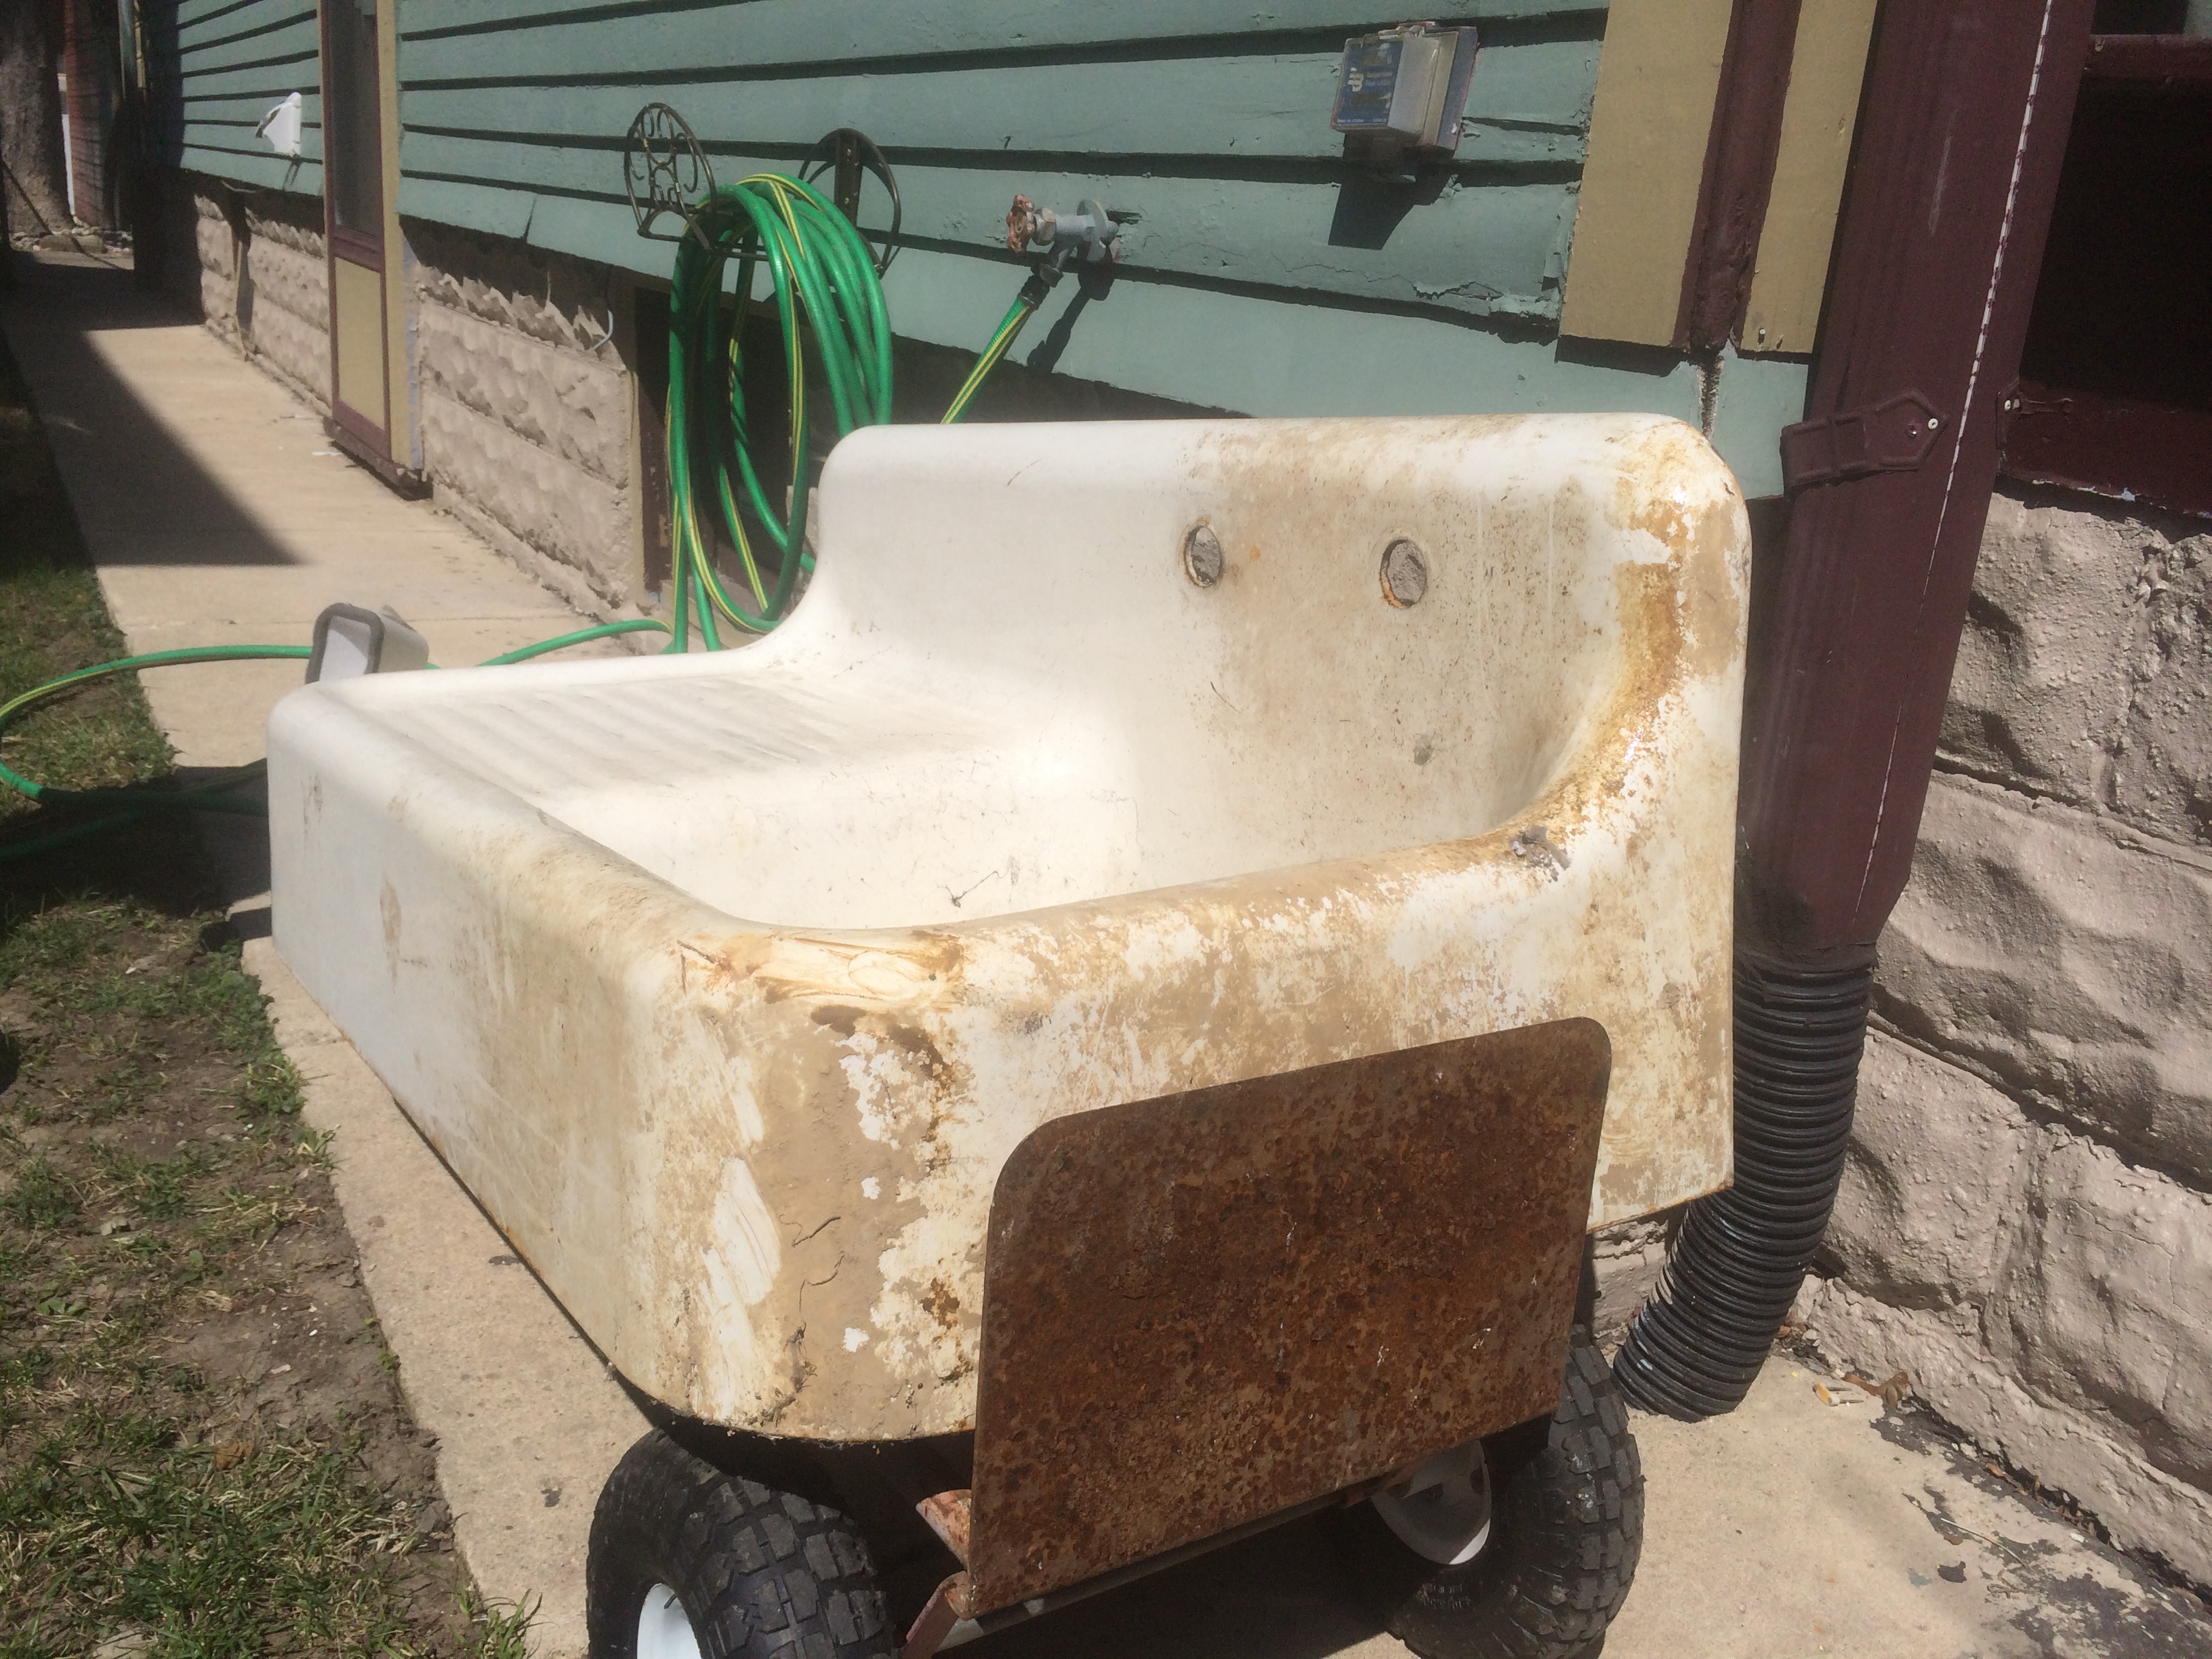
We had the extreme good fortune of coming across a sink that our neighbors were not using while looking at a job with my dad in their basement. This wasn’t just a modern day take on the farmhouse sink, this was the real deal, drainboard and all! Of course that also meant a hundred and fifty pounds of cast iron and porcelain that we had to figure out how to move upstairs but alas it was love at first sight. A deal was struck and arrangements were made and we set to work moving the sink from their basement to ours.
The sink is from the early 20th century…and having been removed at some point in time this baby had accumulated a lot of dirt and grime.

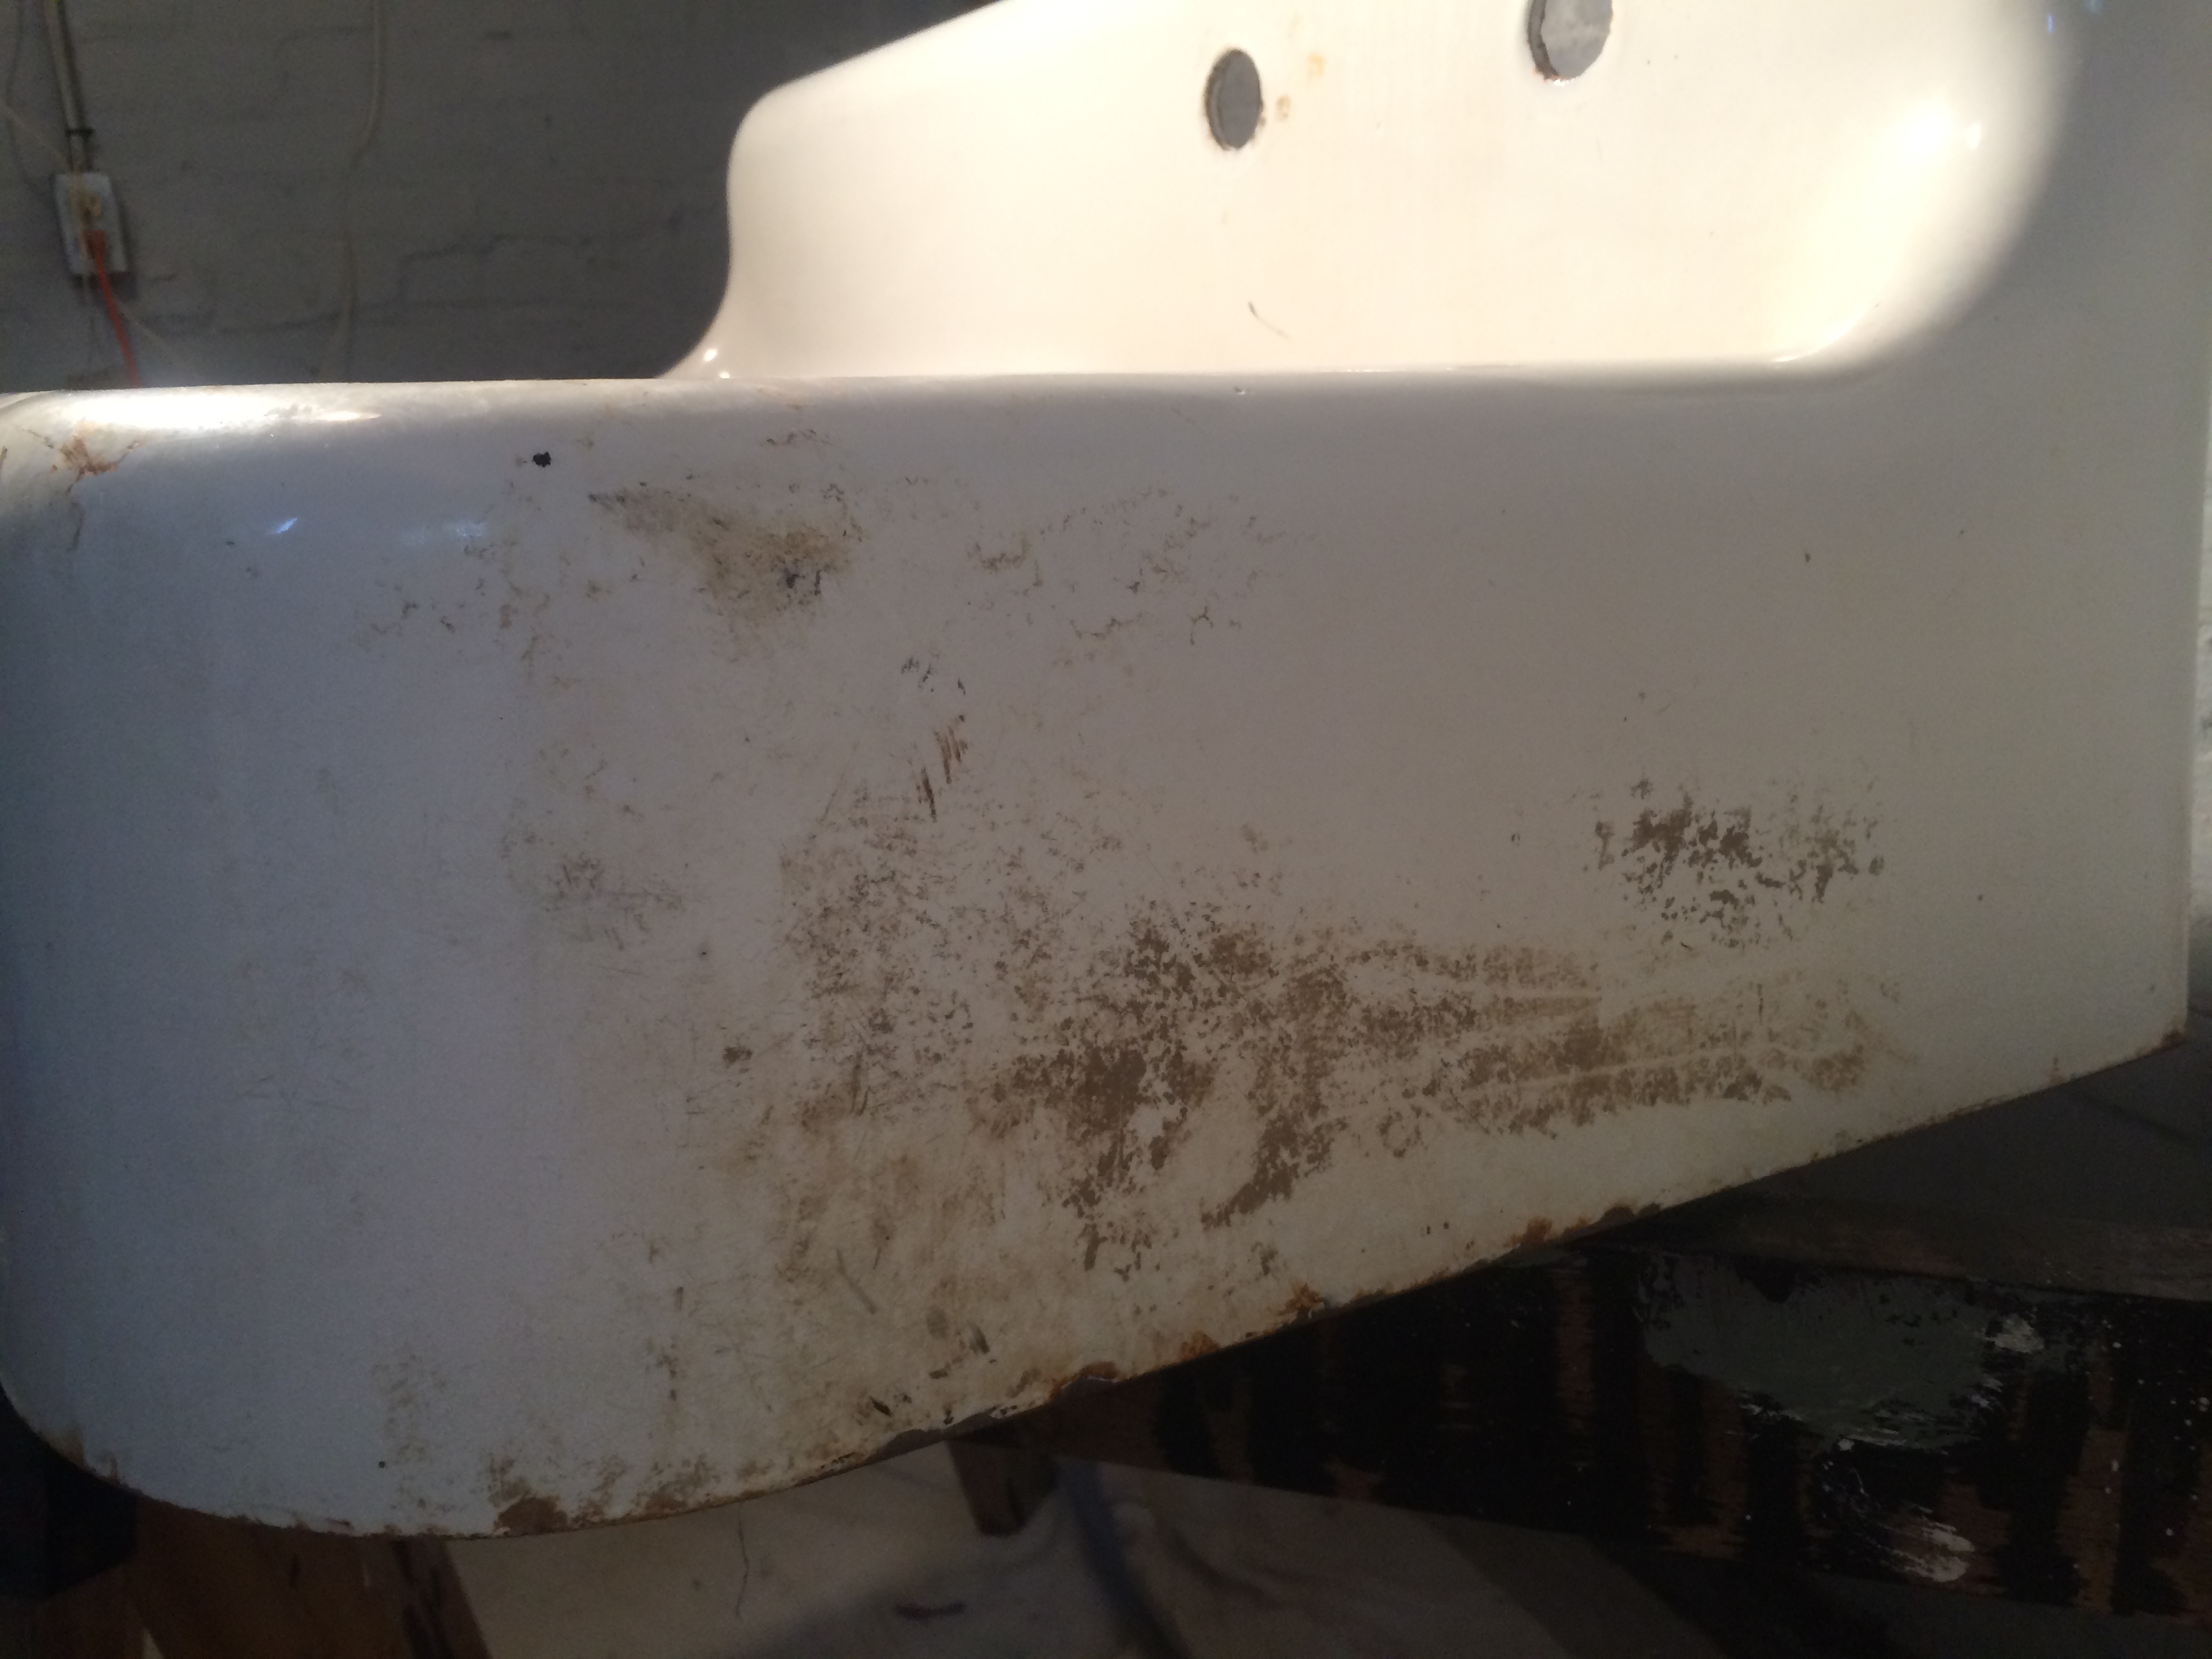
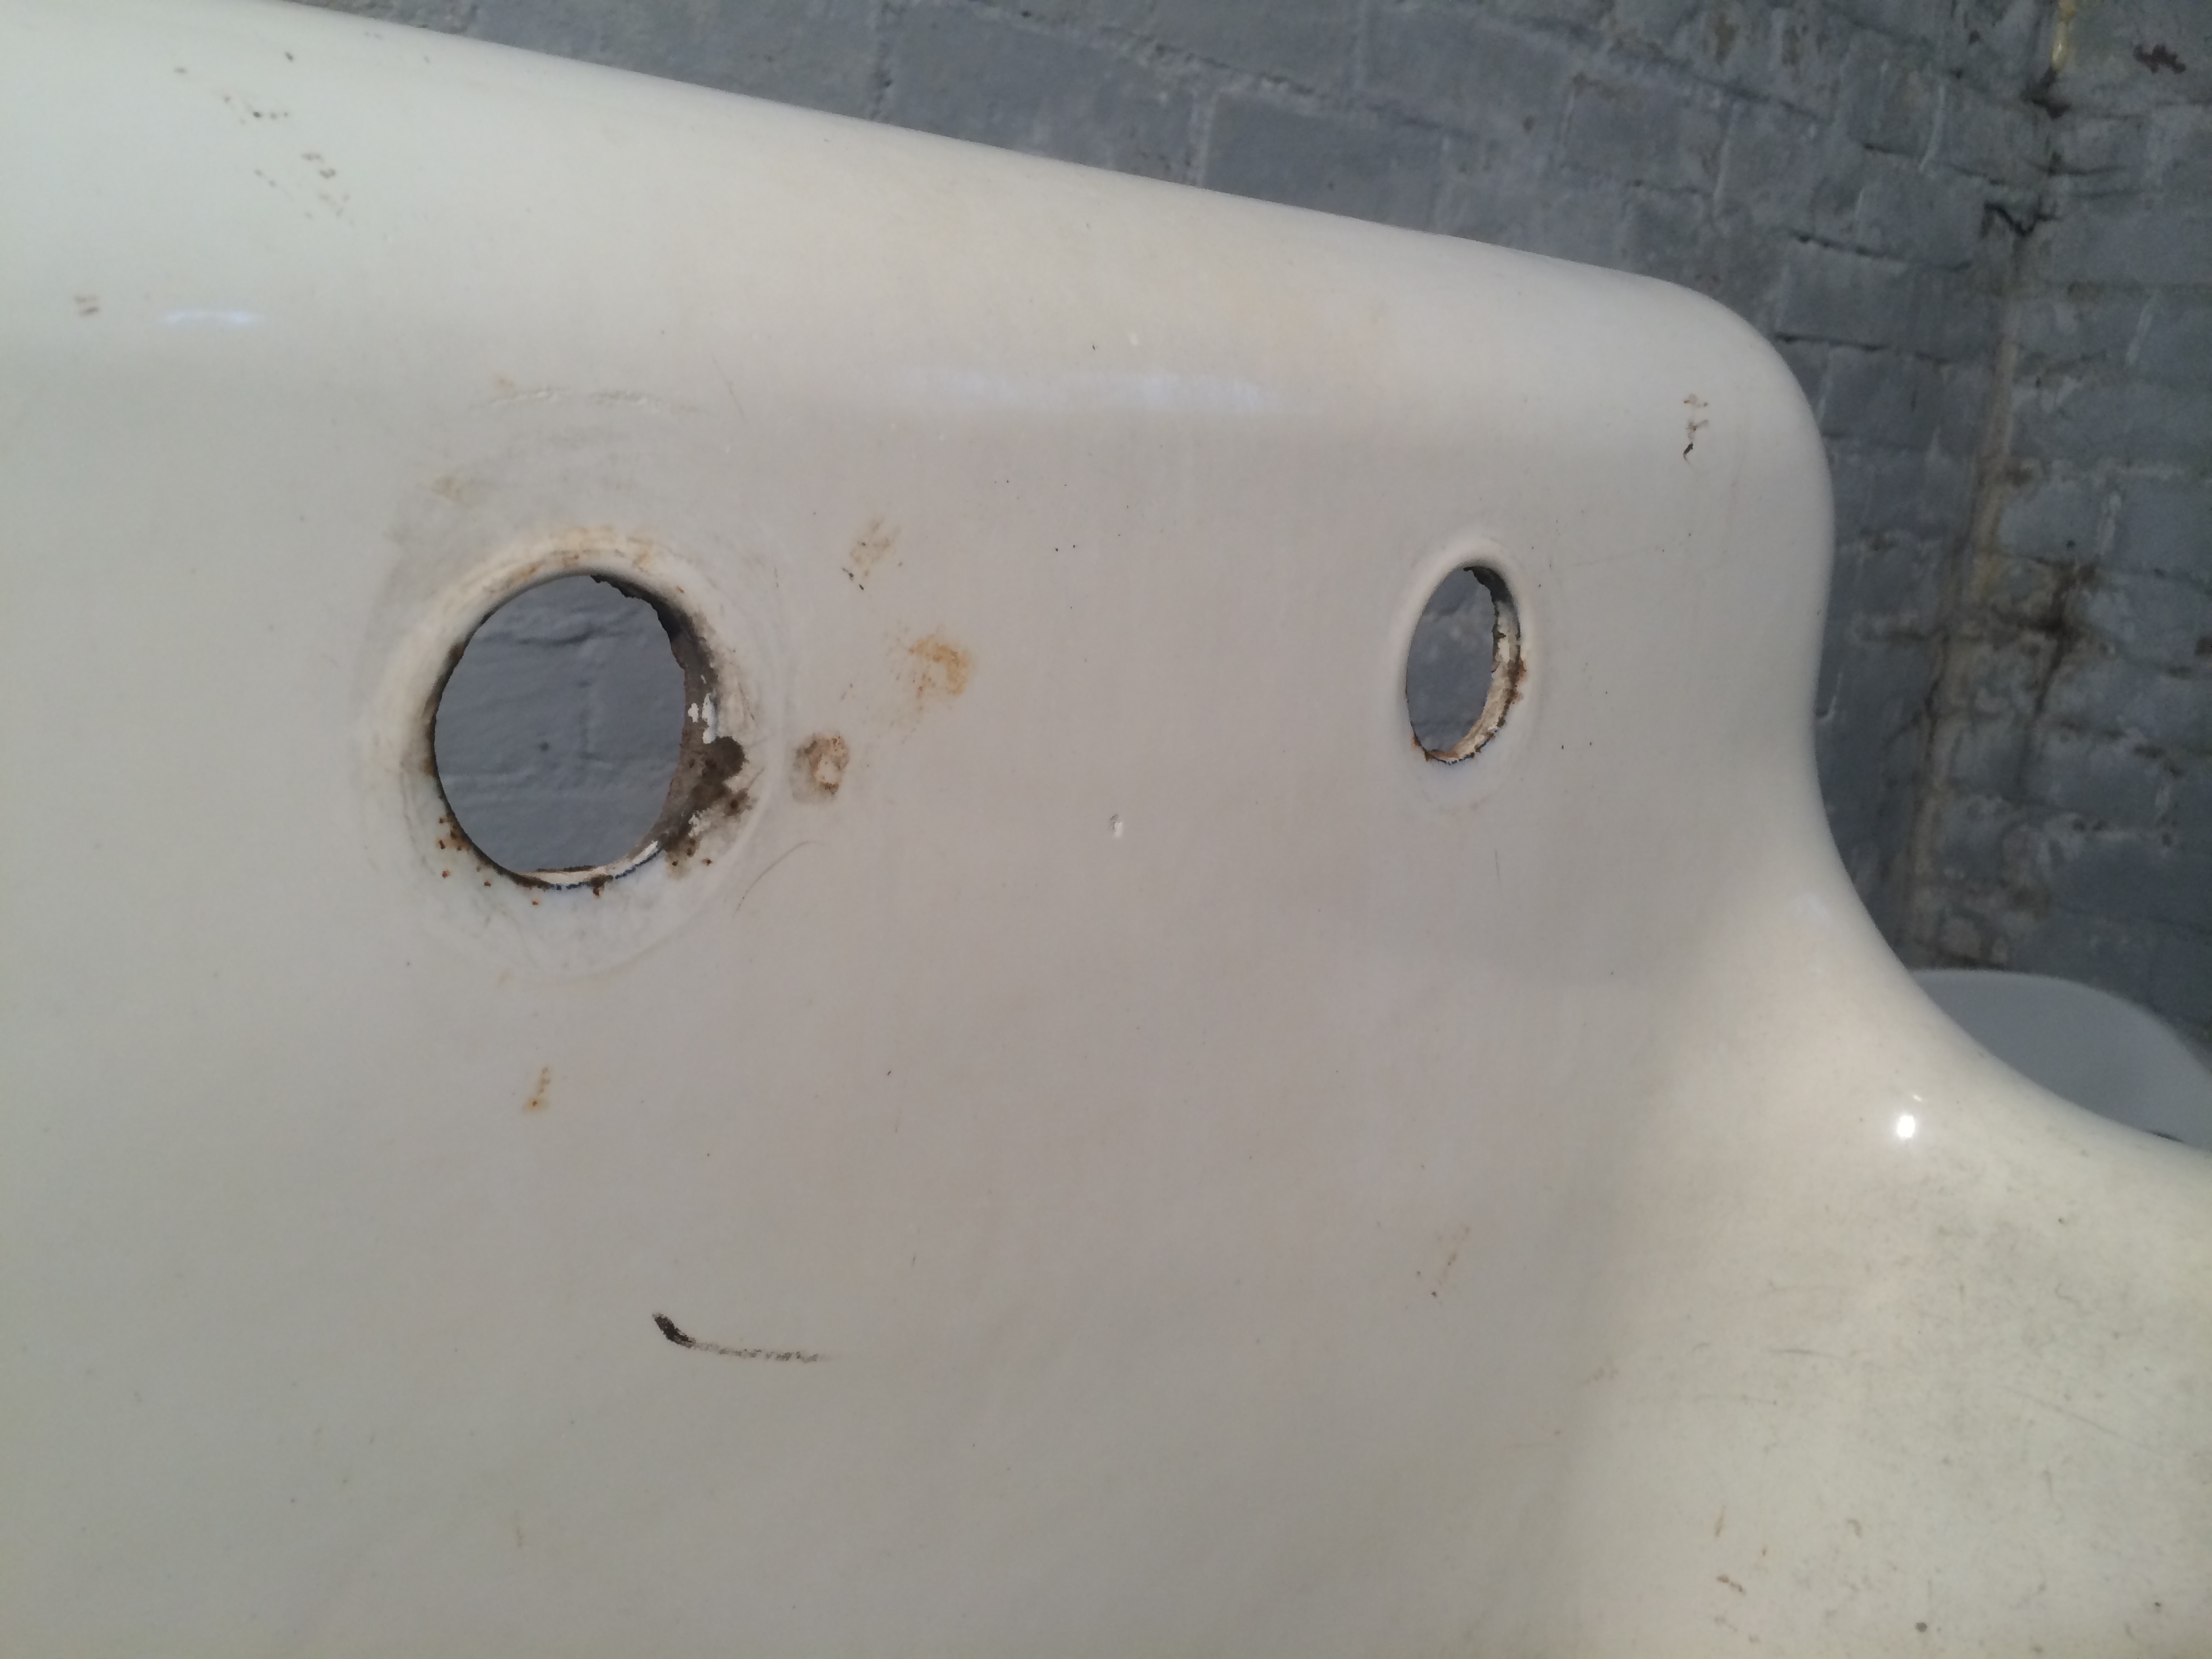
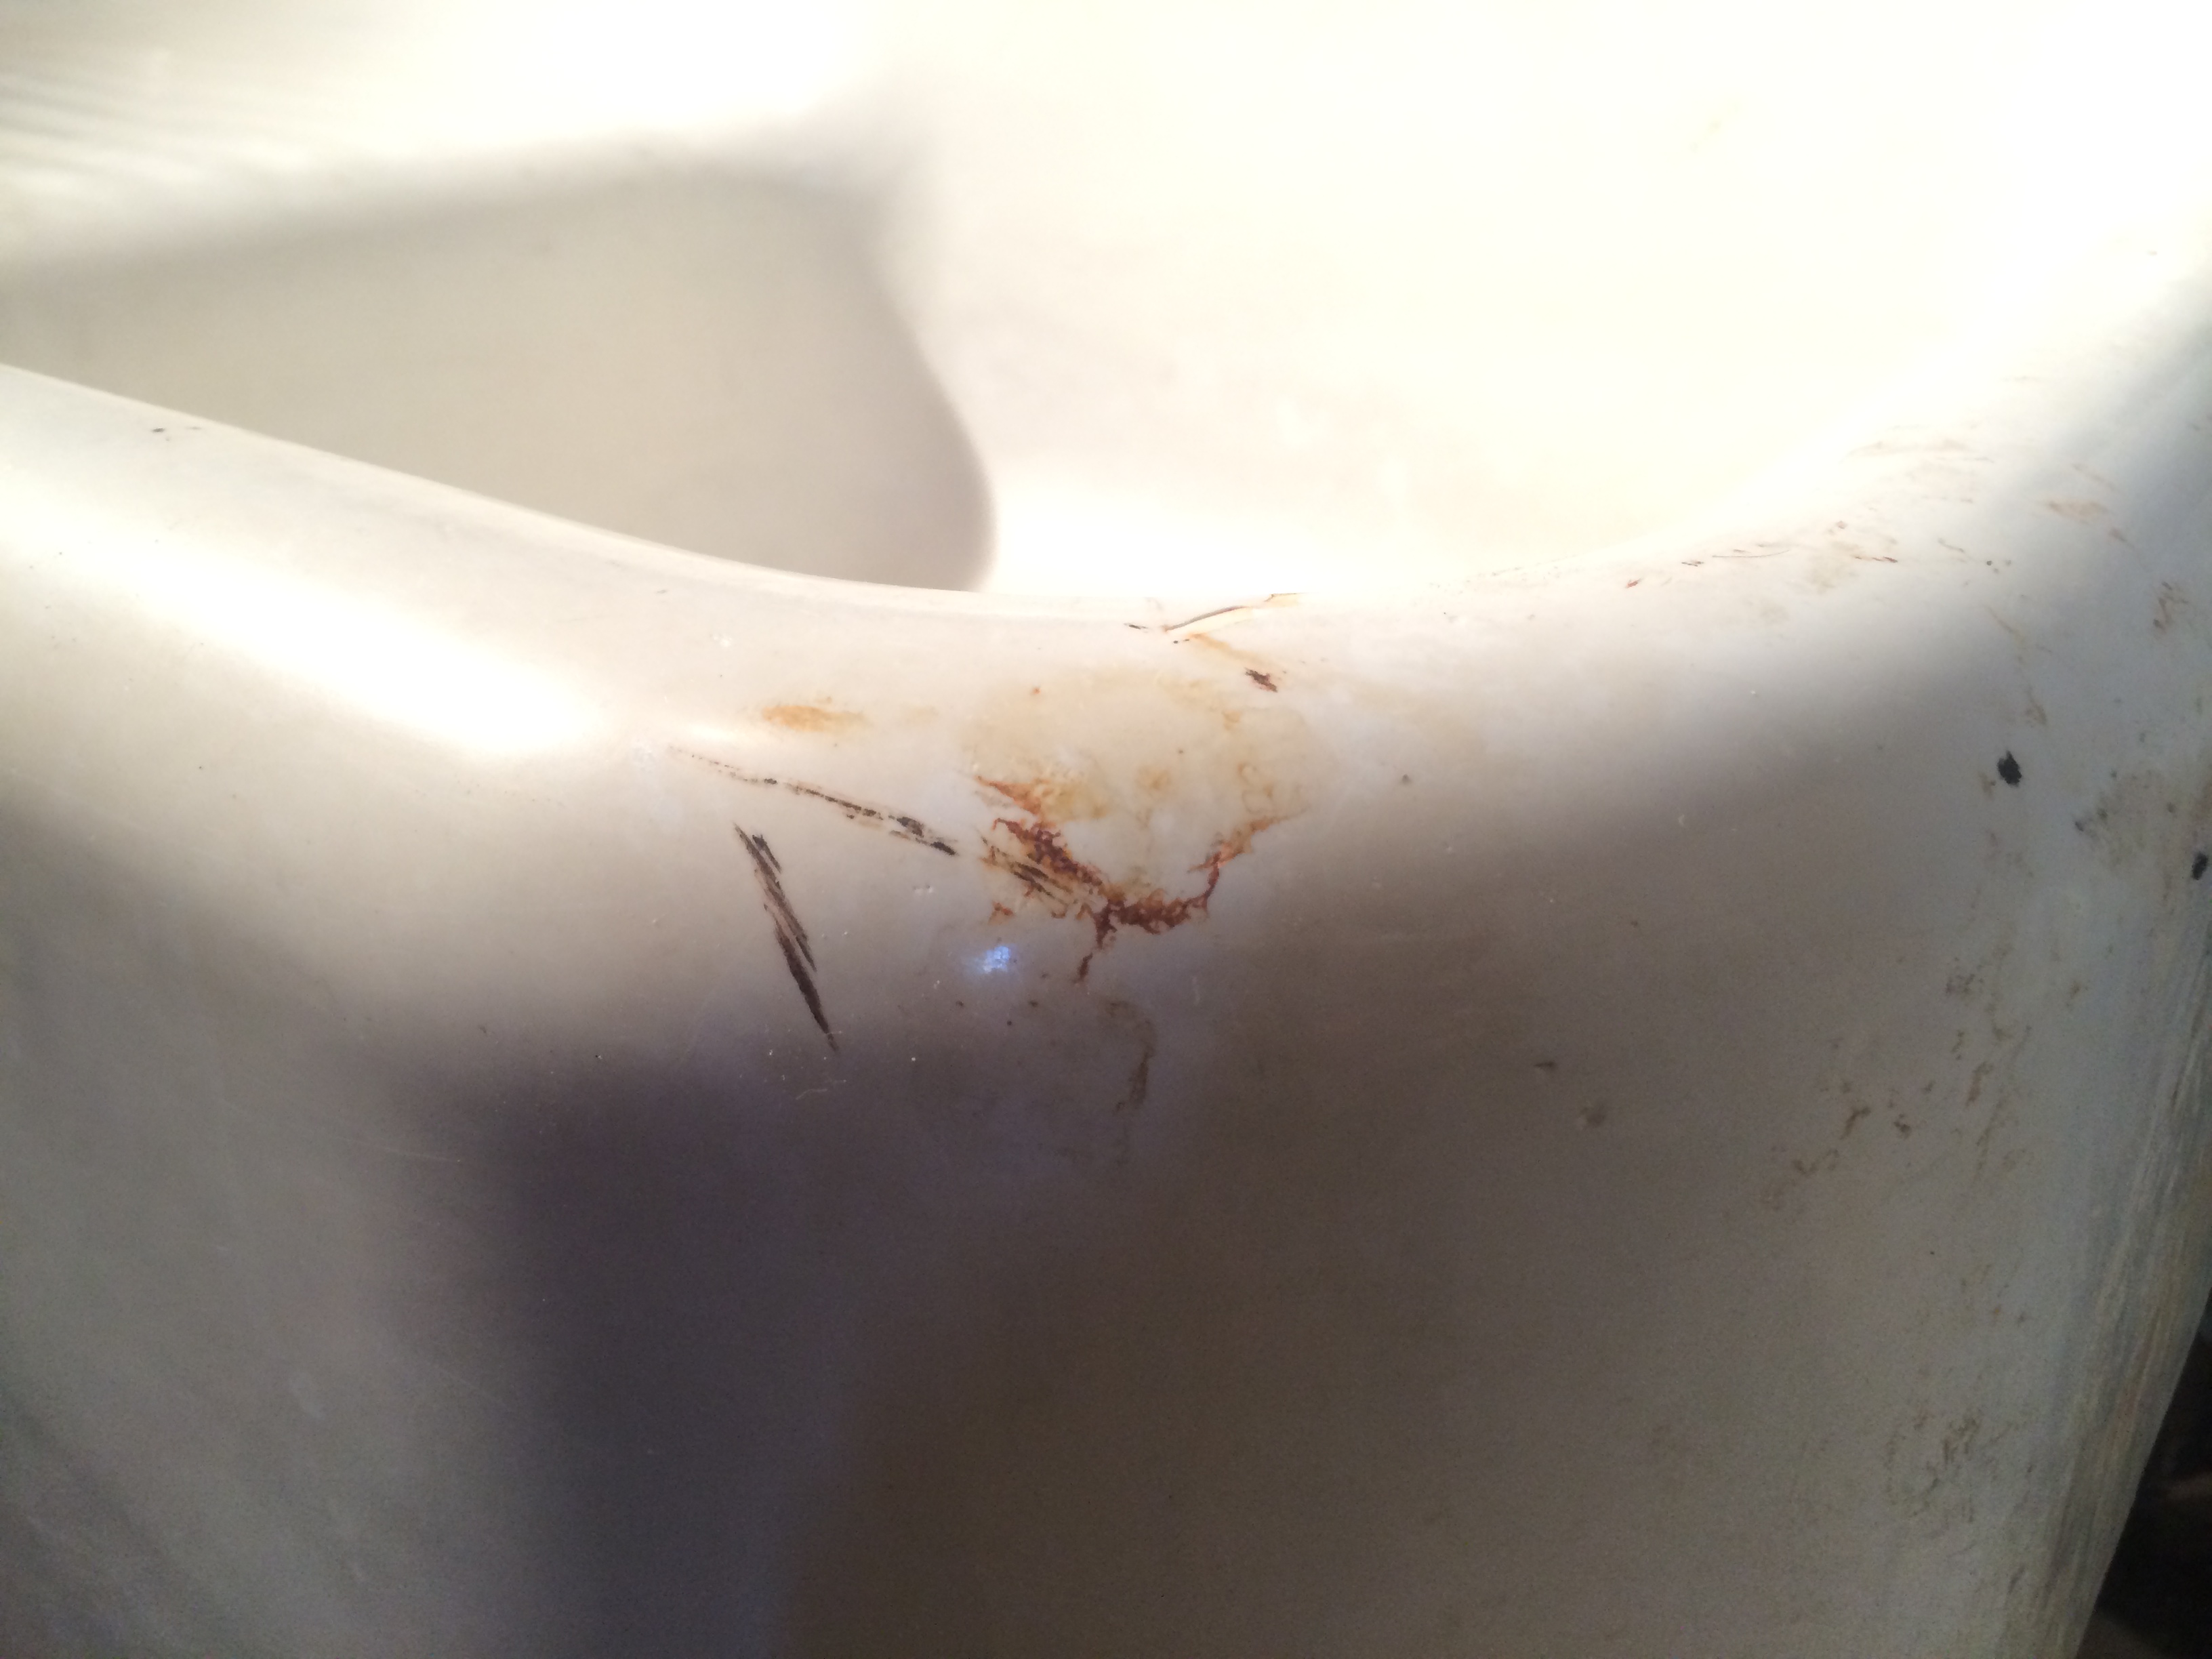
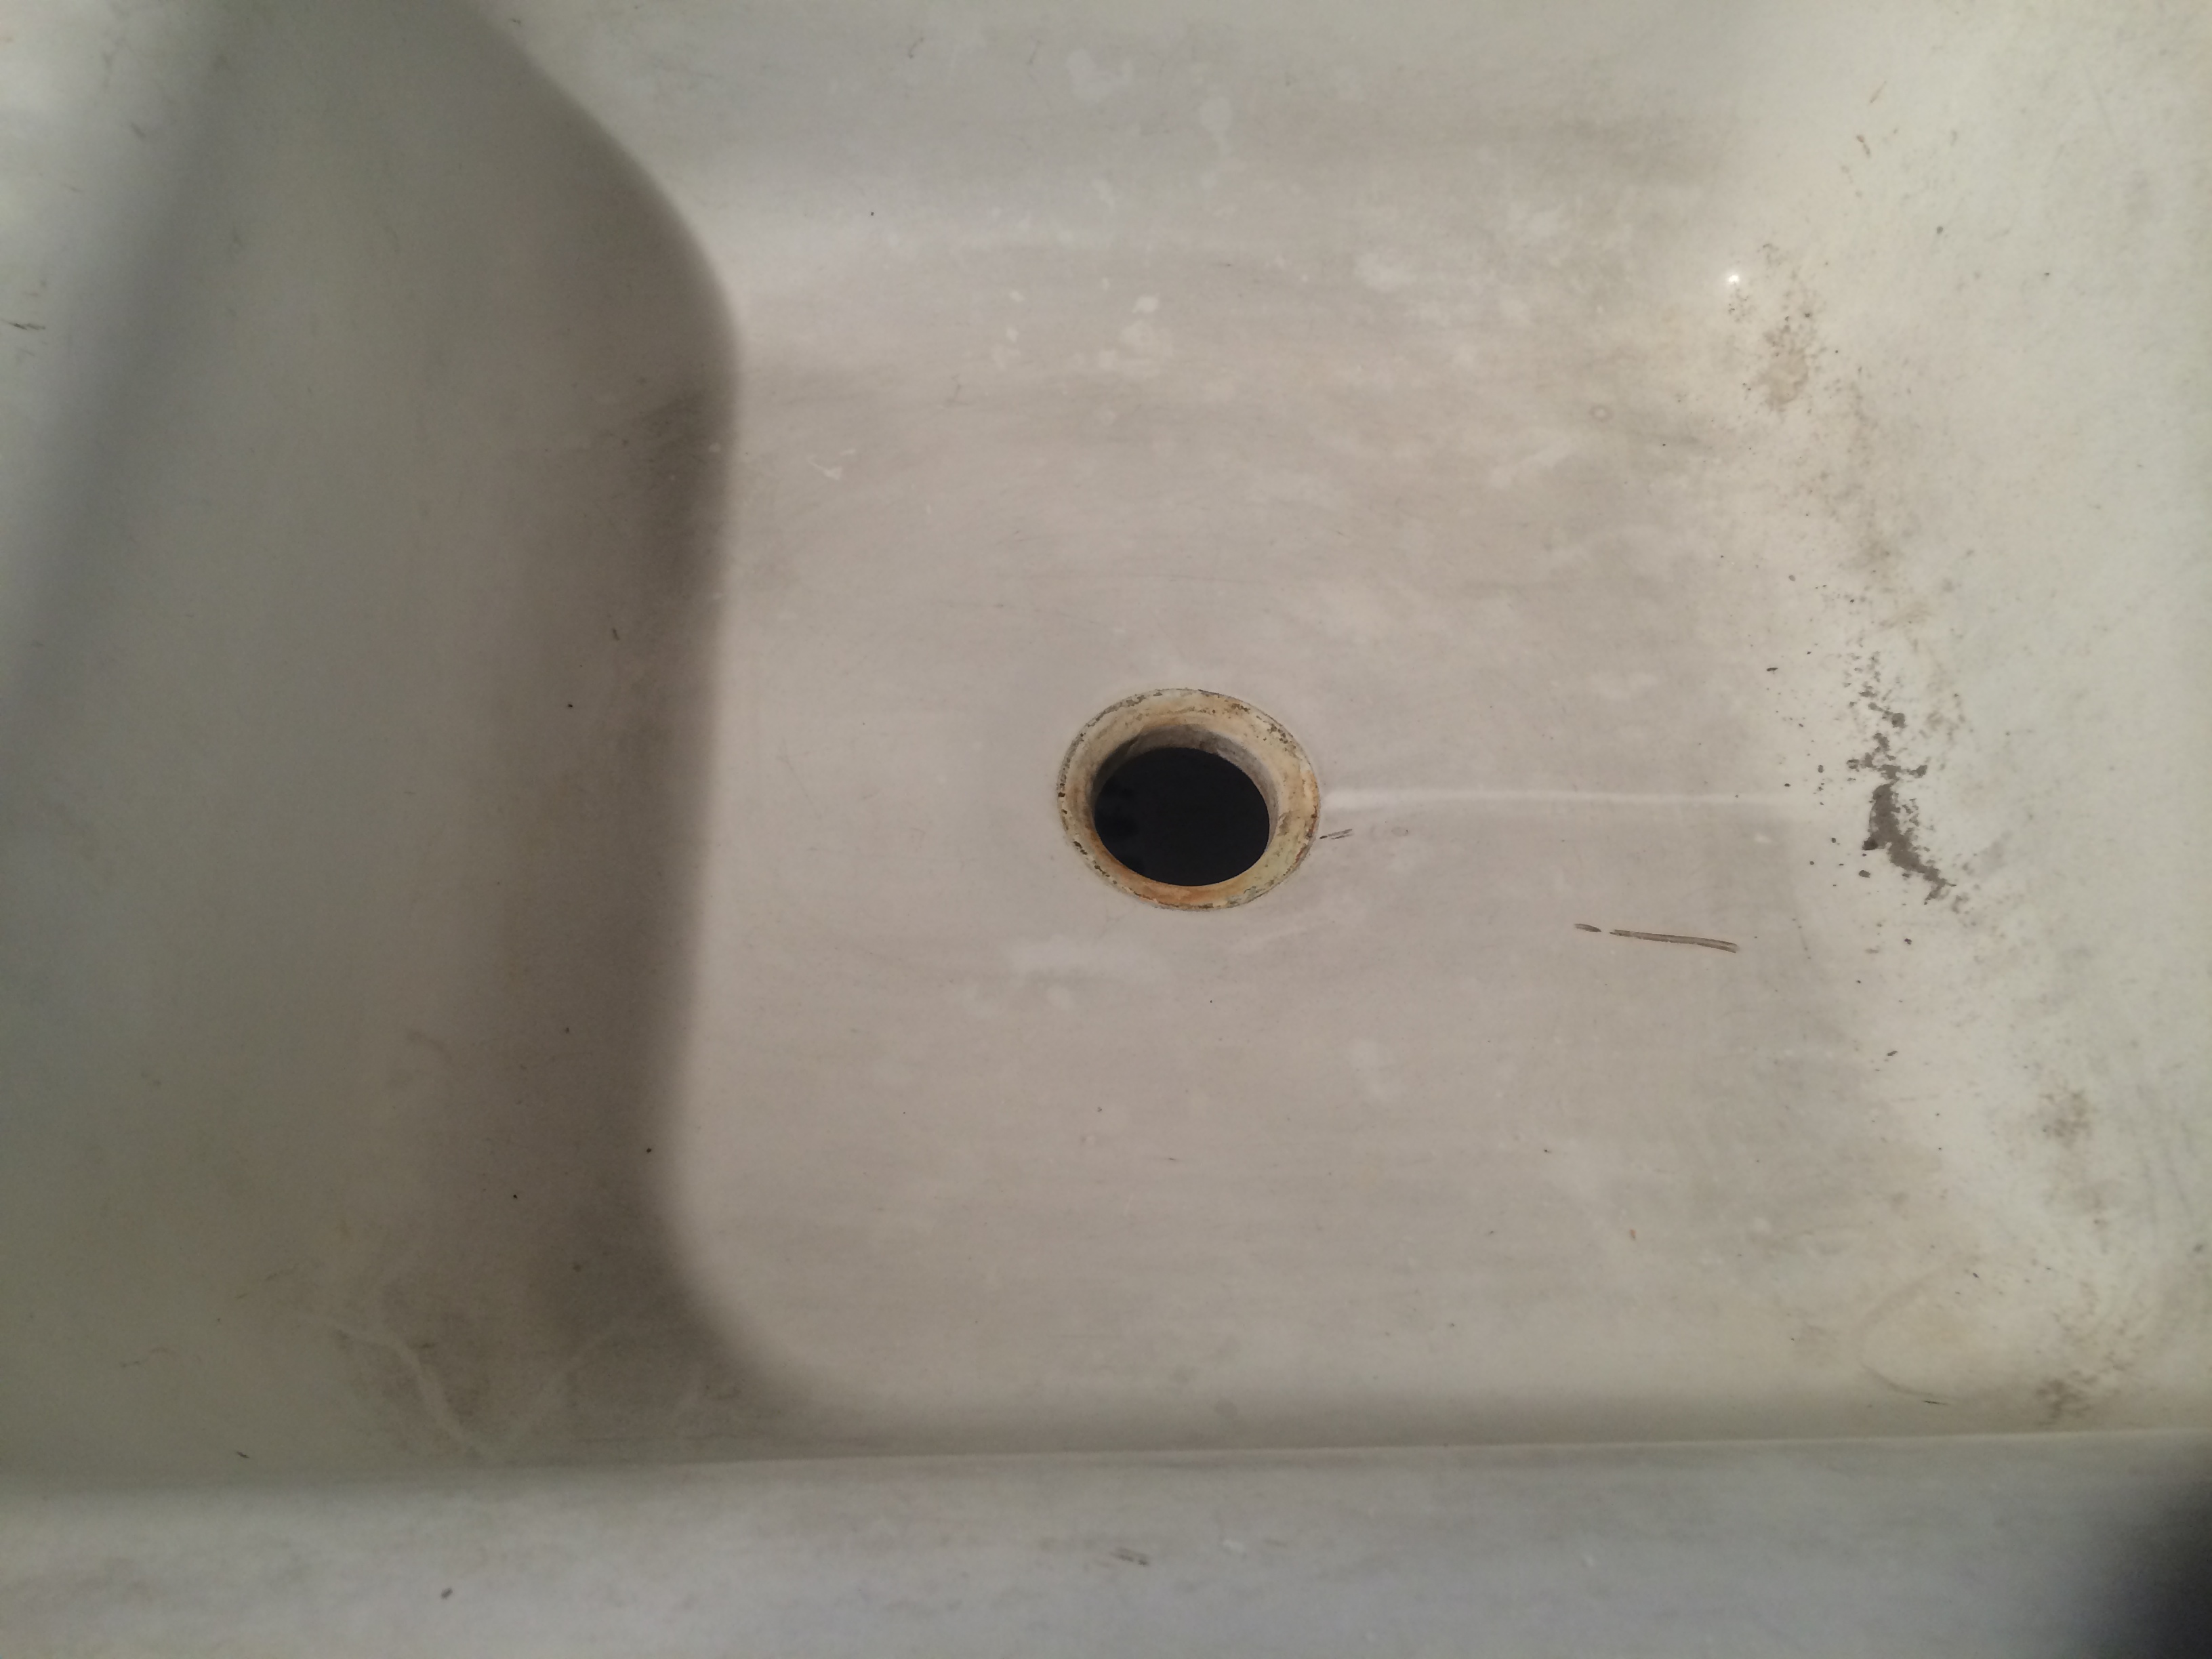
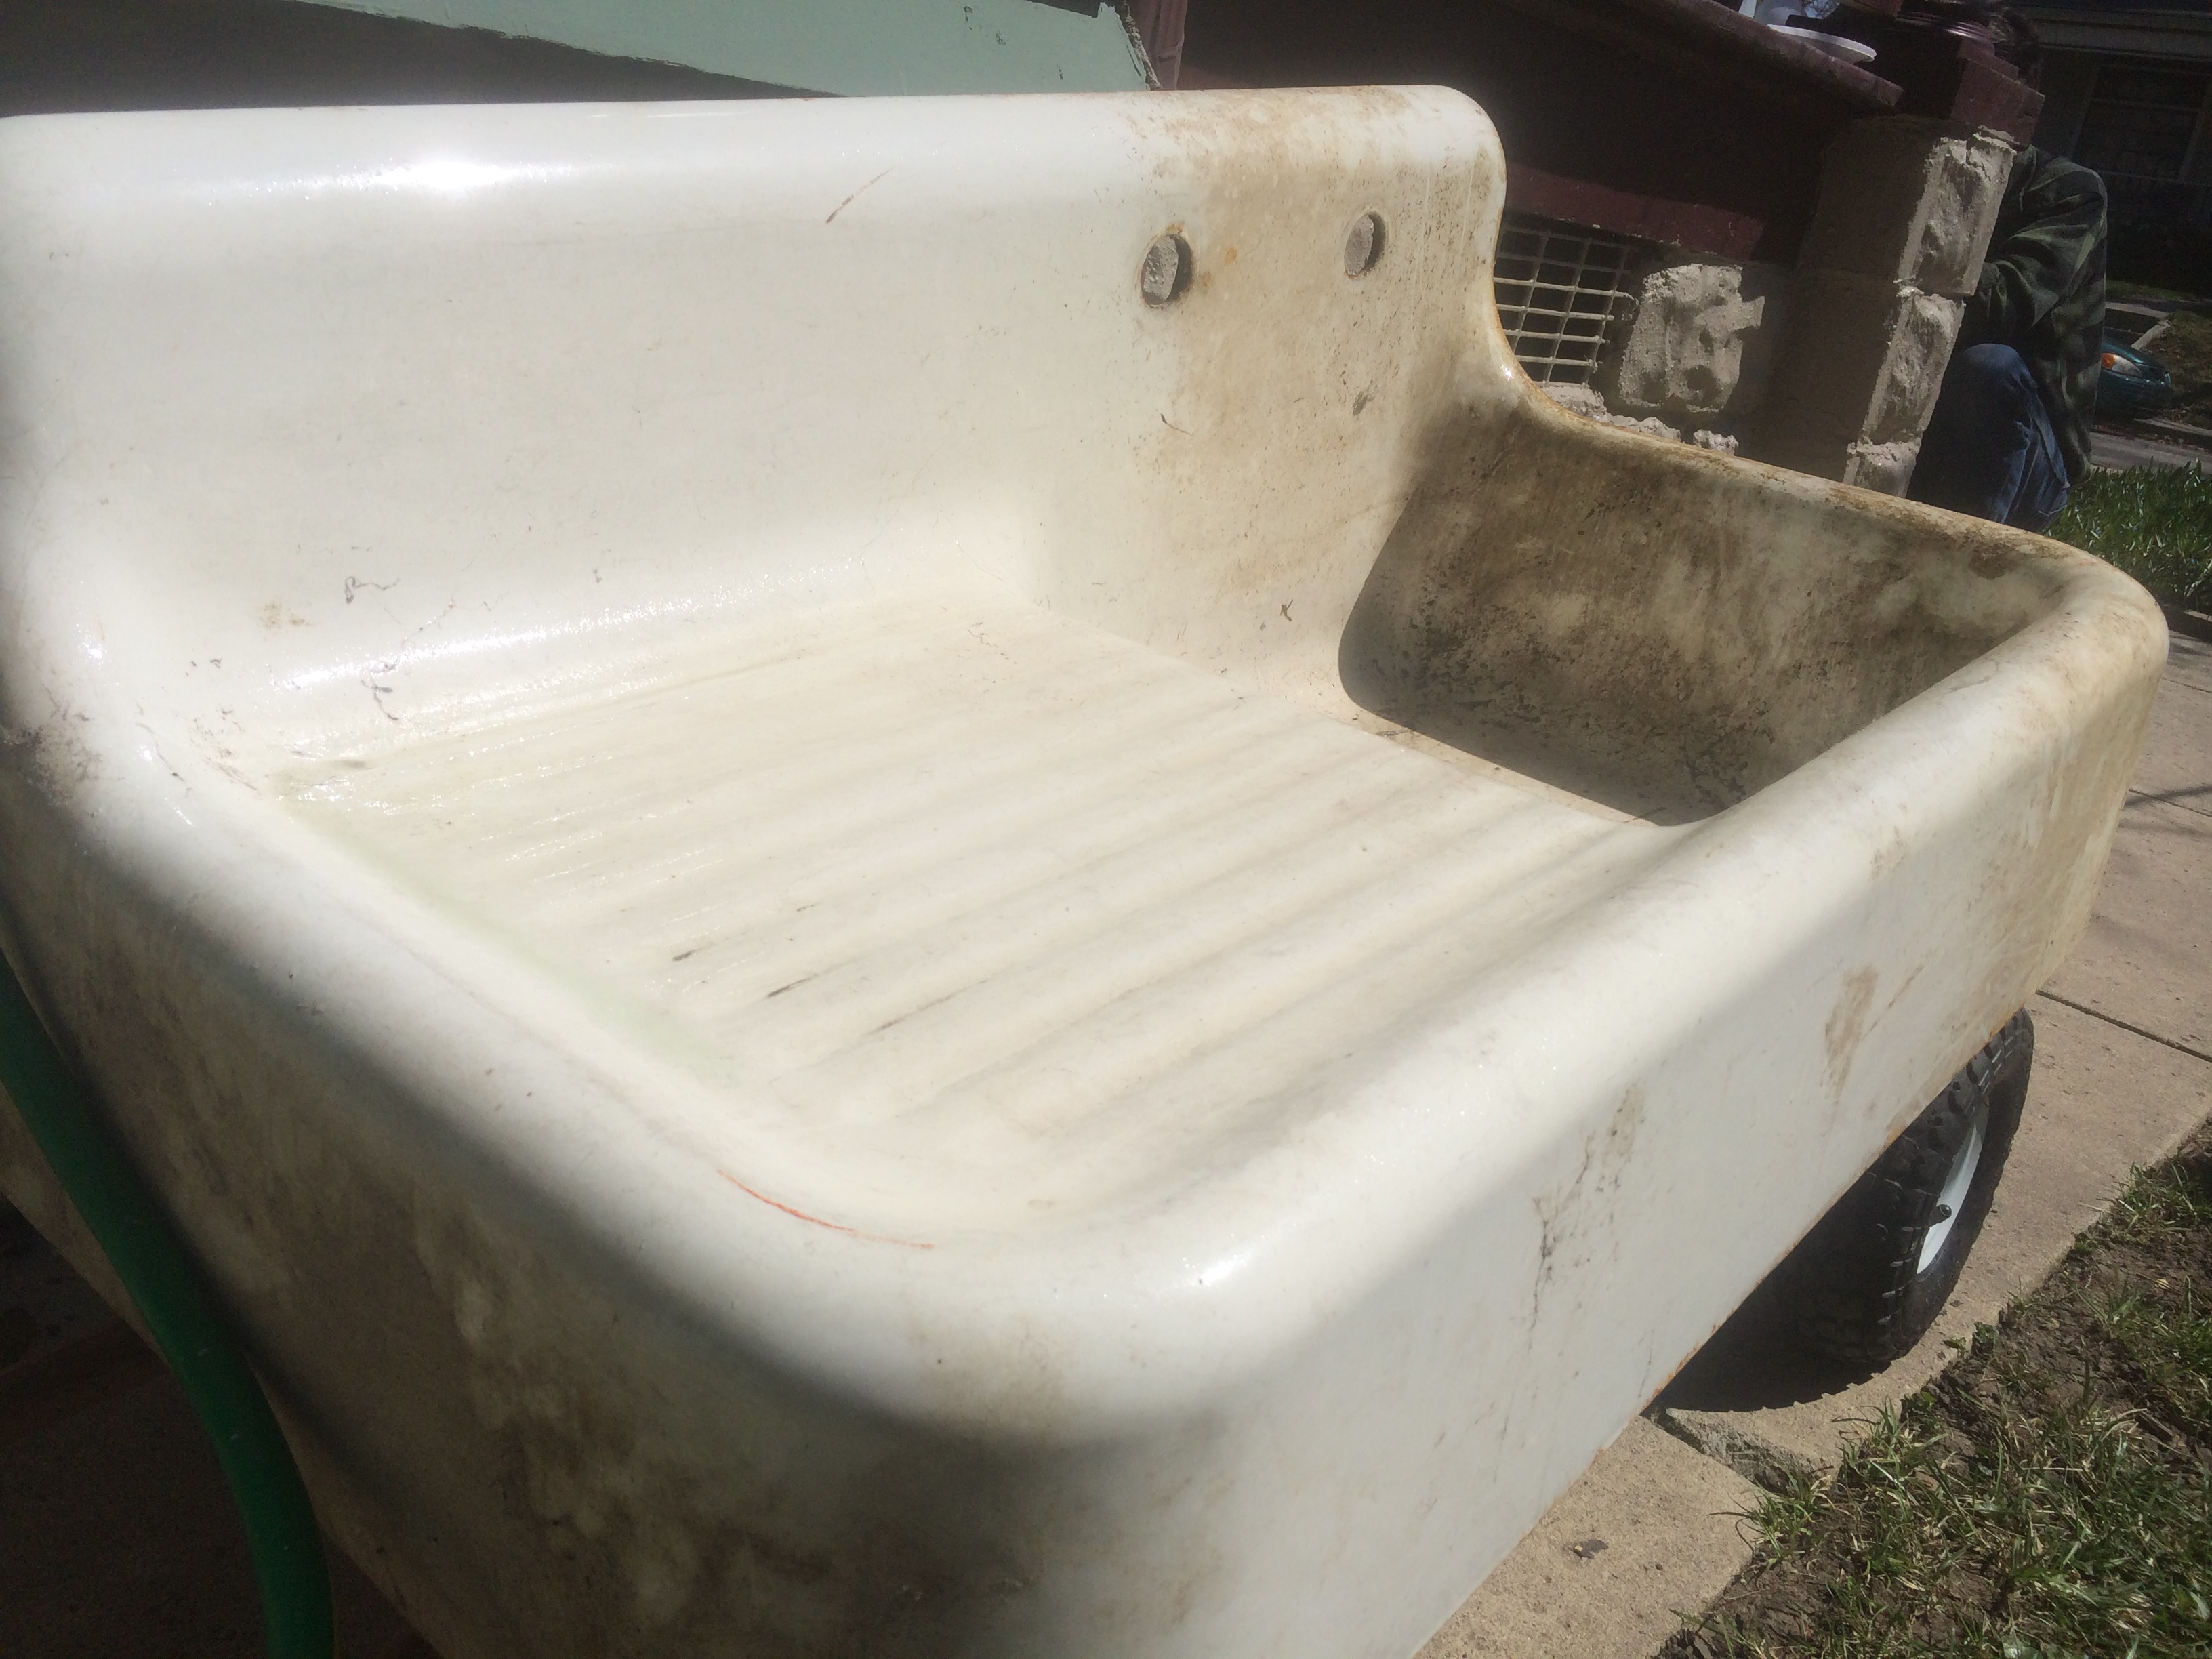
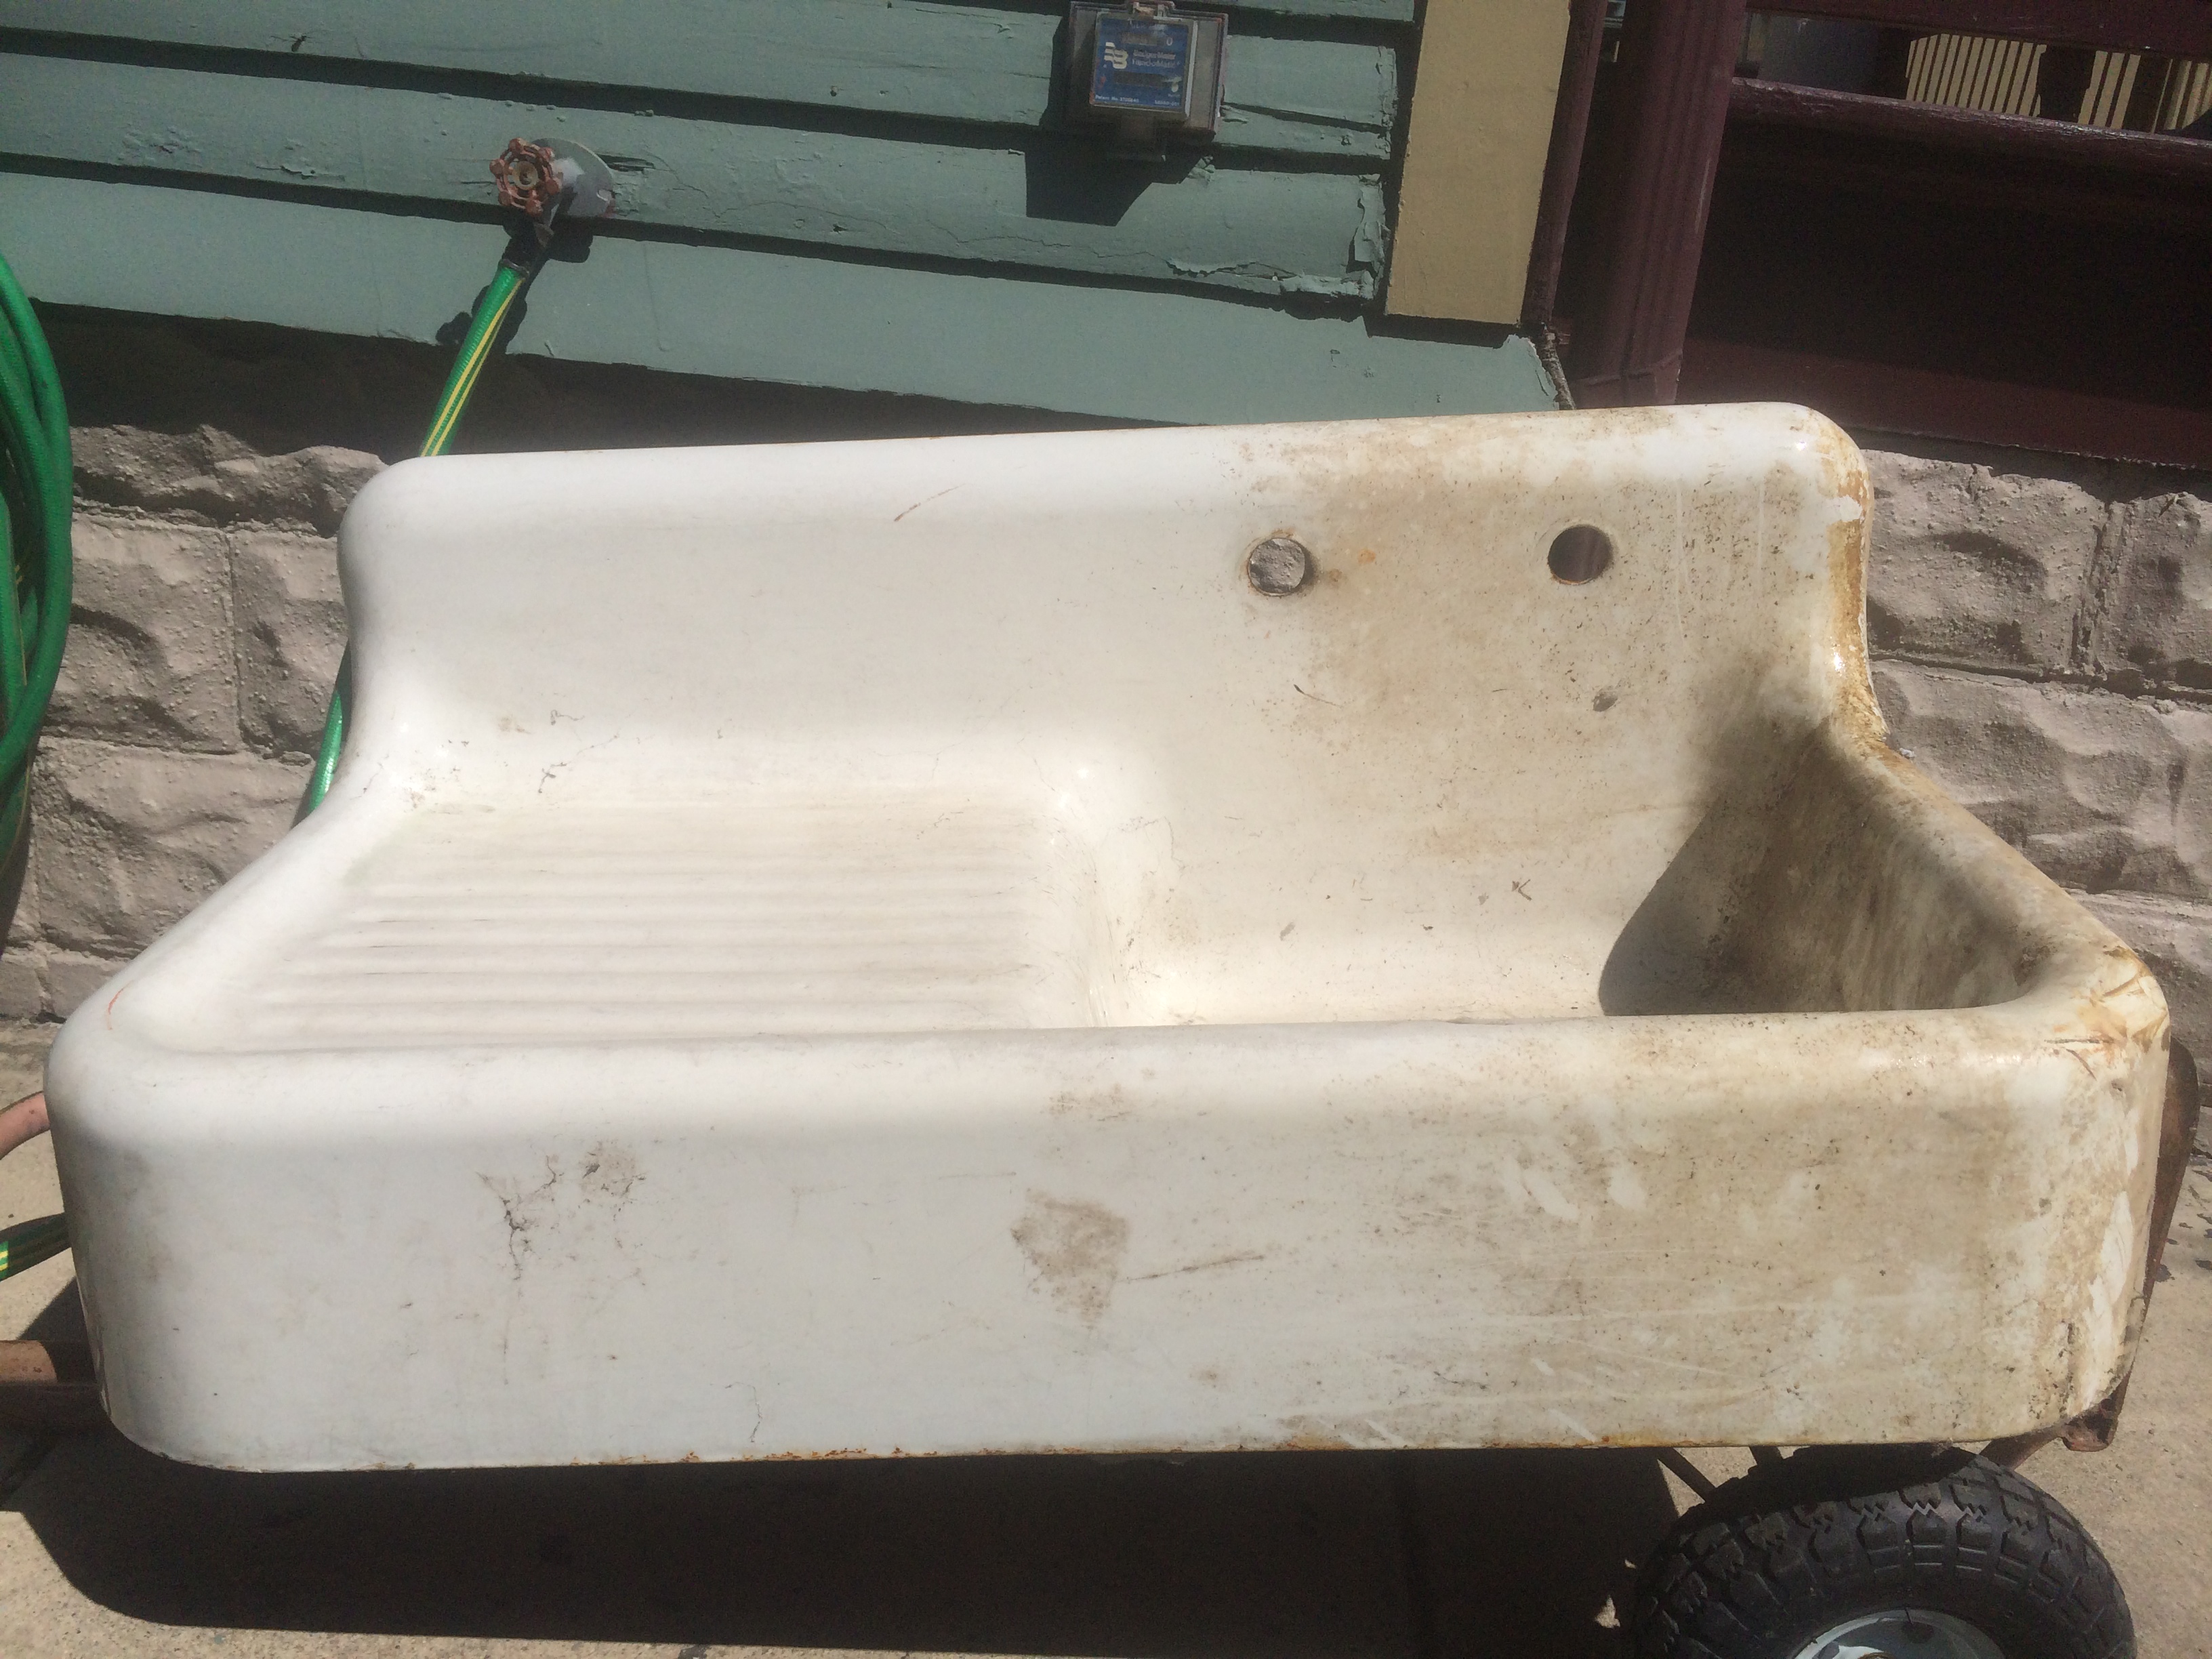
Even under all that dirt the beauty of this sink was still visible. I did a lot of research trying to find ways to clean up this sink but in the end we couldn’t get rid of a lot of rust spots and chips so we ended up calling a bathroom refinisher to help us out. I read all the literature online about the pros and cons of refinishing a porcelain sink. The downside is obviously that this process is a bit pricey (expect $200+) and also does not last for more than a few years. The upside is that the sink looks gorgeous in the interim. We decided to go ahead and take the plunge.
We hired a local individual to clean and fill the chips in the sink. Then he basically sprayed the sink with a latex high bond paint. The whole process took about 3 hours.
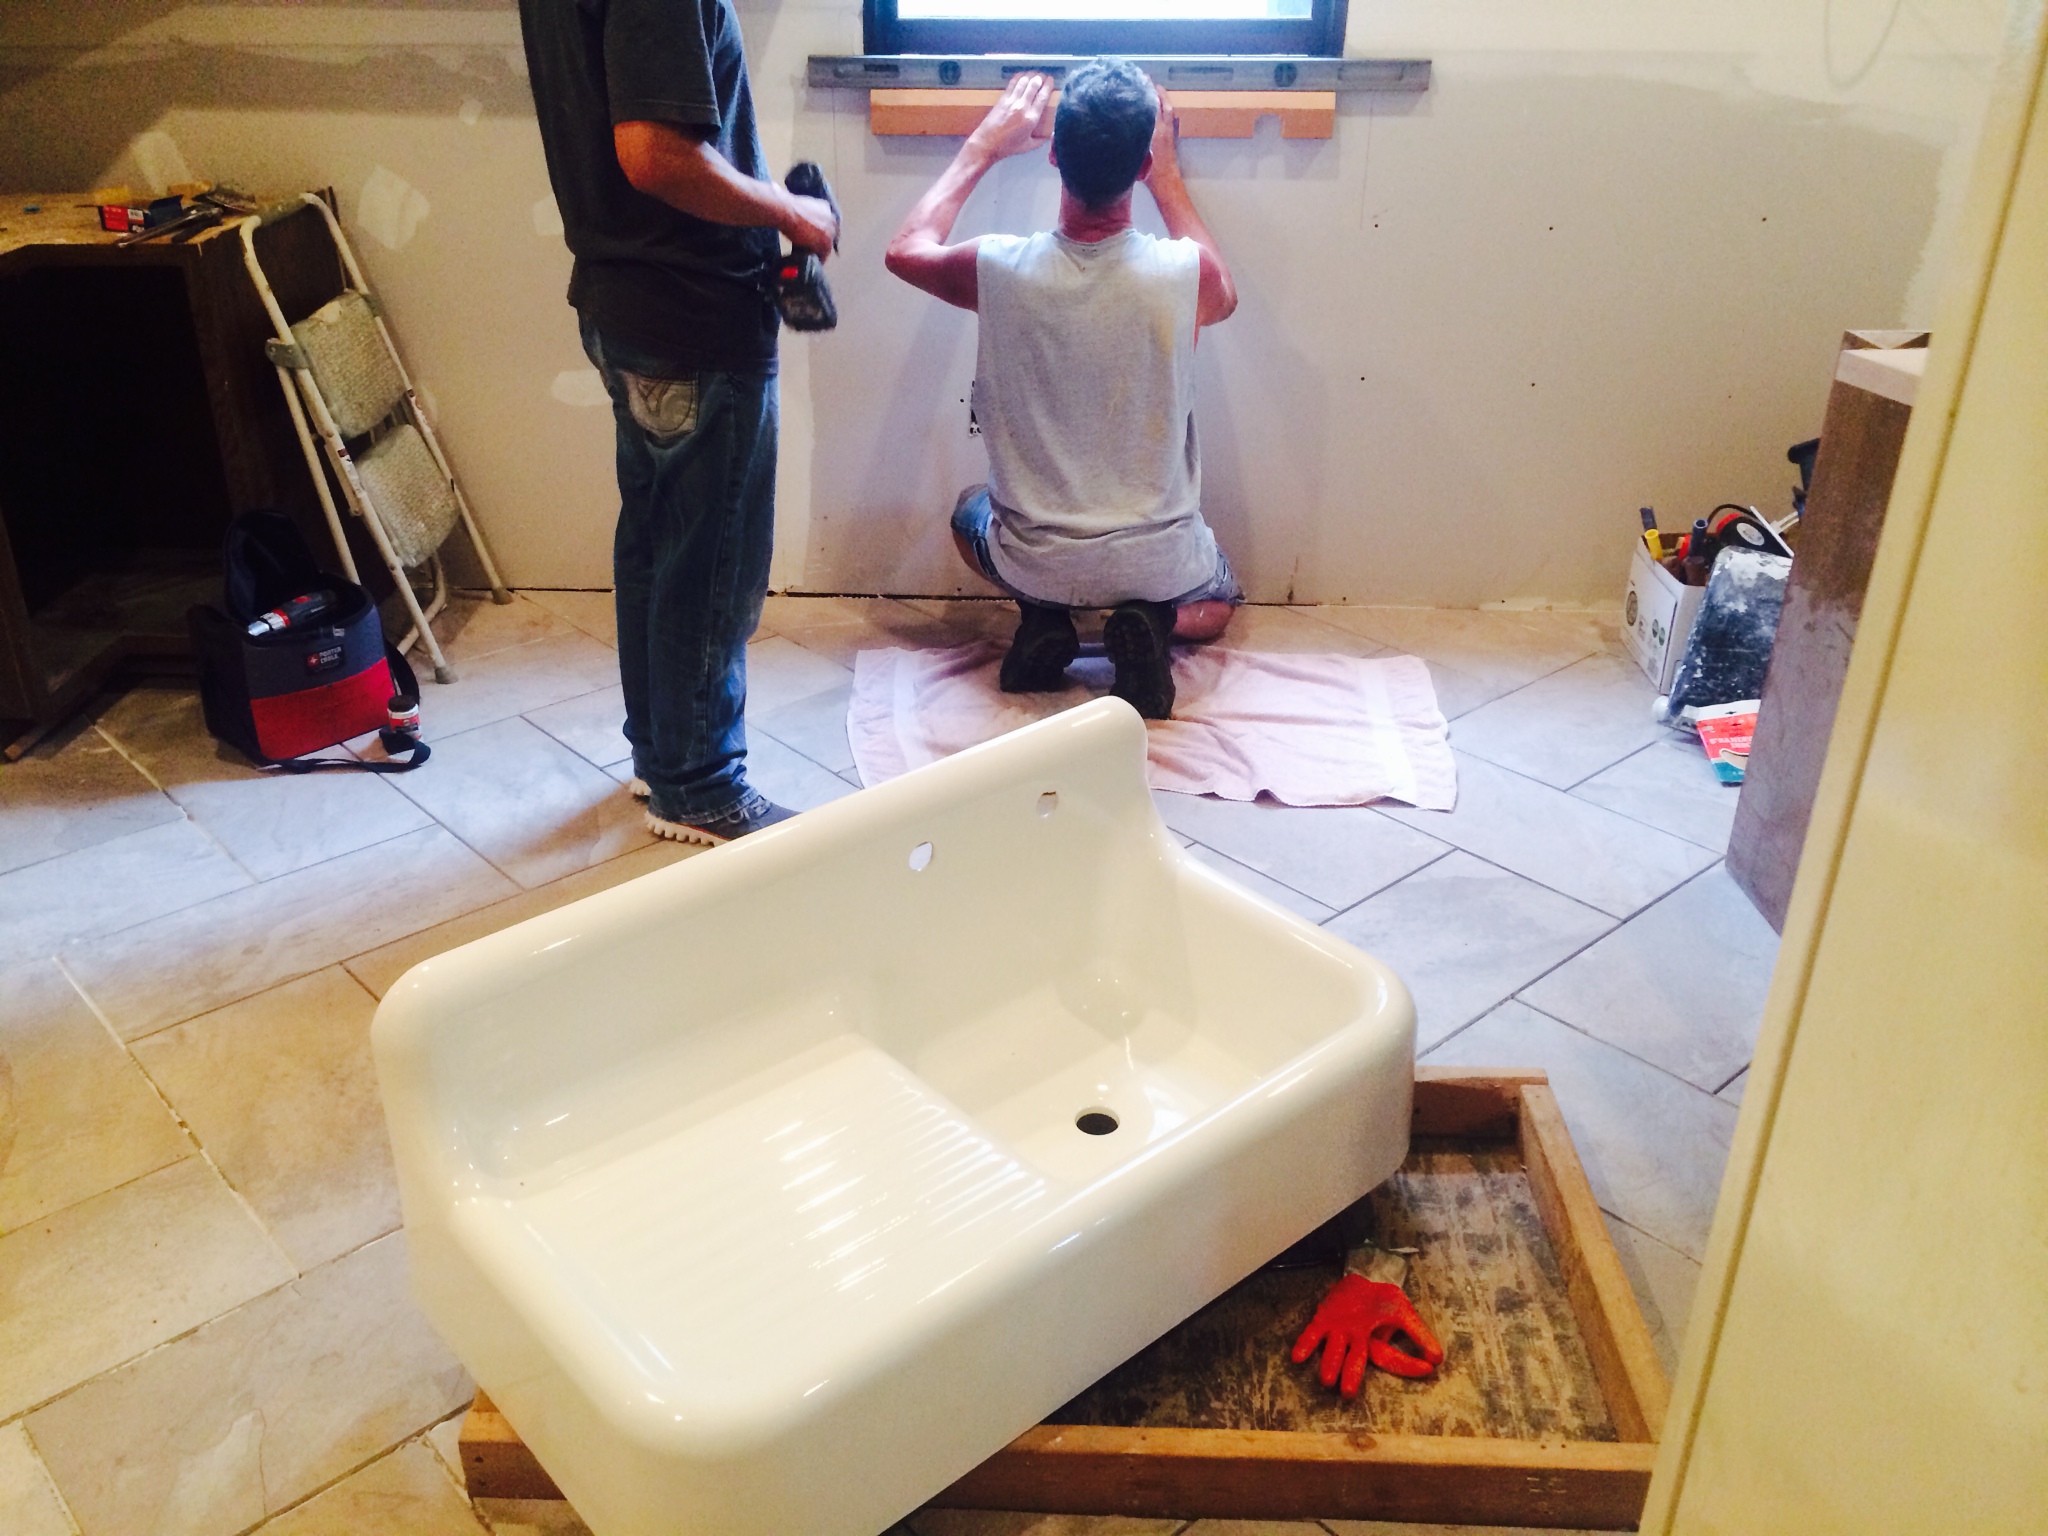
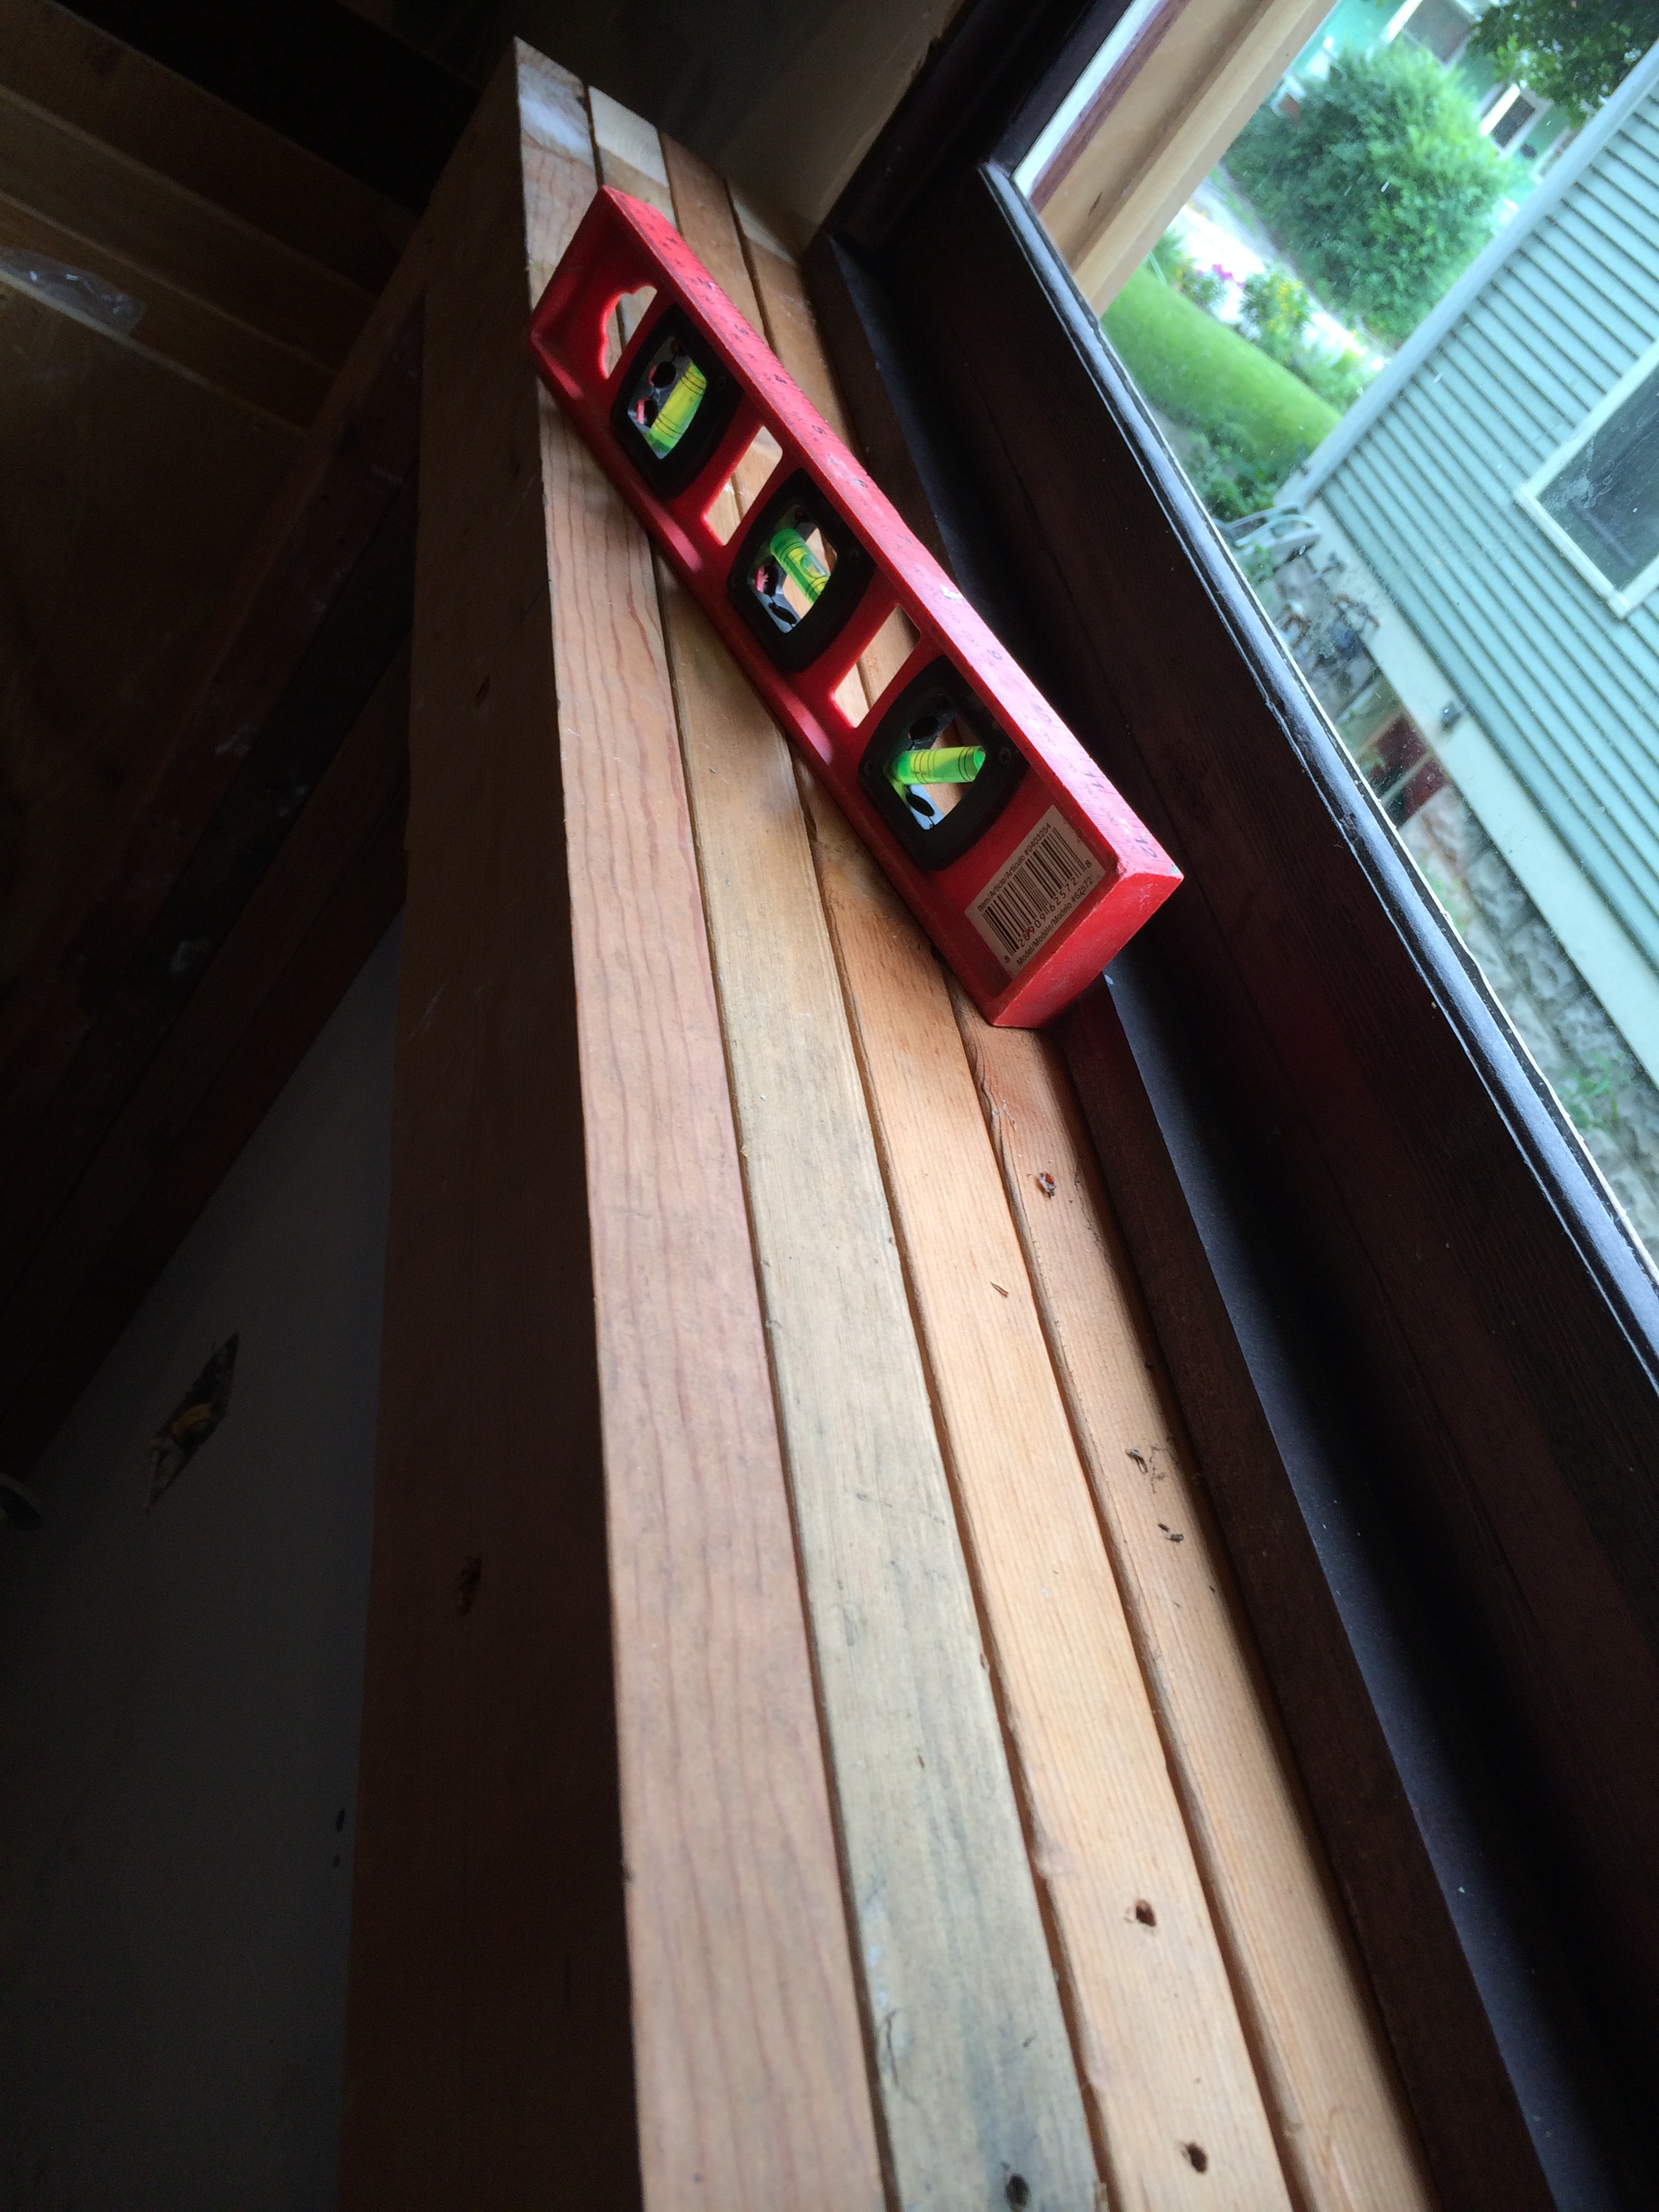
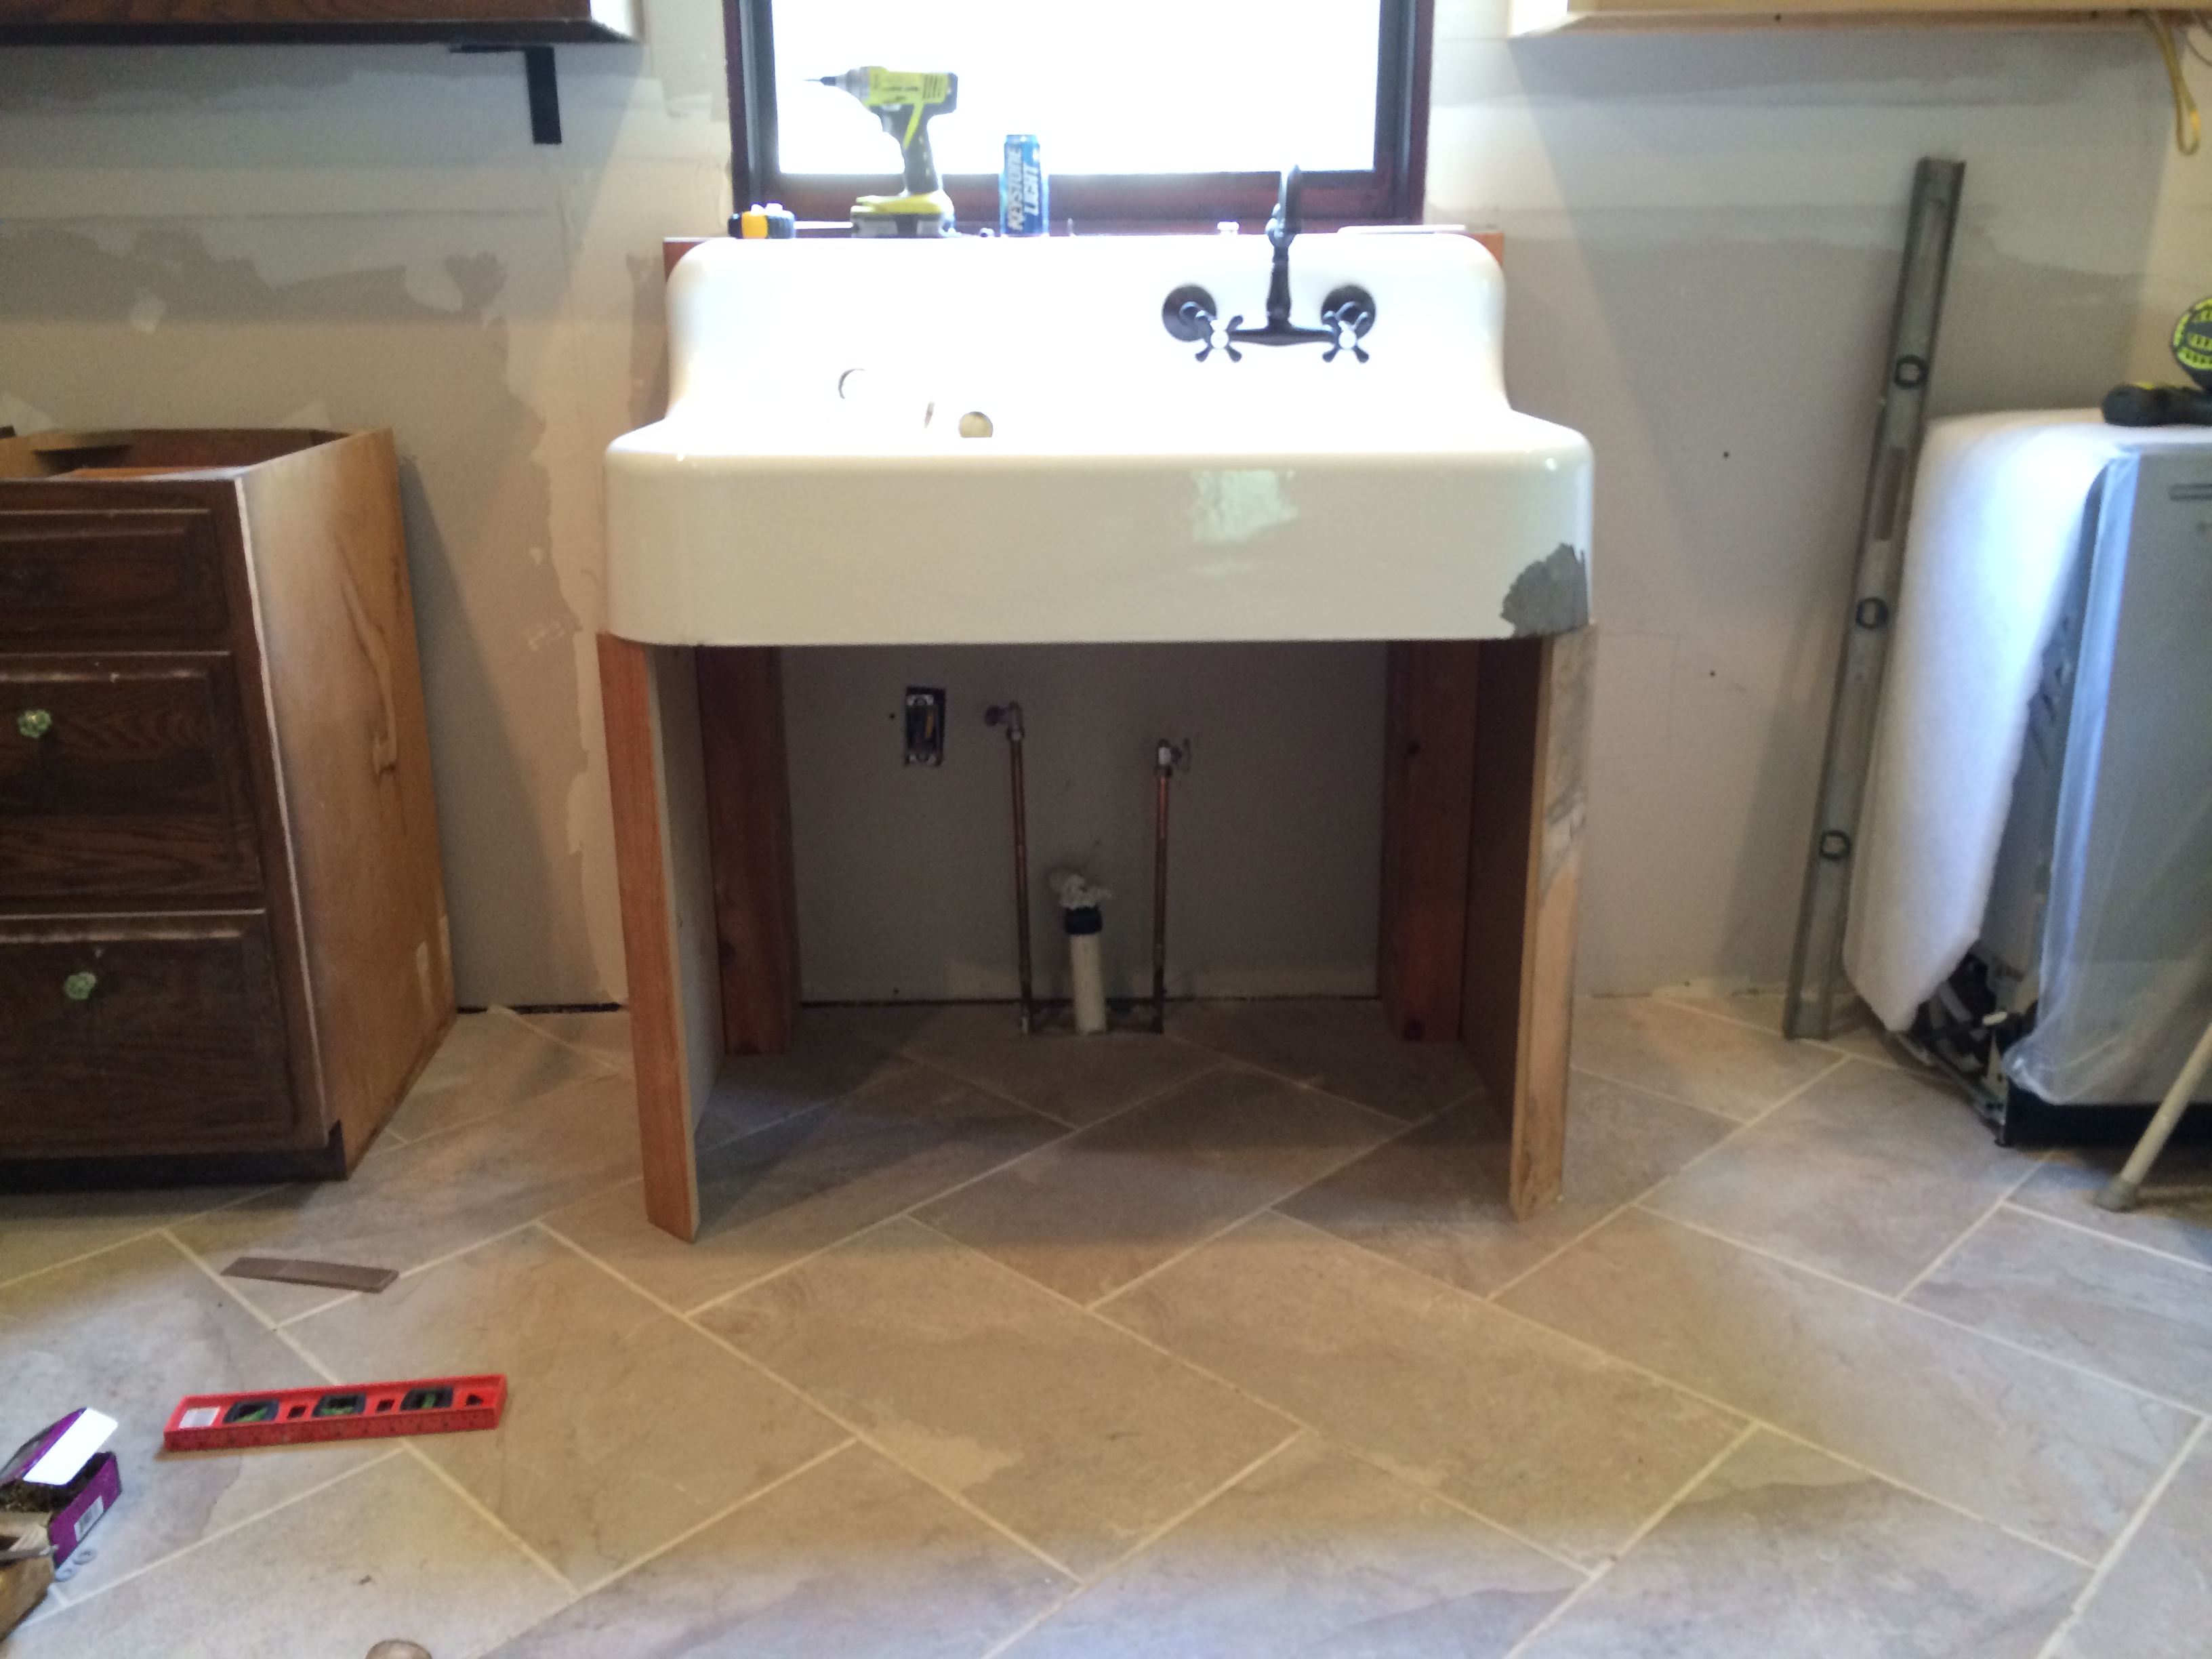
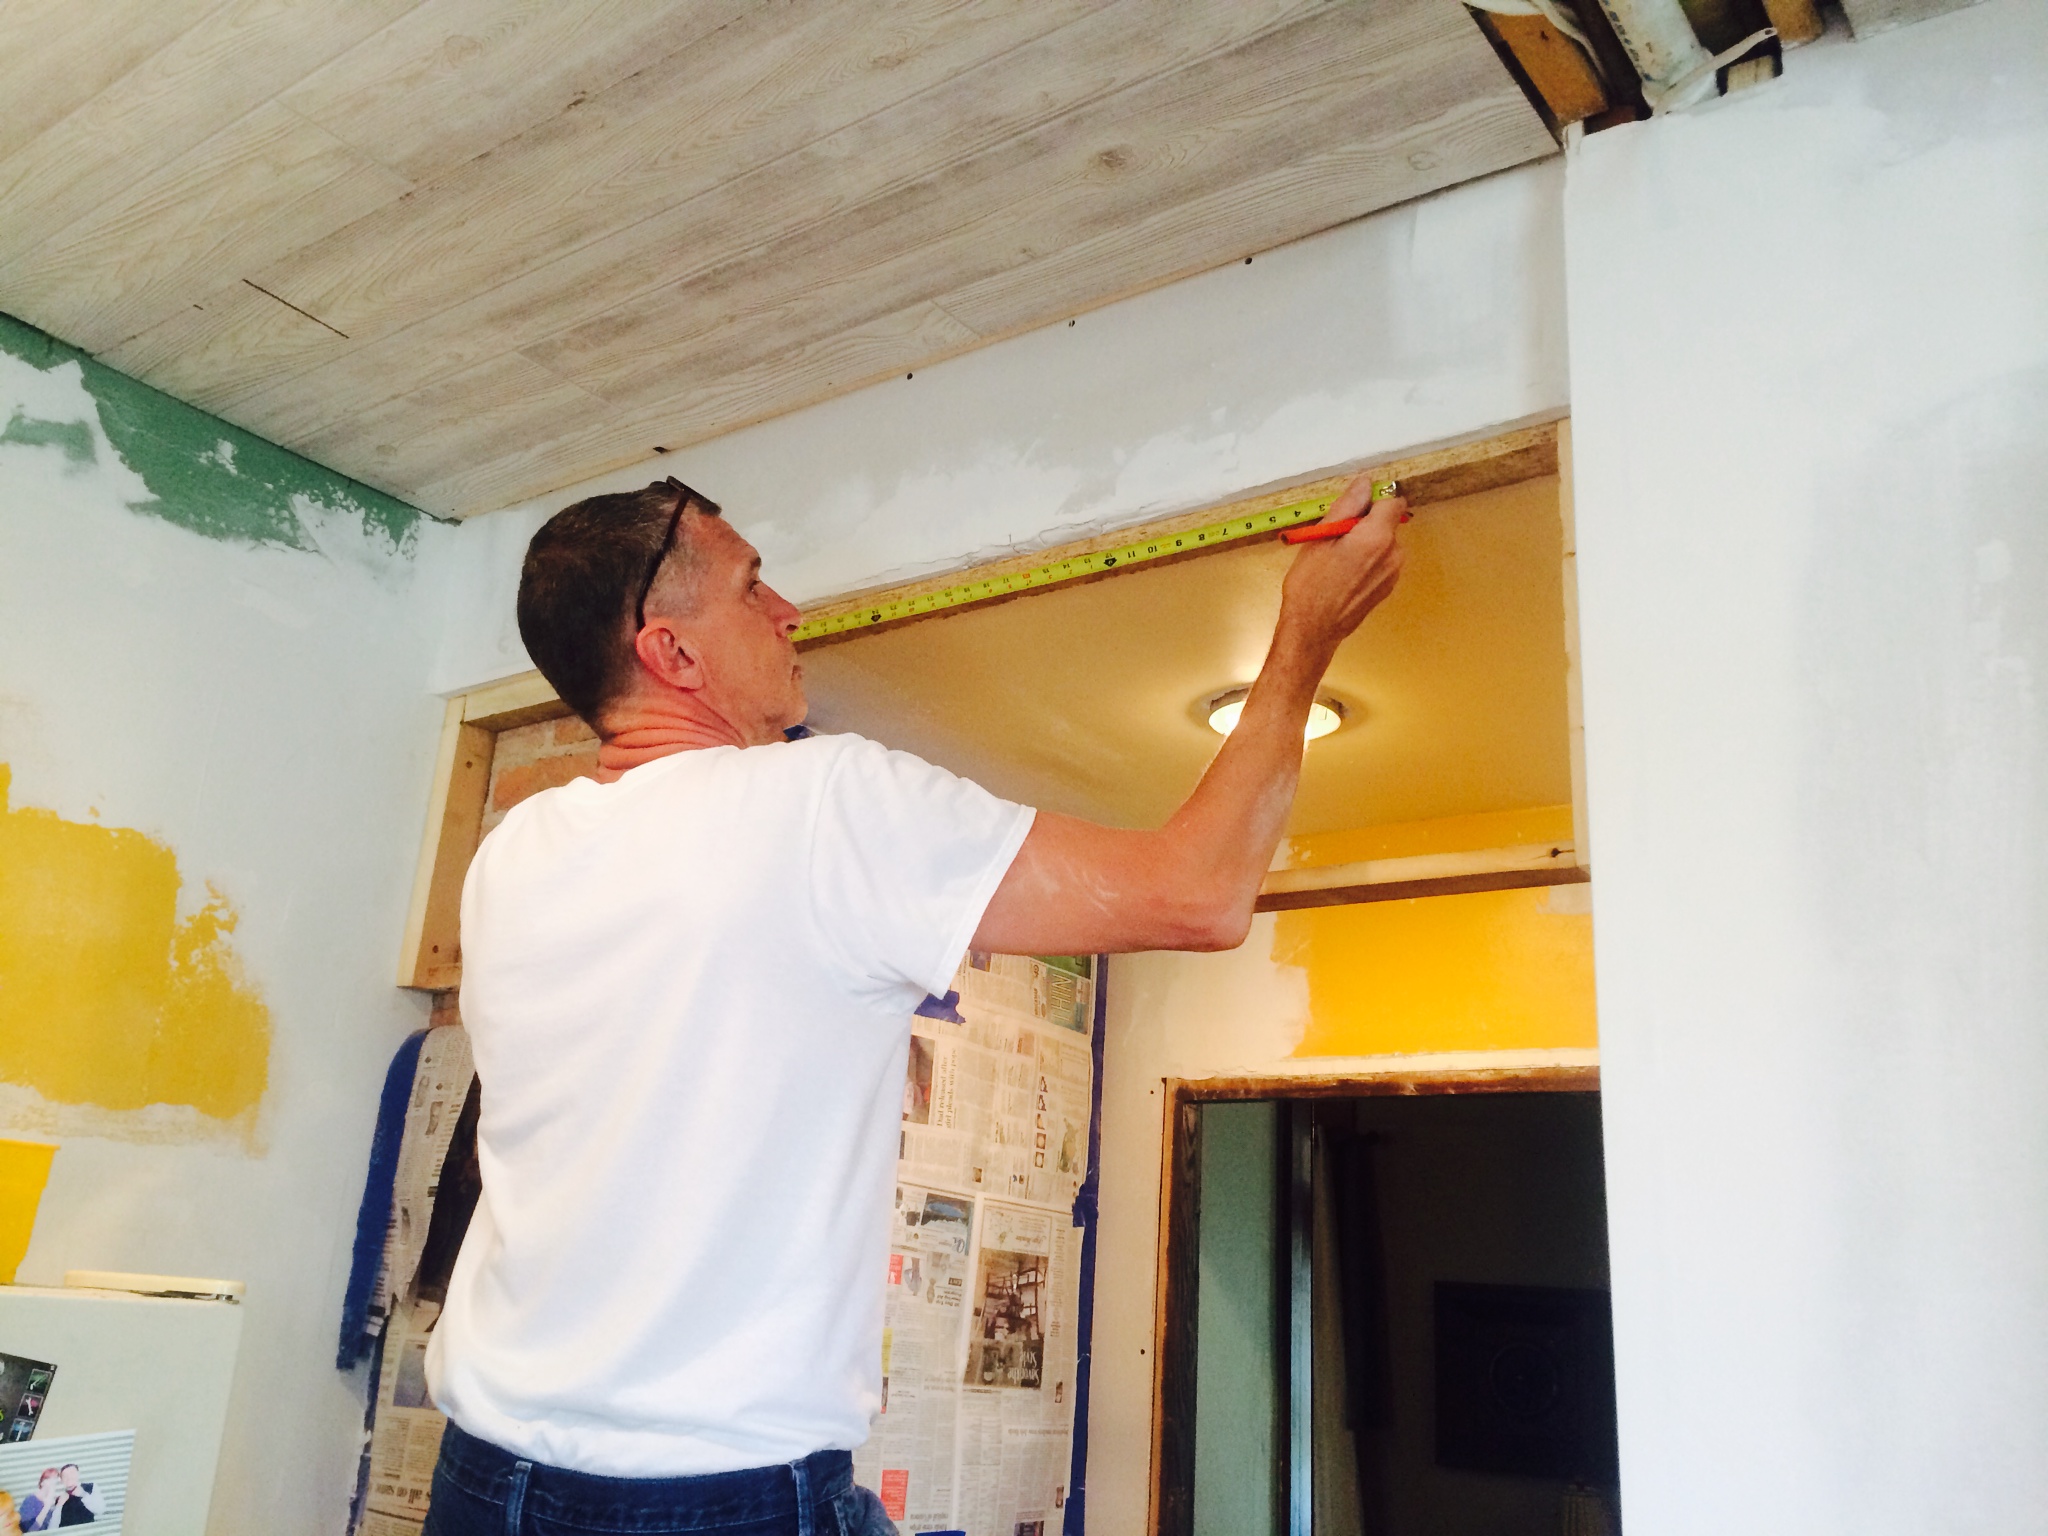
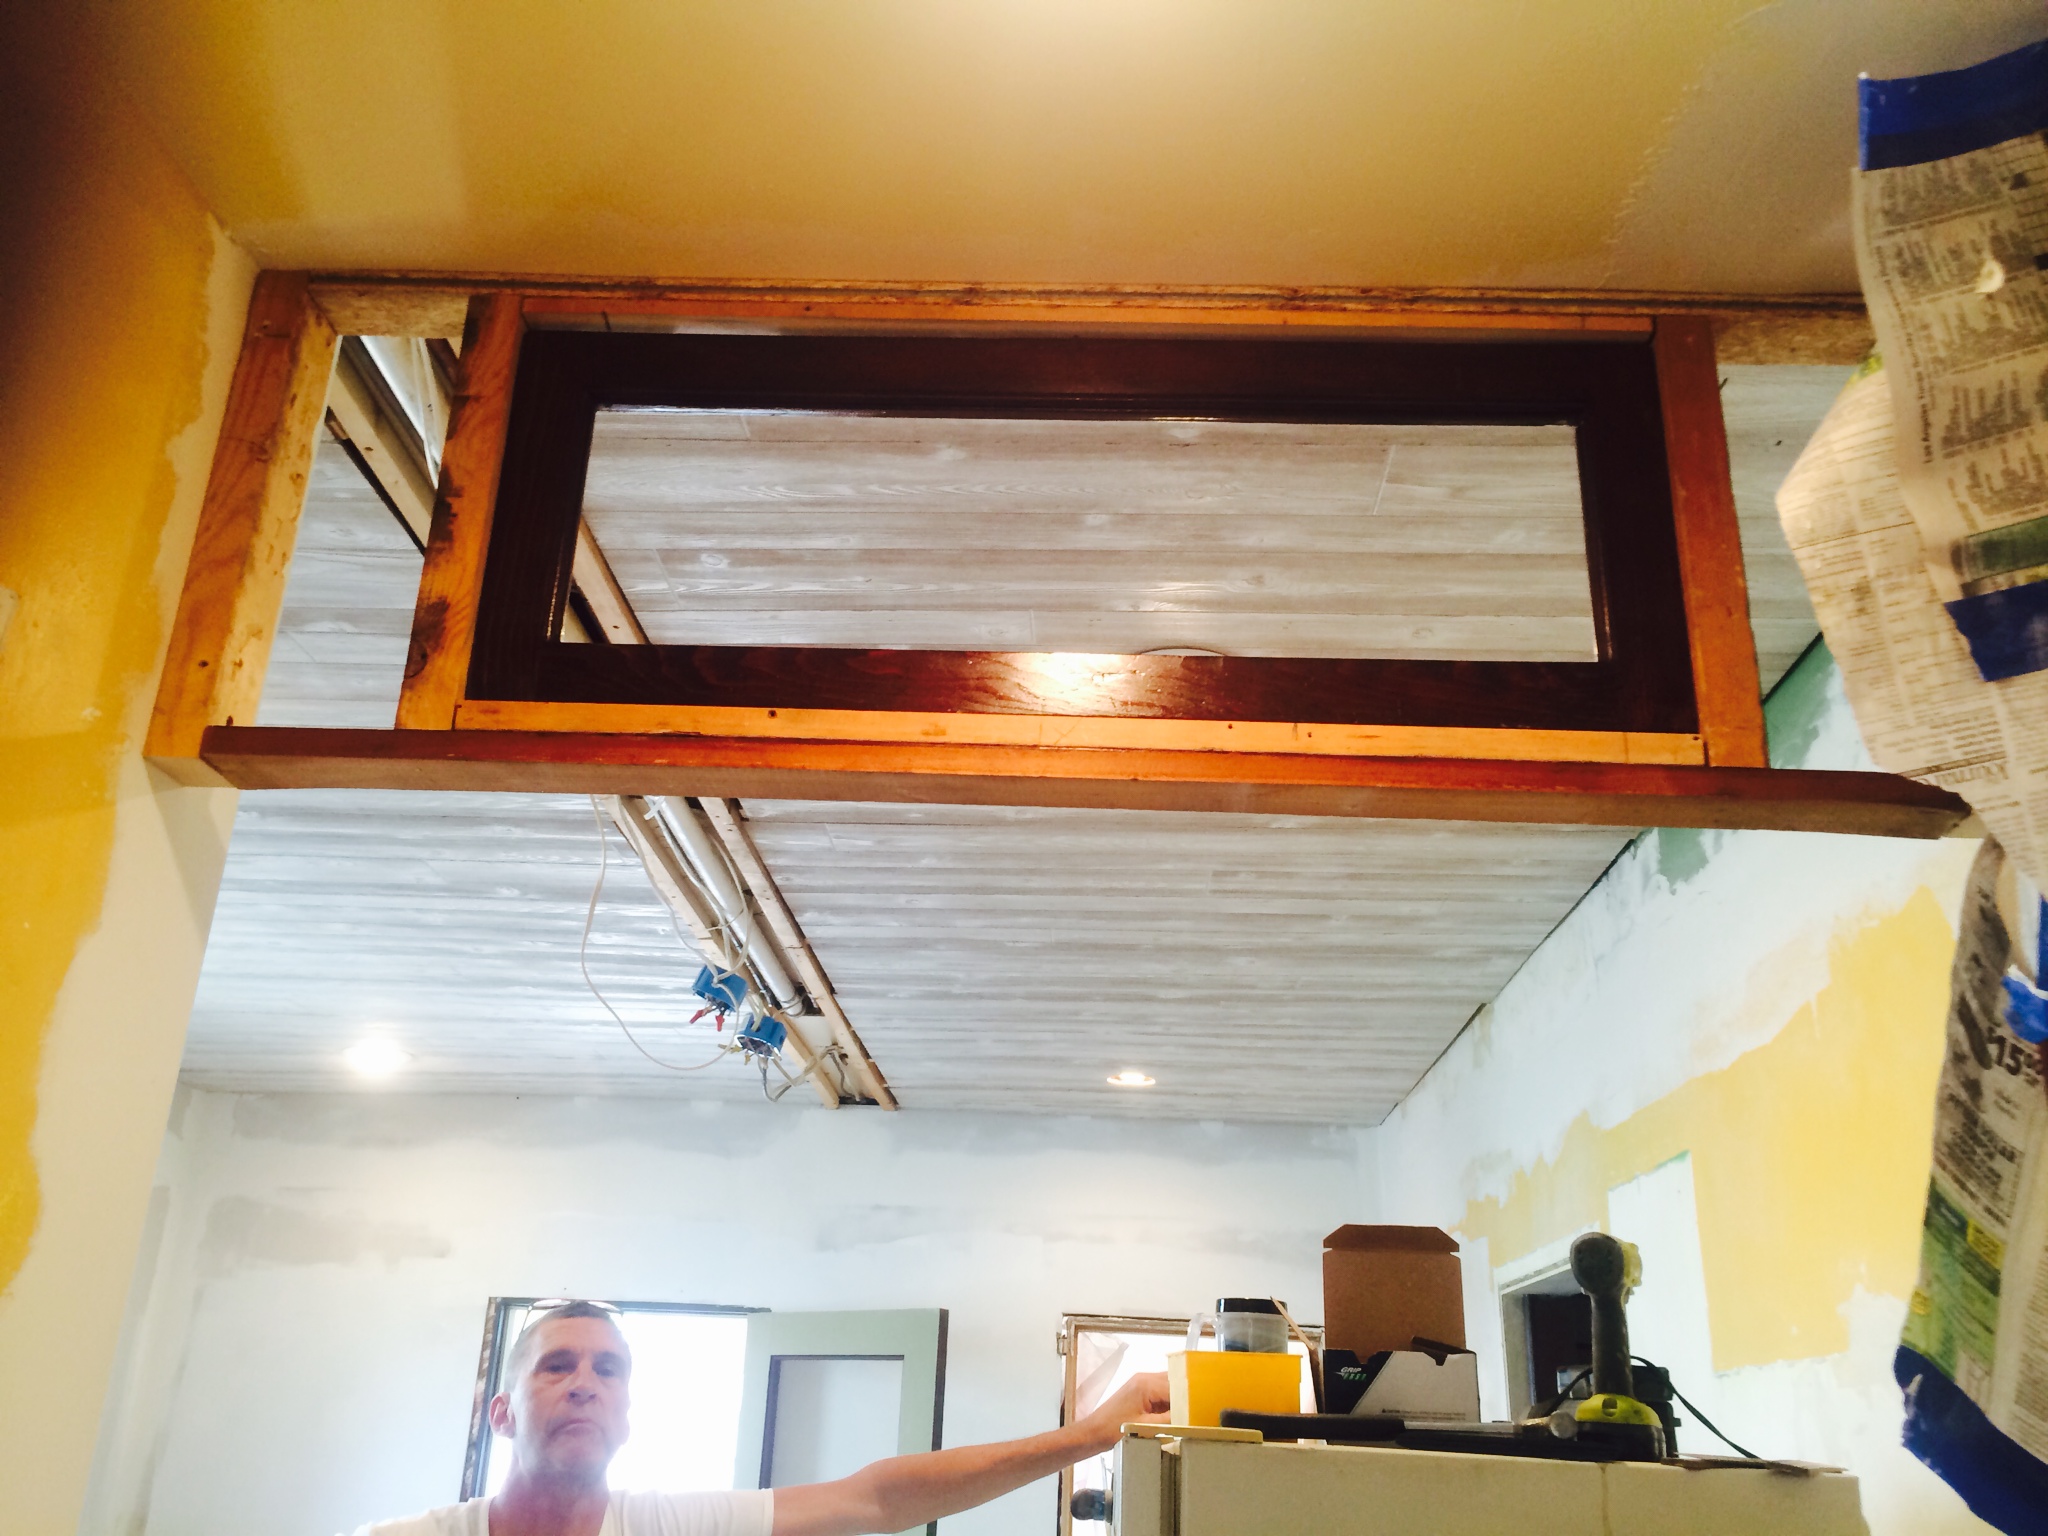
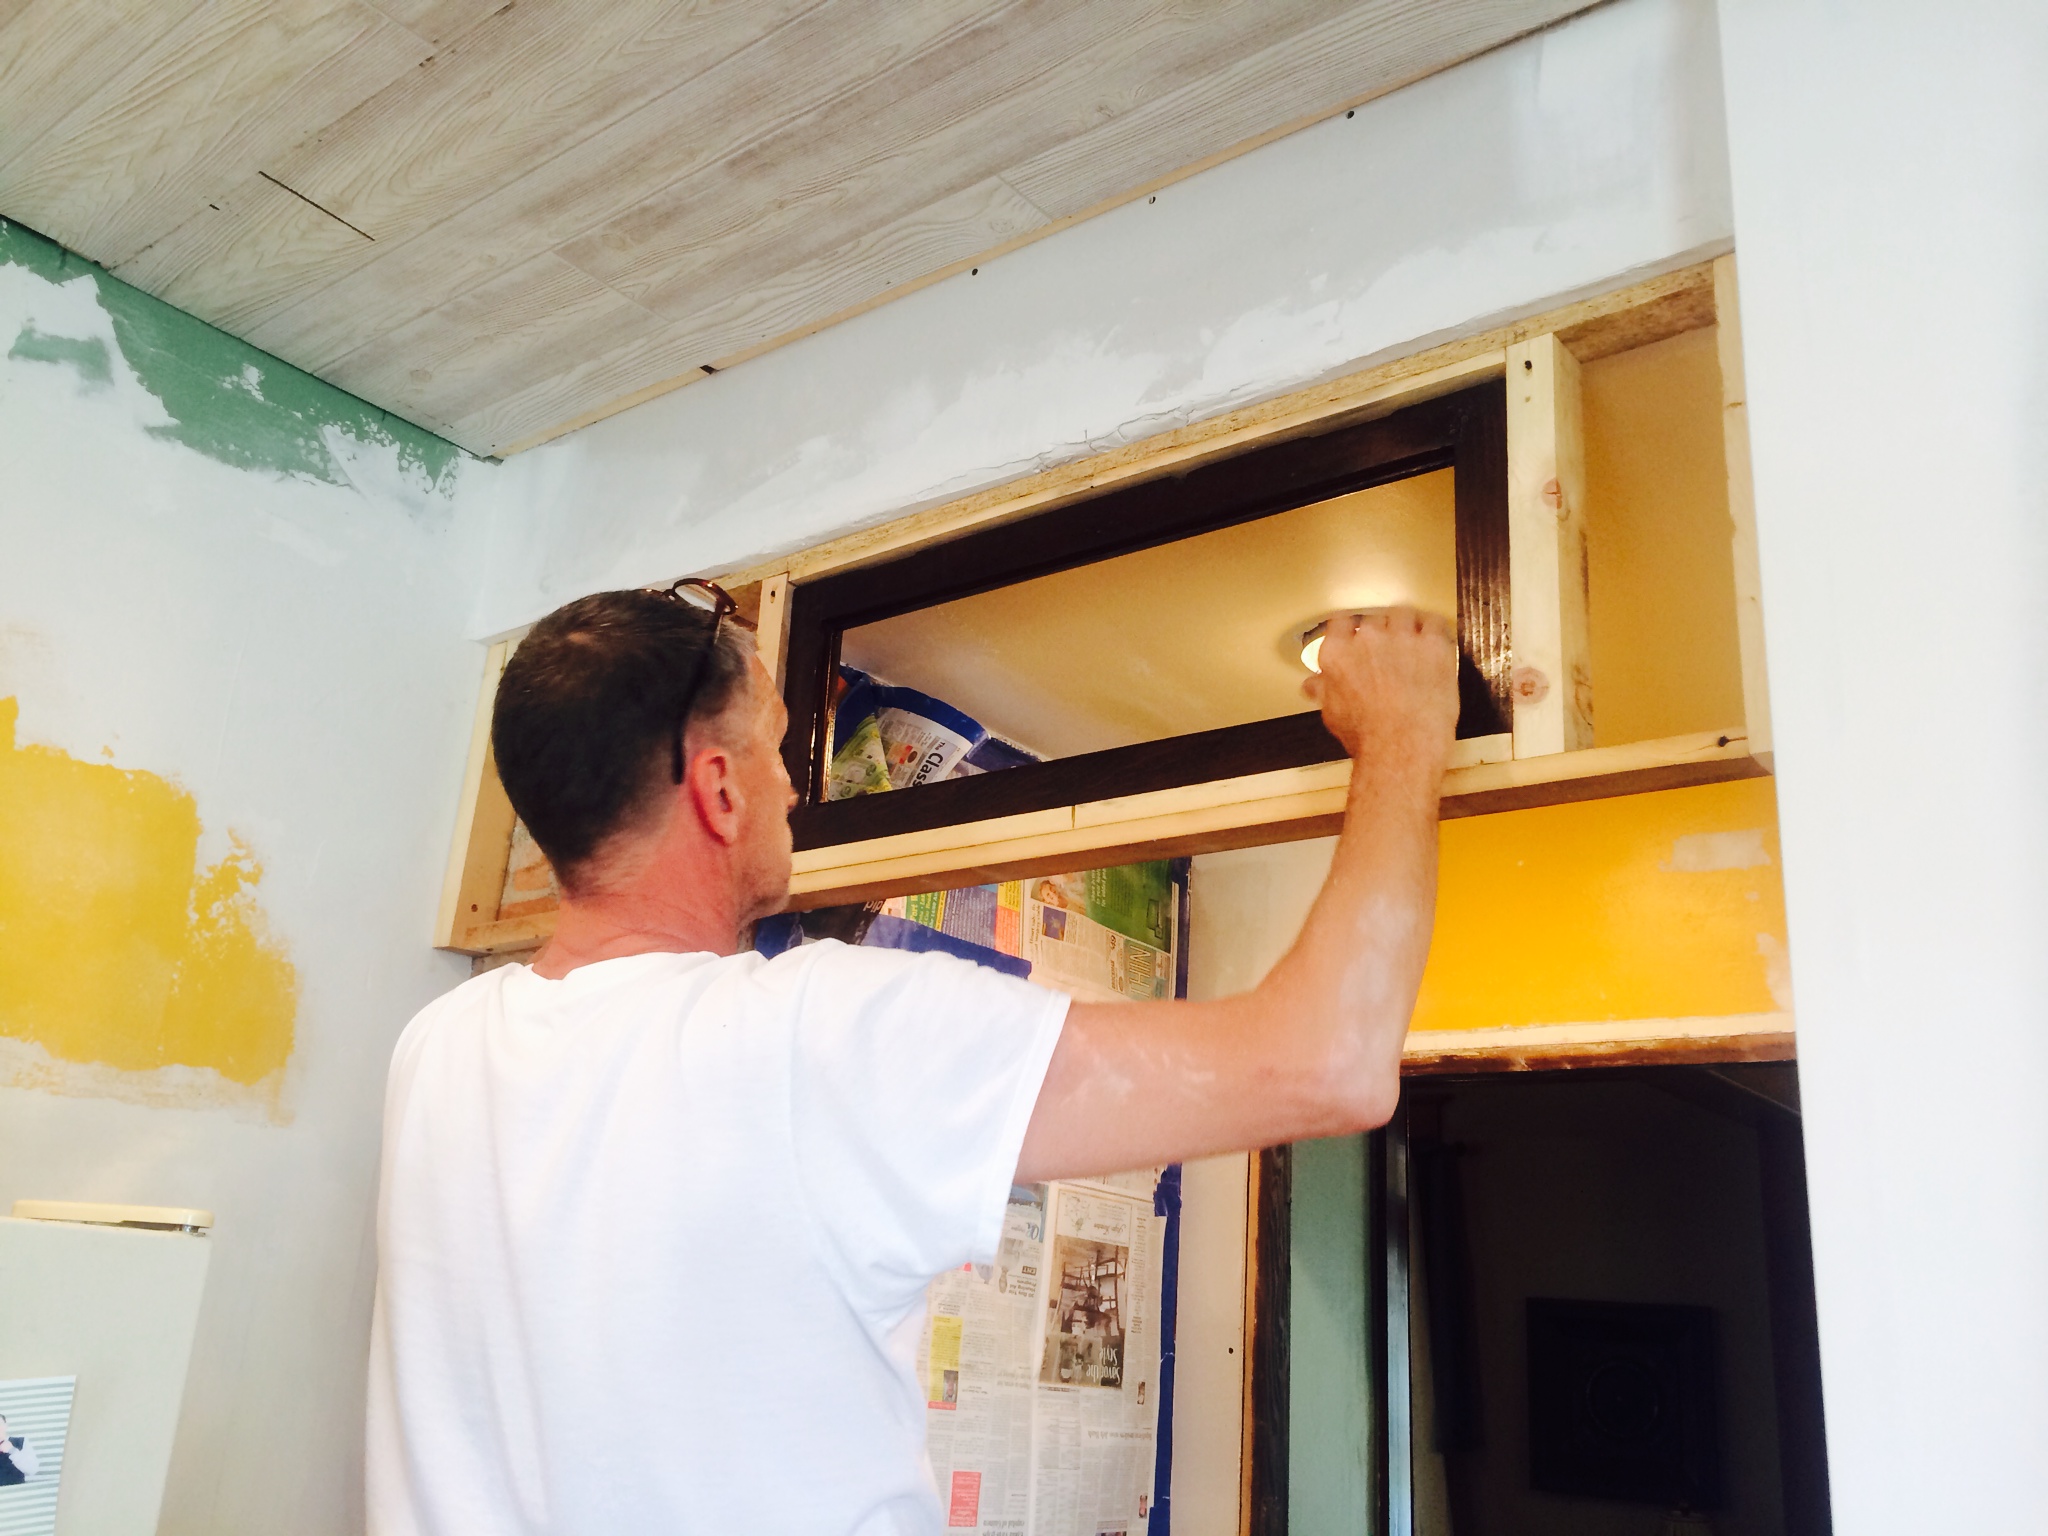
After the sink was looking beautiful again we had to devise a way to hang the sink under our new window. We devised a way to attach a 2×4 to the wall and hang the sink on the 2×4.
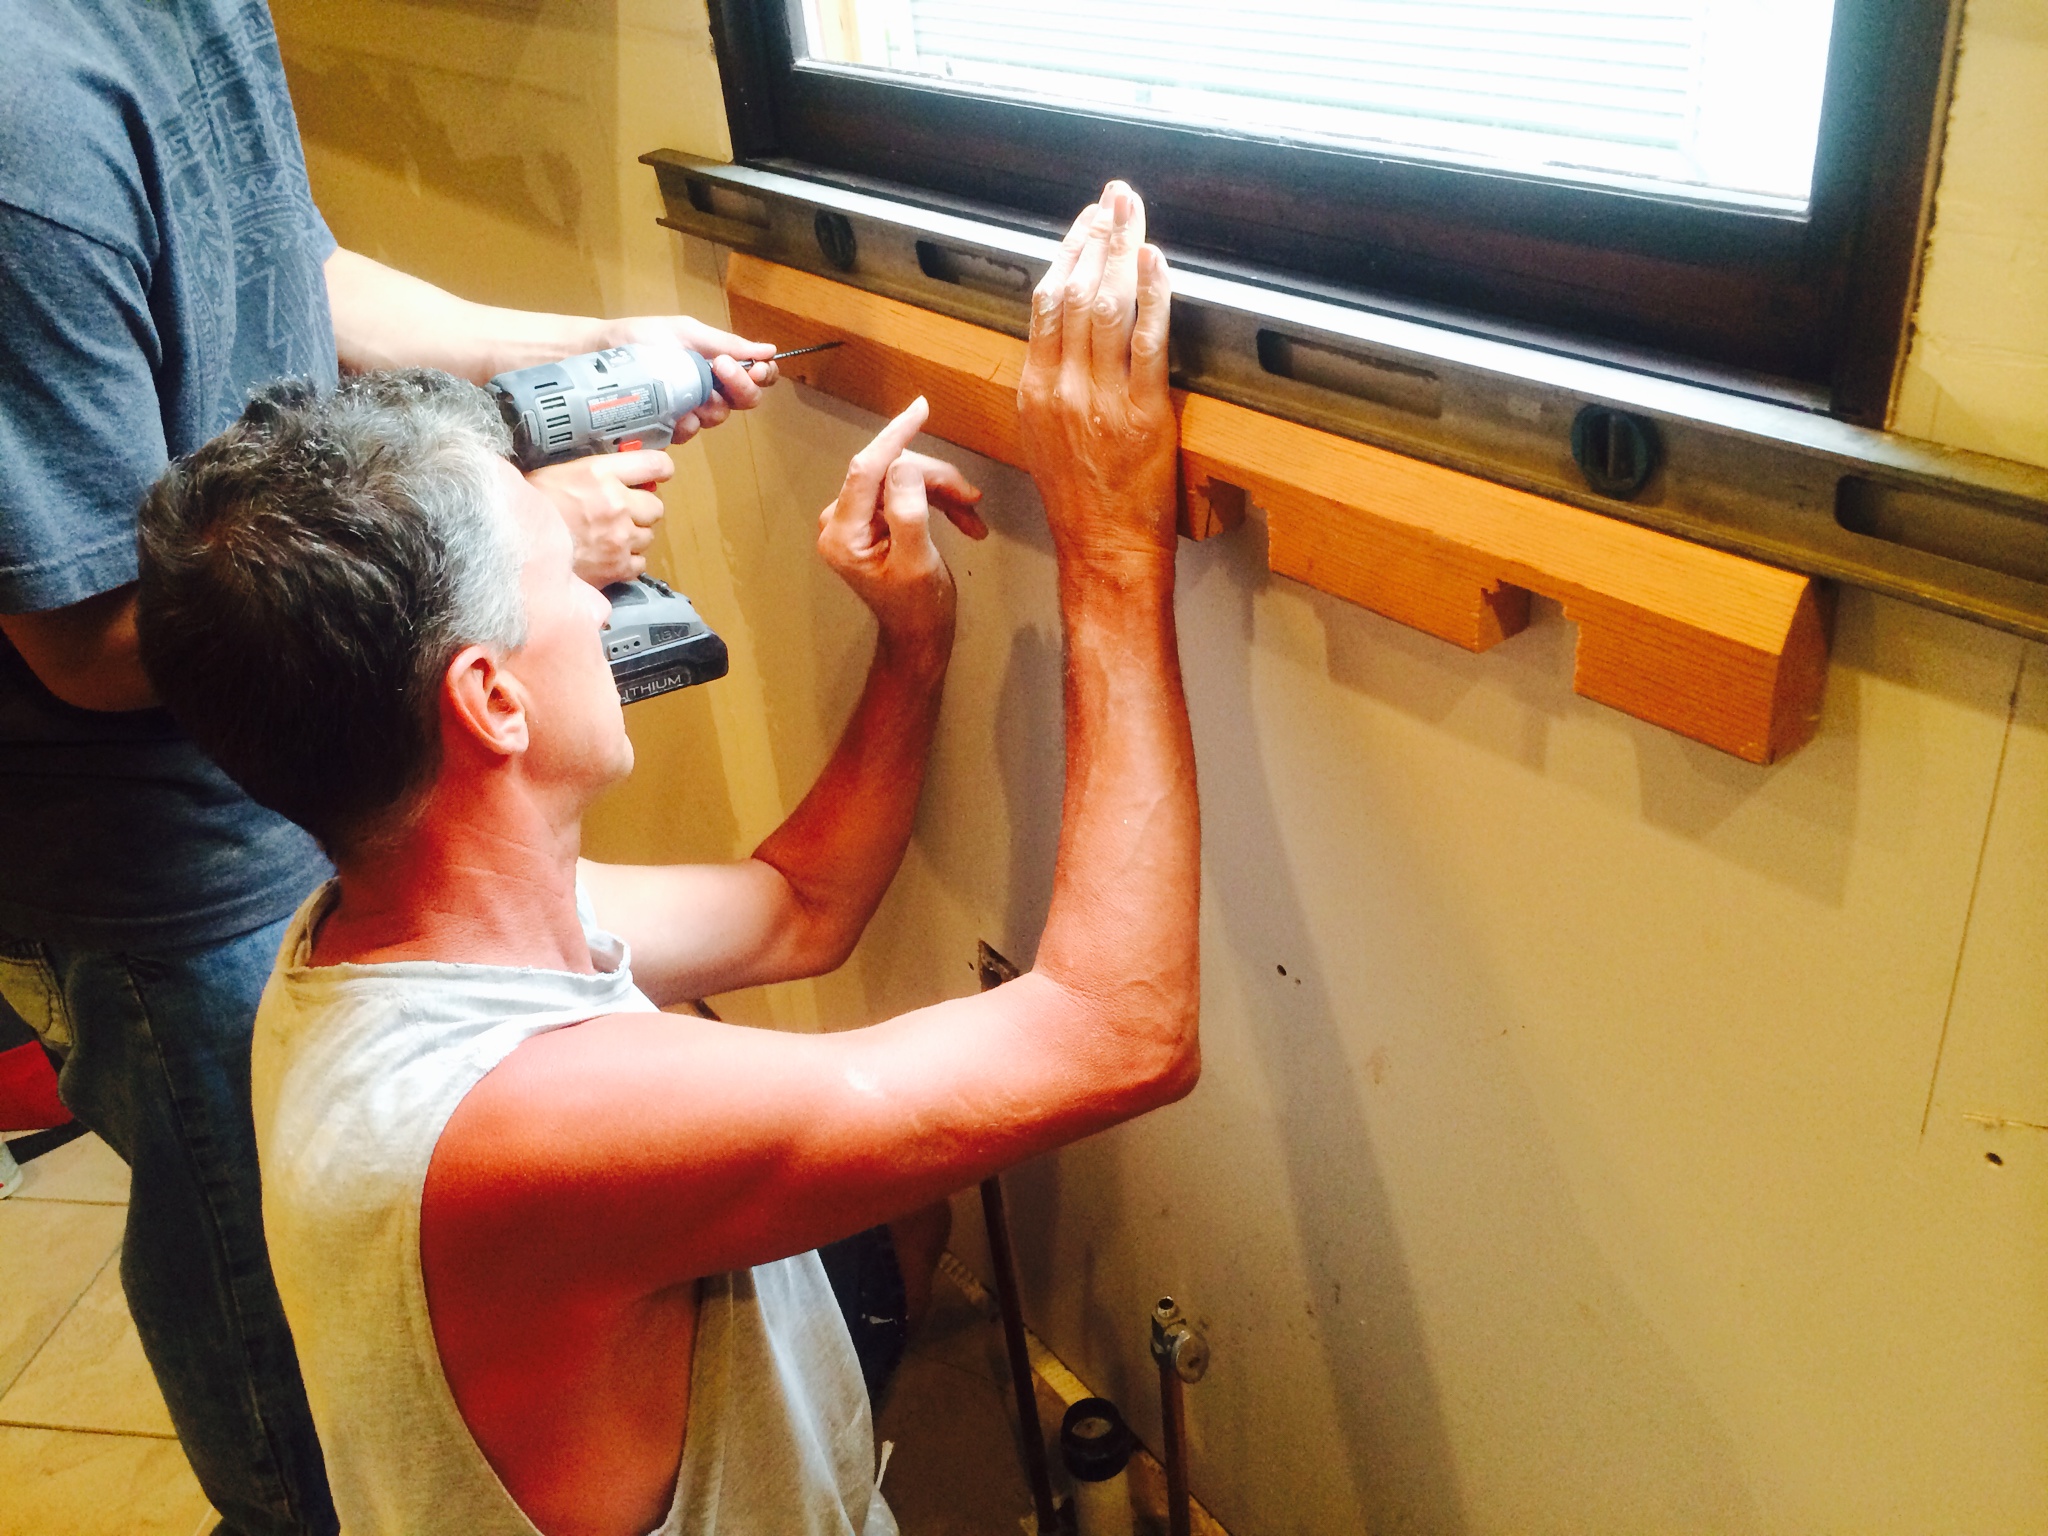

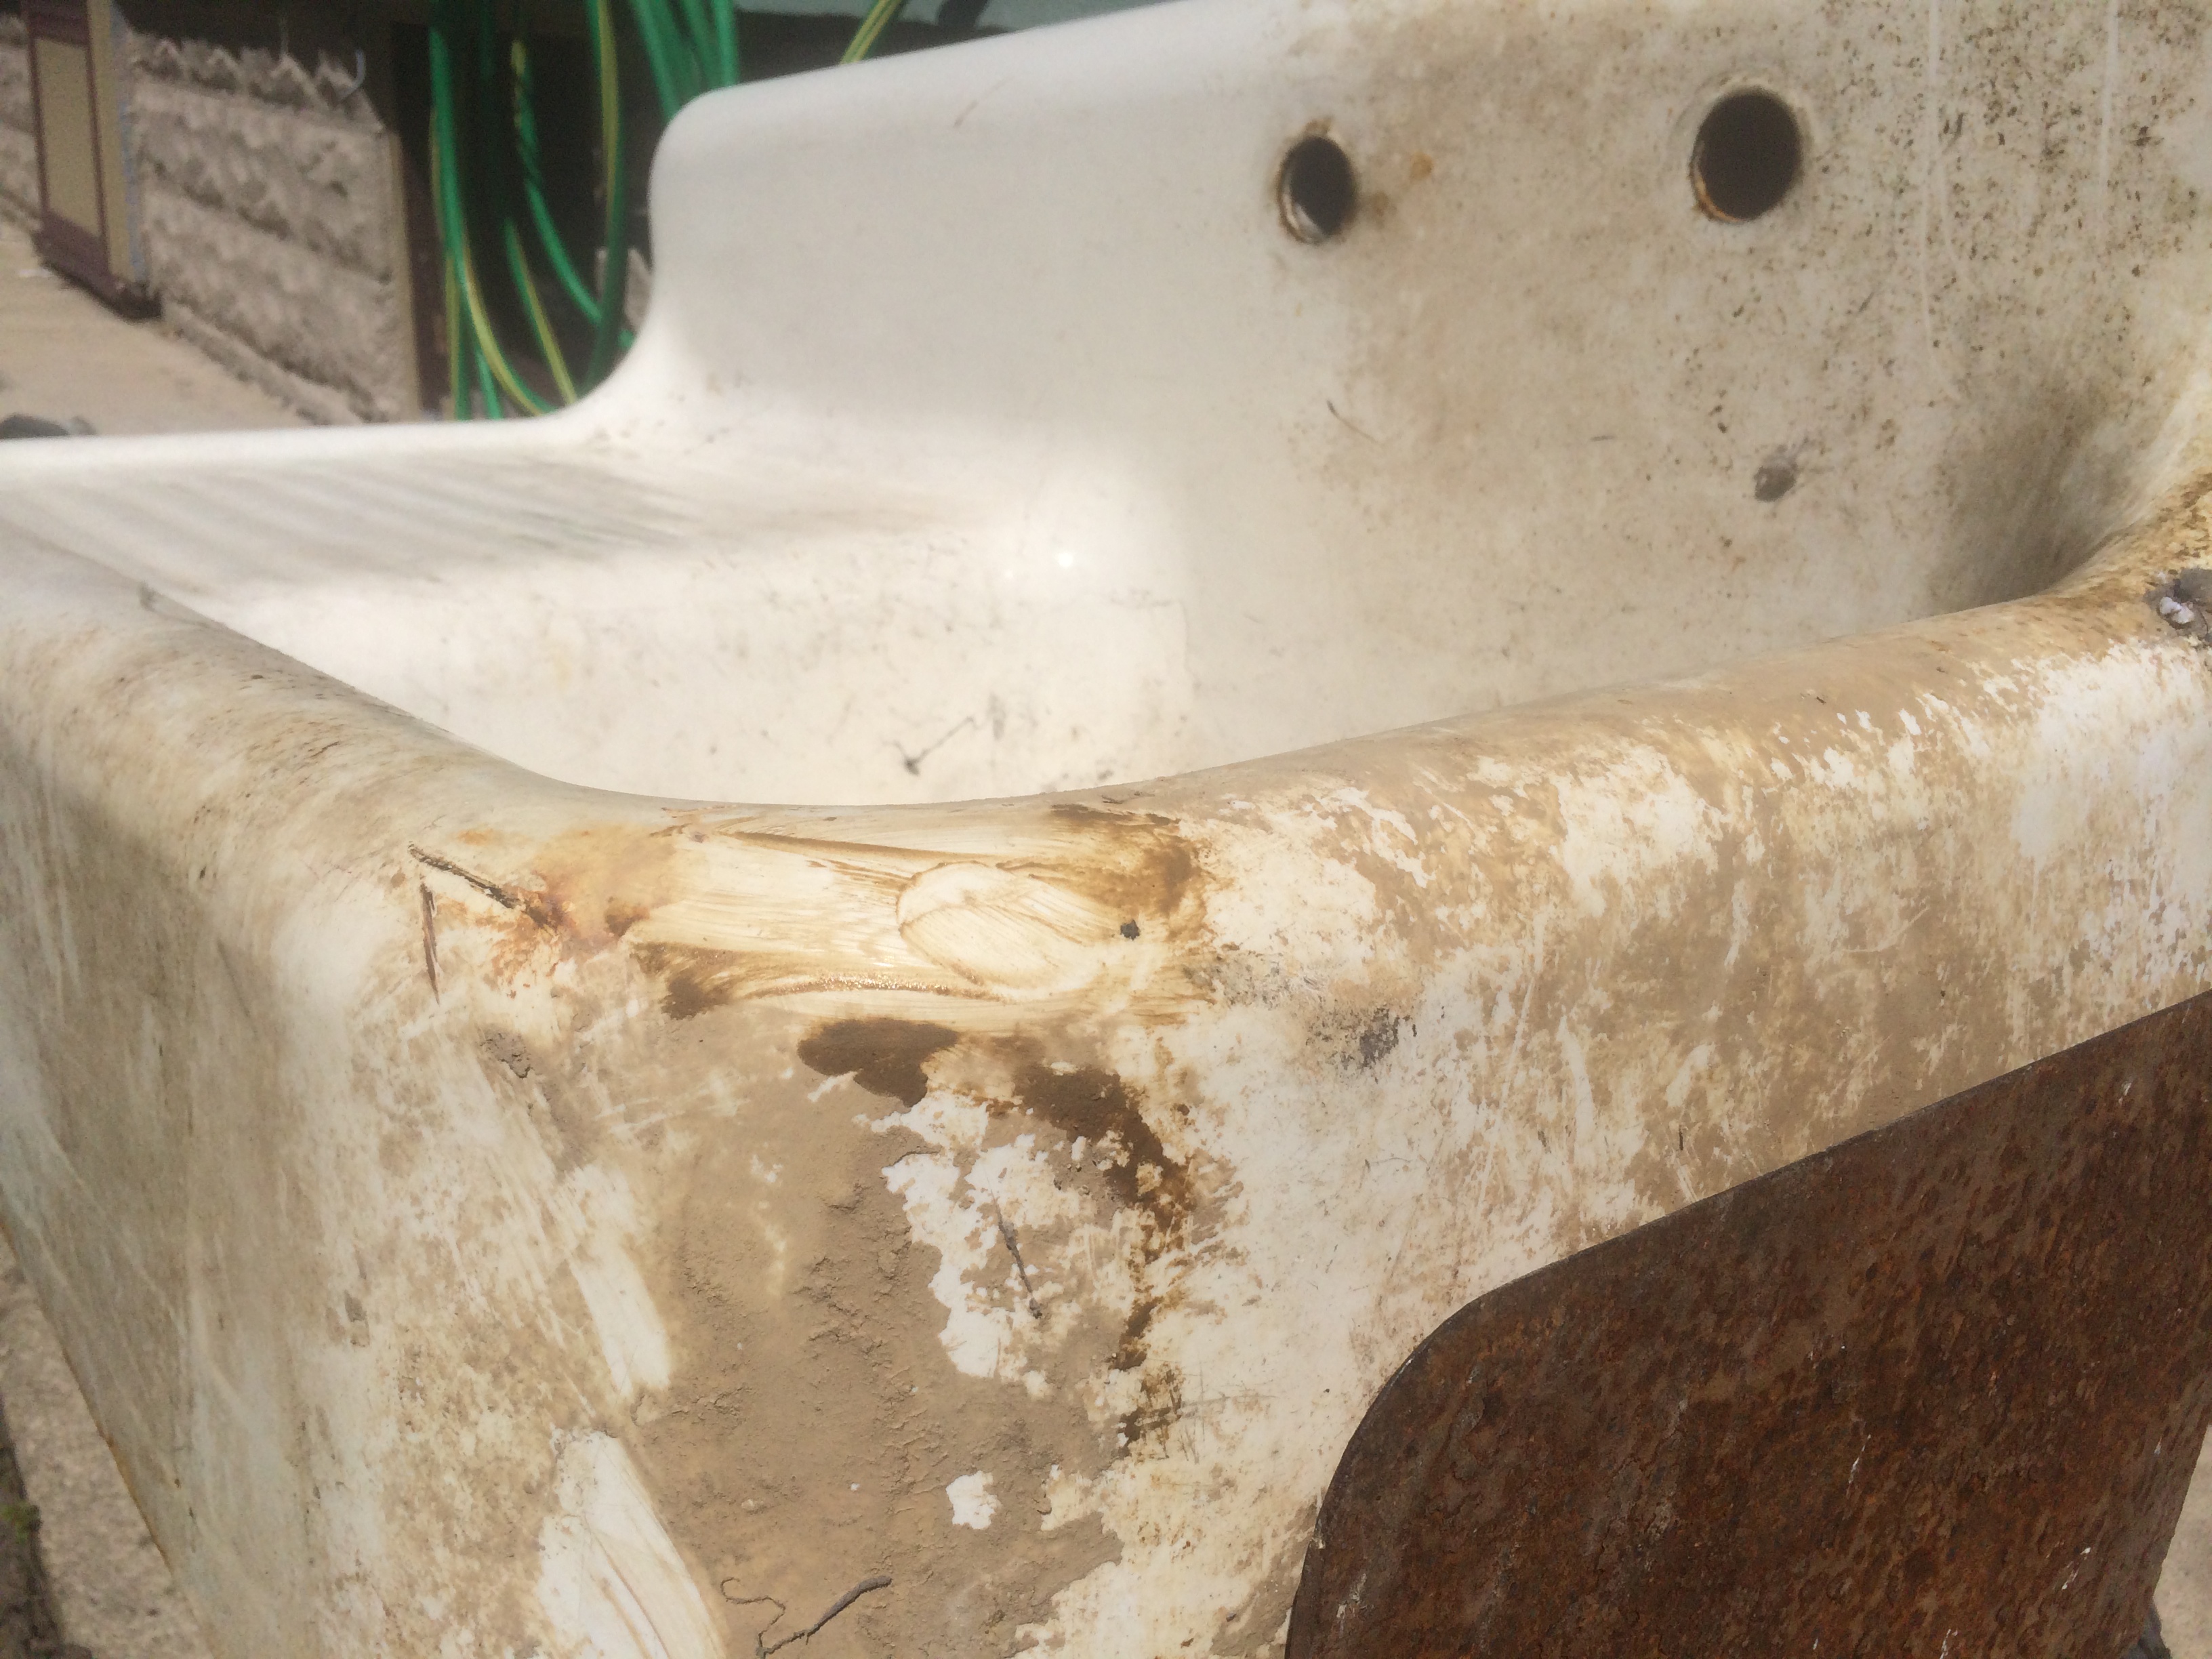
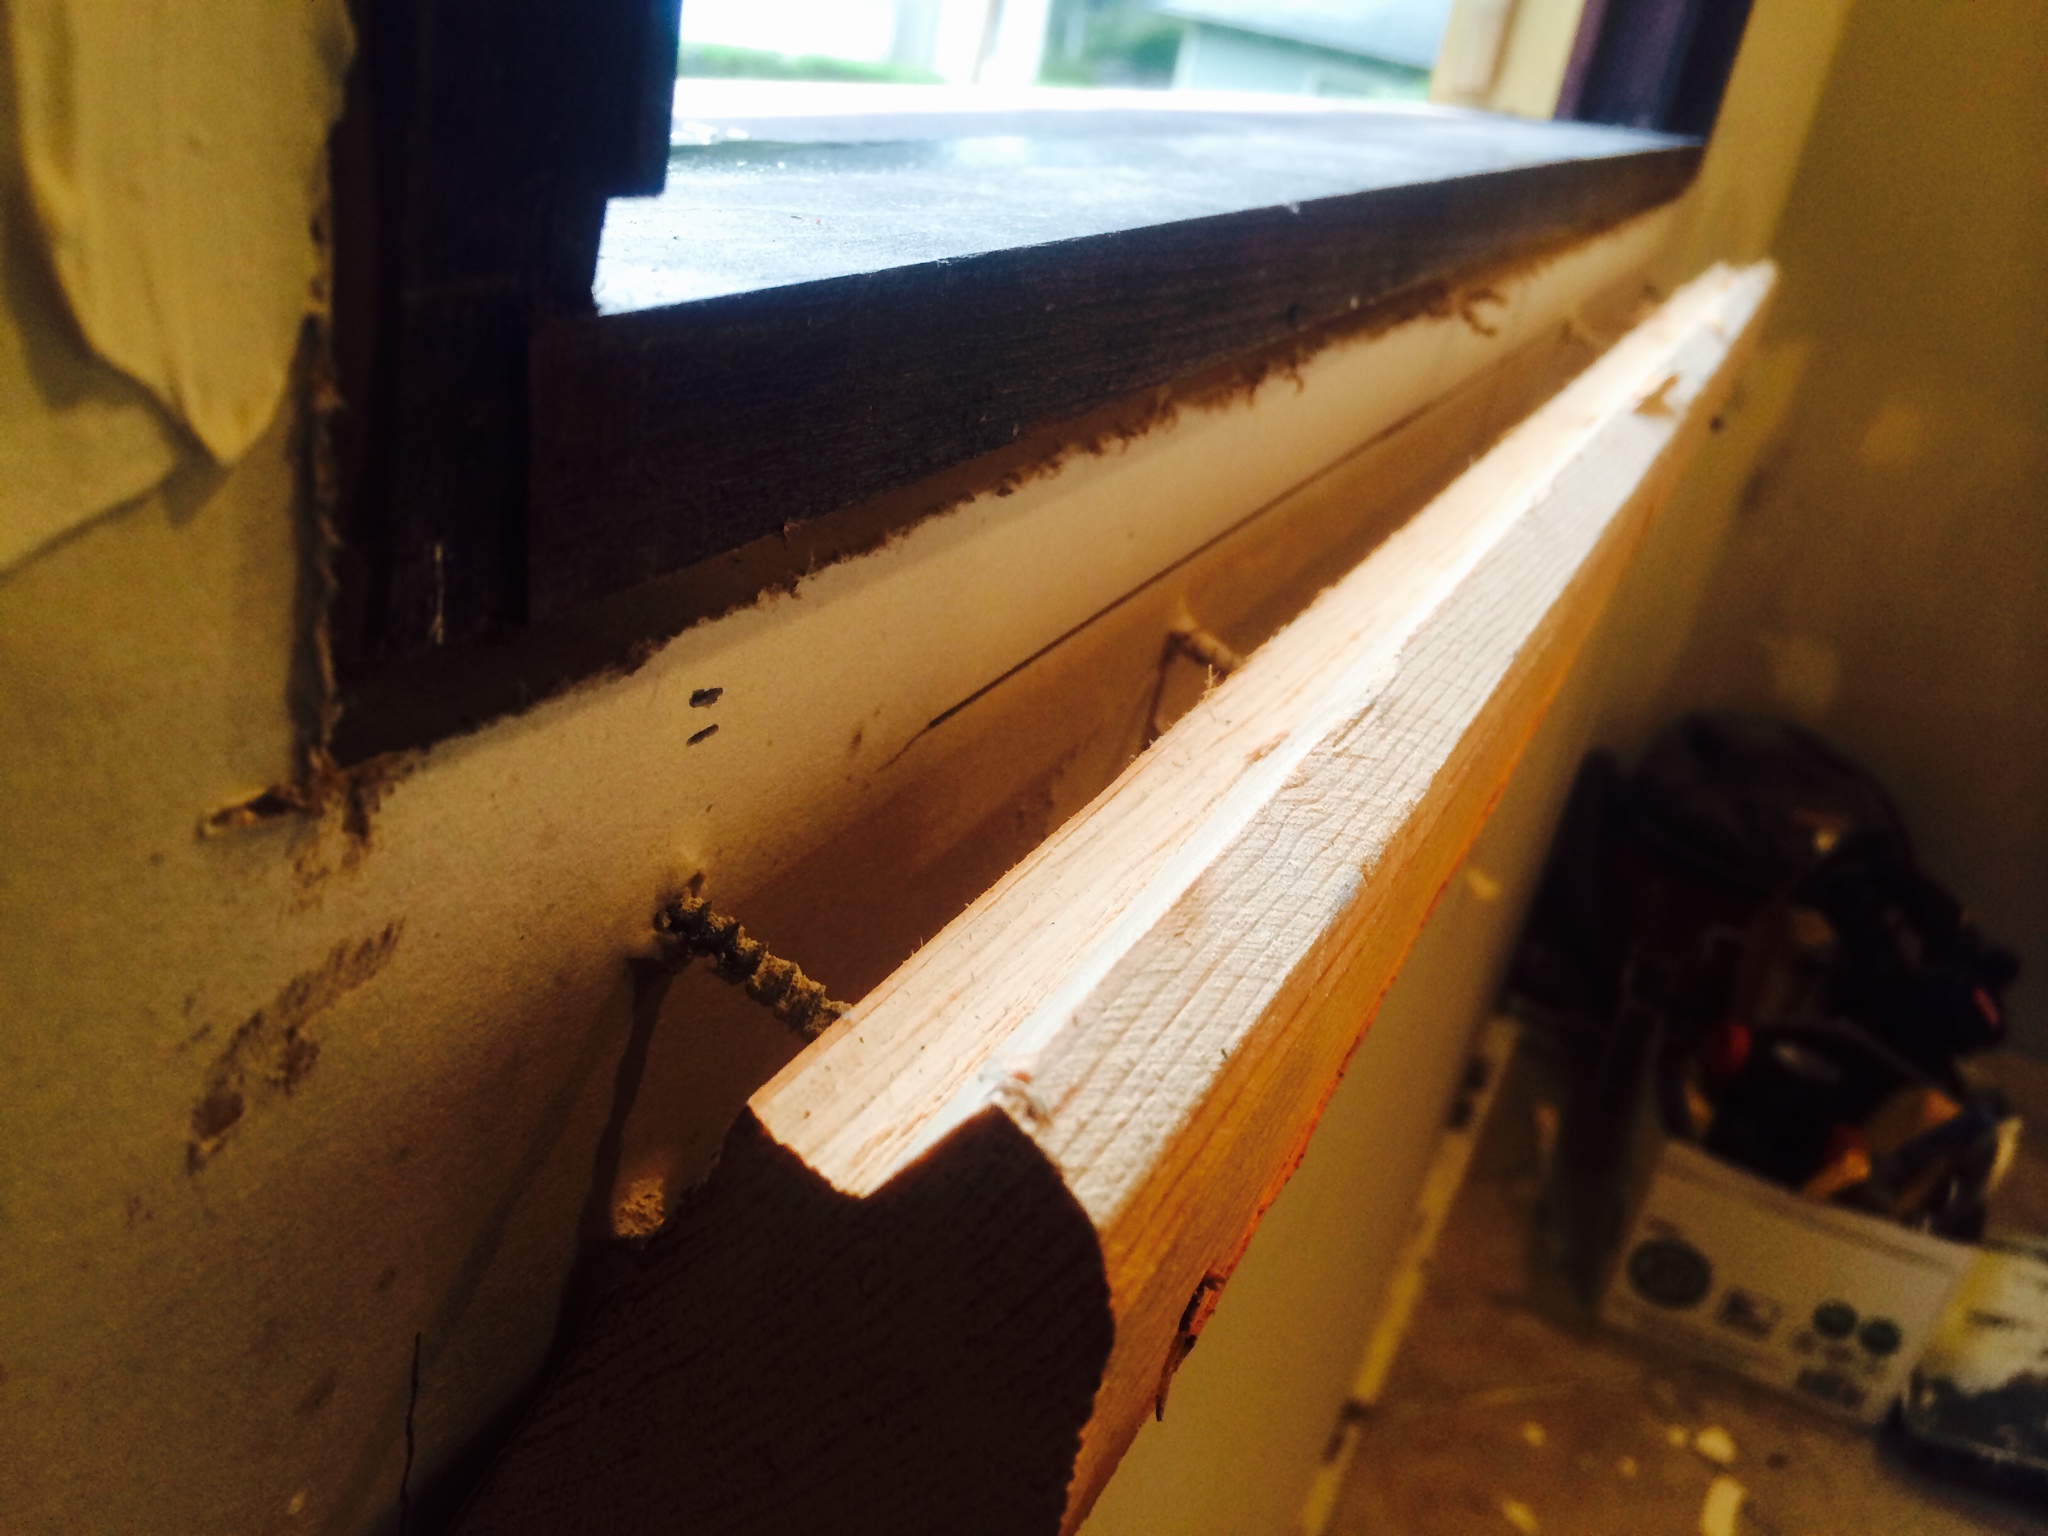
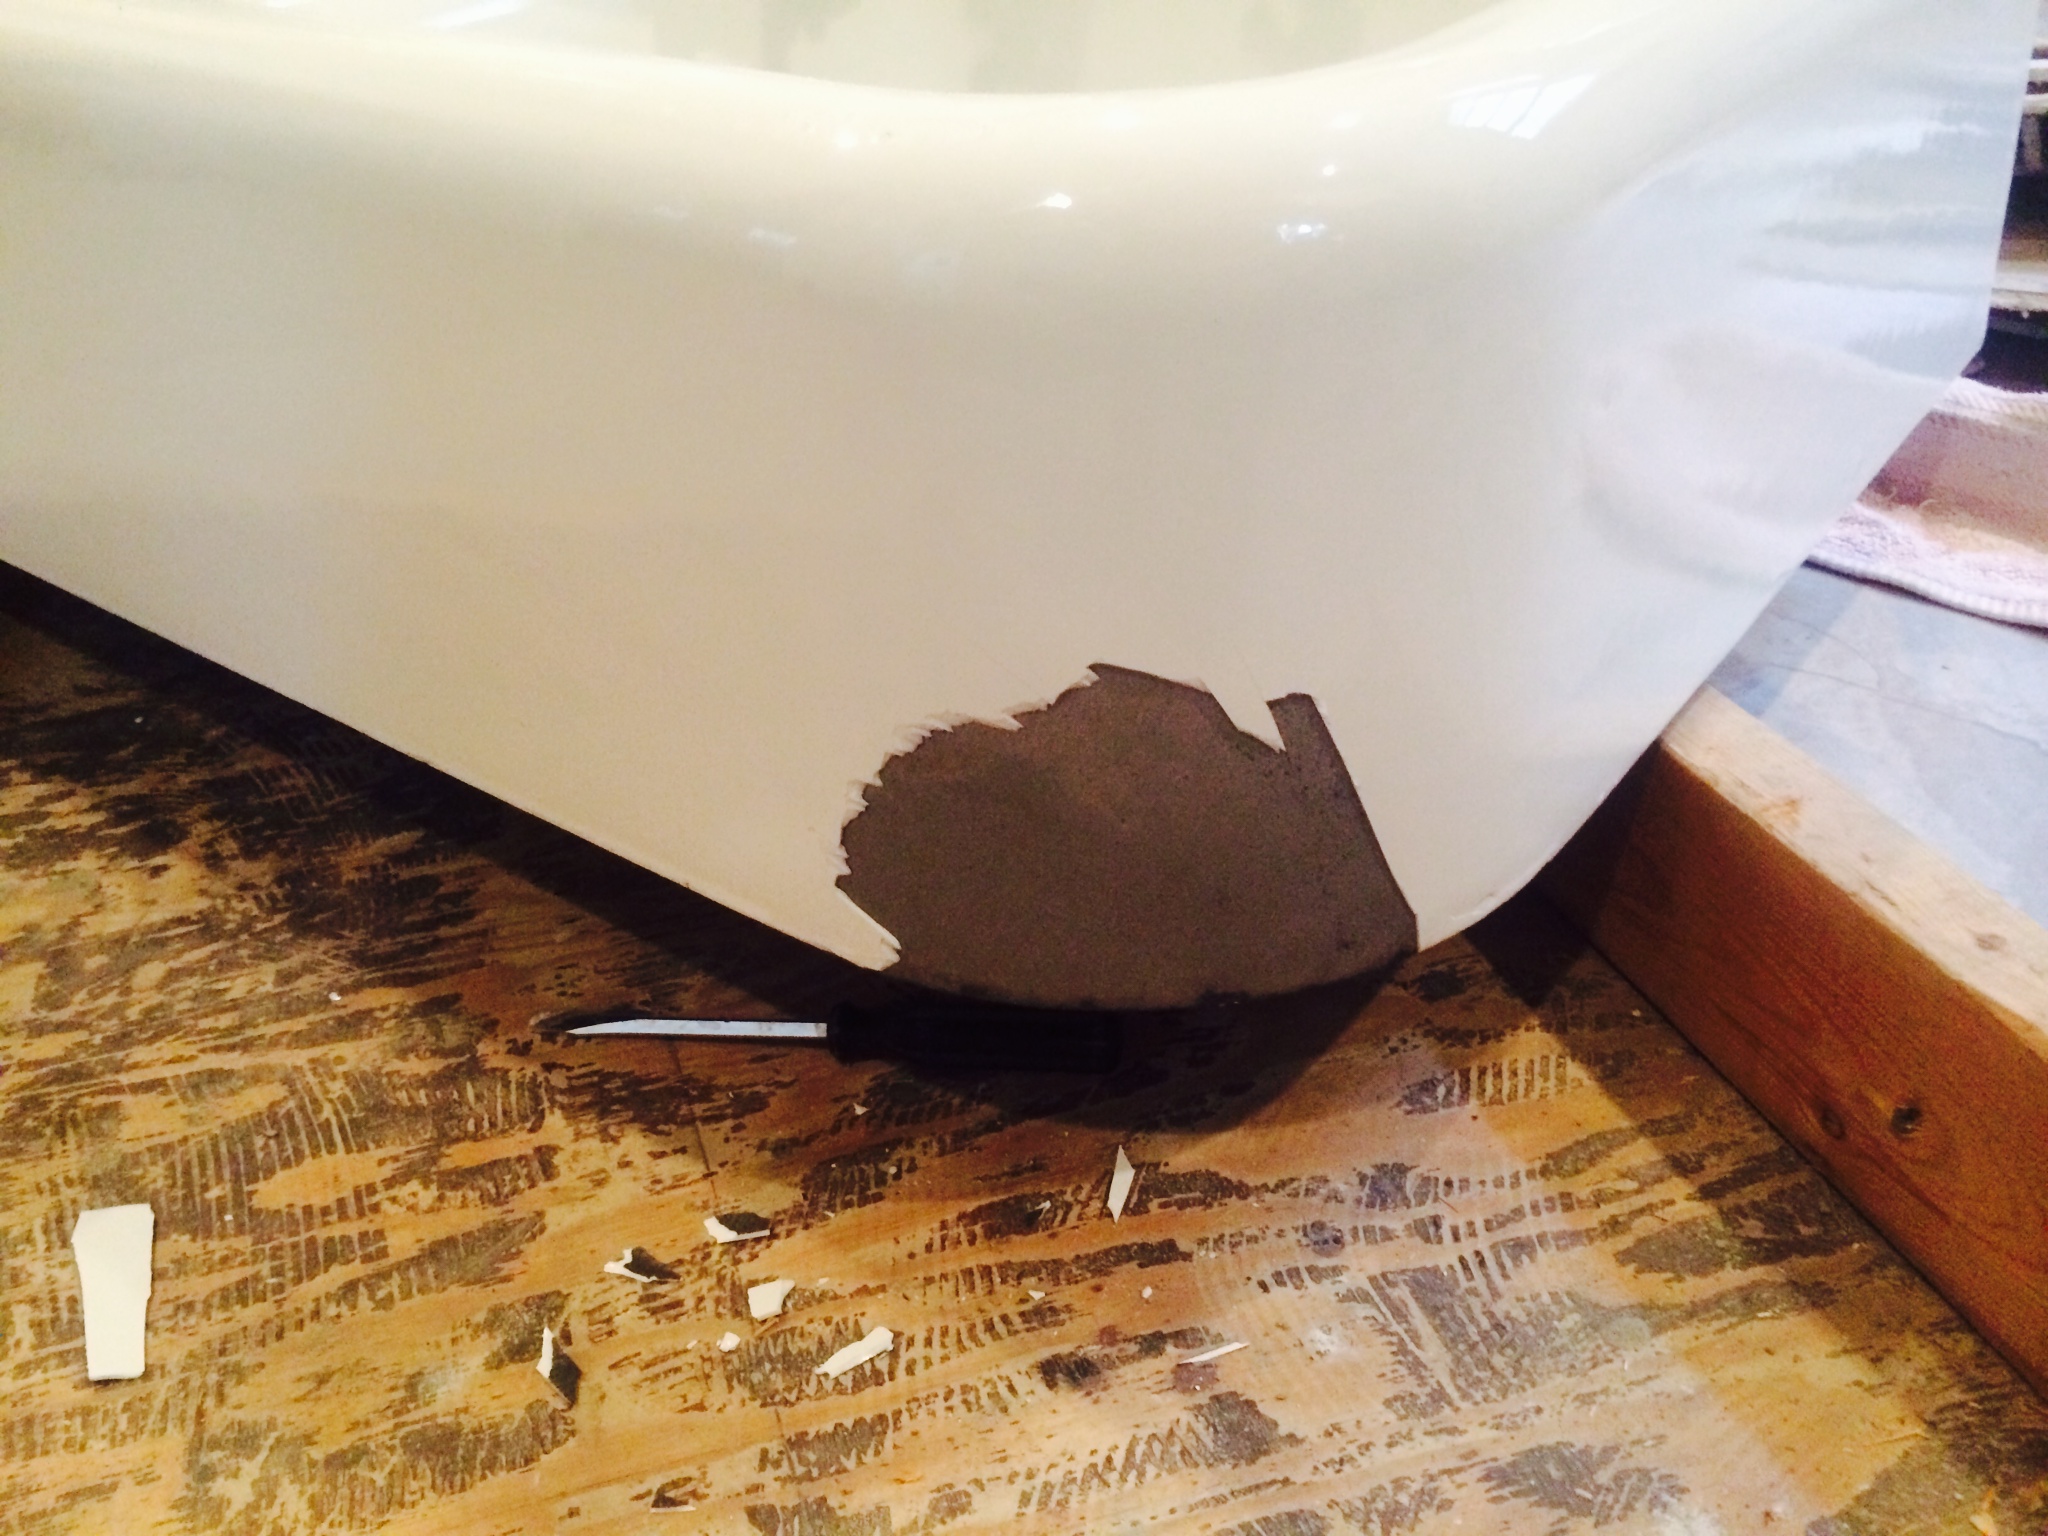
WARNING: This is where the story gets sad. The picture above lasted for about all of 4 minutes. As we were making braces to place under the base of the sink the whole thing came away from the wall and ended in a devastating crash of porcelain on the floor. All of us stared at the disaster in shock, afraid to get any closer. It was a rough day.
Eventually we had to examine the damage- 5 floor tiles cracked, several dented corners on the sink, a scratched faucet, and a chunk of the sink just absolutely missing. This single incident has been our greatest setback of the whole project. We walked away from the kitchen for a few days to regroup, as you can probably imagine tempers were running high.
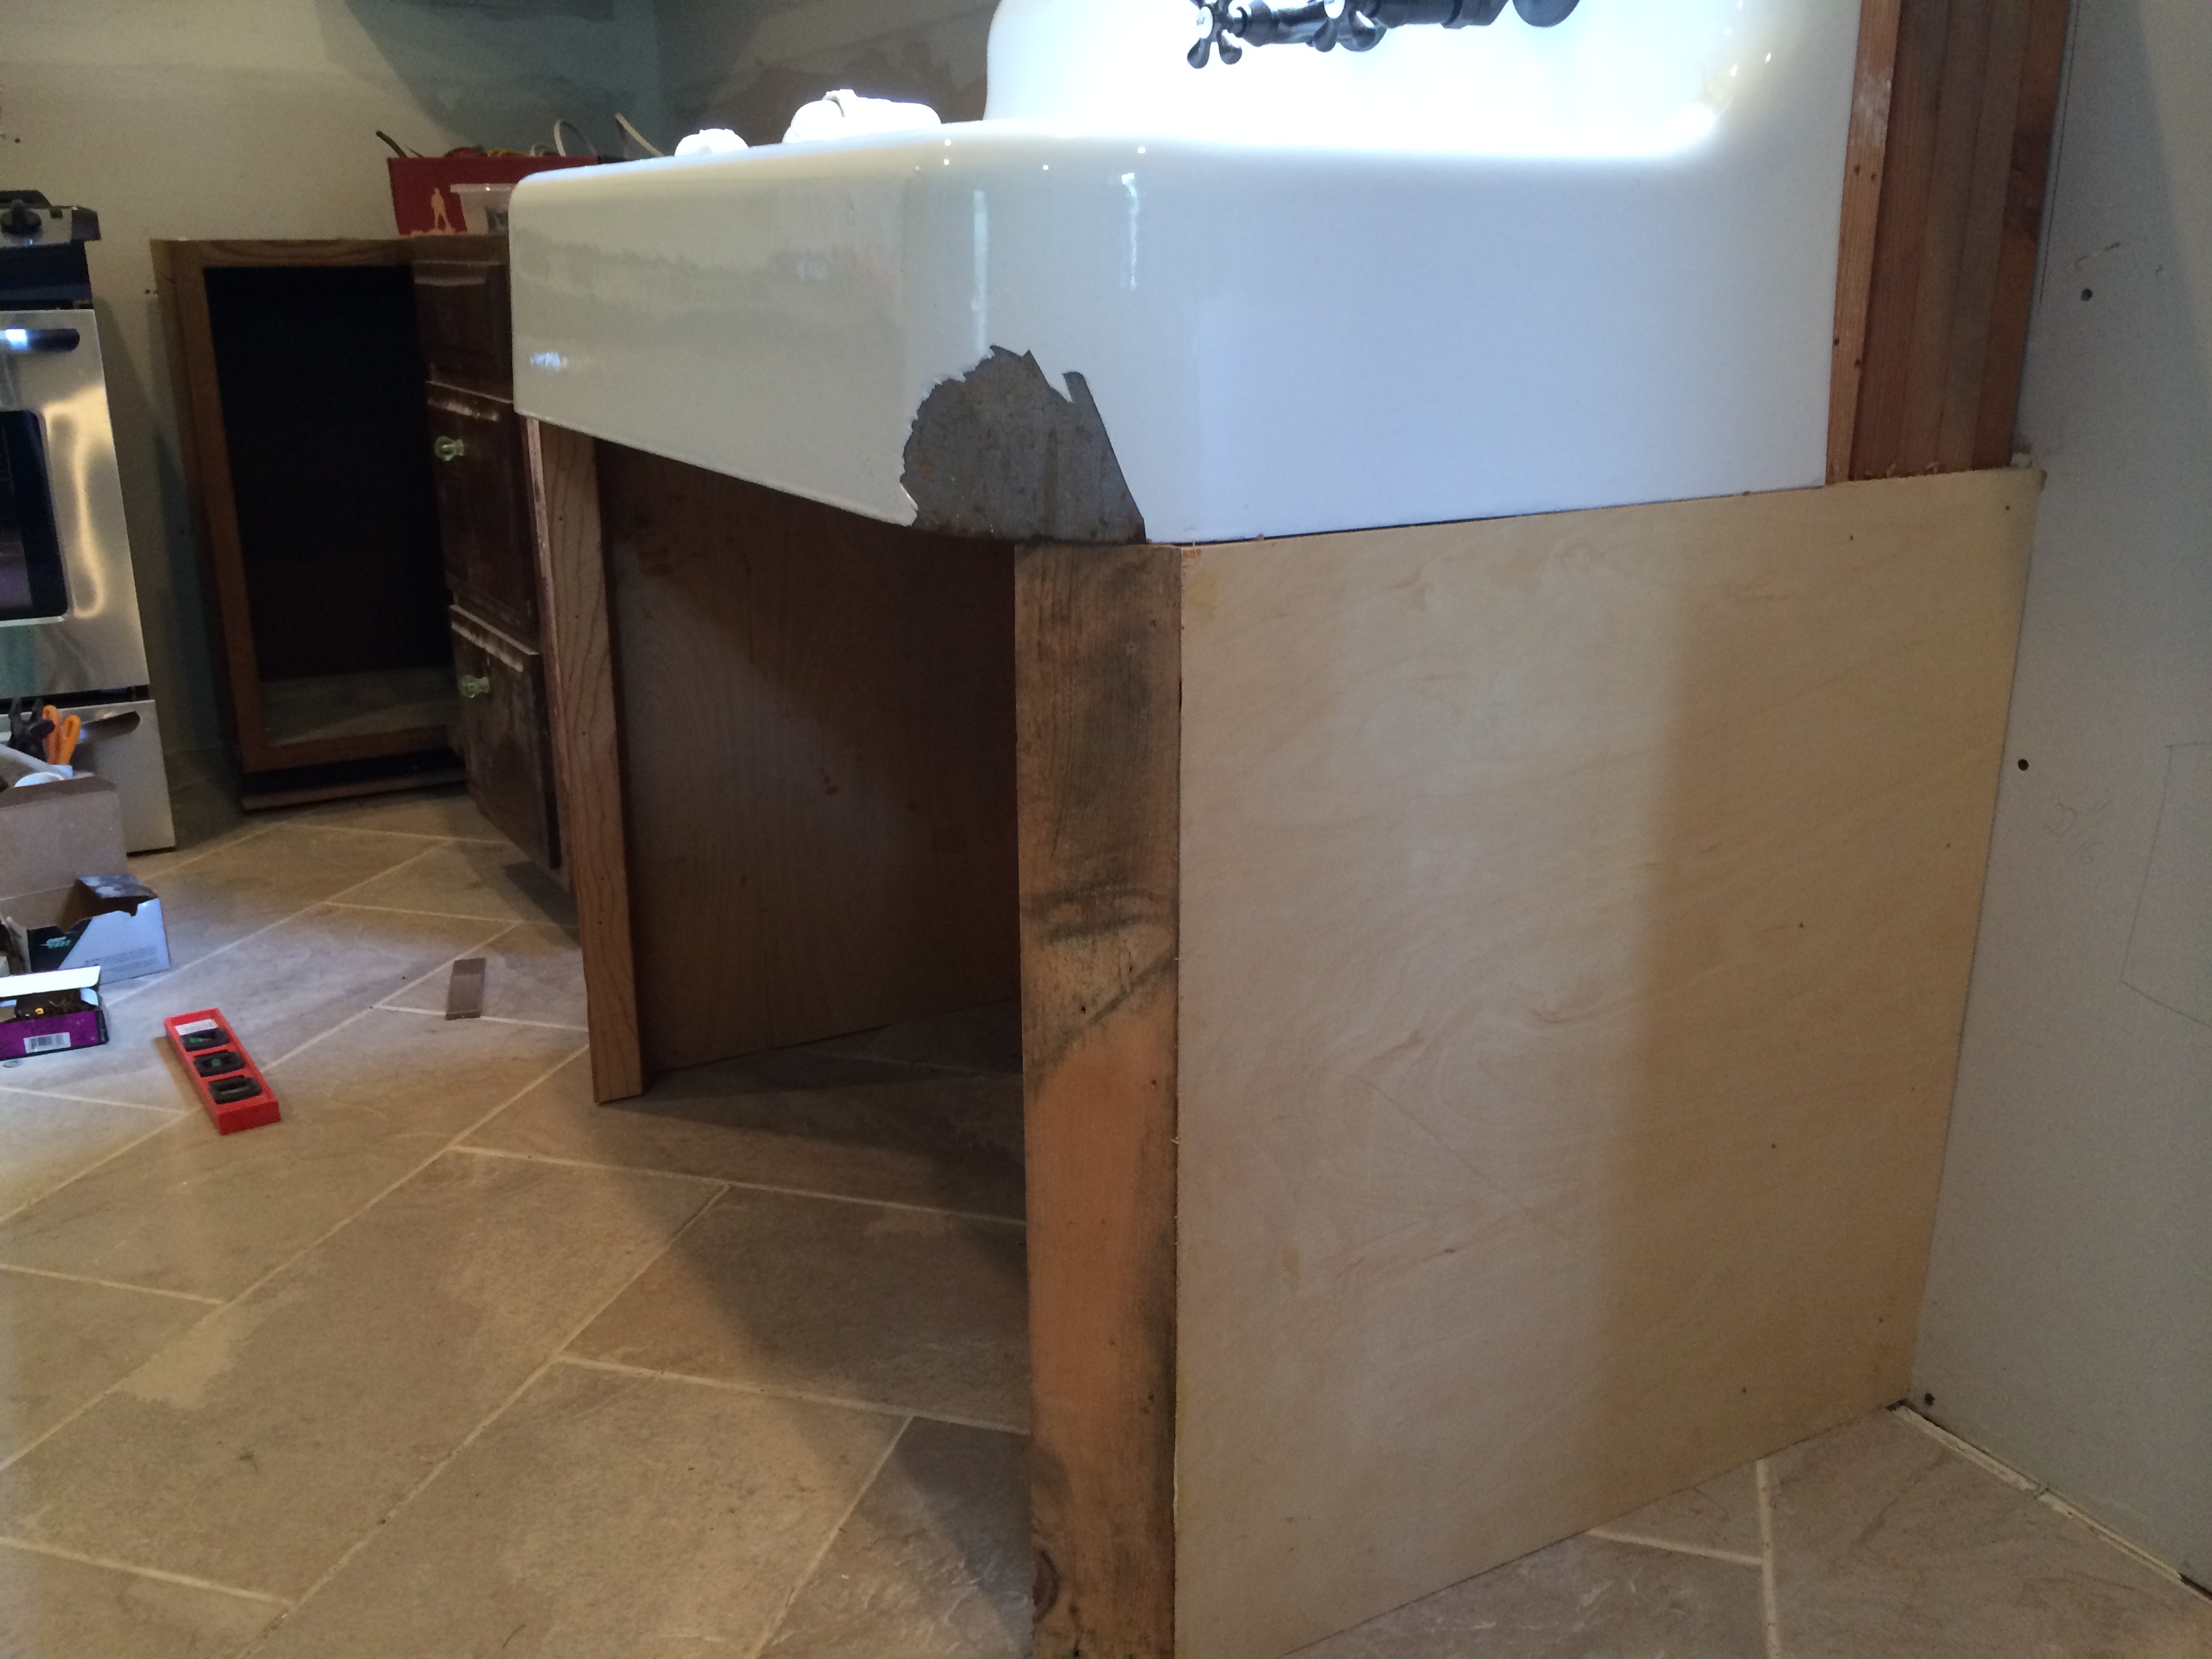
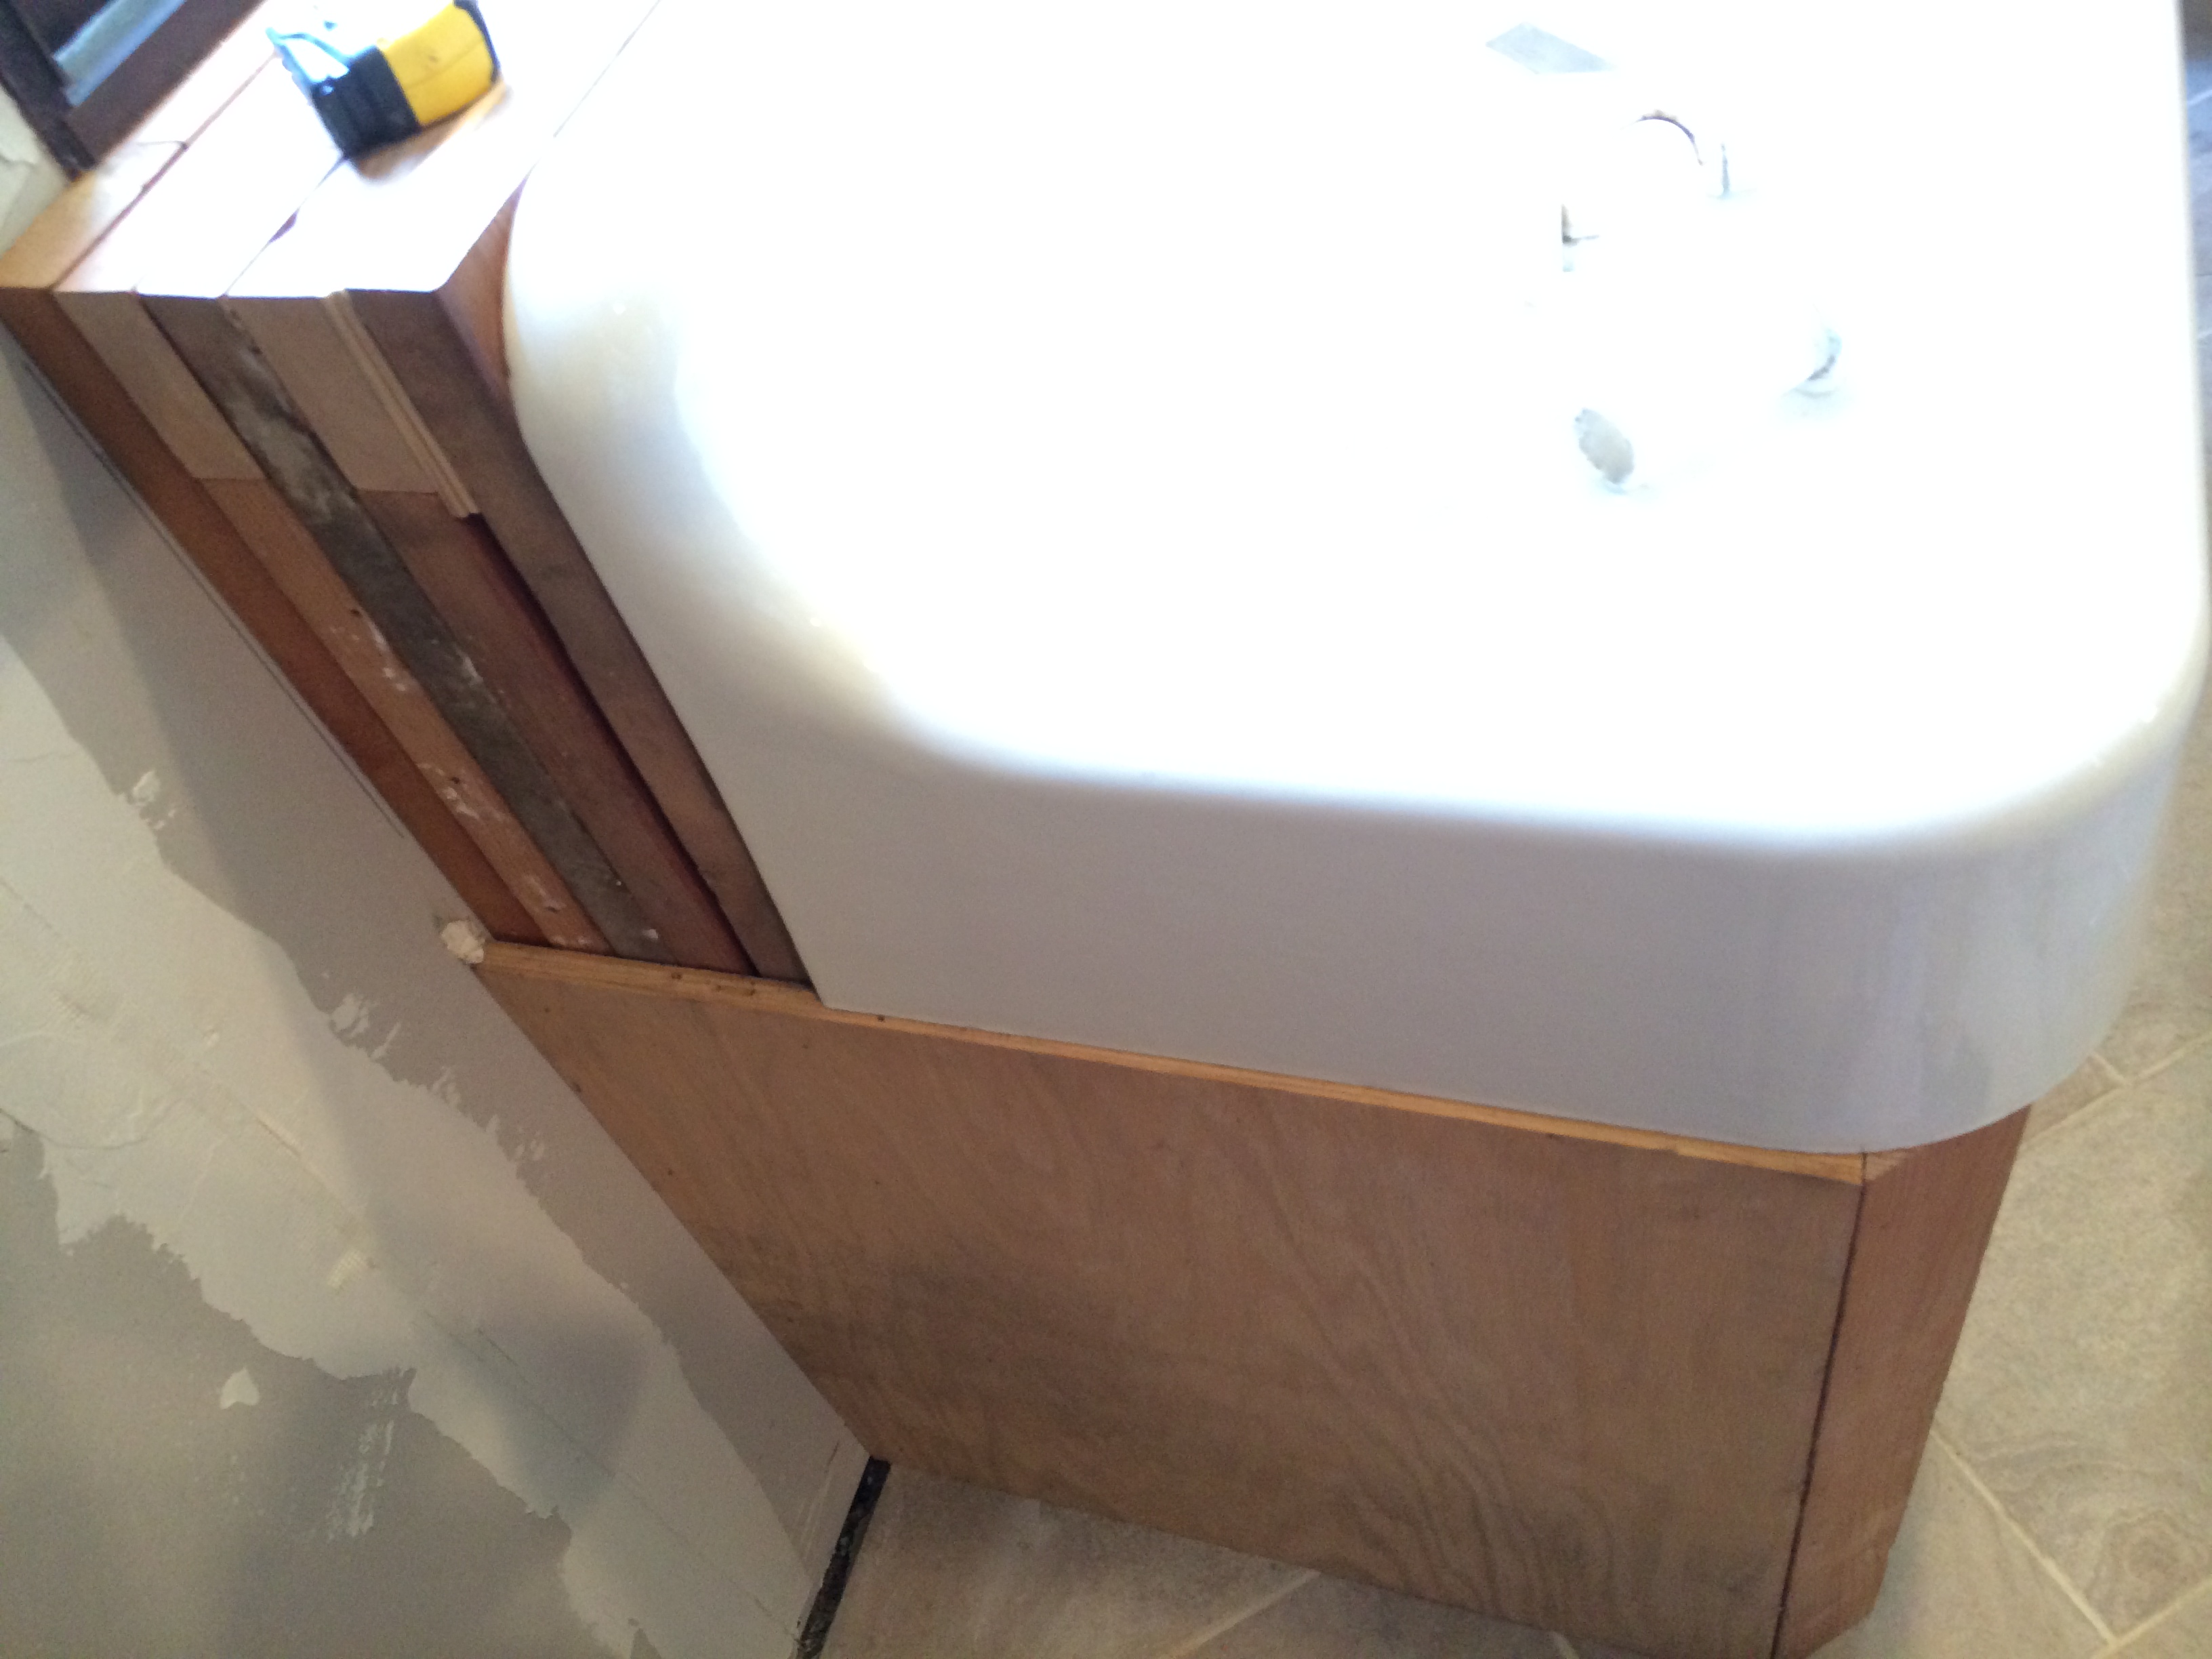
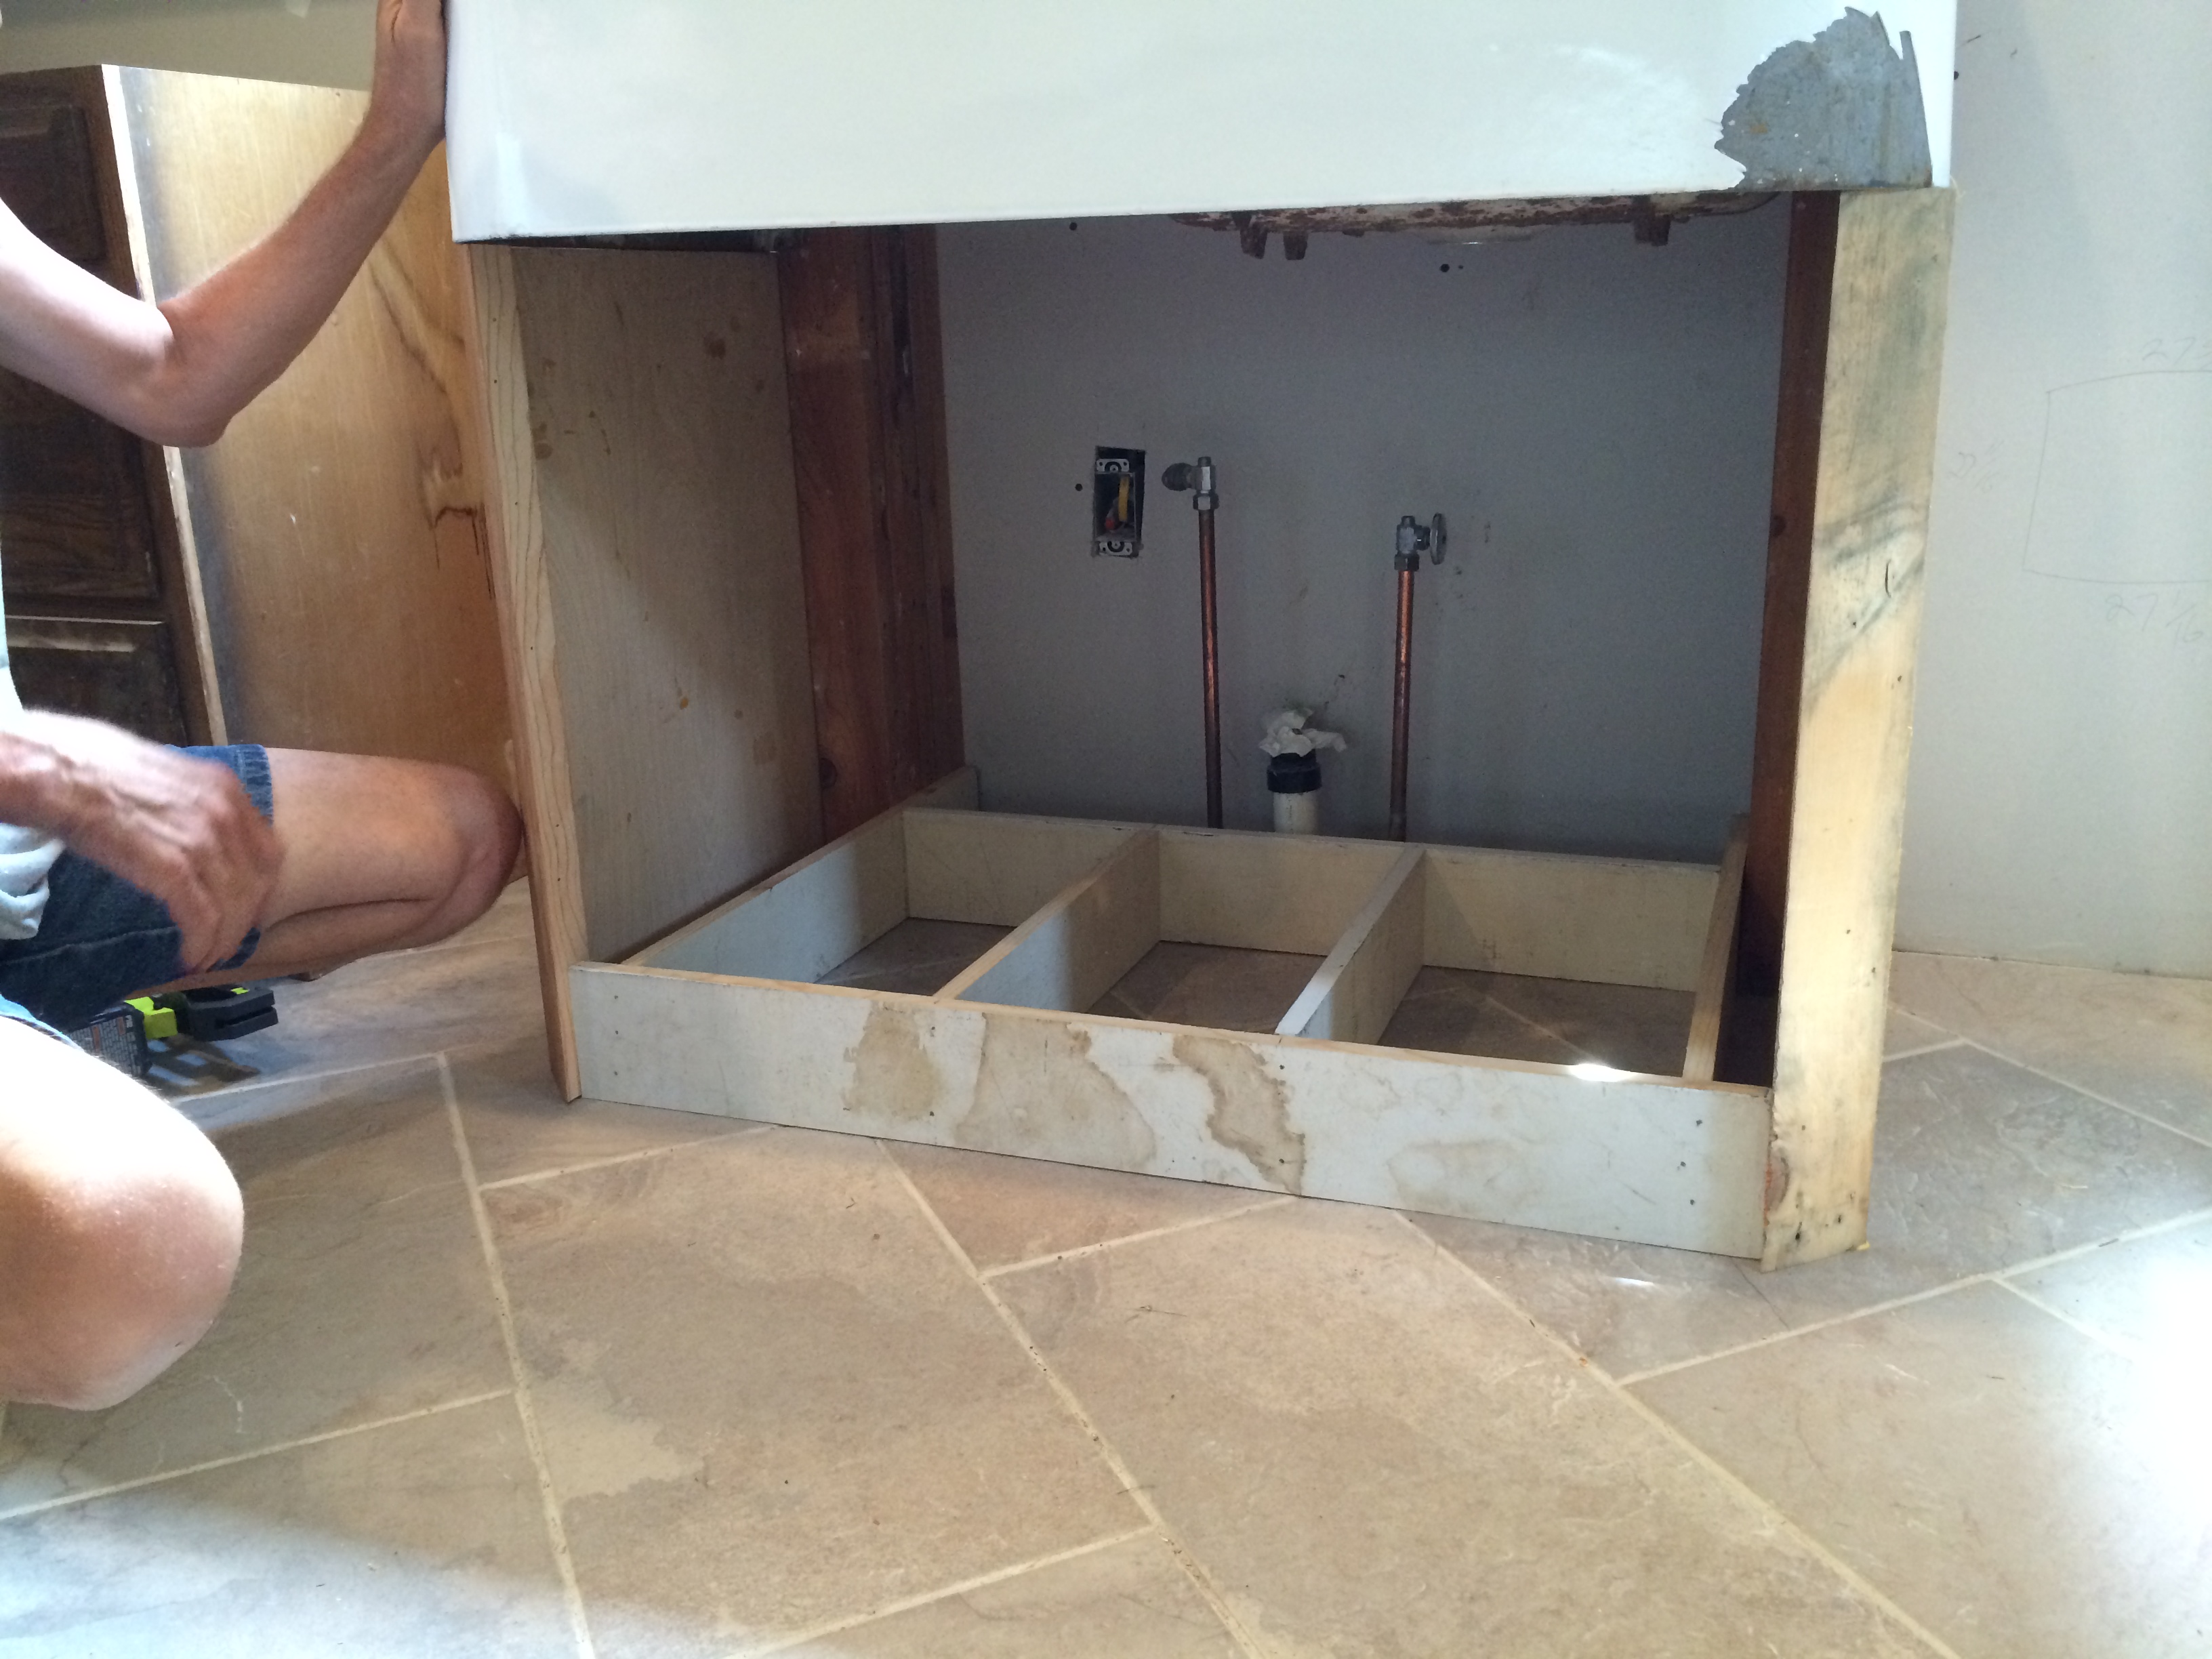
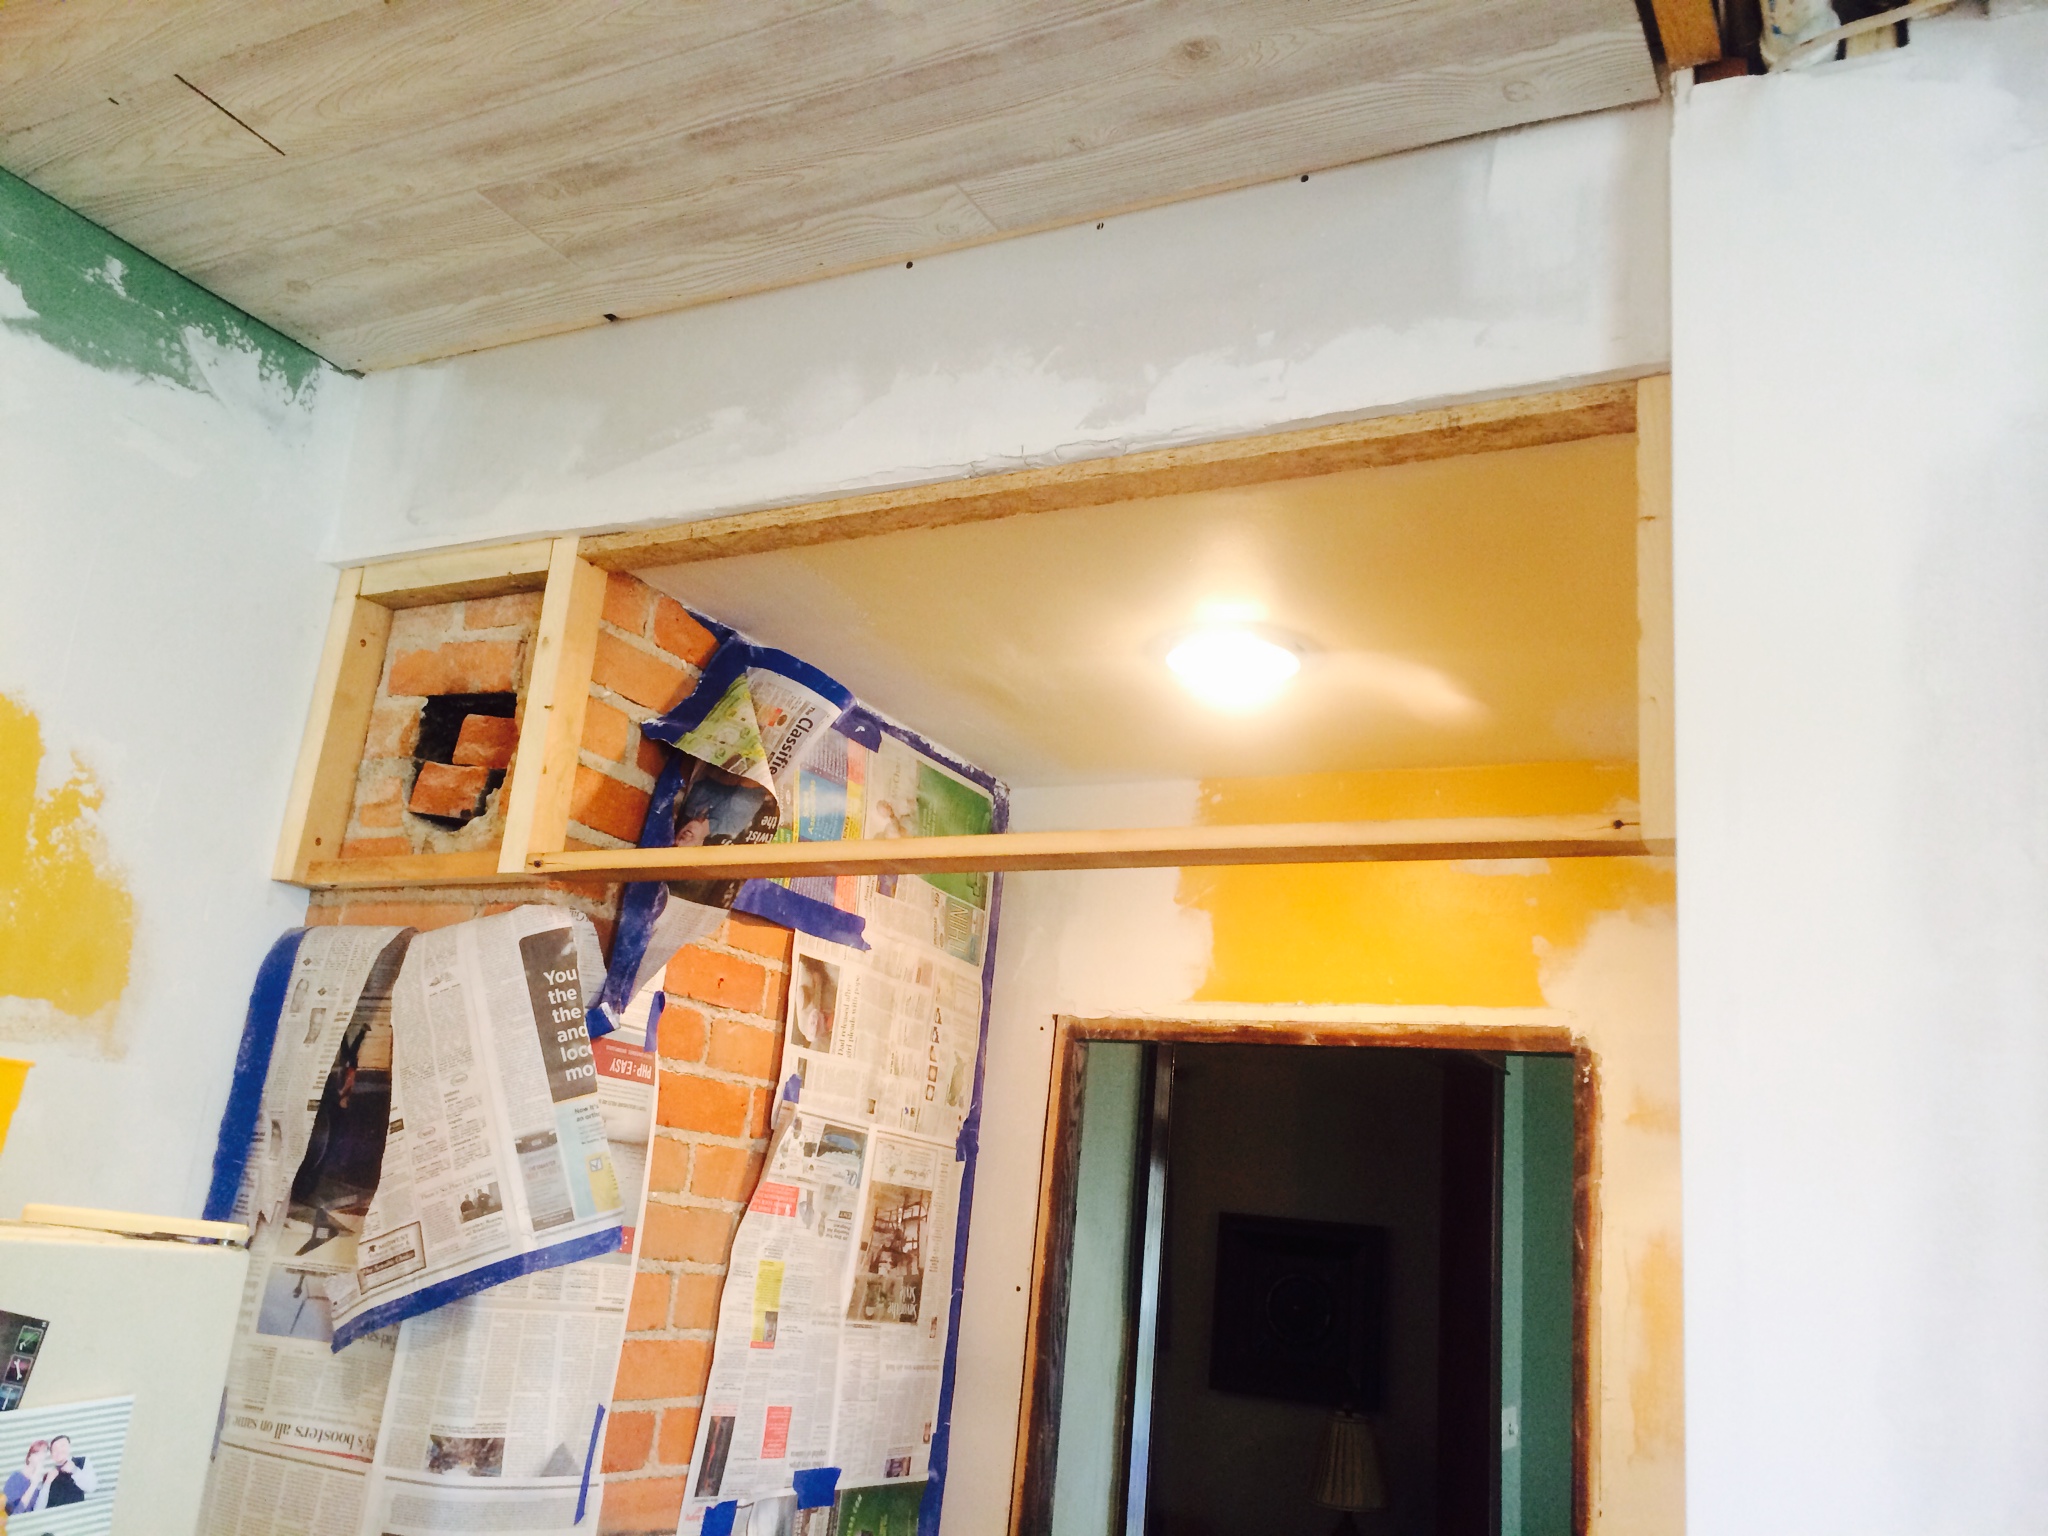
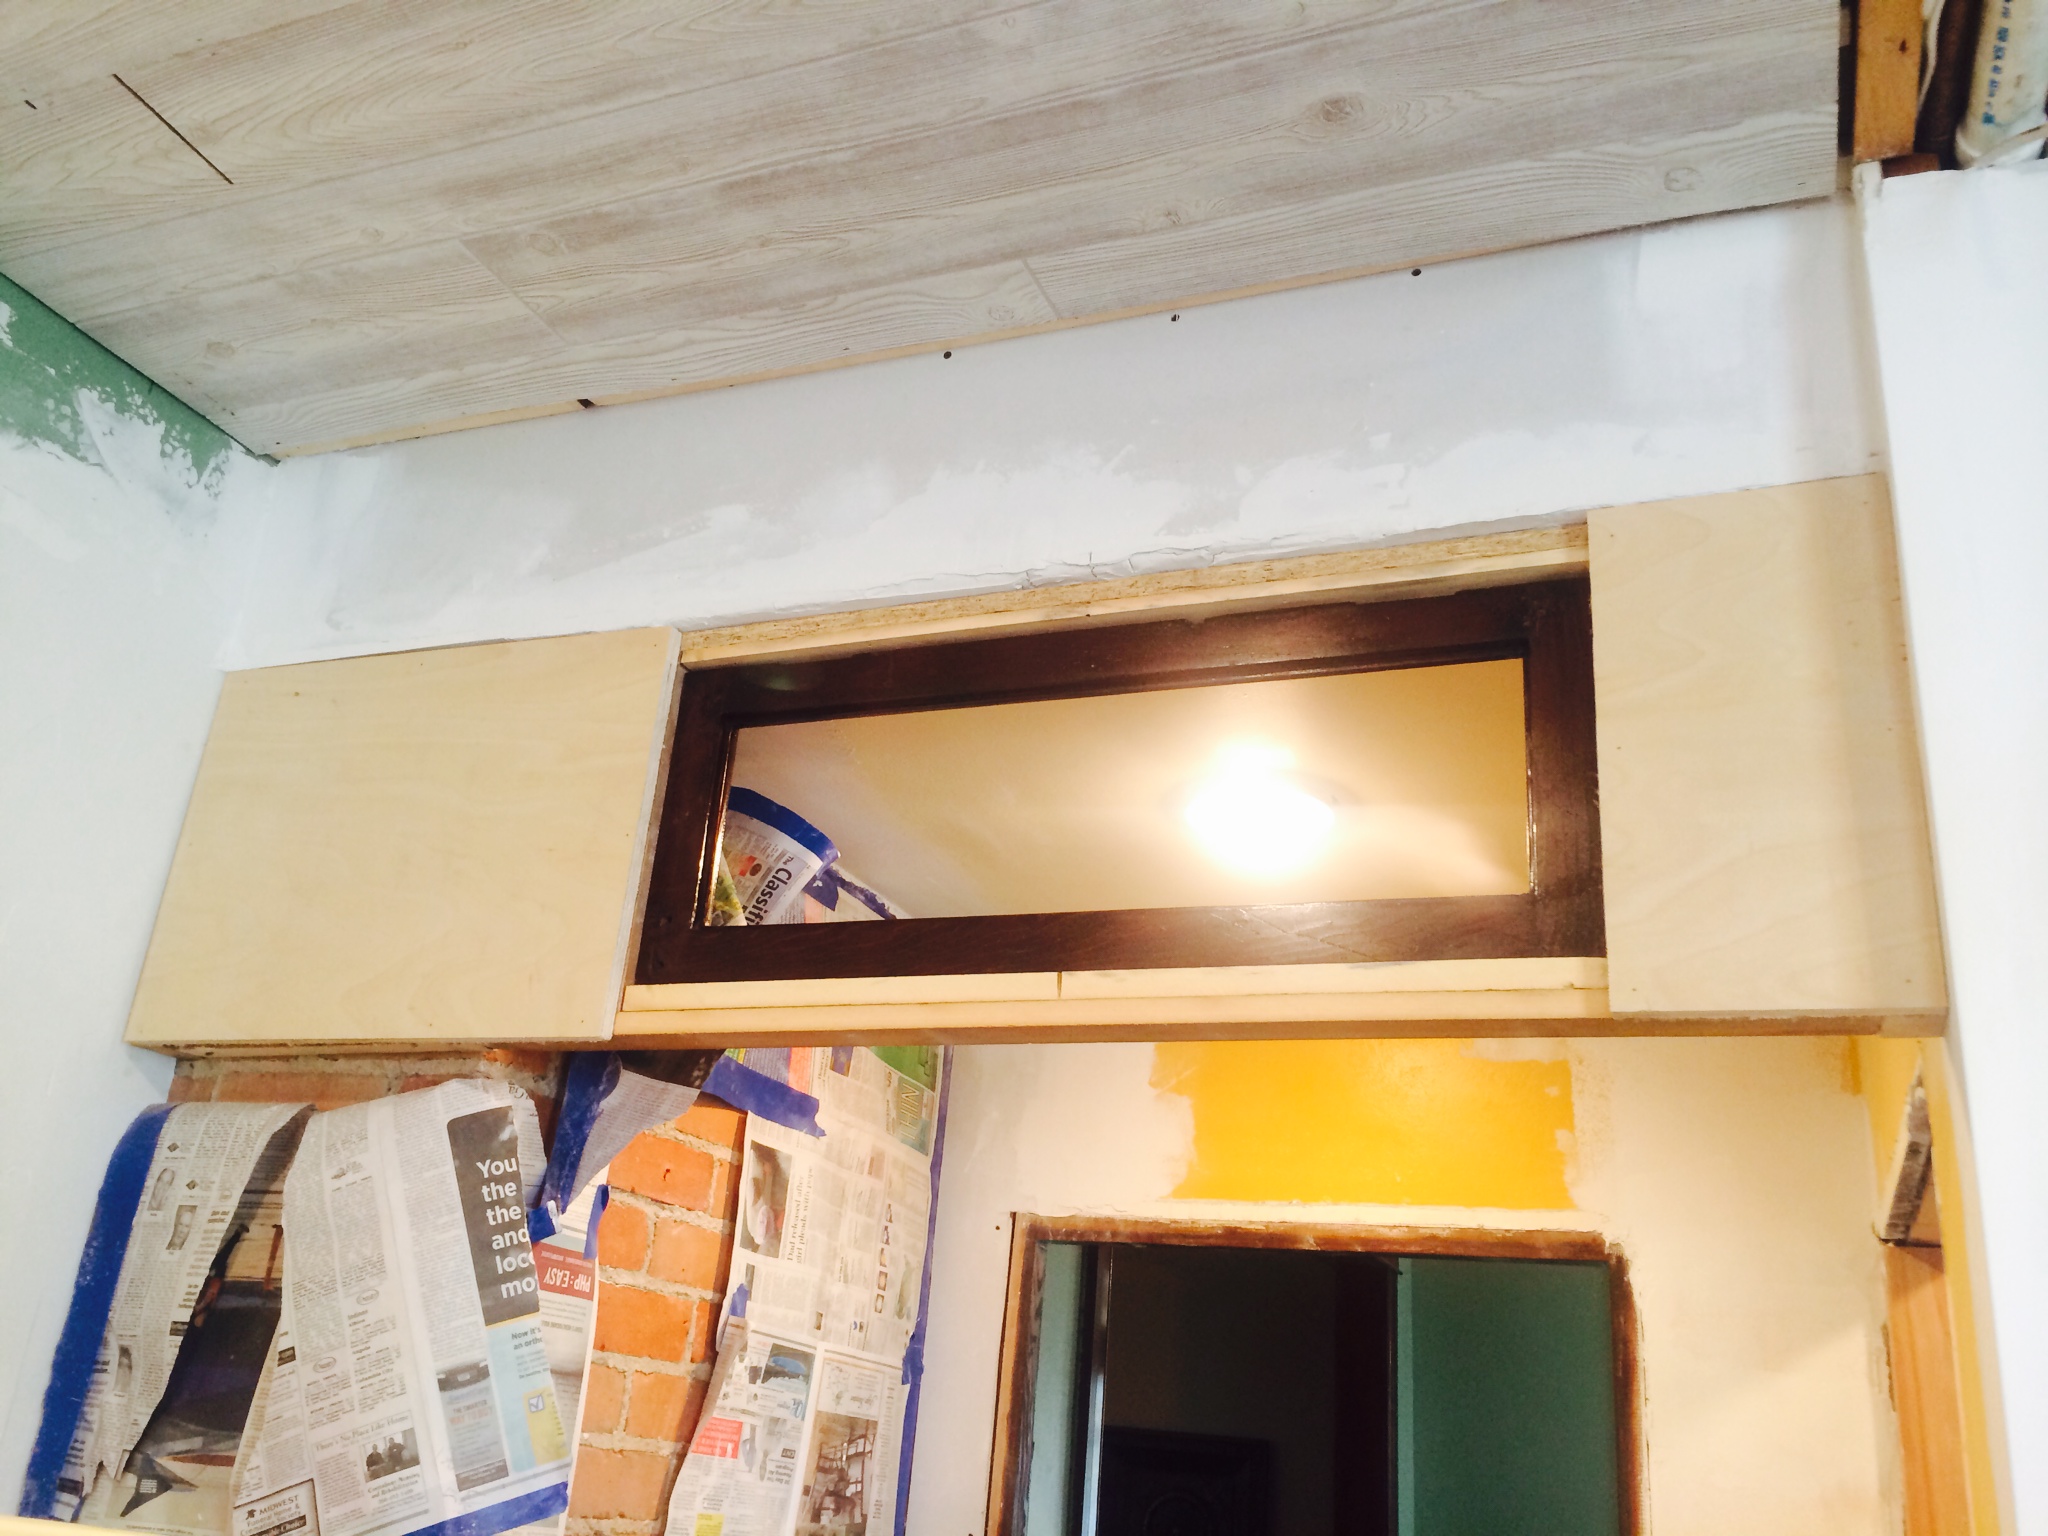
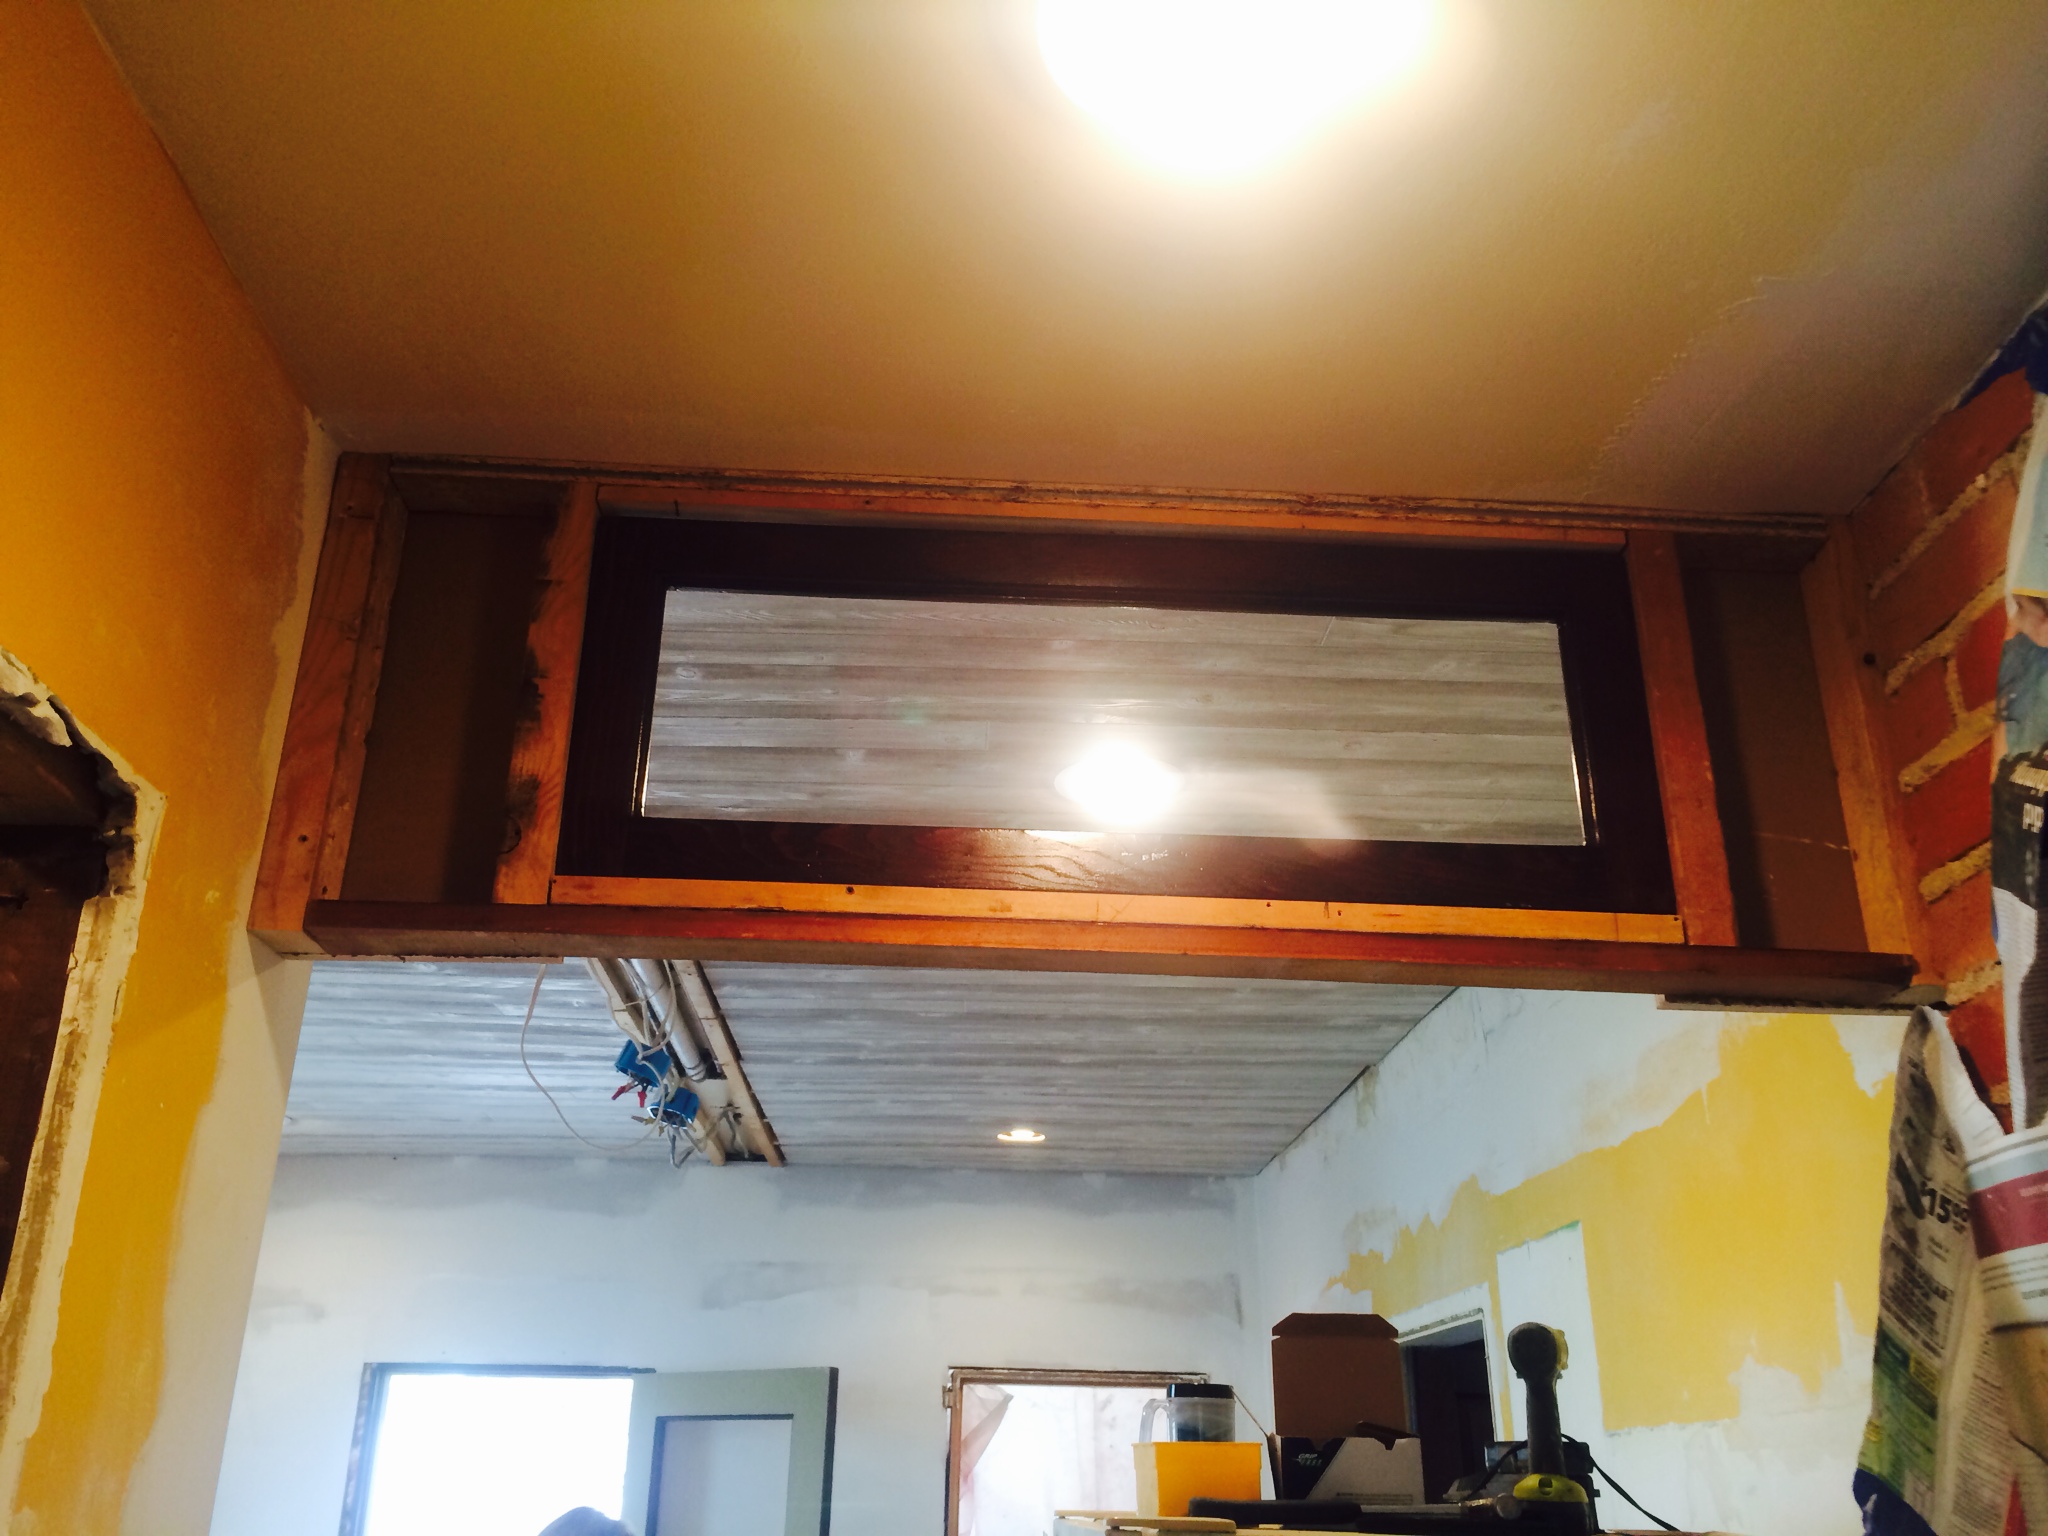
When we picked up work again we decided to try to salvage the sink by either repairing it or covering the broken corner. First off we had to come up with a more secure way of mounting the heavy sink. Our solution was to use the strength of several 2×4’s nailed together. This time we would also add a metal bracket.
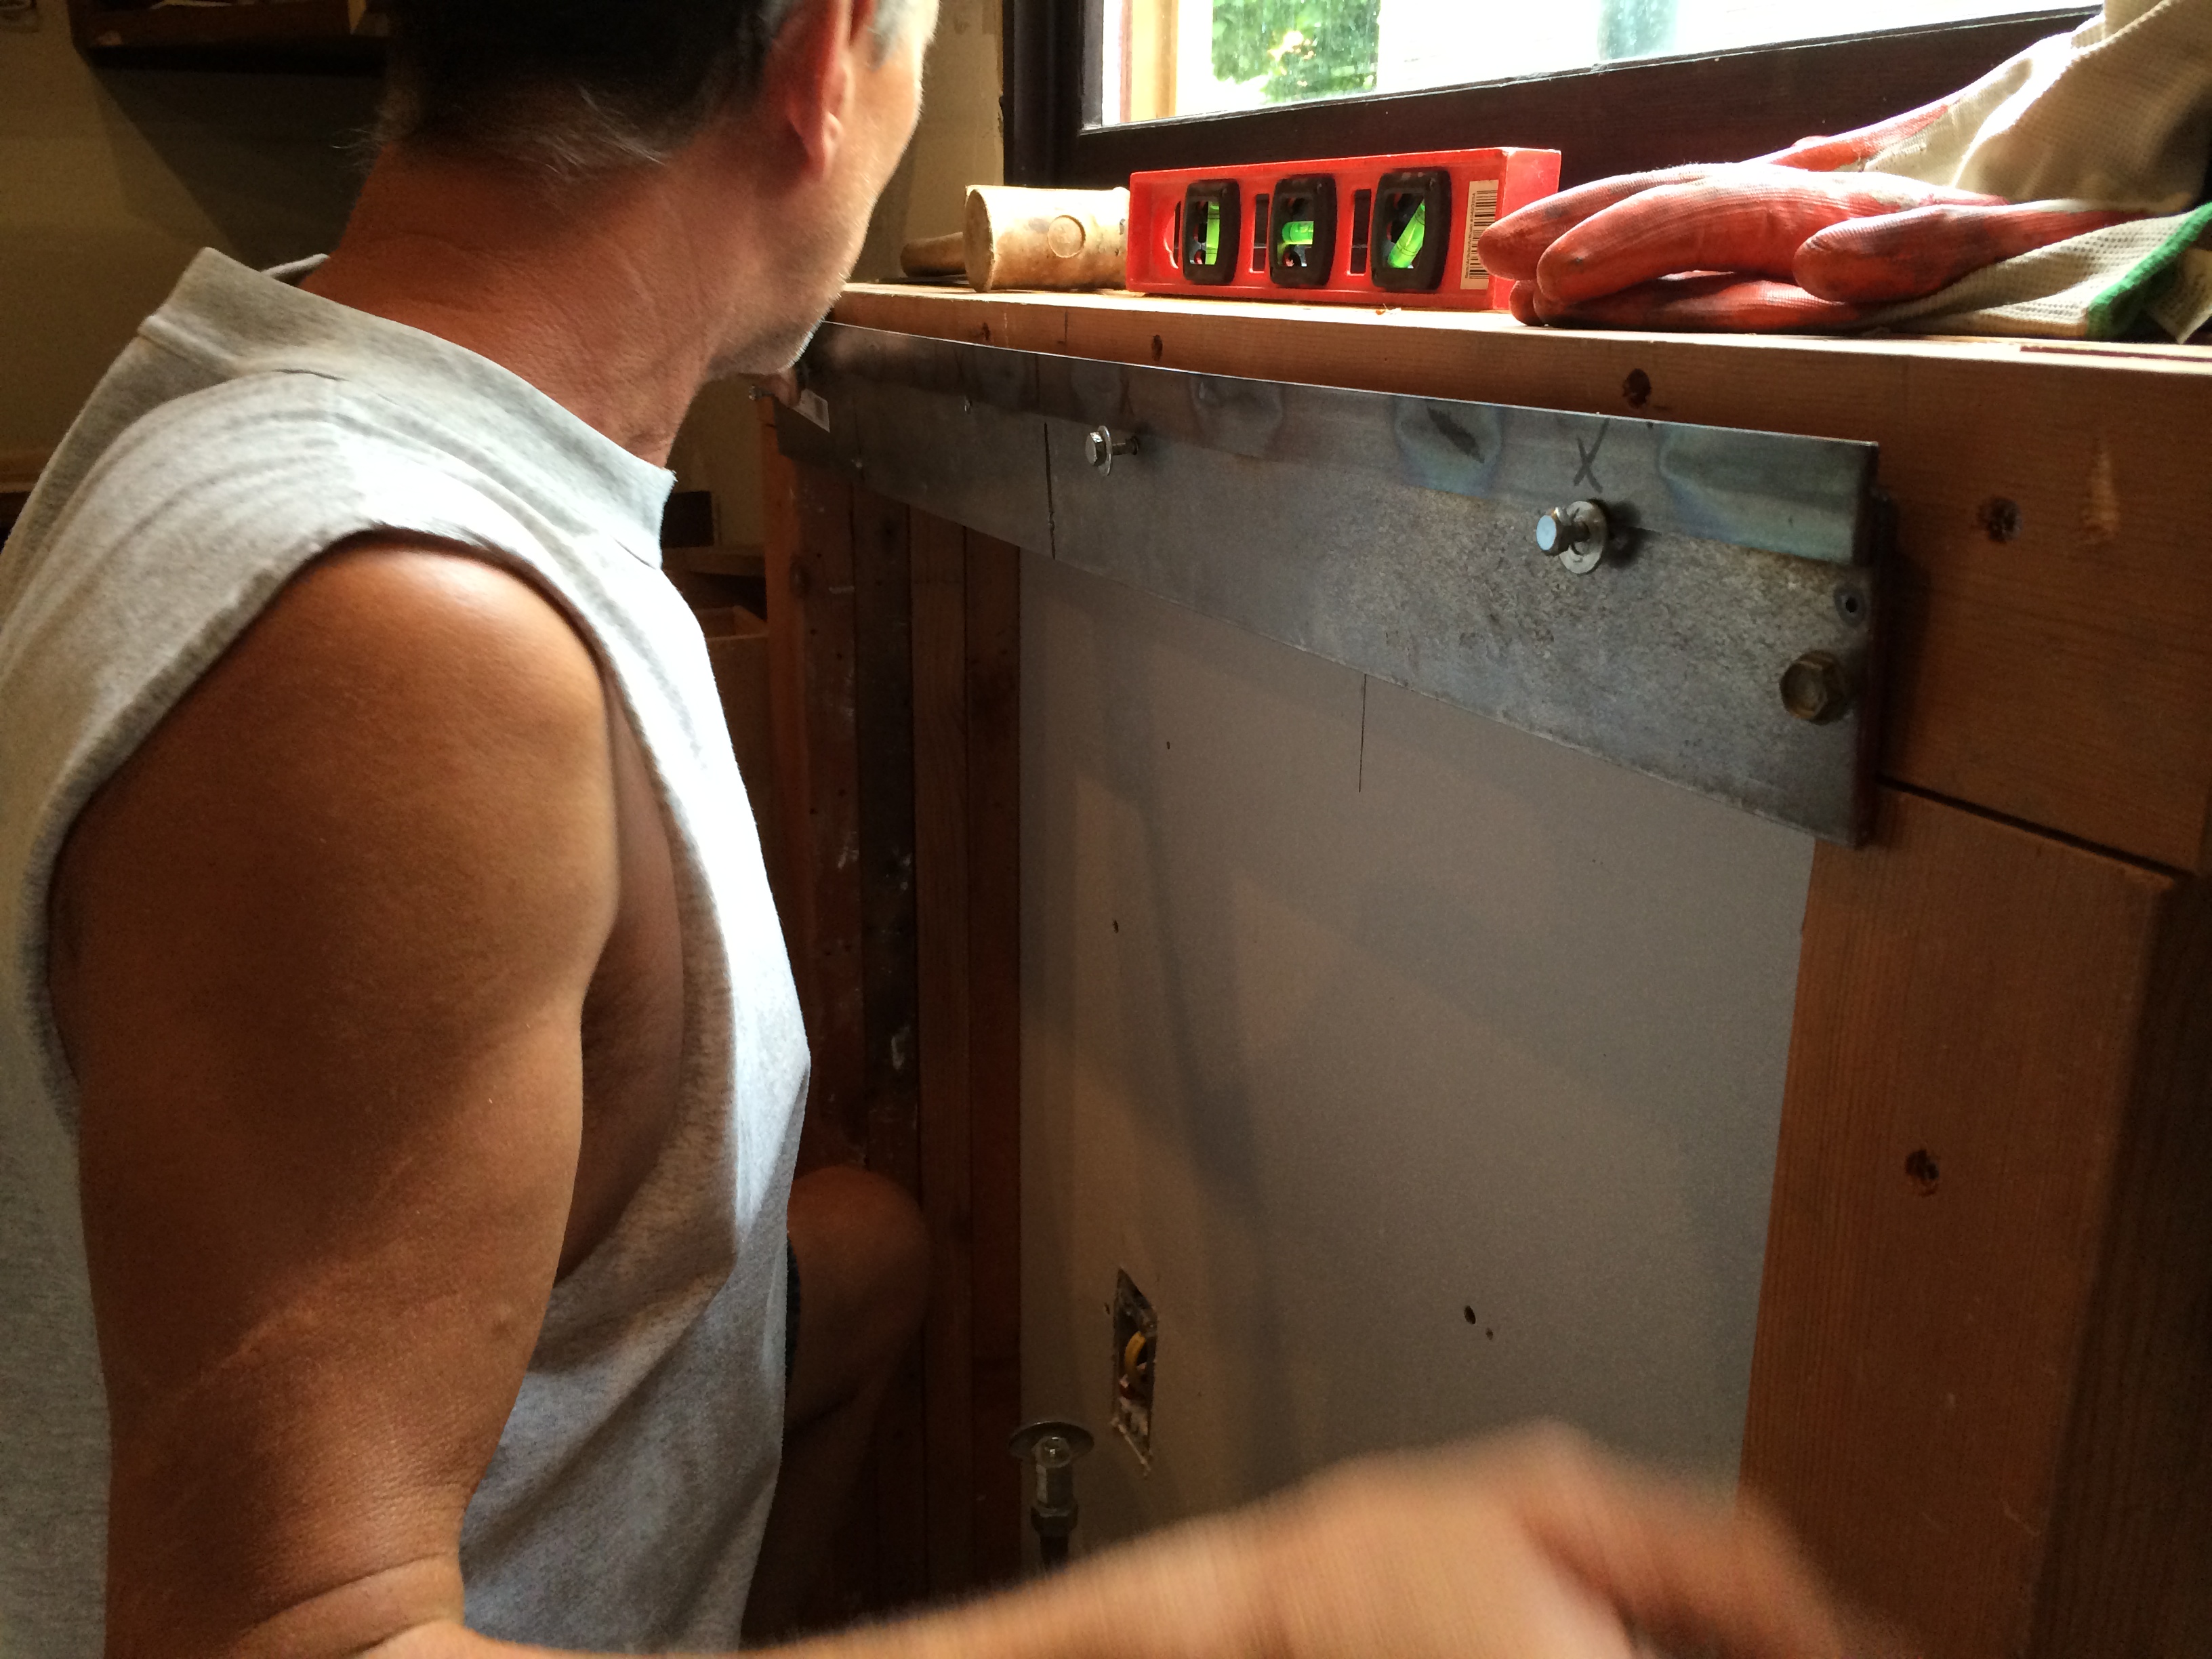
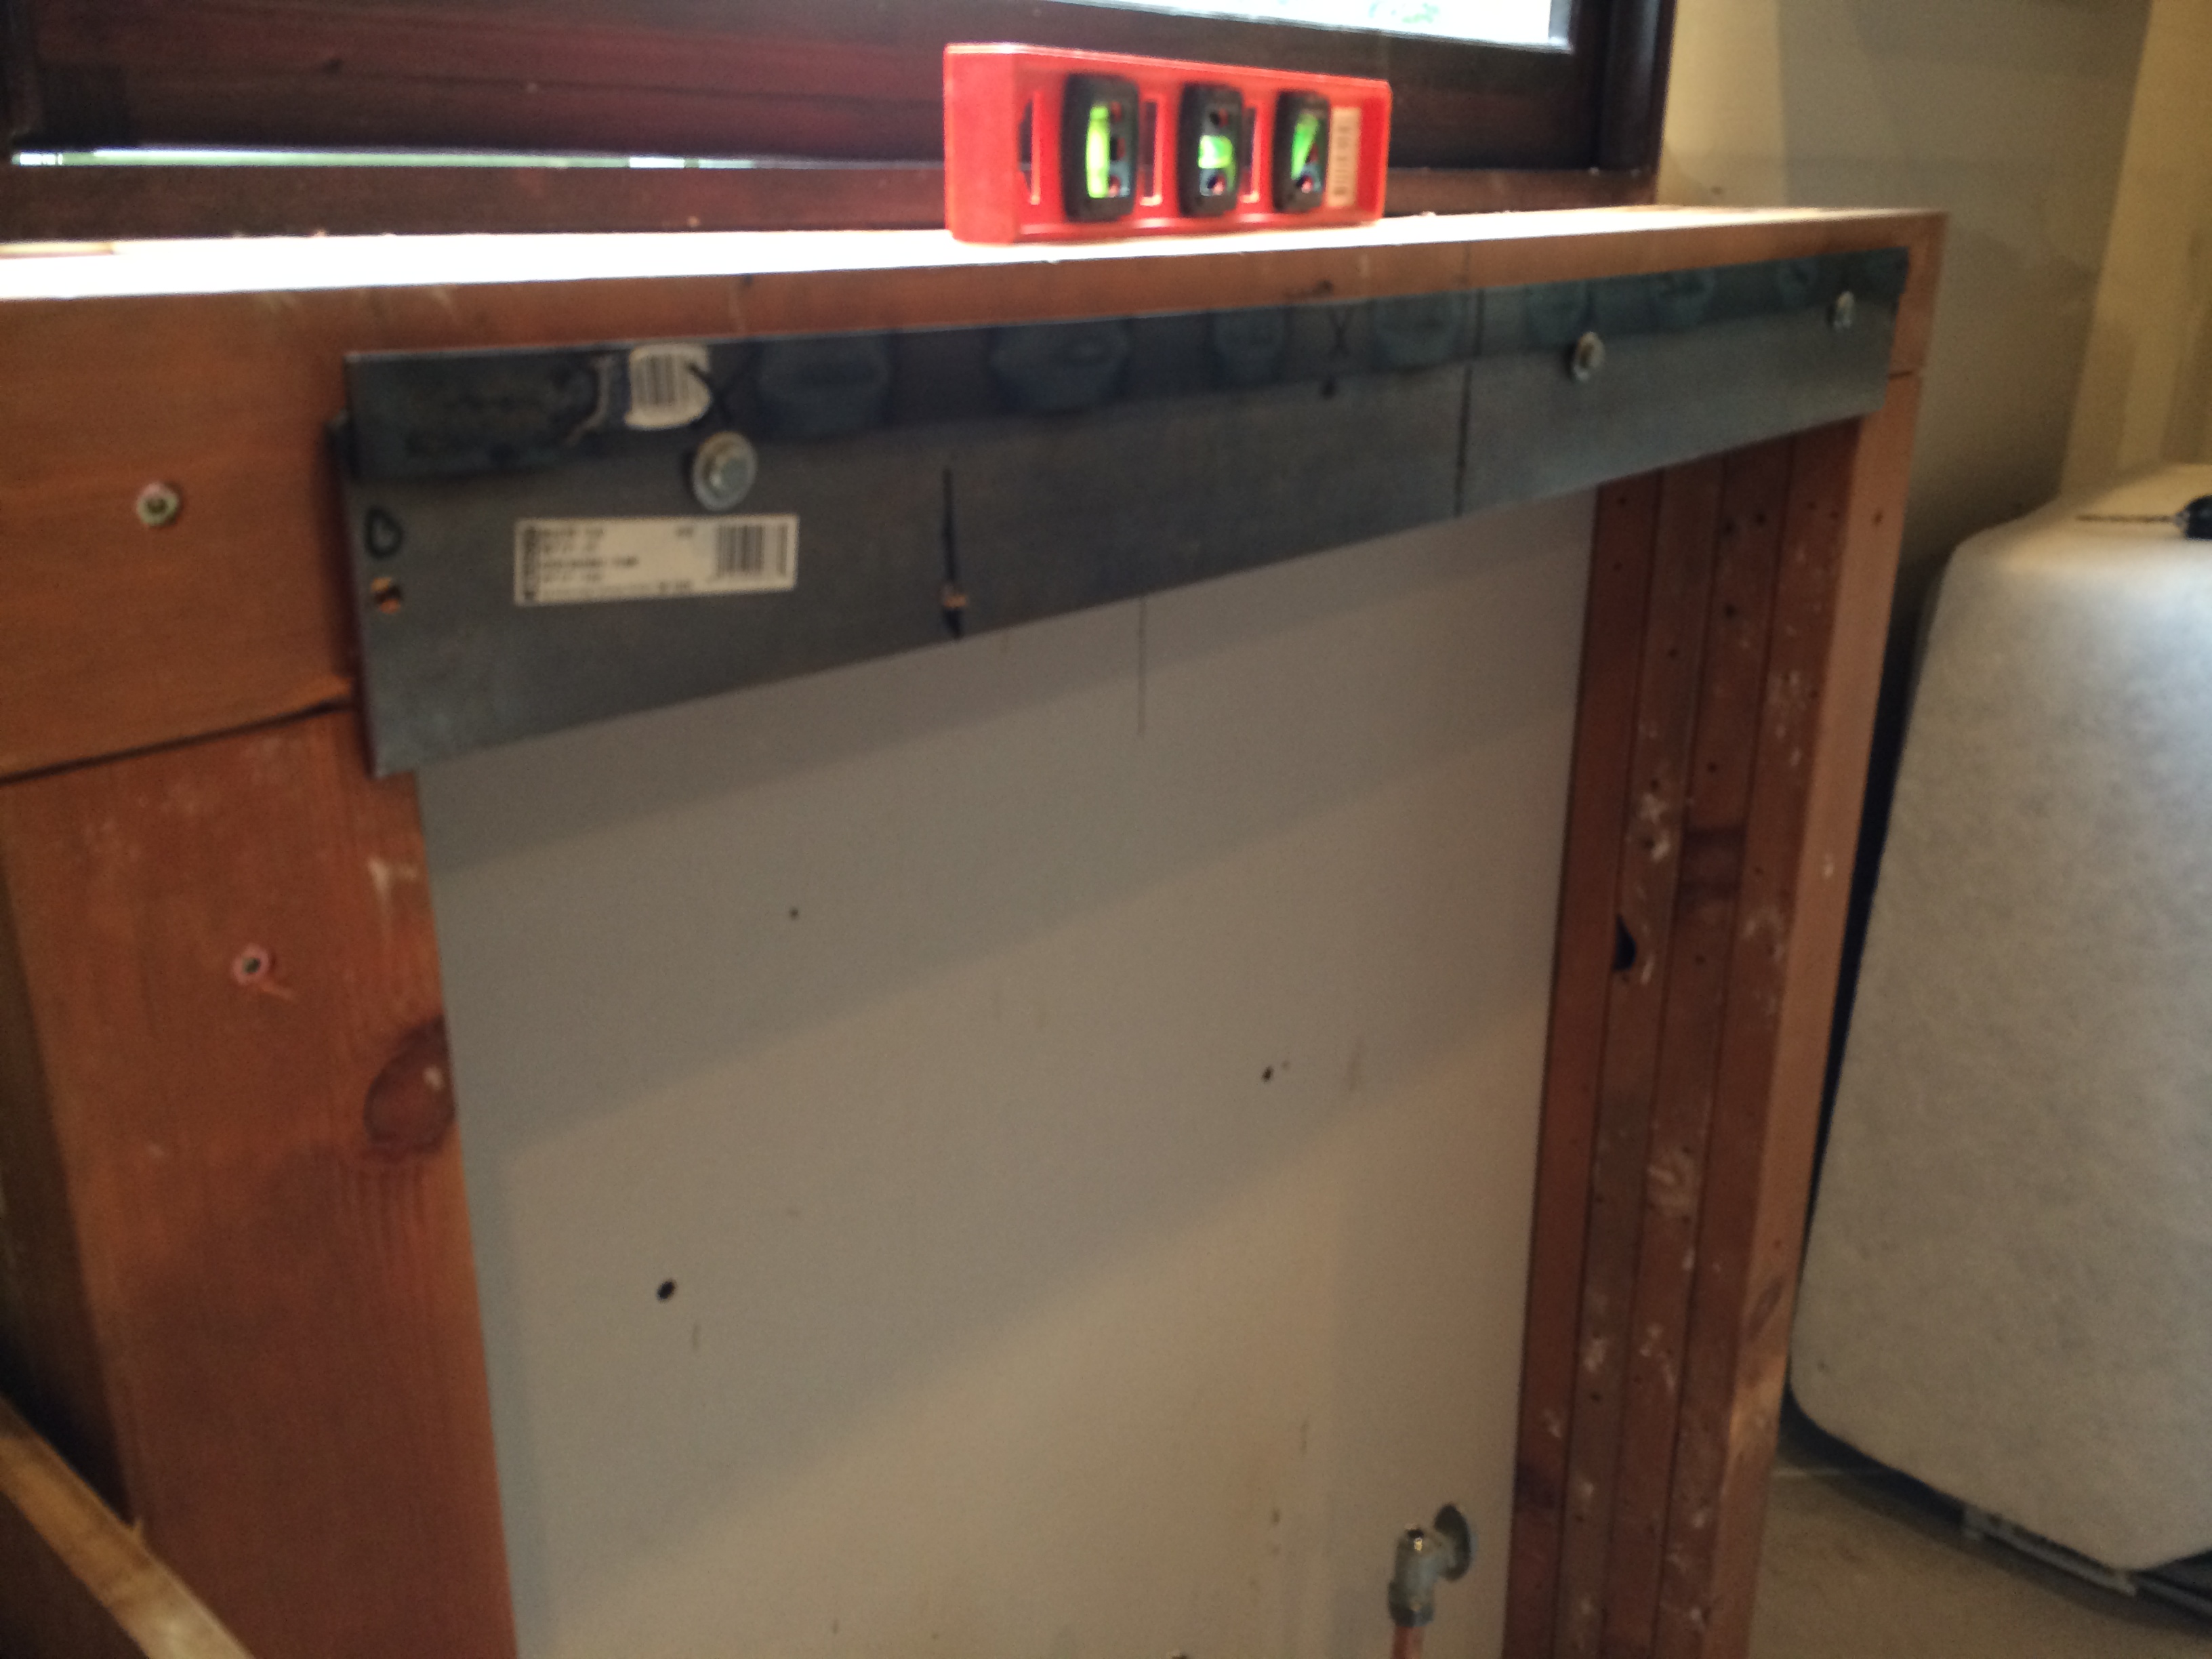
The stack of 2×4’s not only added strength it also created an 8″ shelf that will be a pretty cool feature behind the built in backsplash of the sink. We added some sheets of plywood to create a base and finally we were ready to attempt mounting this sink again.

So, lesson learned the hard way folks. Proper planning is essential. It’s also important not to get in a rush. We are lucky that no one’s foot was crushed as this sink came crashing down to the floor…or worse.
Now, onto researching ways to hid the blemish on the corner as well as some spots on the two upper corners where the latex paint was gouged! Any pointers are welcome!

