
Hey y’all! We have a floor now!! This is huge, epic, magically wonderful…because it means I can walk around barefoot again! YAY!
In case you forgot, here’s a picture of the before:
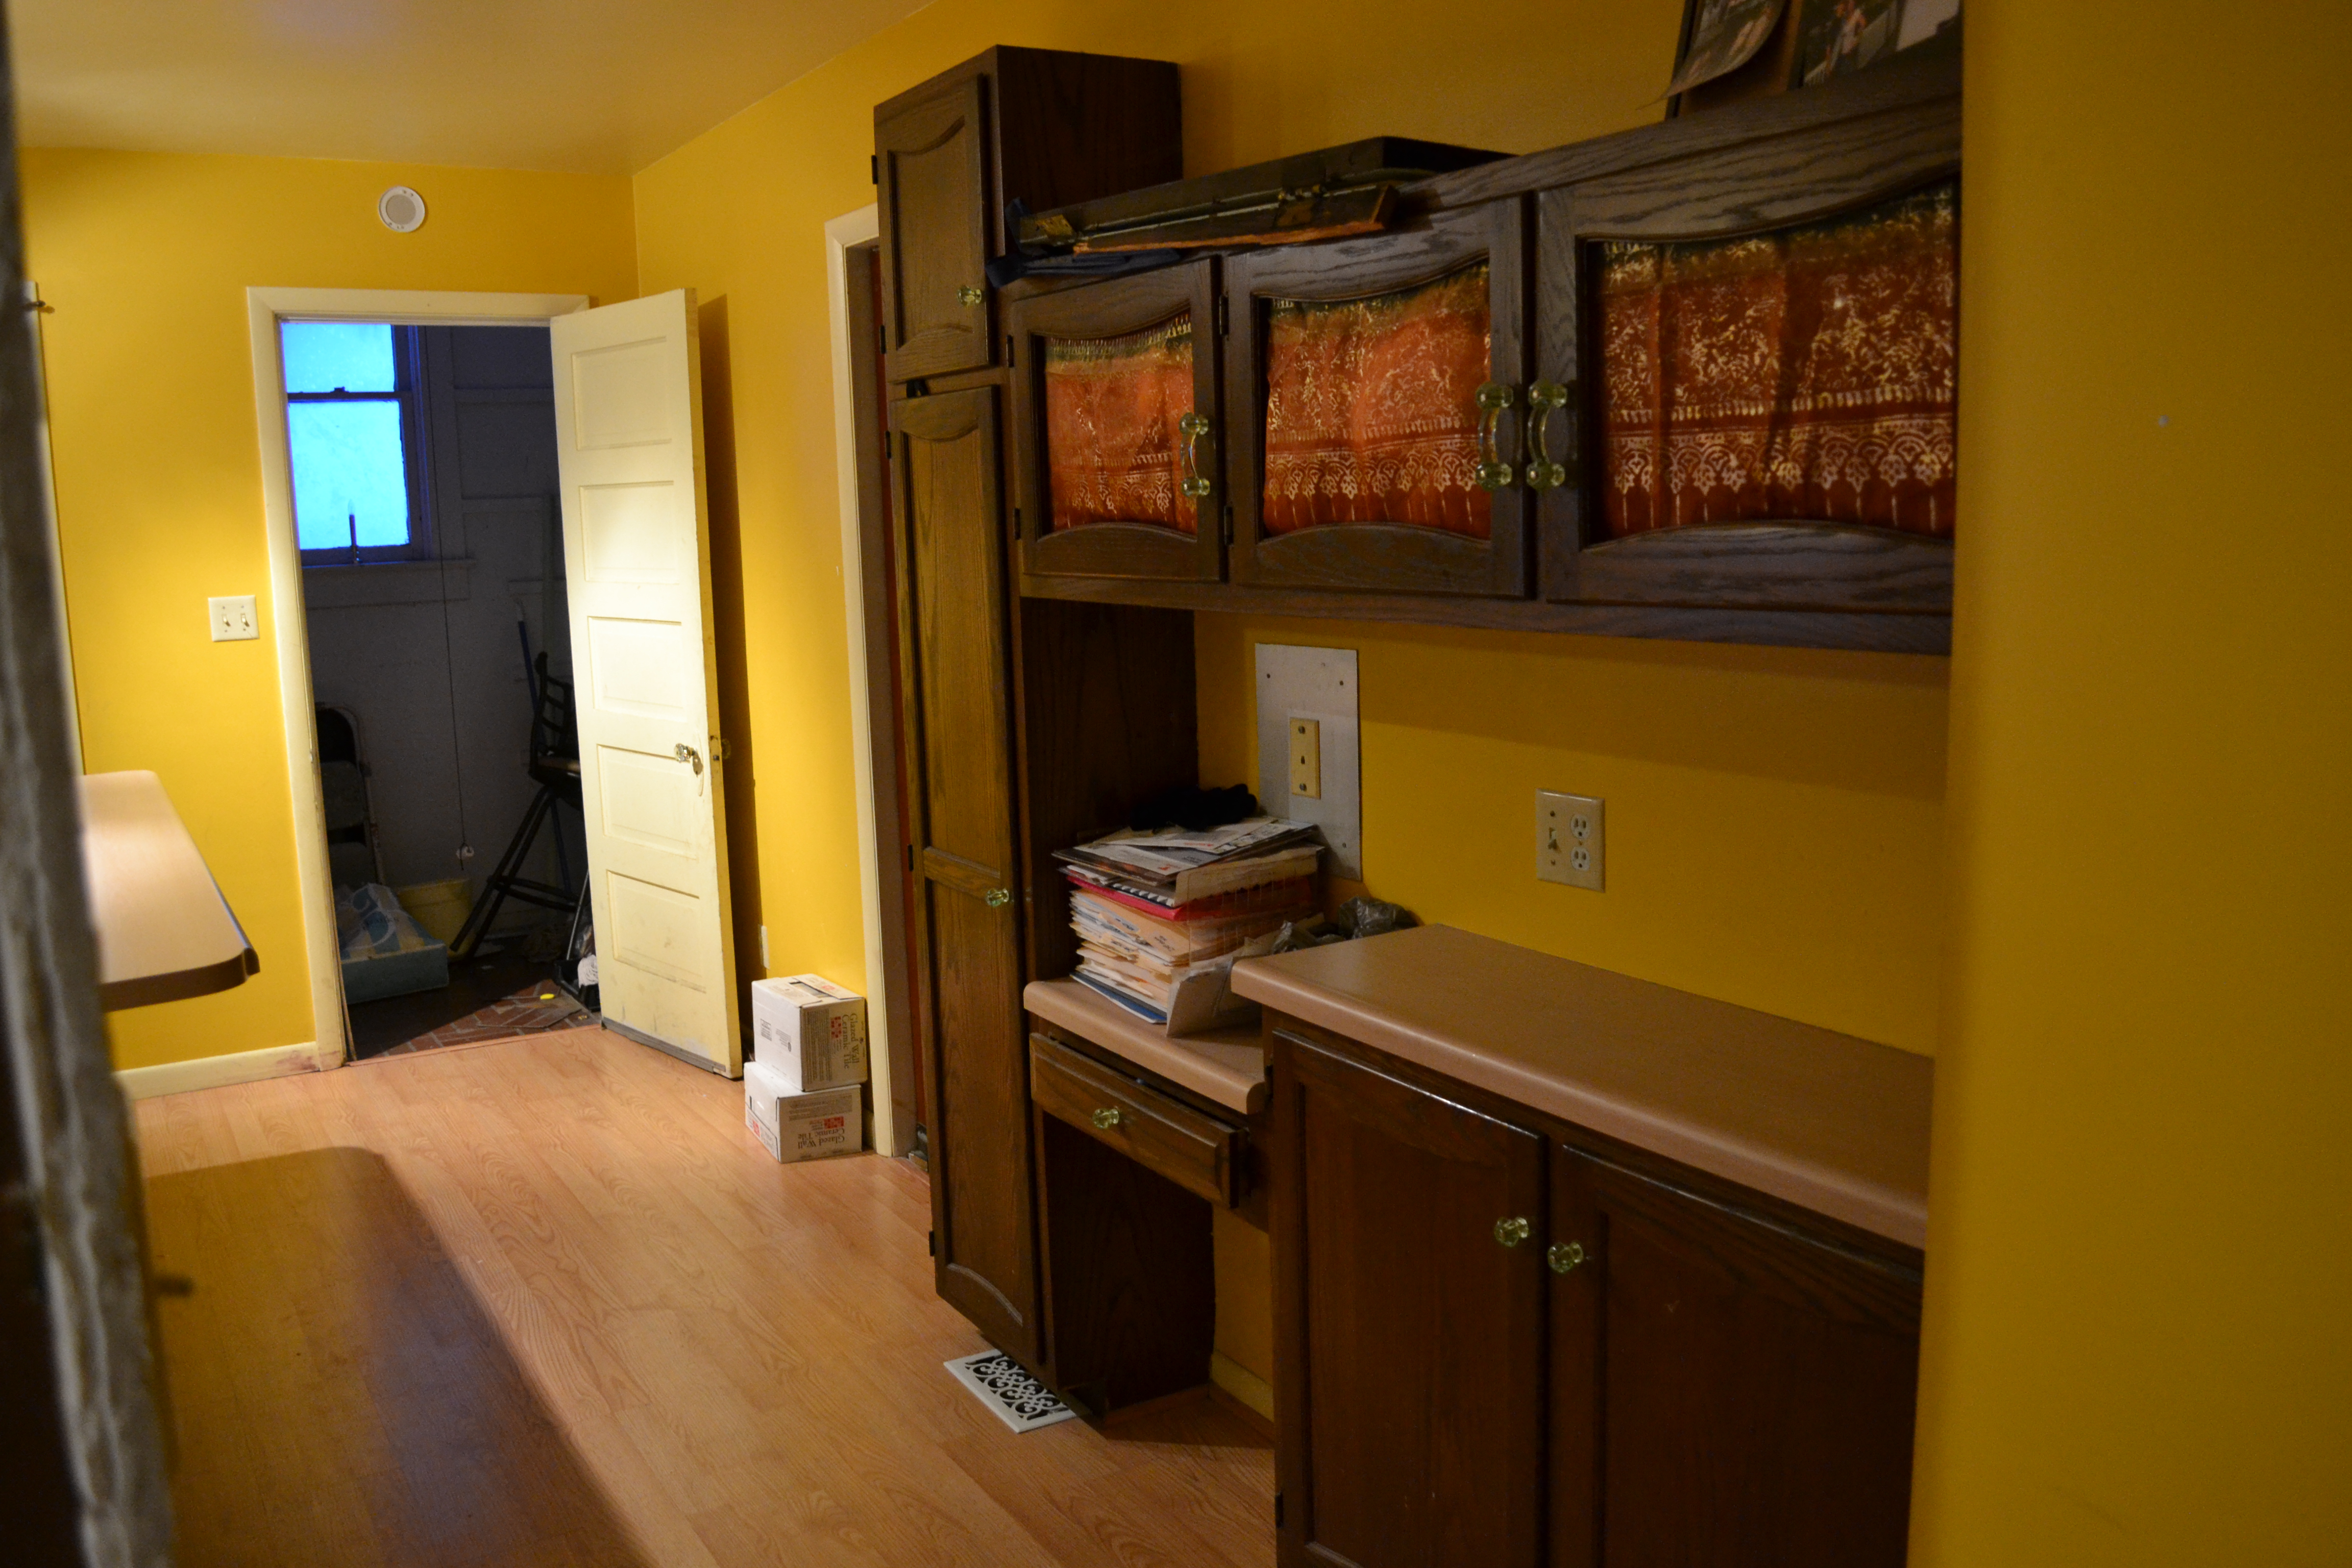
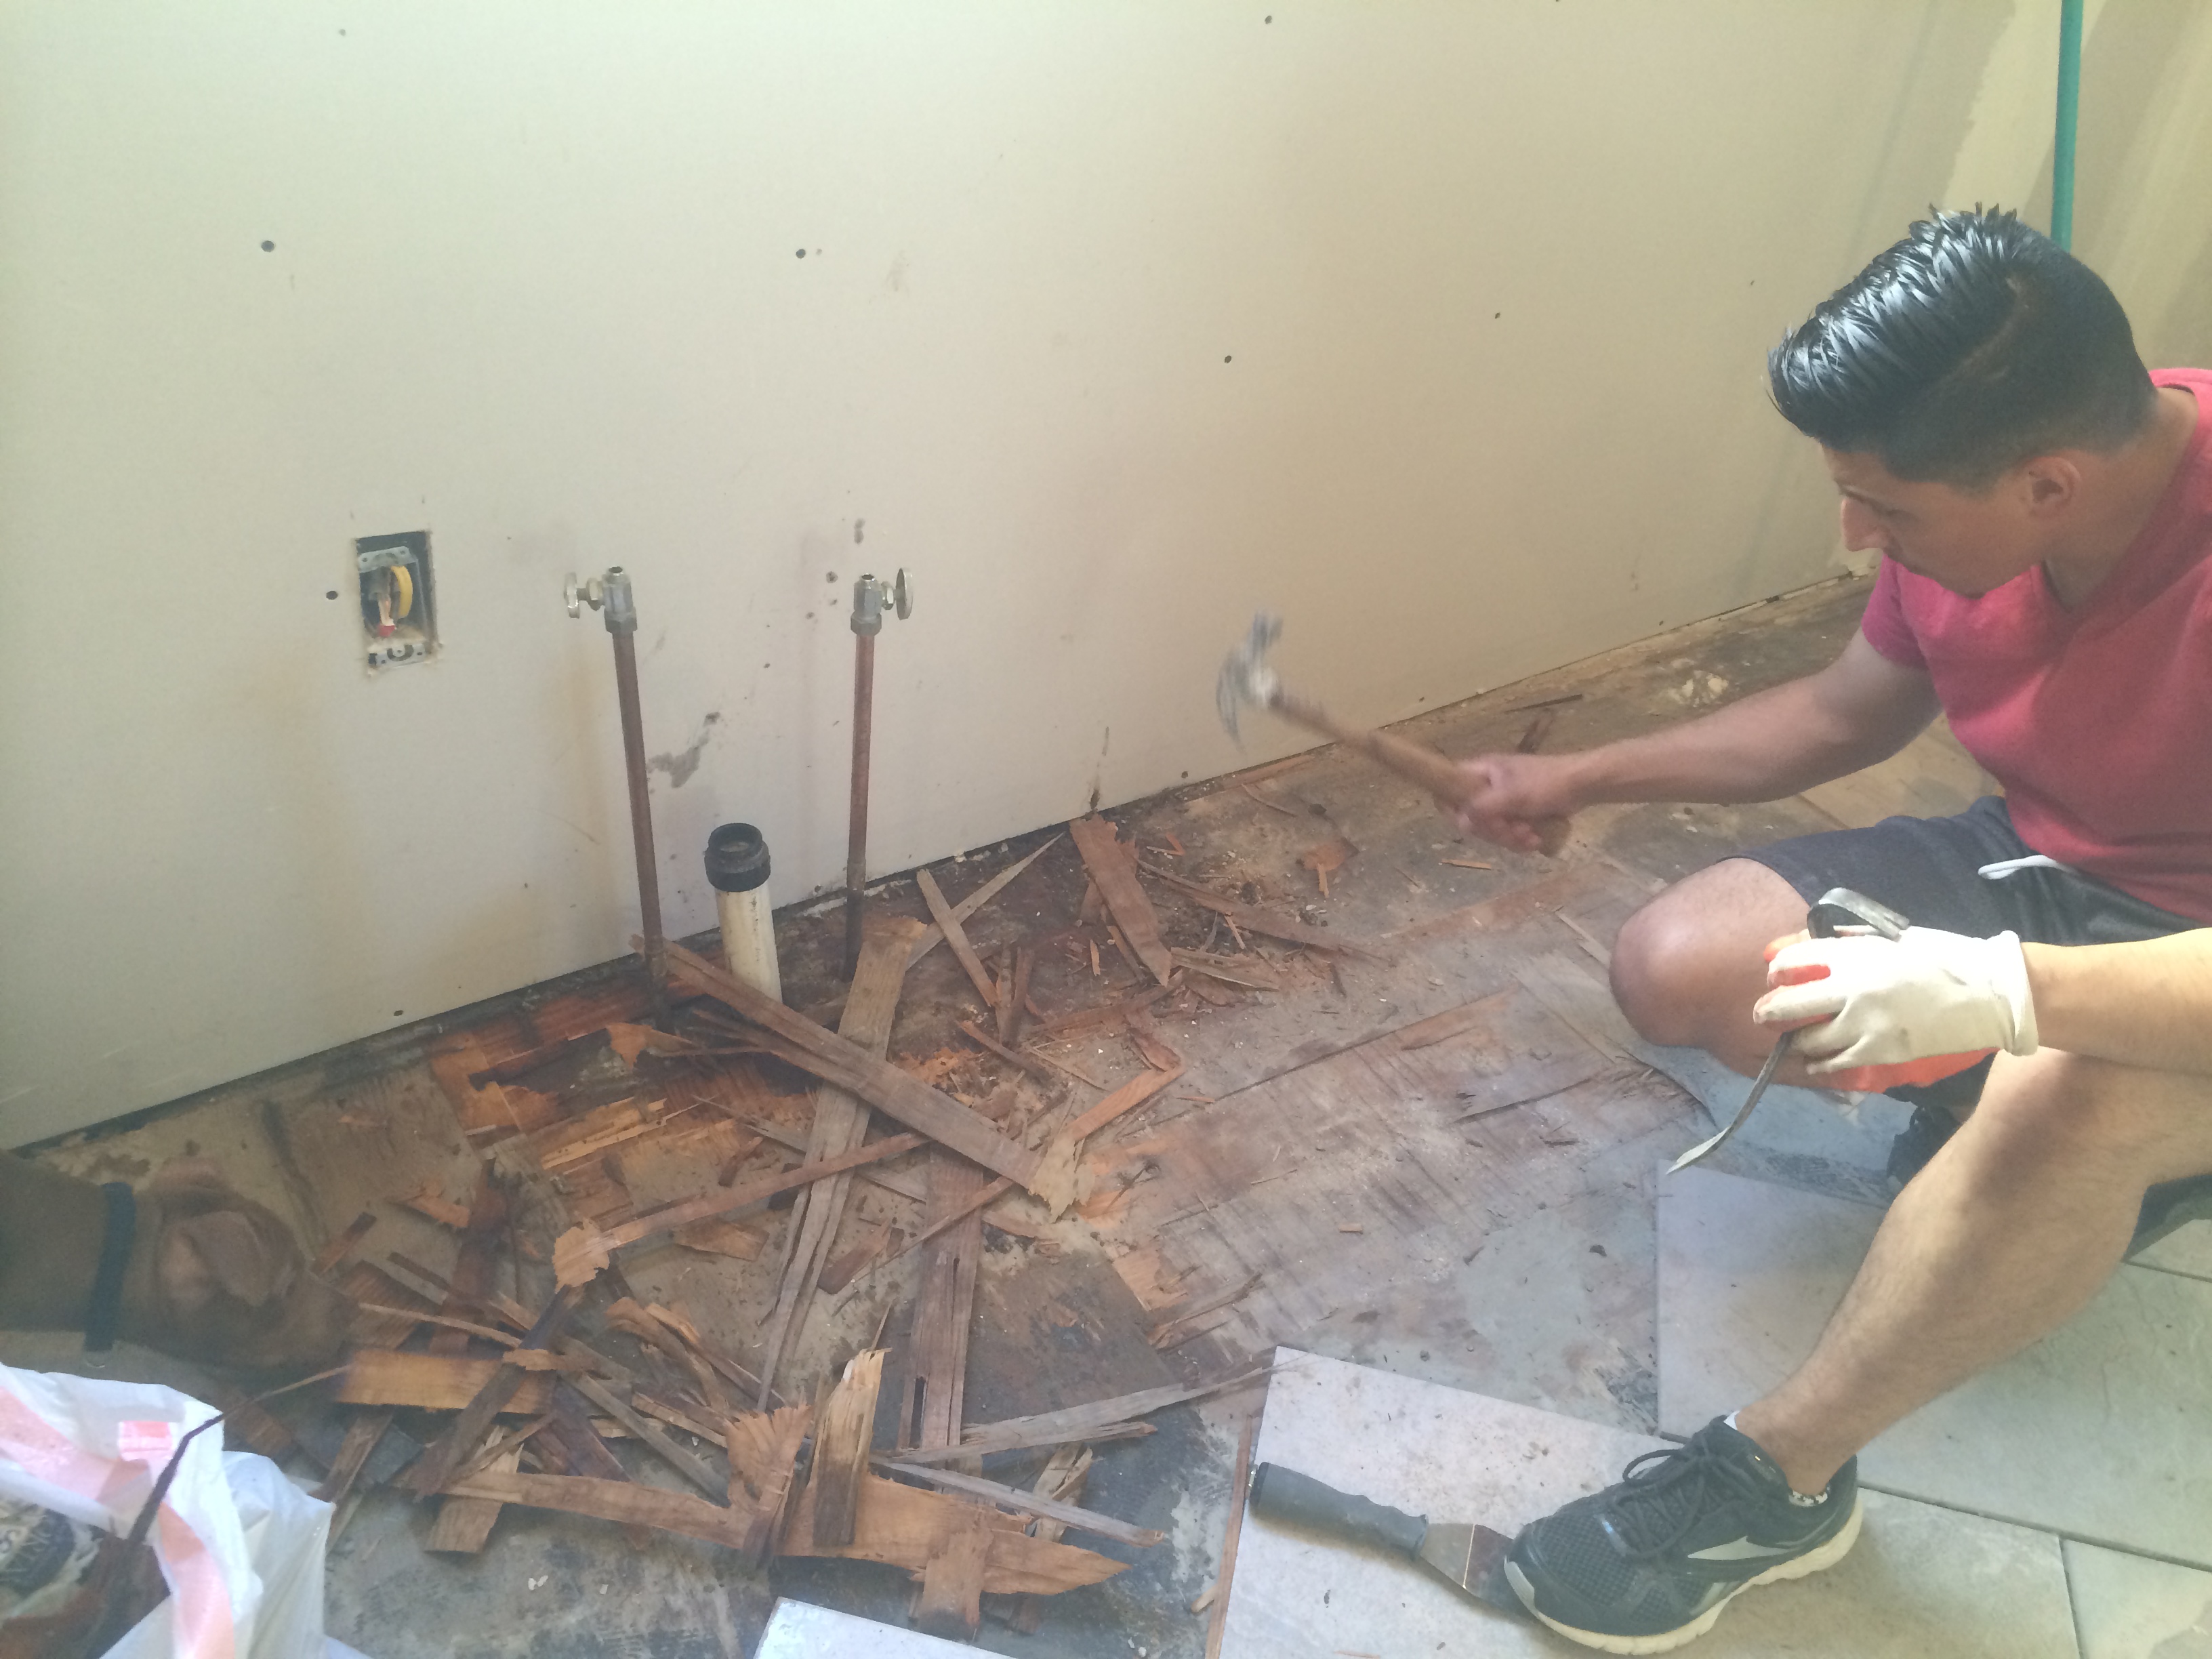
Our floors in the kitchen had obviously been redone at some point in the recent past. A light colored wood laminate was what was in the kitchen when we moved in. Since we had already refinished all of the hardwood in the rest of the home to a dark cherry color we decided that we really wanted to put some kind of stone in for our new floor in the kitchen. That meant a lot of demo, ripping up all this laminate floor (don’t worry, I saved as much as I could and will reuse it in our garage later on if I can!), as well as some parts of the plywood floor beneath it. We discovered this beneath the plywood:
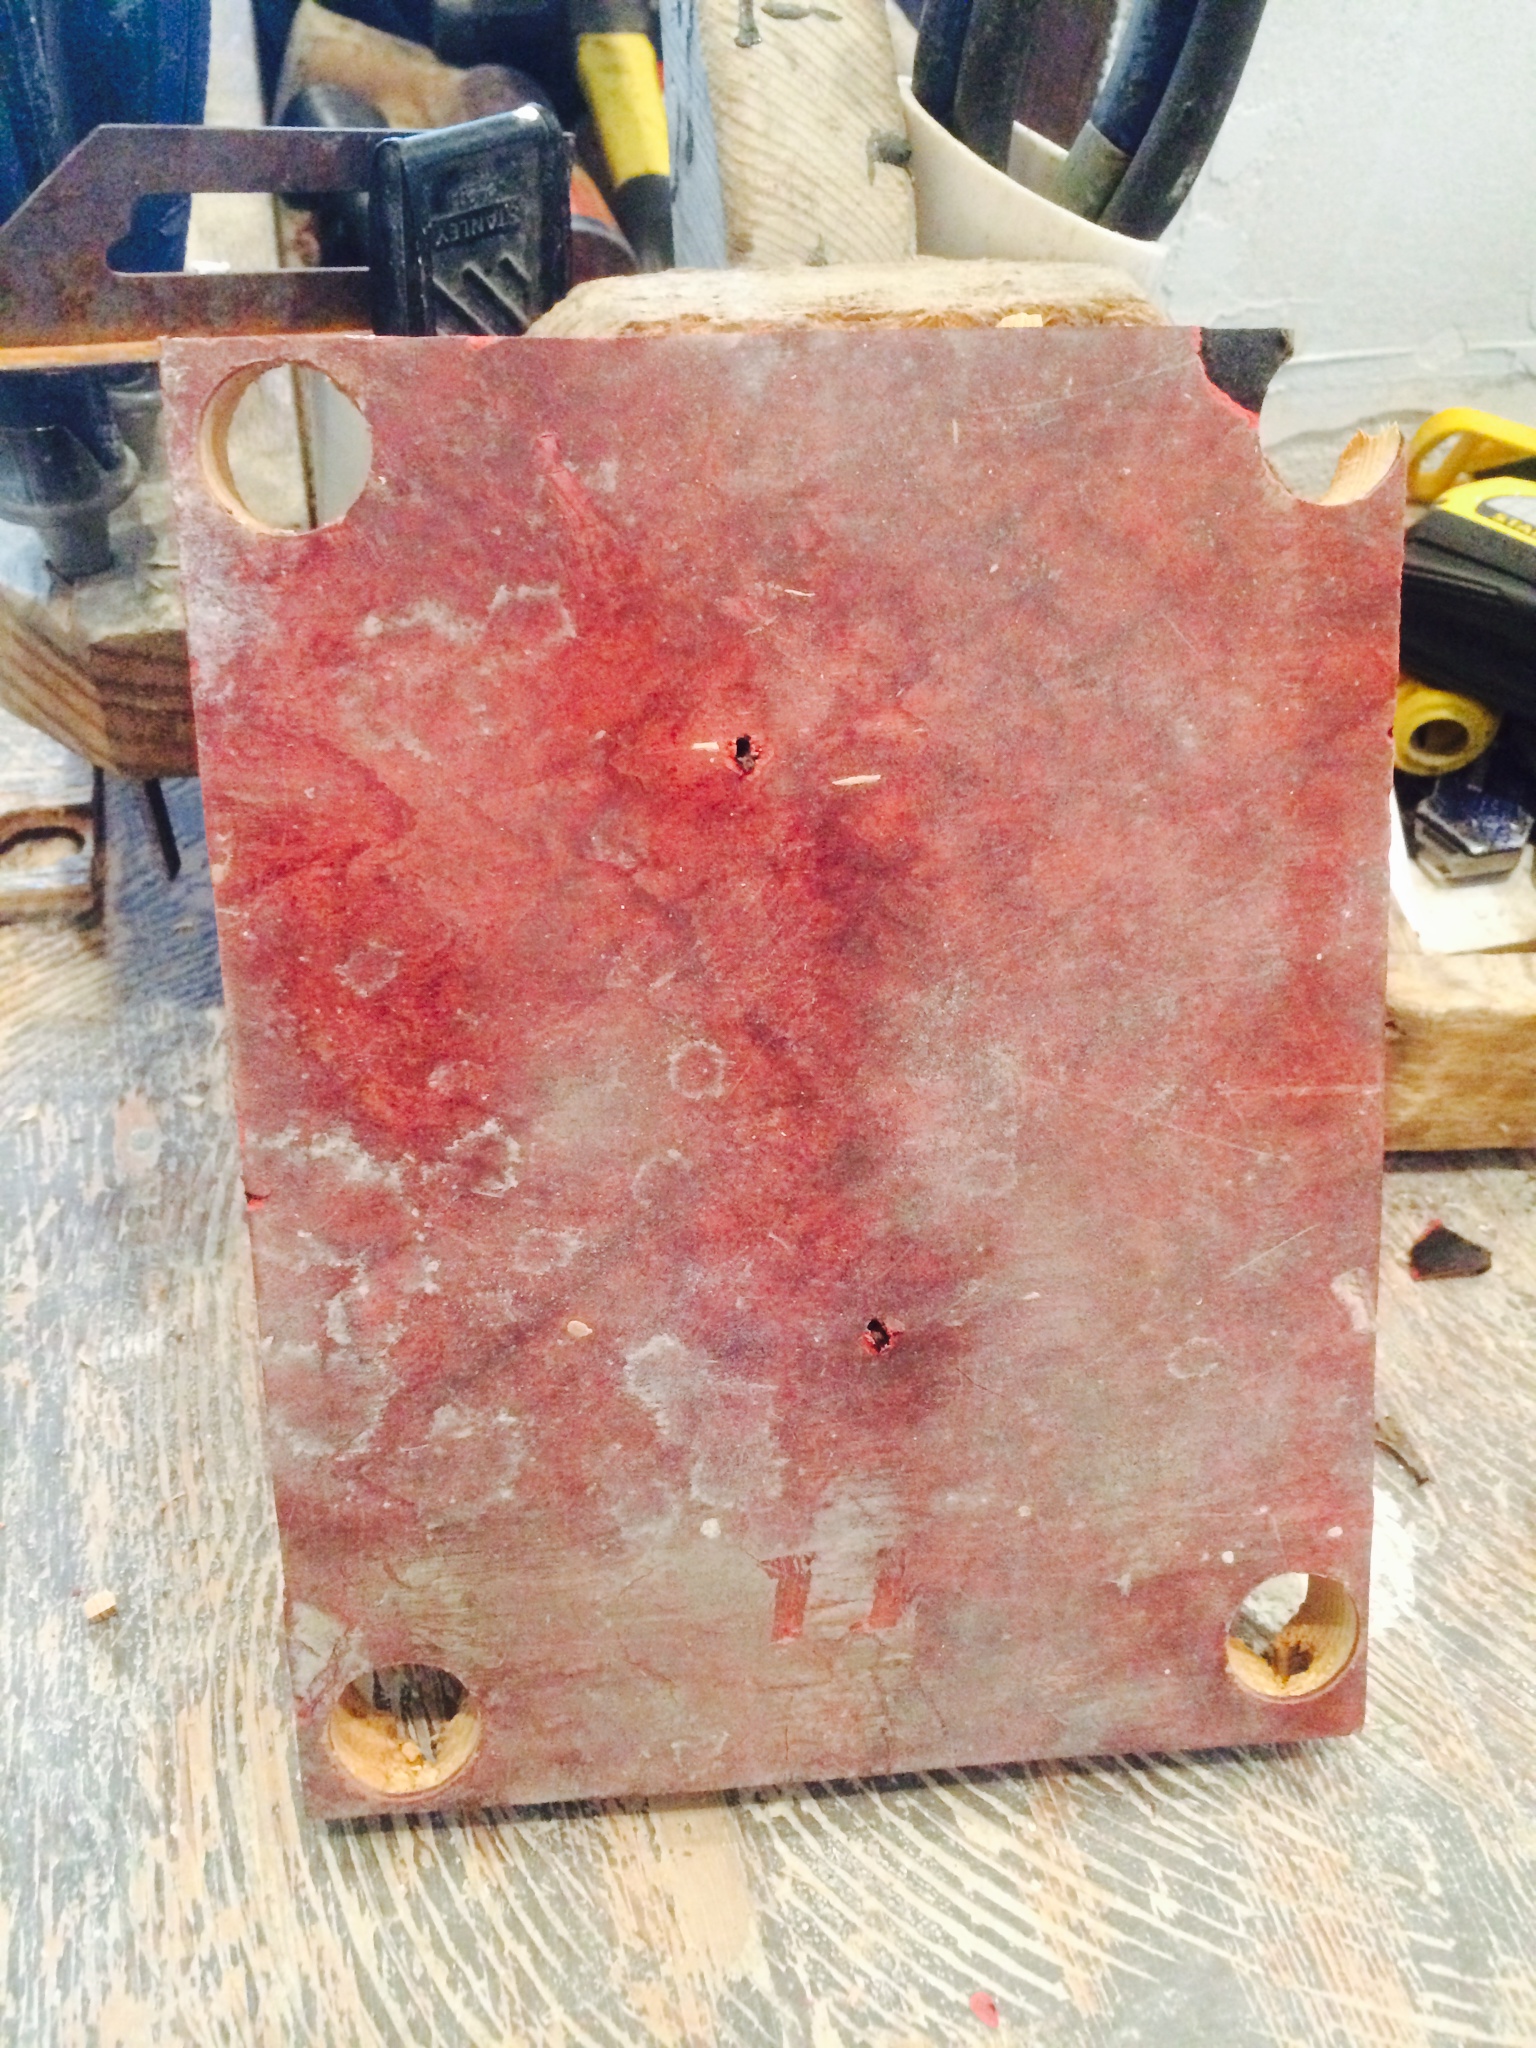
I am curious to know how far back this red floor dates back? I don’t know if the kitchen was originally wood floor or if it had some type of tile. We had to tear up the plywood and red tile you see above in areas where there was some mild water damage. Under the red tile were the original wood plank floors.
UPDATE: This past weekend I noticed that some neighbors have this same tile in a closet off of their kitchen…makes me think it was probably original to the house. Too cool!

They were in really bad shape and probably couldn’t be refinished to look very nice.
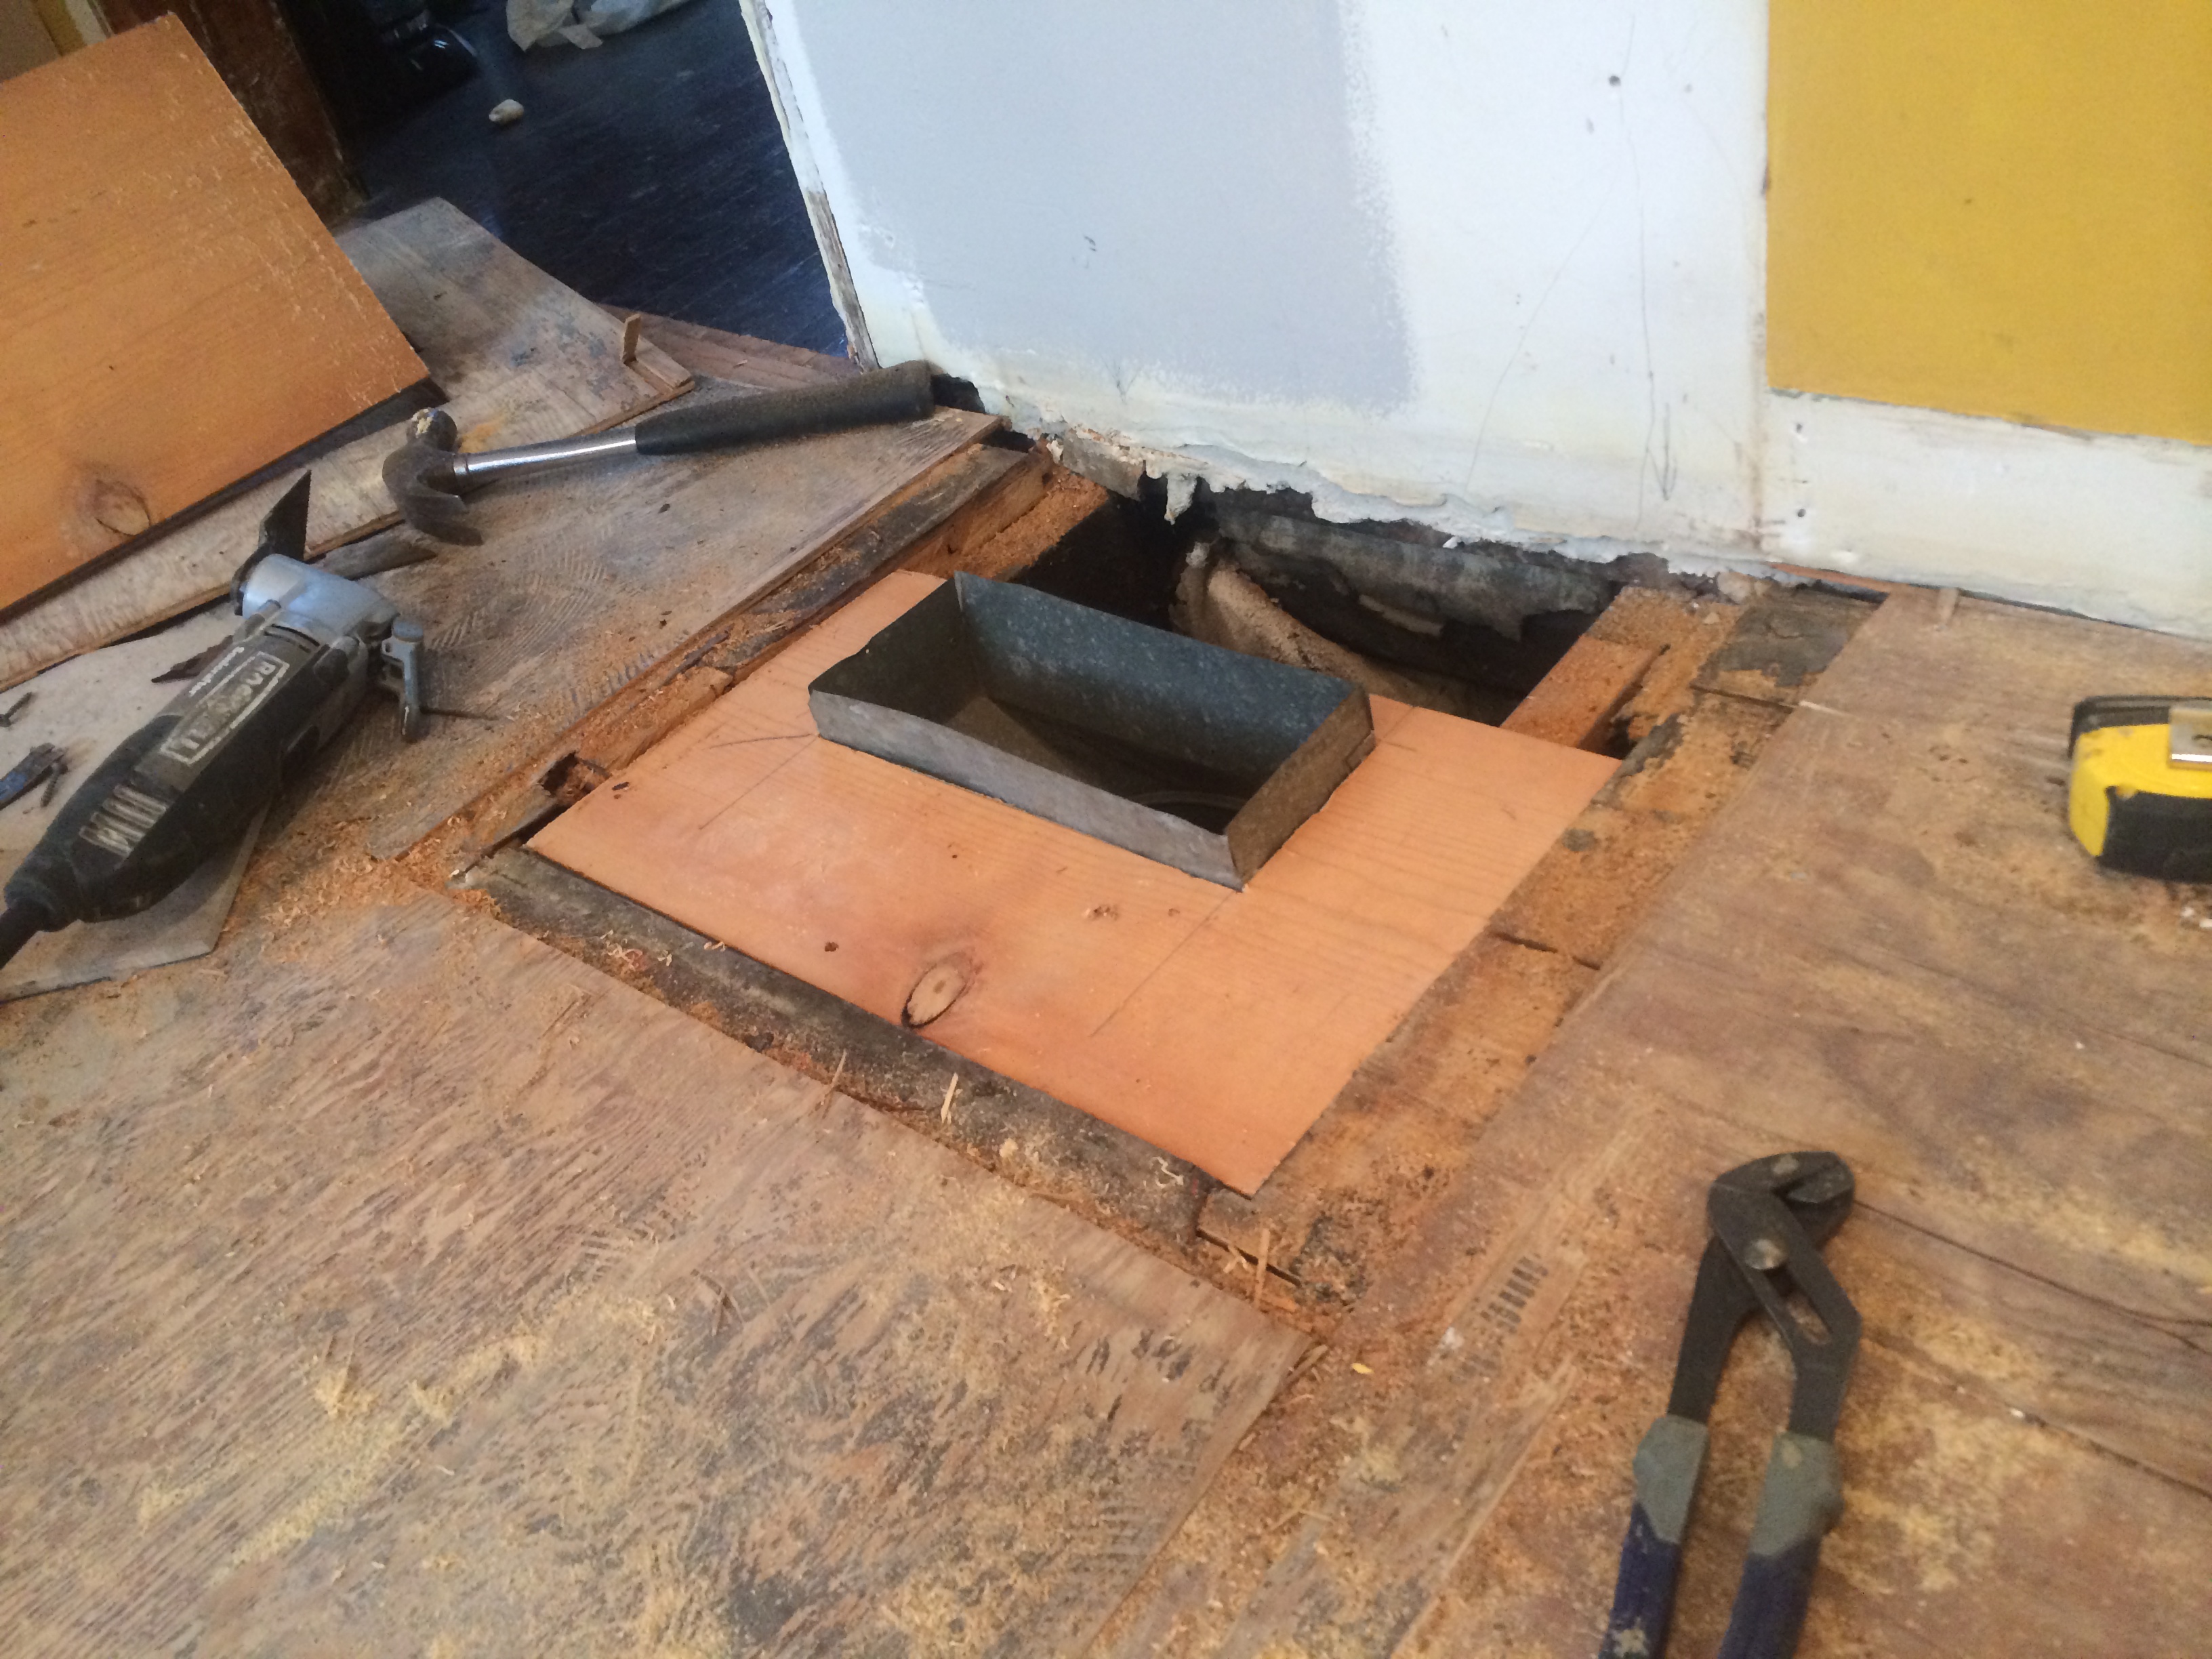
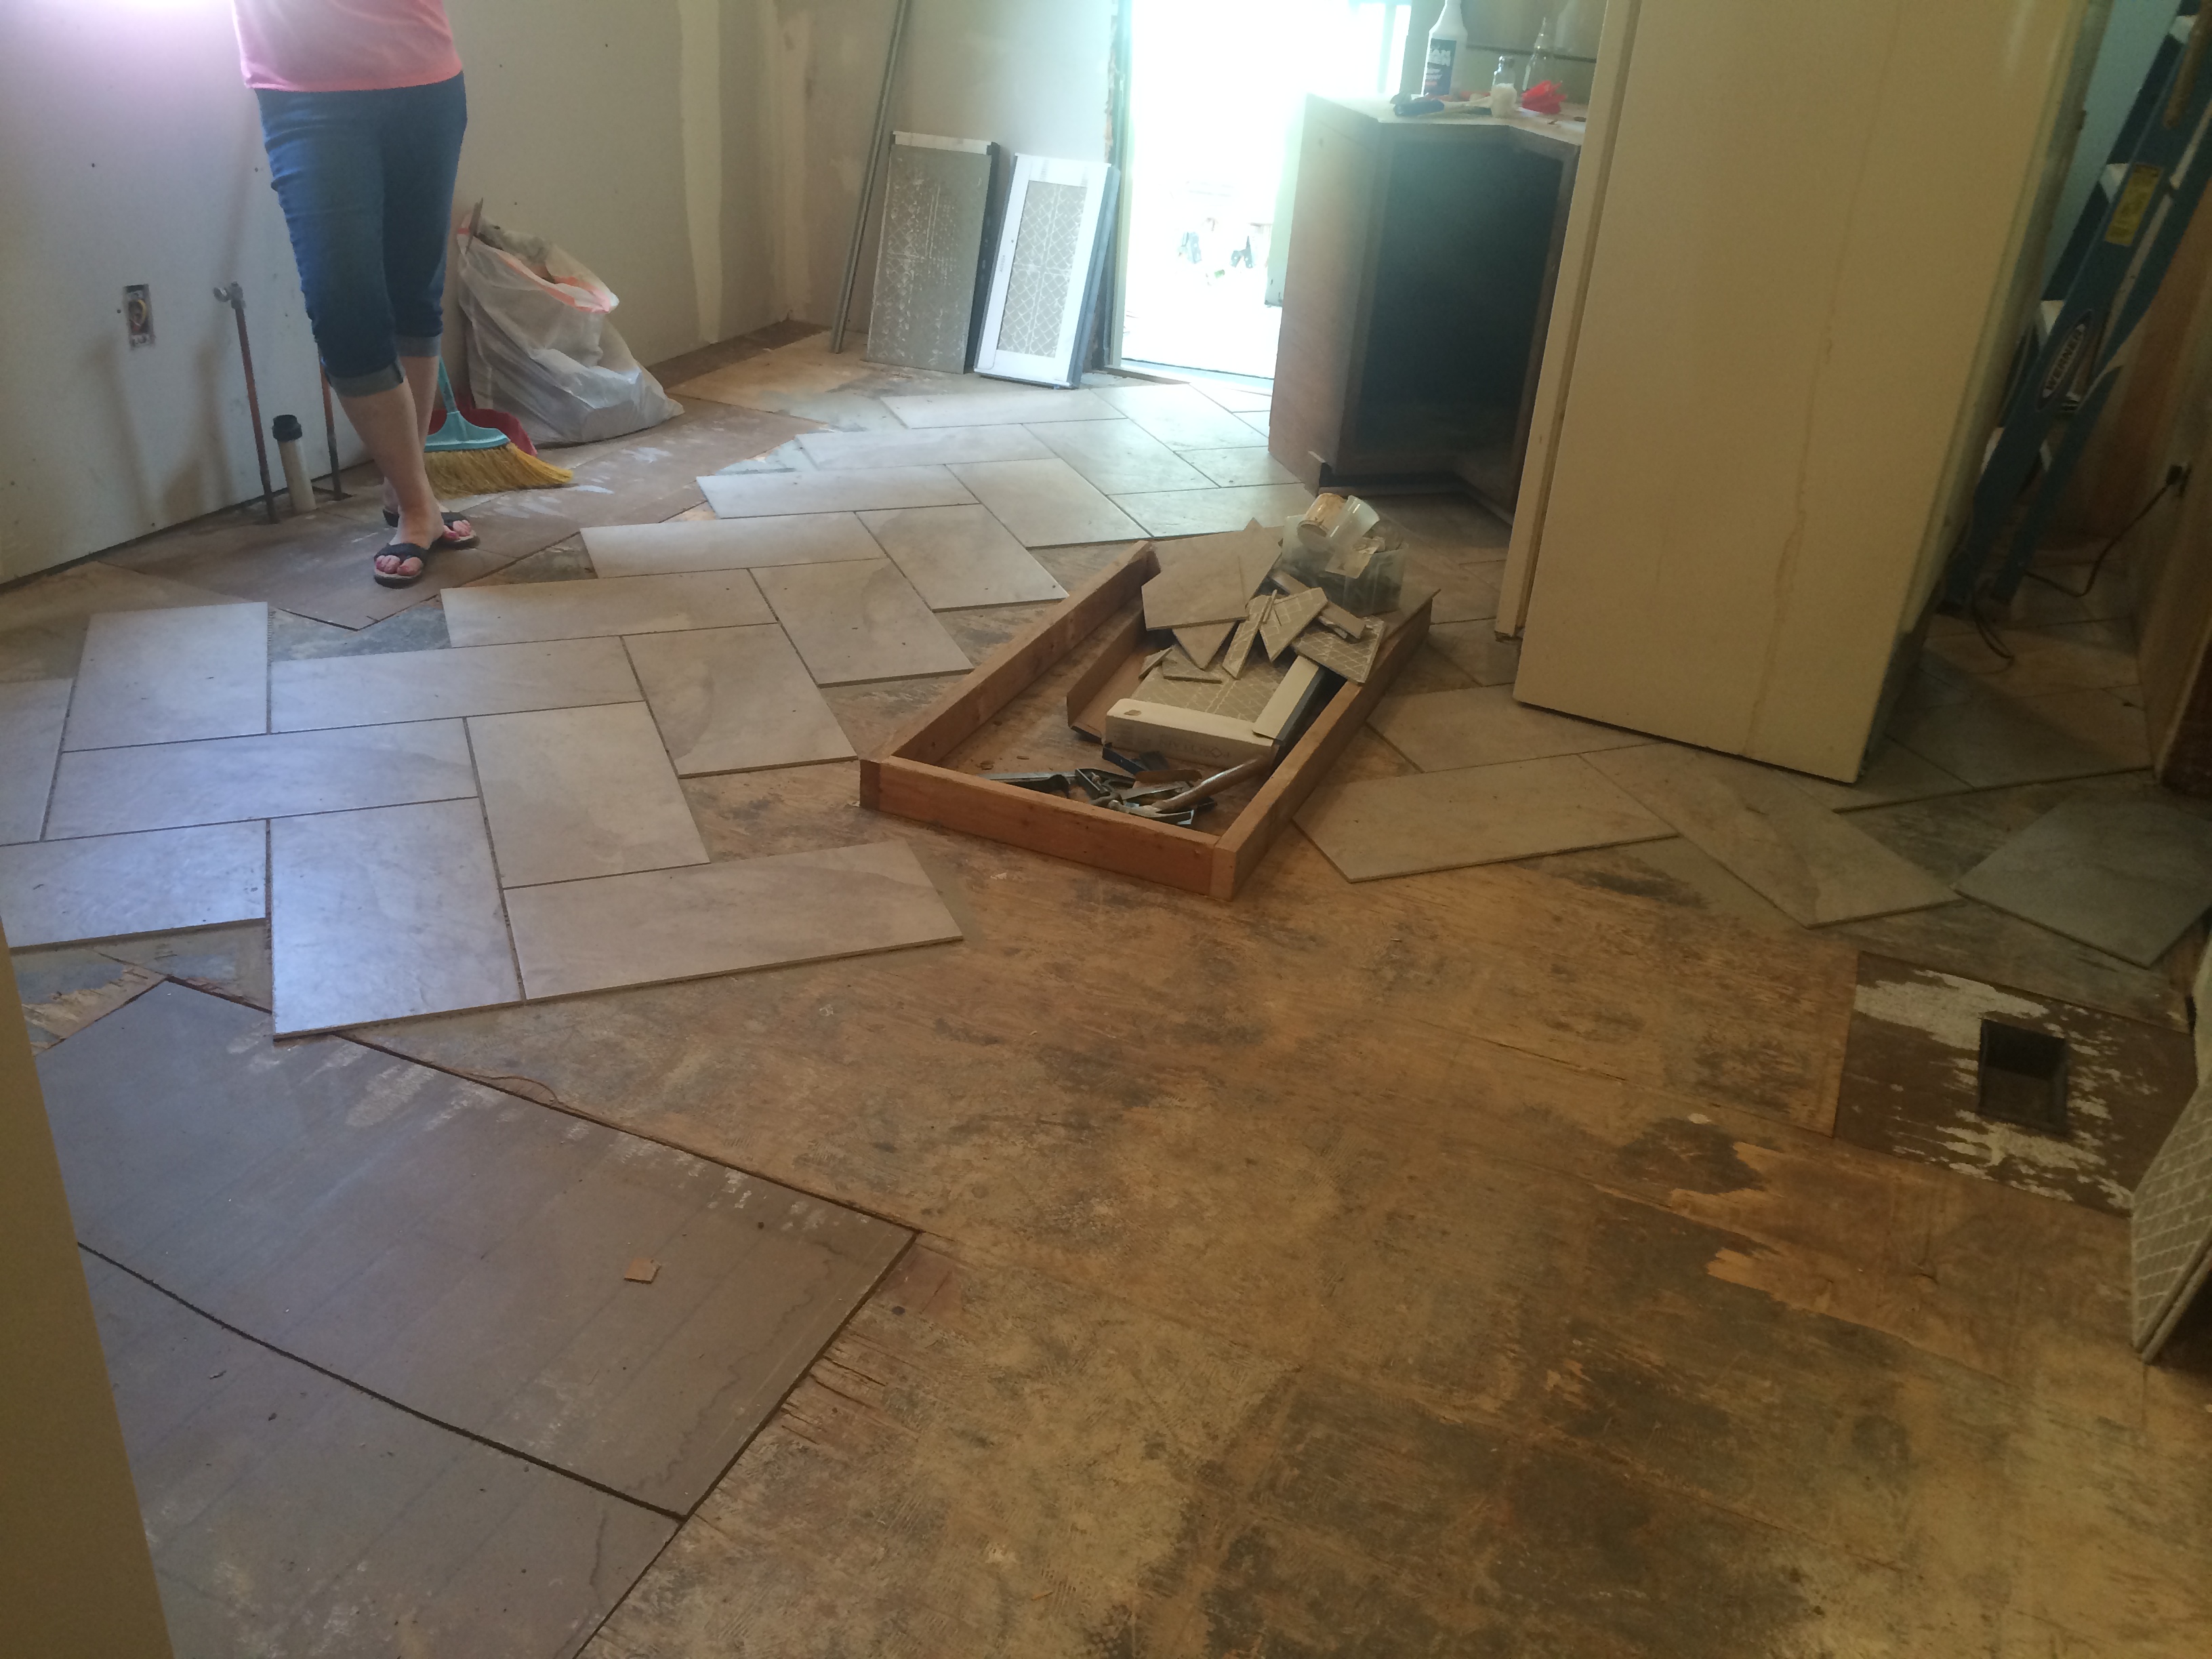
Once we were down to the plywood subfloor we had to start planning out how we were going to lay down the porcelain tile we had purchased. The first step was building a frame into the floor that would serve as an attachment point for our island that will be added down the road. Planning ahead for appliances, lighting and walkway distance is hard work and requires a lot of deep thought. This may or may not be a photo capturing a moment of disagreement on the dimensions of the island between my dad and I 😉
We also had to plan ahead for the rerouting of the heating and cooling vents that would bring warm and cold air into the kitchen. There were 2 vents into the kitchen which had to be moved and turned. We also had to run an entirely new vent into the new bathroom as there was no air flow system into that space.
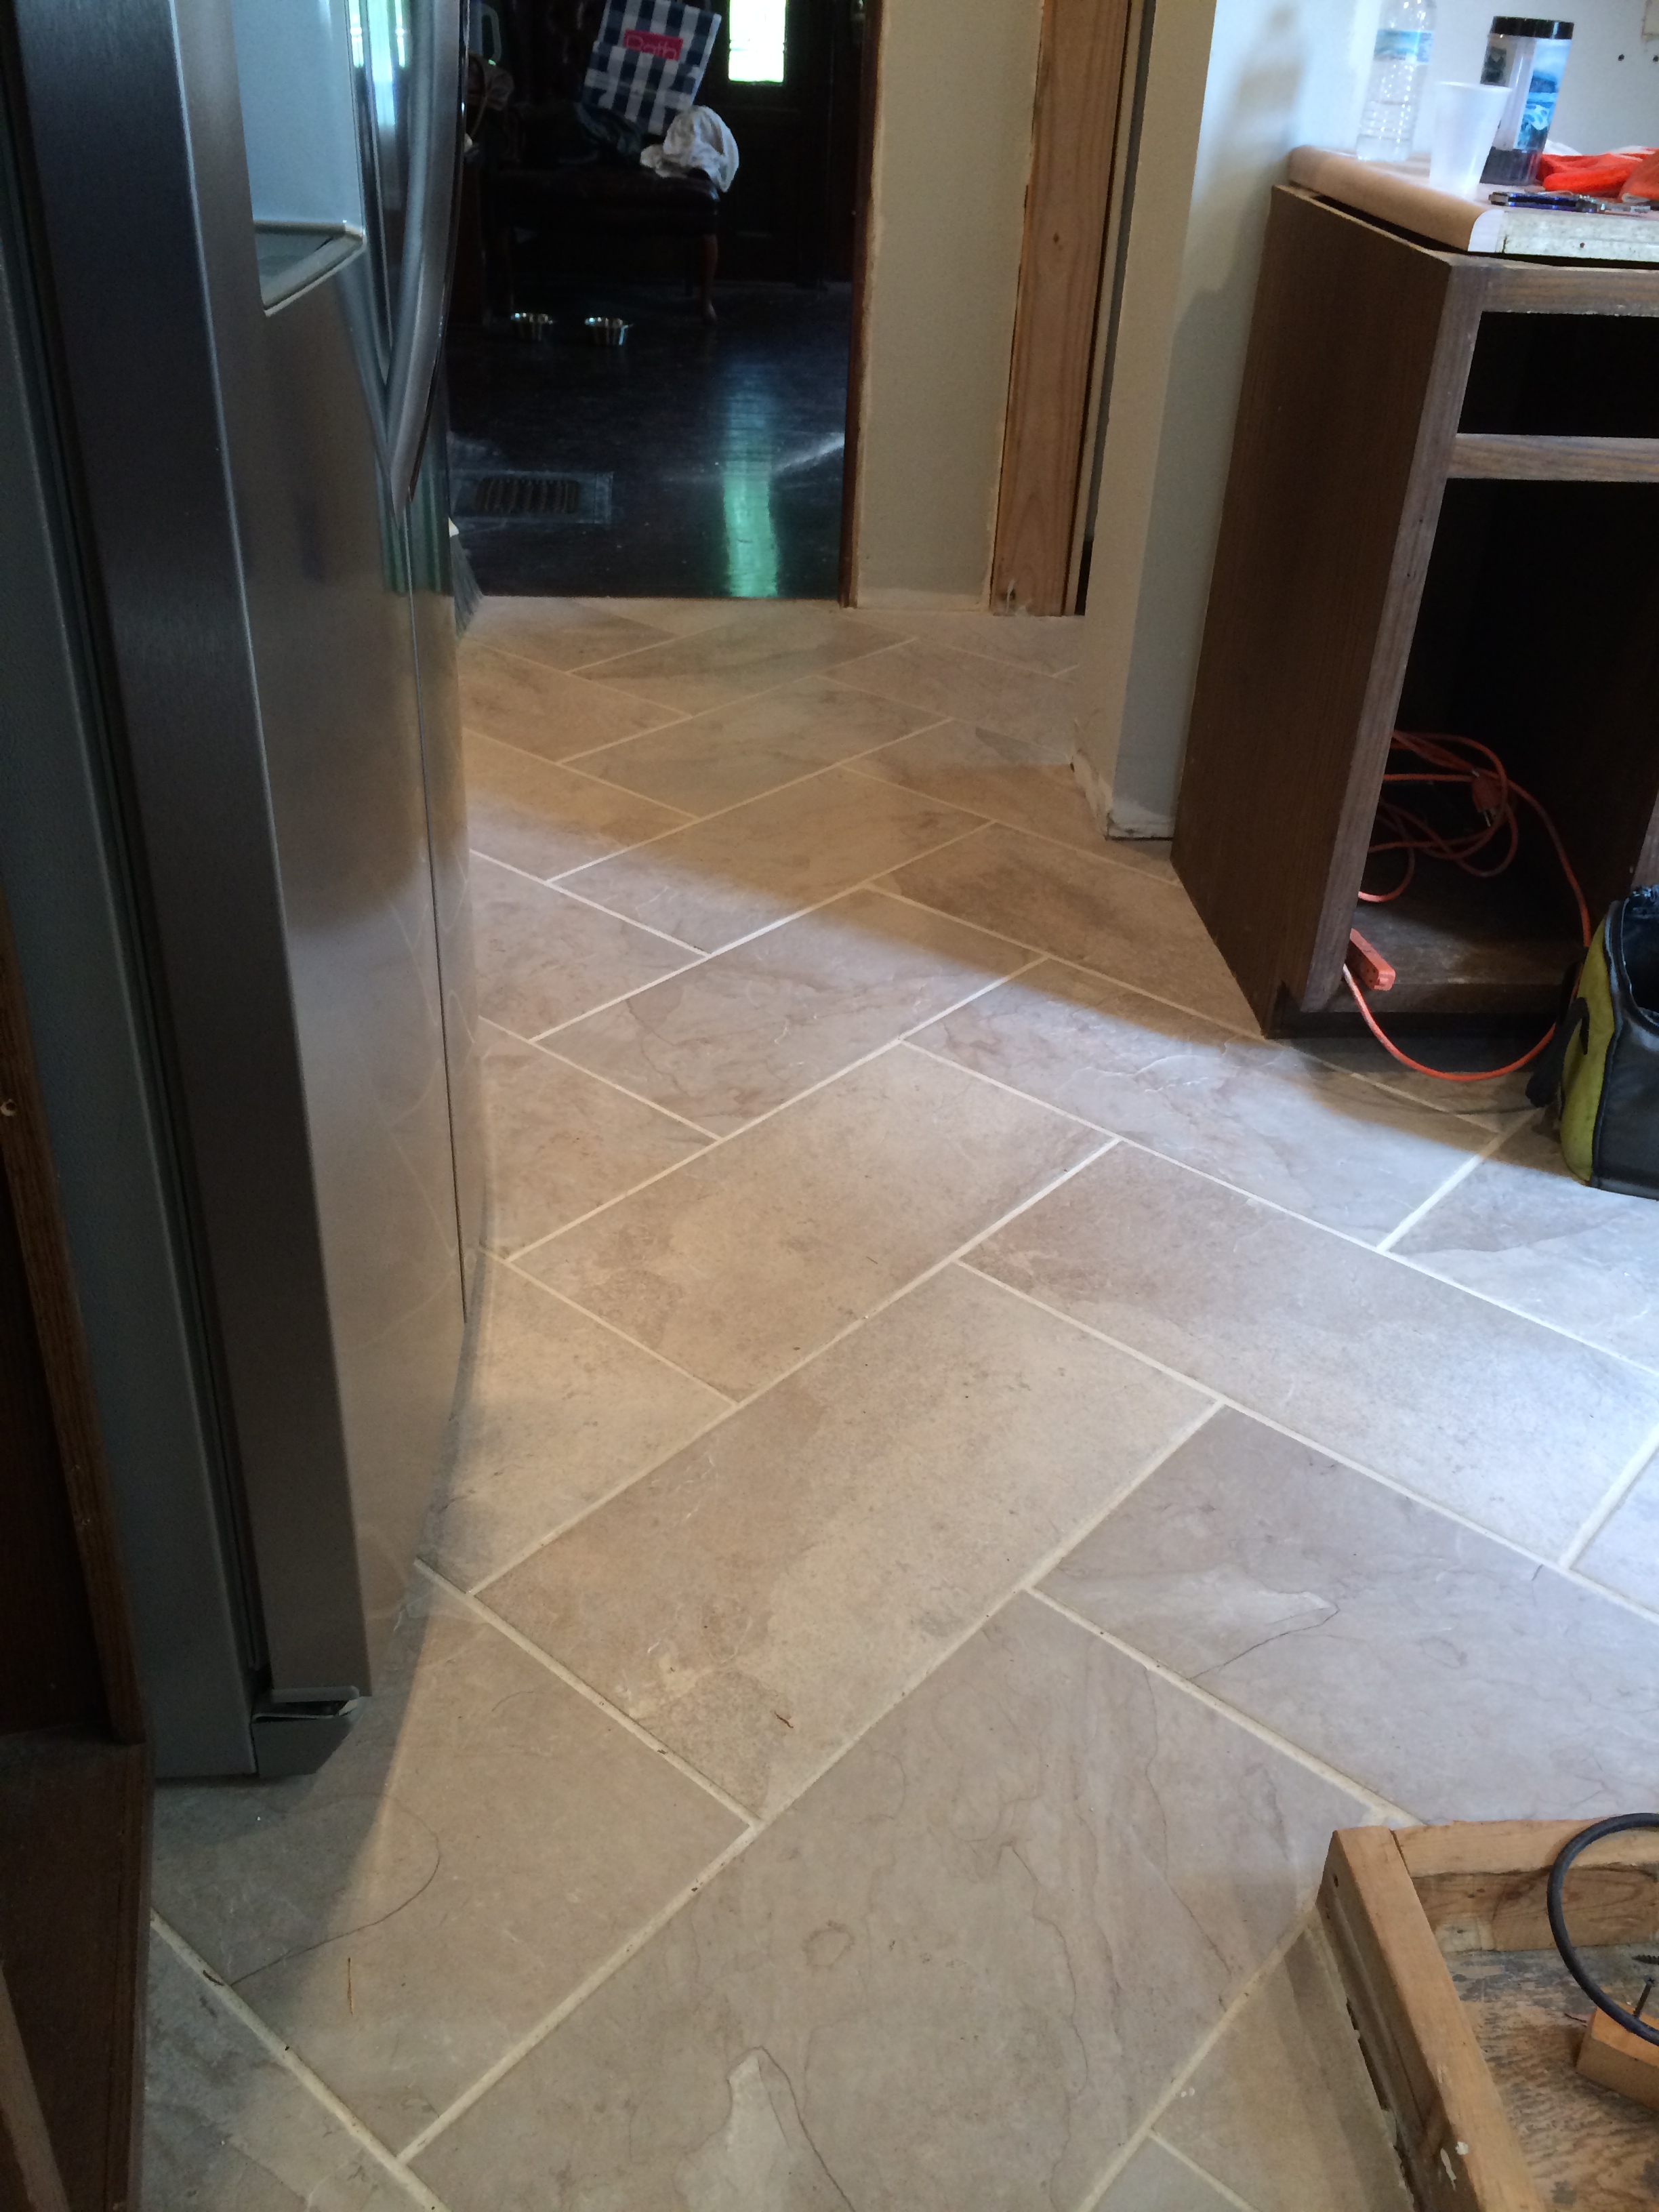
Once all the prep work was done, the fun could begin! From day one I desperately wanted to find a tile that was #1) in my price range and #2) rectangular shaped so that I could lay the tile down in a herringbone pattern. This is a harder task than I realized. I originally pictured the kitchen floor to be covered in smaller sized subway tiles, much like the ones that we used in the powder room. The only problem was that I couldn’t find a lot of tiles that were able to bear heavy weight on the floor and that didn’t cost $6 or more per square foot. With almost 300 sq ft of floor to cover I was on the hunt to find something (anything!) below $3/sq ft. We checked out all of the big box stores, tons of online outlets, and some specialty tile stores in town. I ended up with a 12 X 24 porcelain tile from Lowe’s (!). At $2.15/sq ft it fit the budget nicely, I also liked the color of the tile as it pulled in several of the gray tones that we were working with on the ceiling and walls.
I thought that since the size of the tile was pretty big that installation would go pretty quickly…yeah I was wrong ![]() LOL, actually it turns out that in my case, the bigger the tile, the more cuts that have to be made. That meant a lot of time spent measuring and cutting.
LOL, actually it turns out that in my case, the bigger the tile, the more cuts that have to be made. That meant a lot of time spent measuring and cutting.
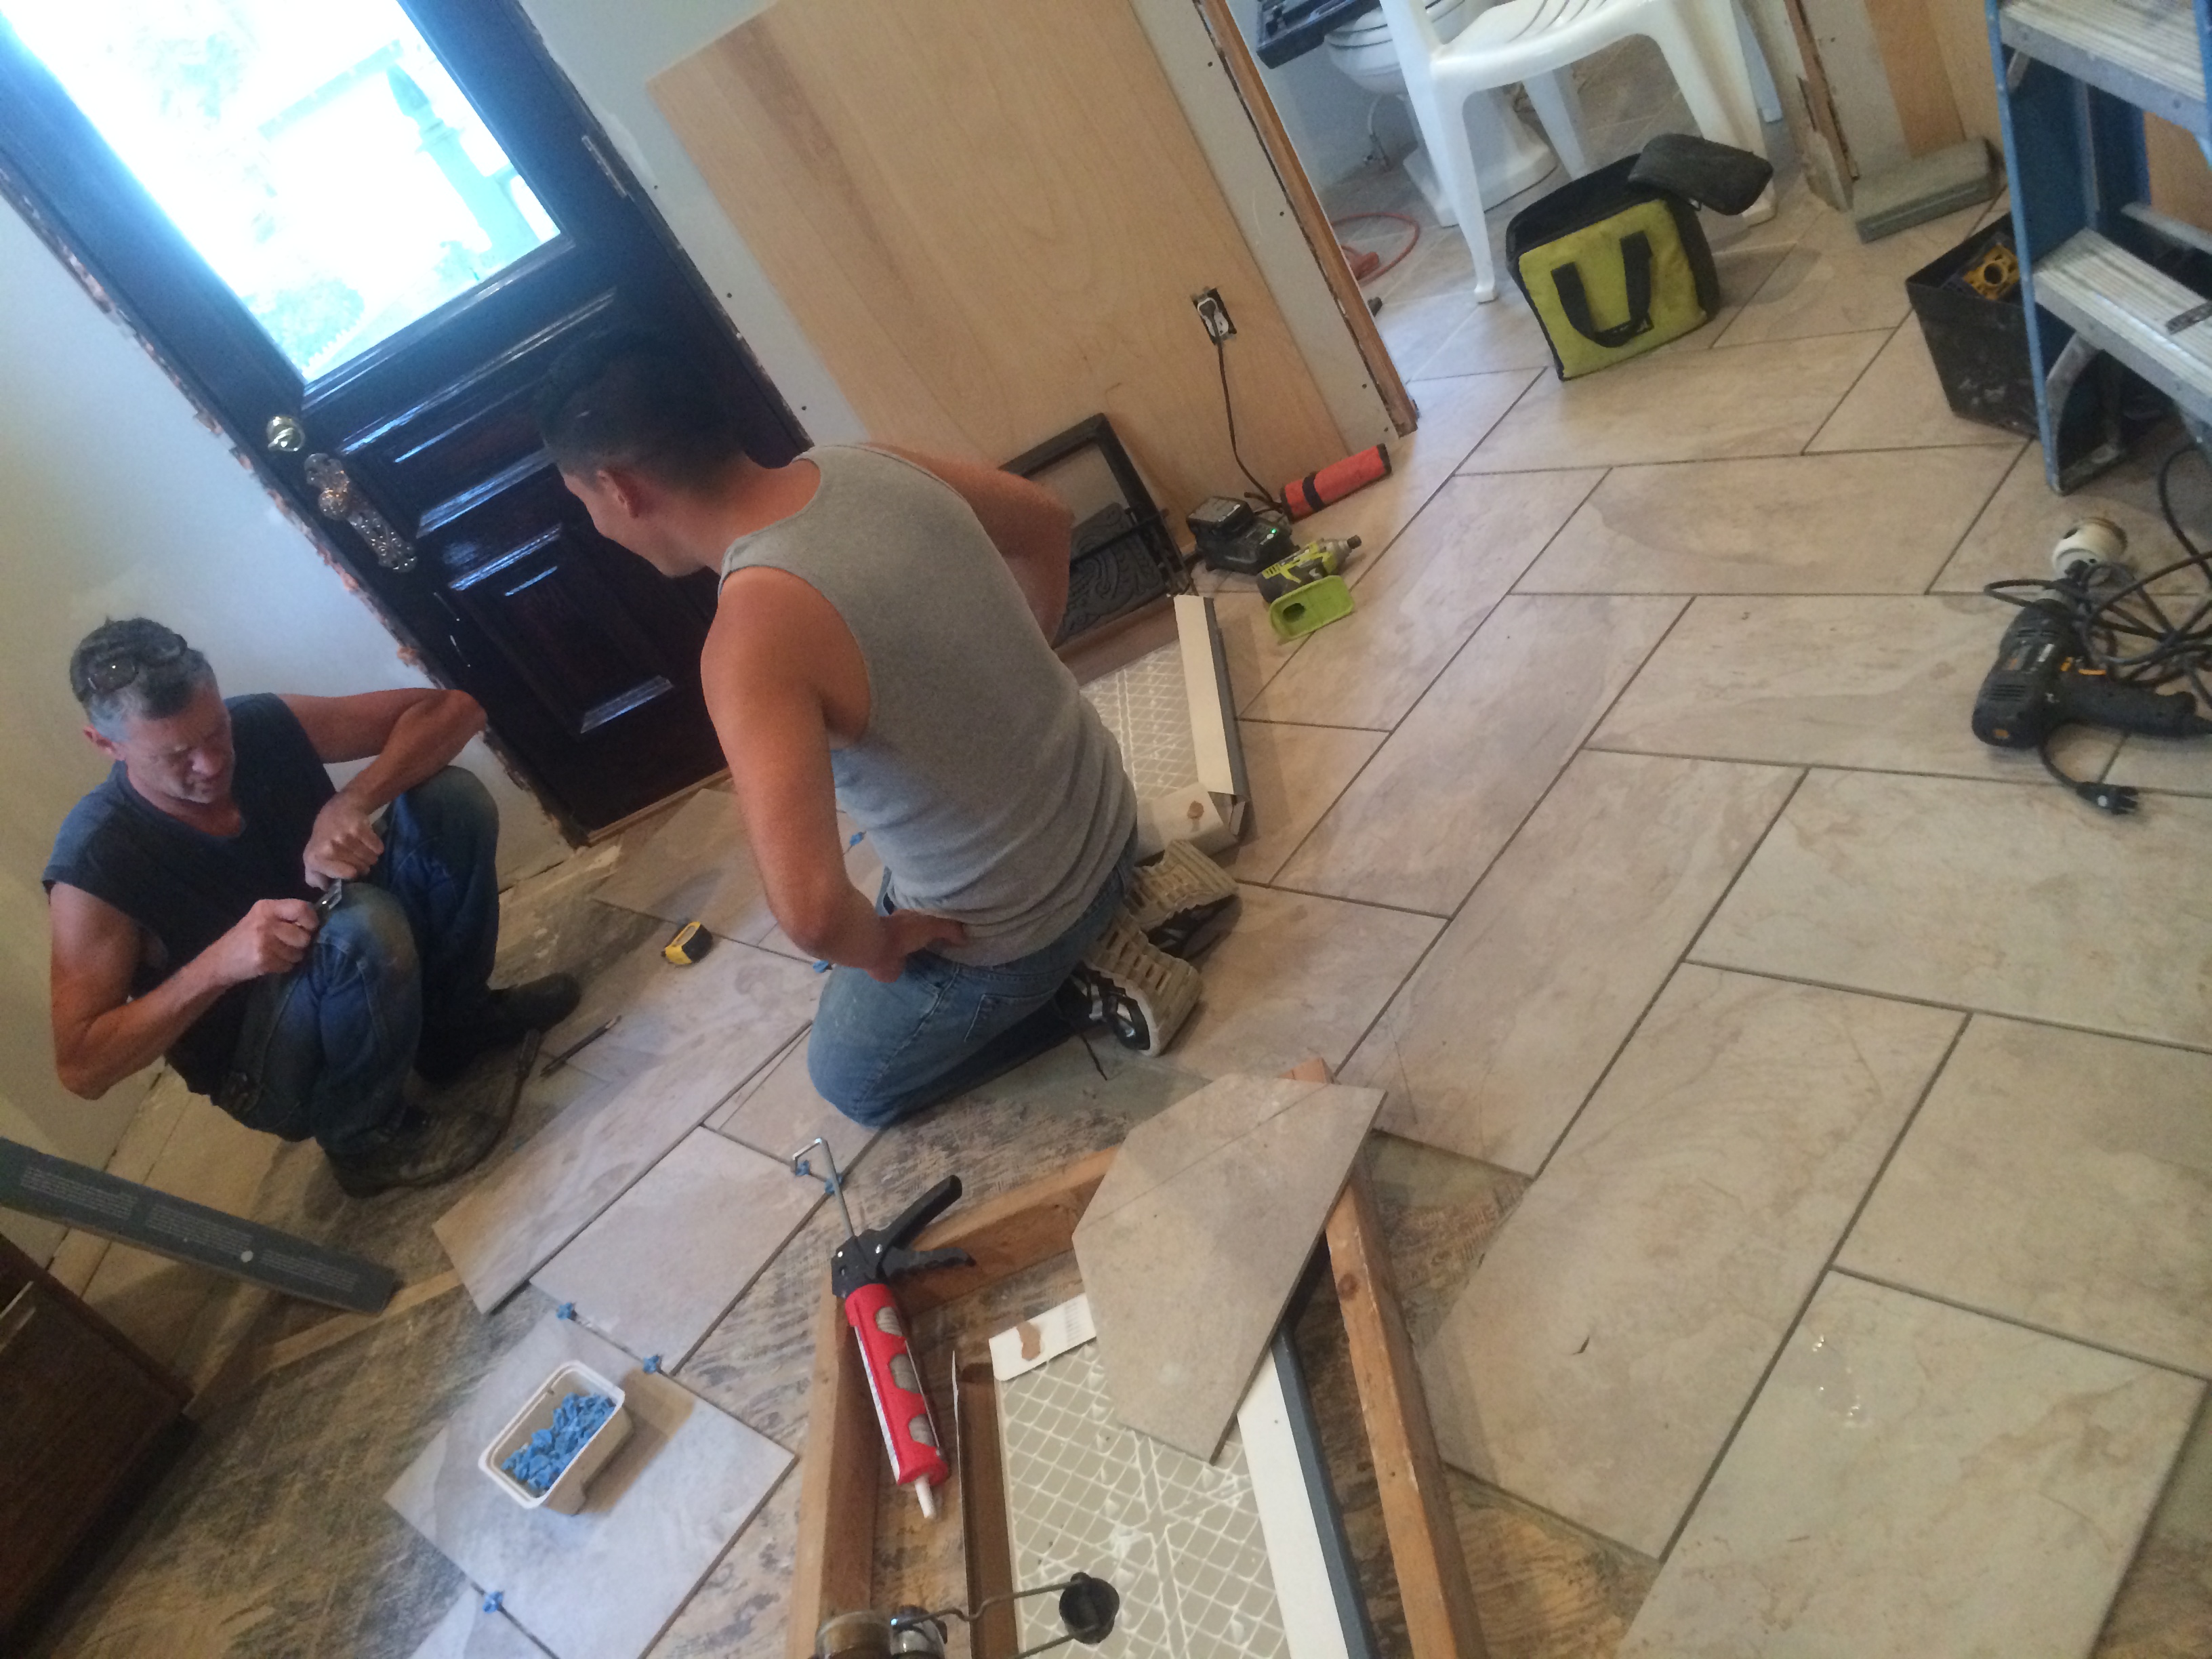
While Raul and my dad worked on laying the tile, my mom and I got to work staining the floor transitions that would go between the kitchen and dining room and the kitchen and foyer.

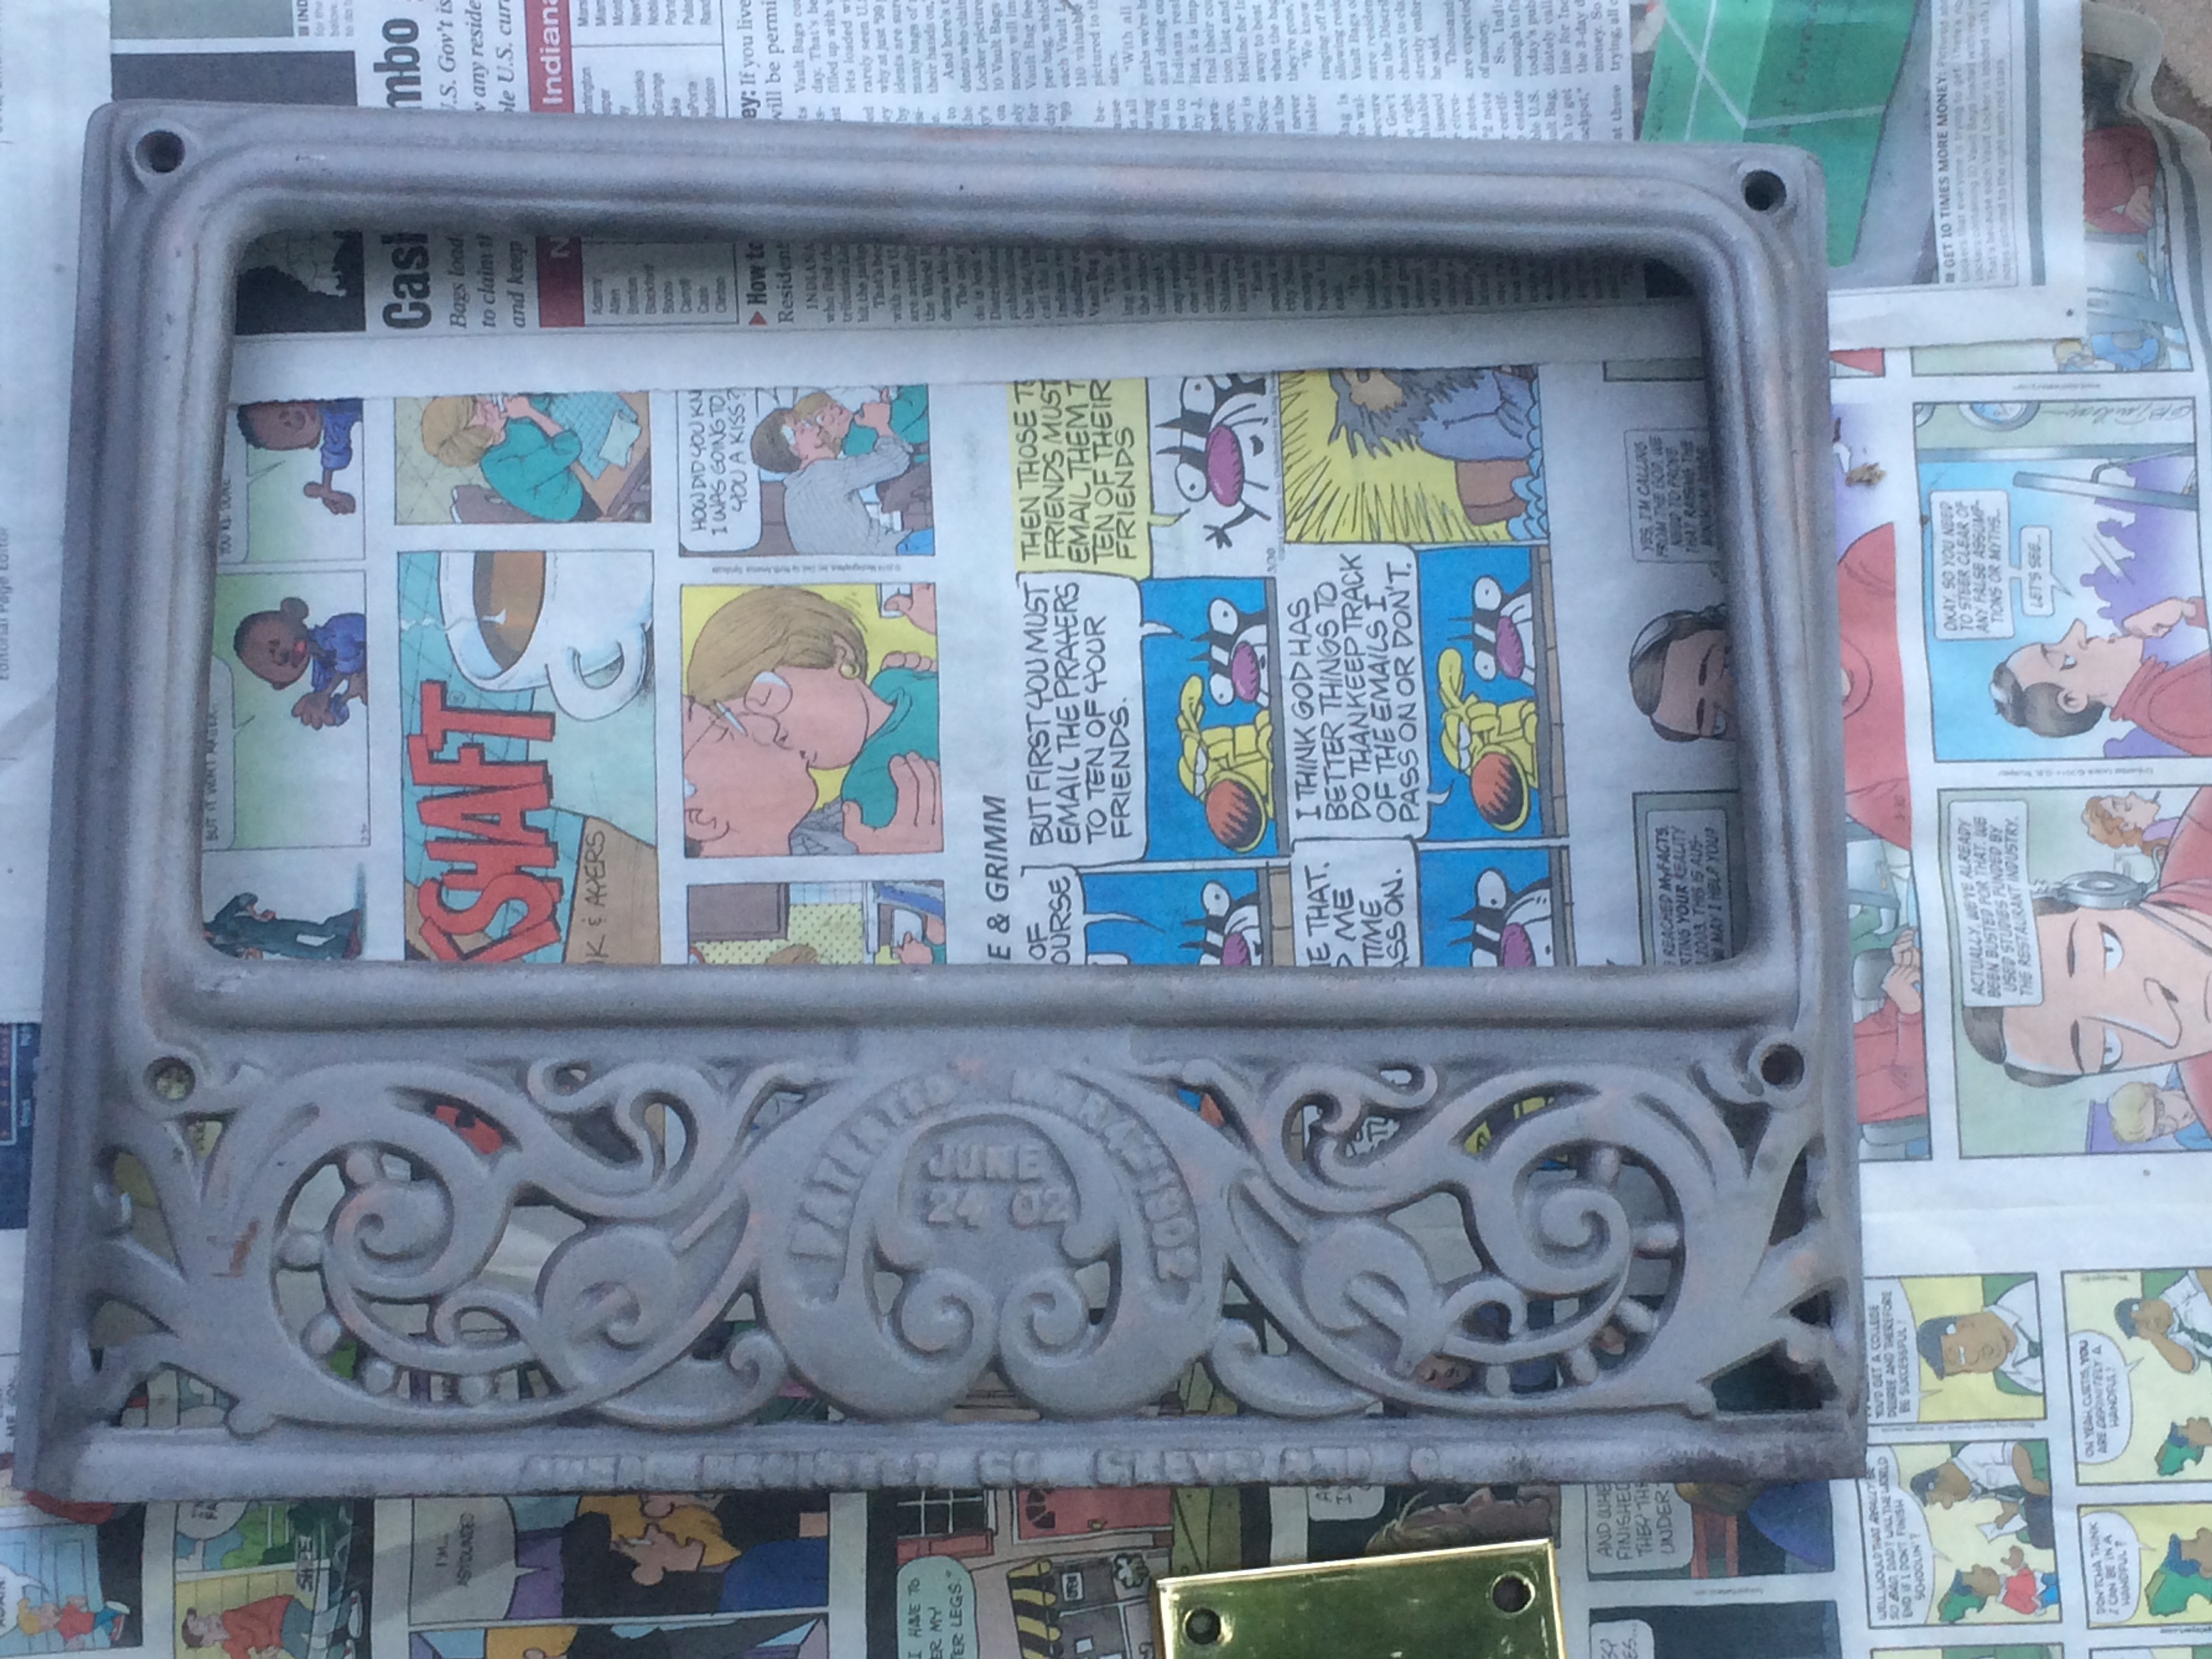
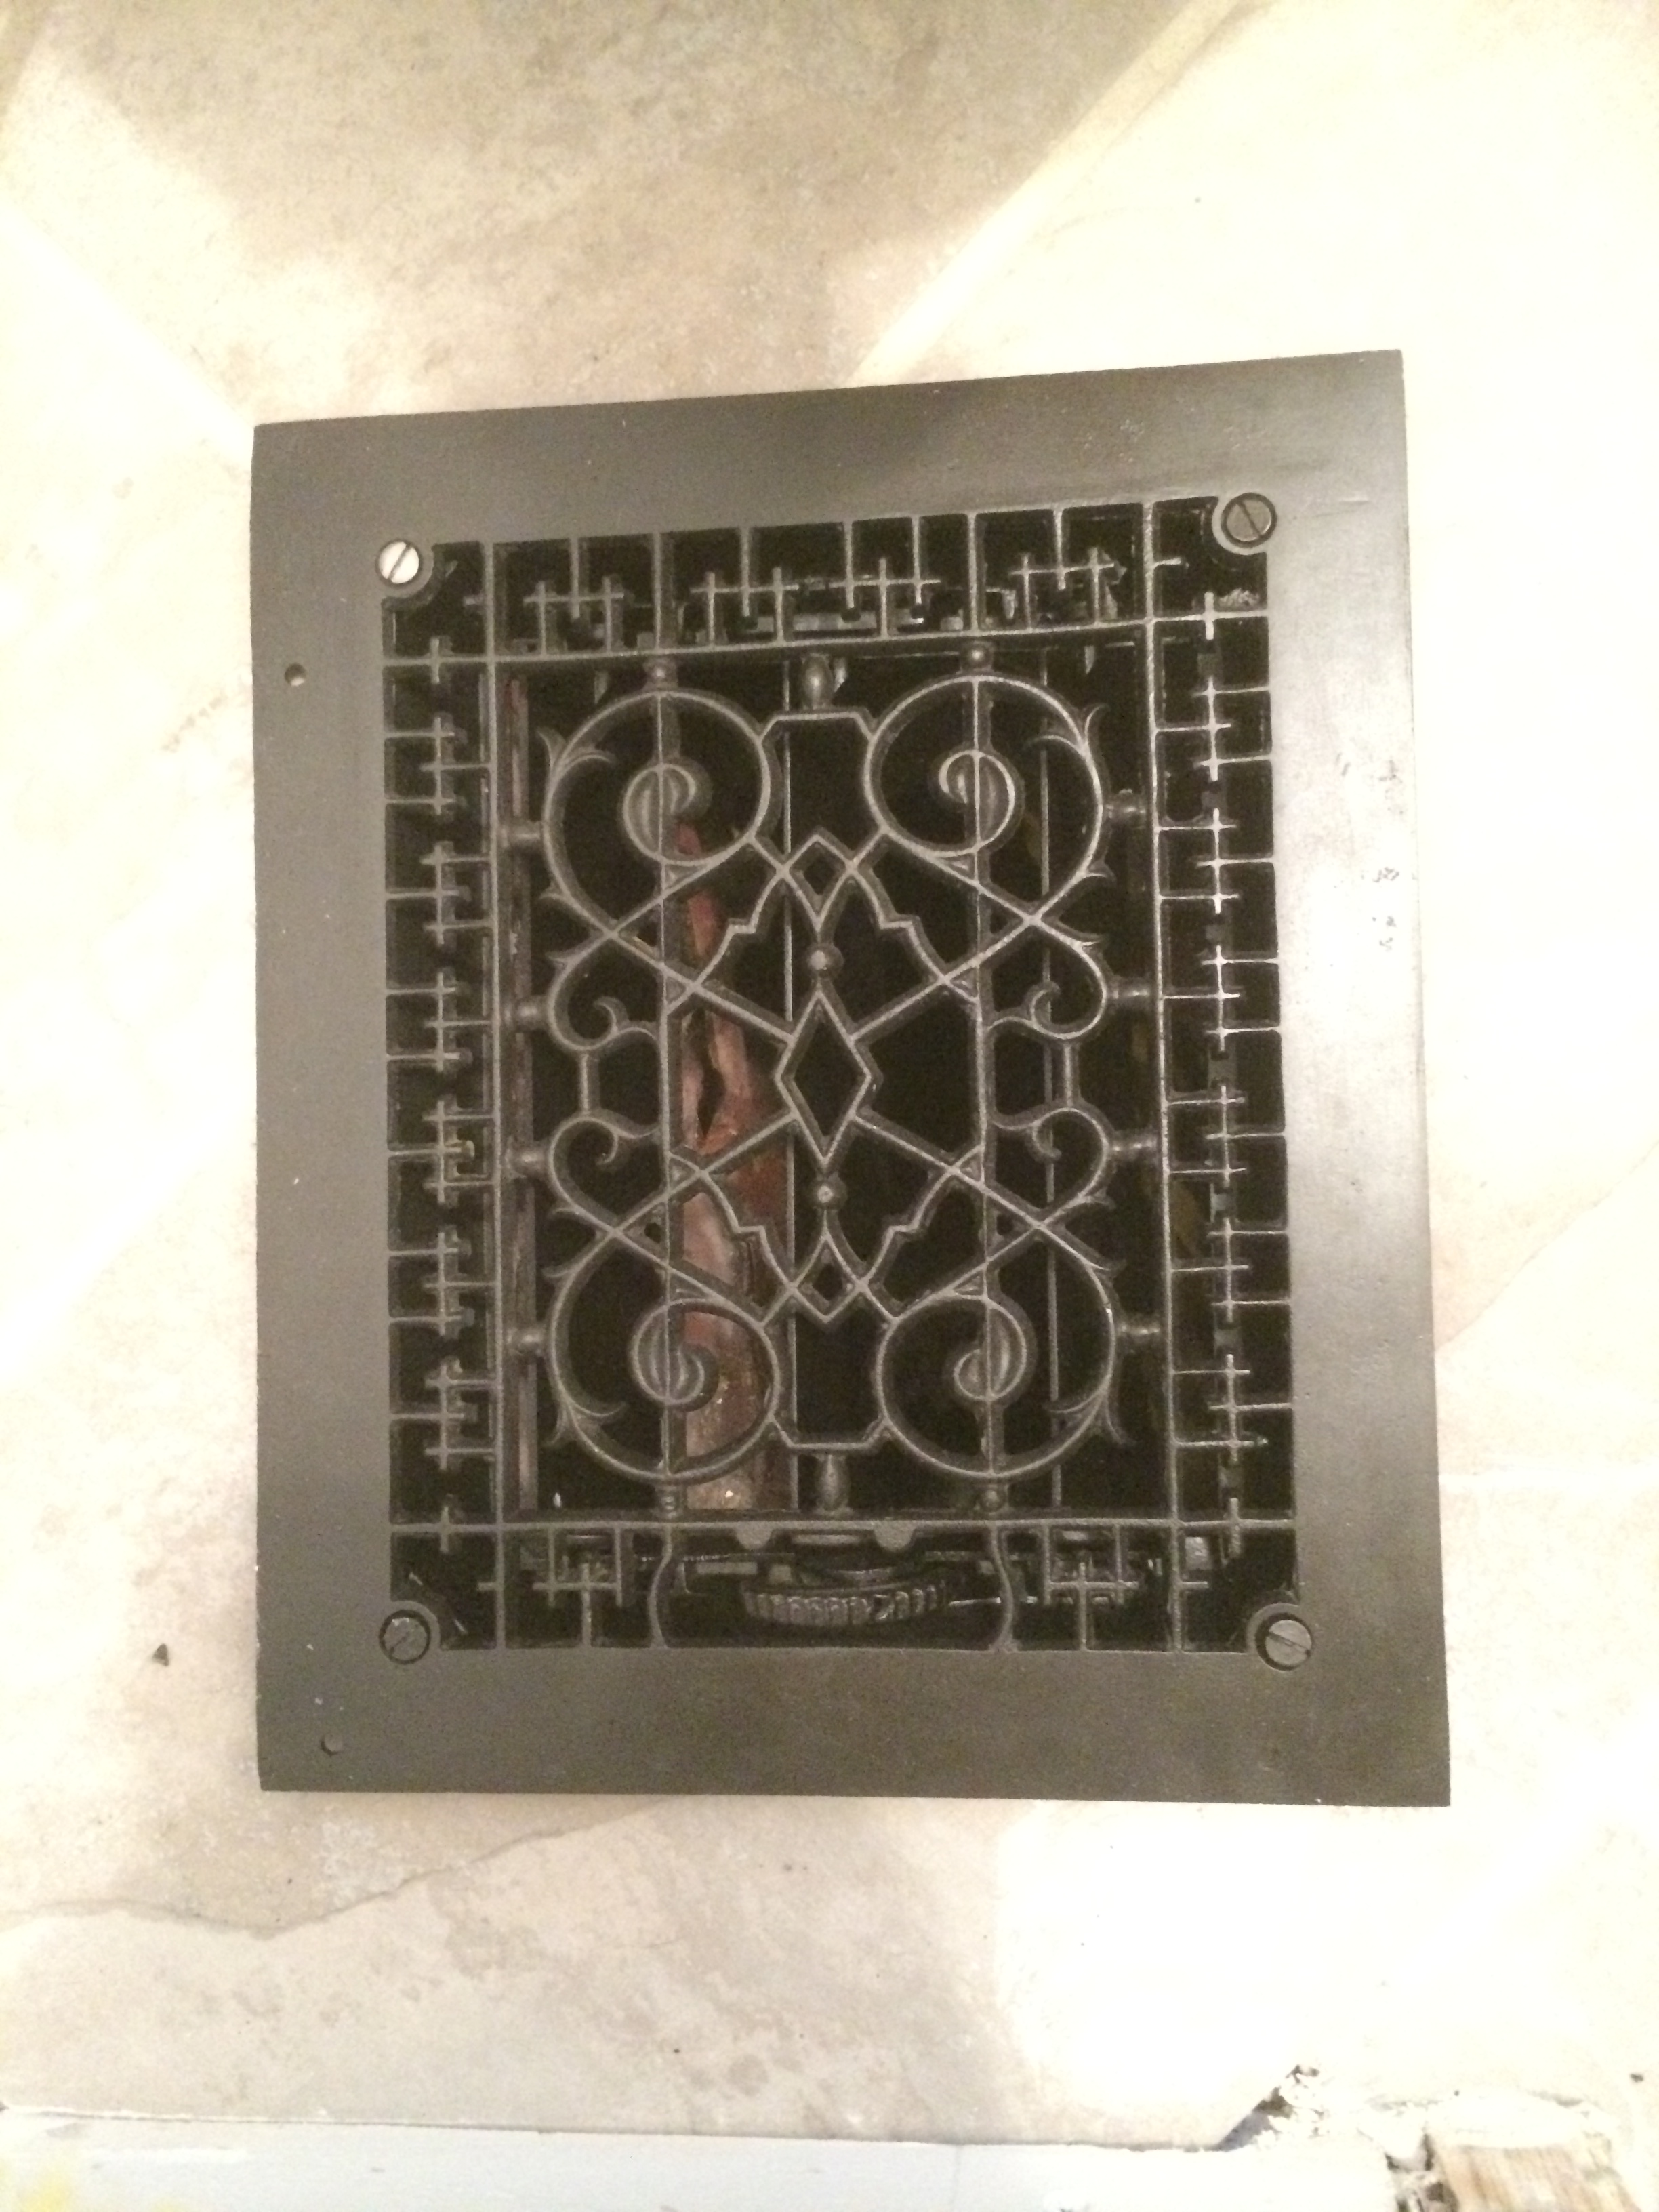
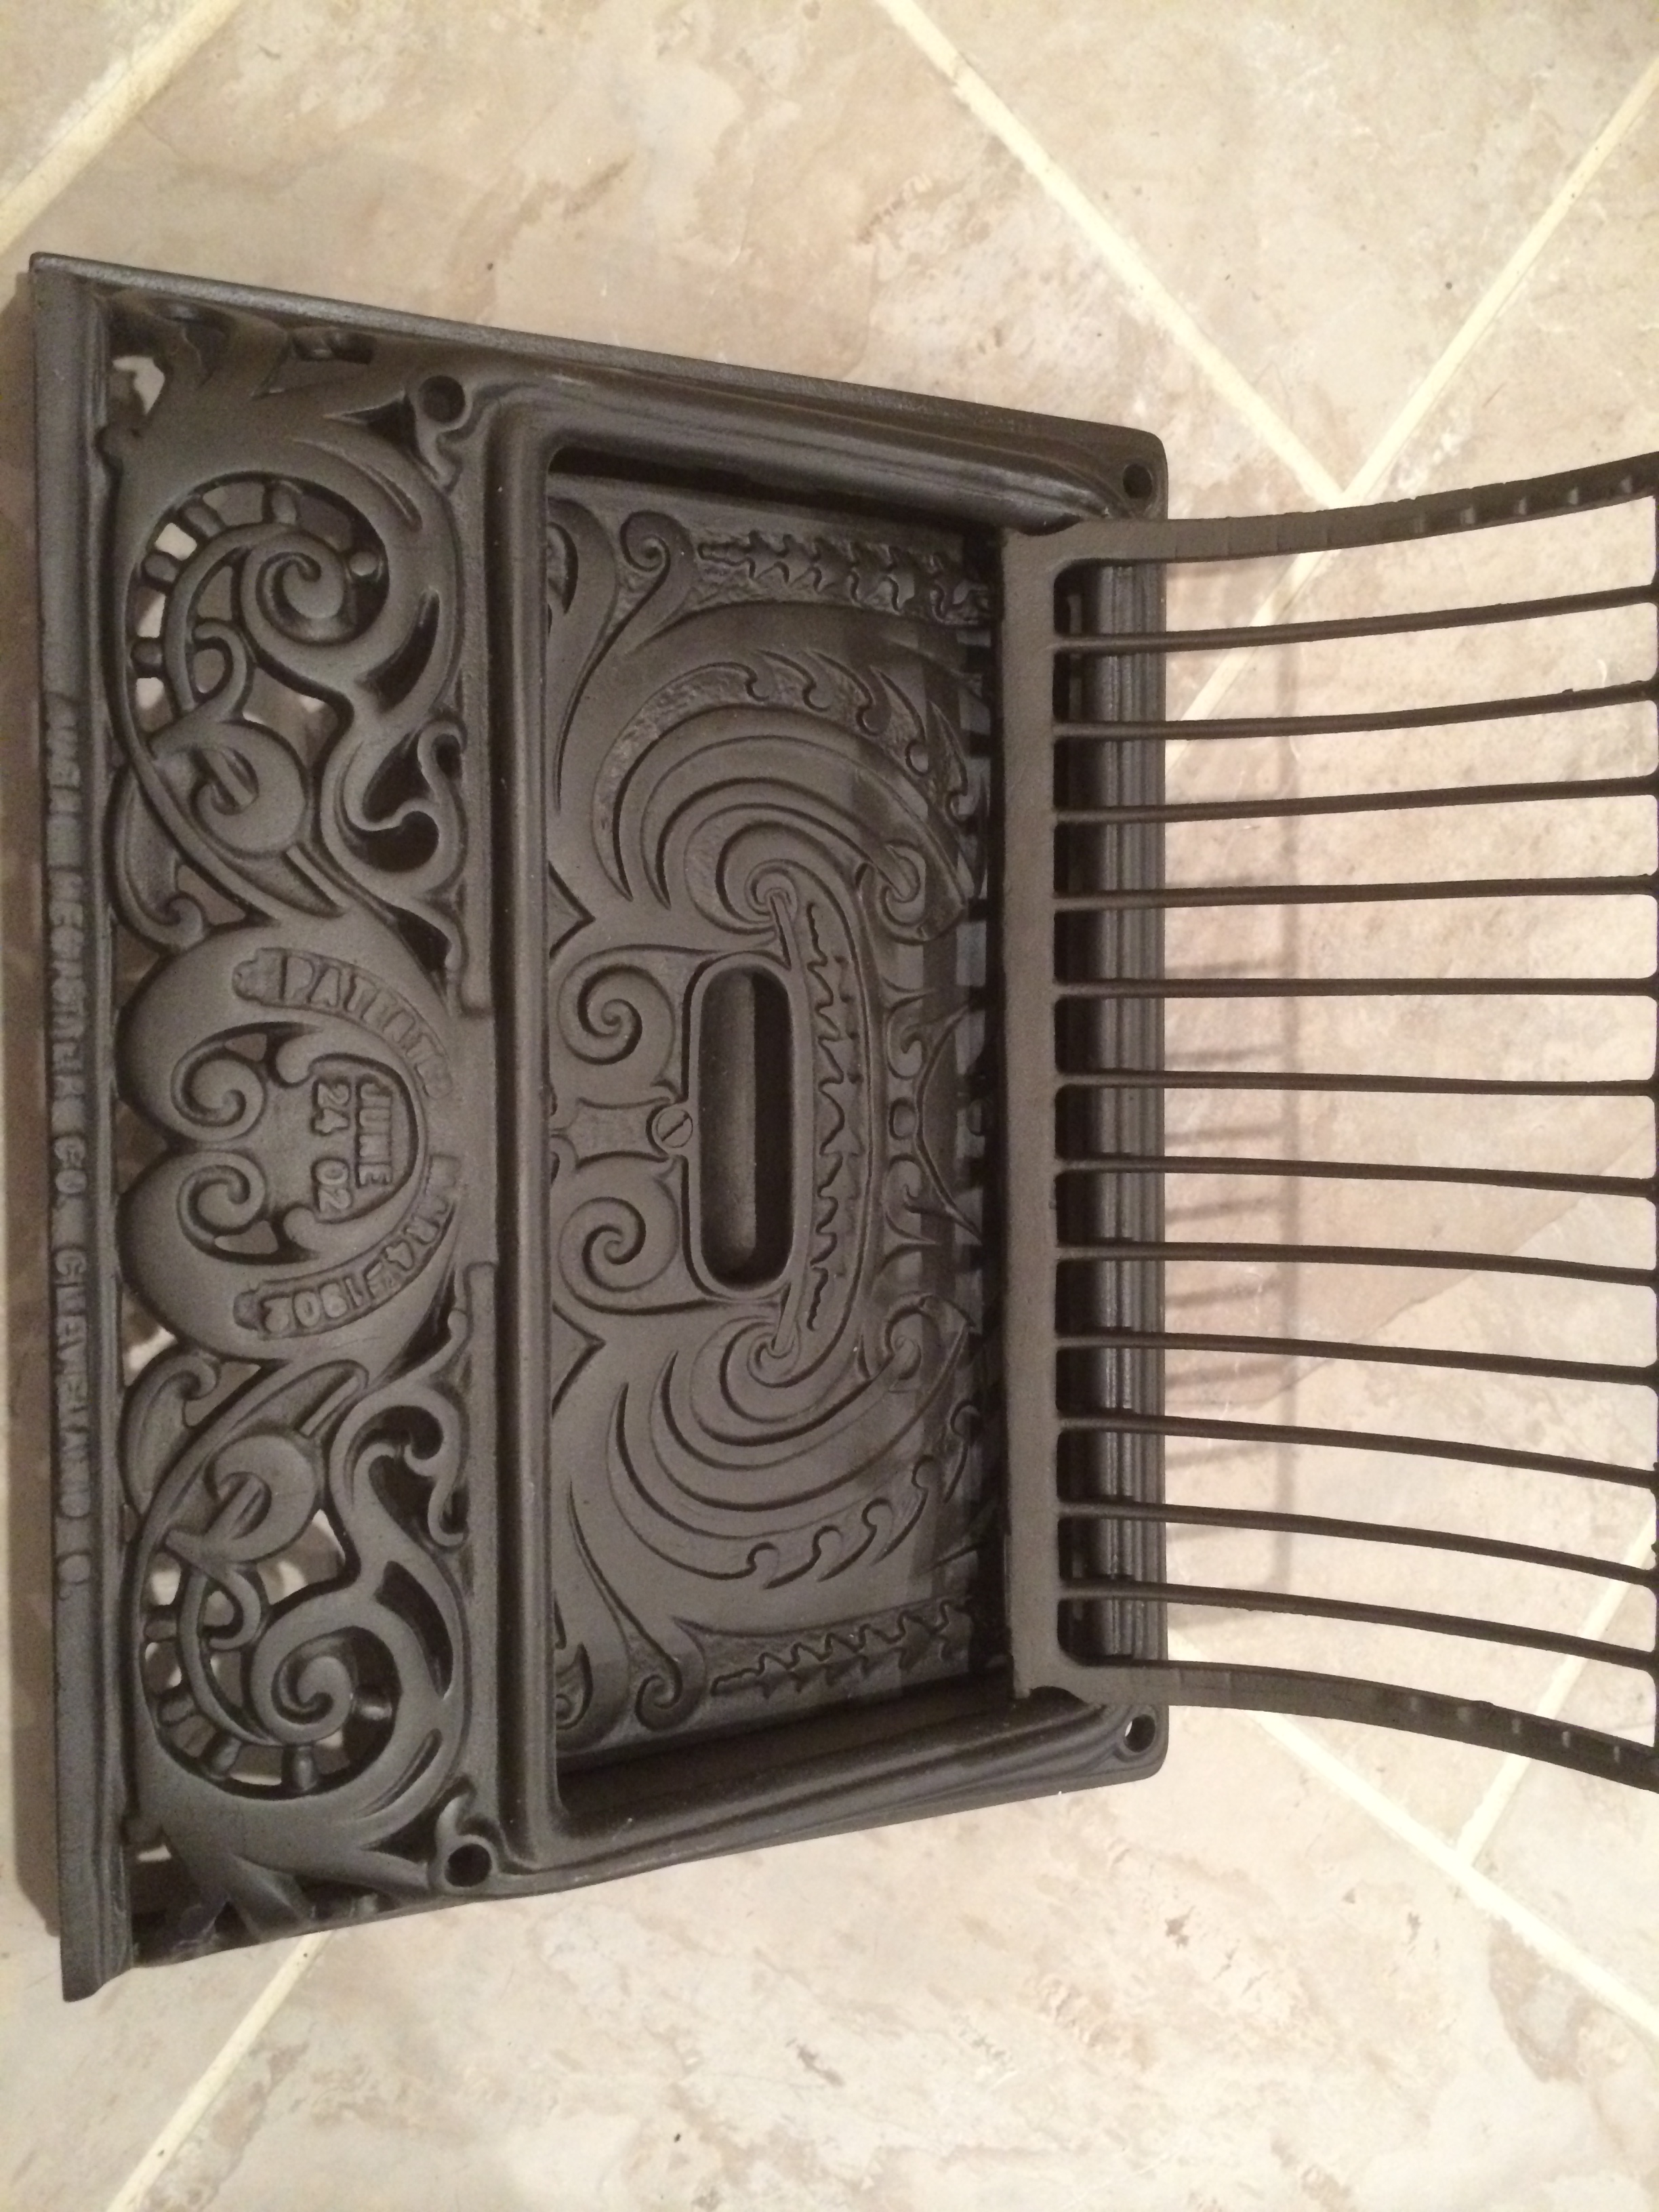
We also had quite the task in cleaning up the floor grates that we would be installing in all of the new heating and cooling vents. While every other room in our house has the original floor grates still intact, whatever was in the kitchen was long since gone. We did however find one reallyfreakingawesome wall grate downstairs in the basement. I could kick myself for not getting a before picture but there you have it. Trust me, it was the filthiest thing you ever saw. We could tell there was definitely some kind of filigree pattern and some writing on the front of the grate but years of dust and grime made it unreadable. We also scored one more grate at The Woodshack downtown for about $40 bucks. It was covered in paint but I knew it would be beautiful once we cleaned it up.

My dad had recently bought a sand blasting box and the grates came out looking spectacular!


My mom and I sprayed the grates a rich bronze color which will match the fixtures in the kitchen.
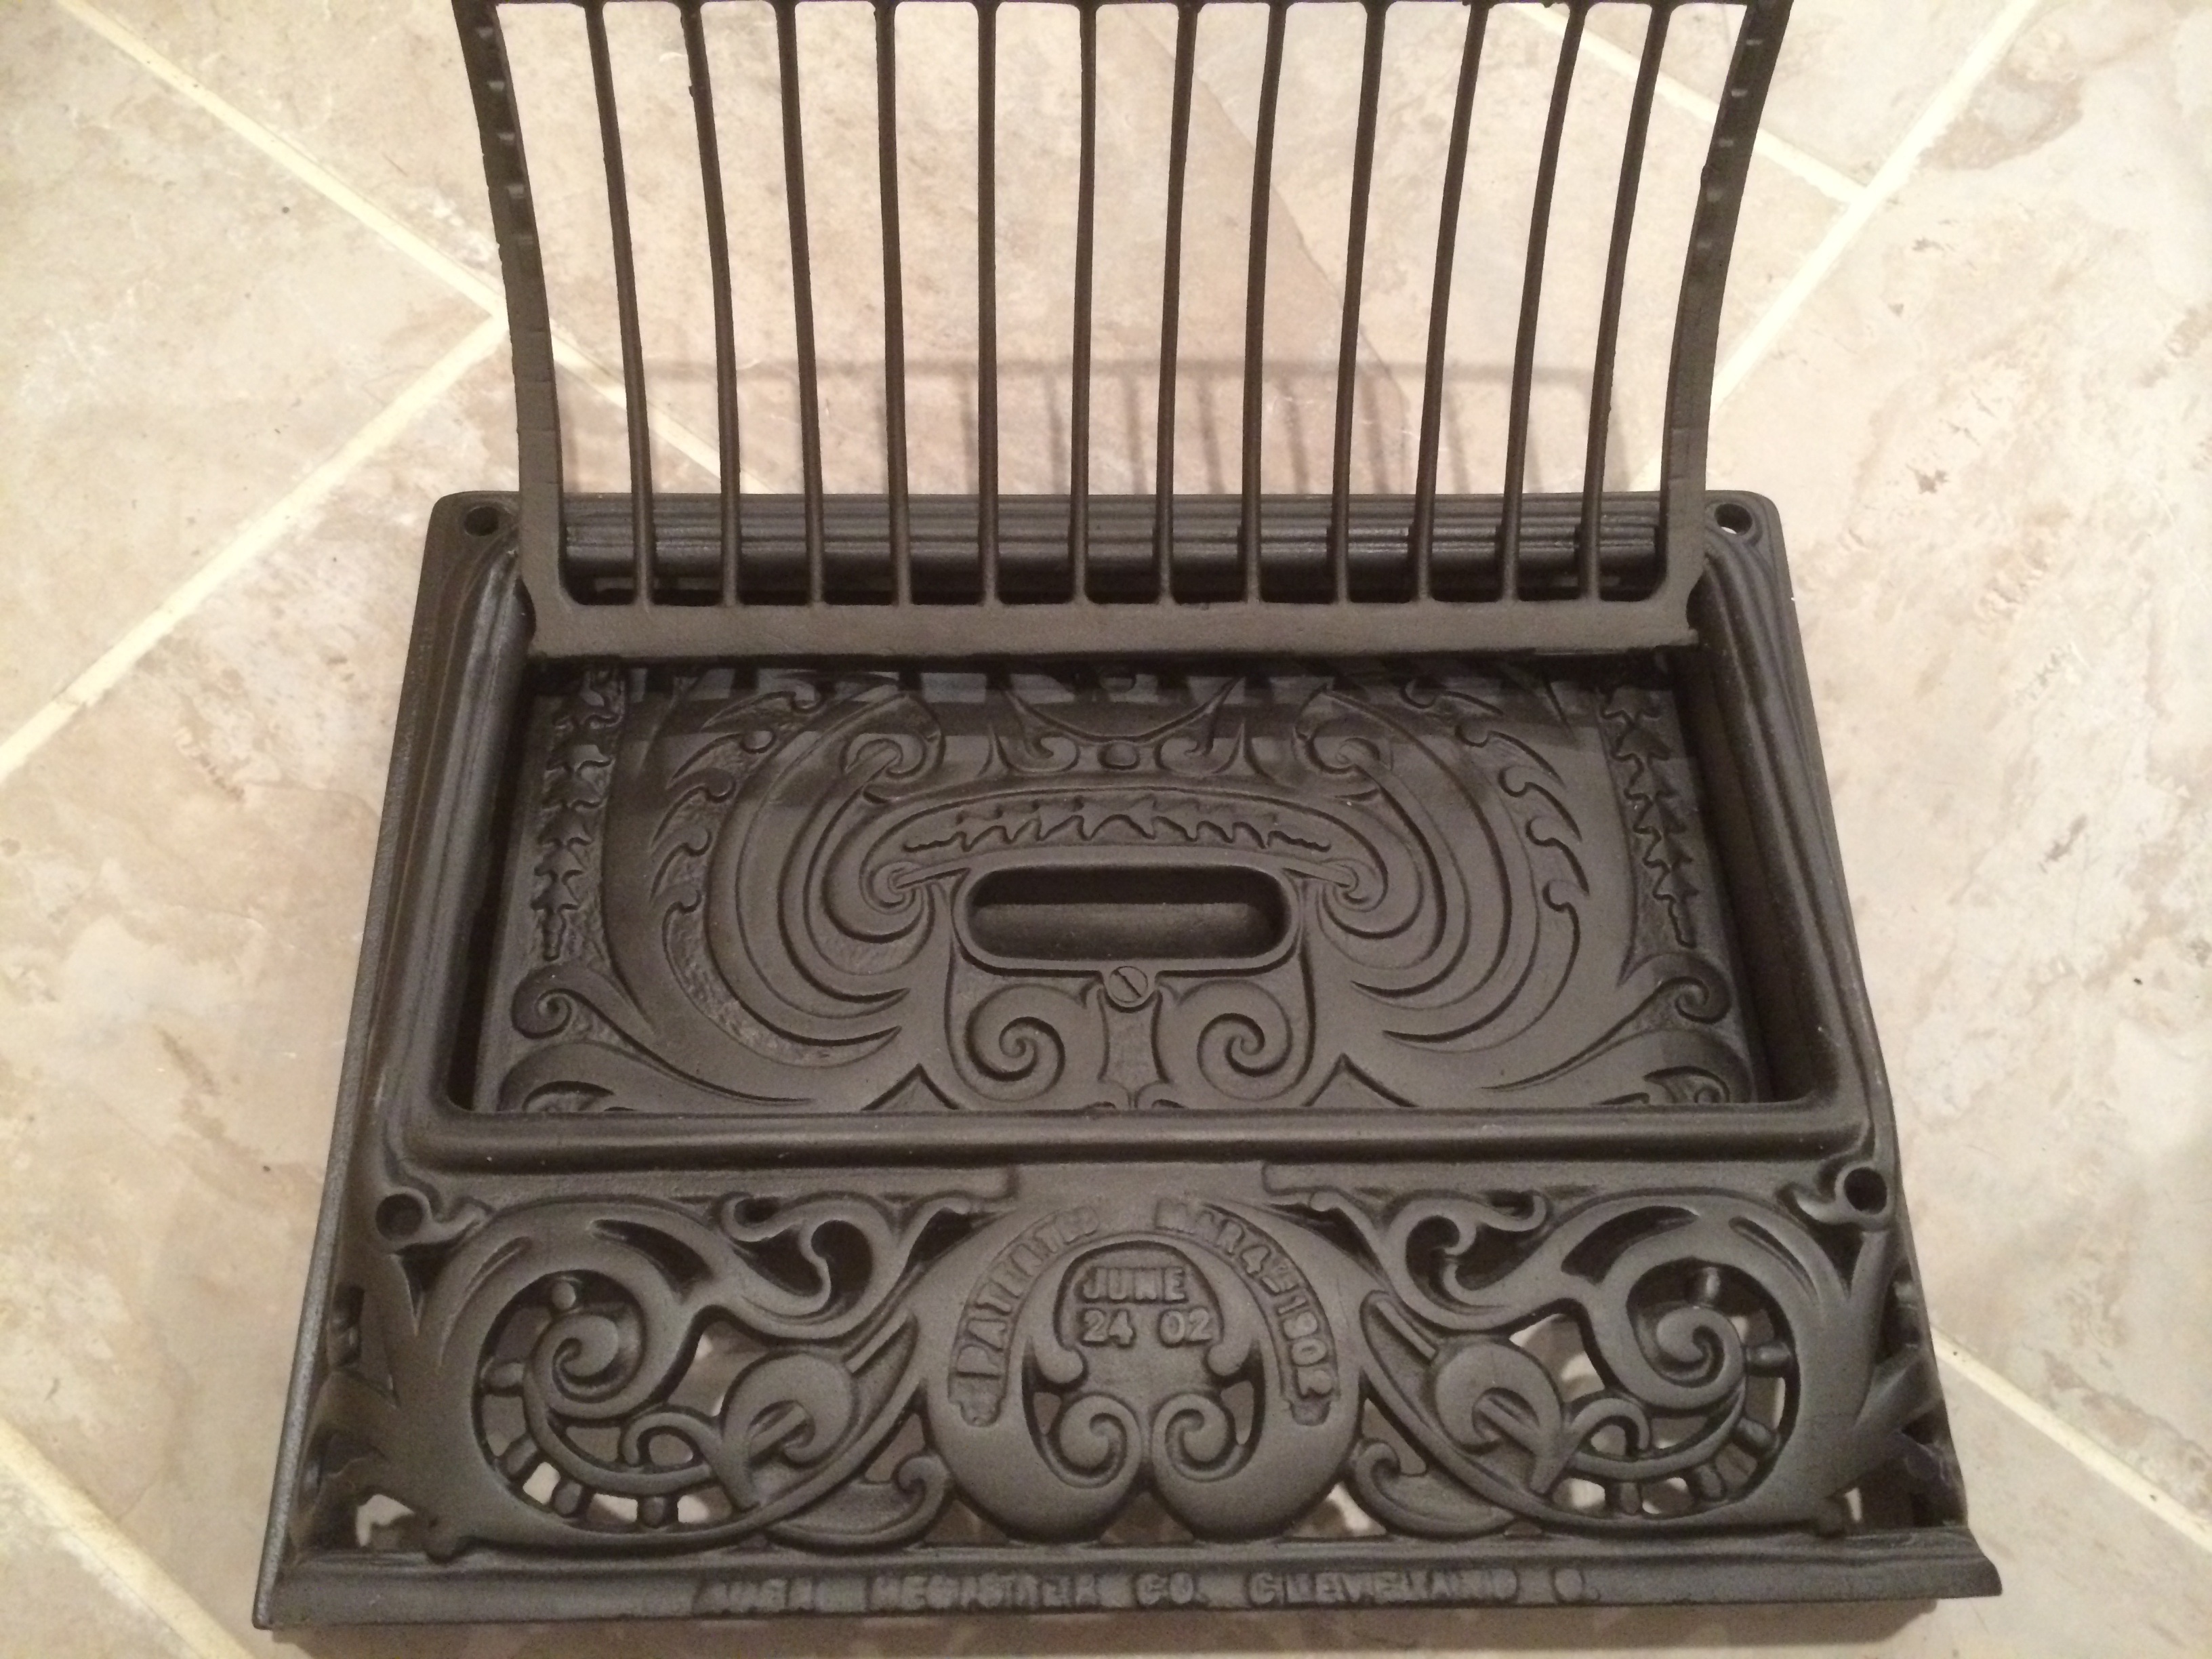
I am in LOVE!
After the tile was laid and had dried we grouted the spaces with a bone colored grout. I love the pattern!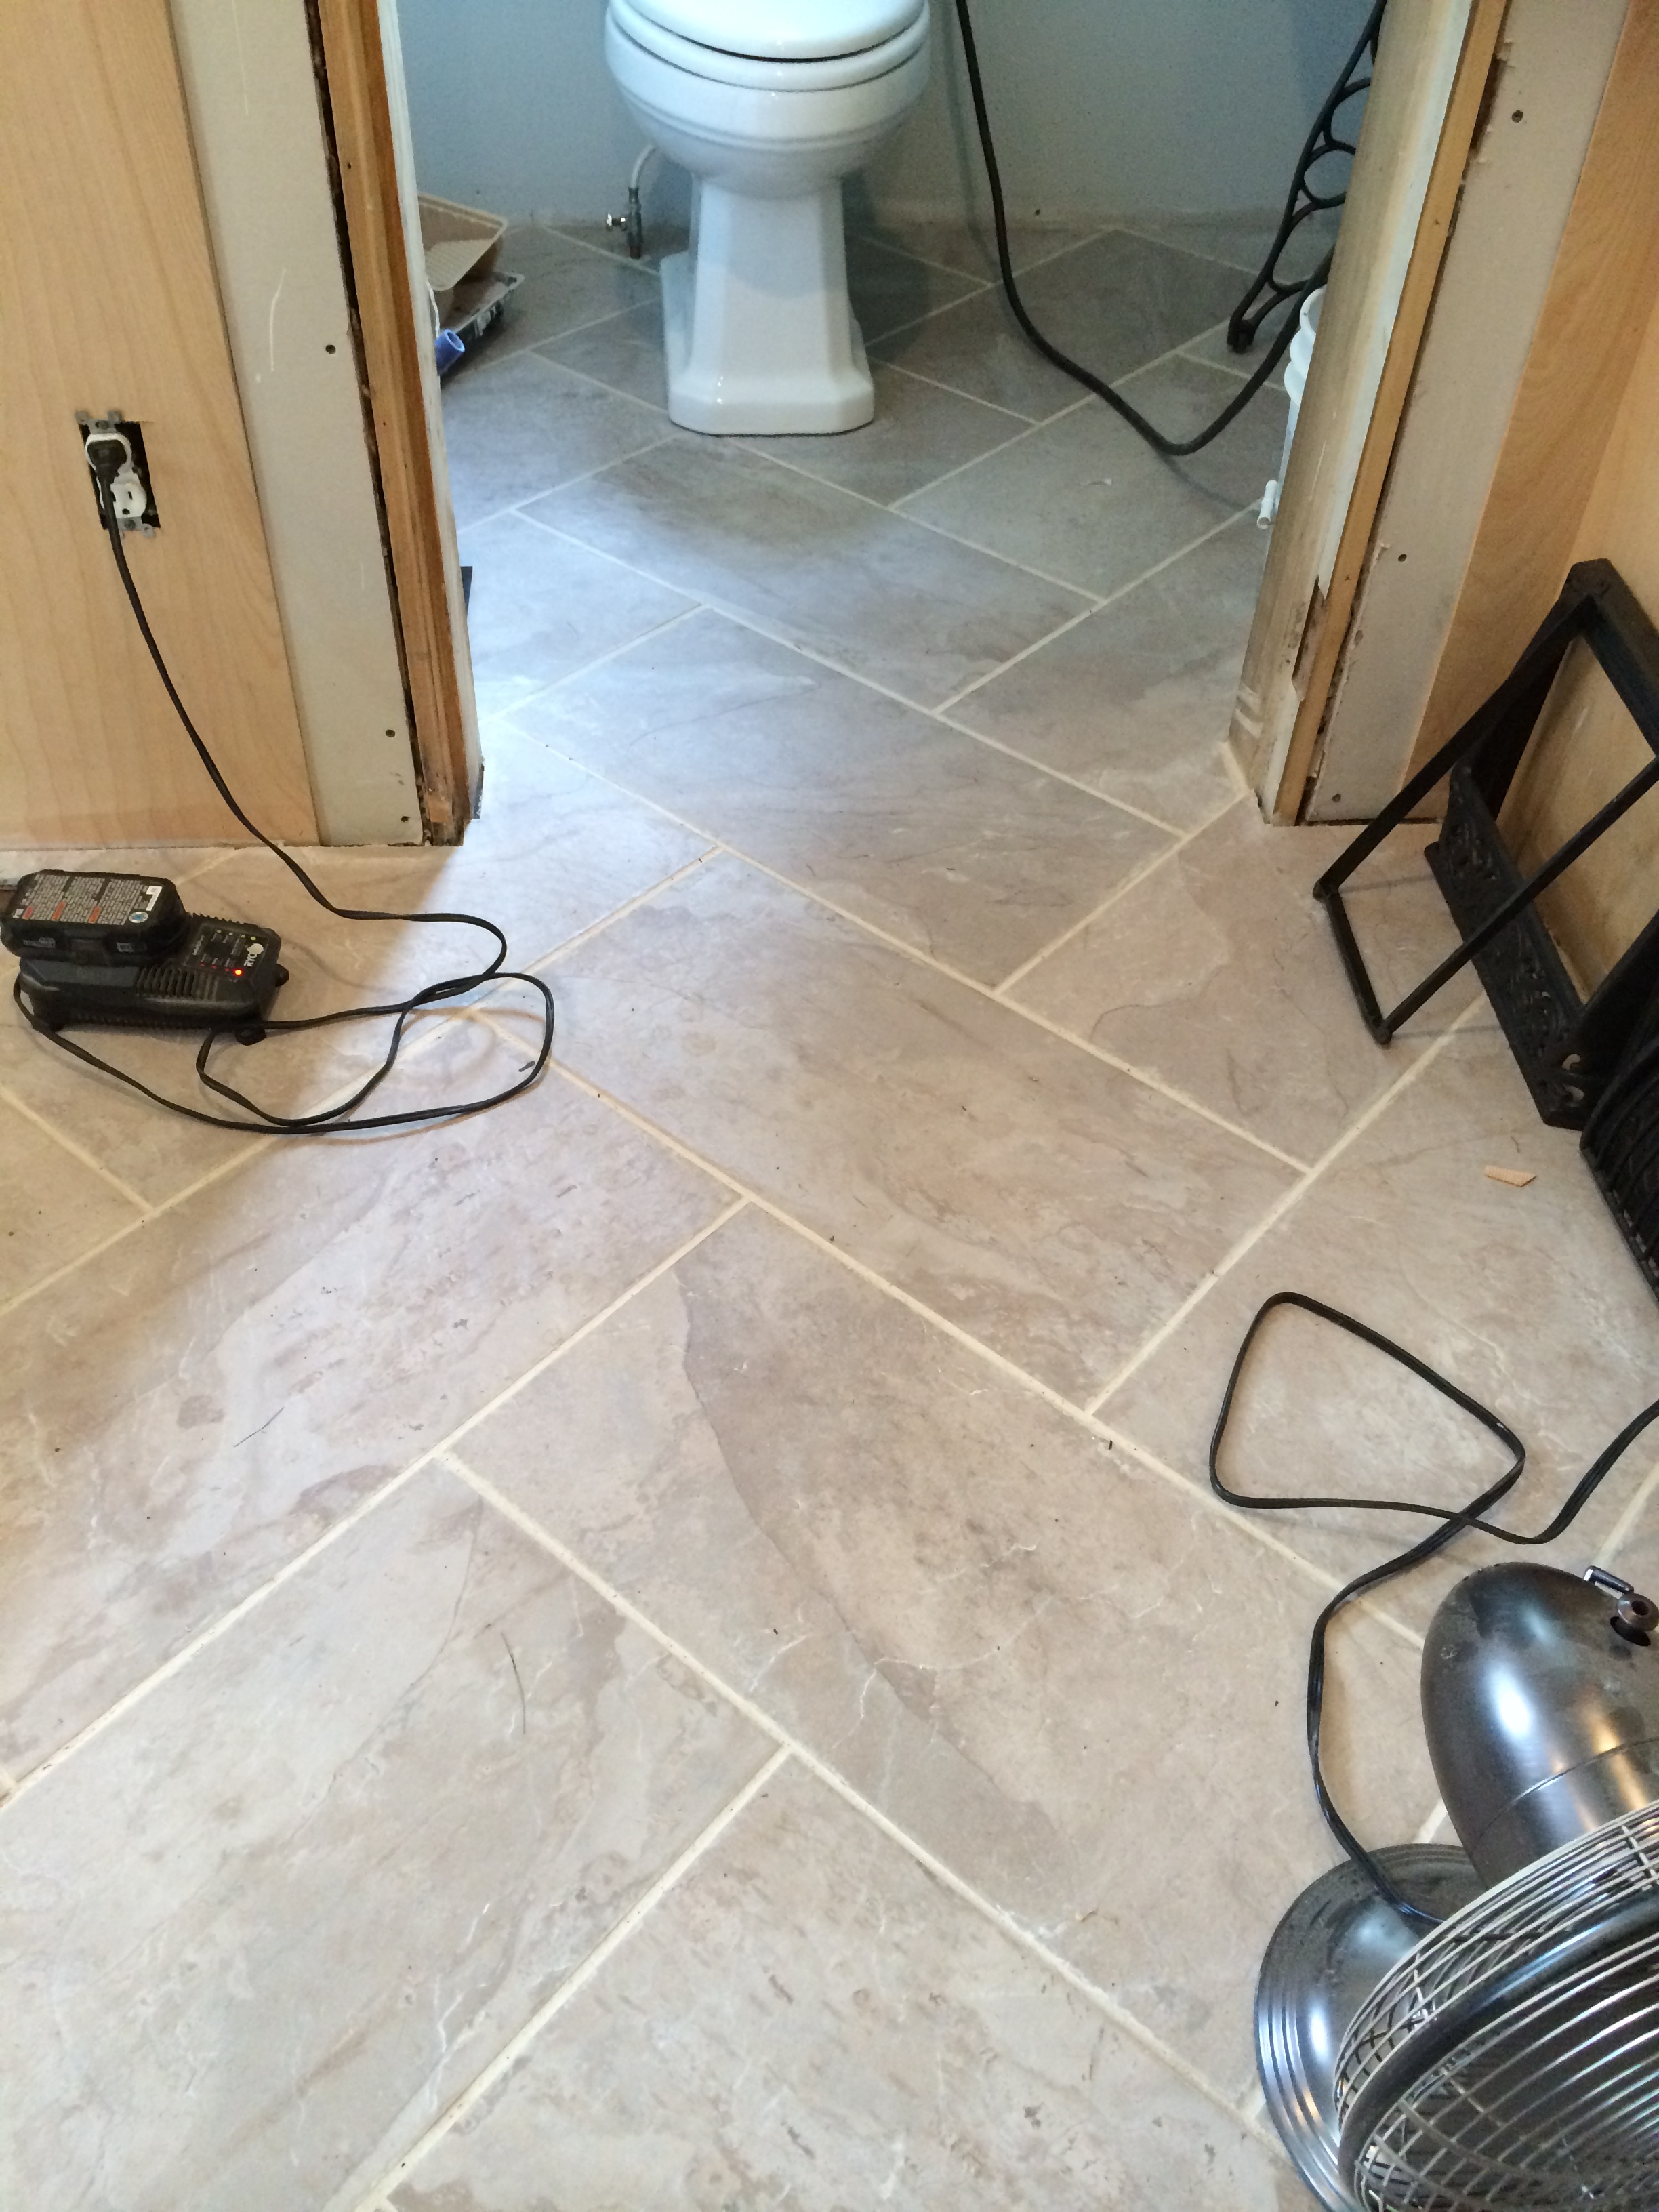
