One of the projects that I have been most excited for during this season of renovation is the 1st floor powder room. Not having to run up and down stairs multiple times a day will be so nice. Of course, this is probably one of our biggest projects as well and the horrible state of the space that we started with didn’t make things any easier on us.
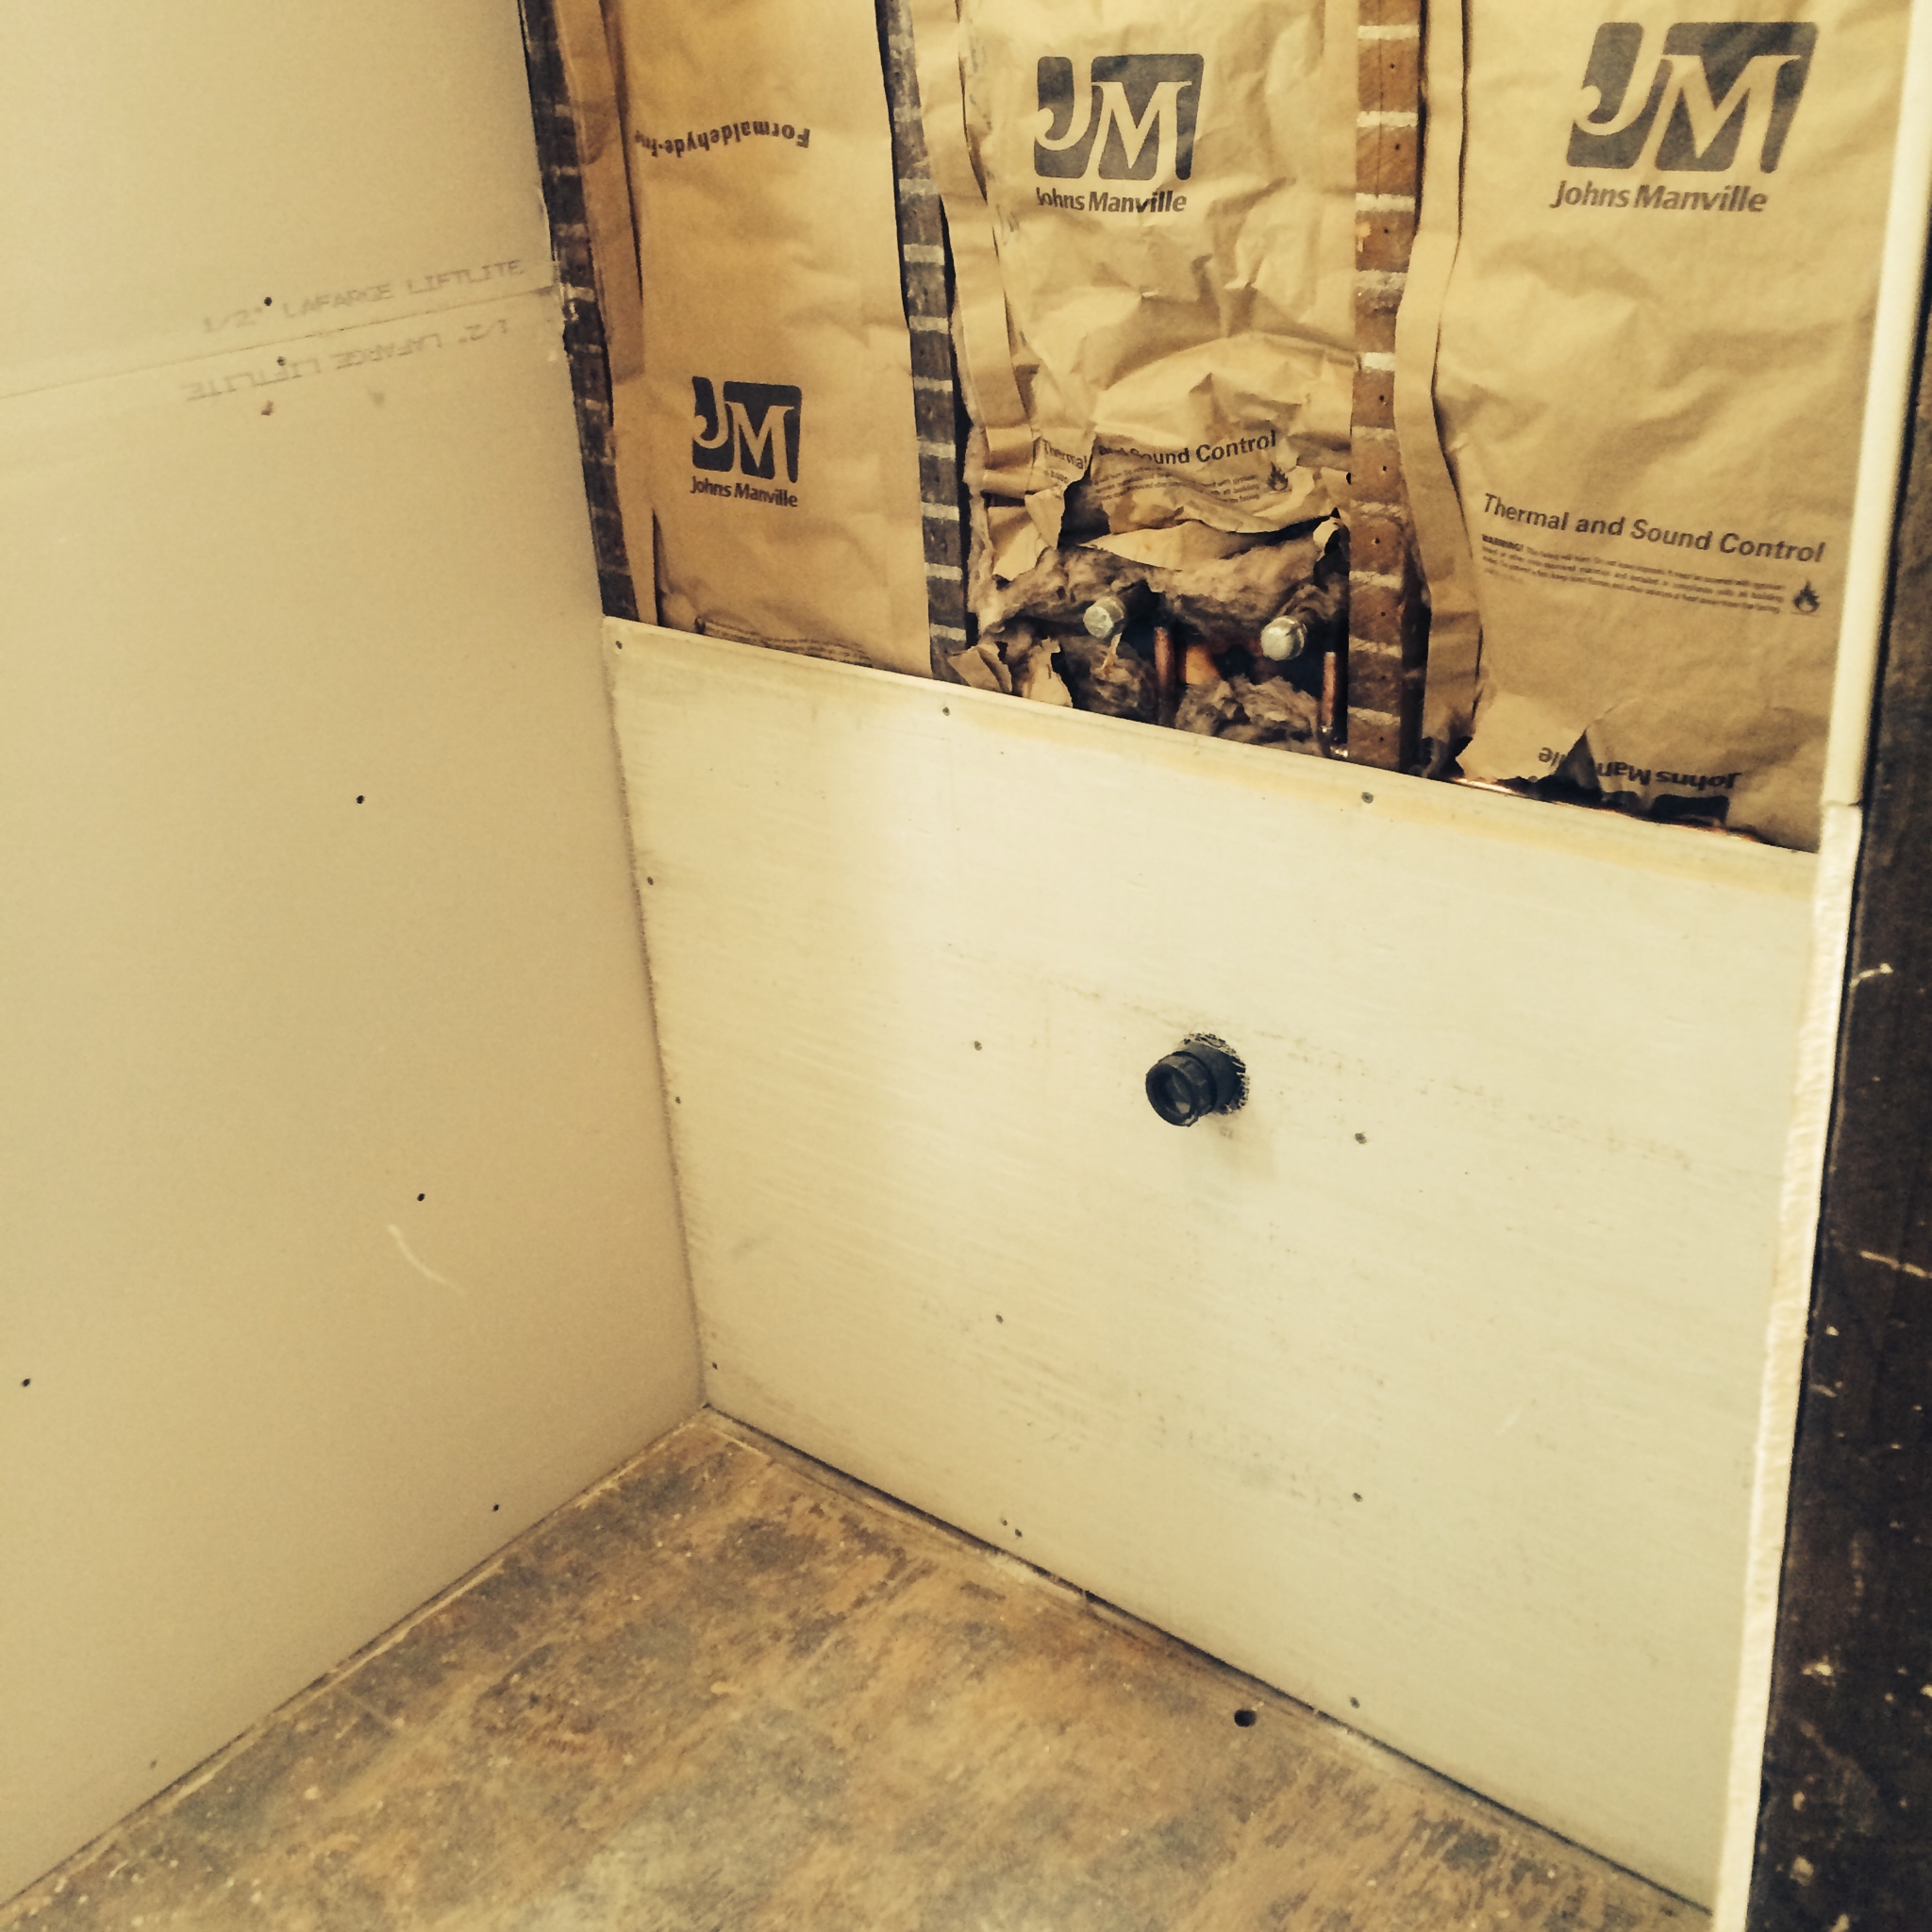
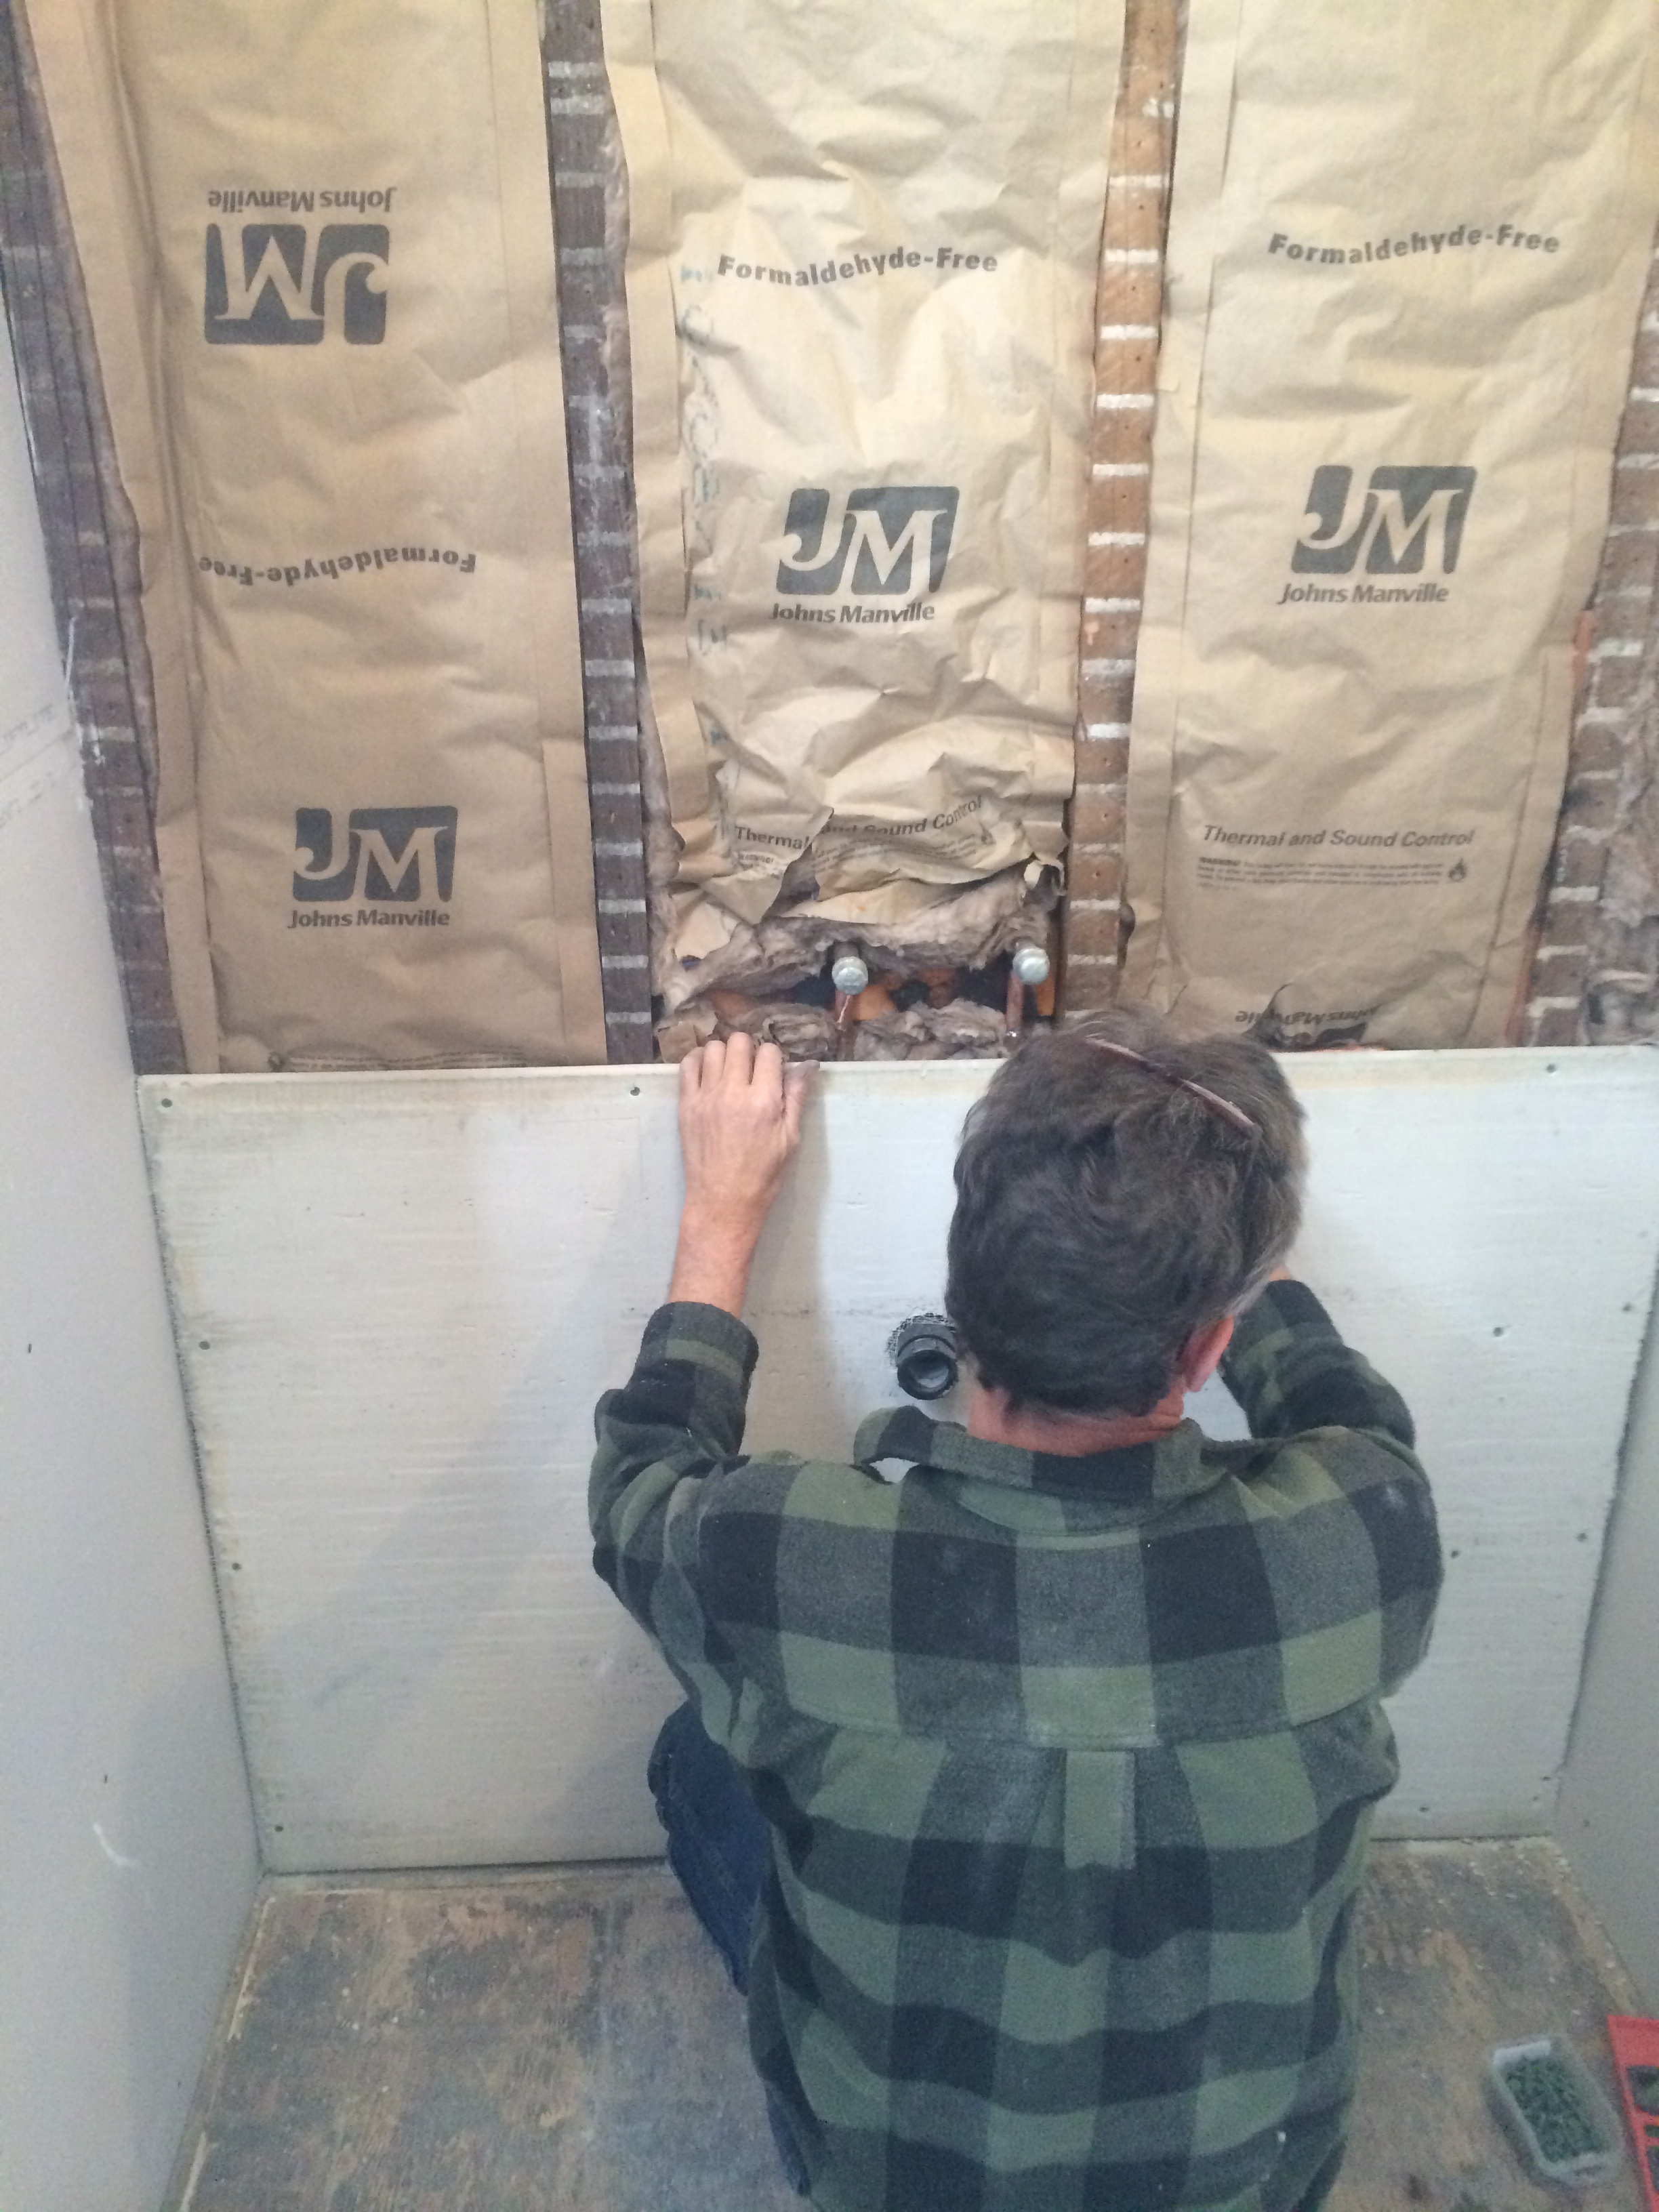
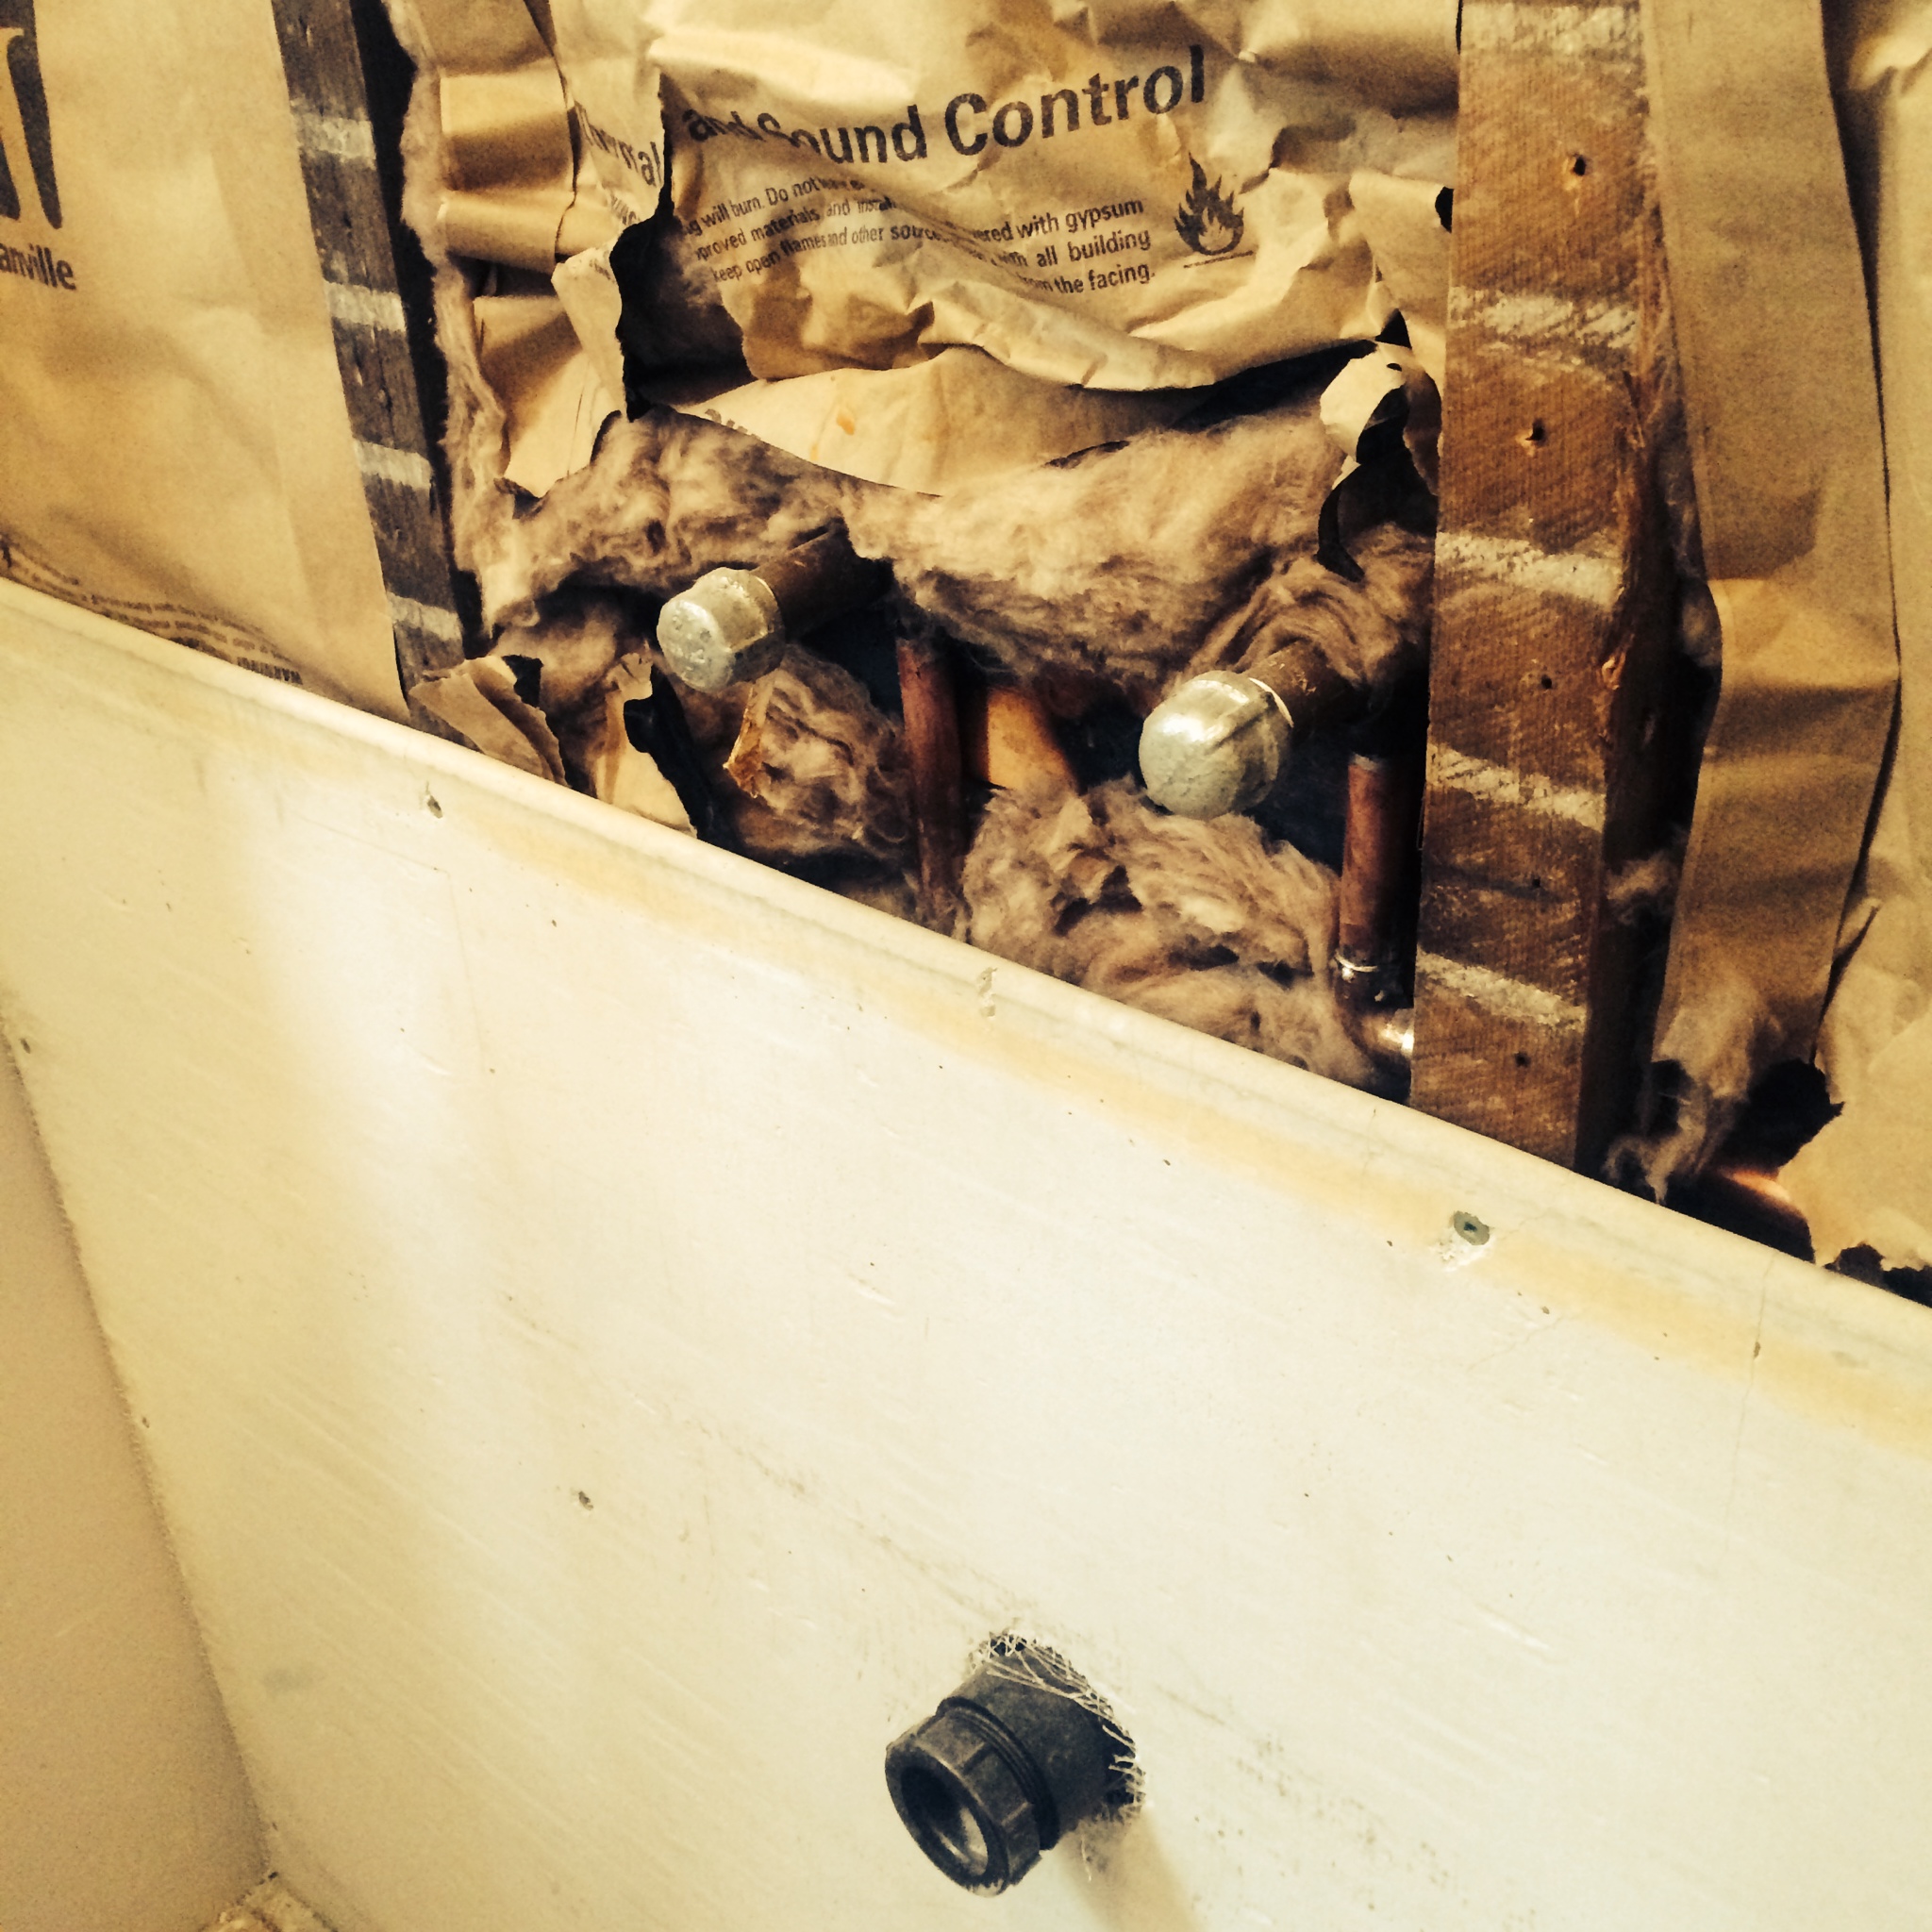
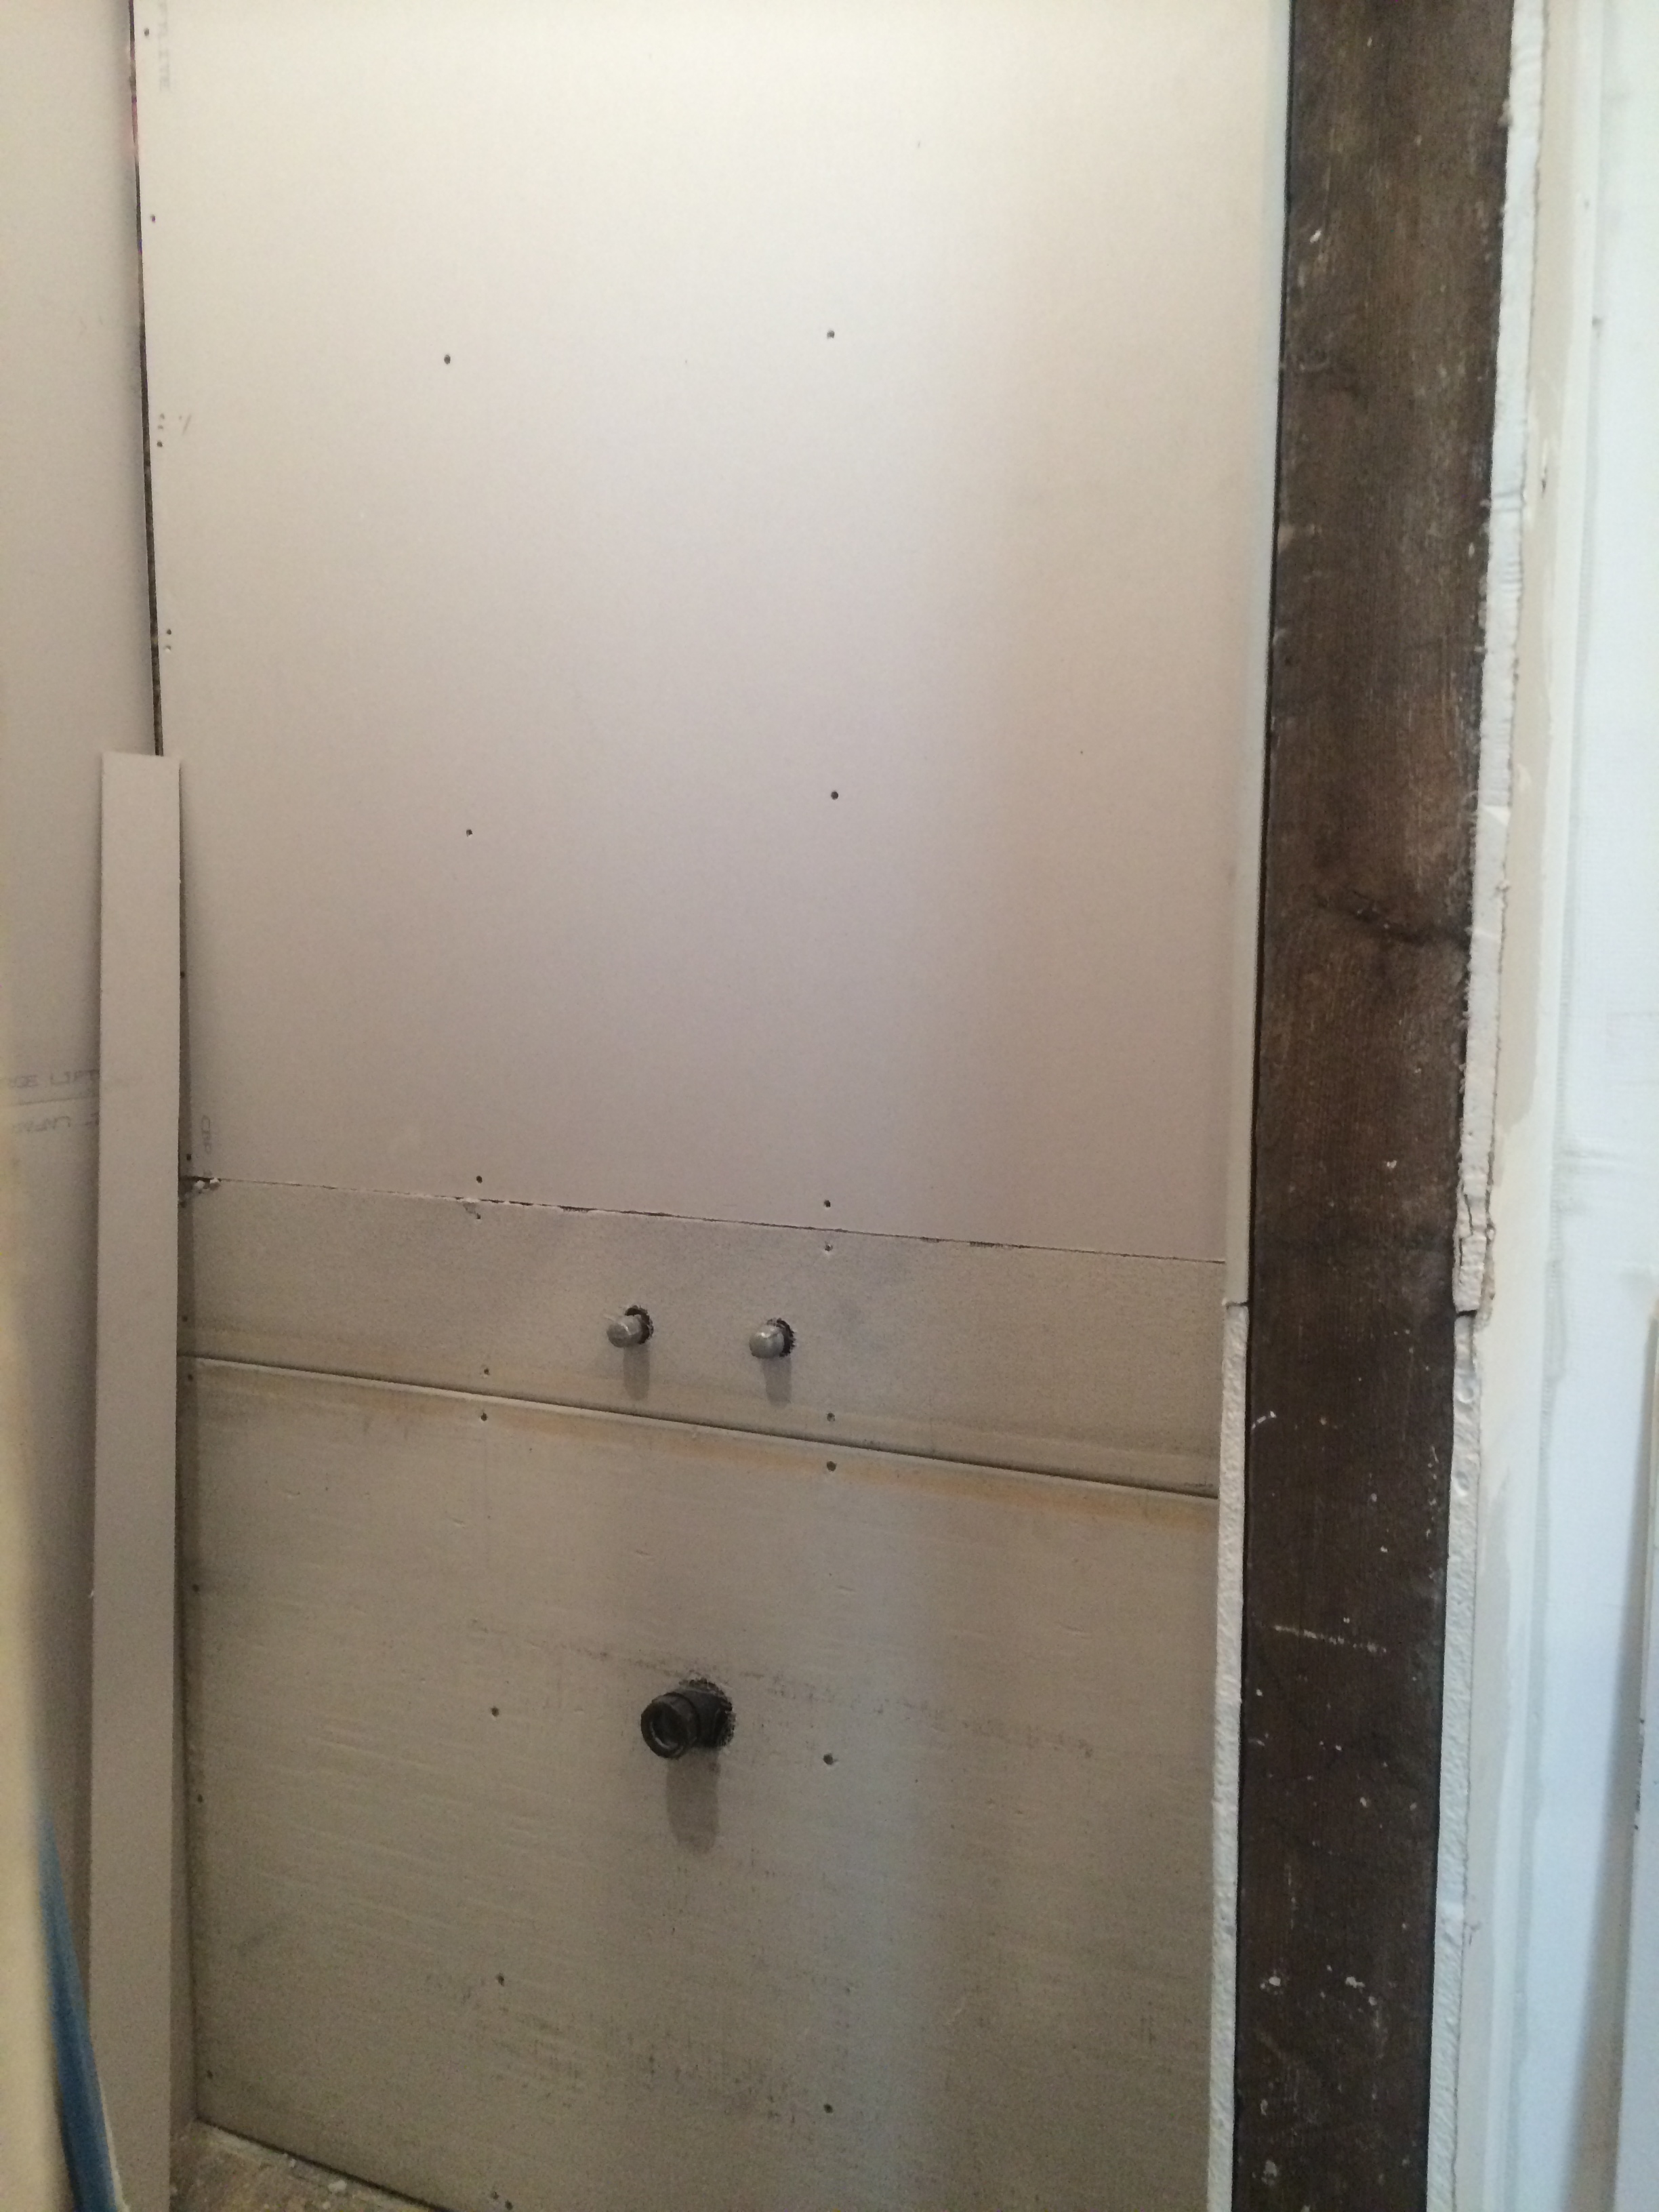
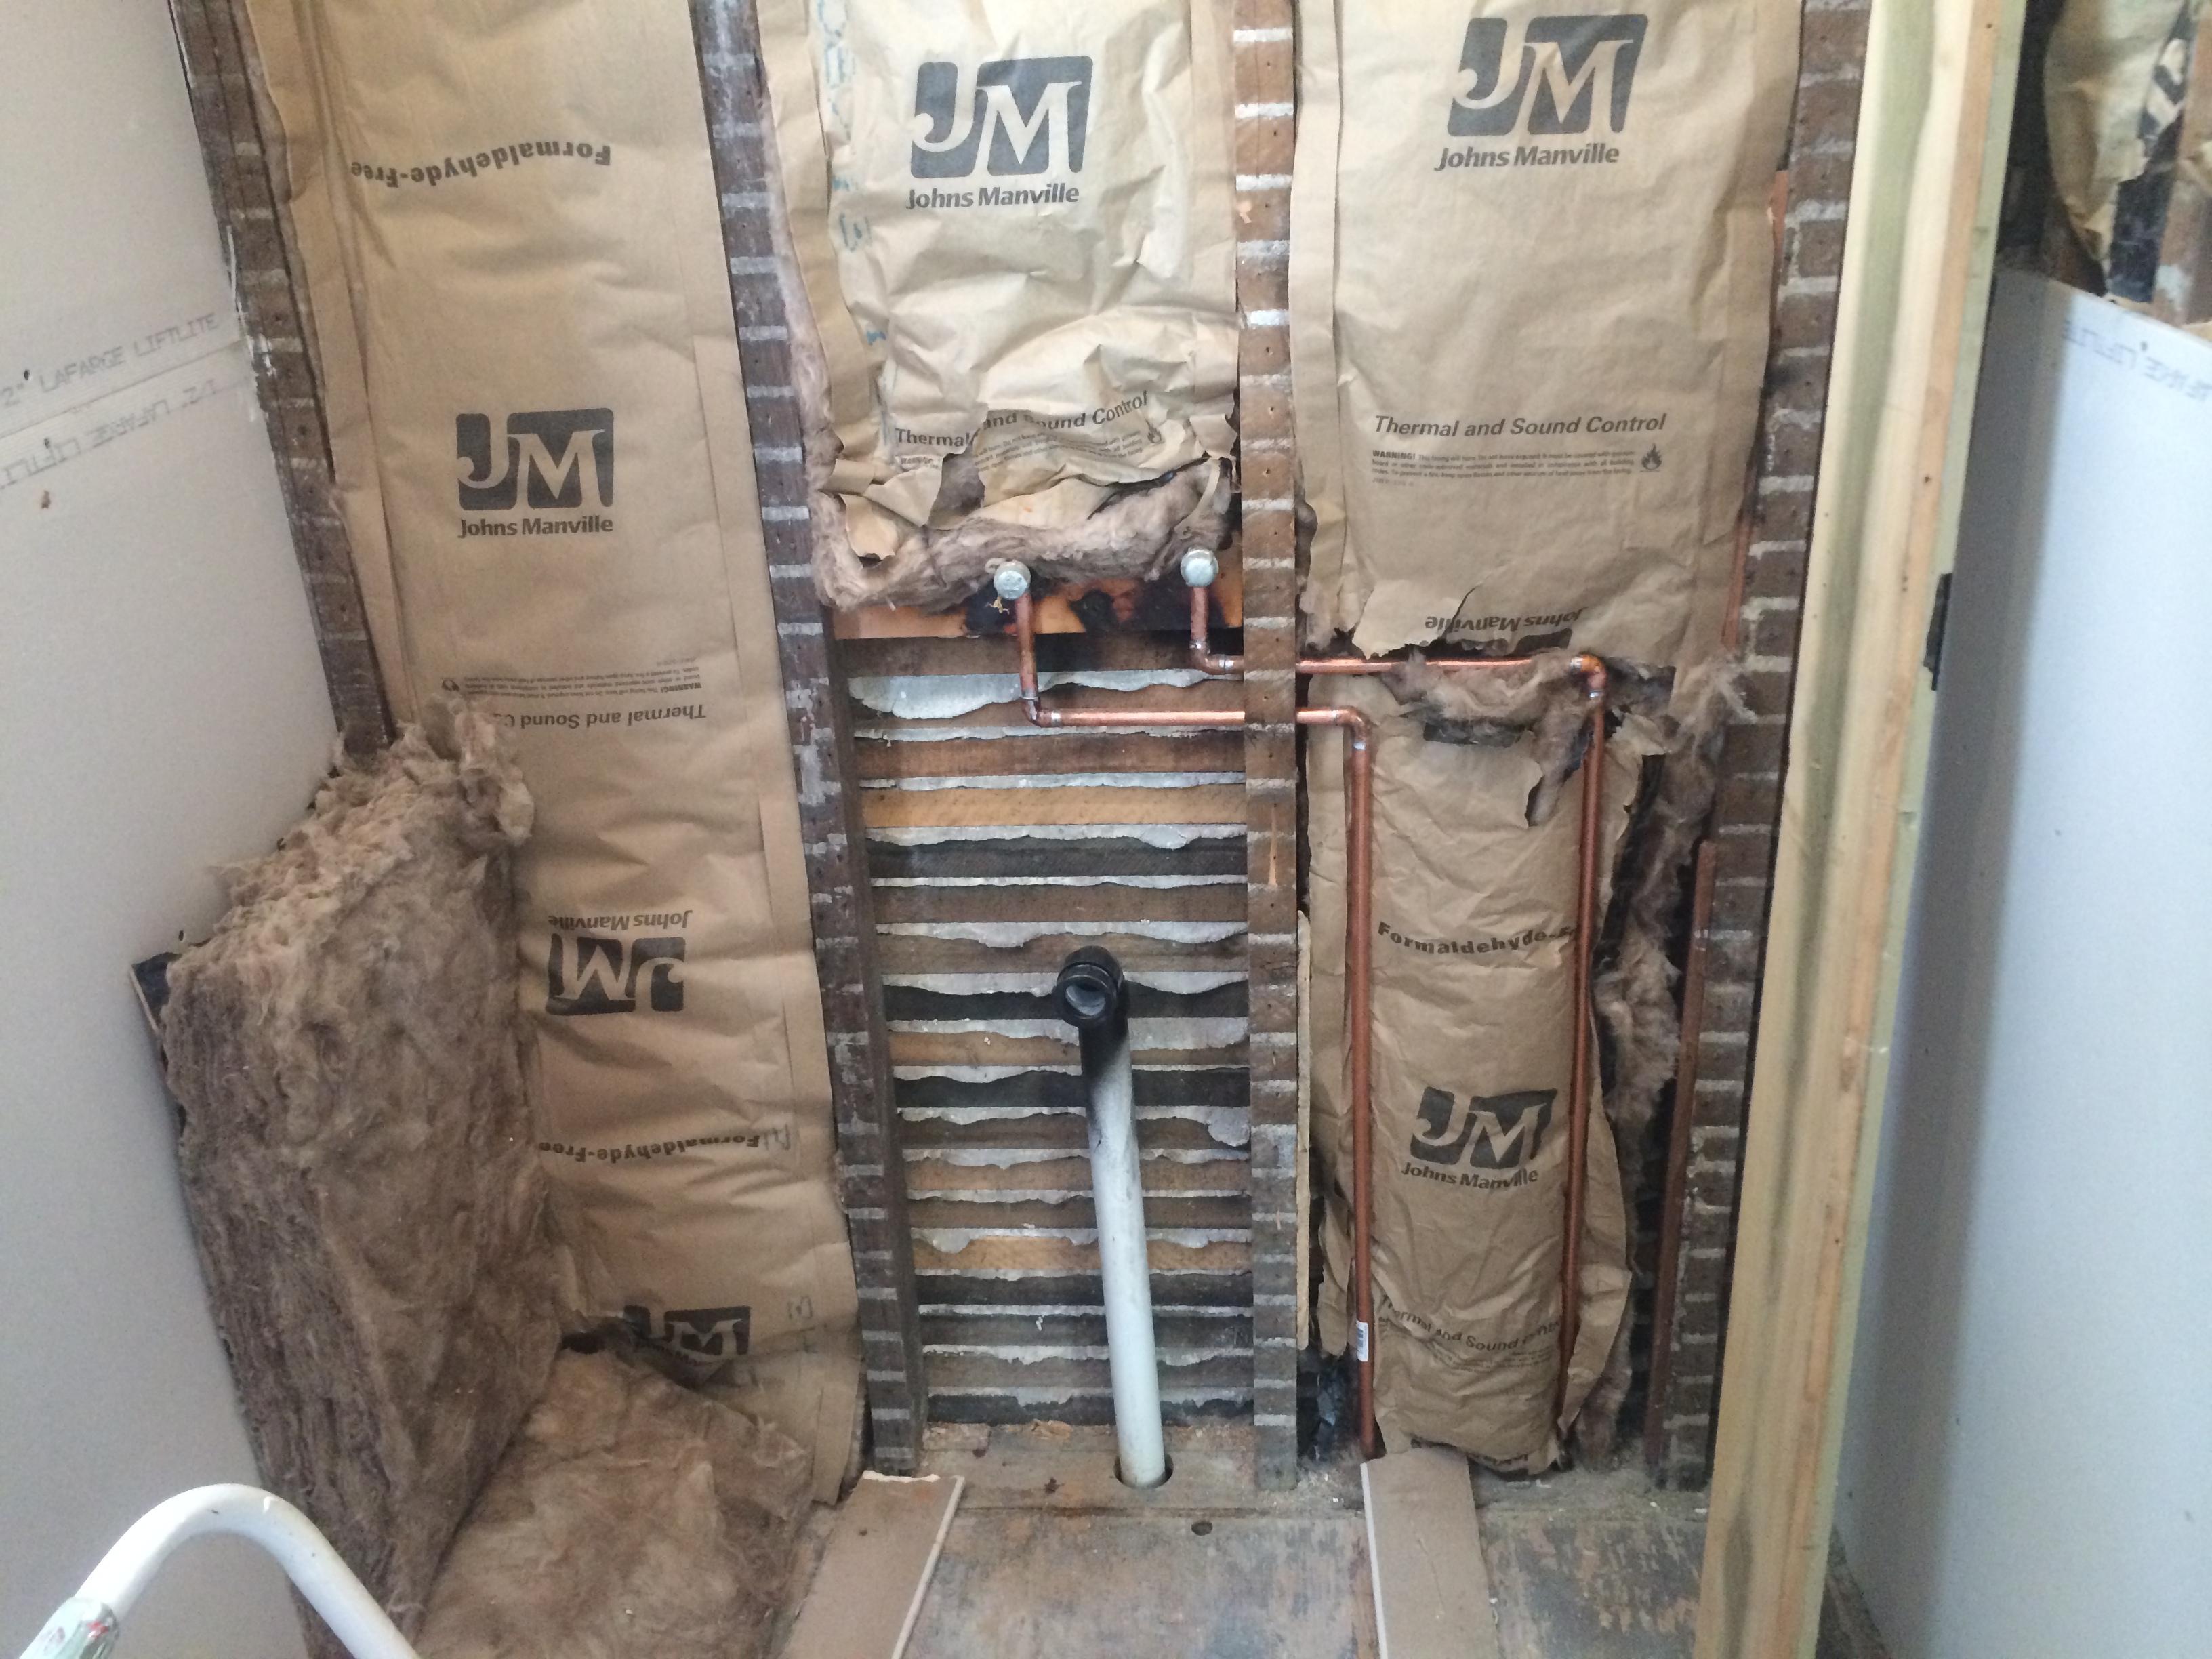
After removing all the old, uneven, and cracked plaster from these 4 walls (not to mention completely sealing up an exterior doorway as well!) we were ready to insulate between the studs and put up drywall.

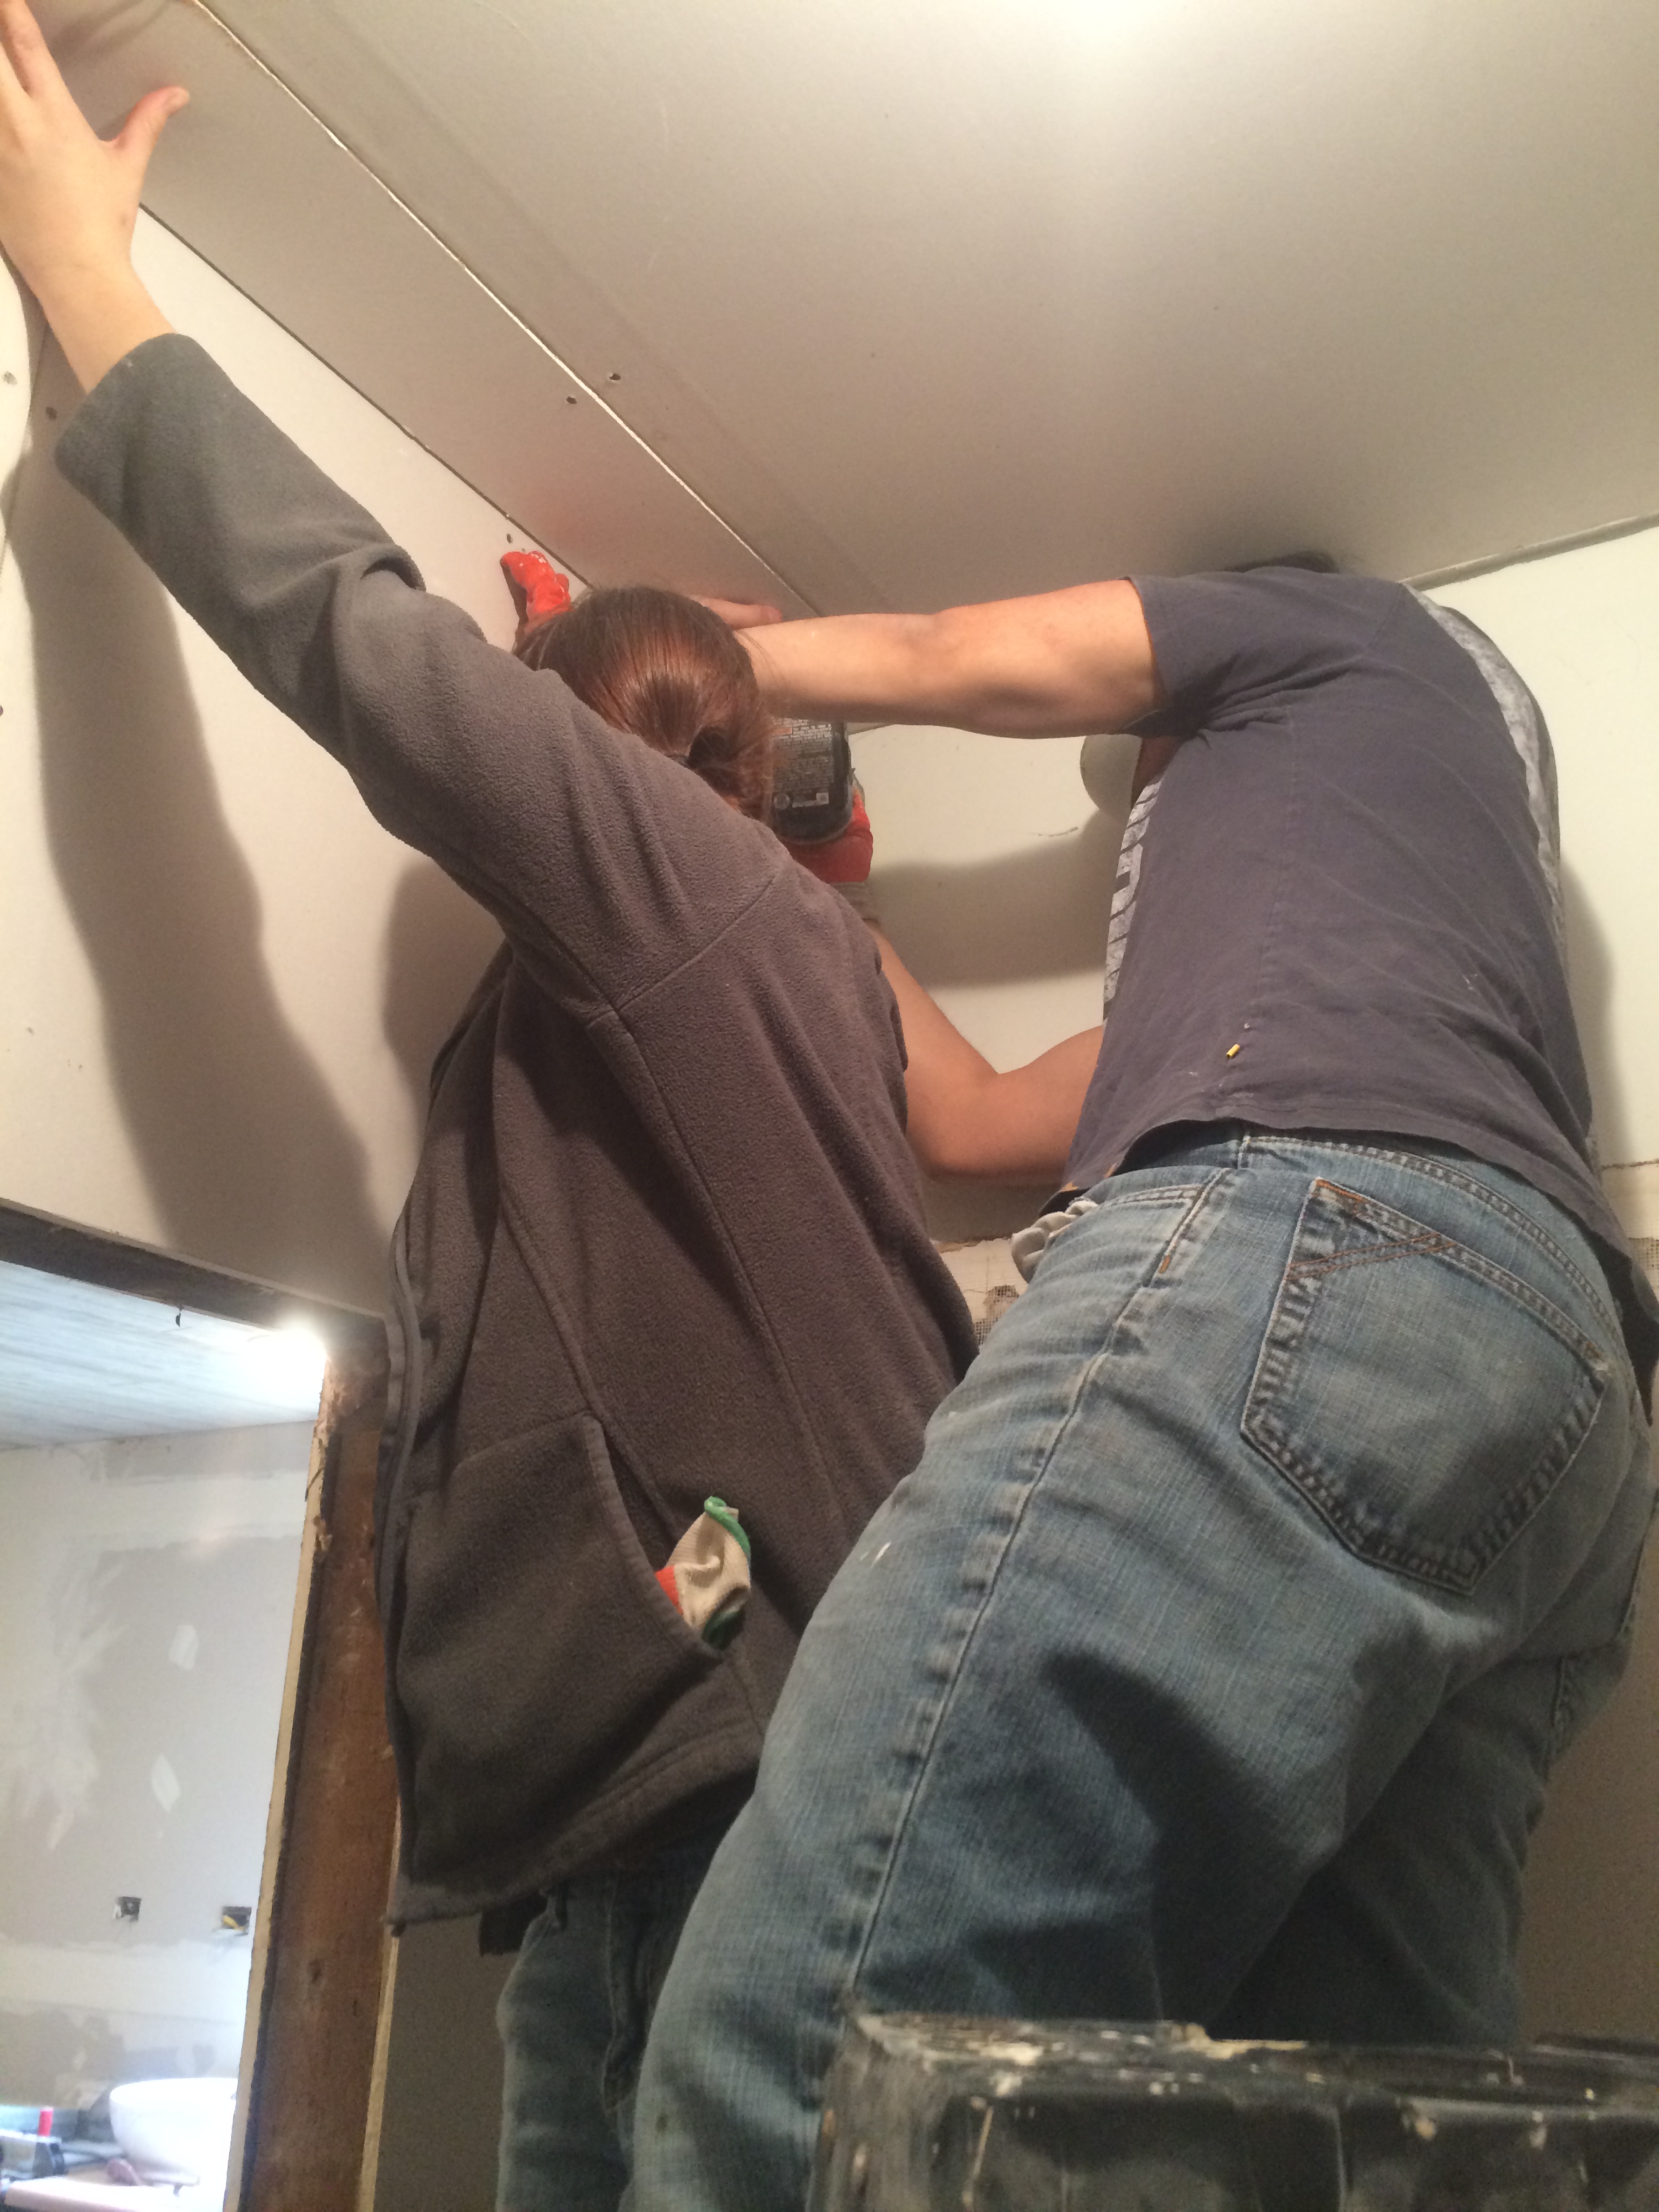
As you can imagine this room required lots and lots of sanding!
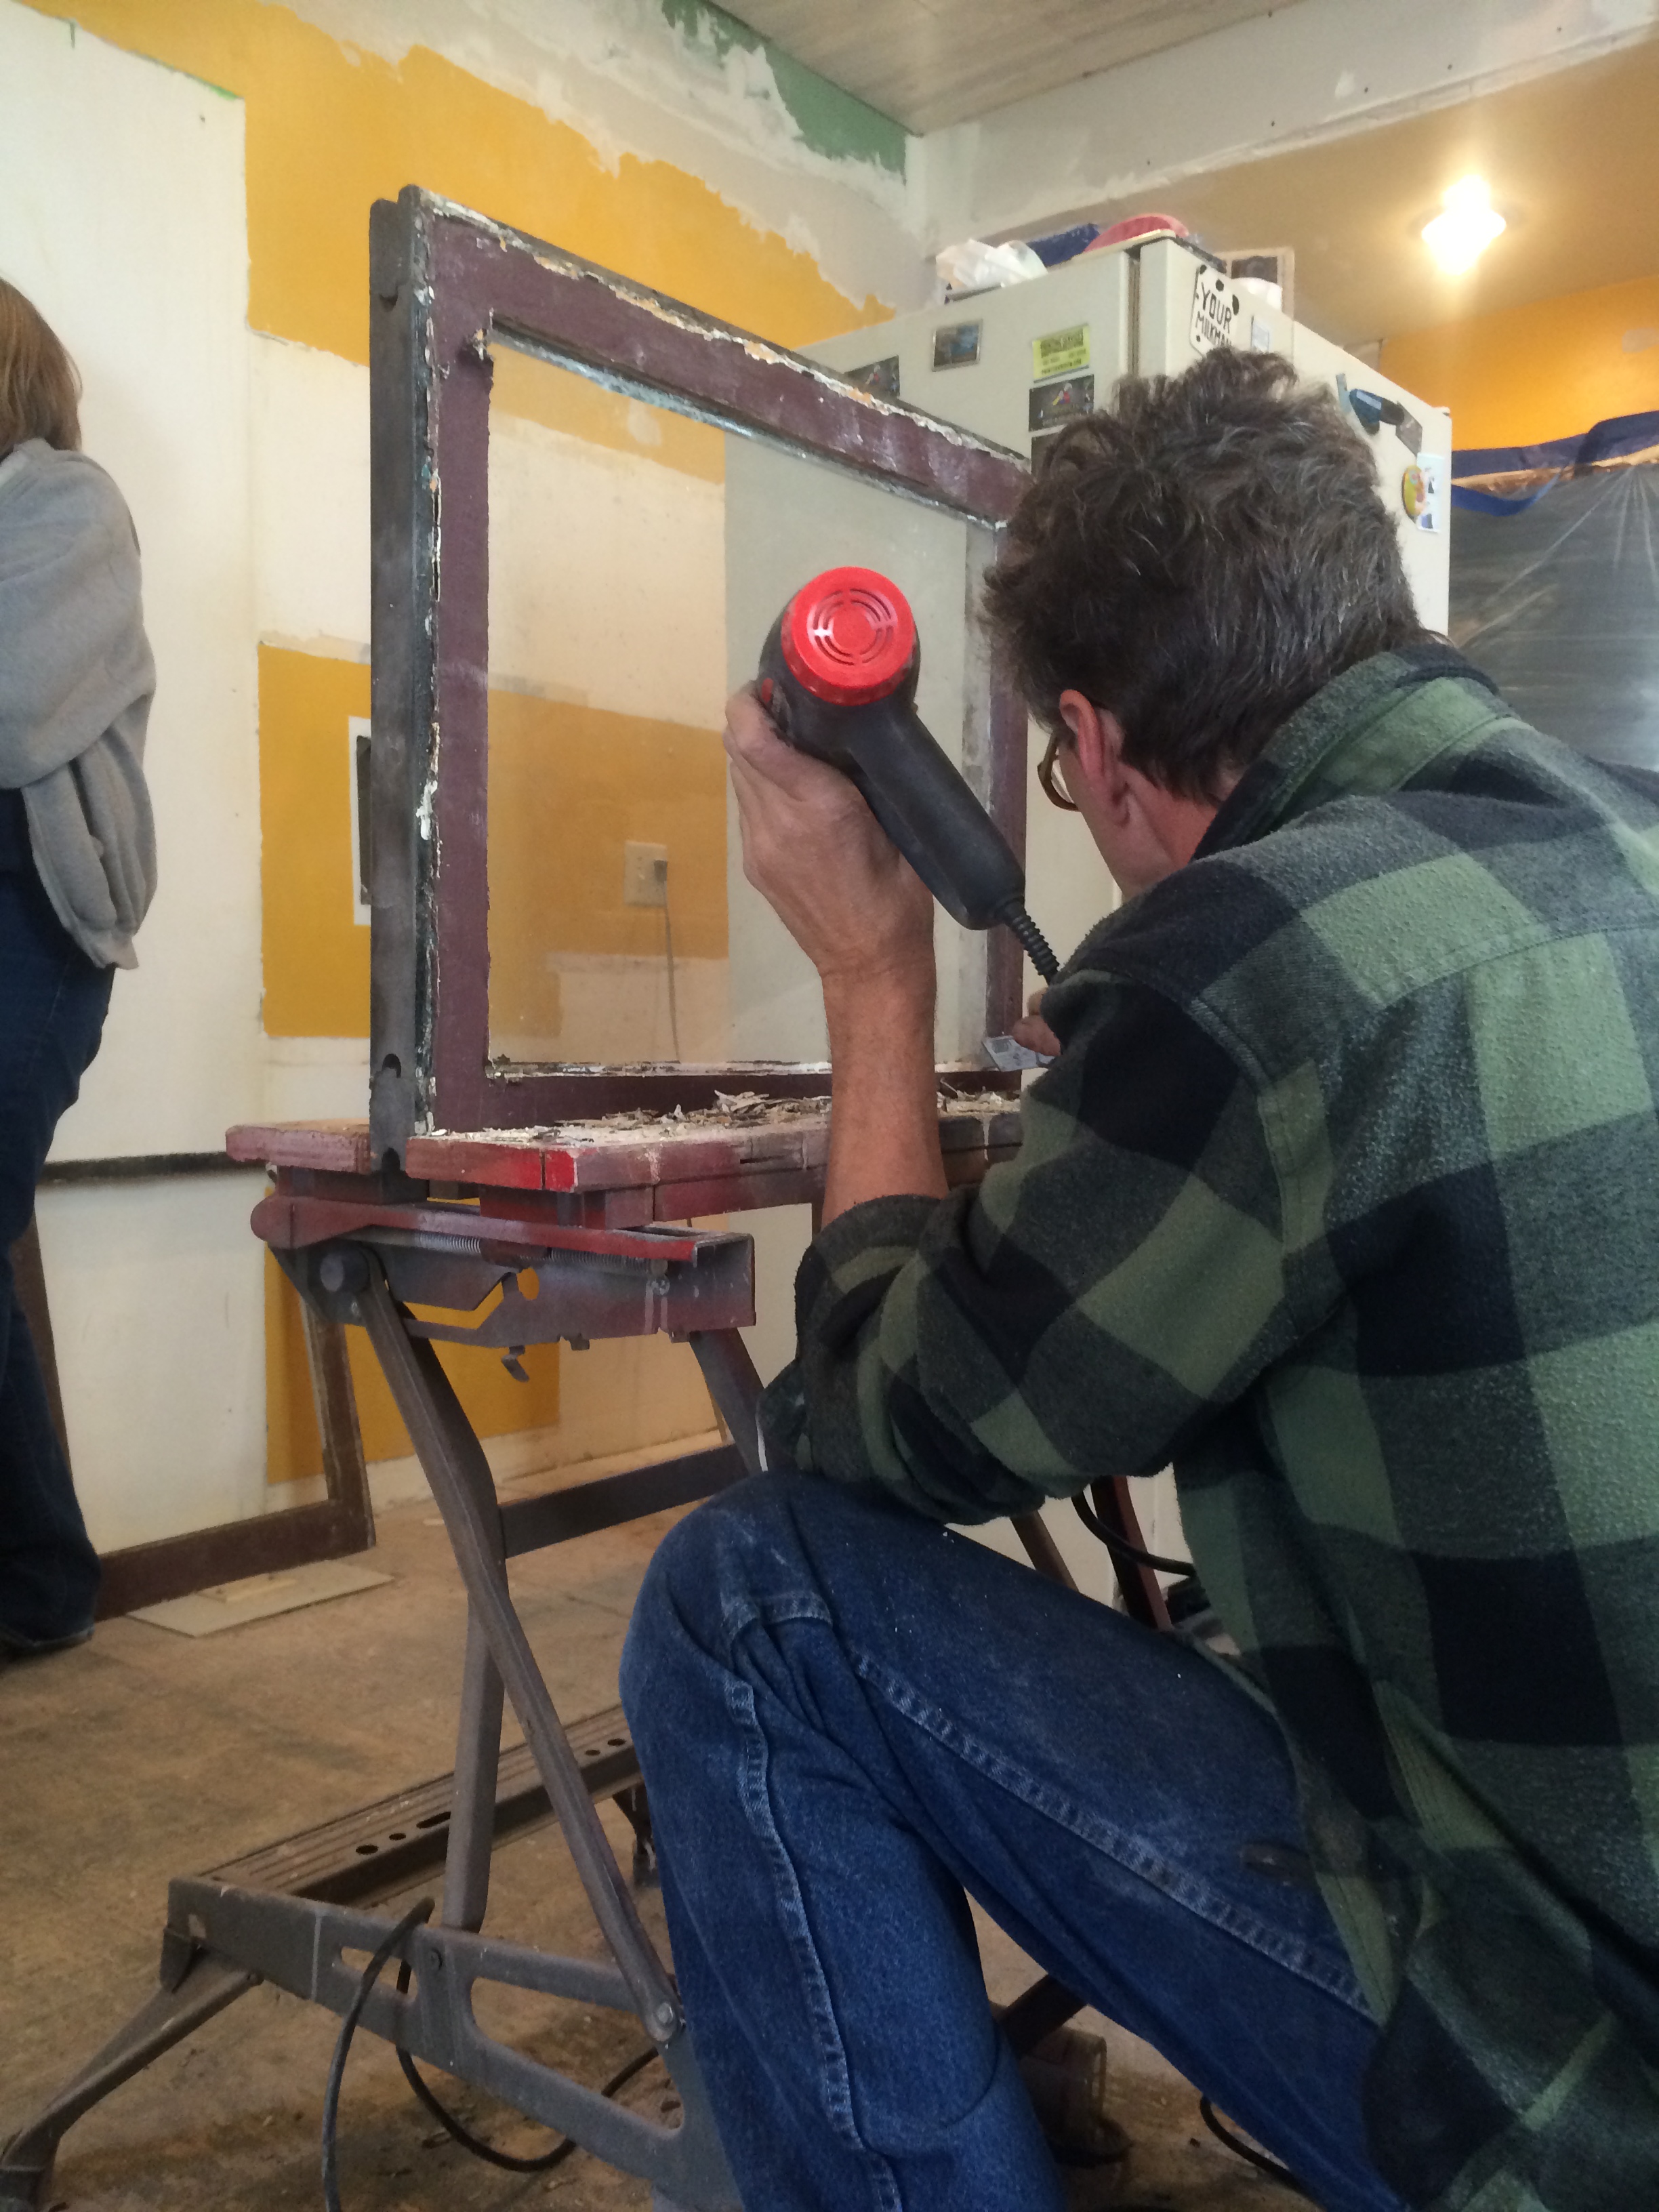
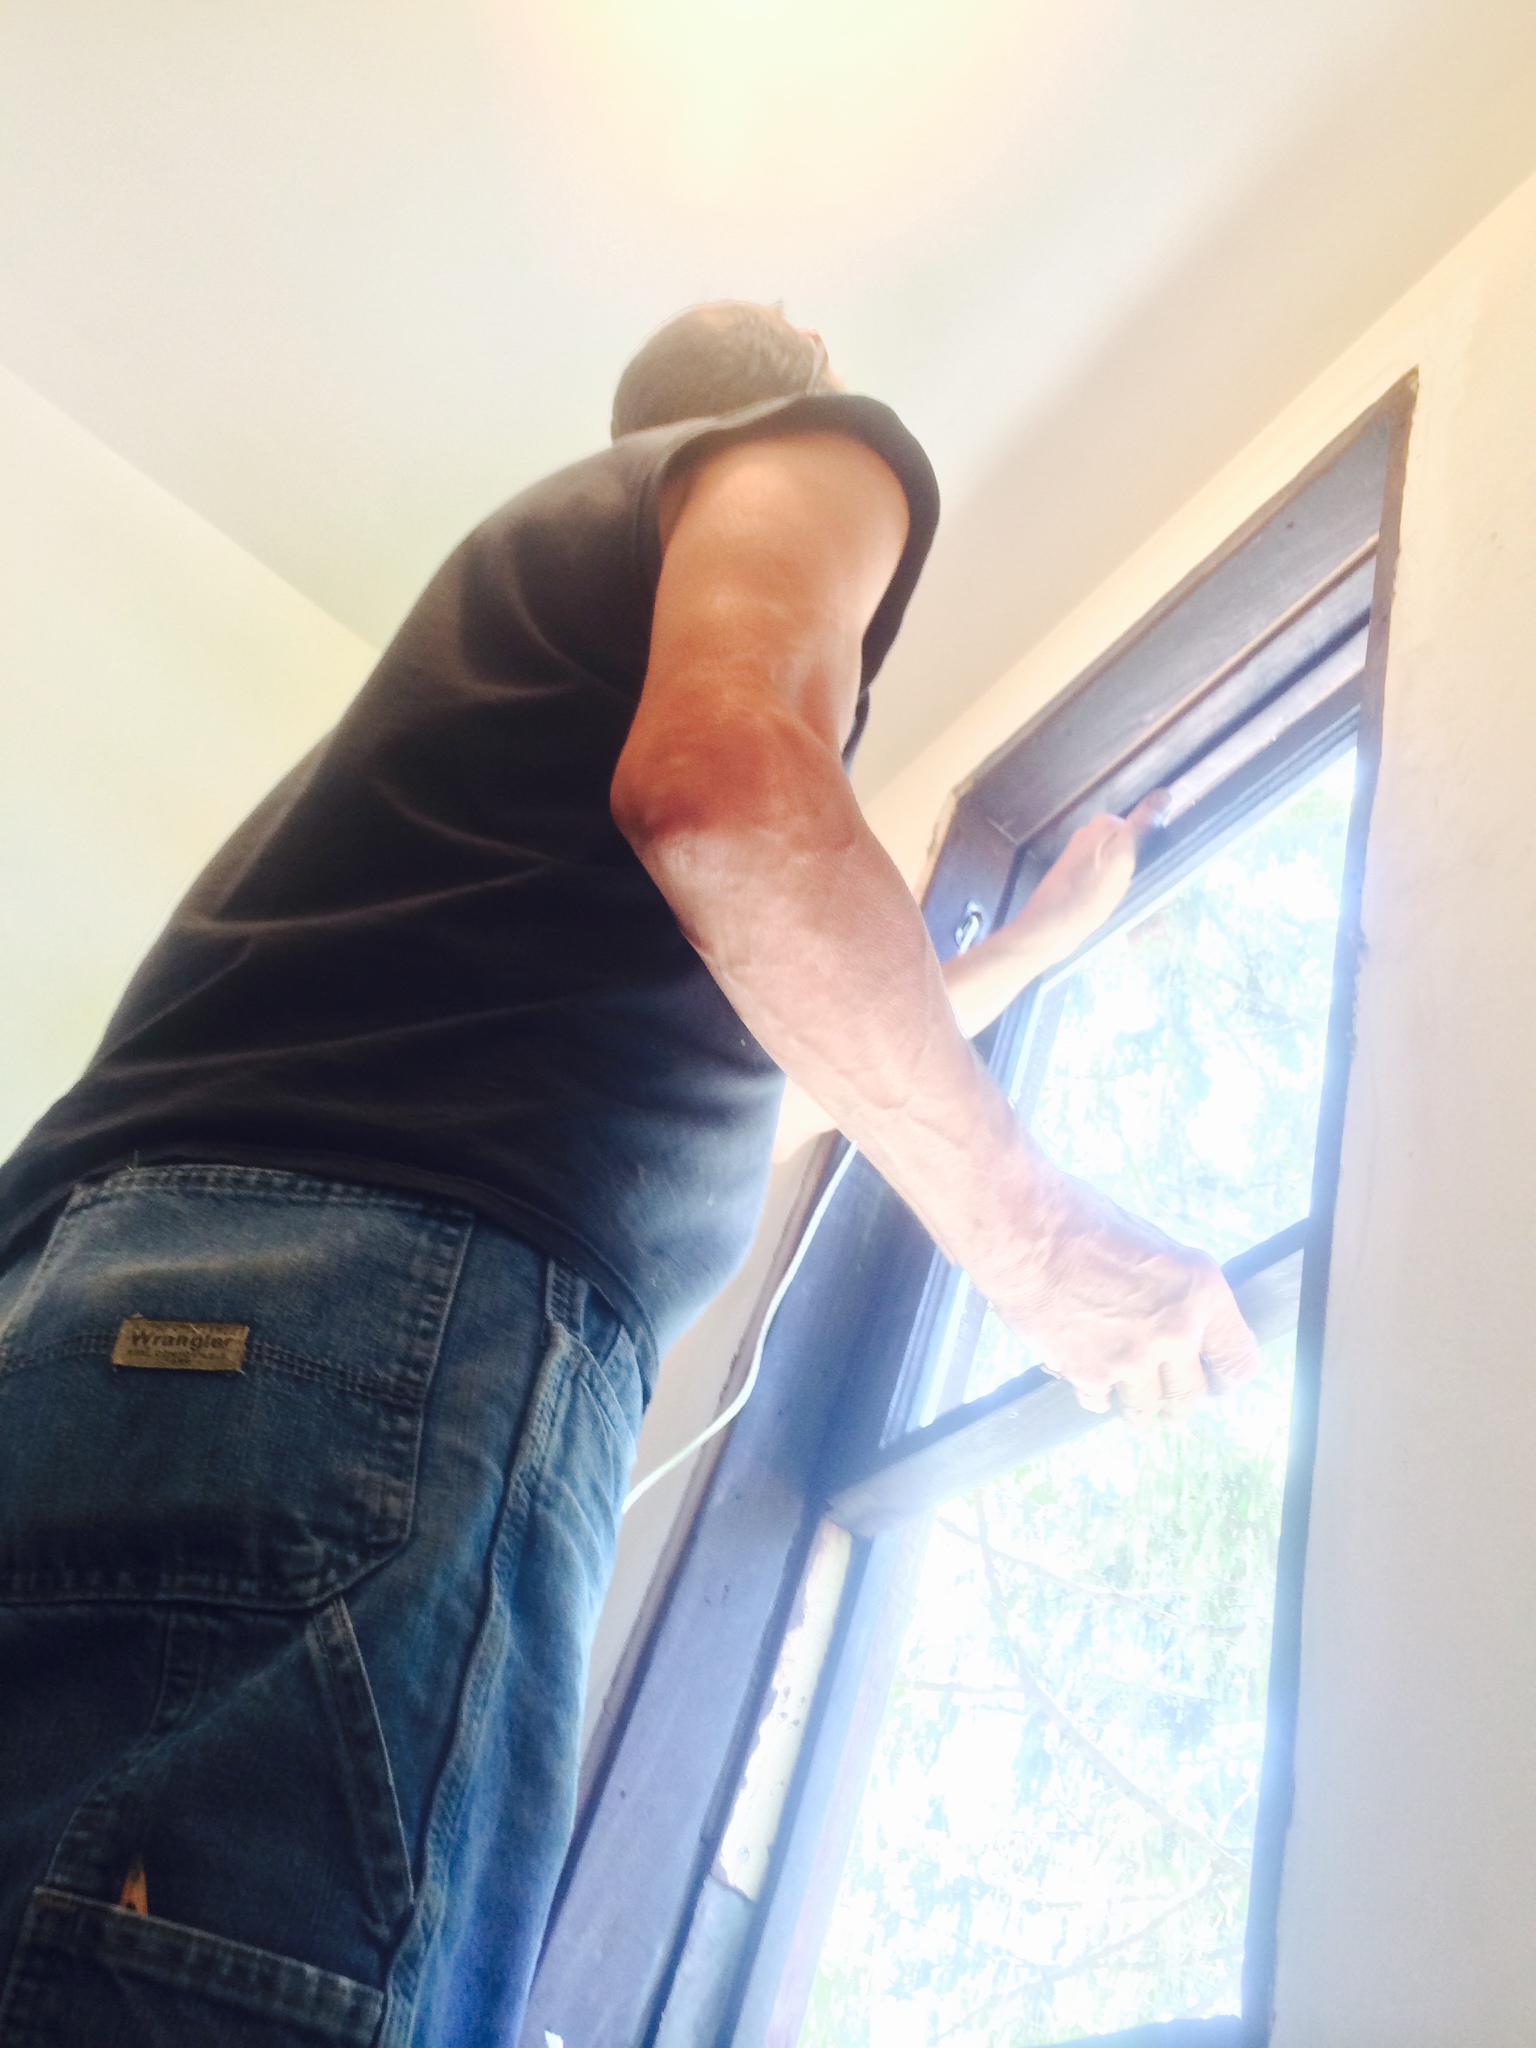
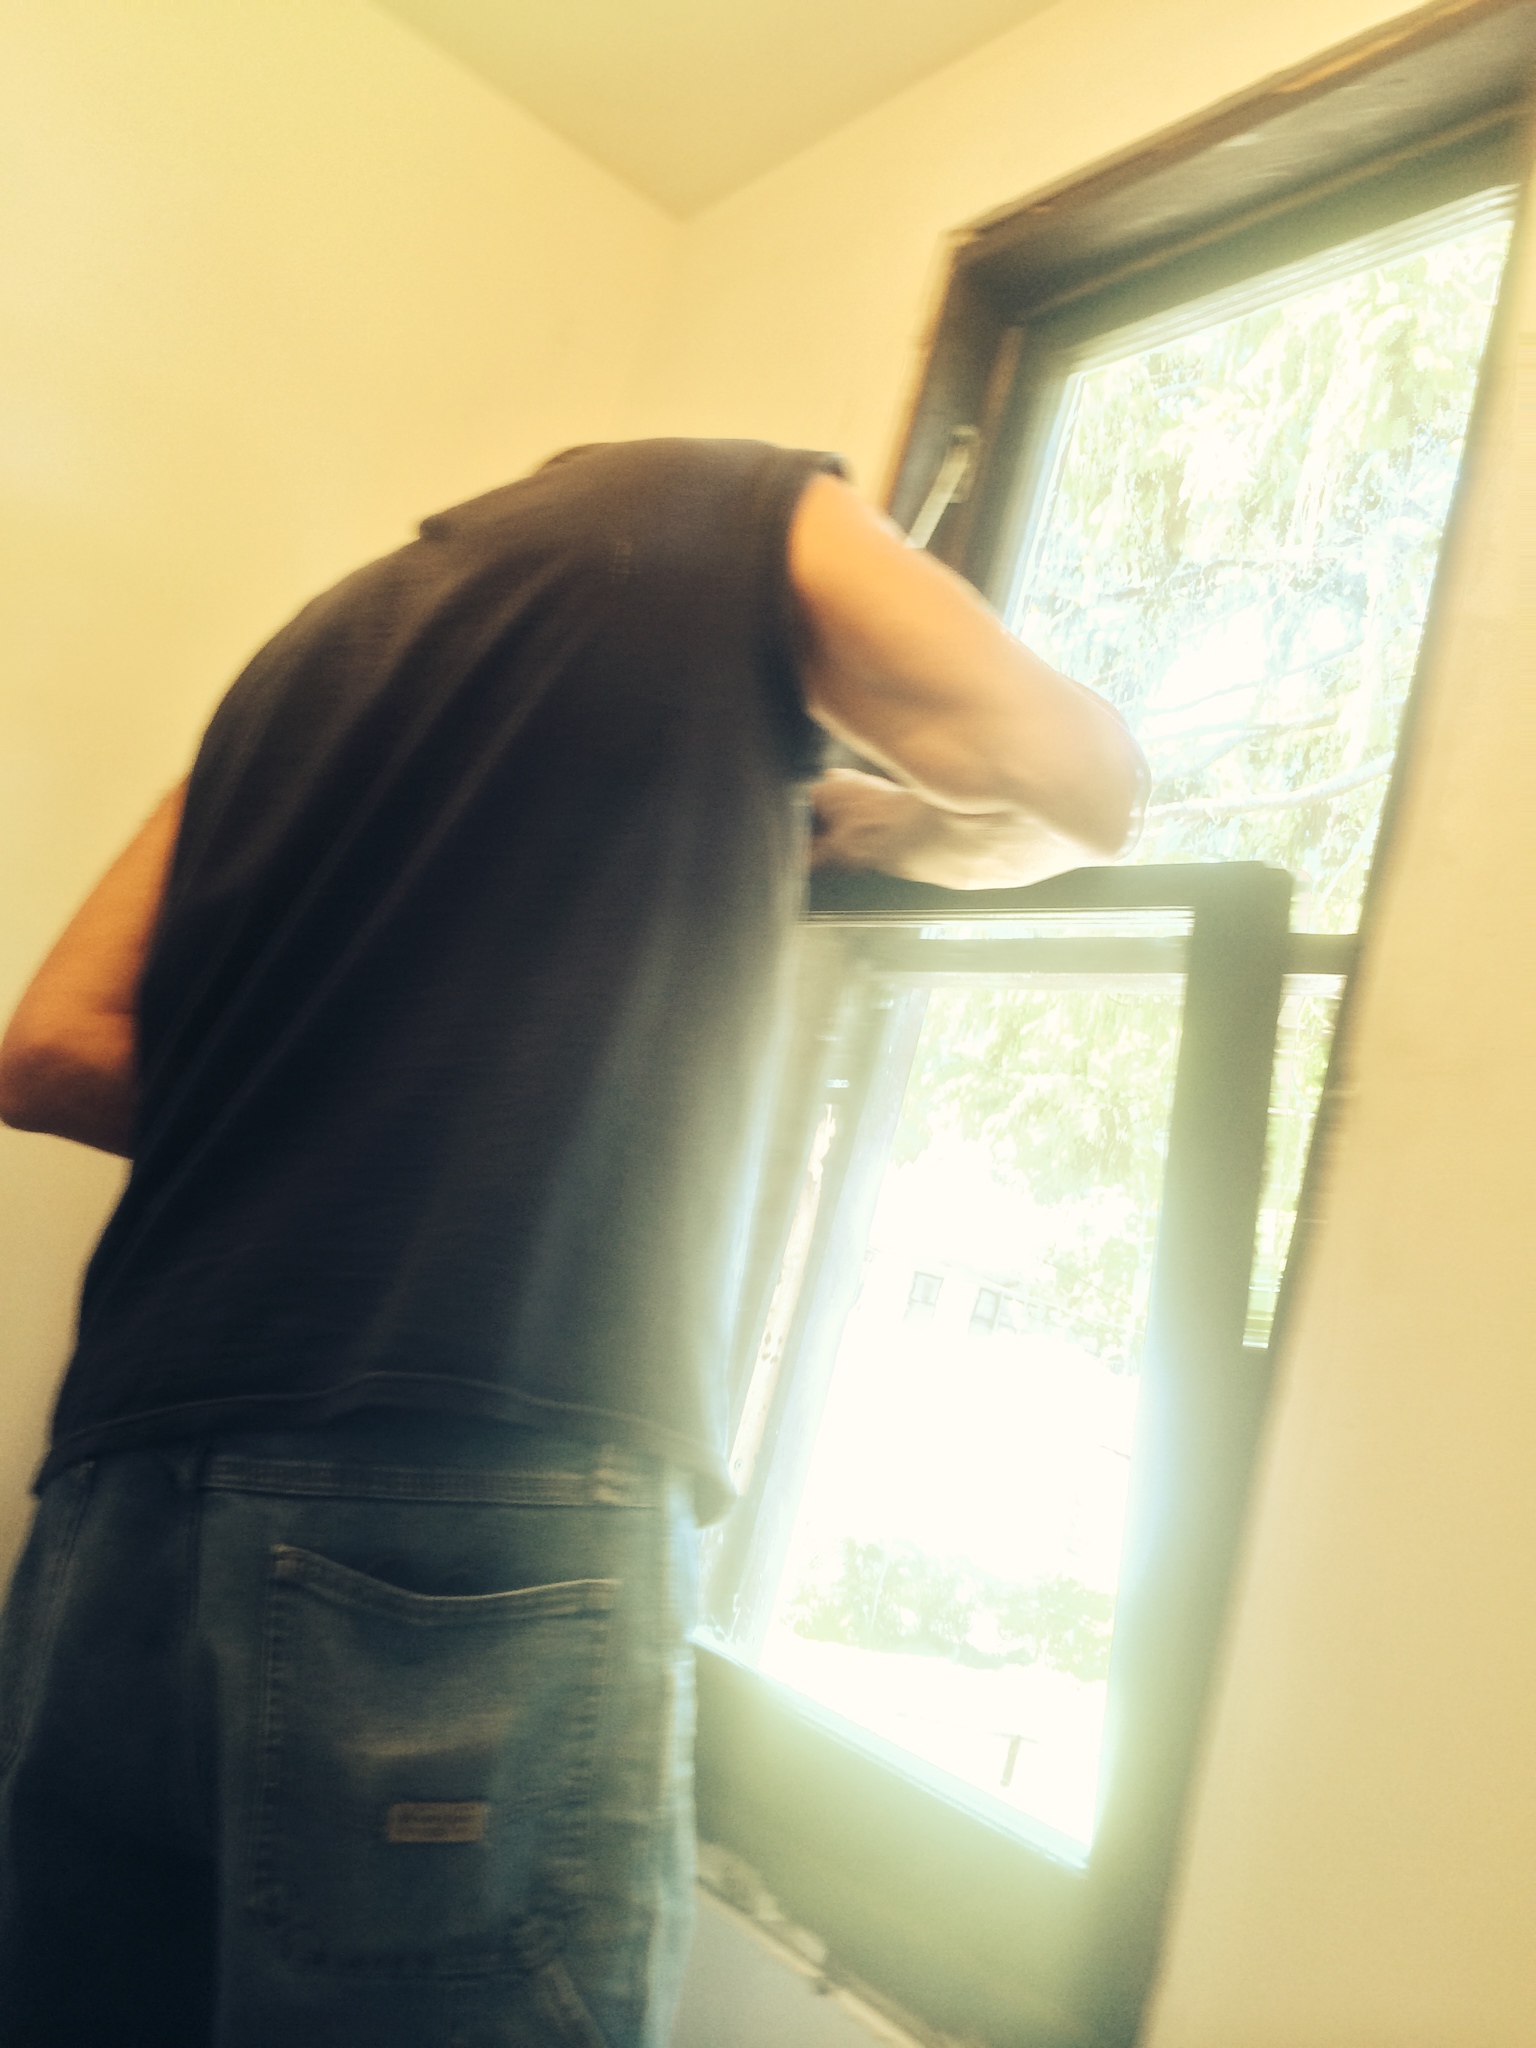
While Raul was busy getting our walls perfectly smooth my dad and I set about removing the pieces of the window in this room. The frames had several thick layers of paint and the window itself was nonfunctional. We removed the frames and started restoring the pieces.

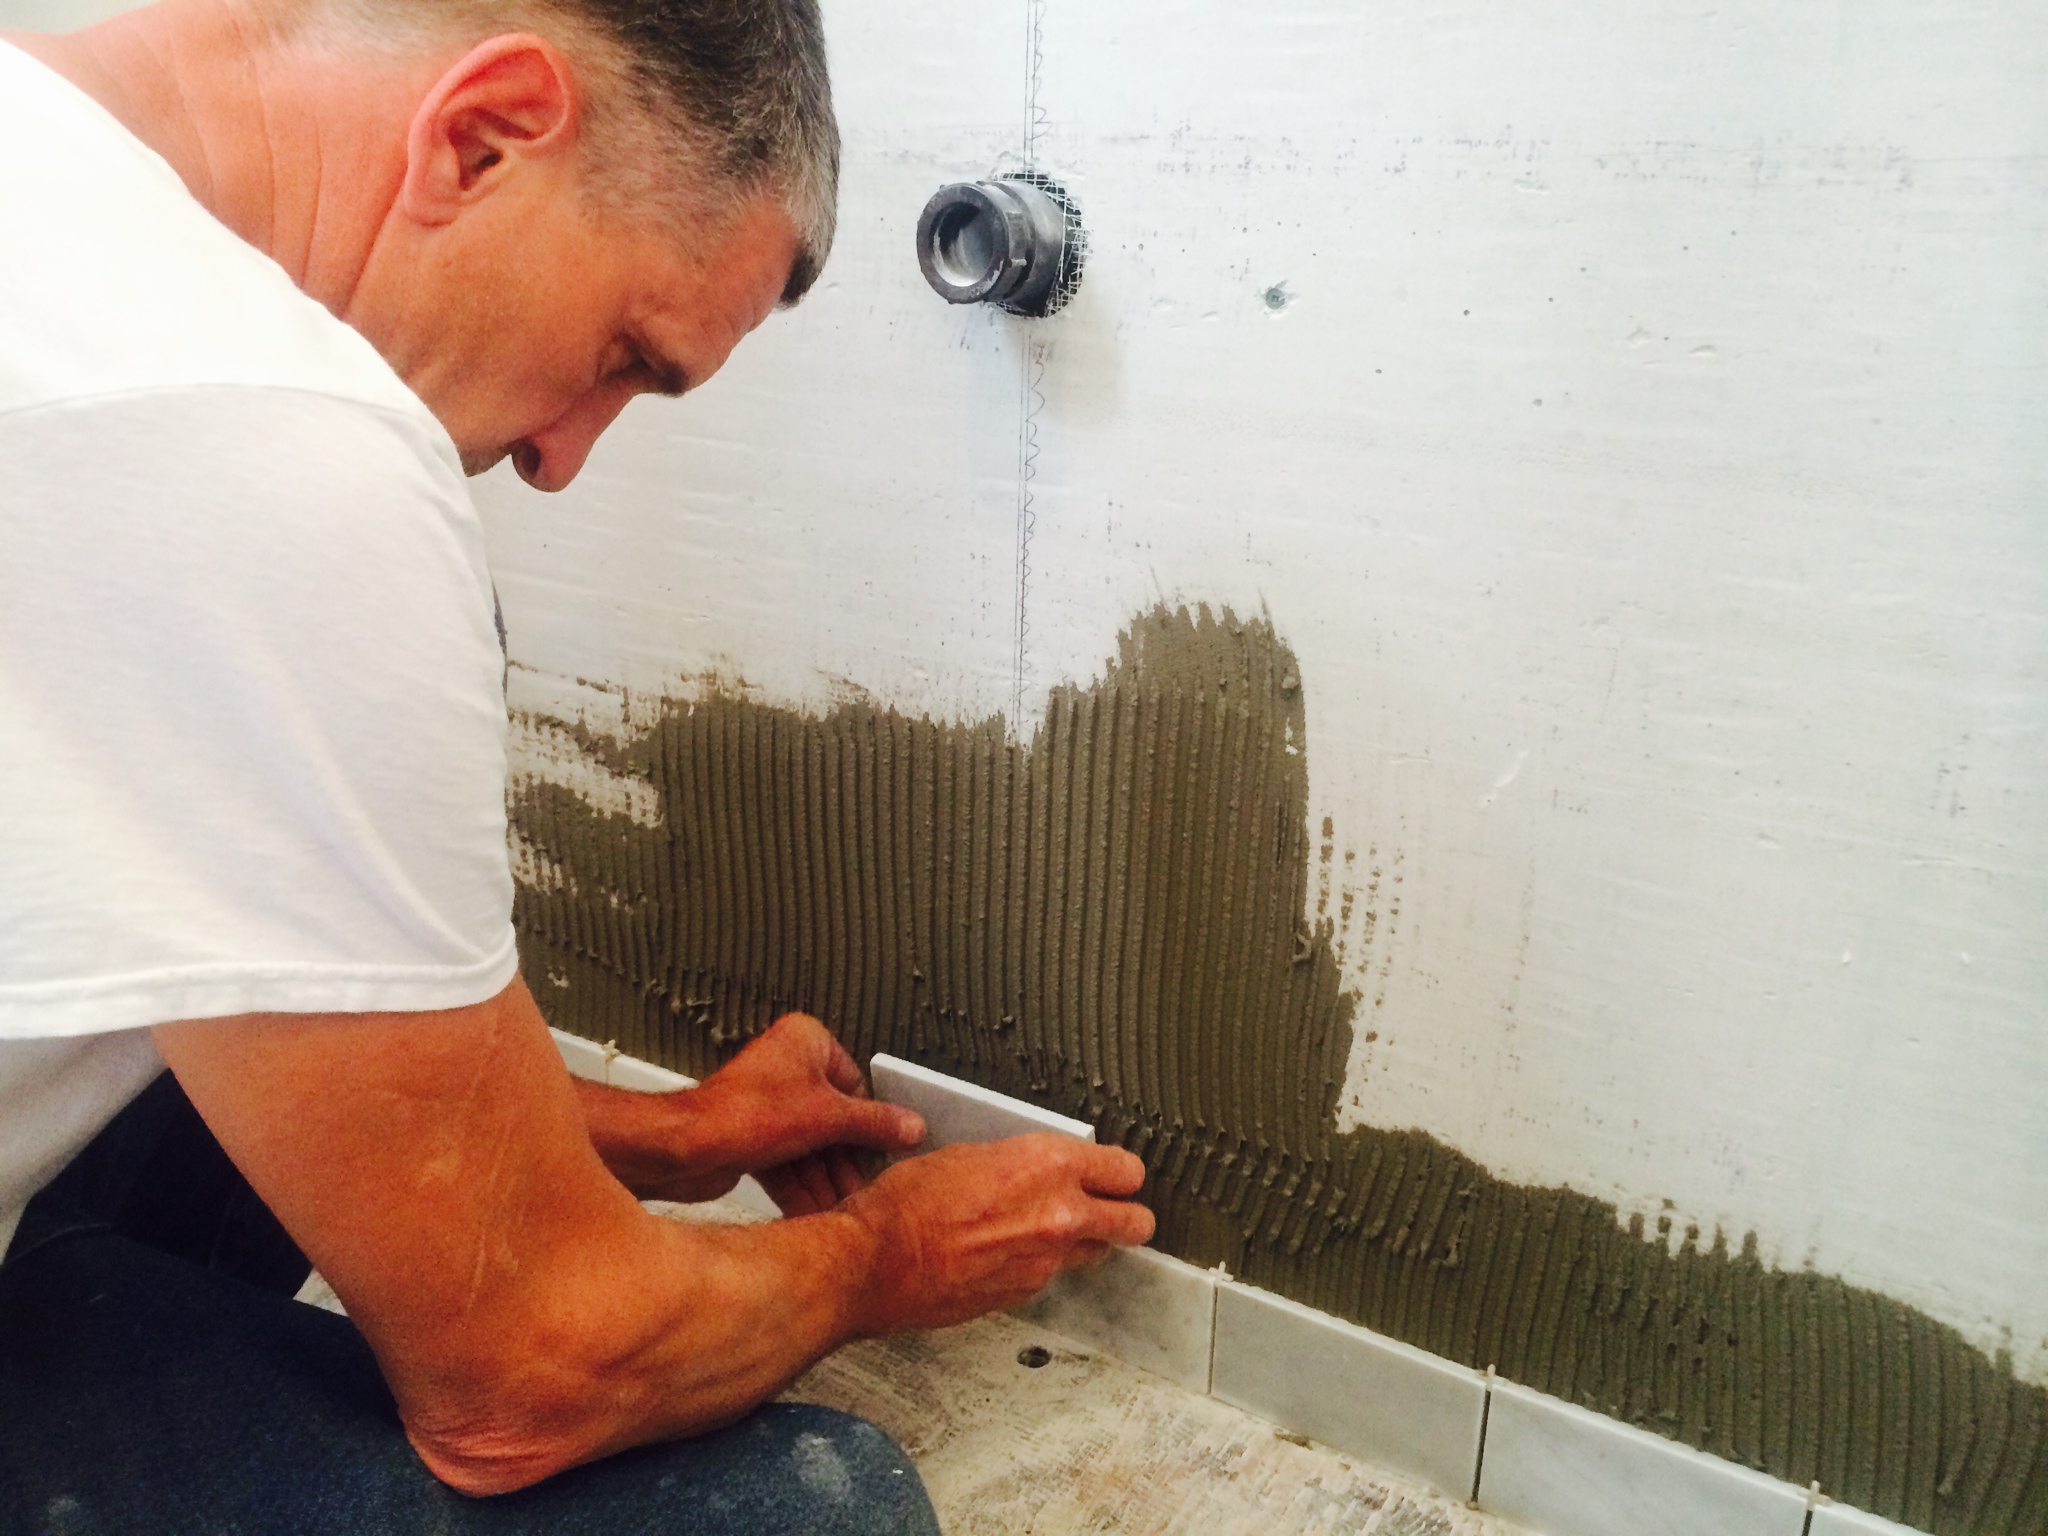
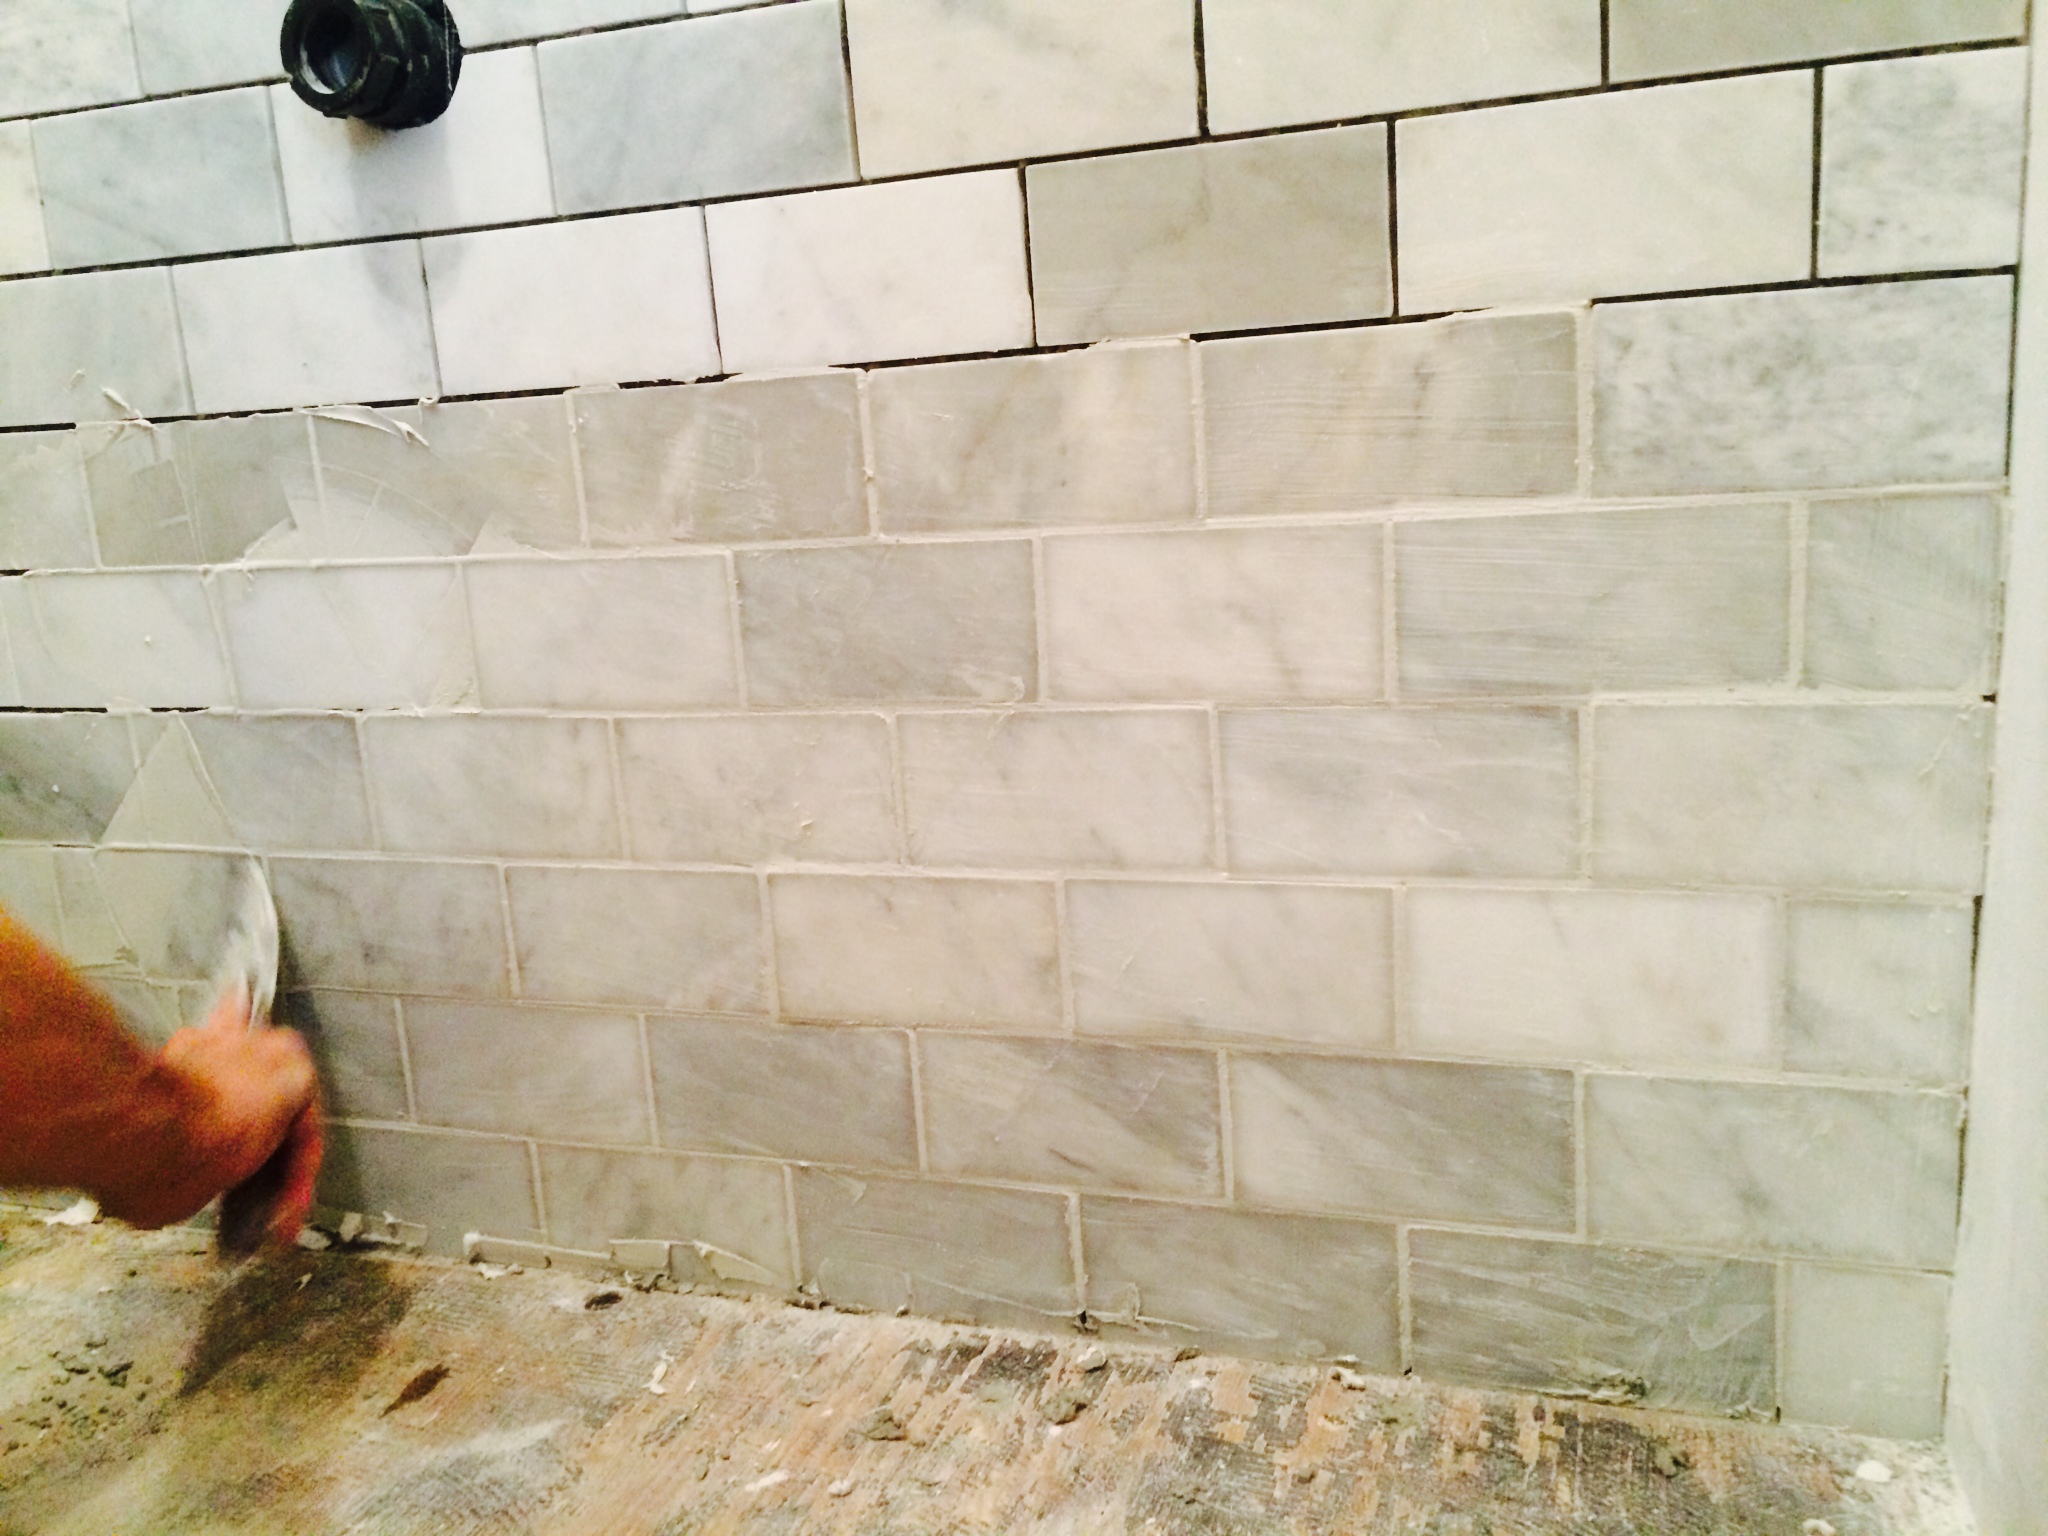
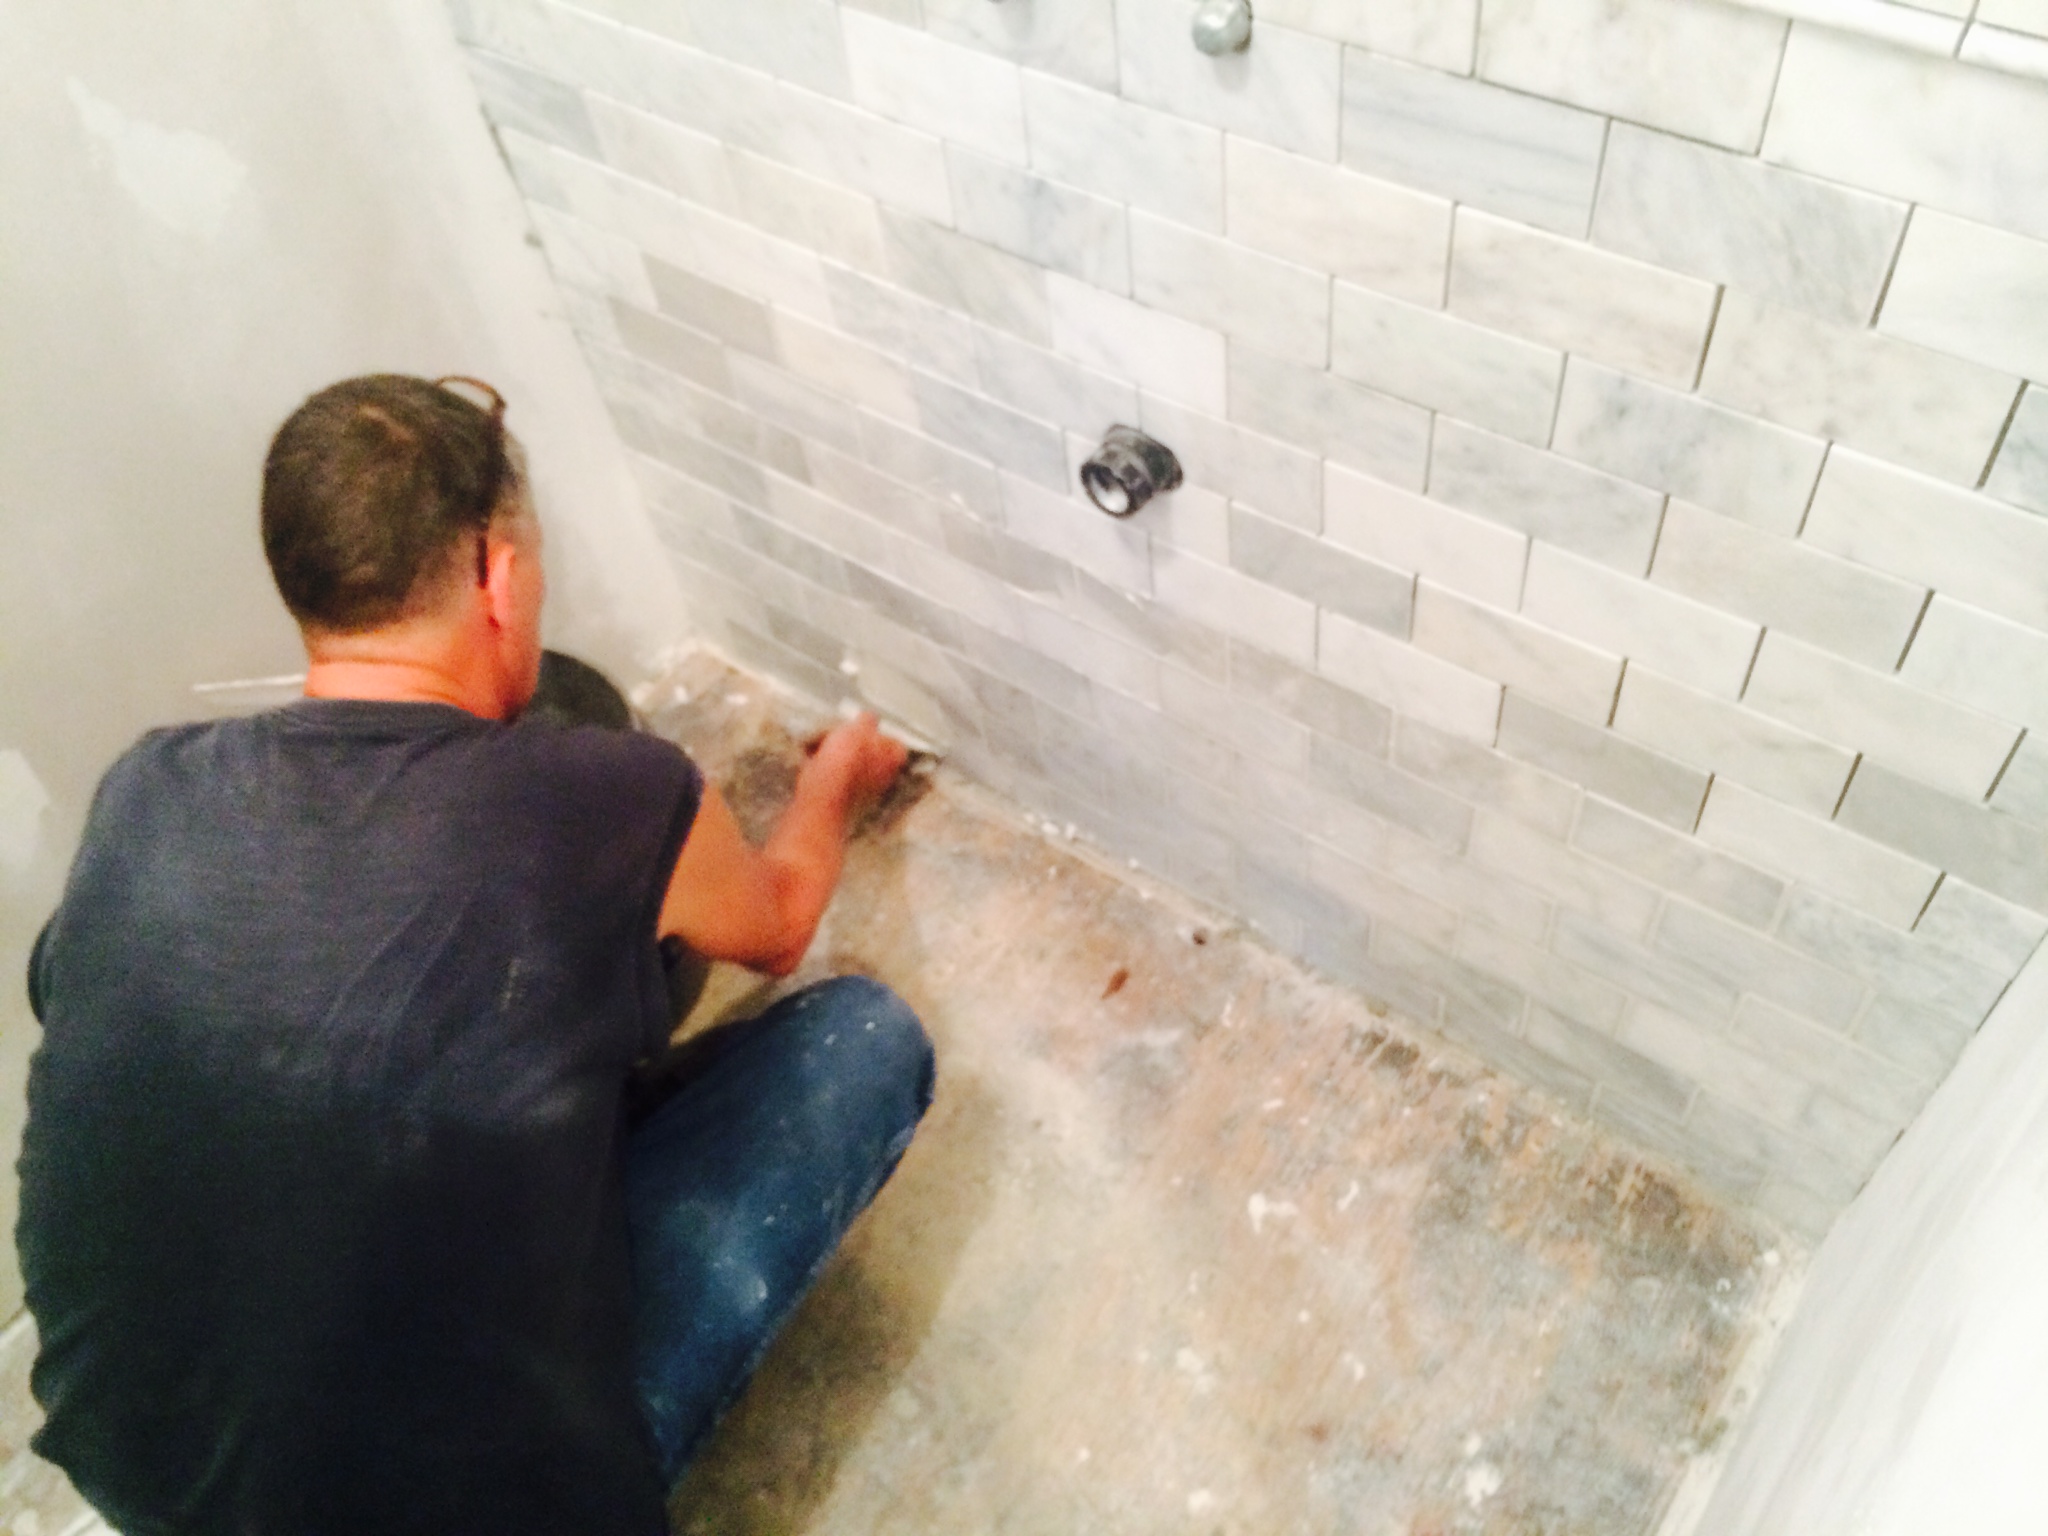
After the horrible experience of drywalling the fun started! I am a big fan of feature or accent walls. Whether it be paint, fabric, or wallpaper I love to have at least one wall in a space draw attention from the eye. This little room would be no exception. In order to achieve the vintage feel we were going for in a completely new room we decided to create our accent wall out of subway tiles.


Check out this cool time lapse video of the tile going up!
After the thinset has dried for 24 hours it is okay to start grouting the tiles.
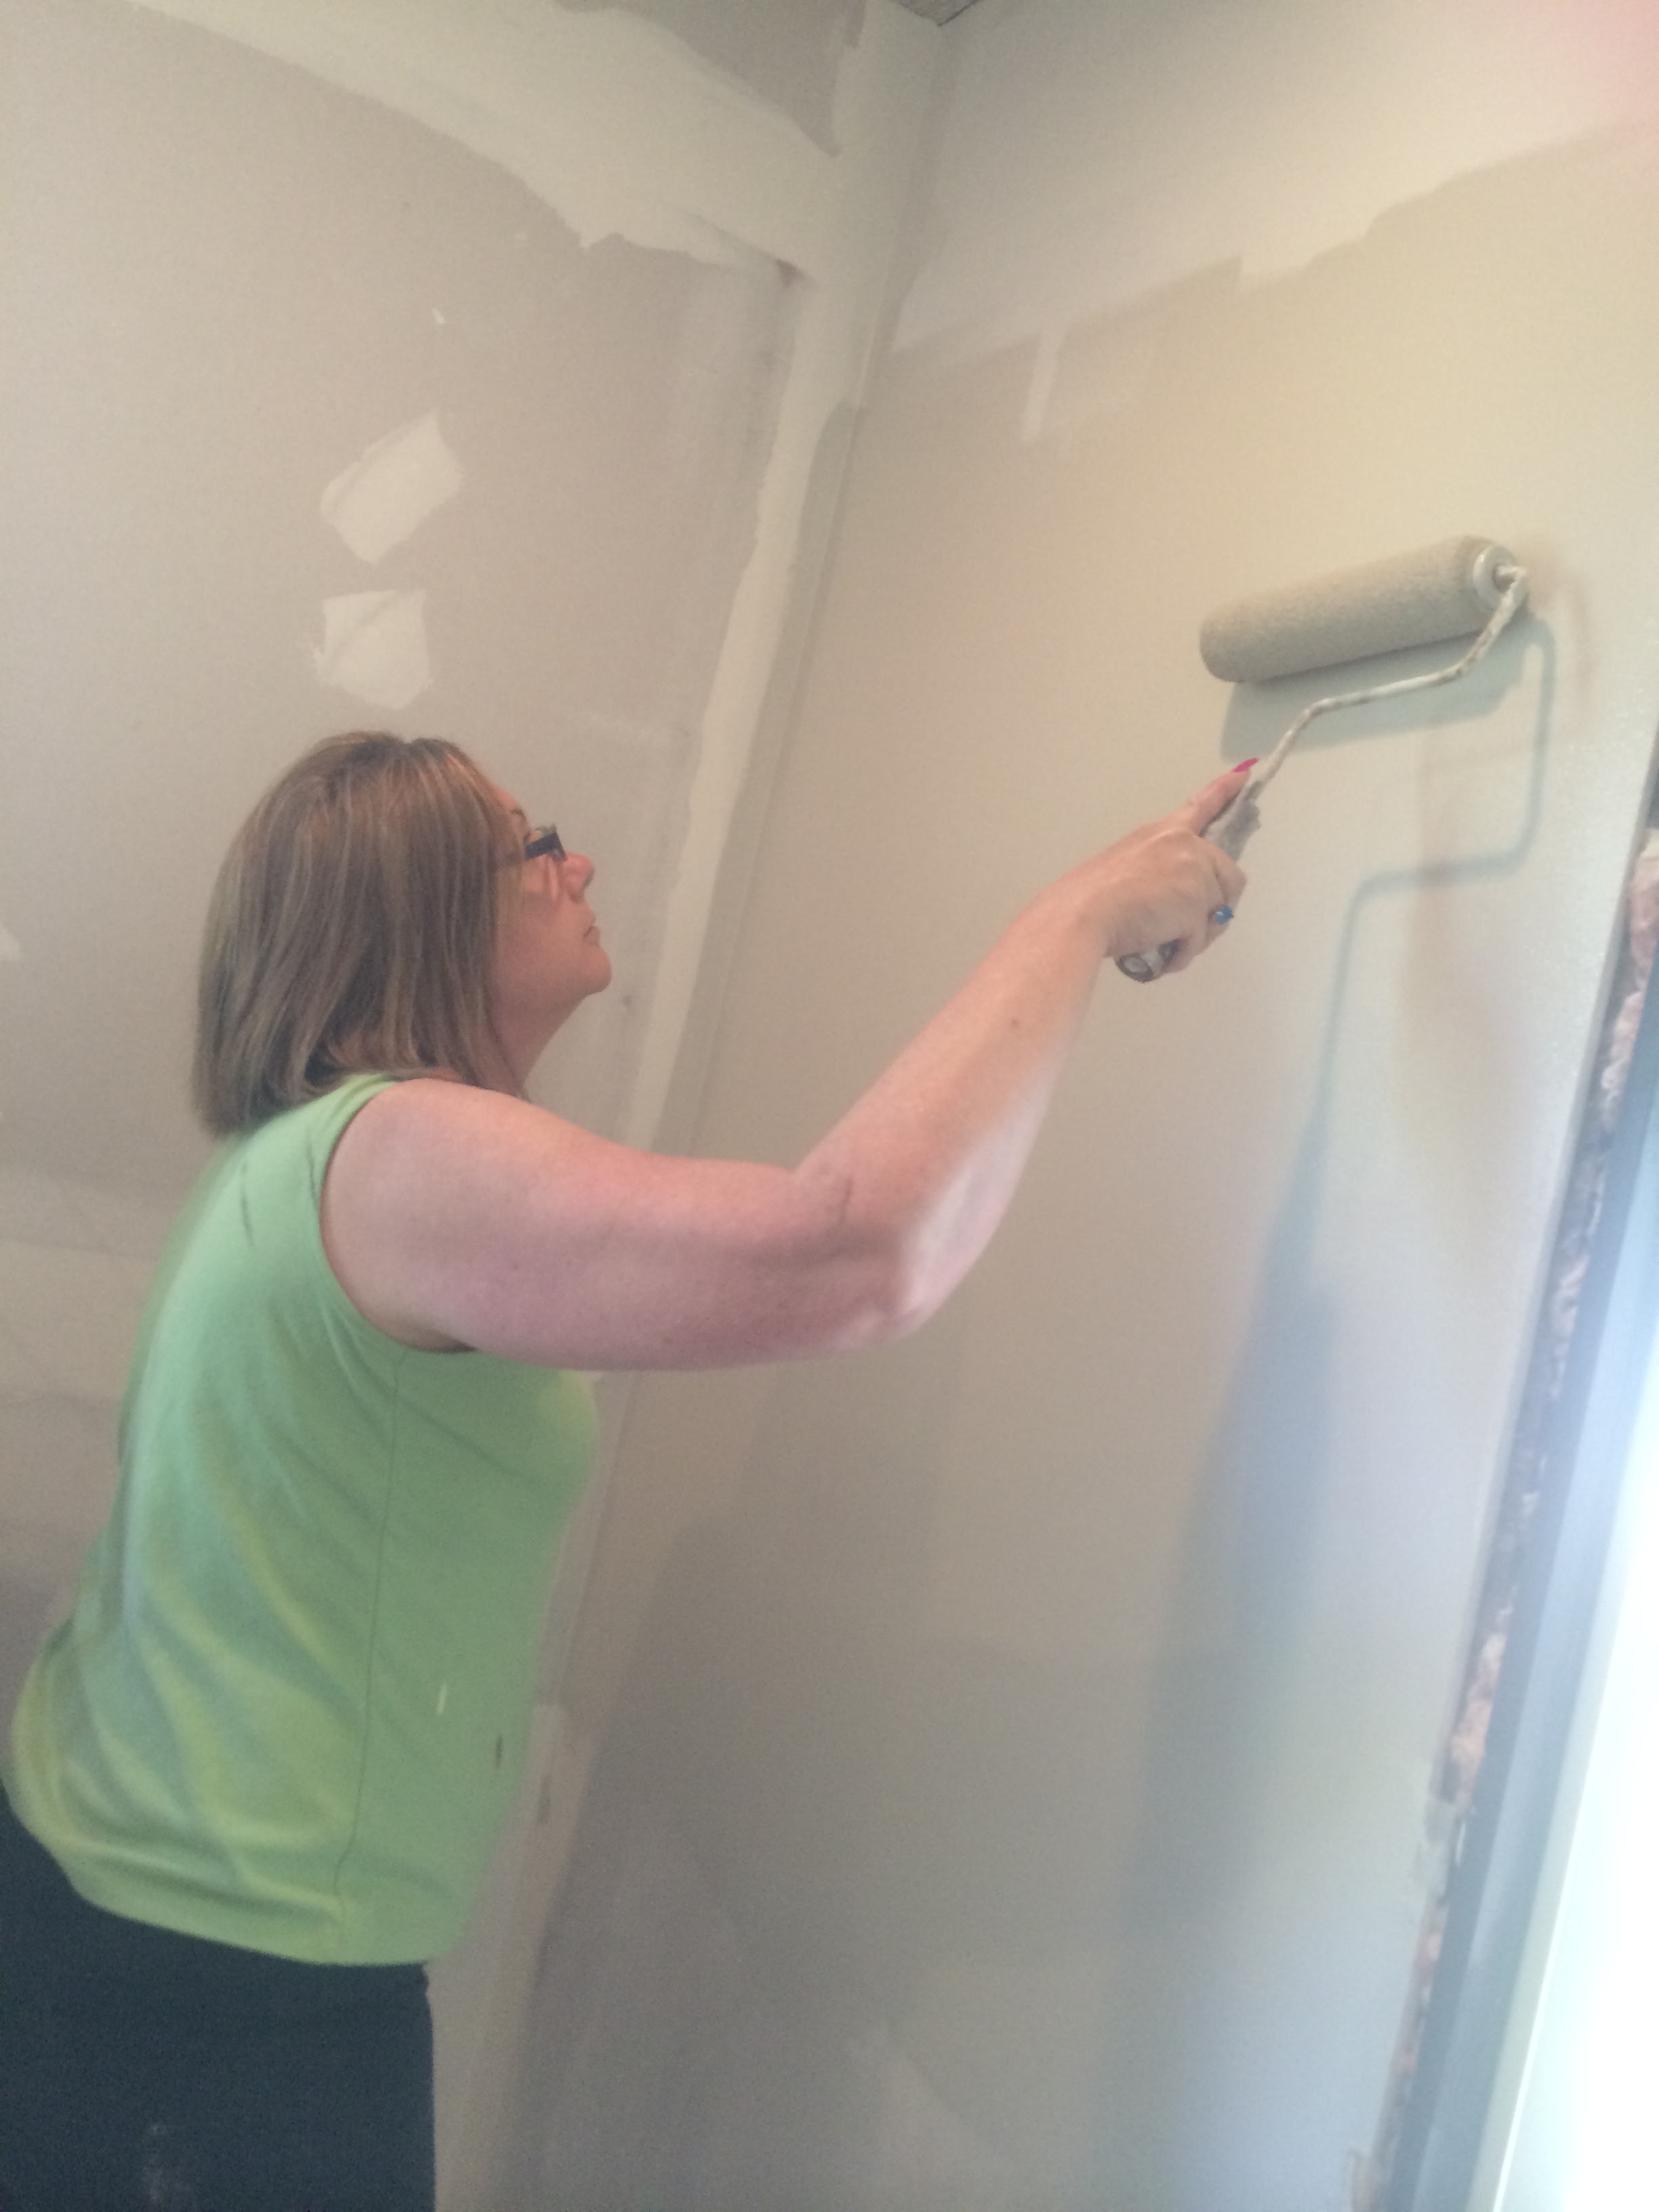
 With my dad and Raul busy working on perfecting our subway tile feauture wall my mom and I started on preparing the other elements of the room. We decided to pull one of the grays from the tile for our wall color (Thanks Taber Street Interiors for the advice!)
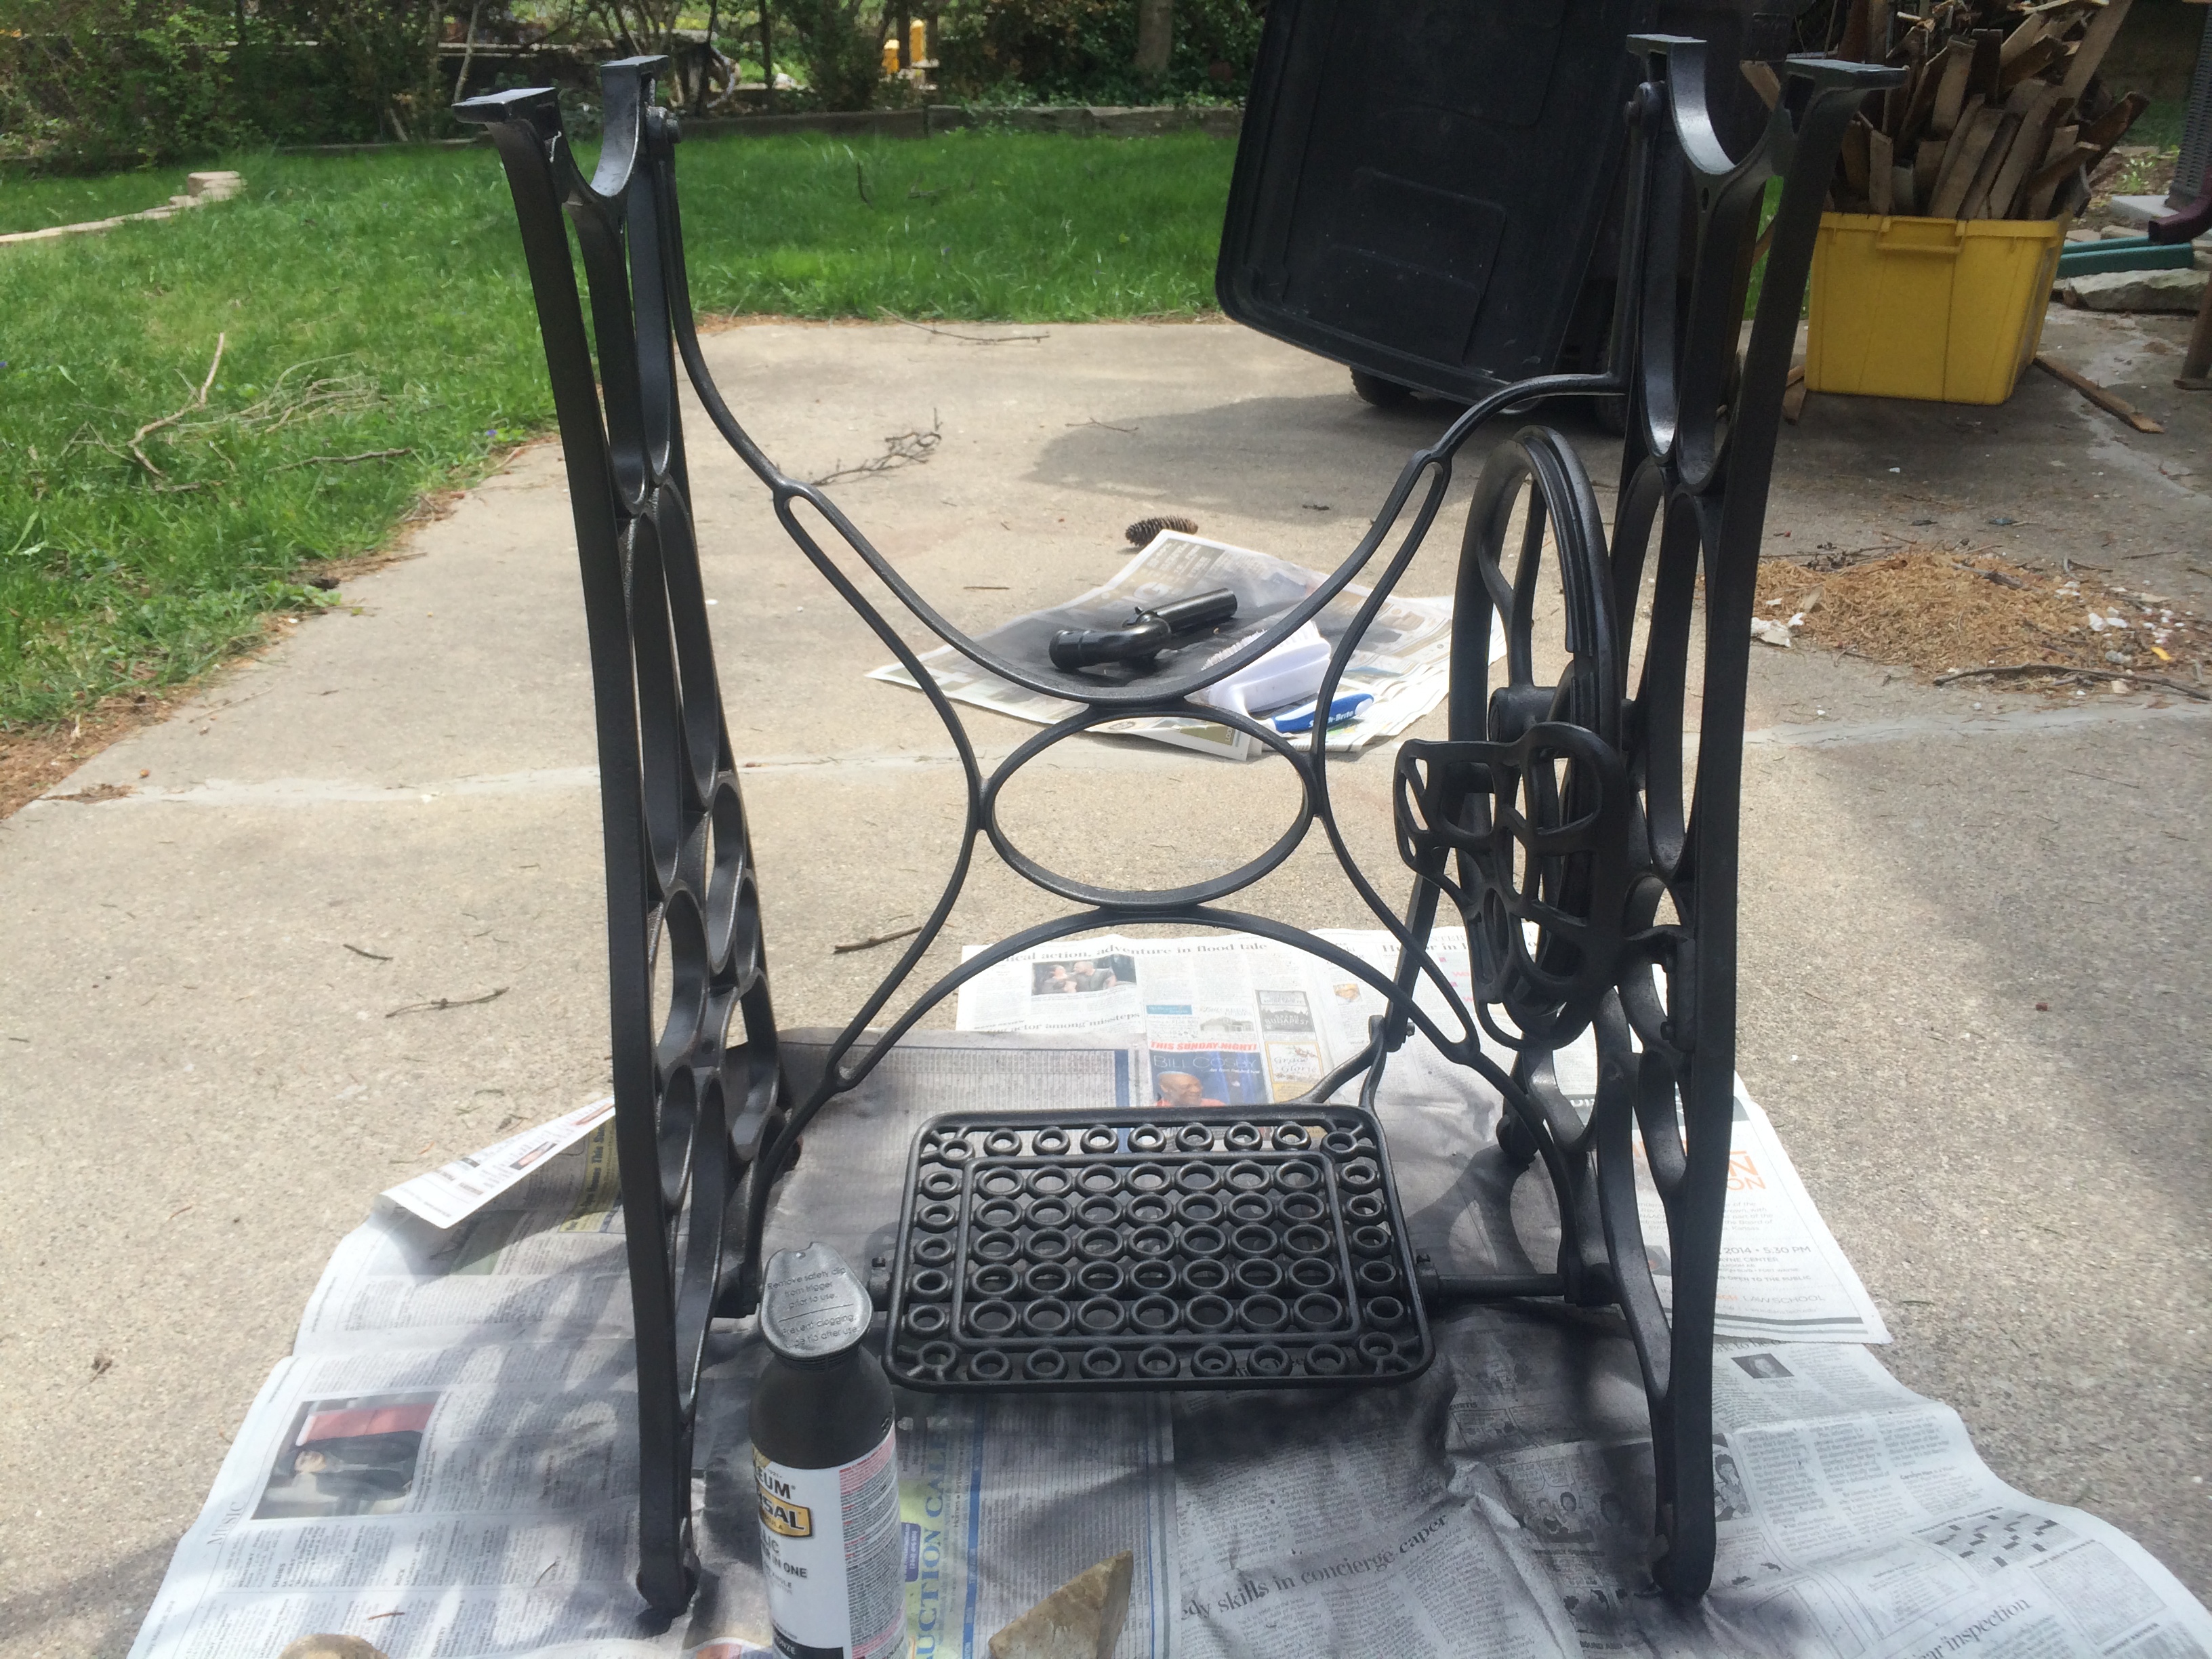
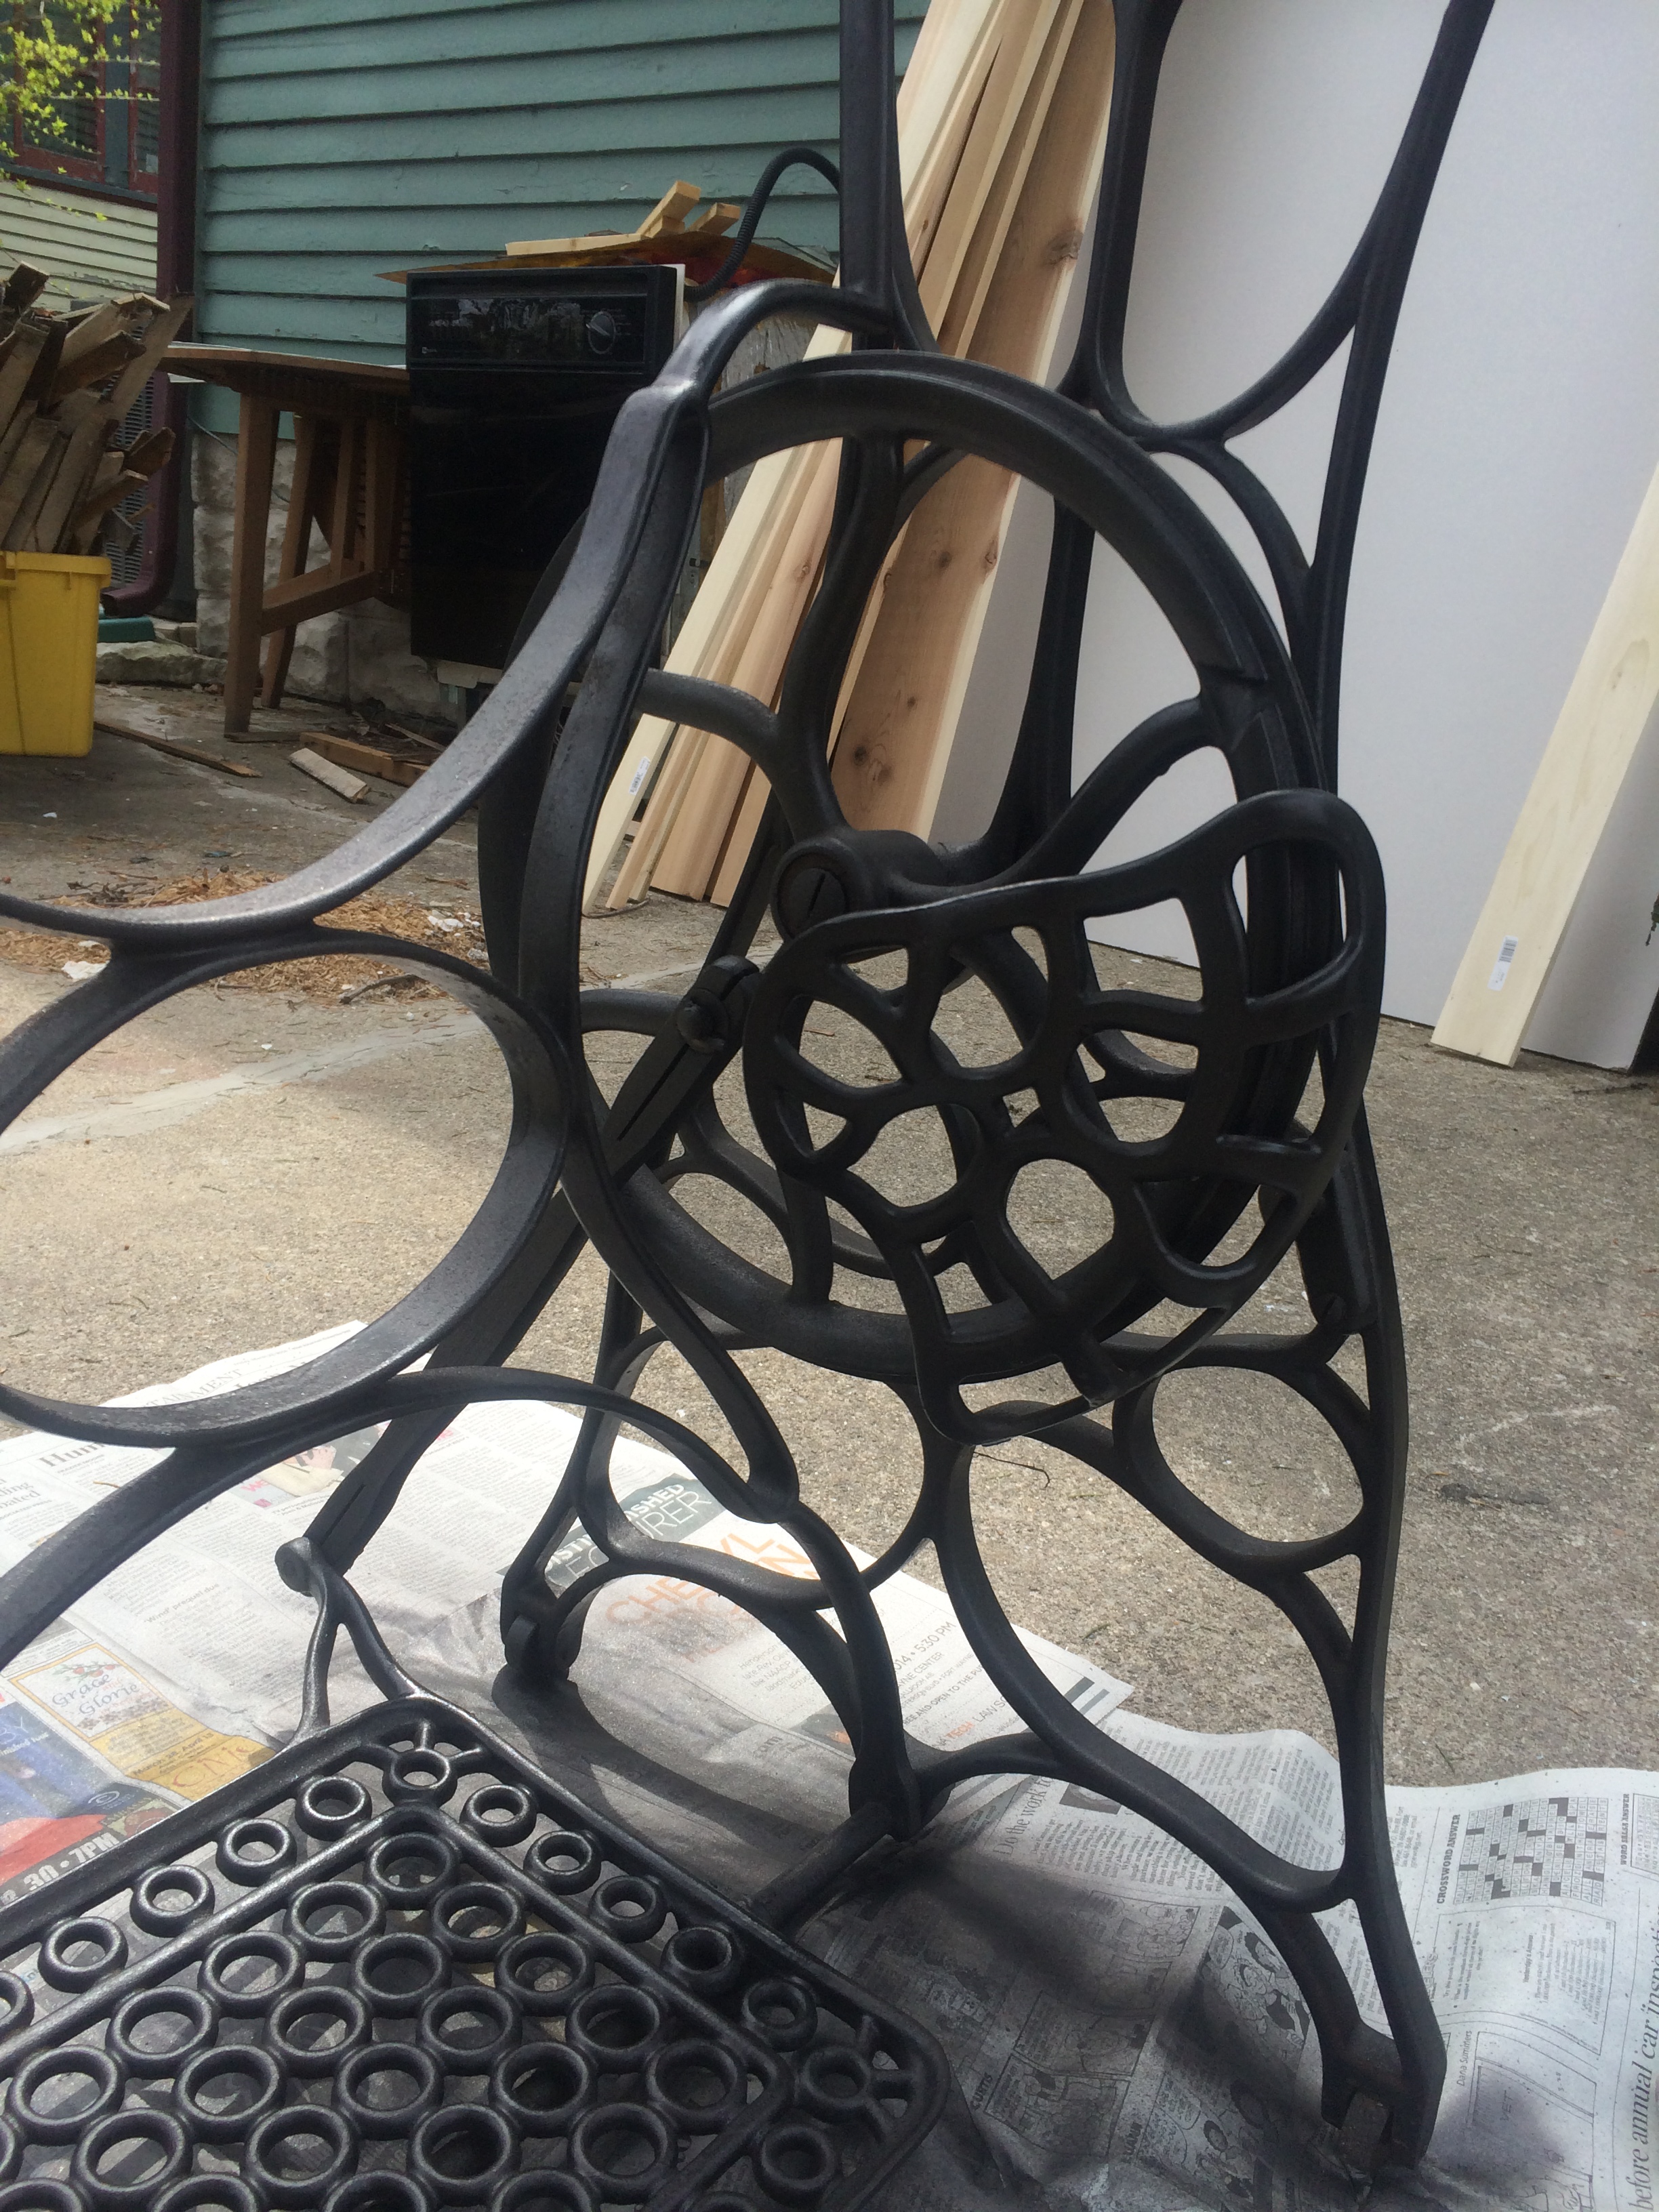
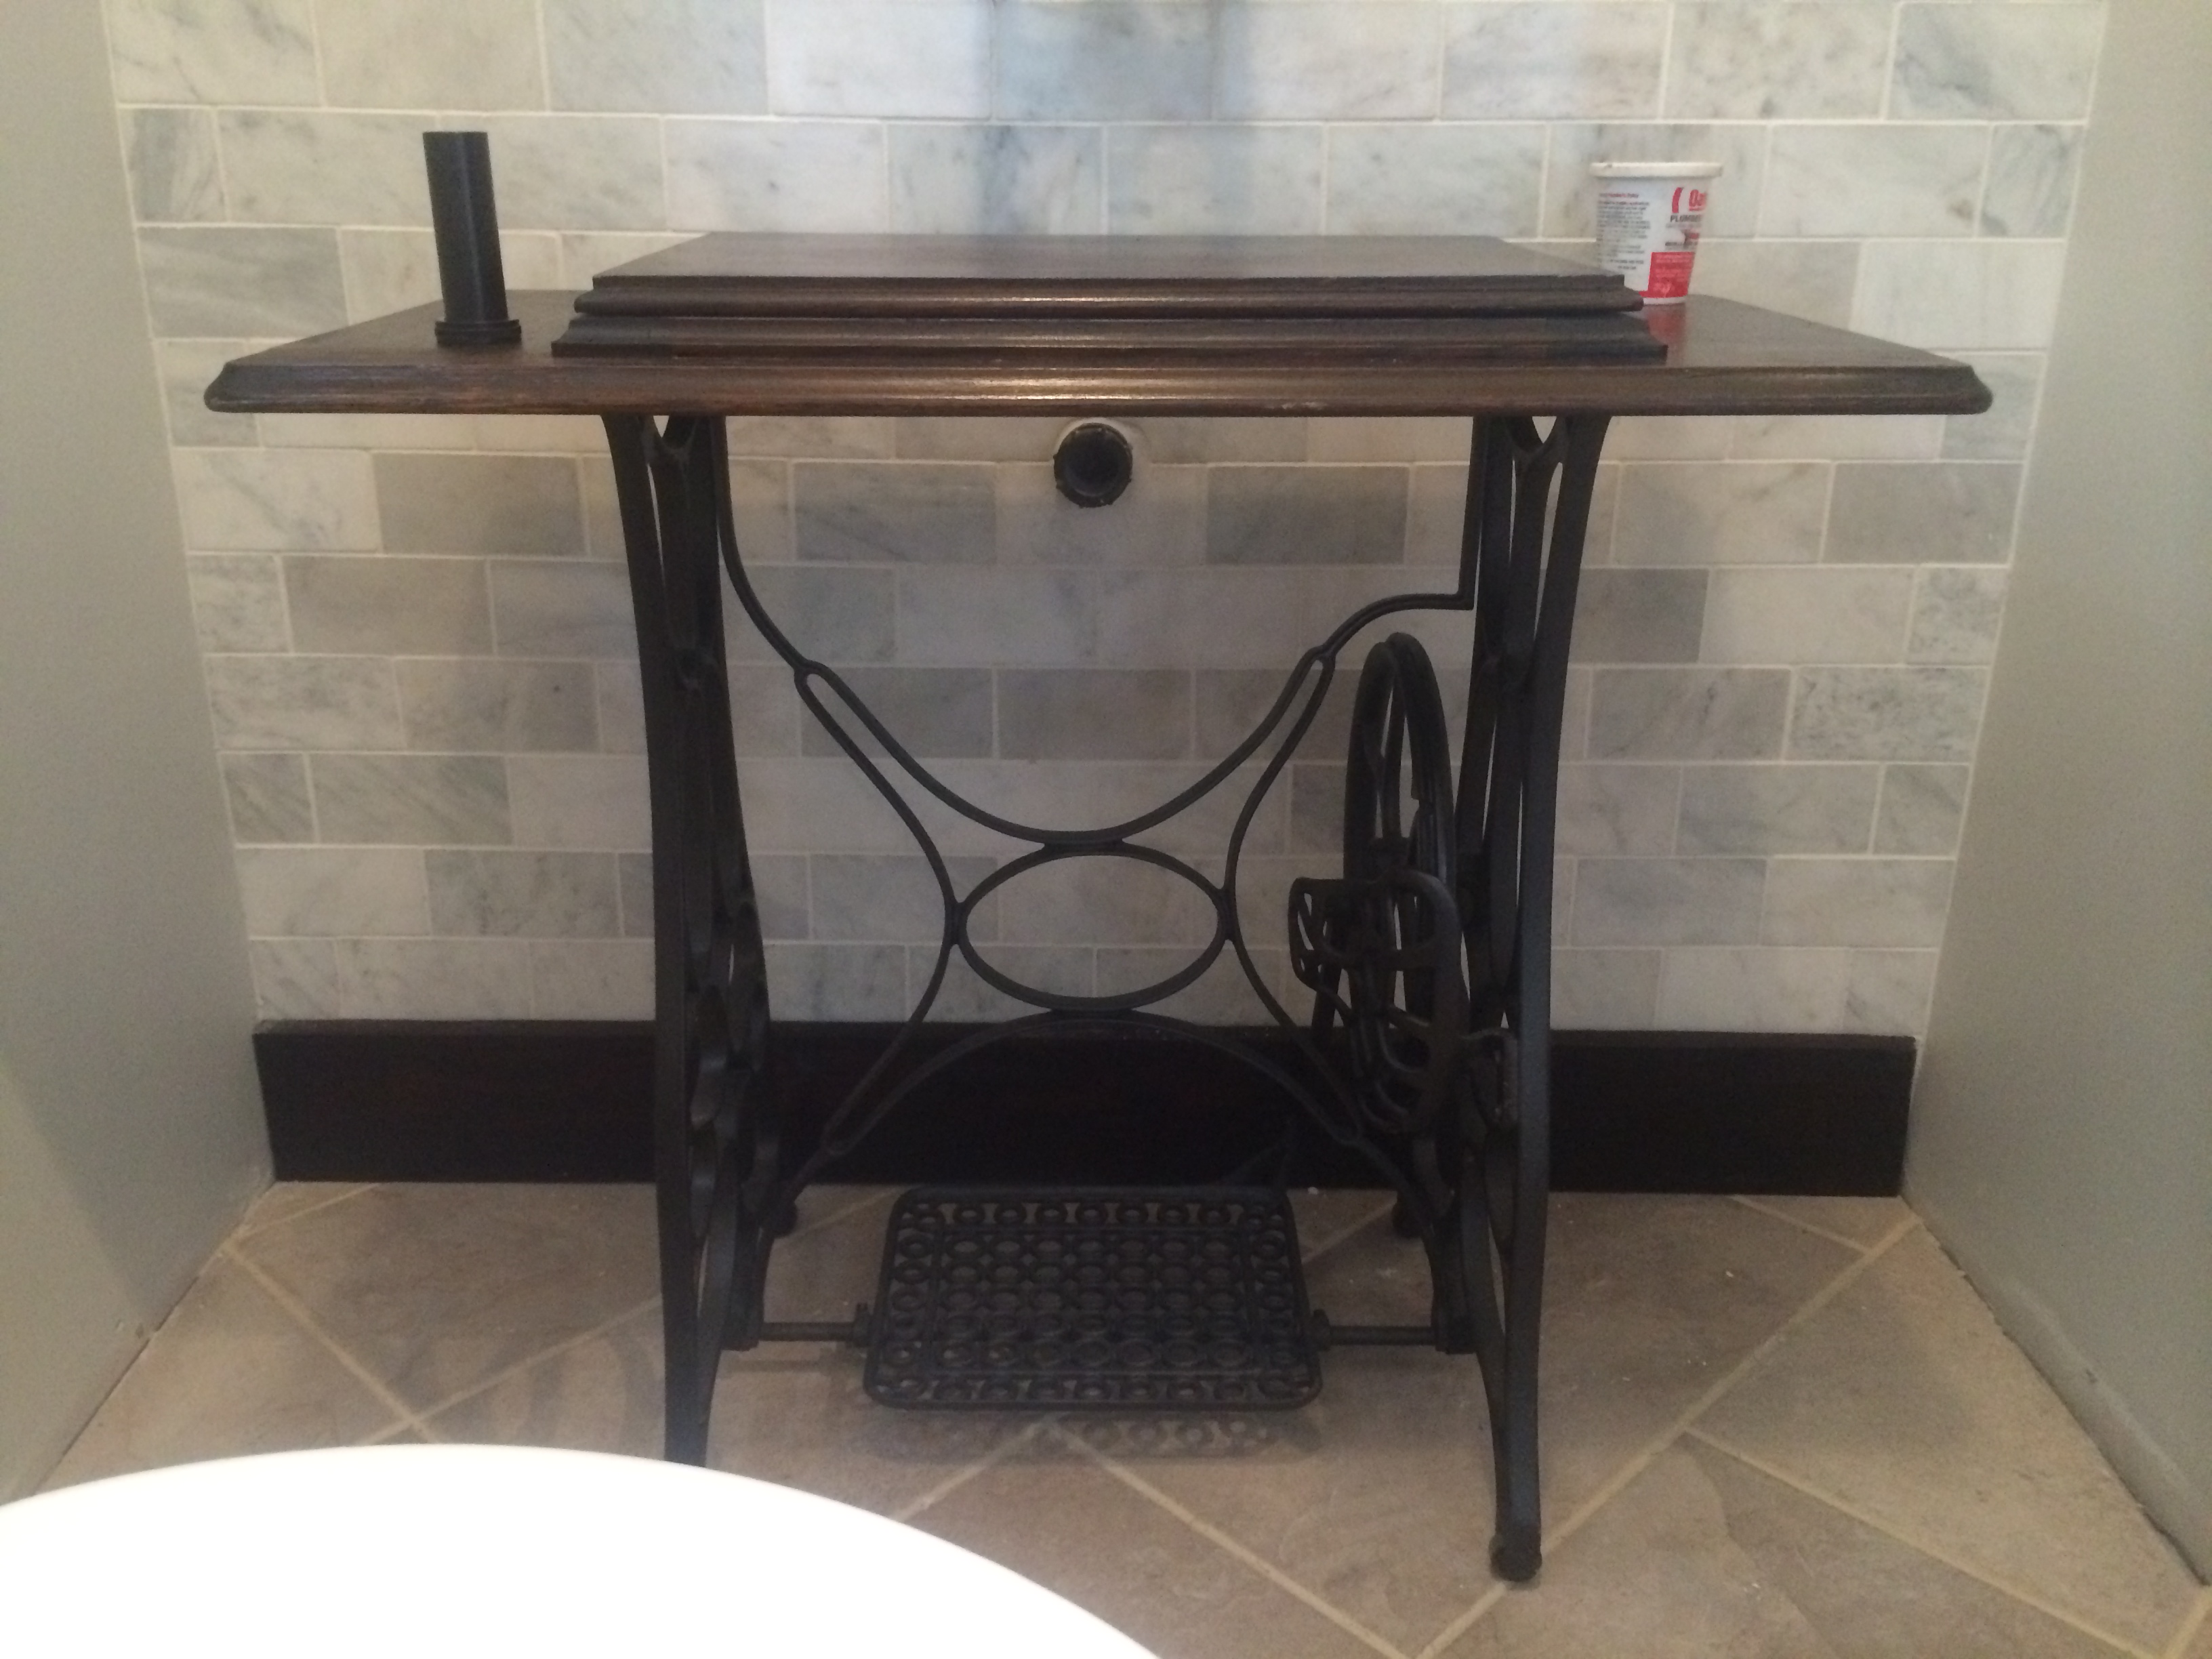
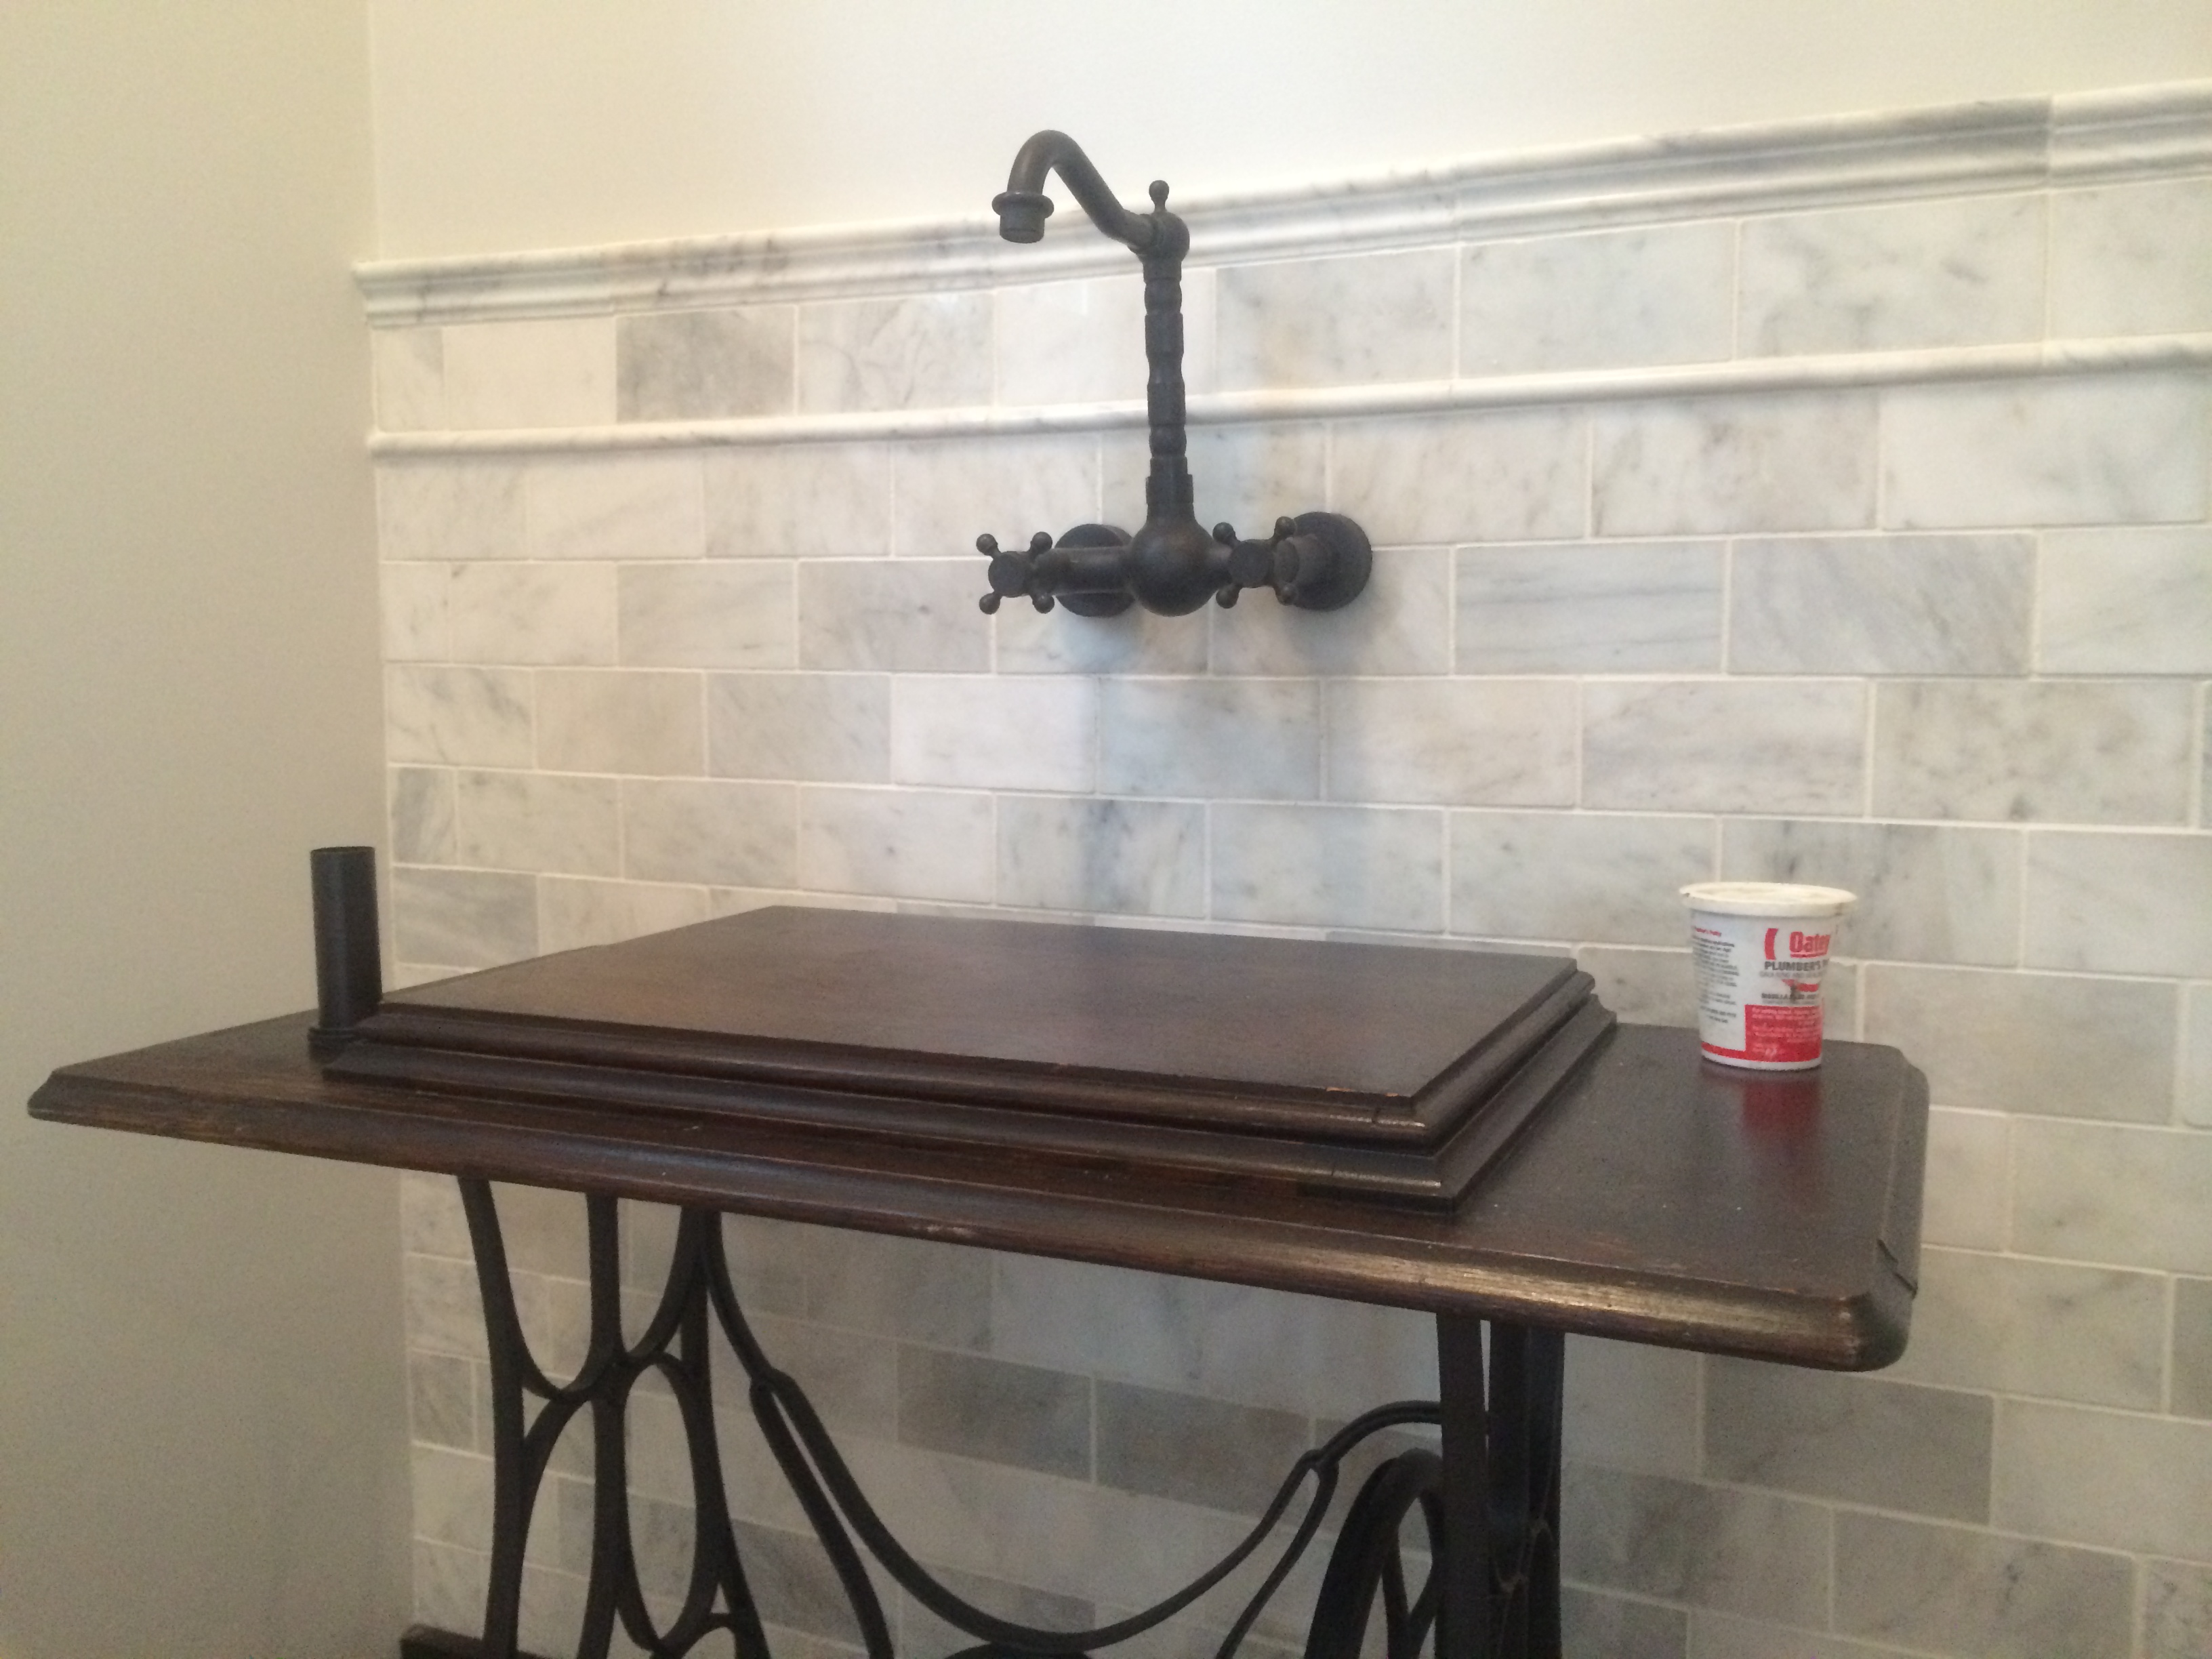
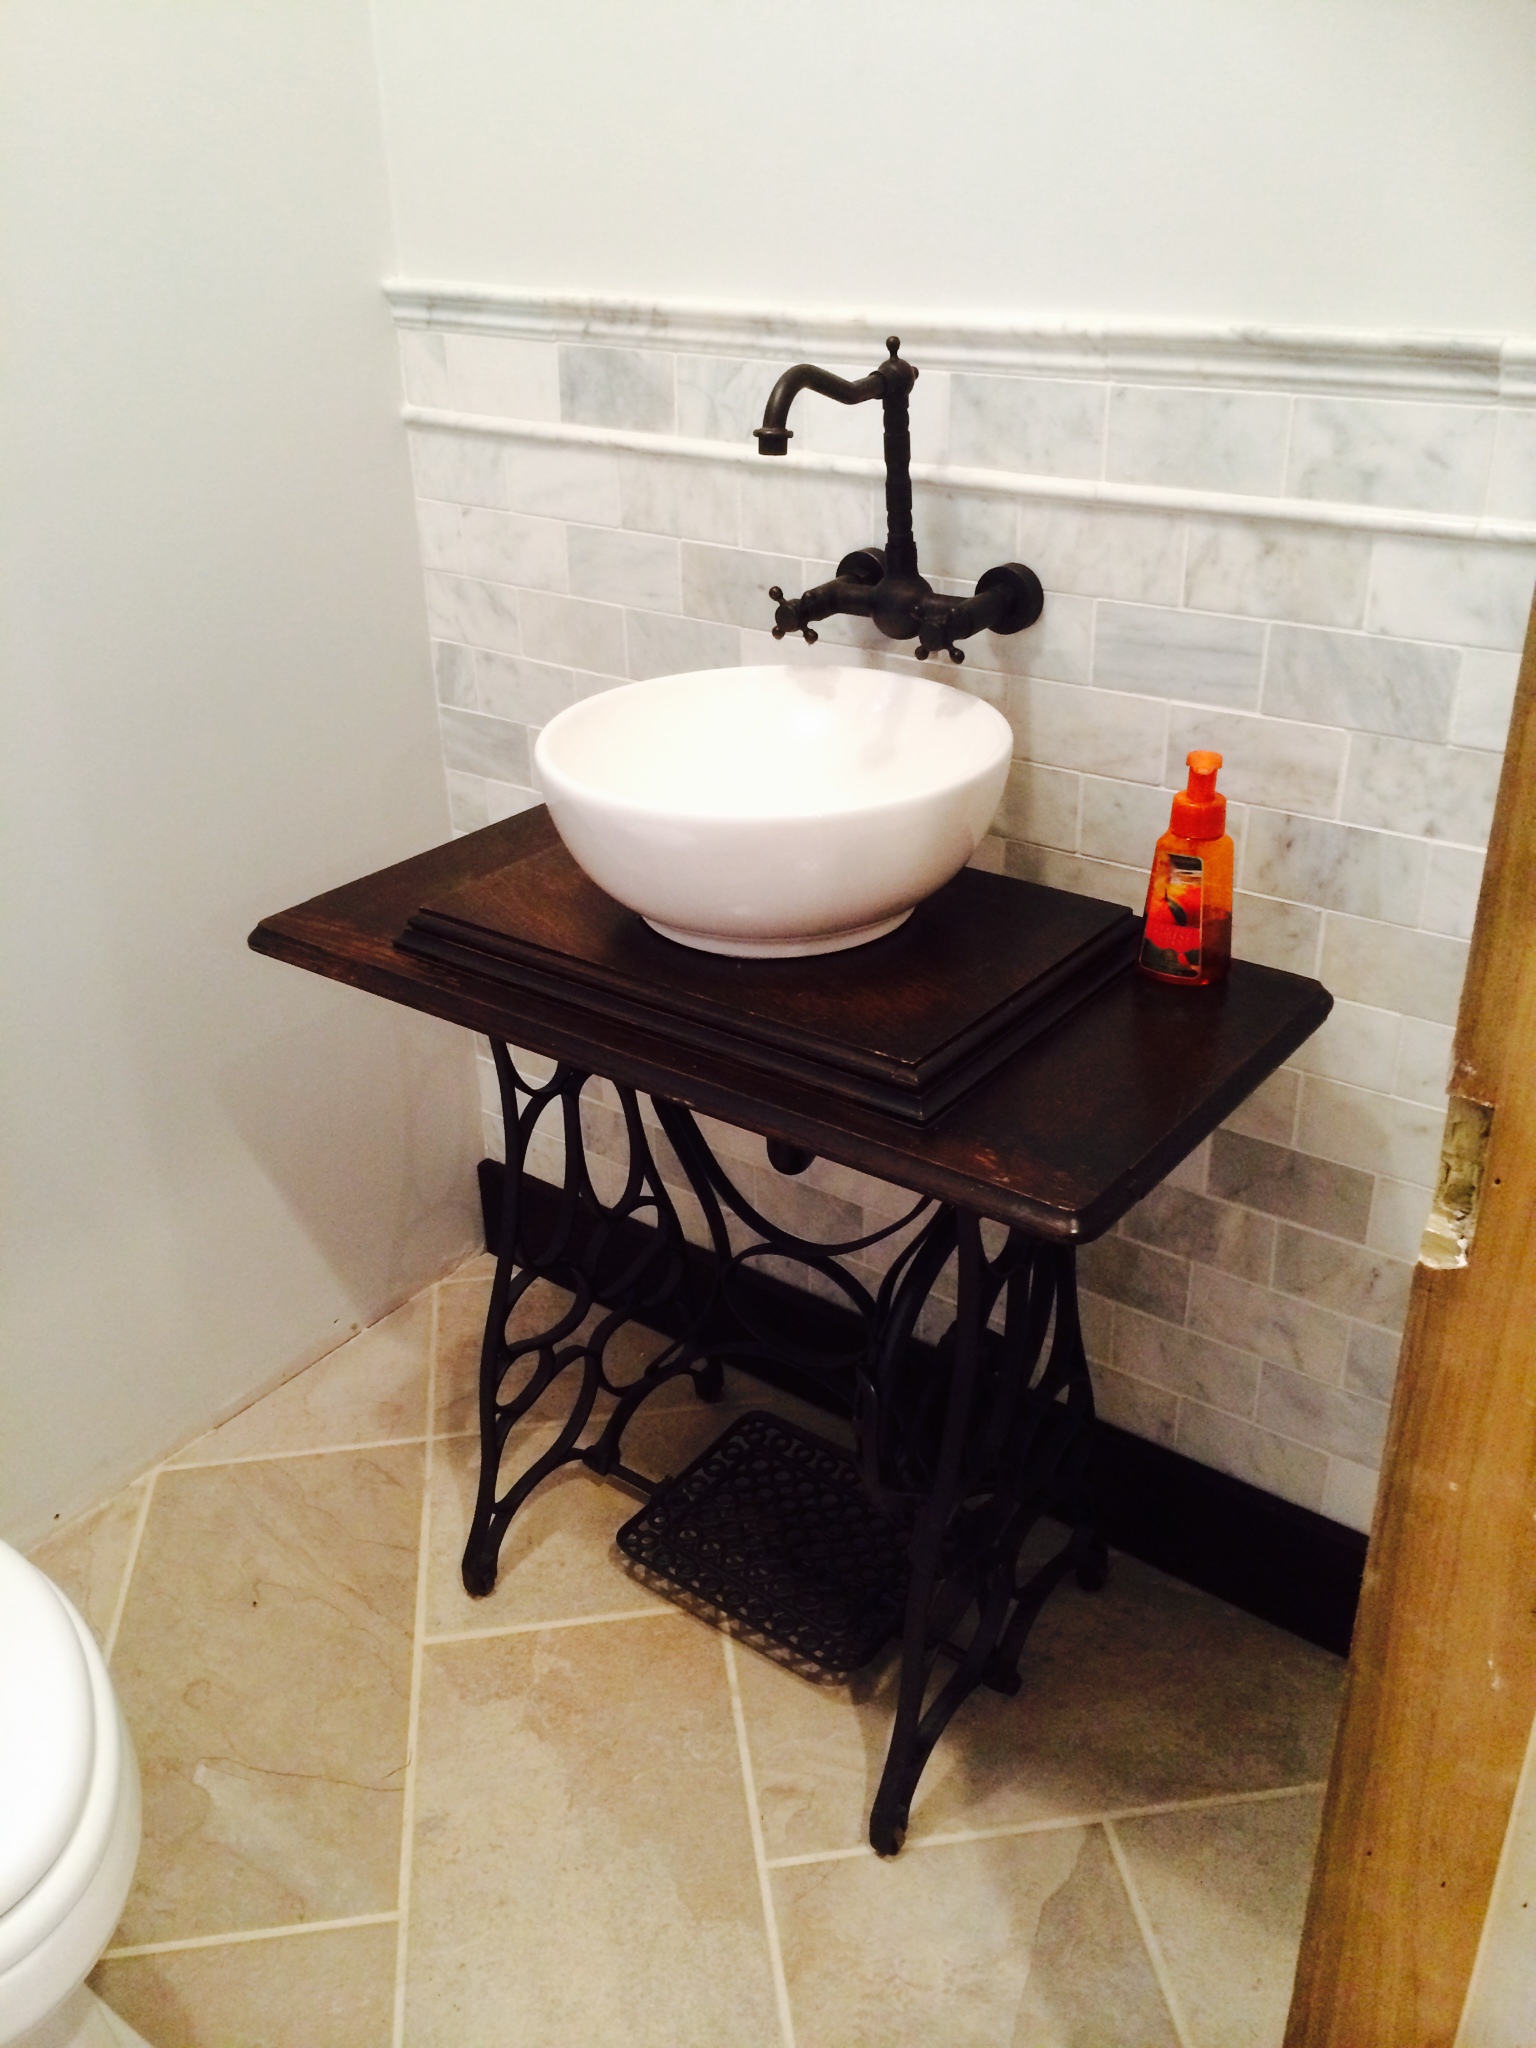
We also had to get our antique sewing table/vanity shining like new. I scrubbed down the metal and knocked off all the loose paint and then I simply spray coated the base with an oil-rubbed bronze paint.
 This refurbished piece looks great against the tile wall!
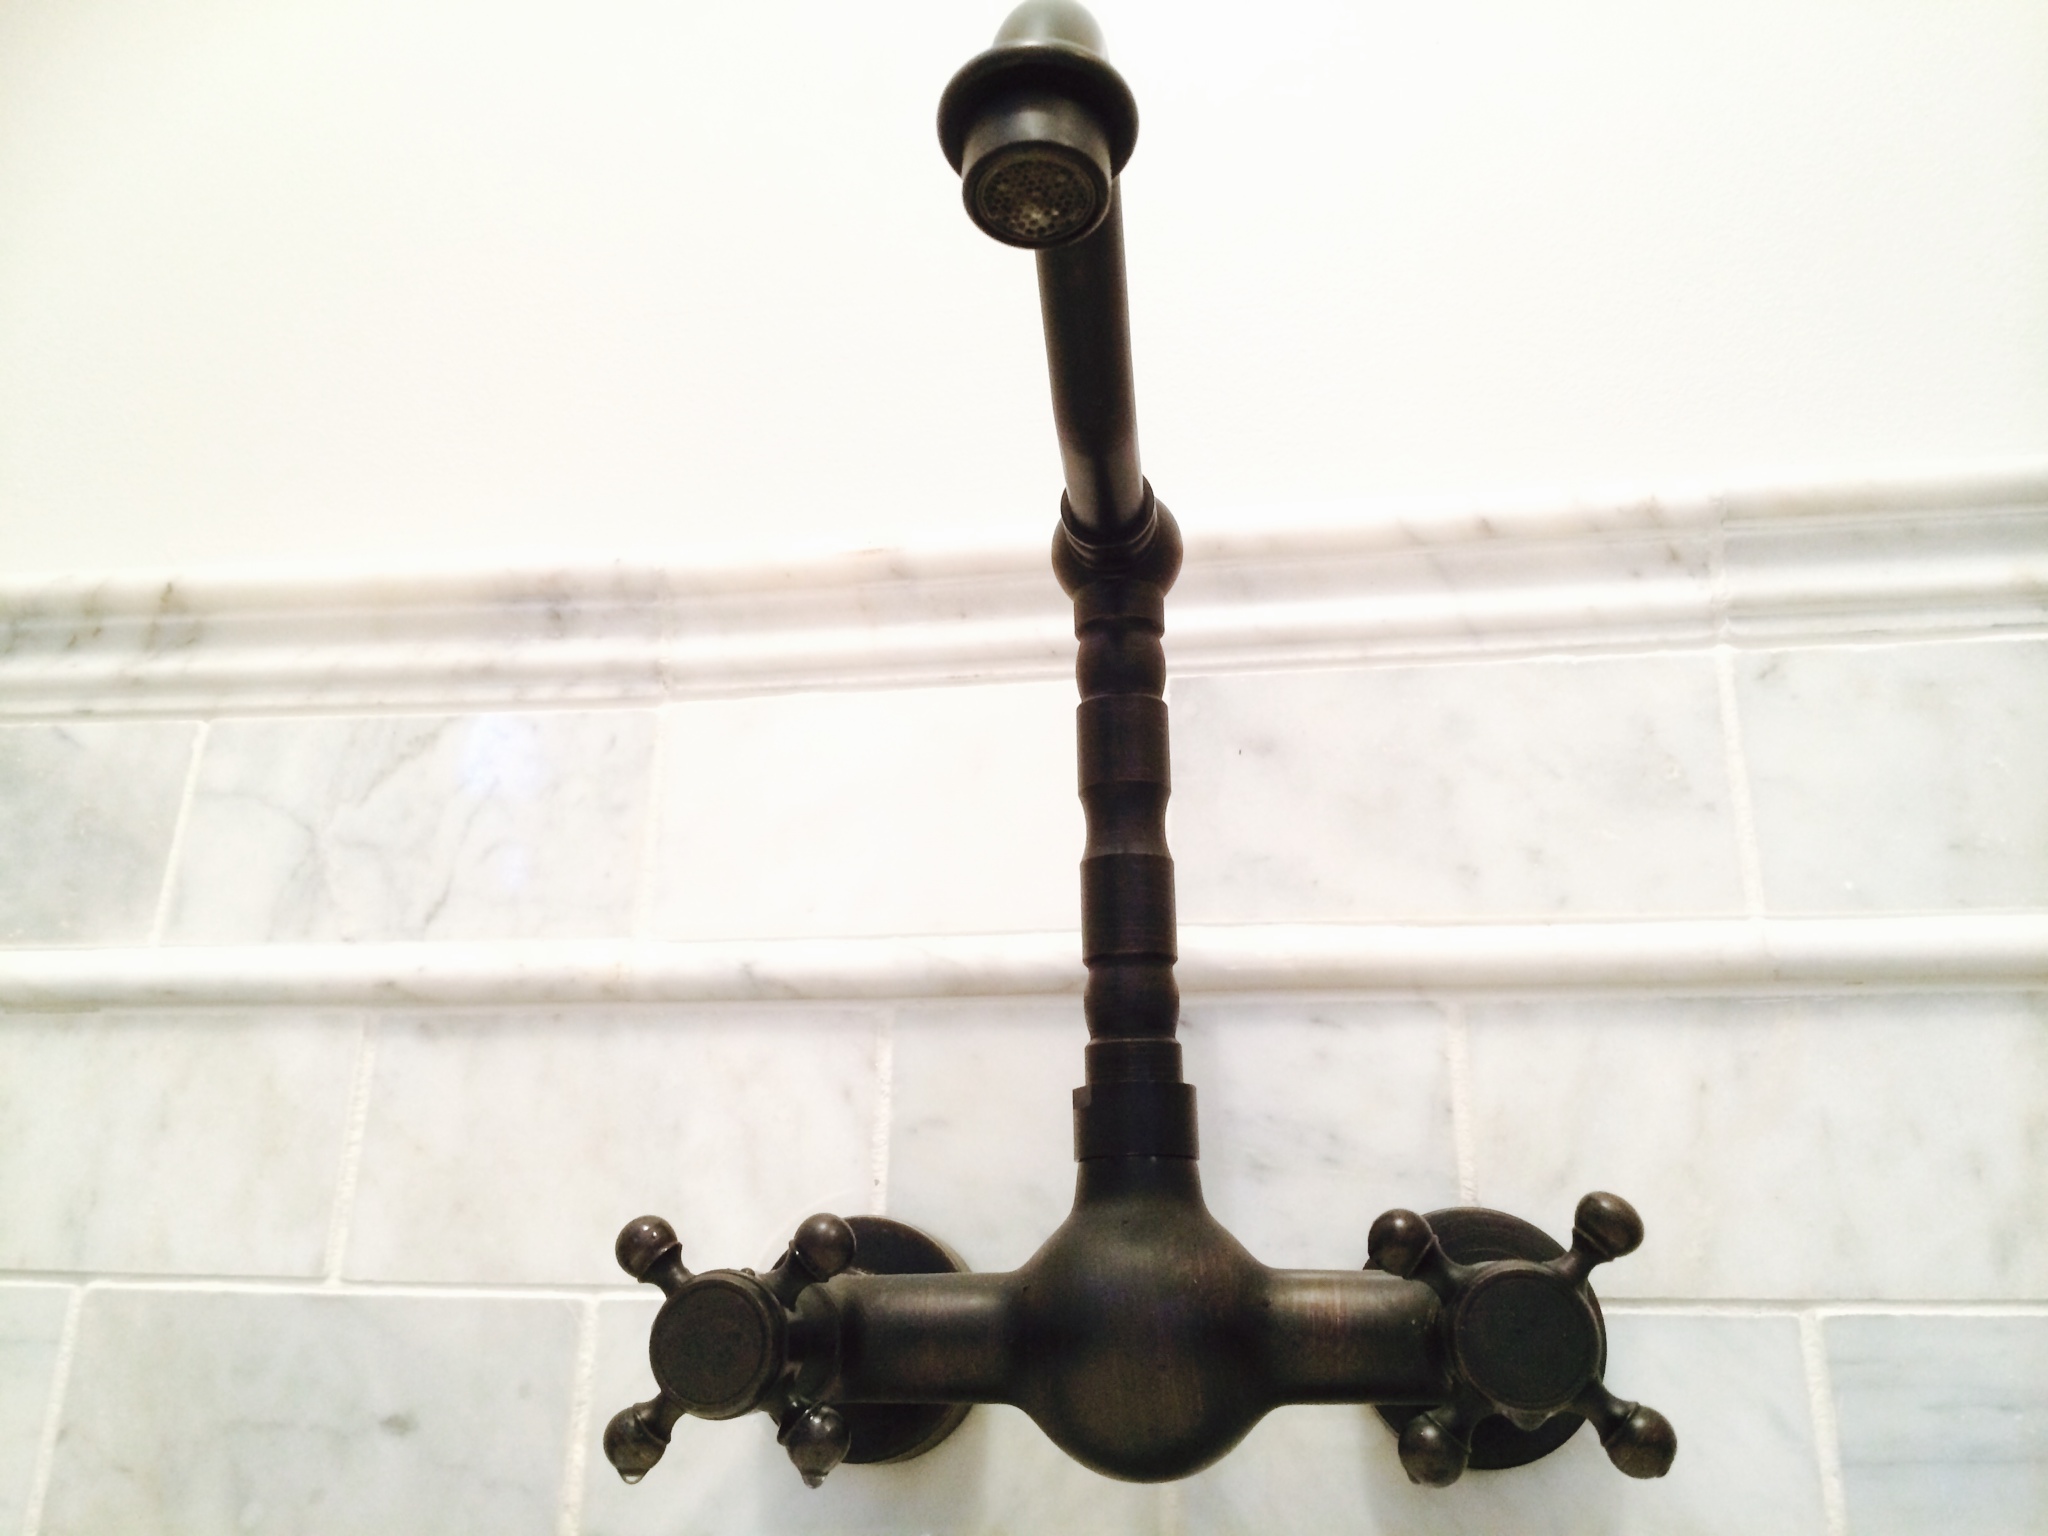
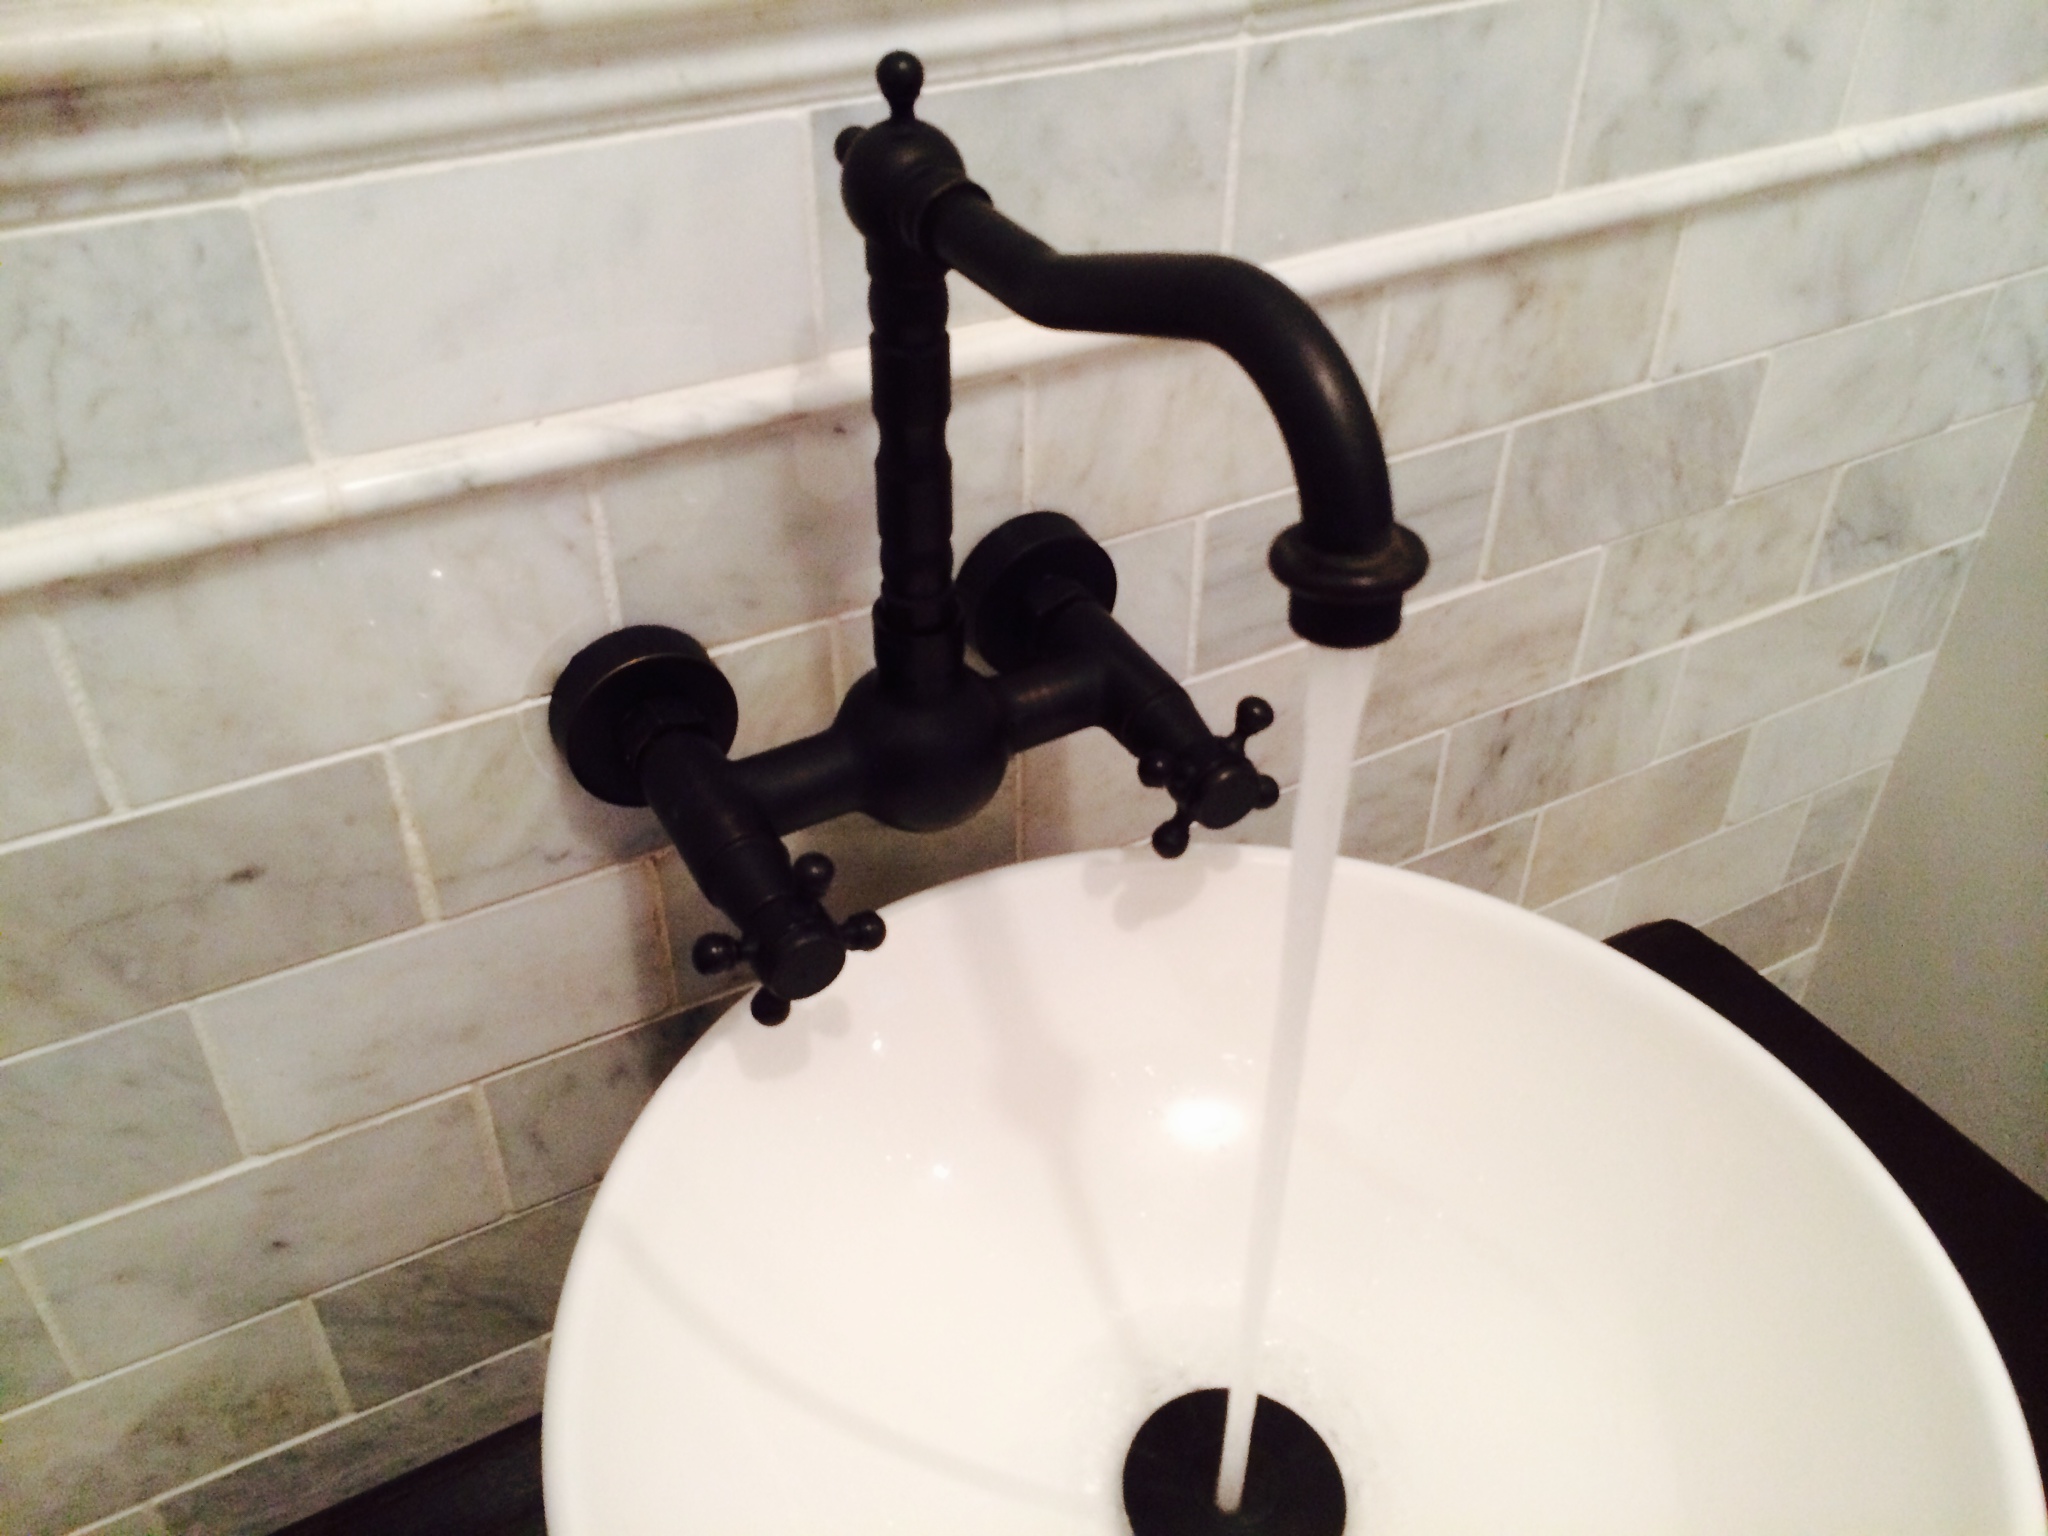
We added a wall mounted faucet to continue with the vintage flair.
The next step was converting this sewing machine into a functional bathroom vanity. We had already removed the sewing machine from inside of the table. Don’t worry- the machine will be making an appearance later when we get ready to decorate the powder room 🙂 We used a hole saw to create an opening for the sink drain.
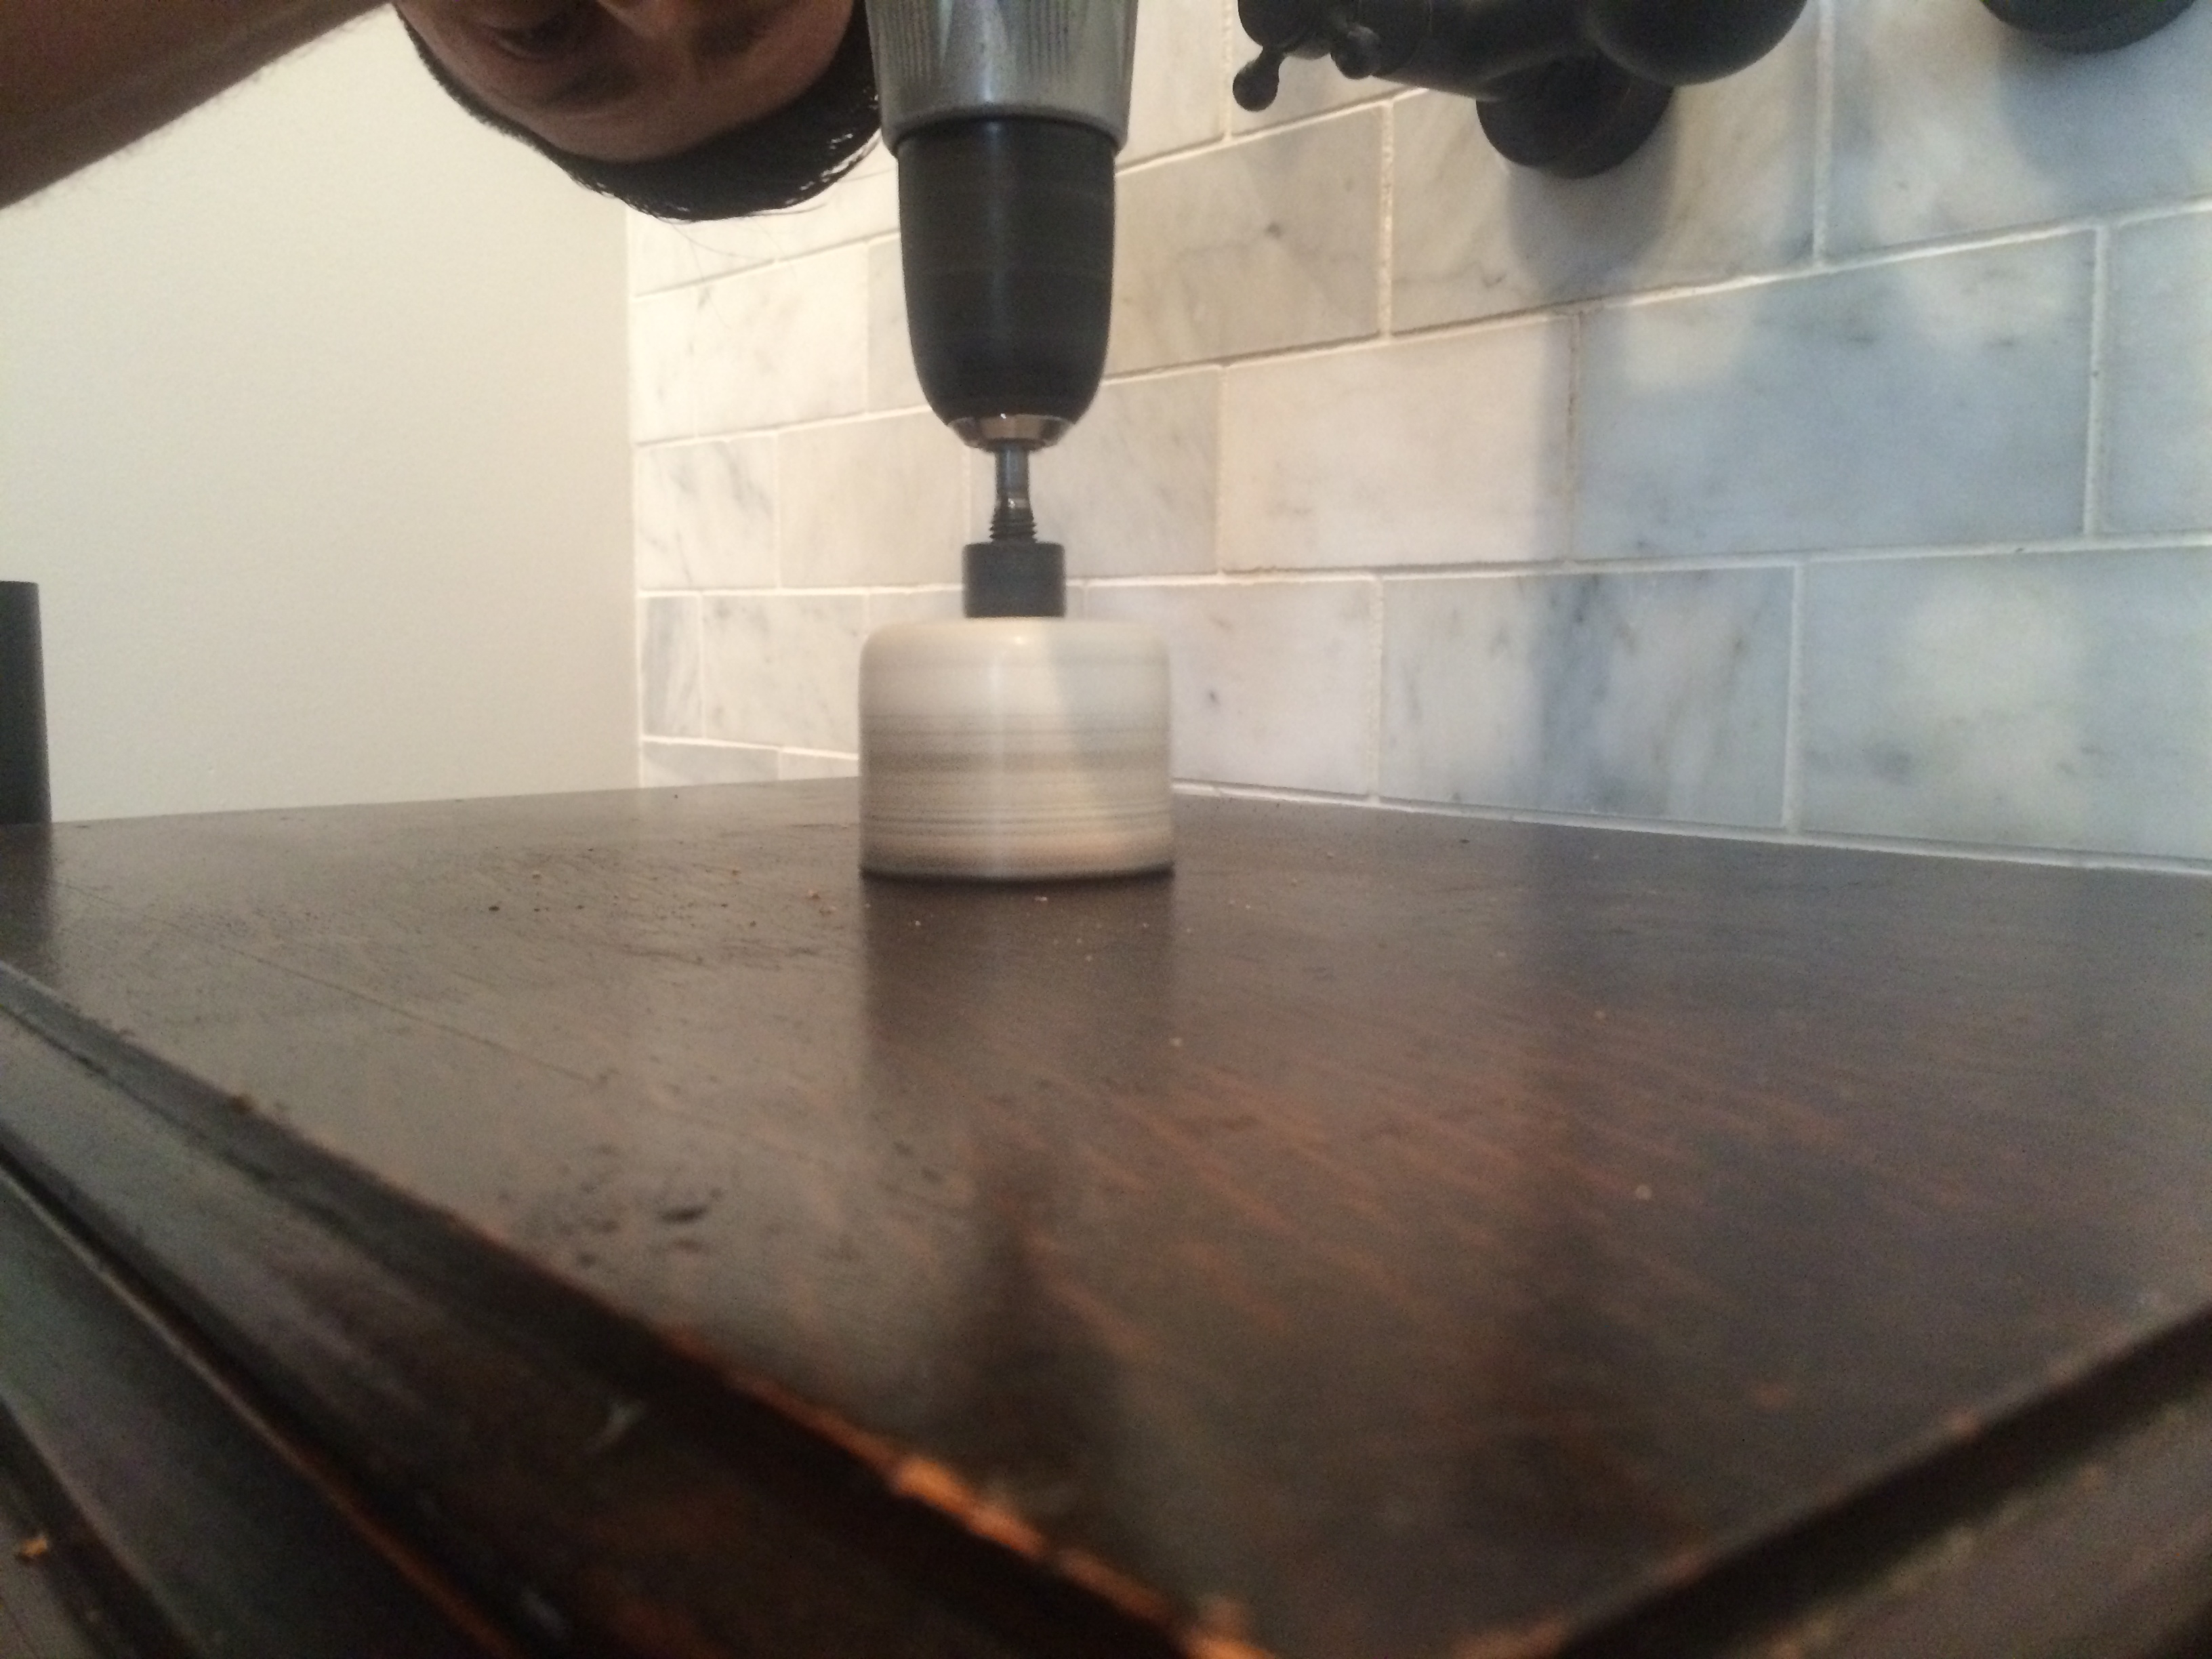
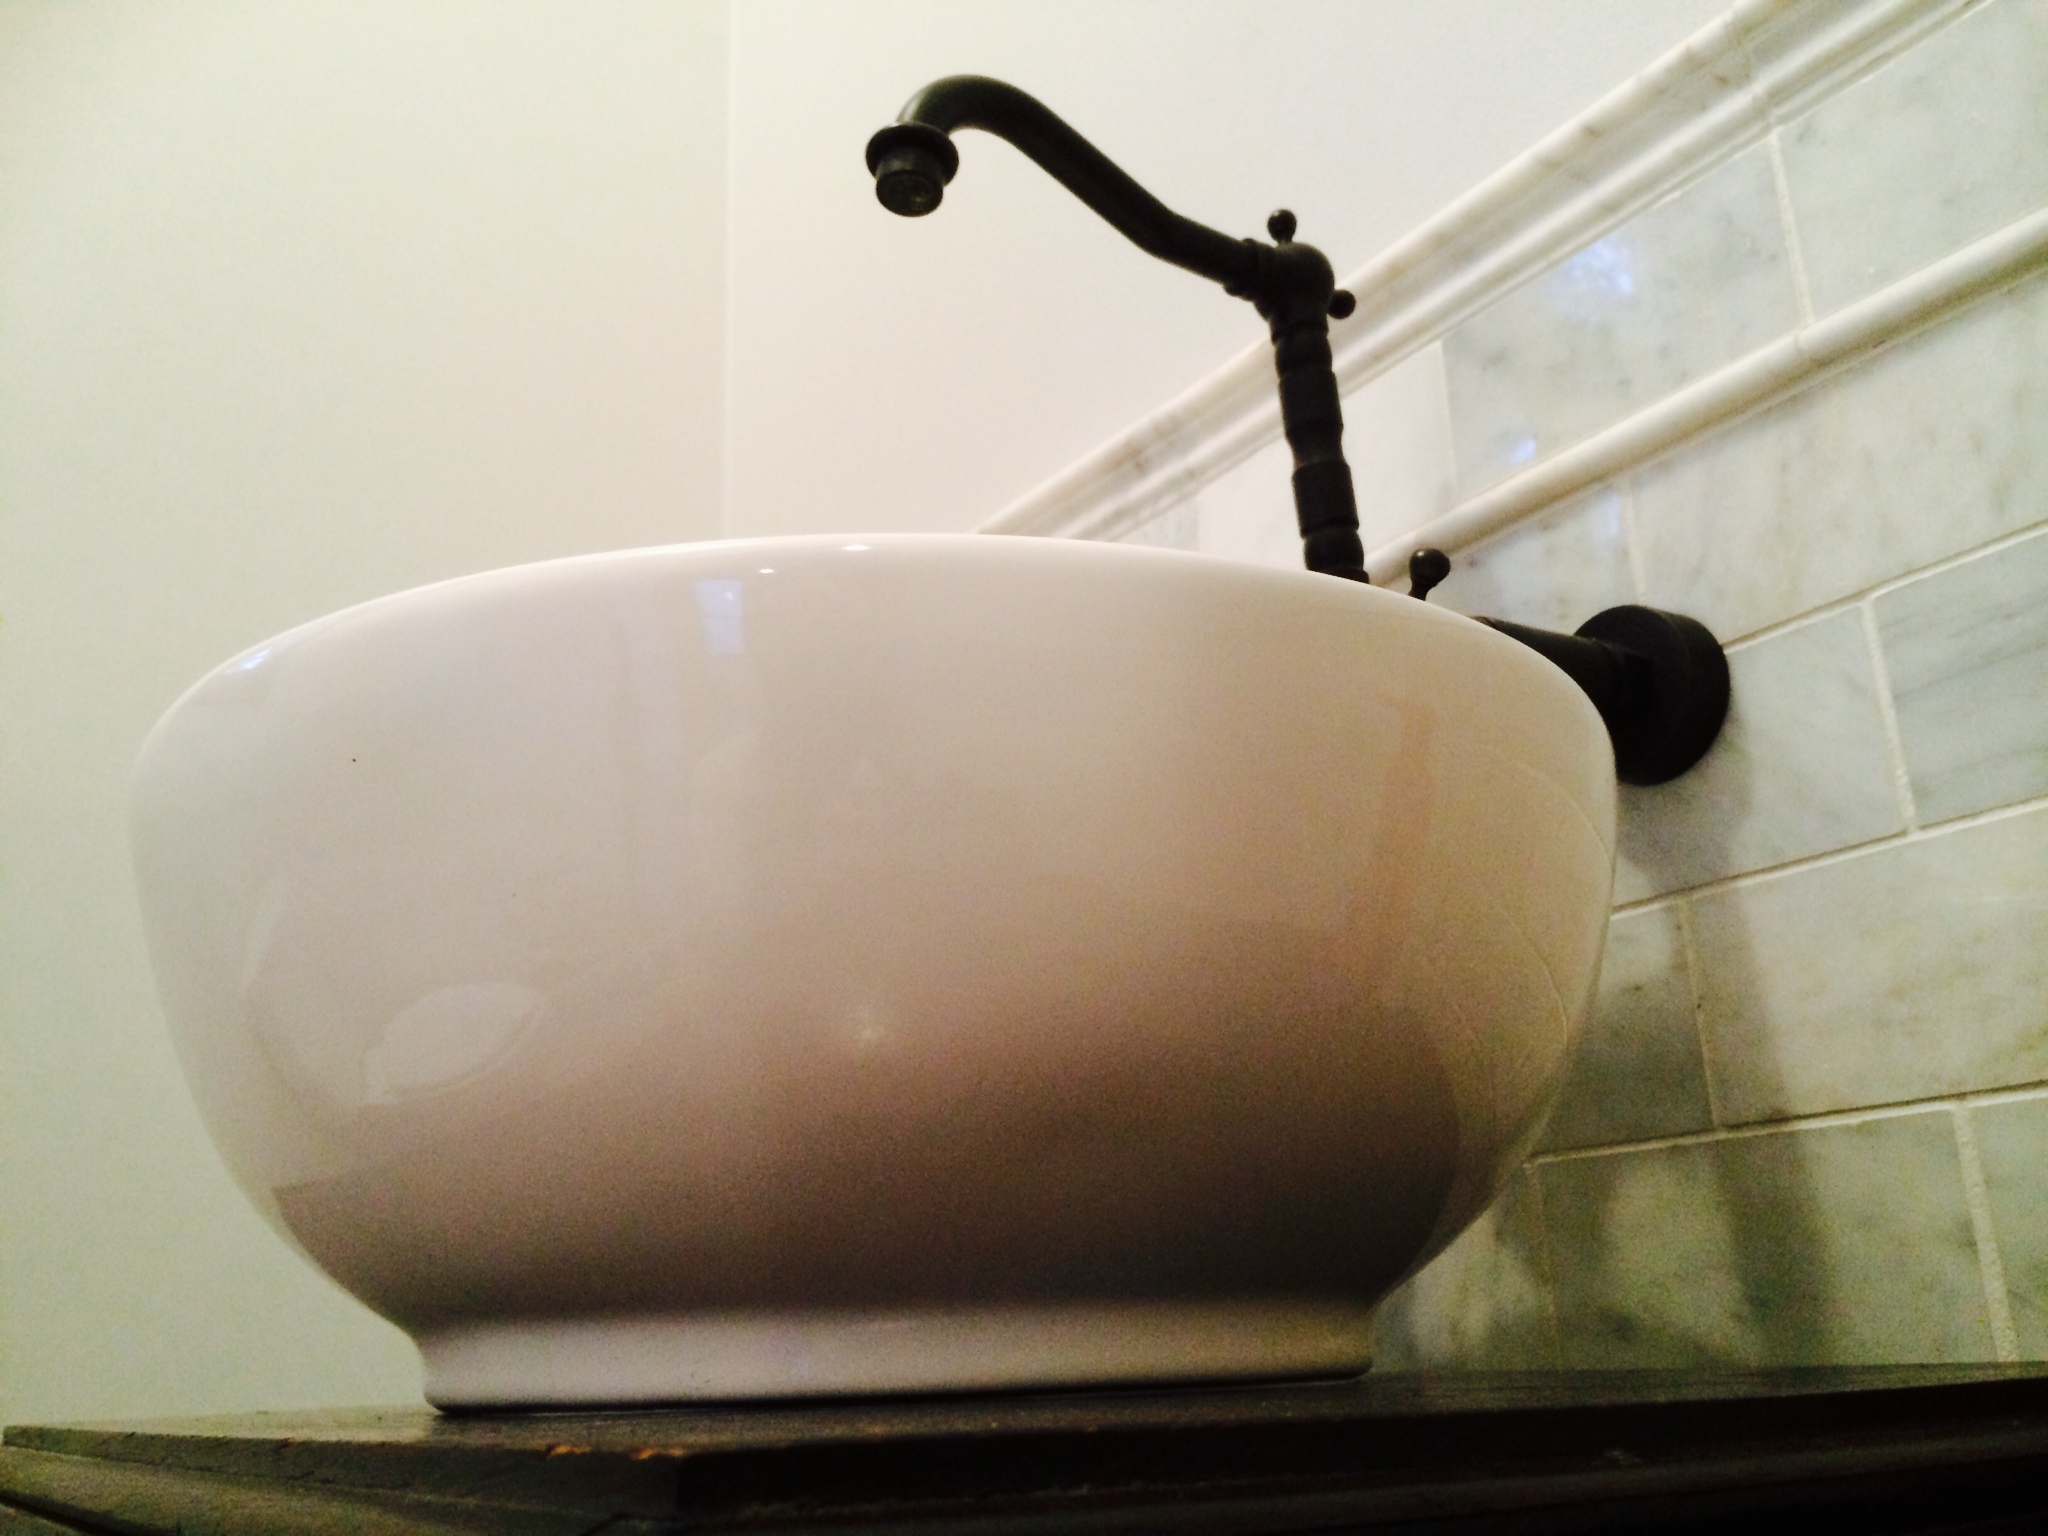
After that we simply mounted the vessel sink.
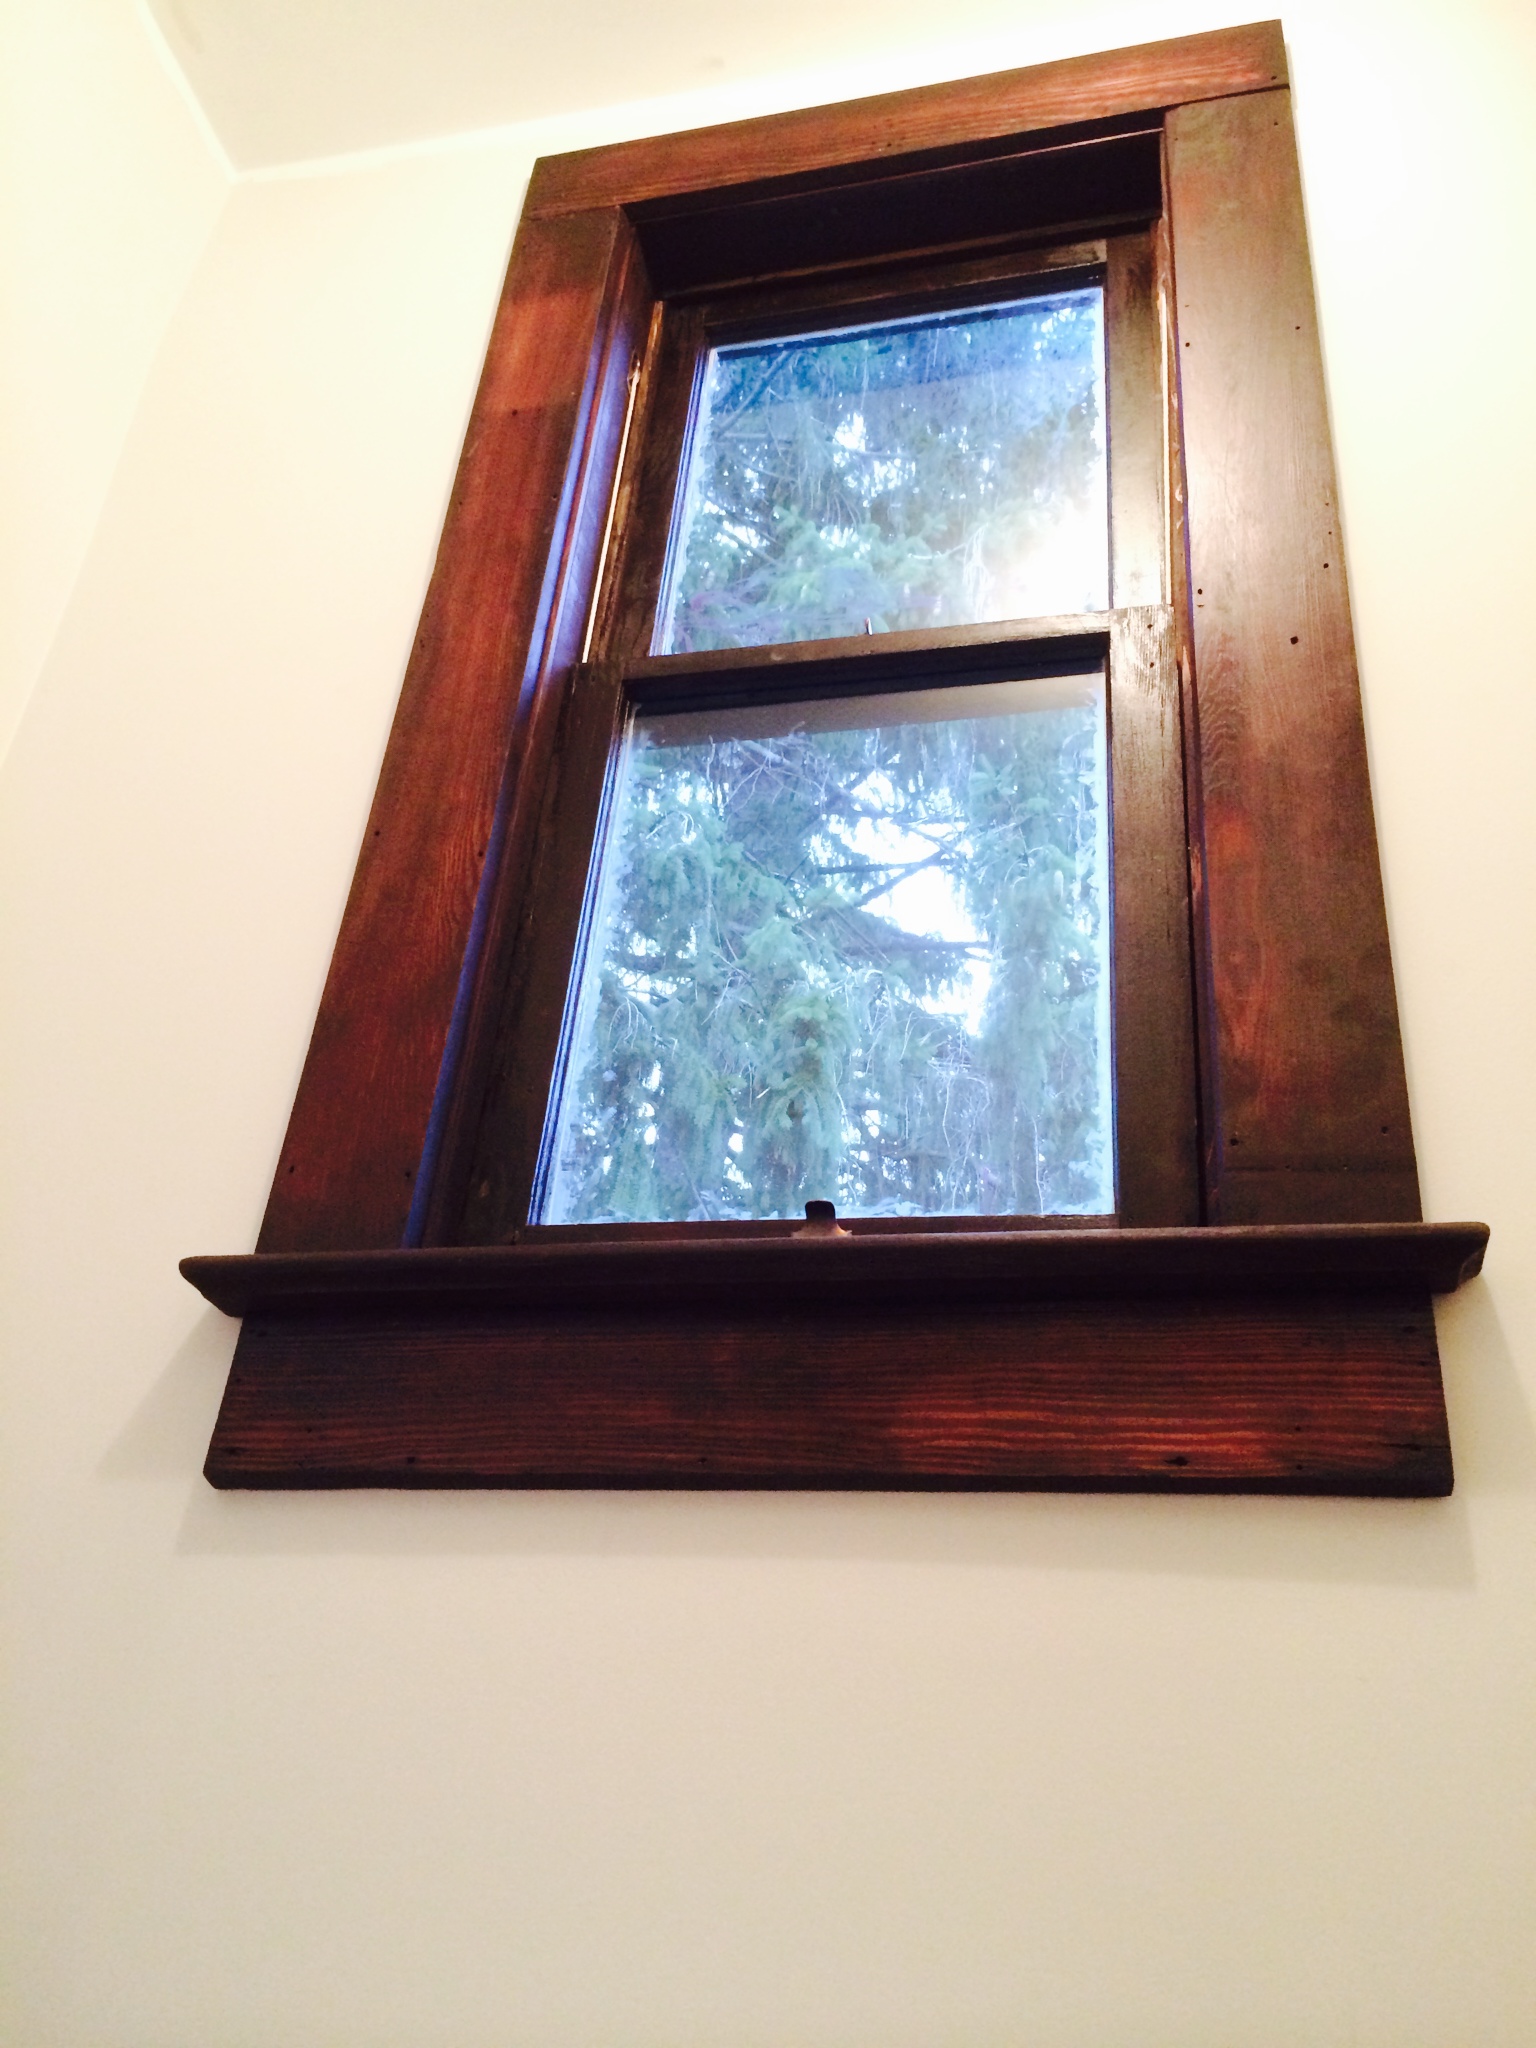
The windows were now stripped, sanded, stained and ready to be installed.
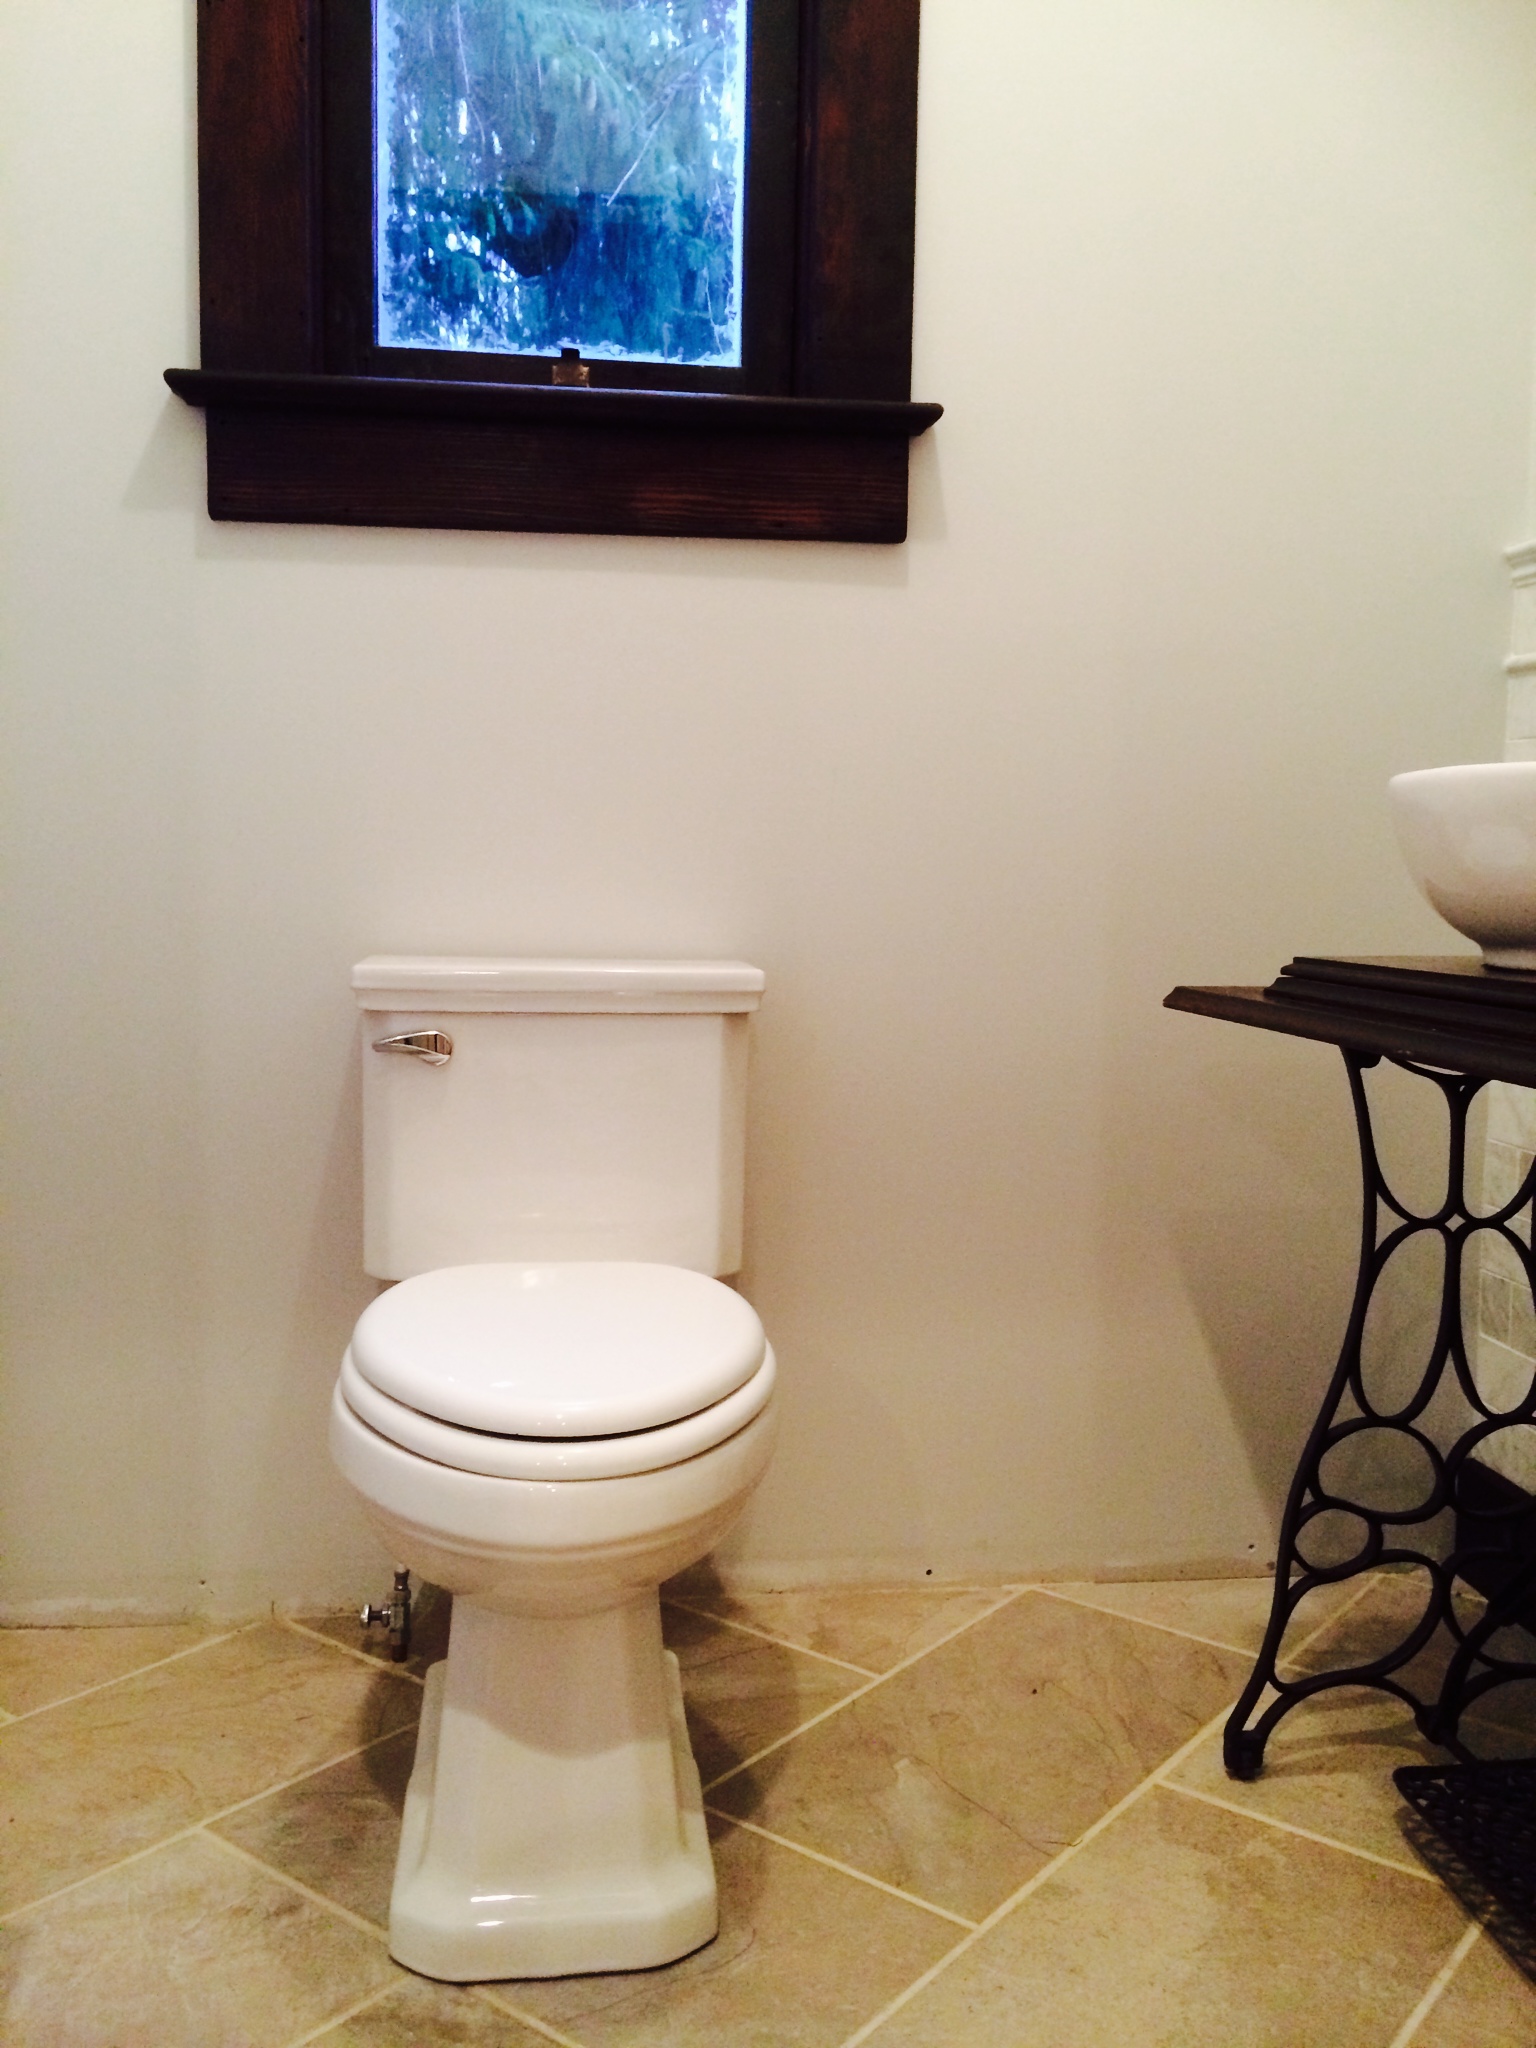
We ran the plumbing for the toilet…and VOILA! 1st floor powder room! I am one happy lady!!! 🙂
There are several finishing touches to add including trim work, door (probably necessary, huh?!), decor, lighting, etc. Check back soon for what will surely be some awesome before and after photos!

Looking good you two…what an awesome job you and your family are doing.
Thanks Lucy!! You guys should definitely do the Williams Woodland Home Tour this Christmastime. I think you would really enjoy it! Hopefully we will be done with a few projects then and would love for you to stop by!
Awesome job! I love the faucet.
Thanks Marlo!!