
Wow! There’s nothing like downloading three weeks of progress pictures to make you realize just how far you’ve come! As we come up on 4 months of remodeling I caught myself thinking this weekend “We’re not getting anything done!” Now as I look back at the 100+ photos I just transferred from my phone to my computer it is easy to see I am dead wrong! I can also tell you with 100% confidence that I wouldn’t EVER want to go back to where we were three weeks ago. Remodeling is hard work…physically, emotionally, mentally, financially…
The good news is that we have reached about 75% completion…and we have an awesome ceiling that is everything I imagined!
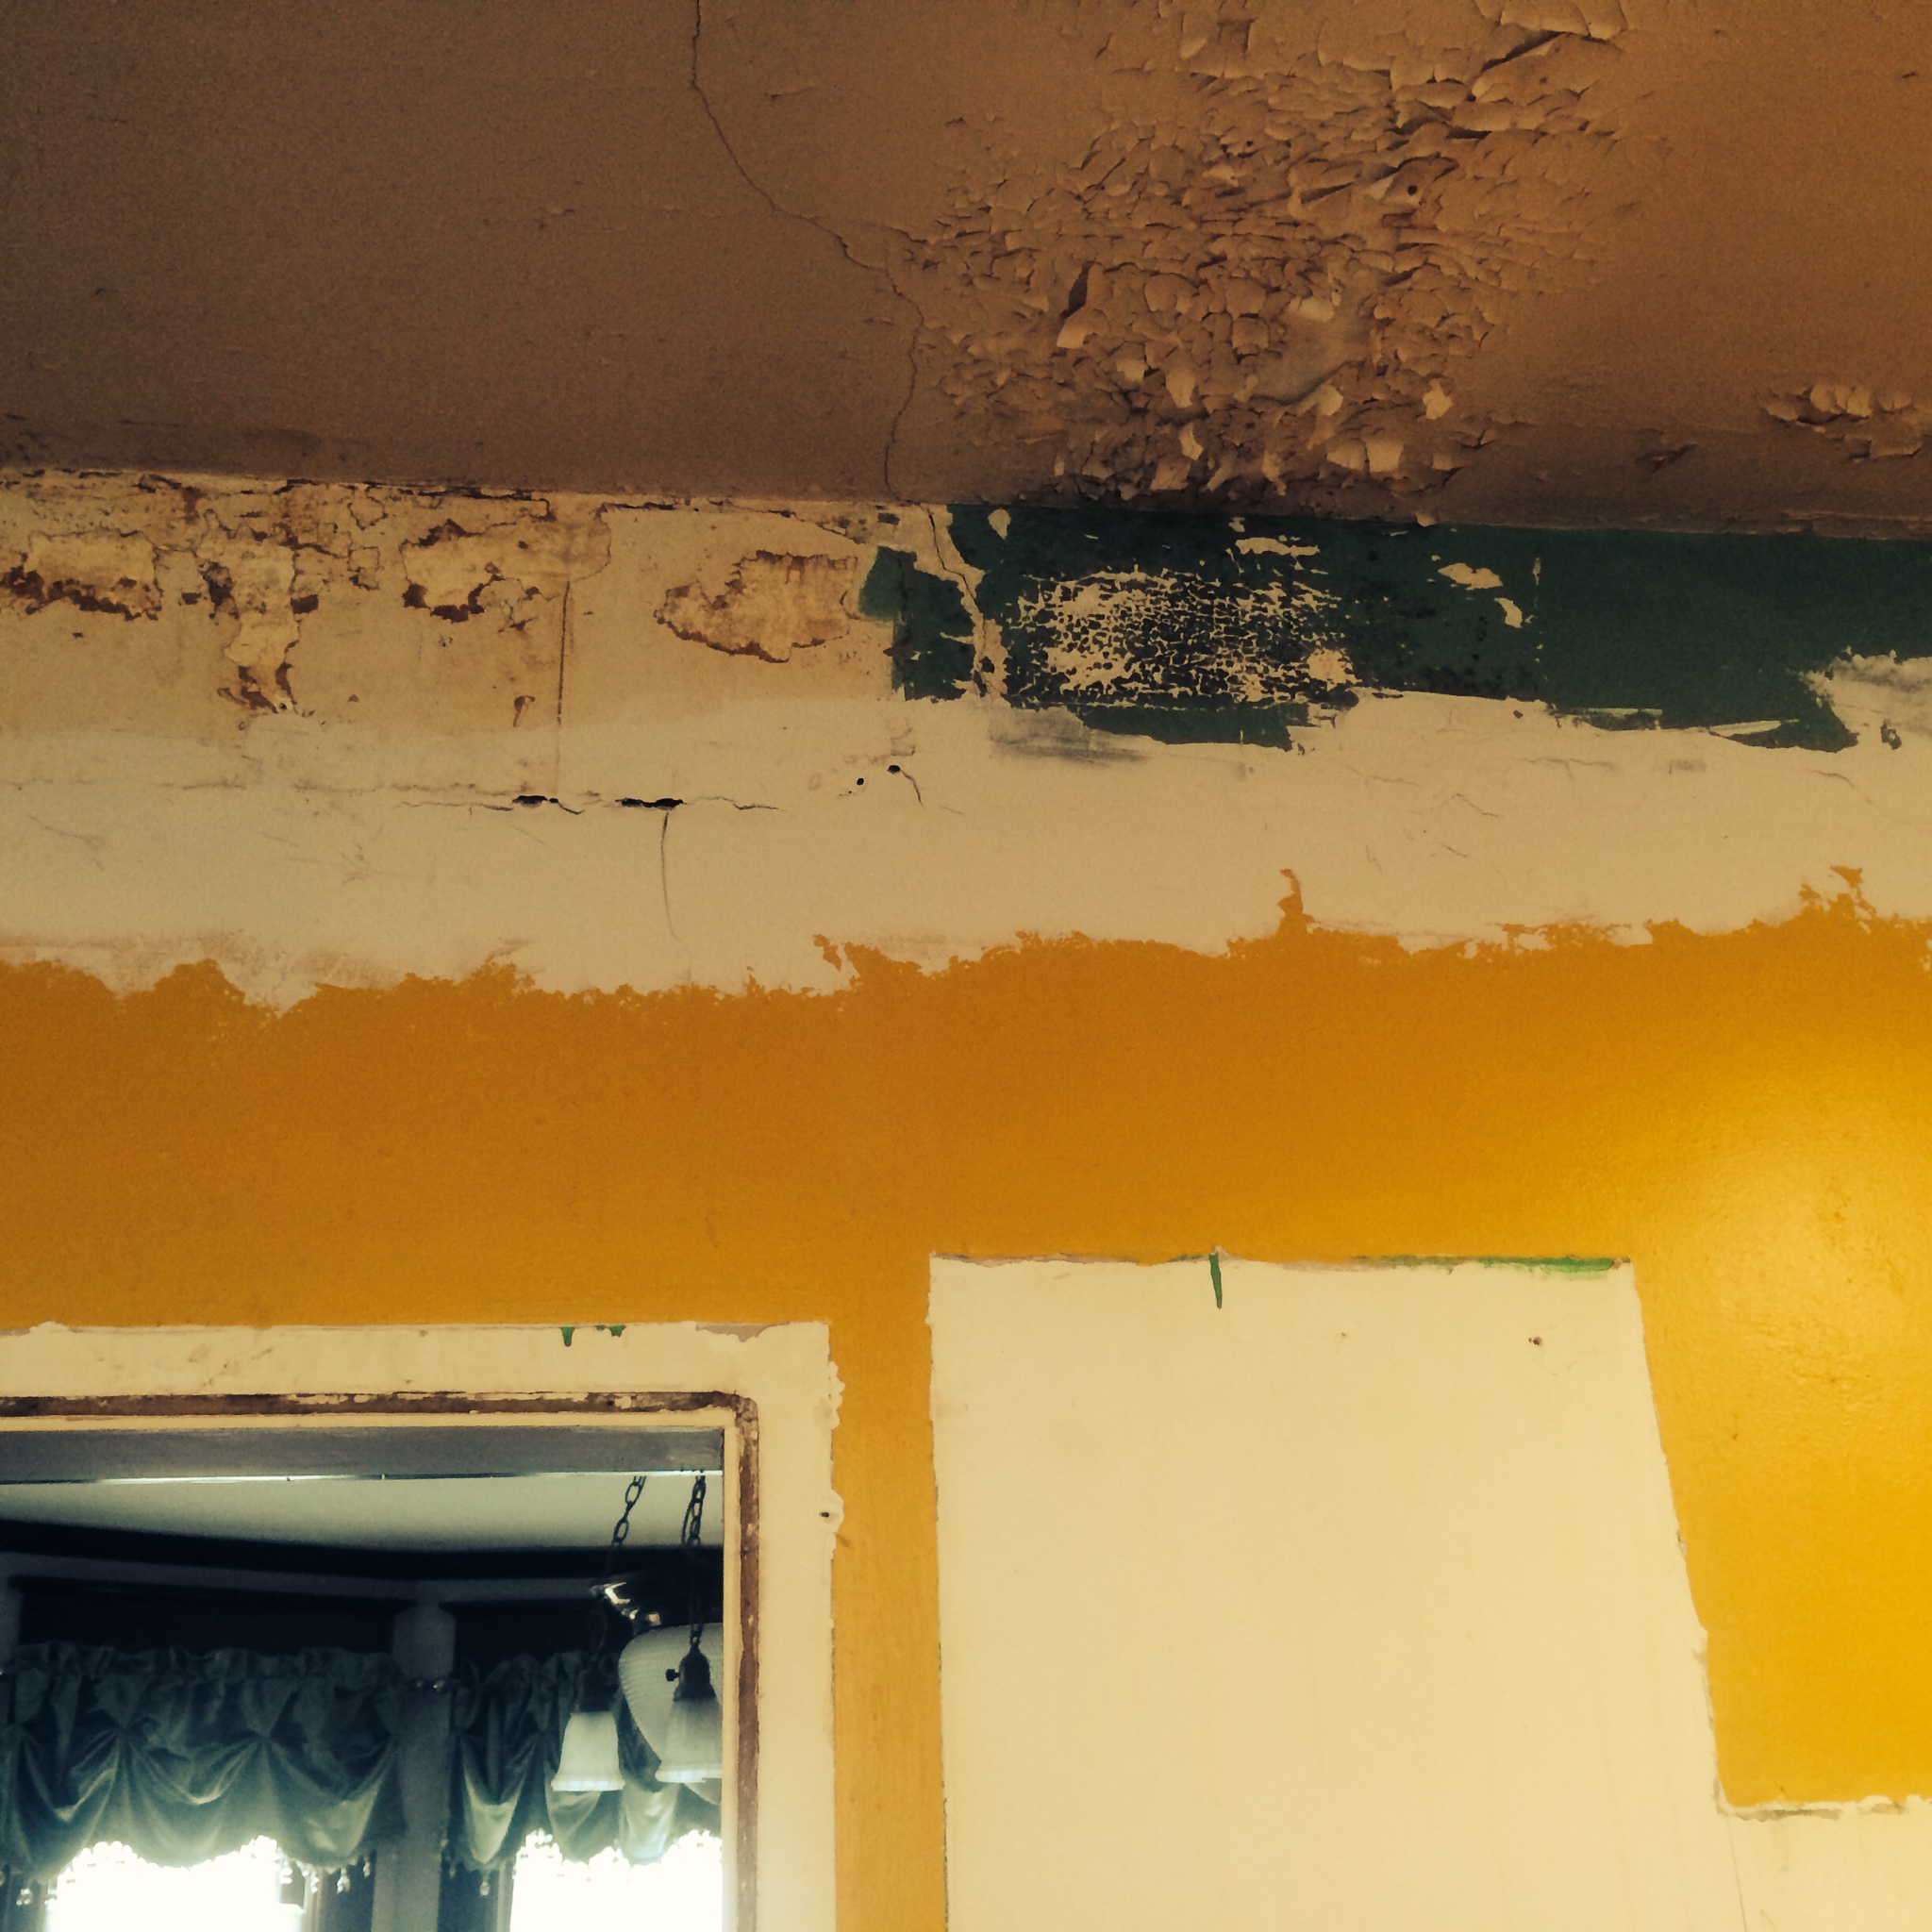
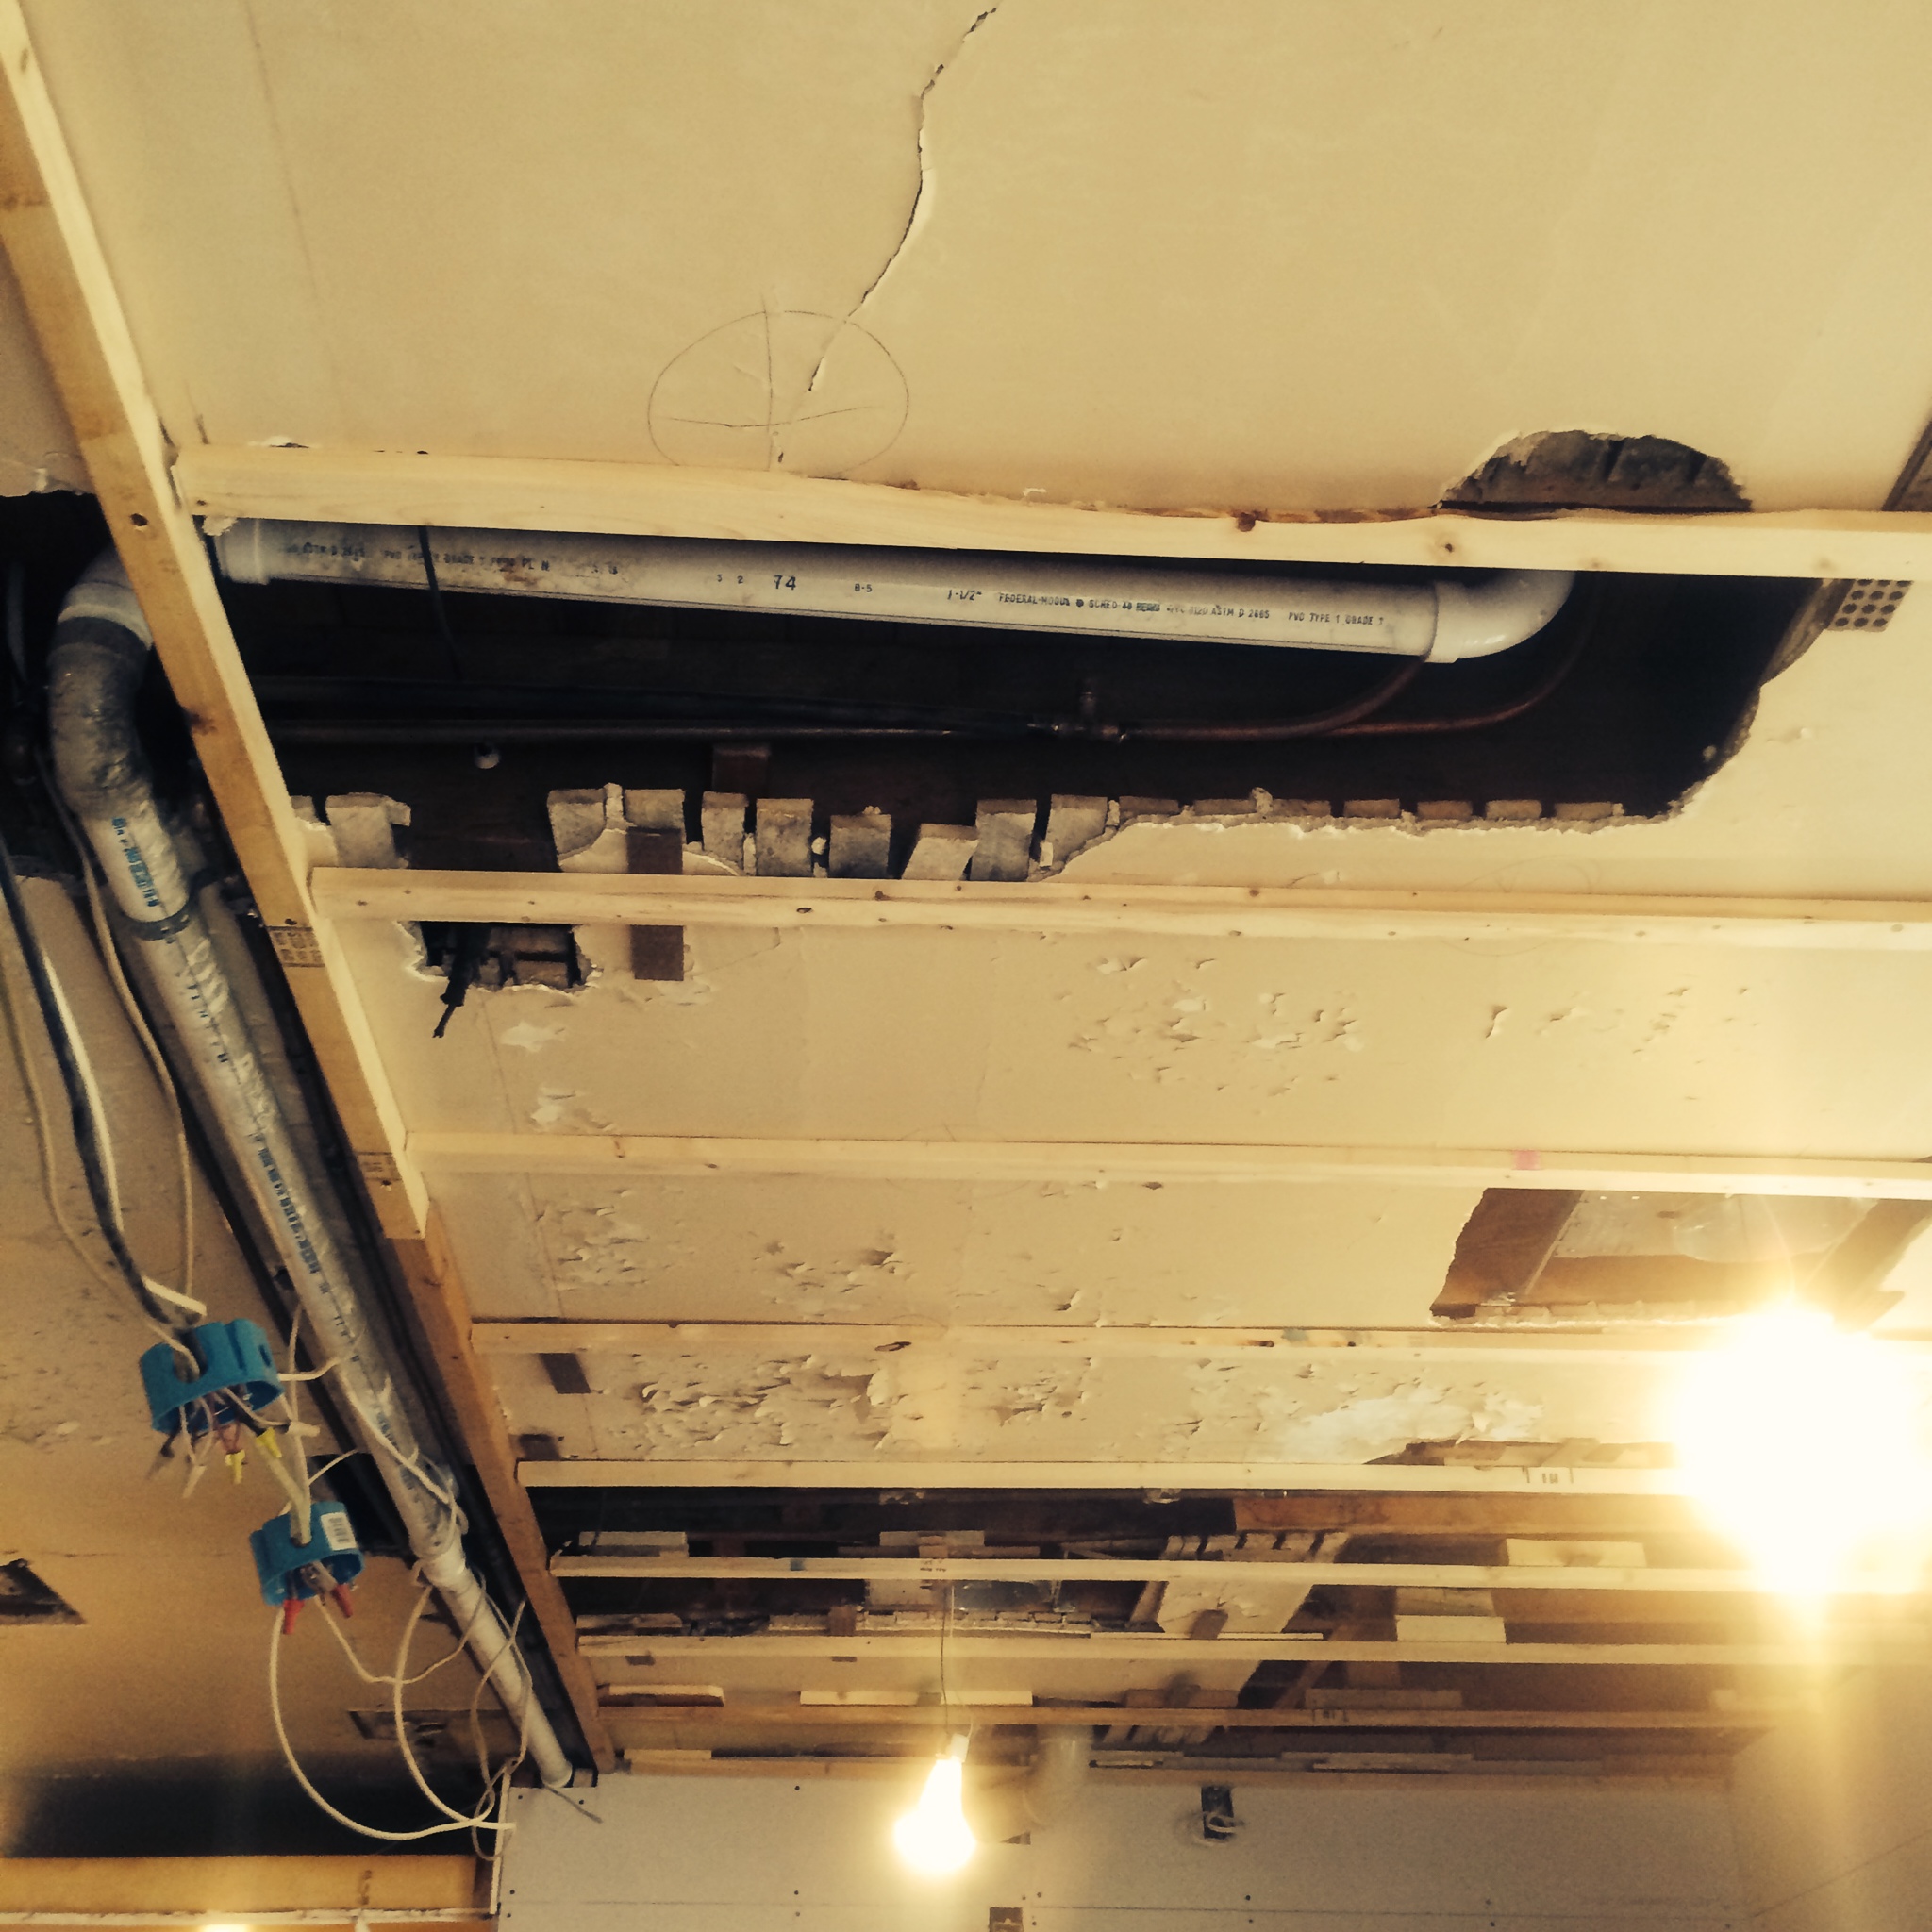
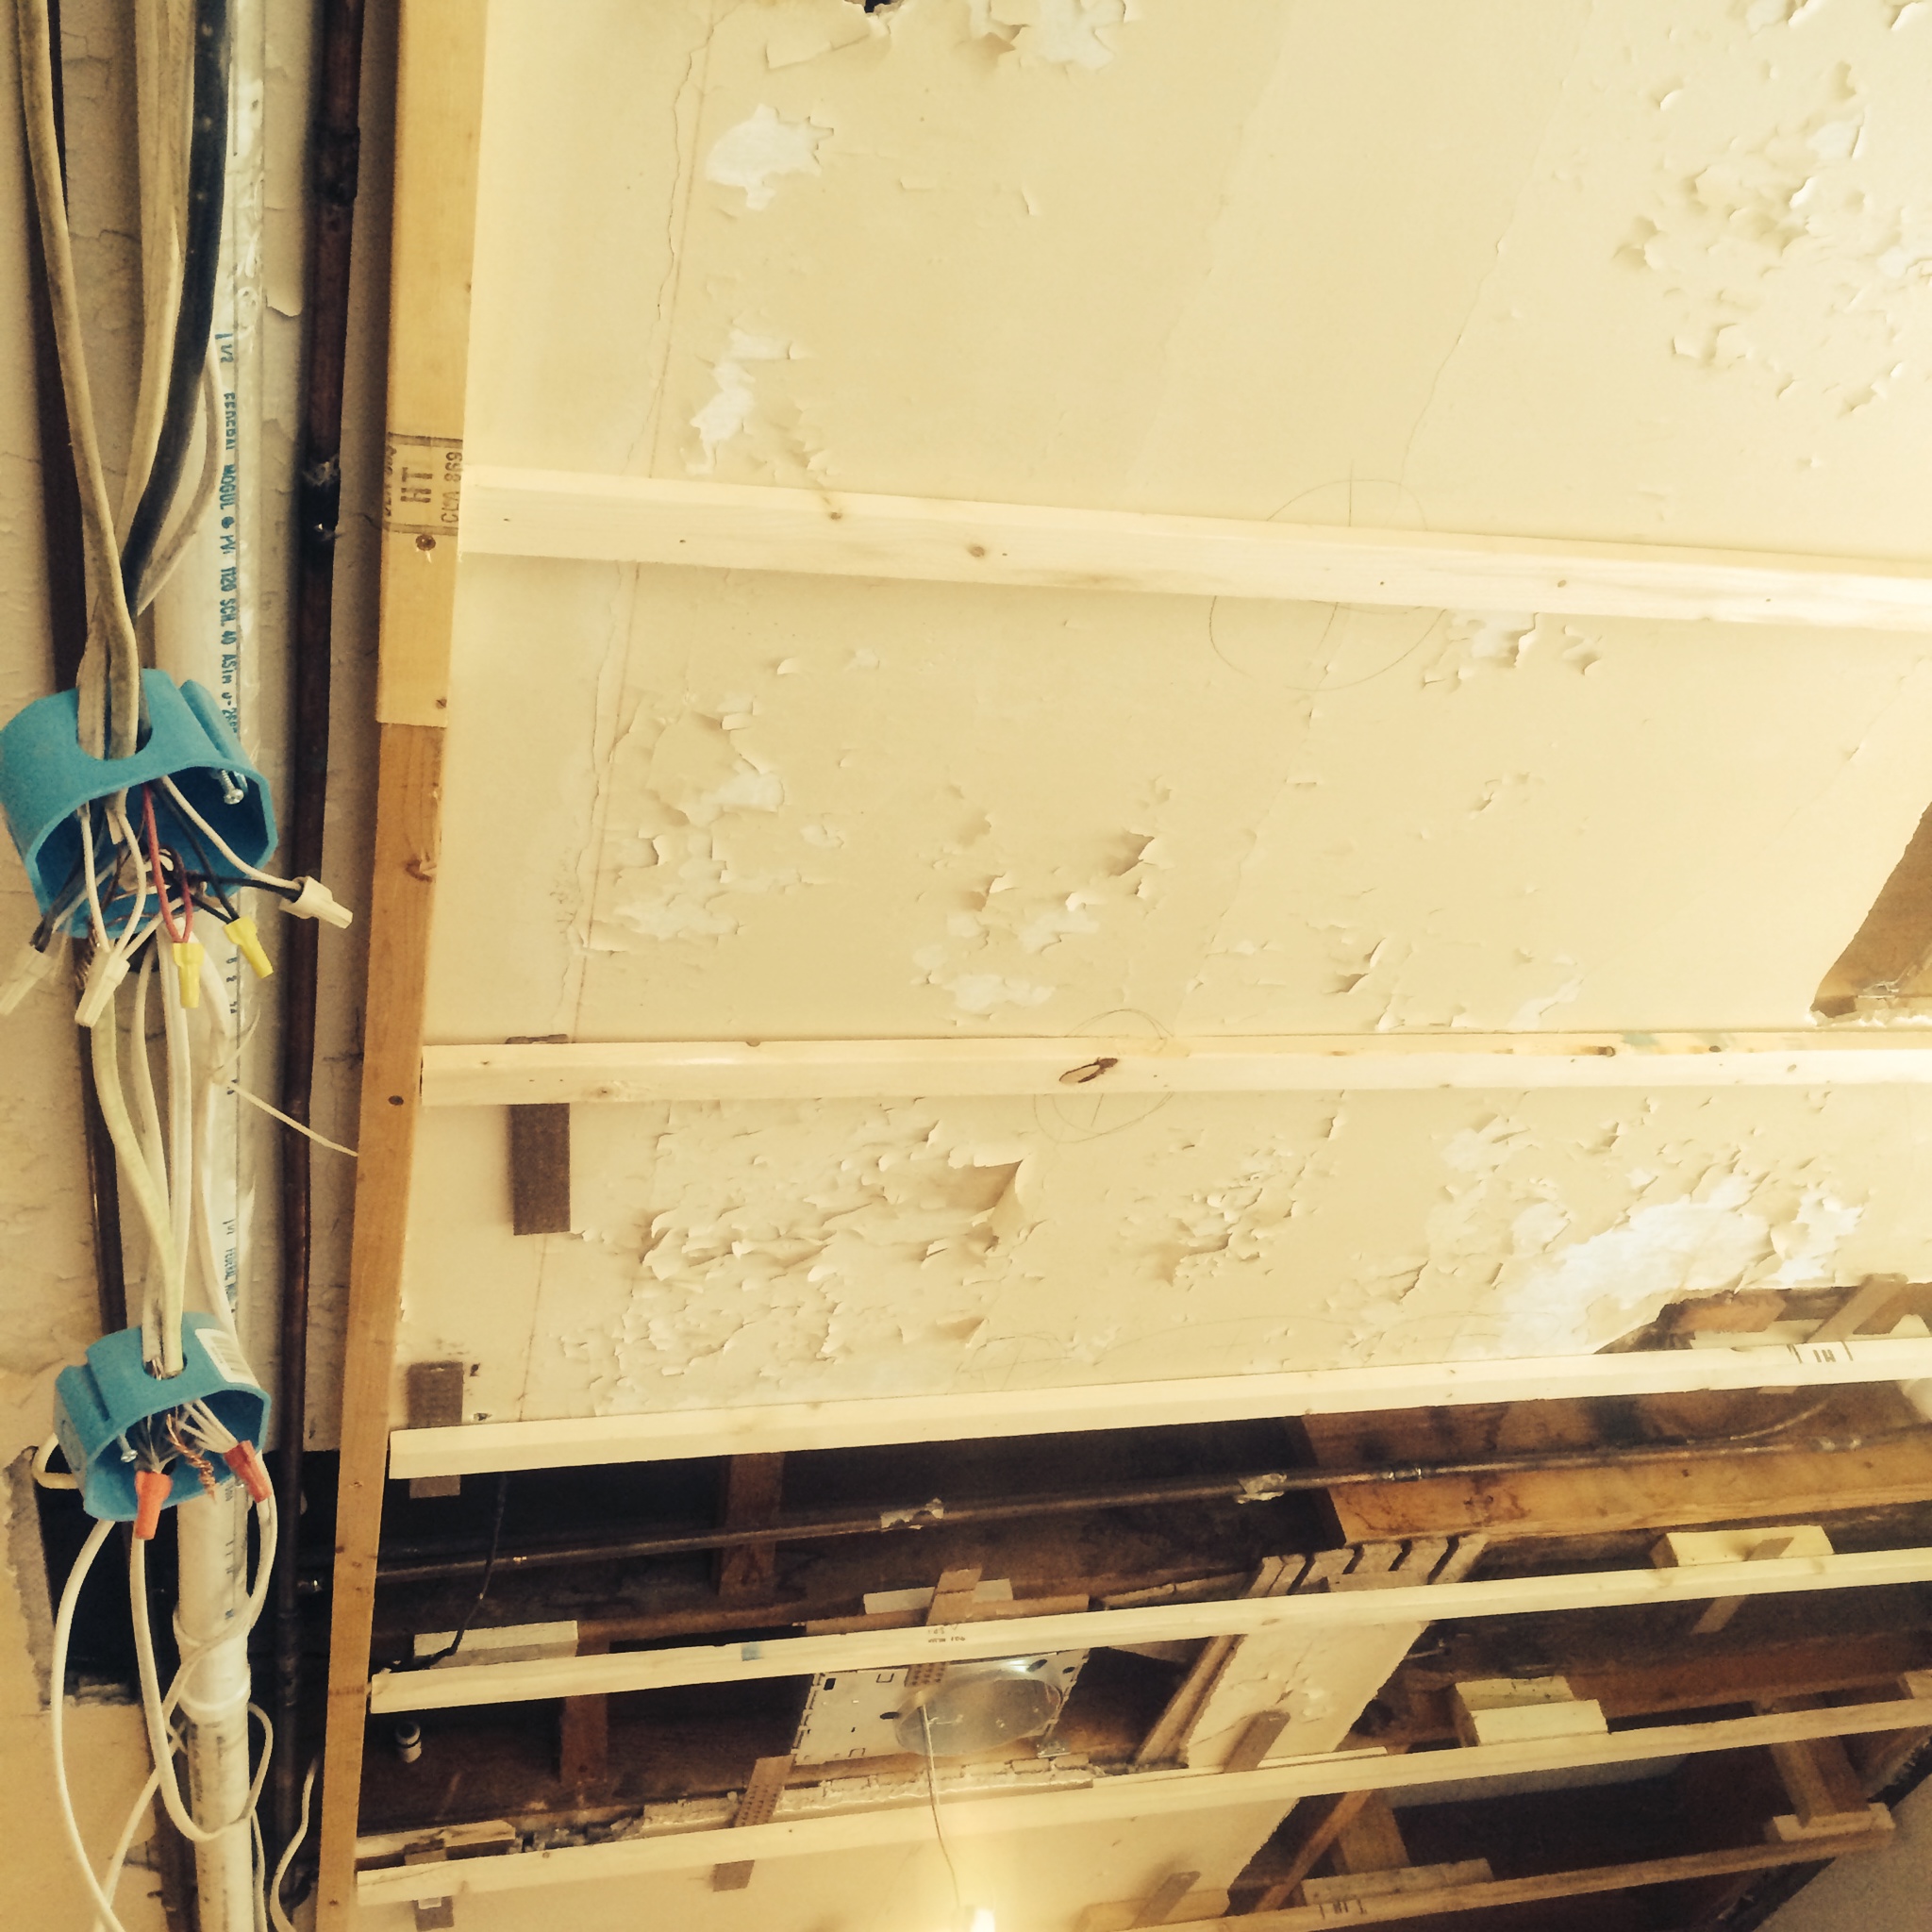
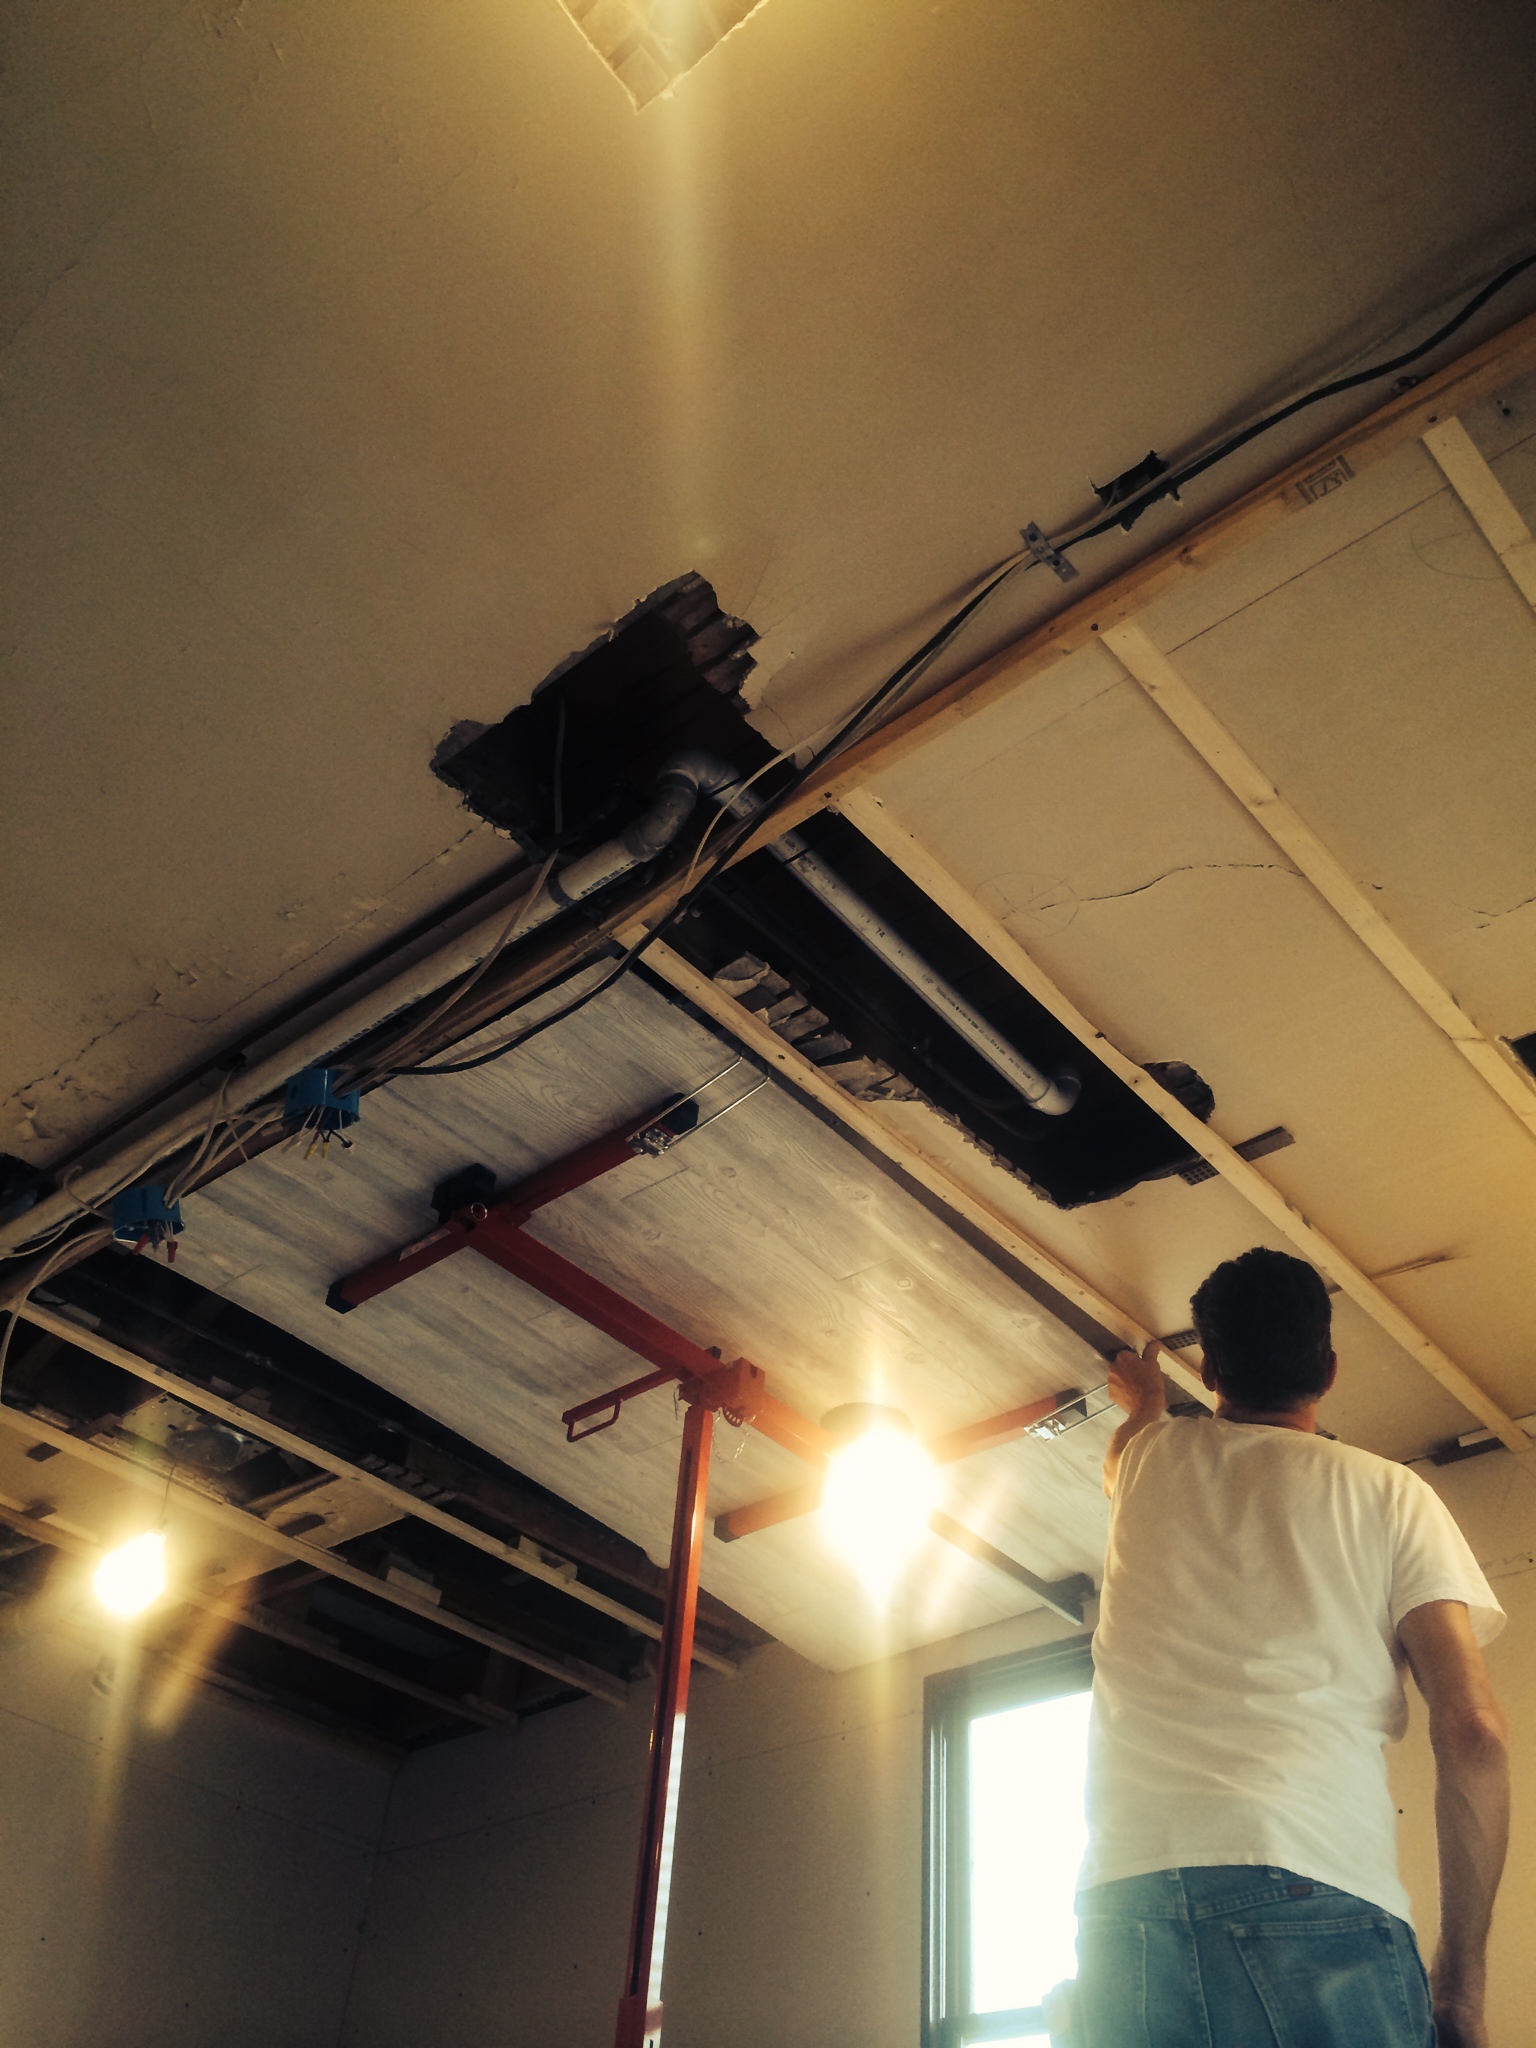
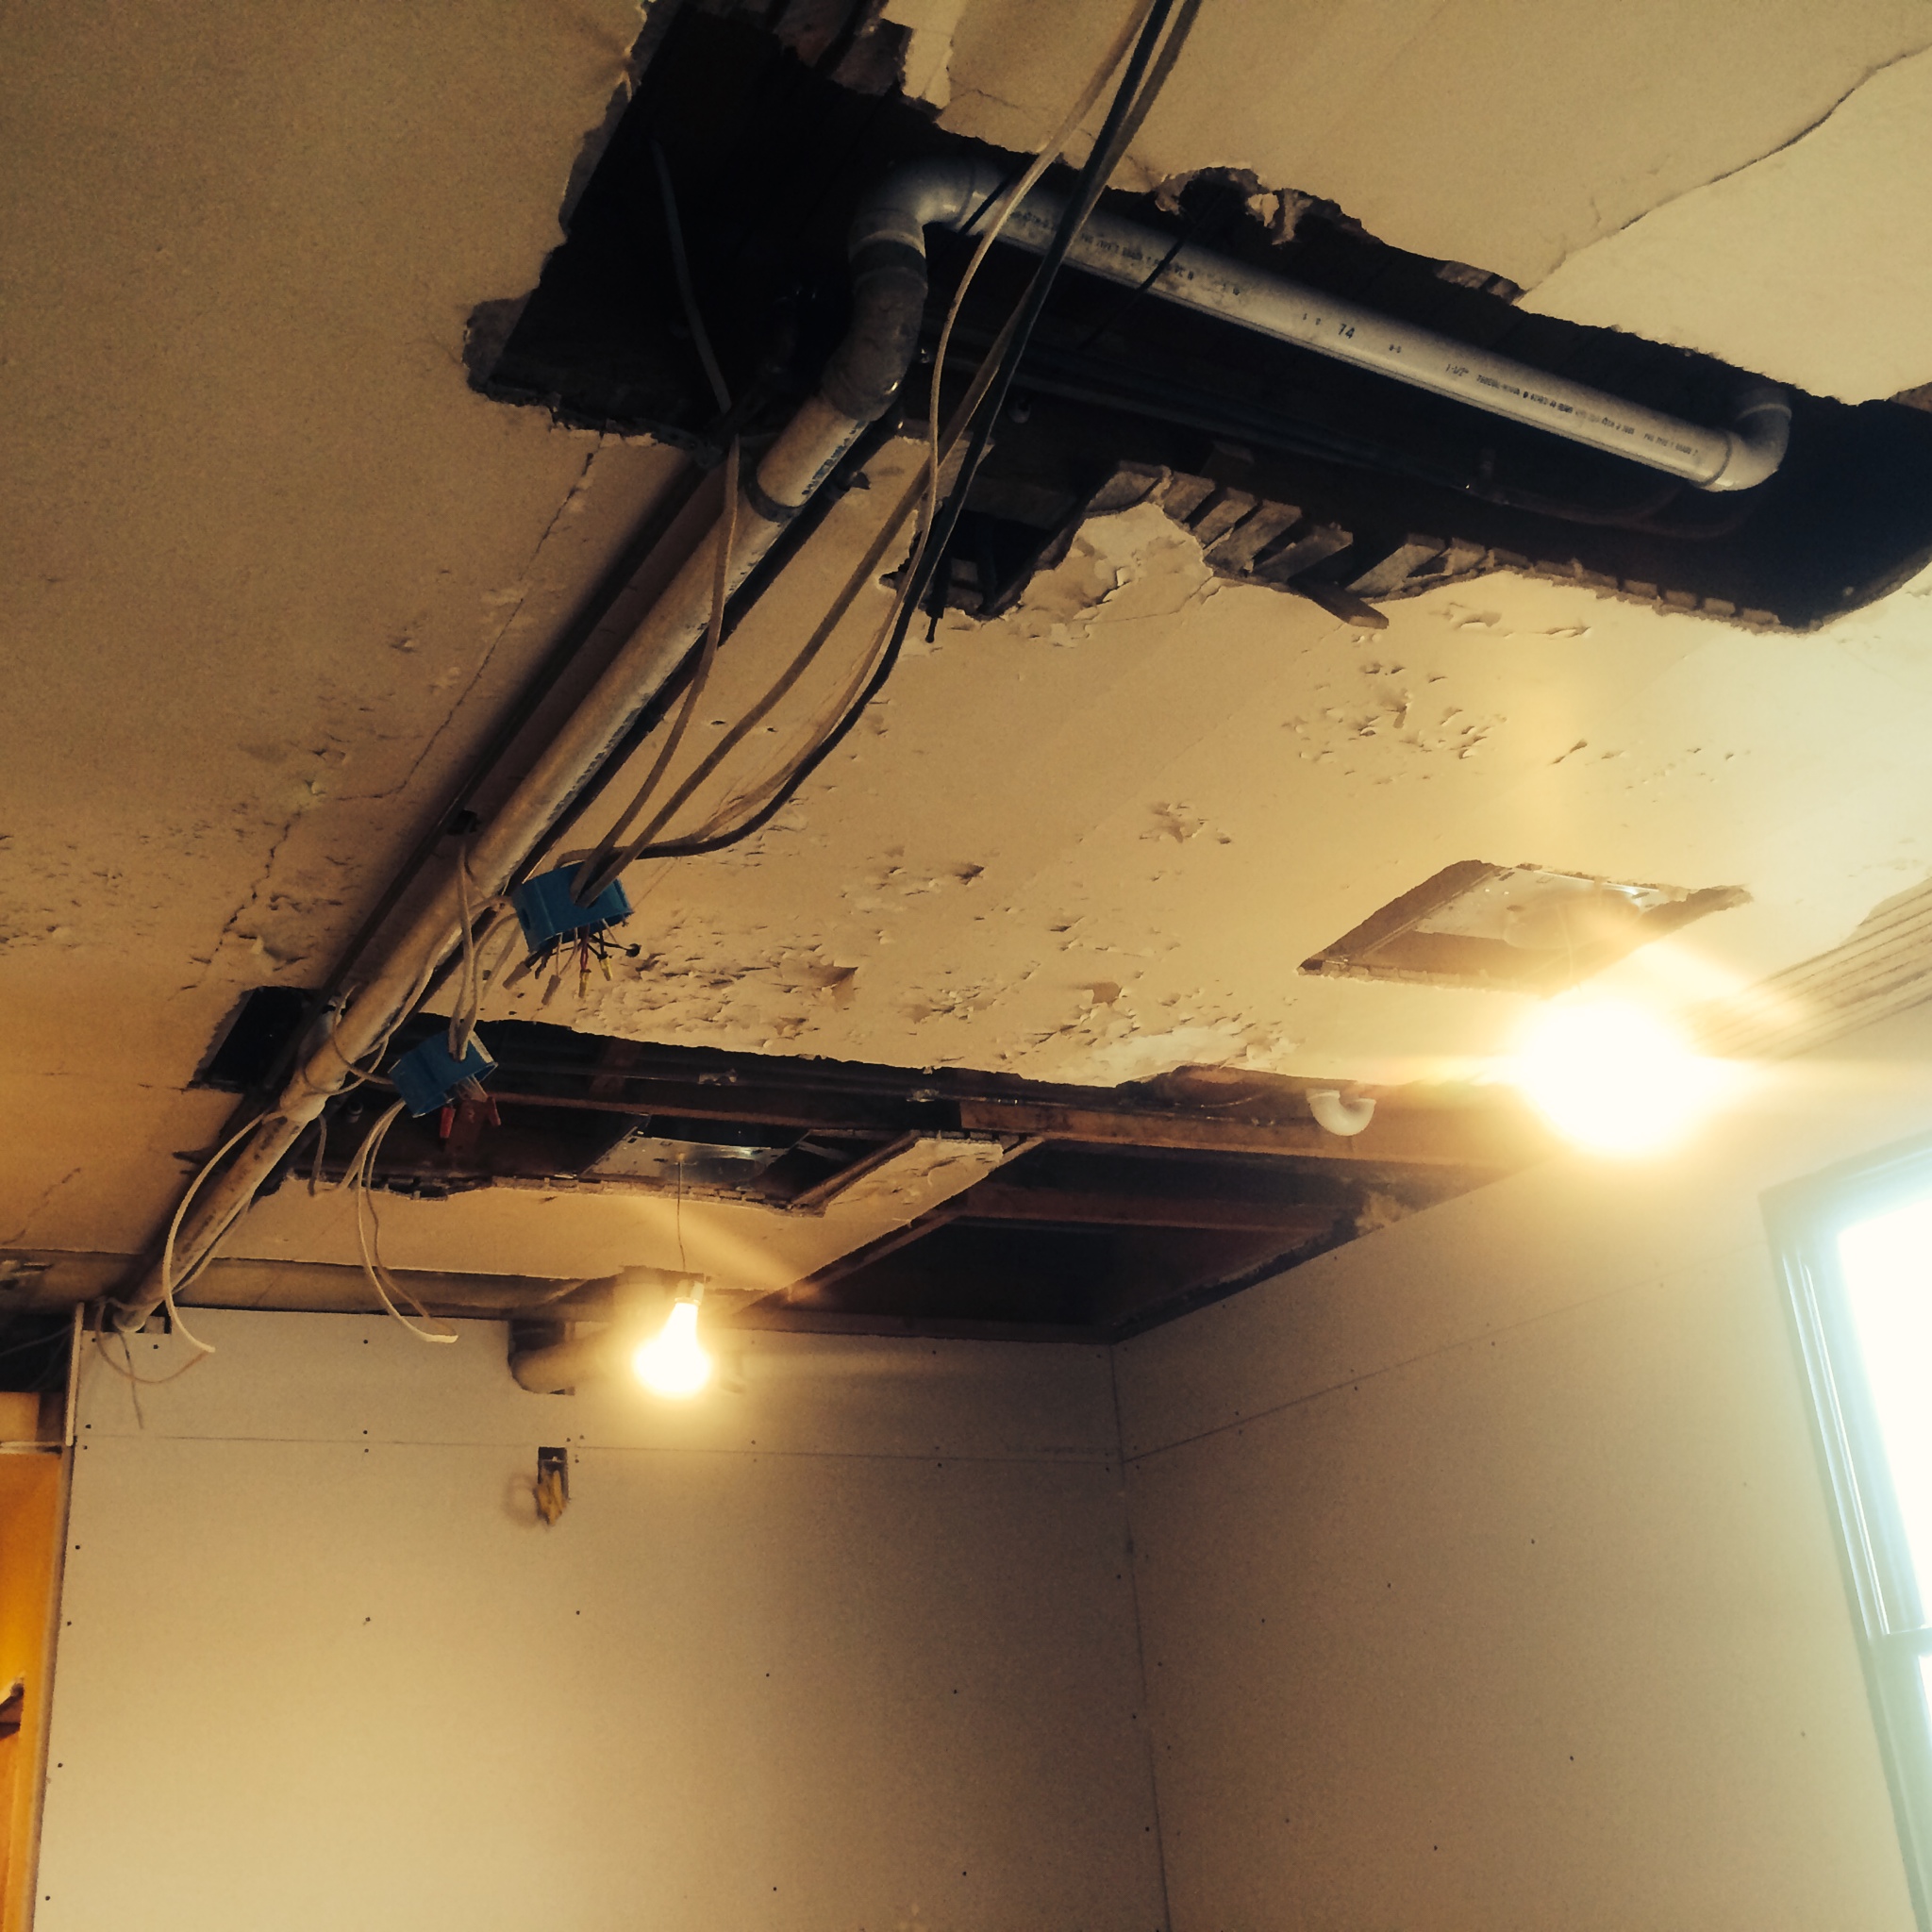
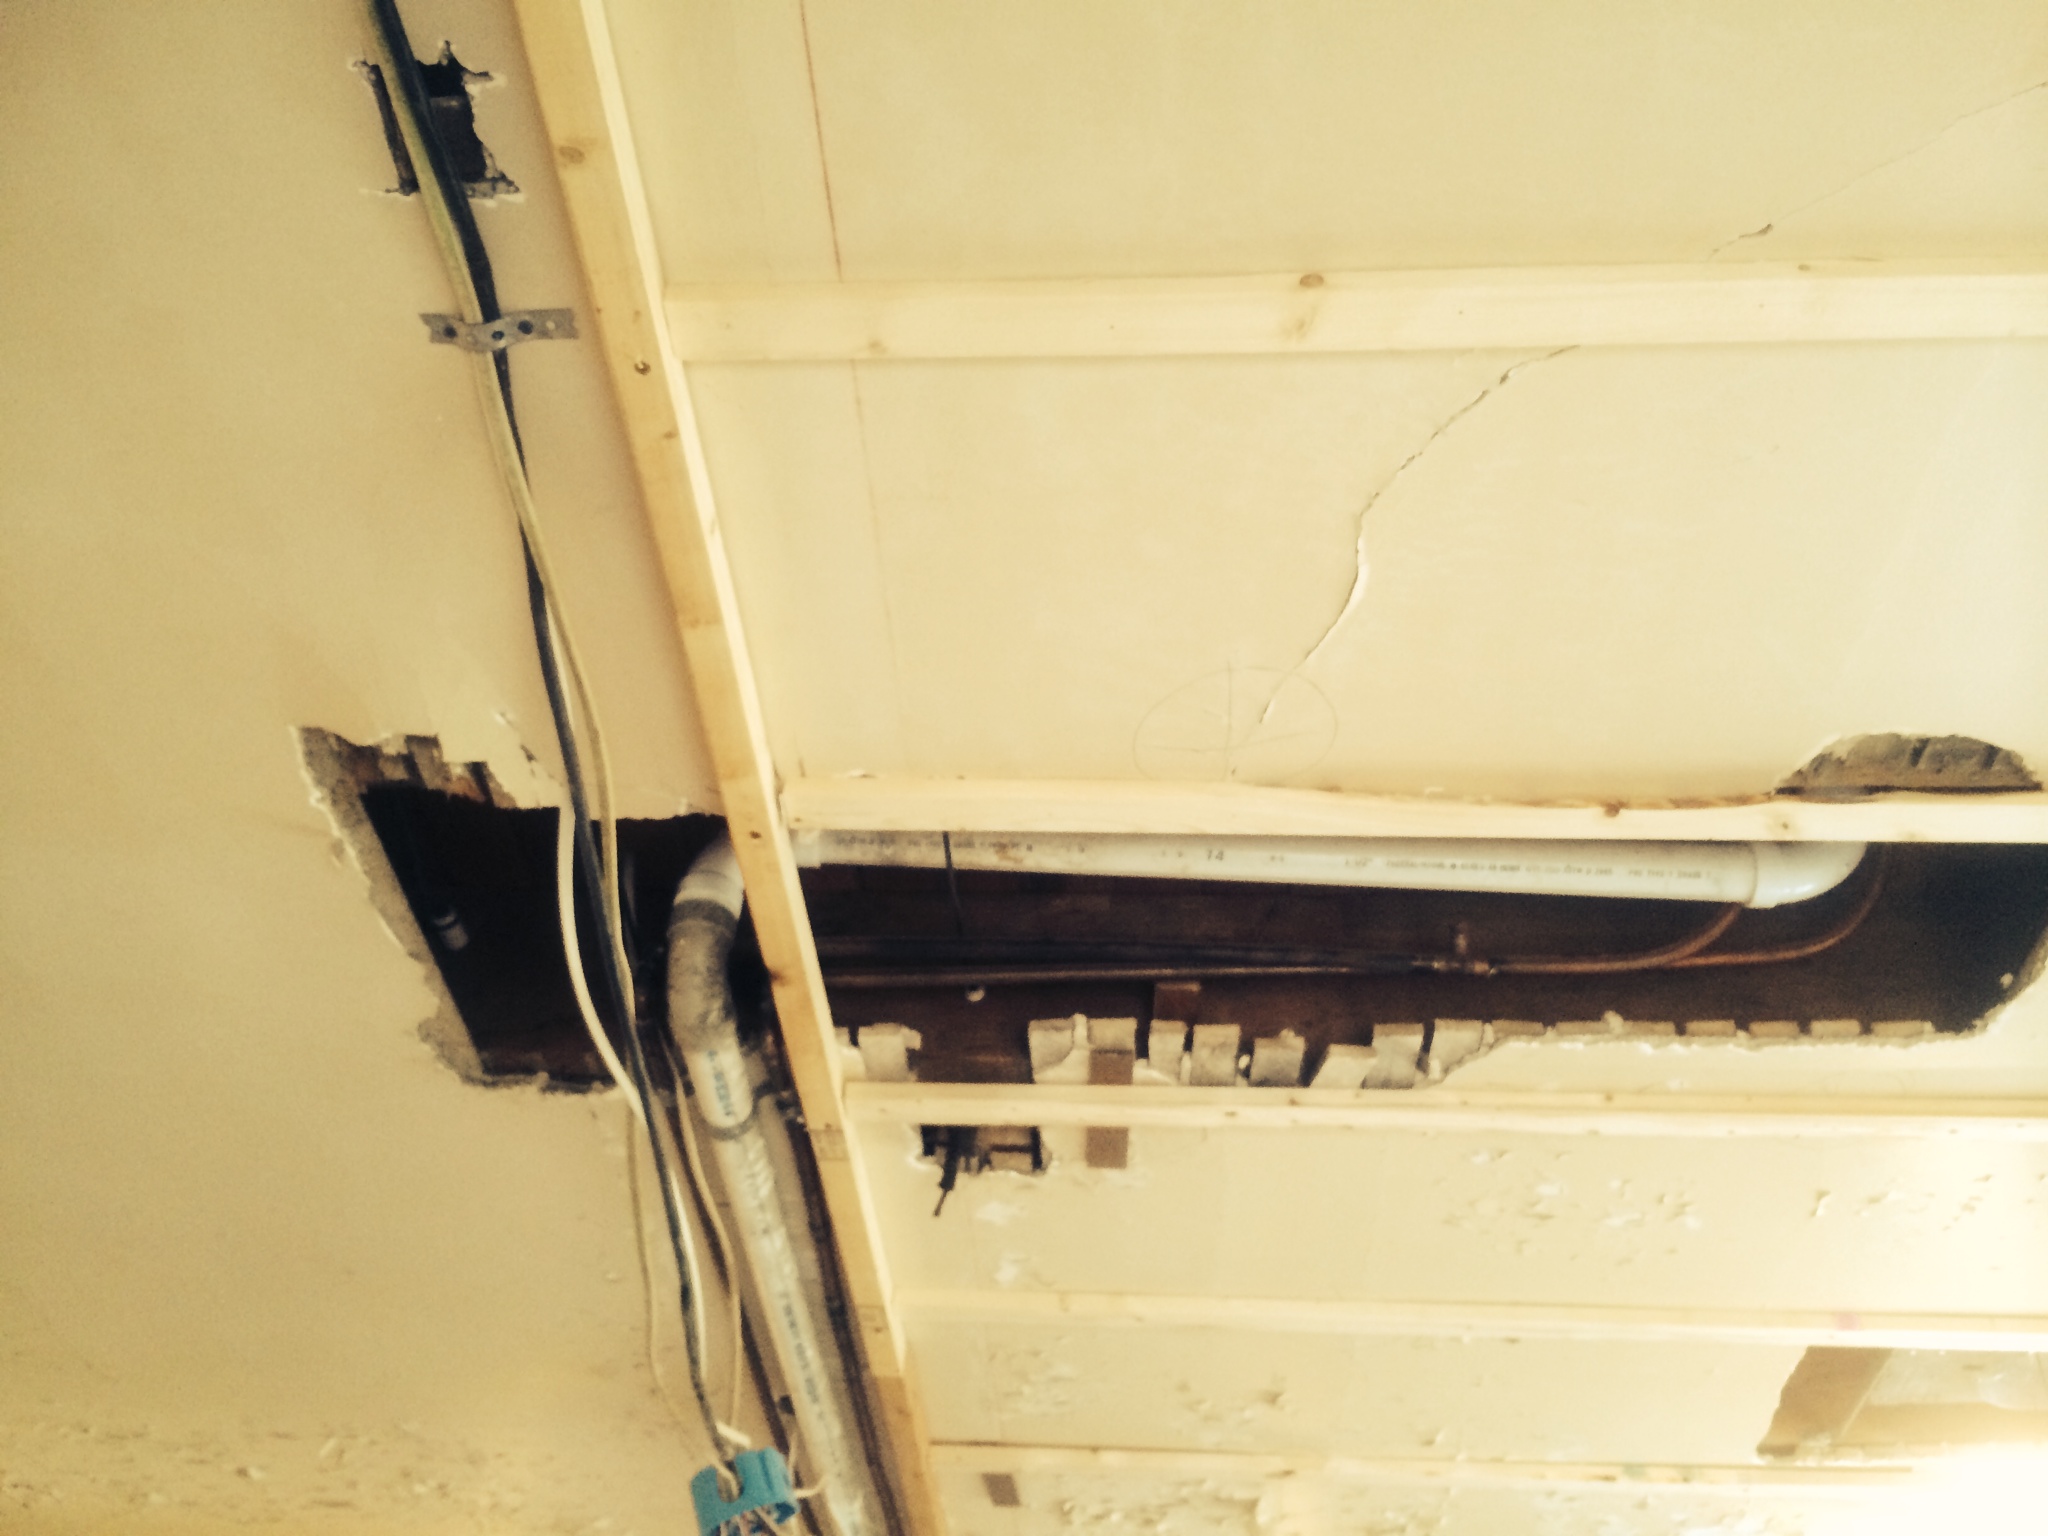
When we started with the ceiling demo we were dealing with a cracked, peeling, water damaged drop ceiling.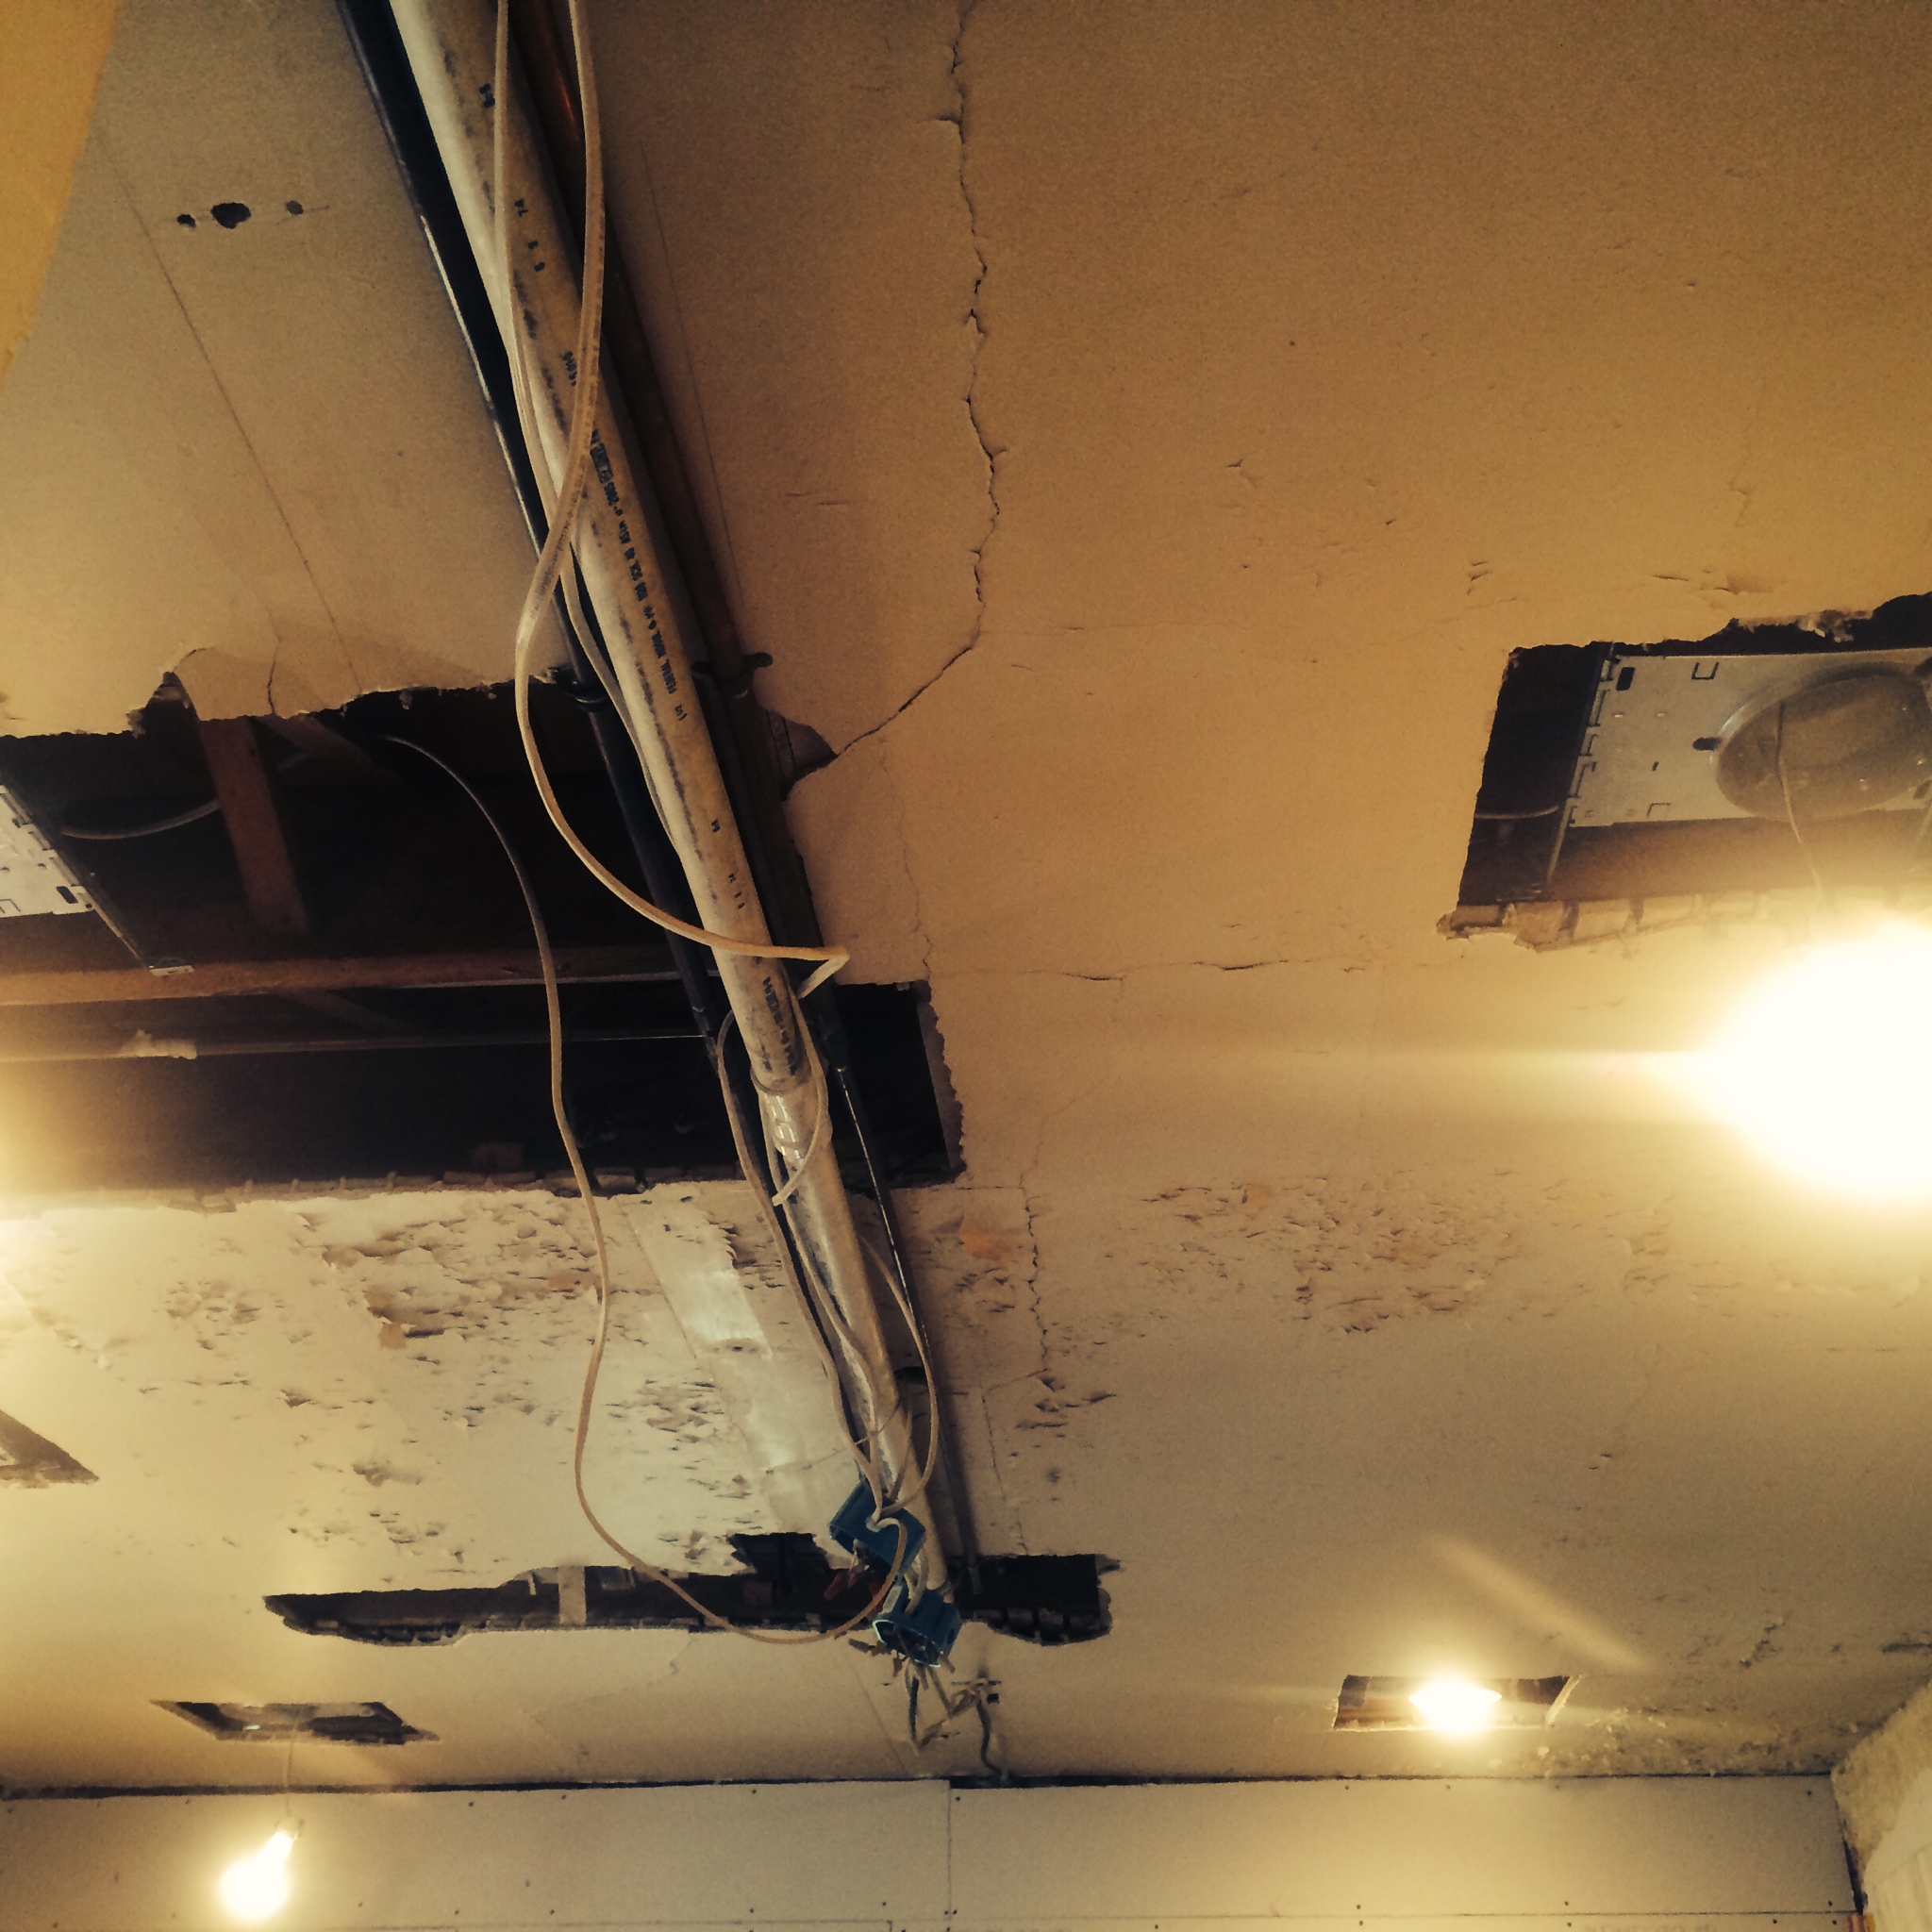

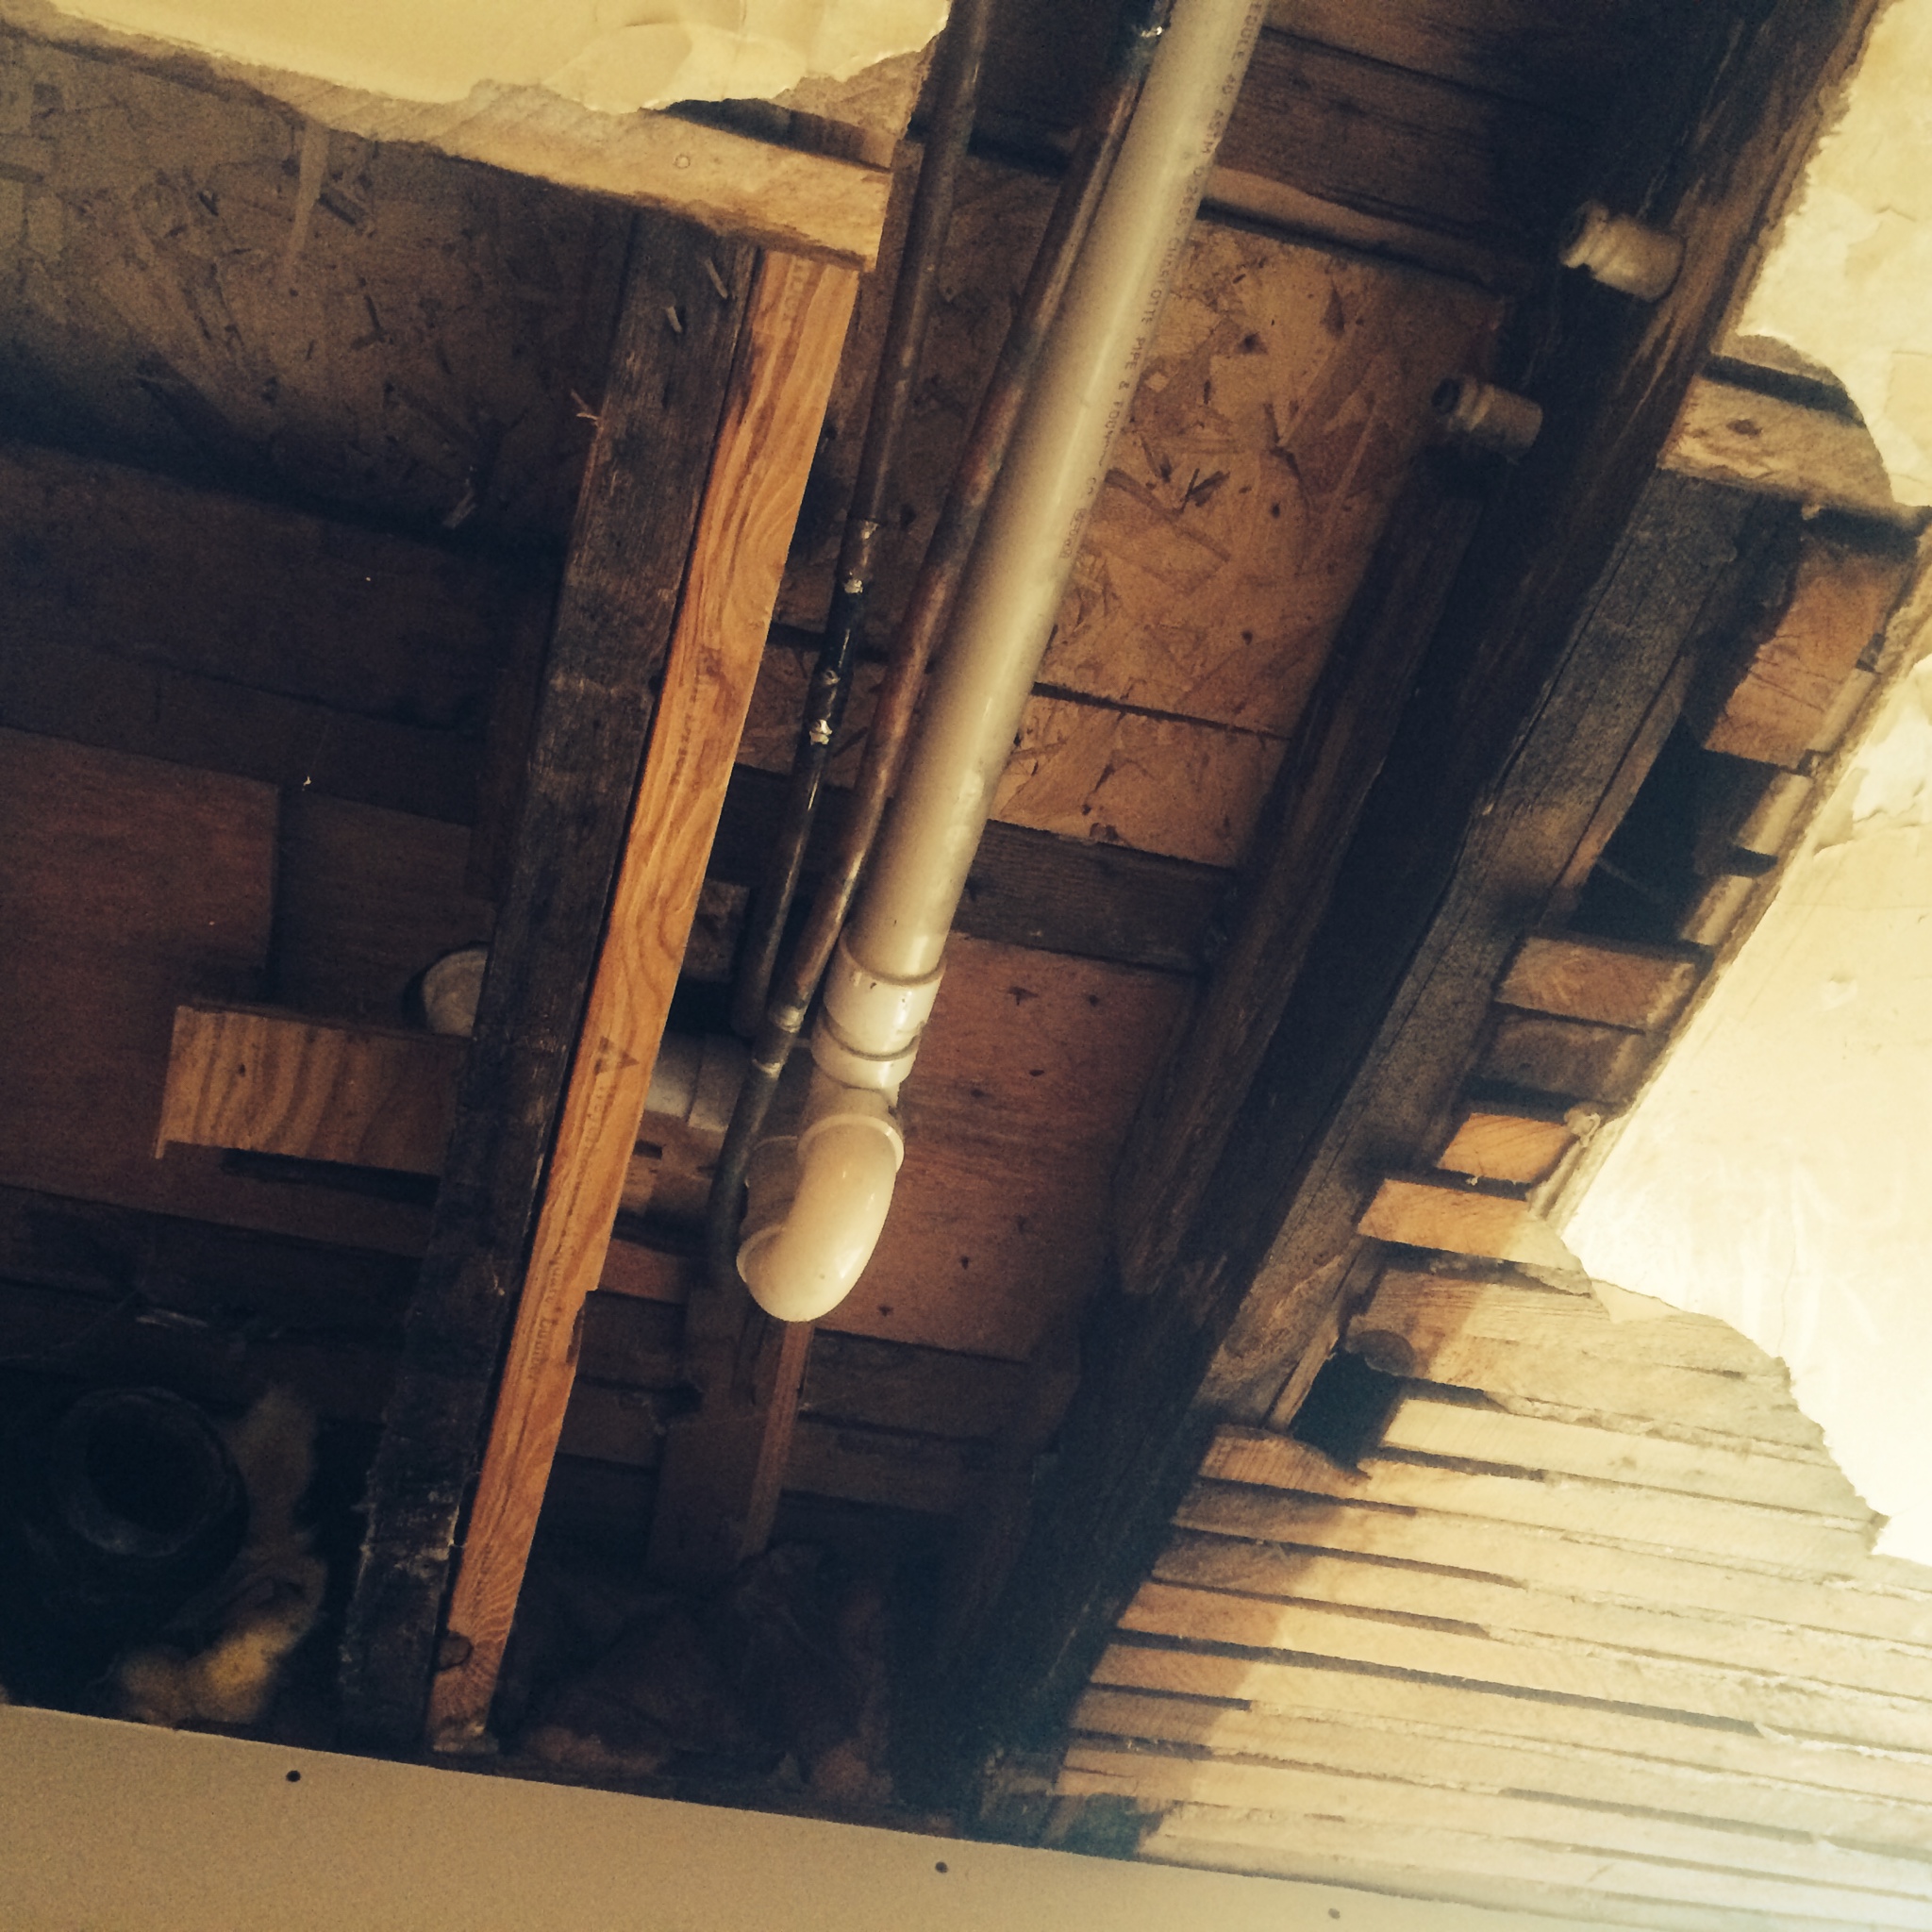 We quickly decided to remove that and gained about 10″ of space. Then, after several weeks of grueling plumbing and electrical rerouting we were ready to start installing our new ceiling. This time around we decided to create a ceiling out of 8’x4′ panels. After having completely redone the master bedroom ceiling we were none too eager to attempt sanding drywall upside down again. The panels are lightweight and visually appealing and at about $20 bucks a pop they fit nicely into the budget.
Our first task was to add furring strips and shims to the original plaster ceiling in order to create a level base upon which to mount our panels.

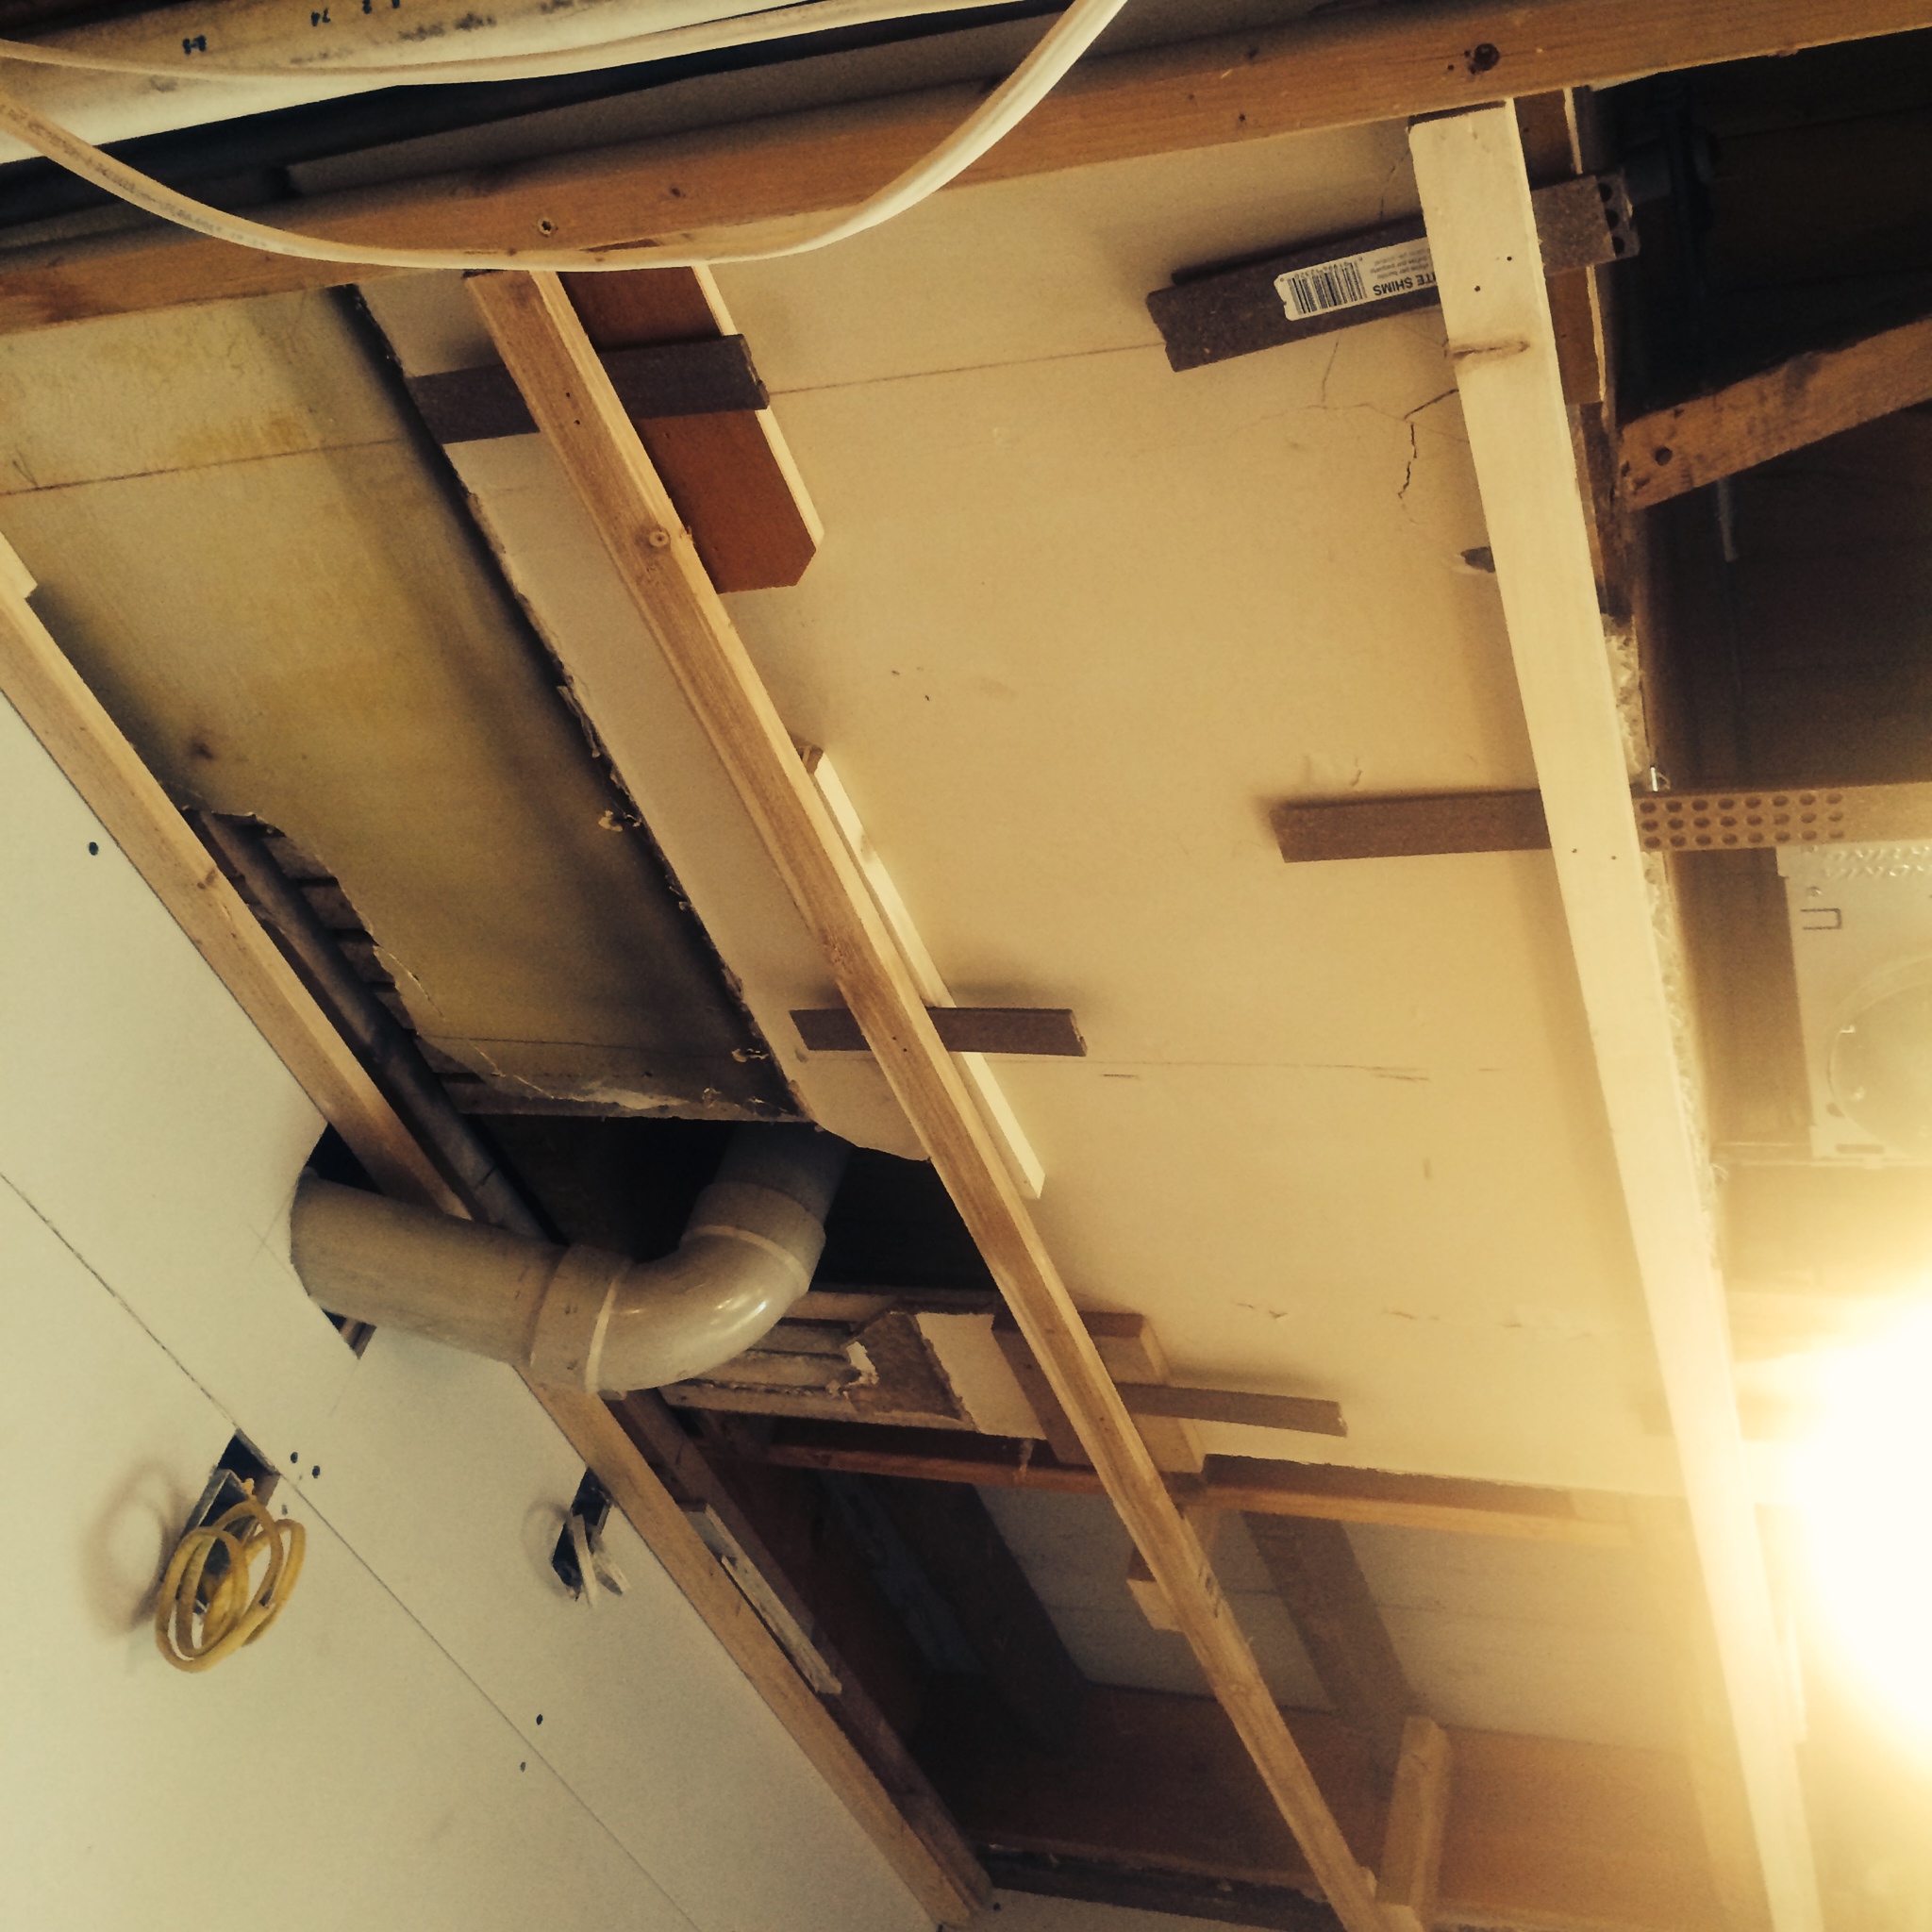

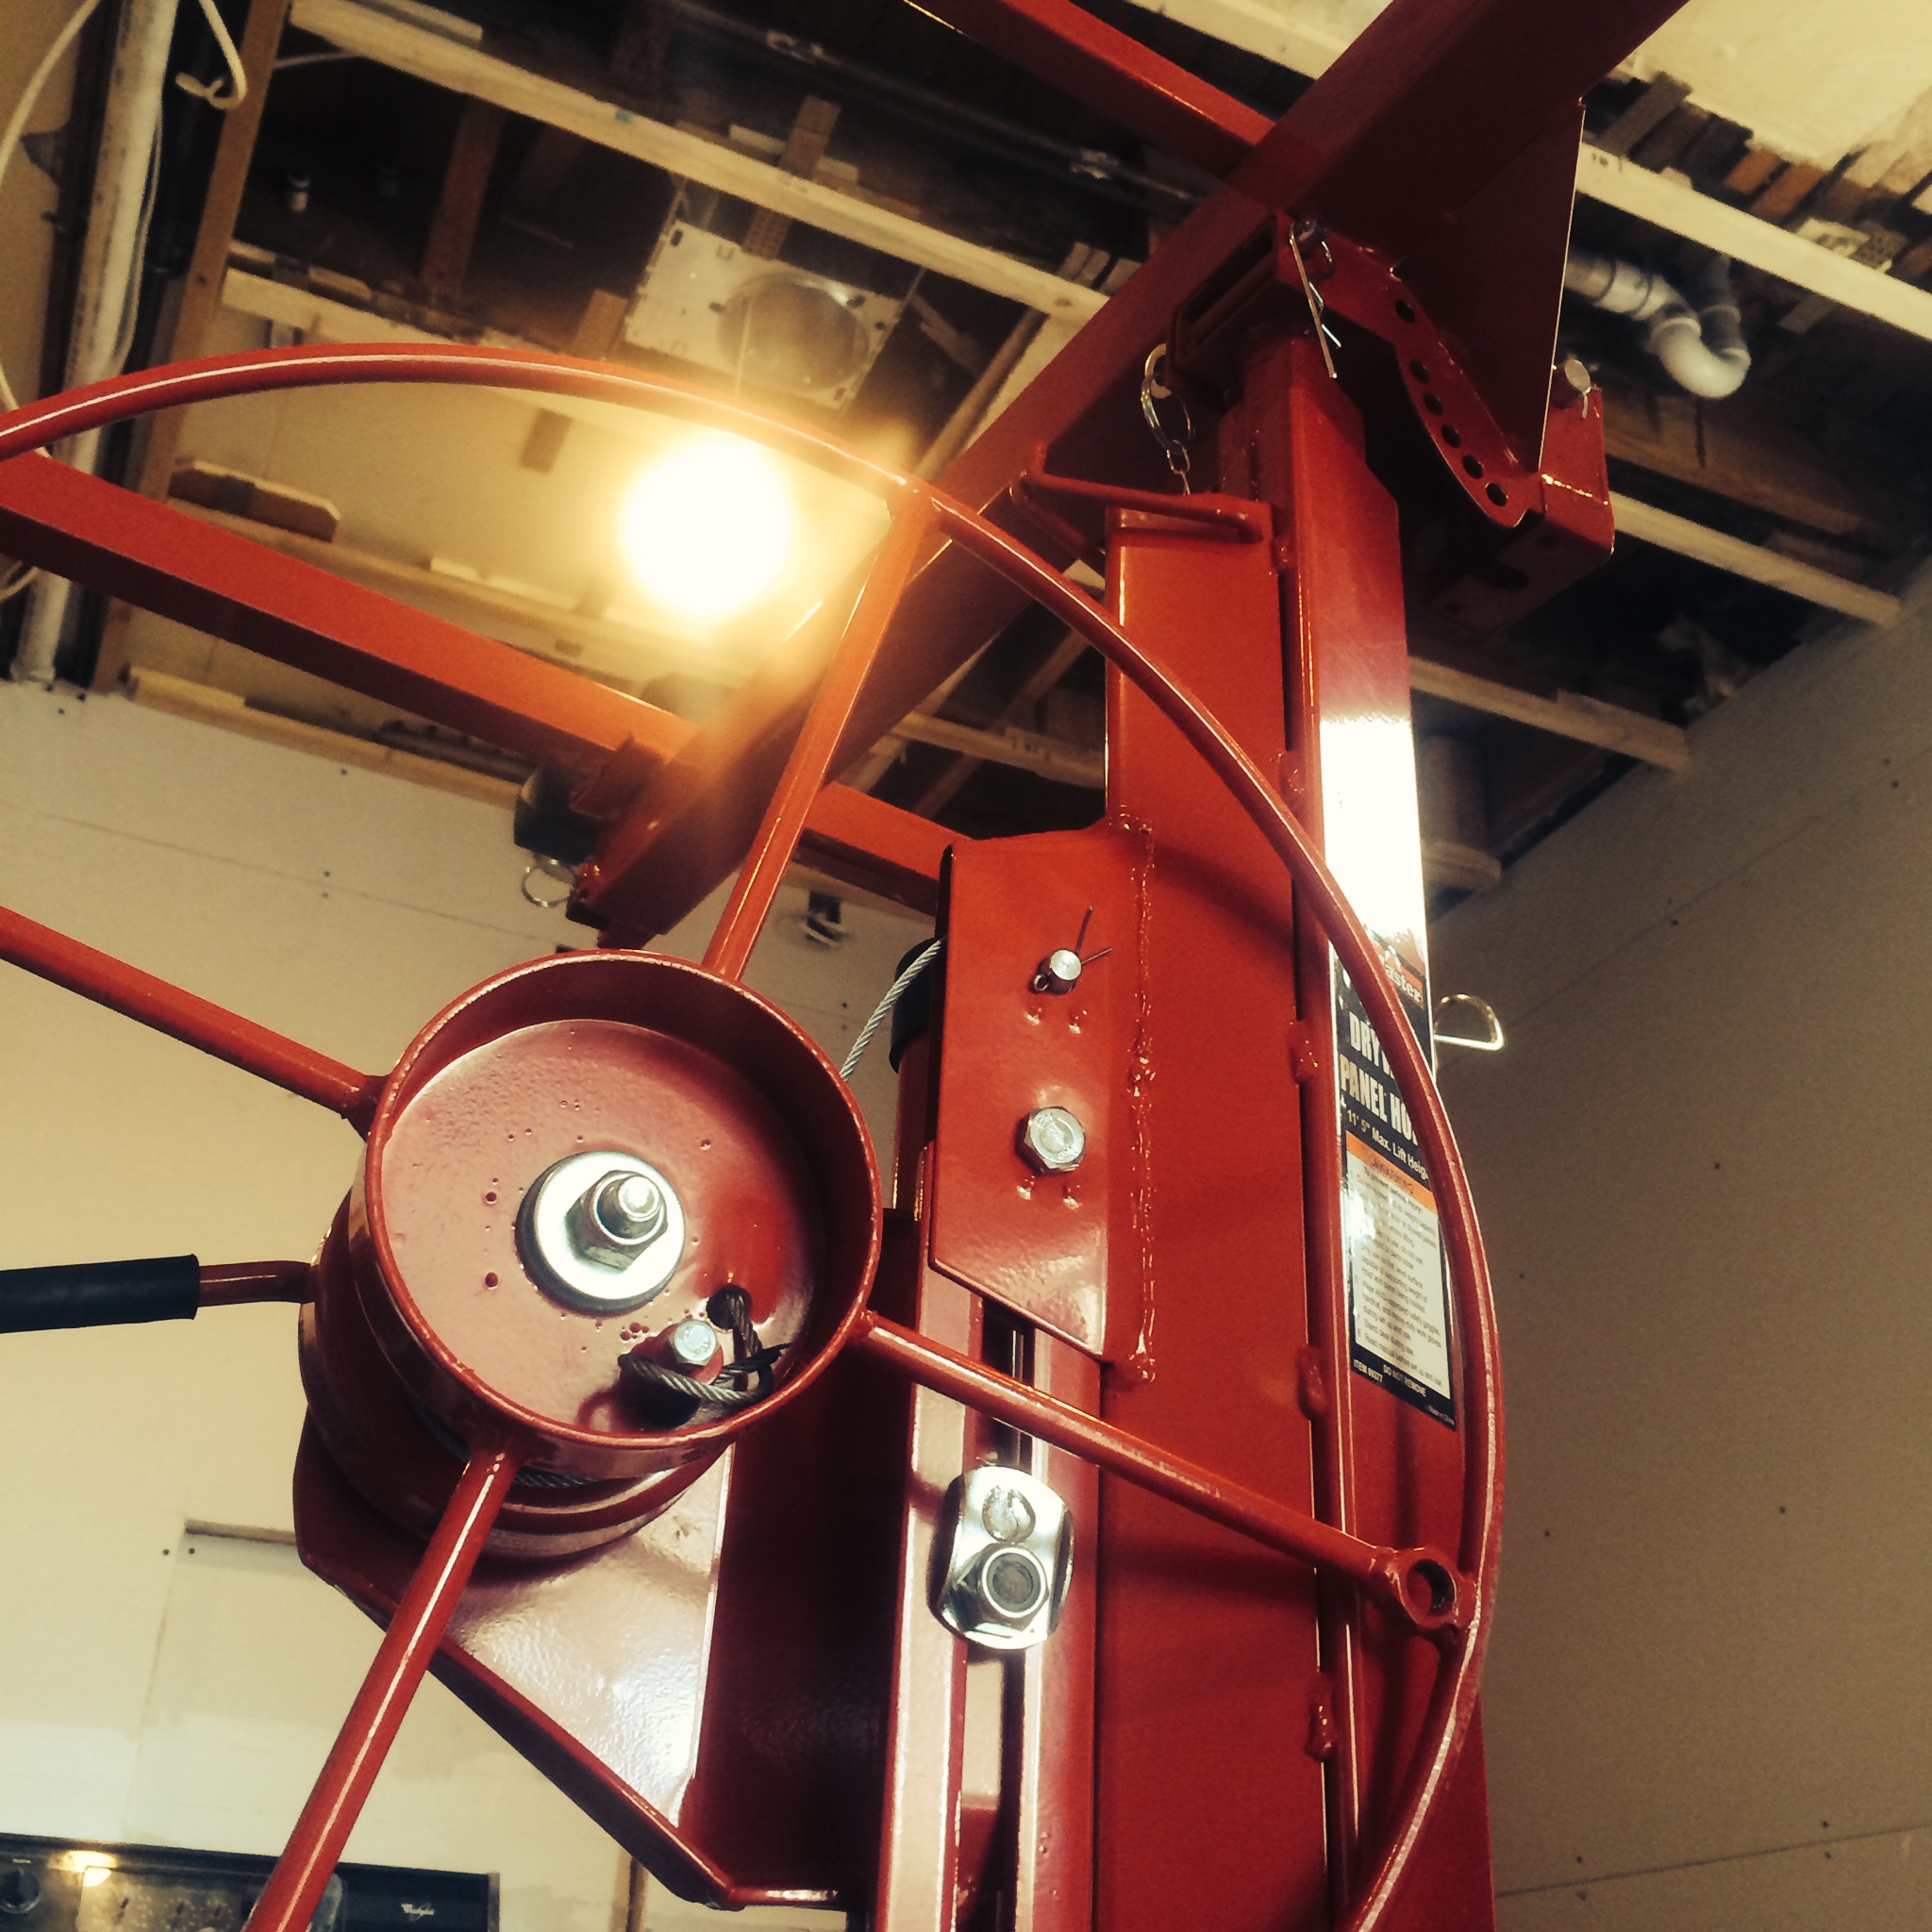
After we got our framework laid out we enlisted the help of our handy drywall lift. We started with the first panel in the middle of the ceiling. In working with a 110 year old home you have to accept that nothing is square or level anymore. Since we were expecting some issues to occur with fitting the panels properly together we decided that it was better to have the issue pop up on the outside edges of the last panel where we could cover up the gap or unevenness with crown molding.
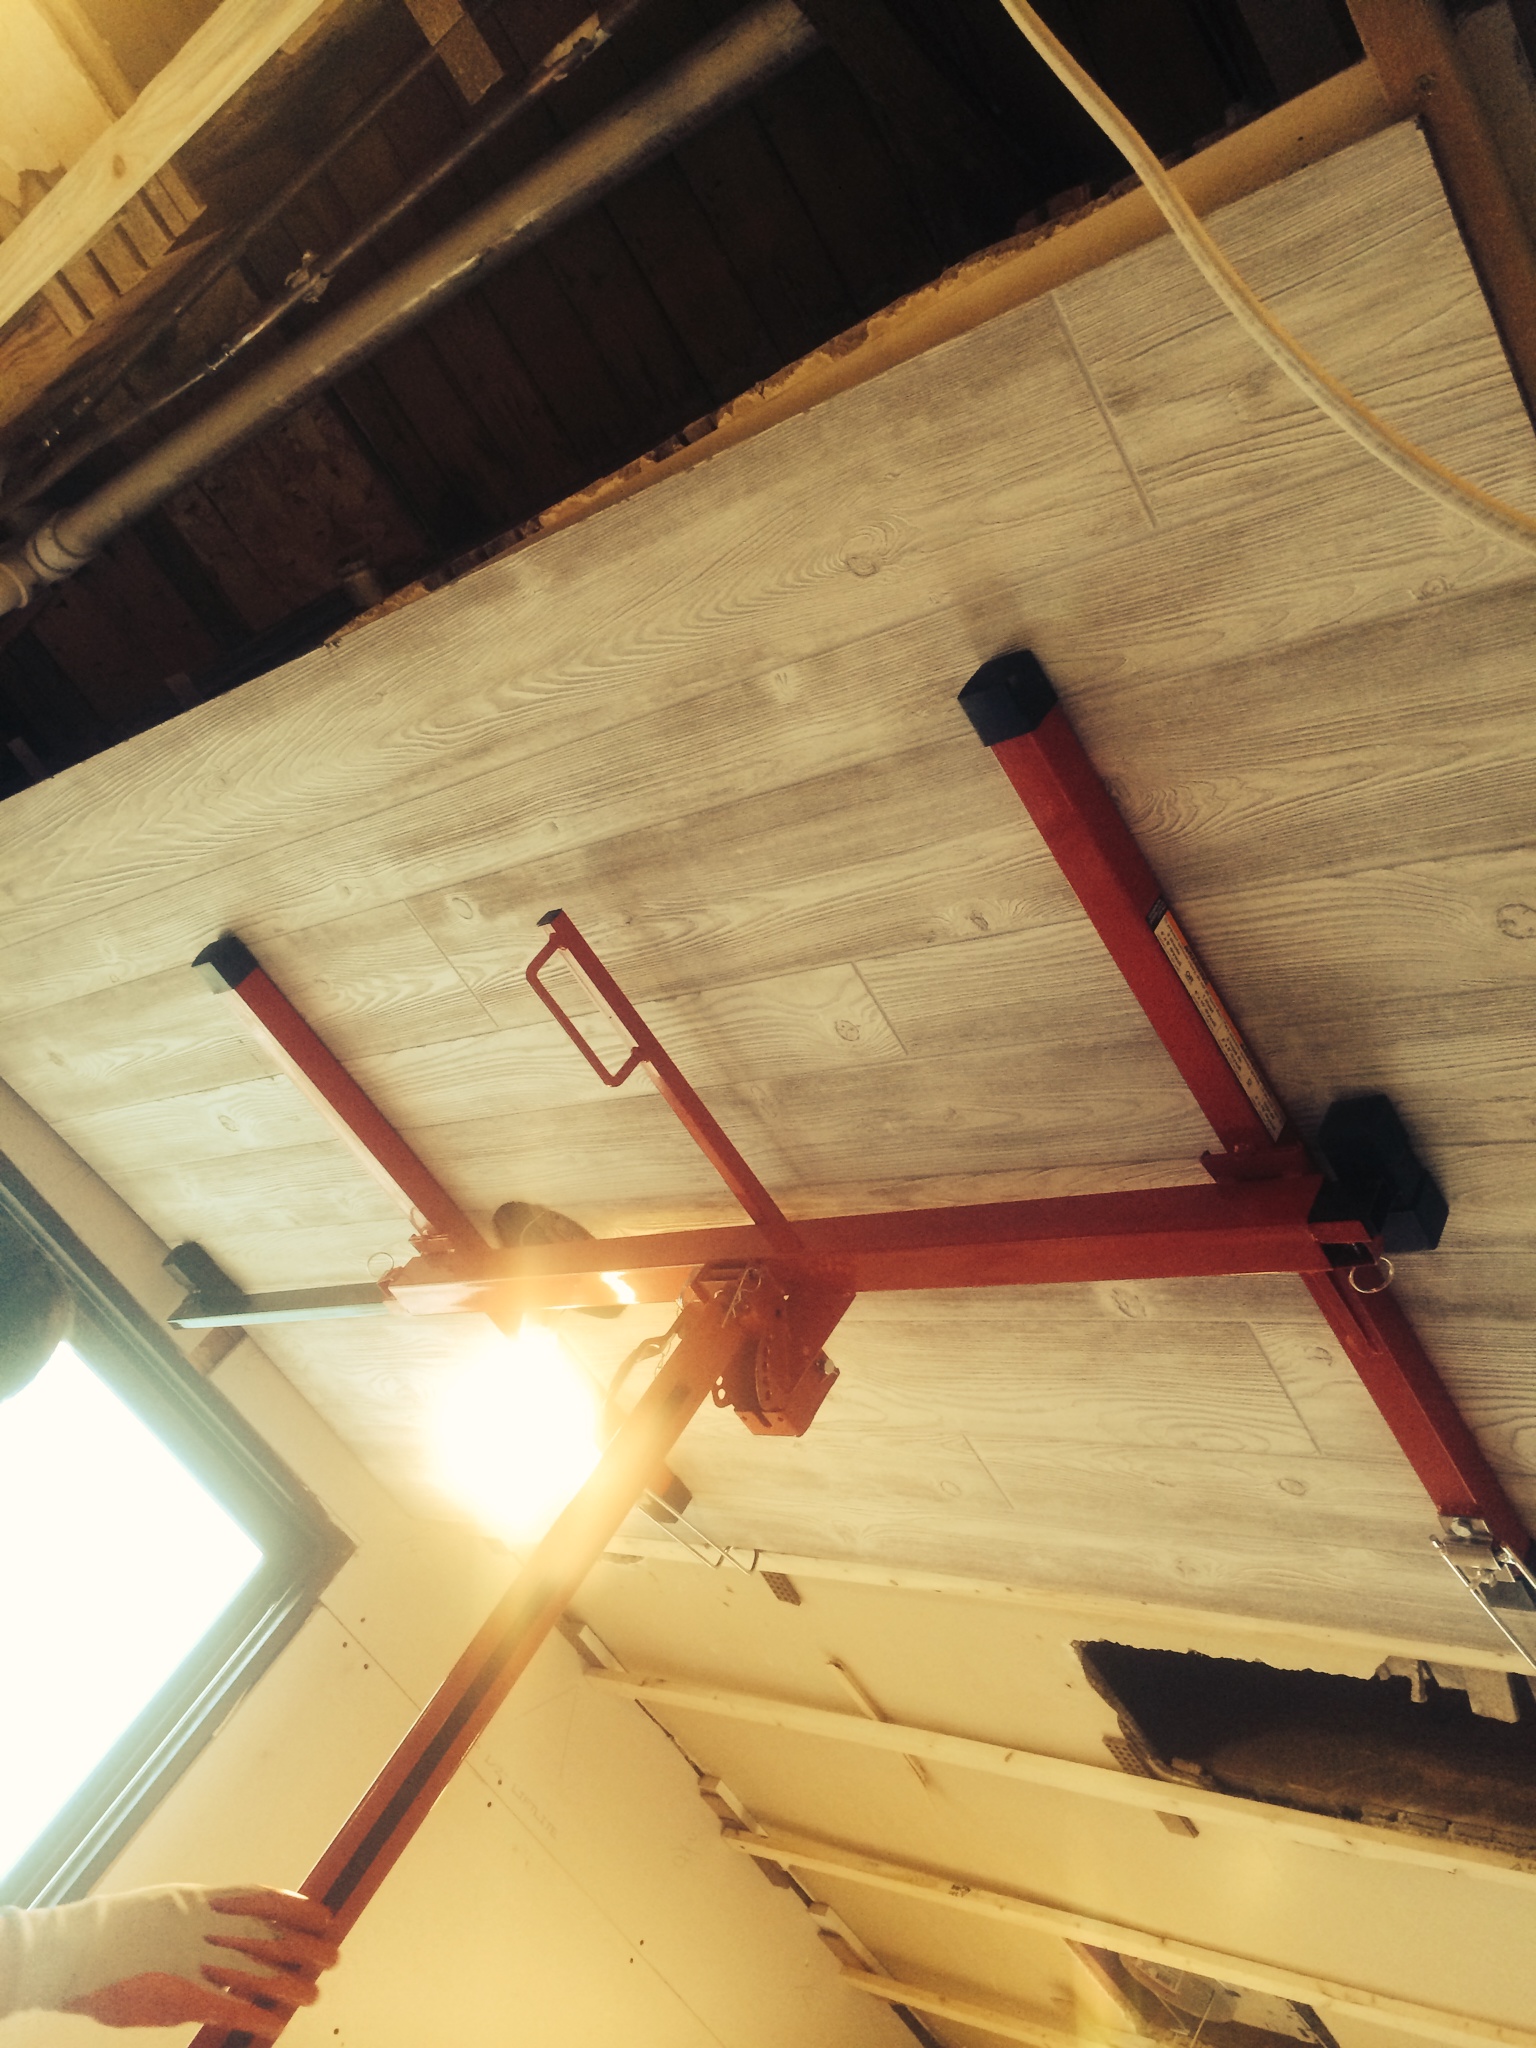
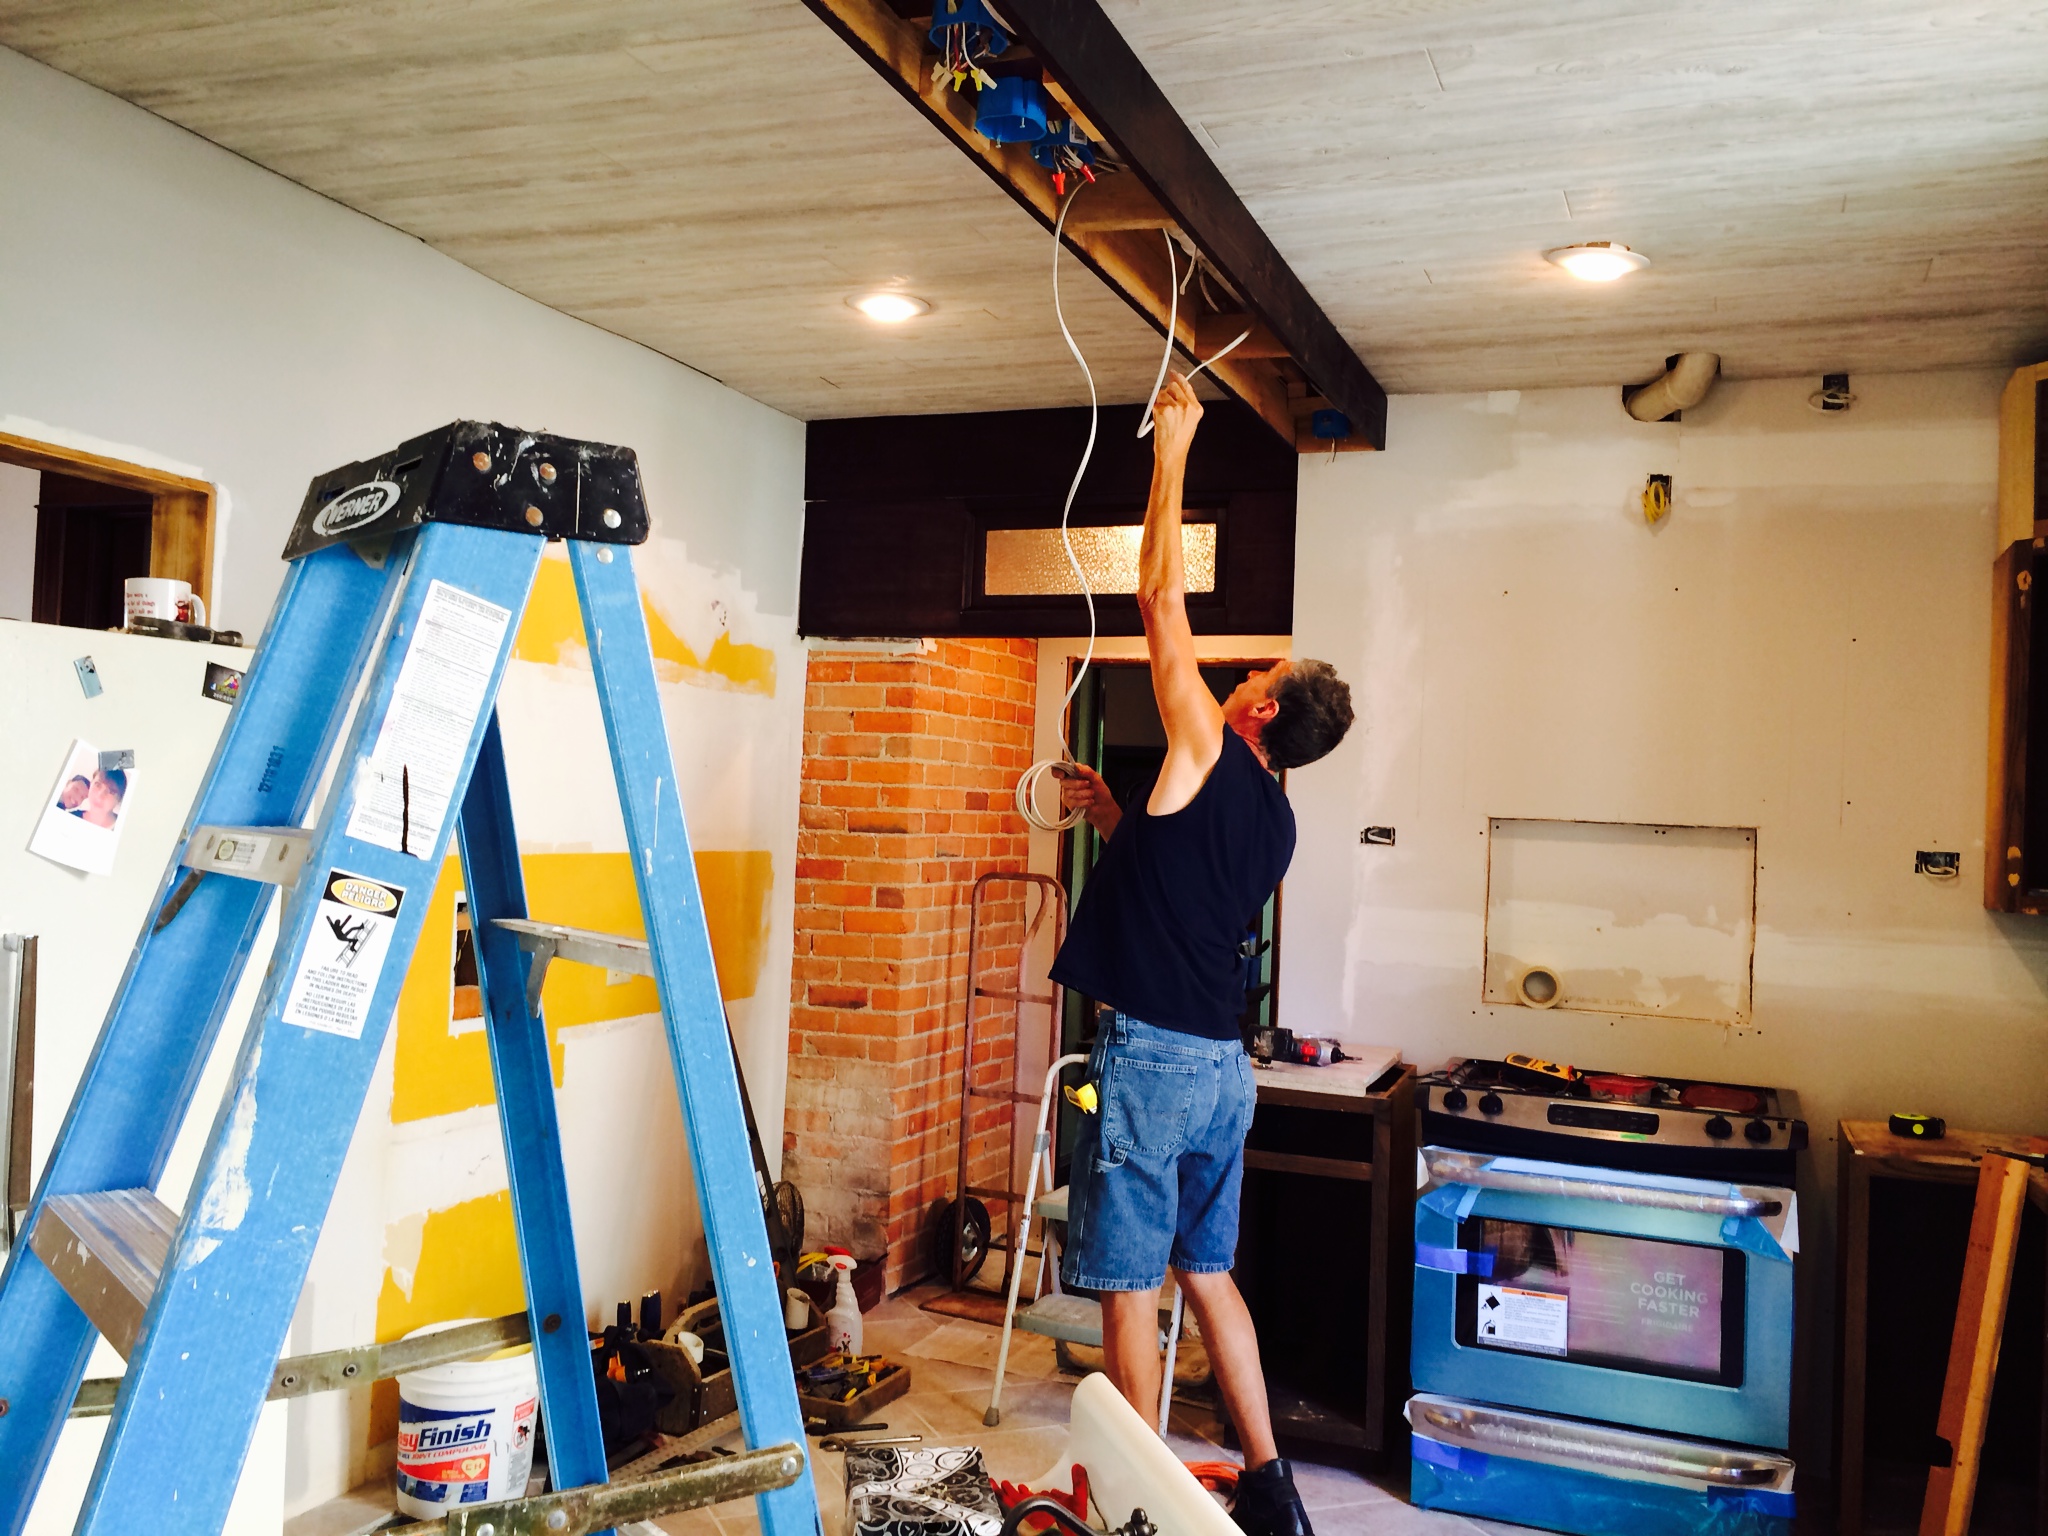
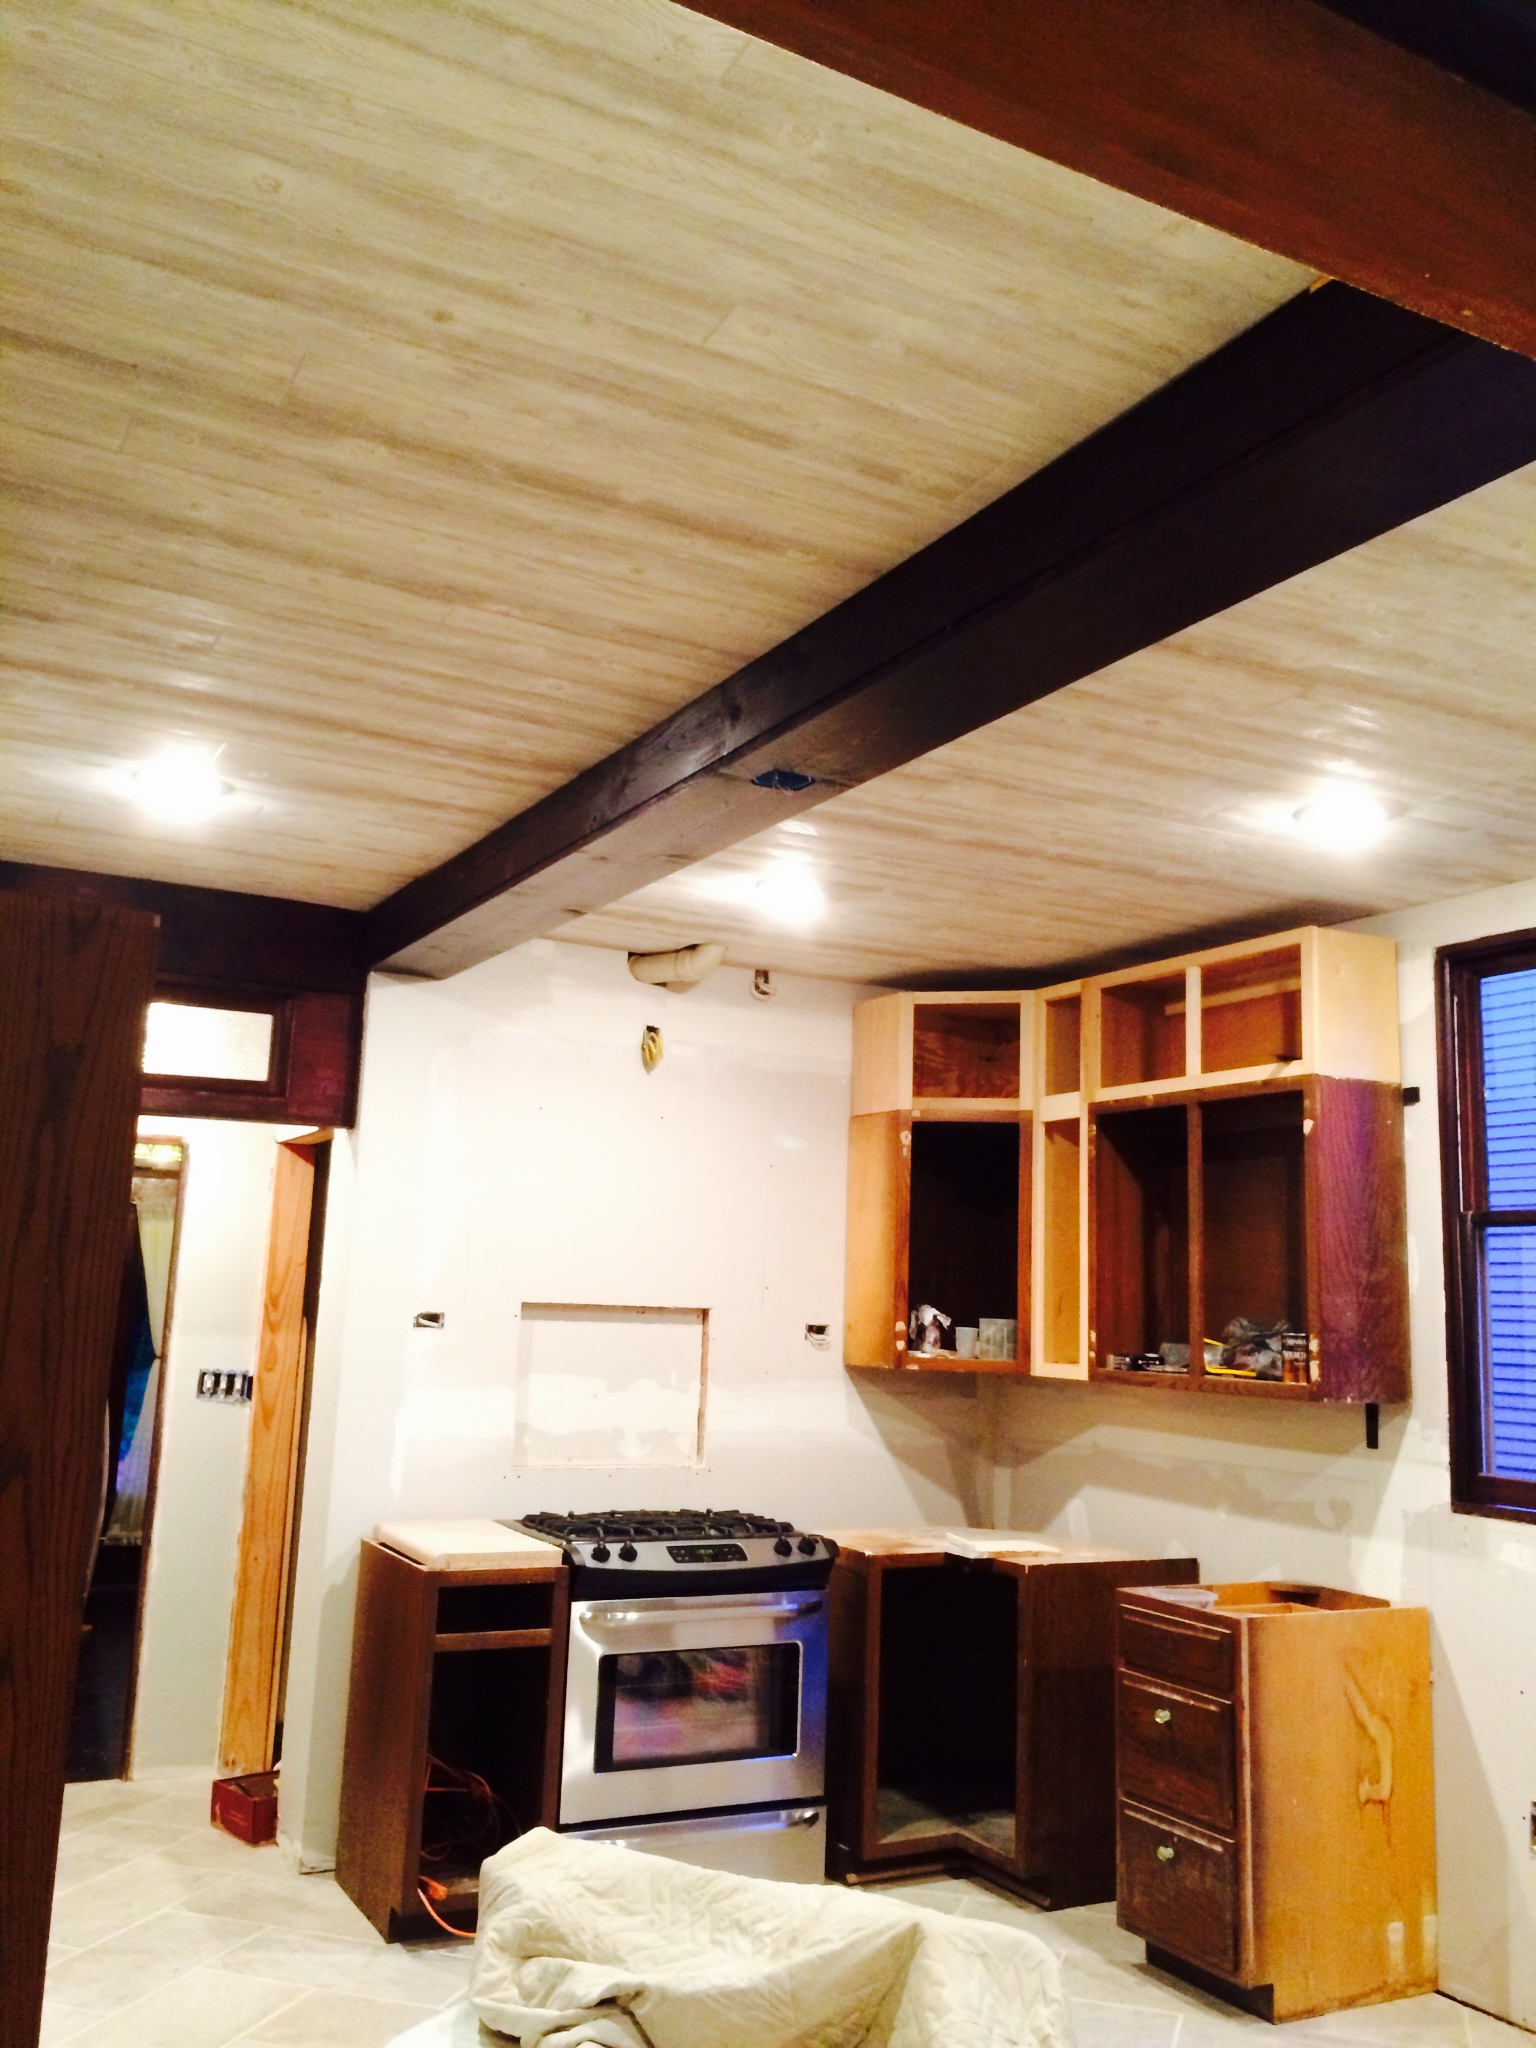
Once we got all of the whitewashed panels installed all that was left was a strip of exposed electrical wiring and plumbing running down the length of the kitchen.
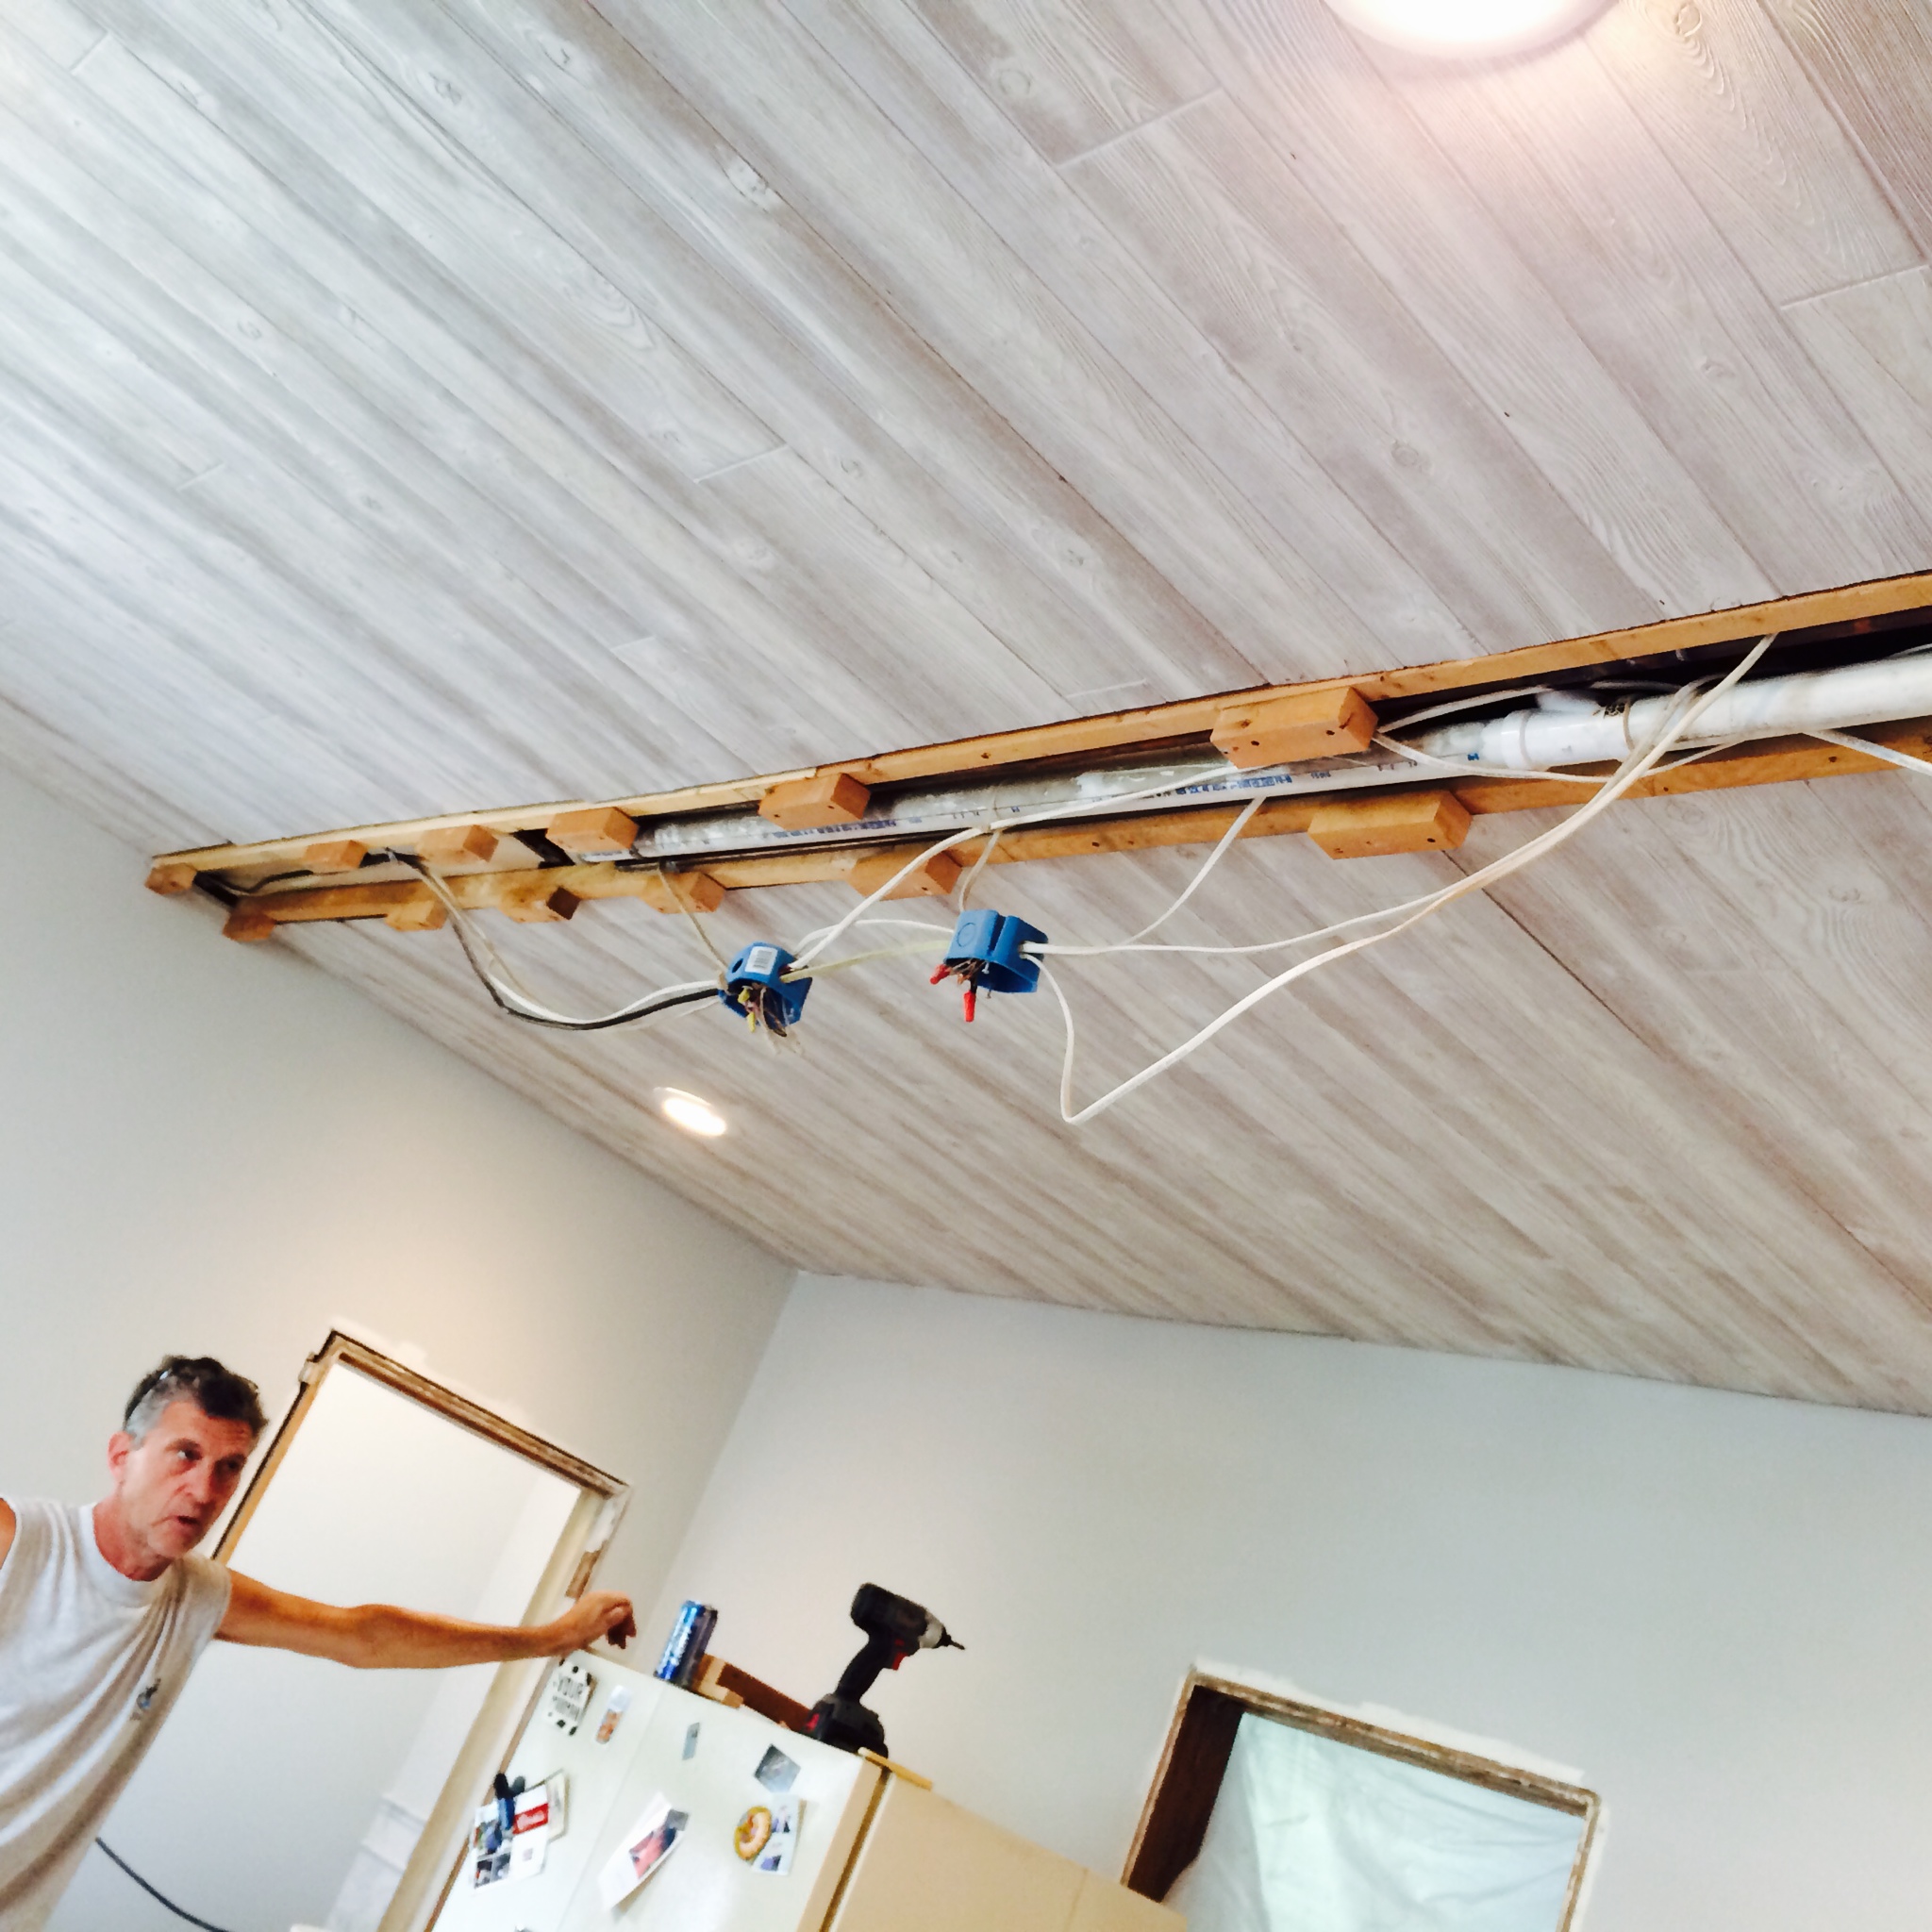

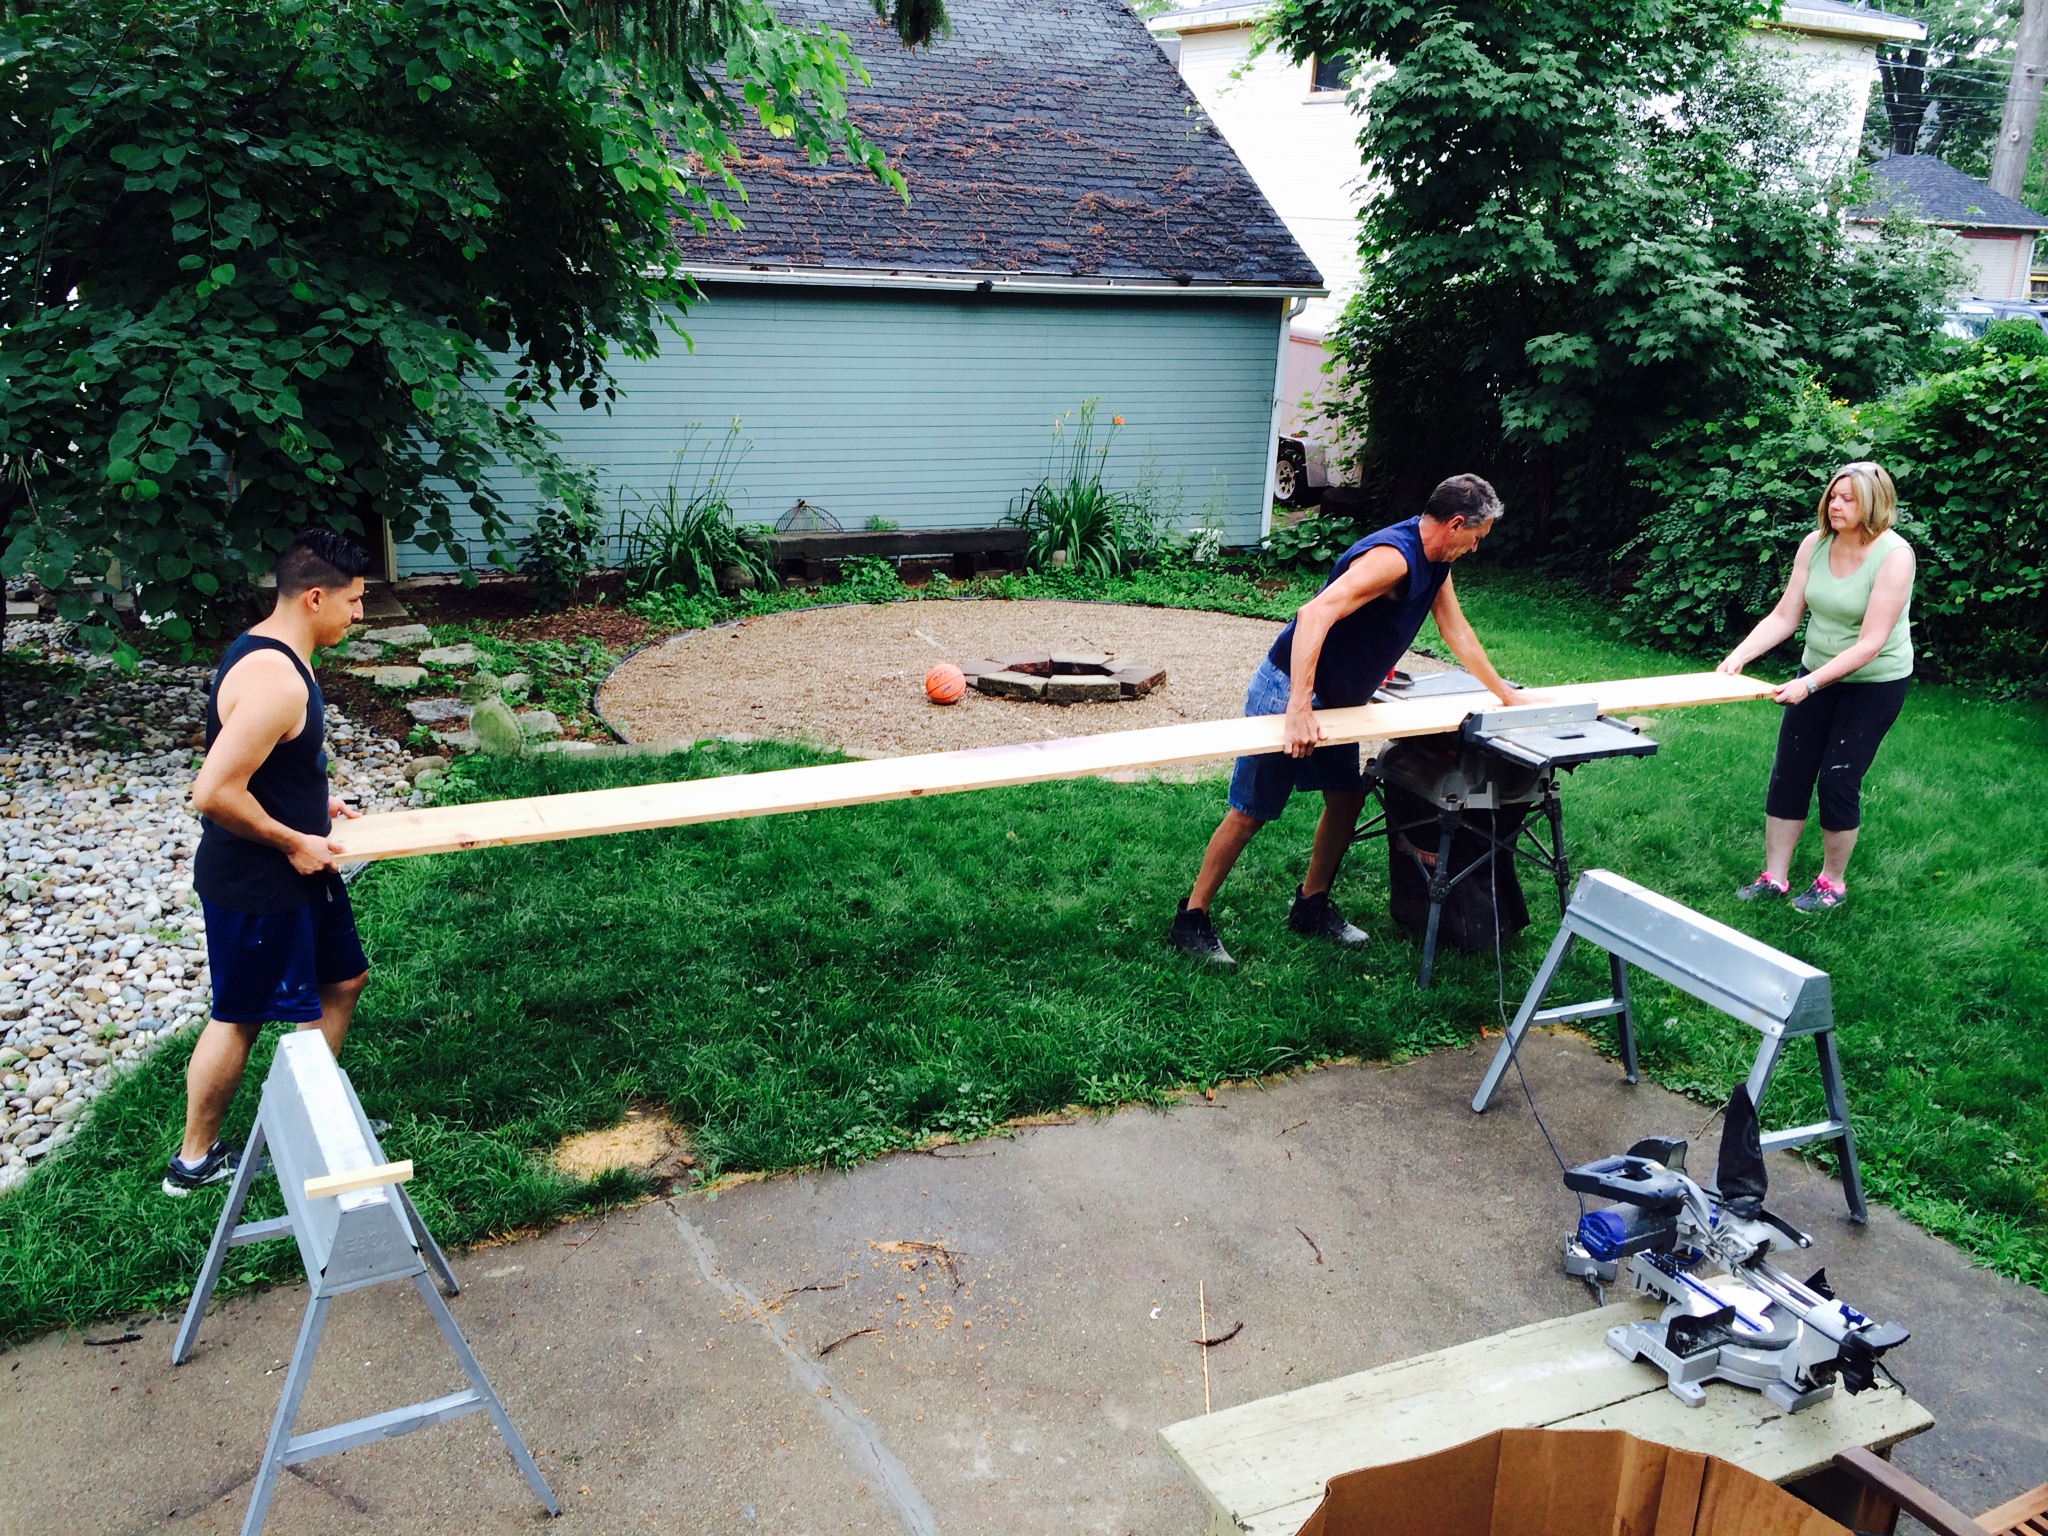
We had already planned to cover the electrical and plumbing with a faux beam or box beam which is basically a 3 sided shell that mimics solid wood beams. We decided to make the beam out of rough sewn cedar boards and picked up three of them which were each 16′ long. This way we could avoid any seams in the middle. We stained the beam with a dark finish- Black Cherry, which matches the floors and trim that is seen in the rest of our home. We also created an opening in the very center of the bottom face of the beam which is where our pendant light will hang over the island.
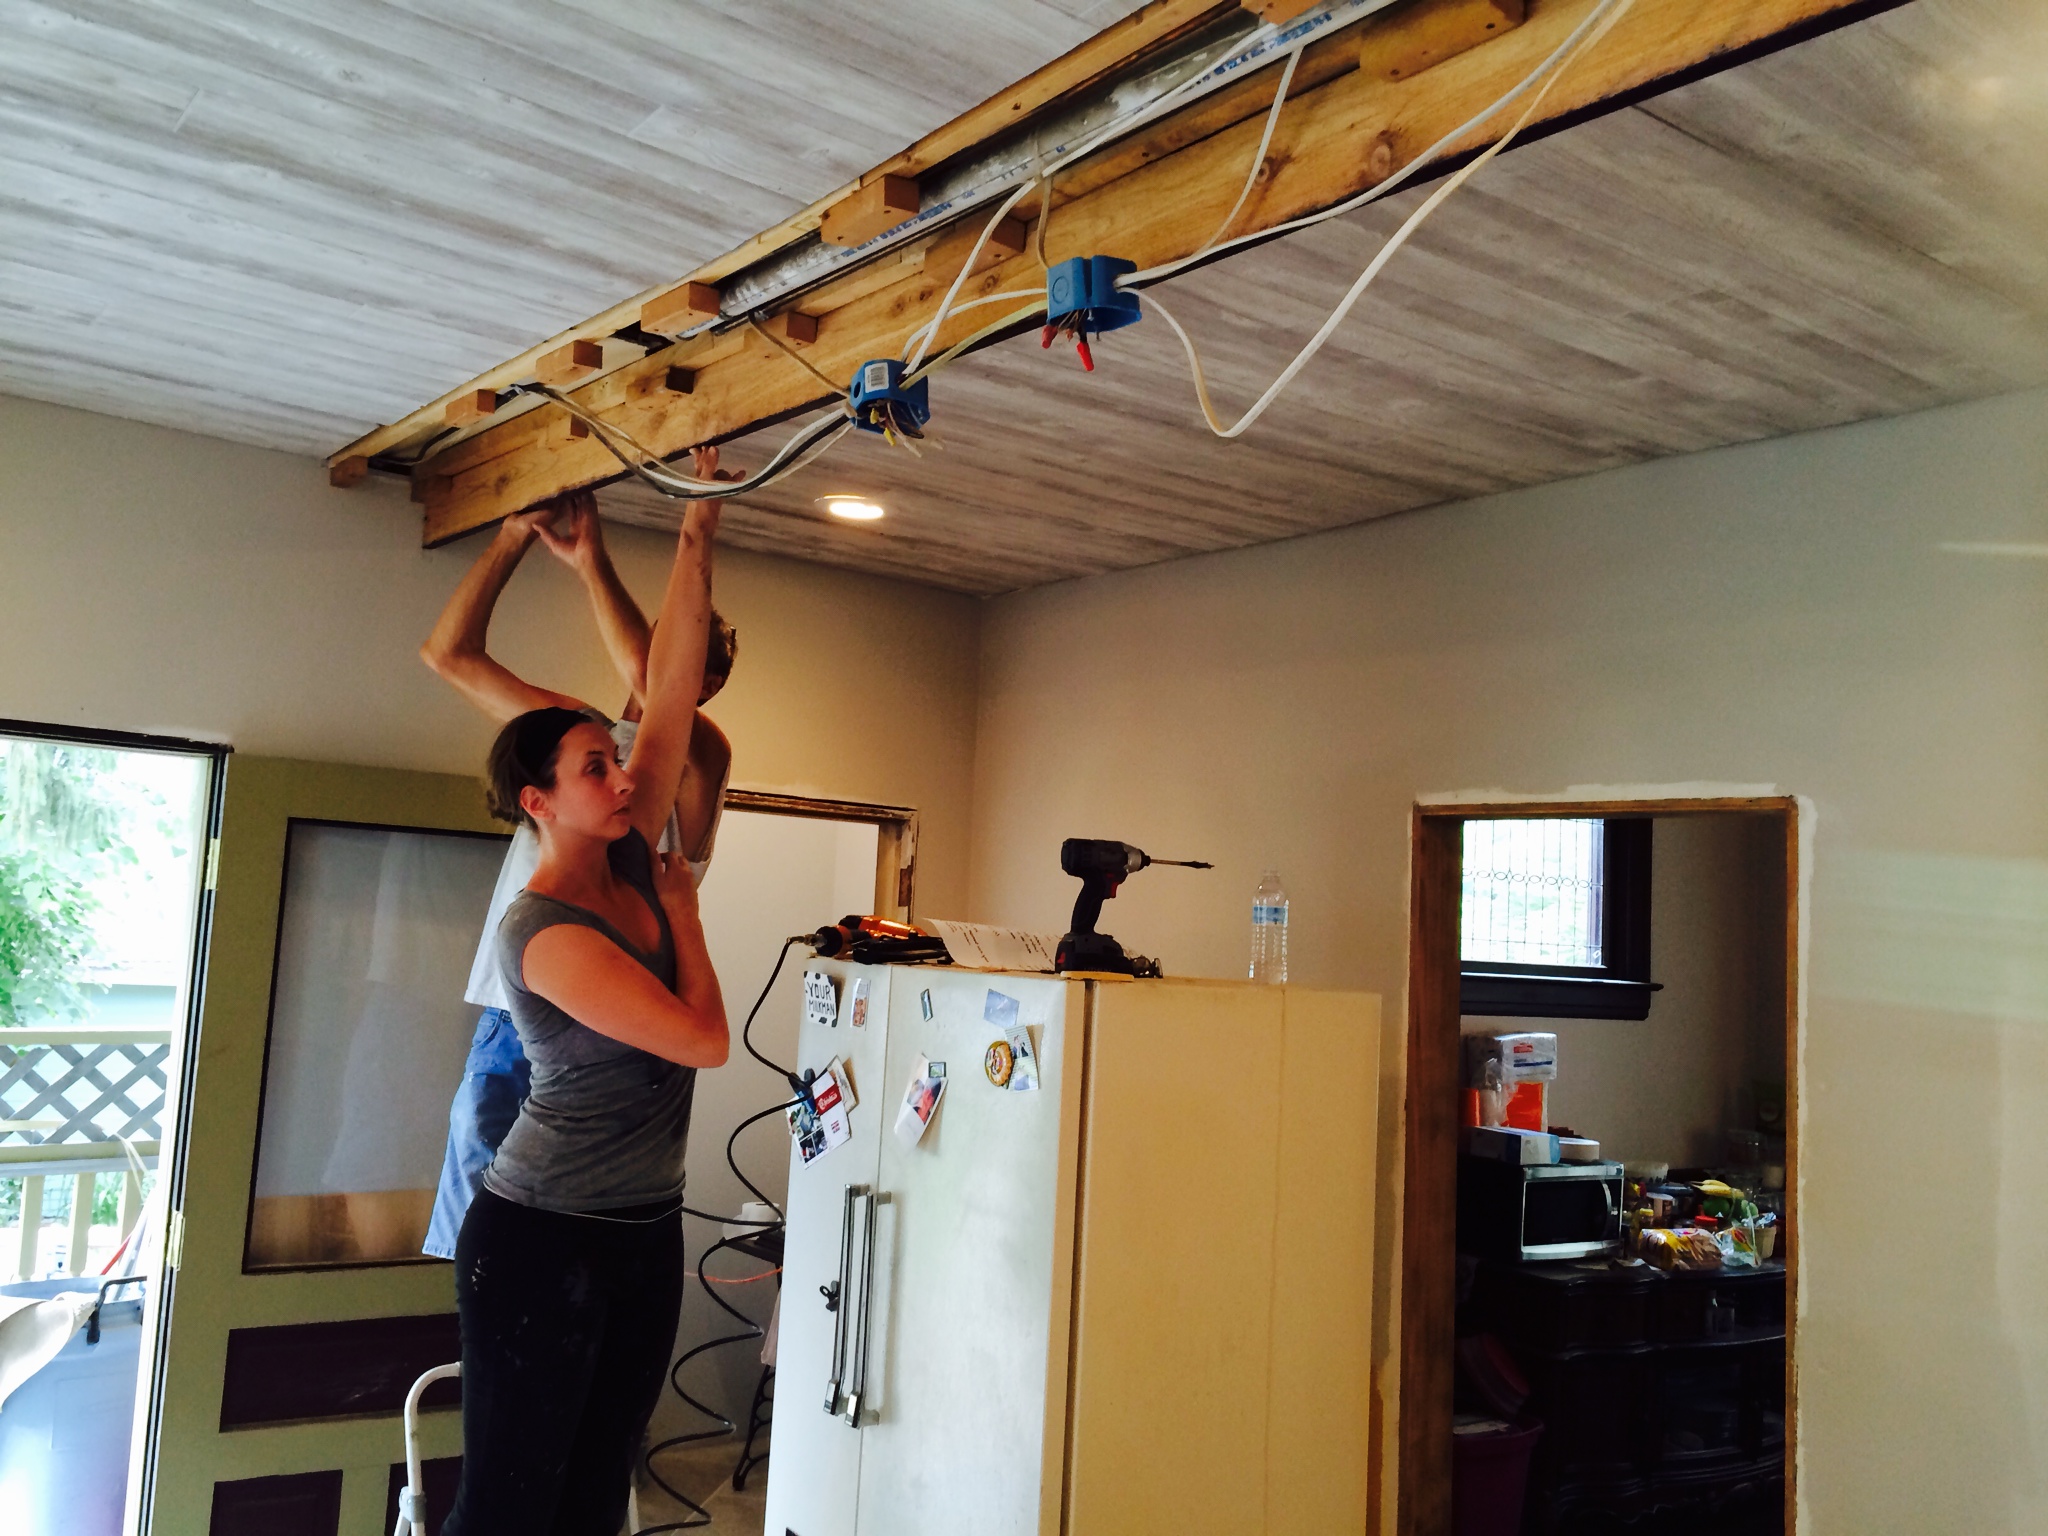
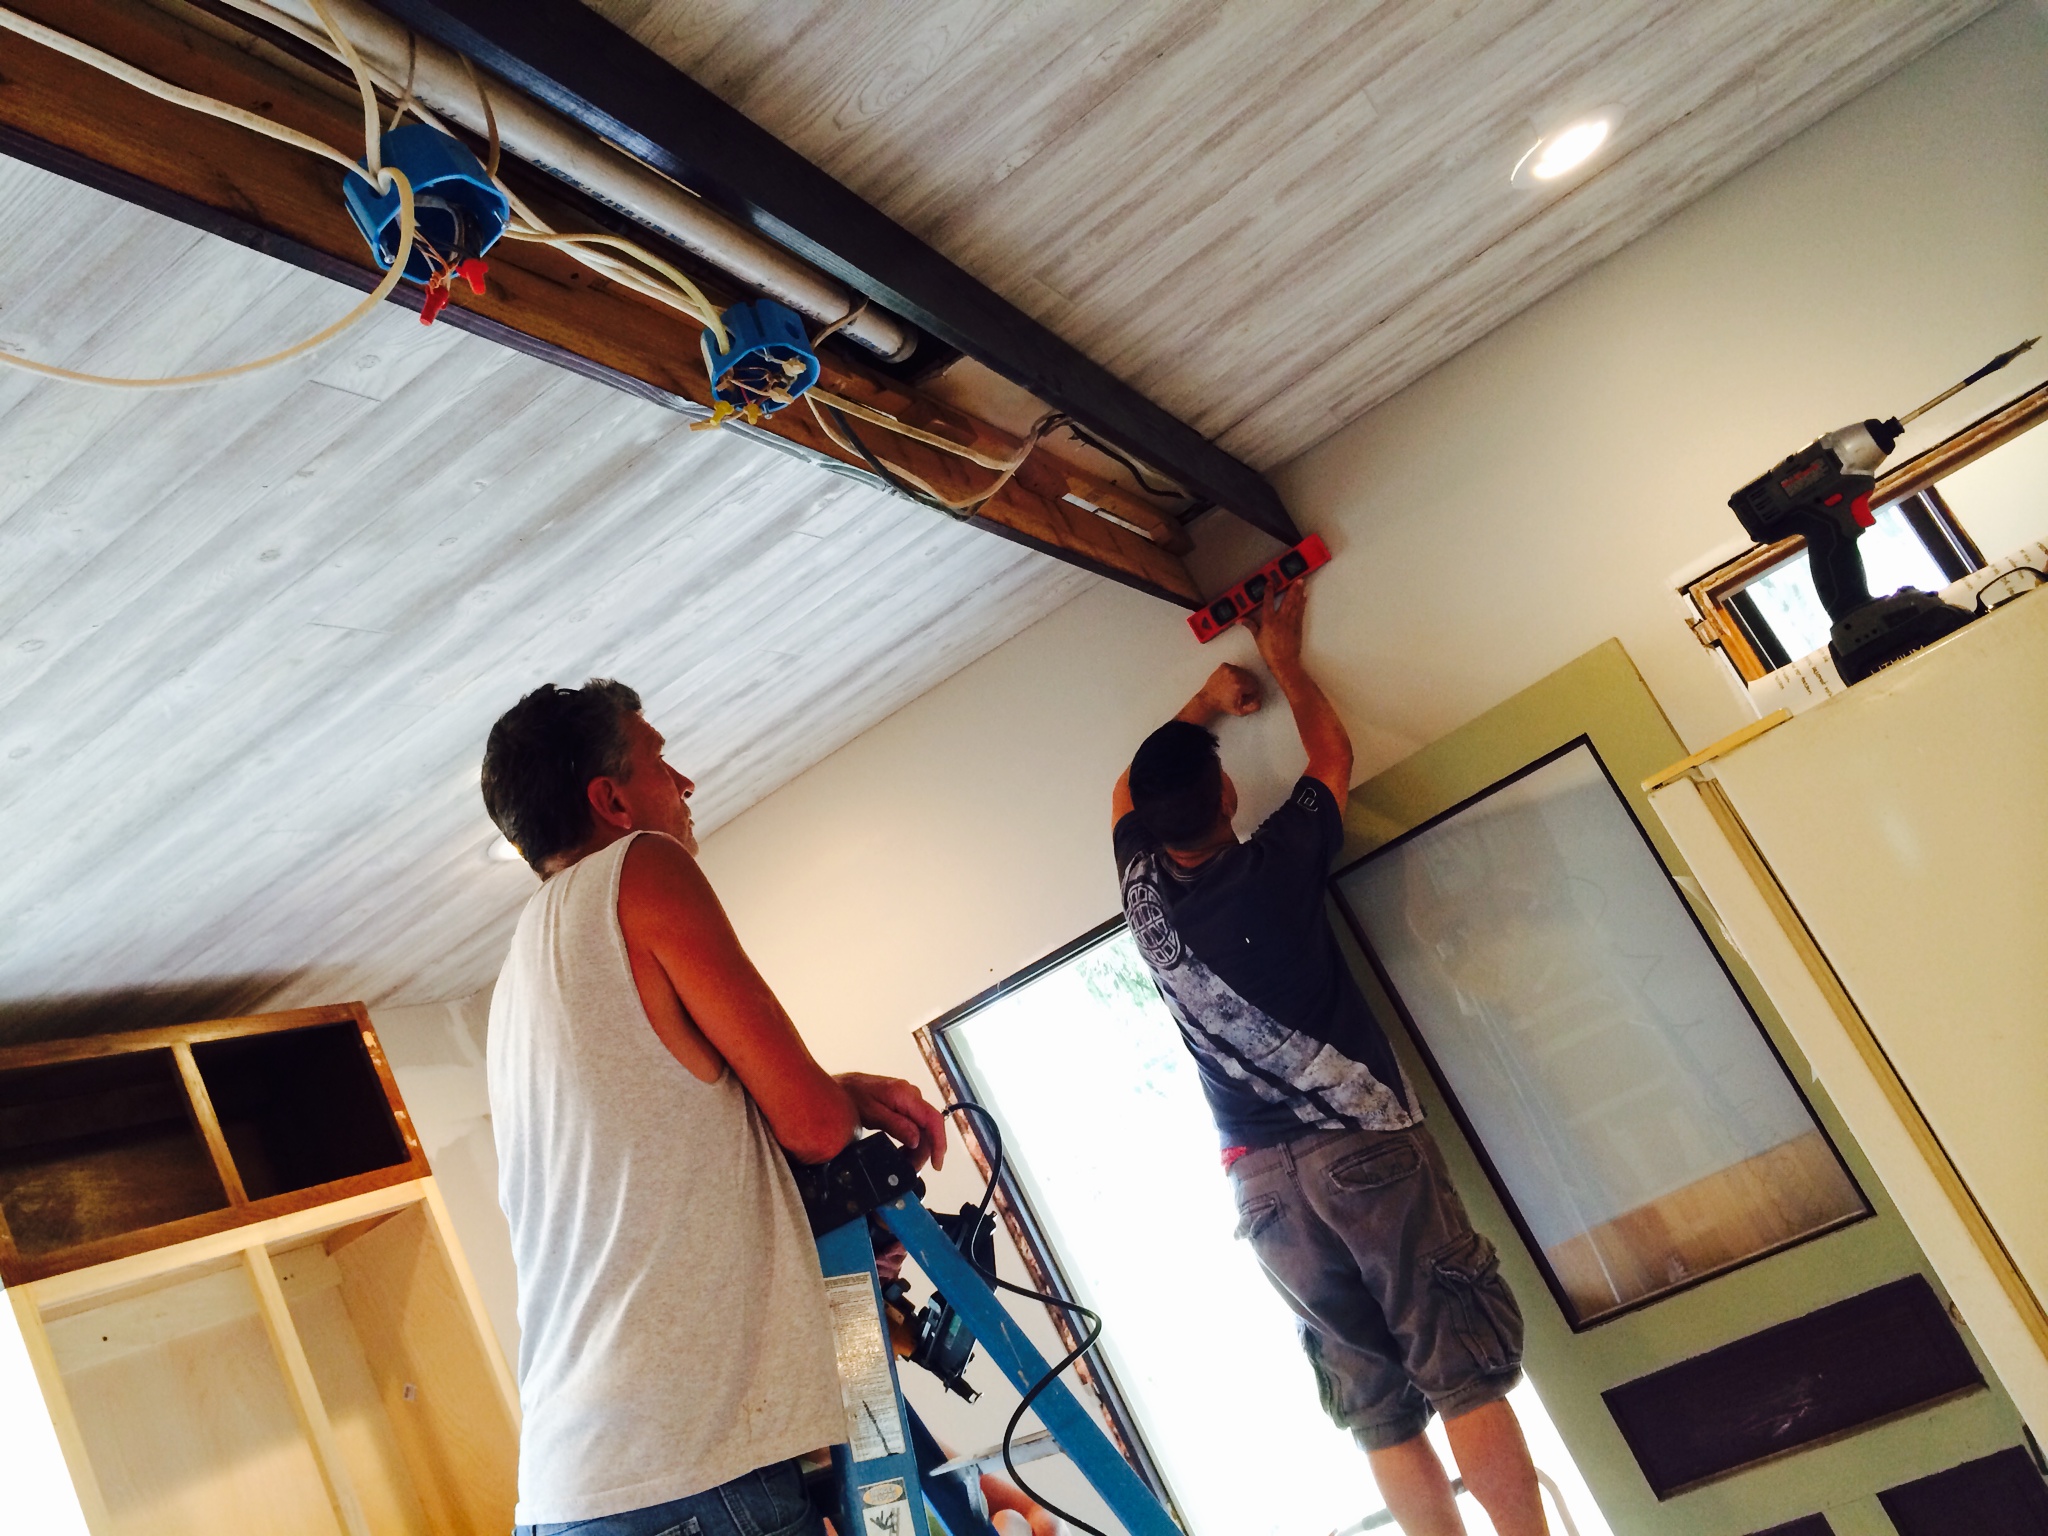
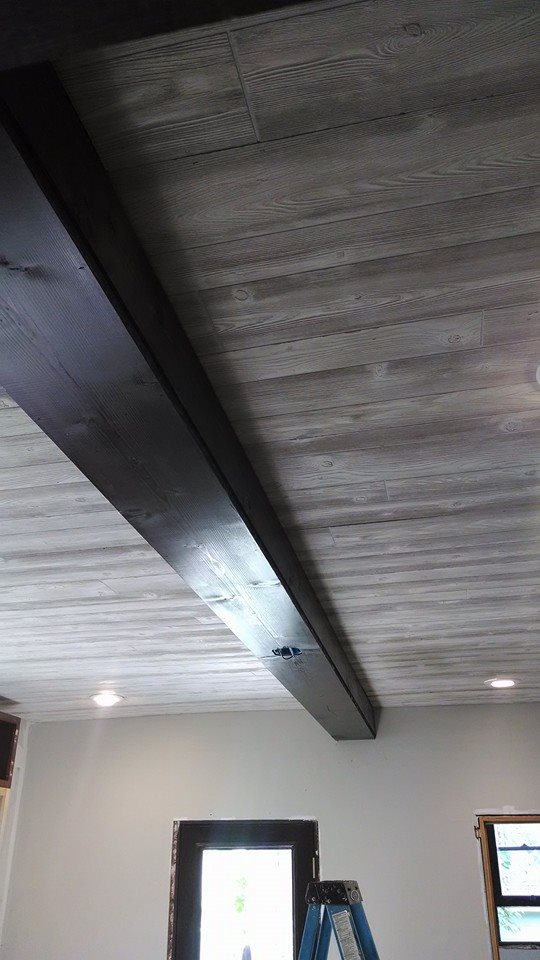
The wooden beam adds so much character to the home. We will seal the finish with polyurethane and also add crown molding along the top edges of the beam where it meets the ceiling.
I am SO in love with the end result!

What a wonderful remodel that you are all doing…you should be very proud
i definitely am! 🙂