
Once we were able to get our new window installed we were faced with the task of removing a second window from the north side of the kitchen and replacing it with a door. This task was perhaps a bit more complicated because it also involved closing off our current back door. It’s complicated but I will try to explain the best that I can with pictures.
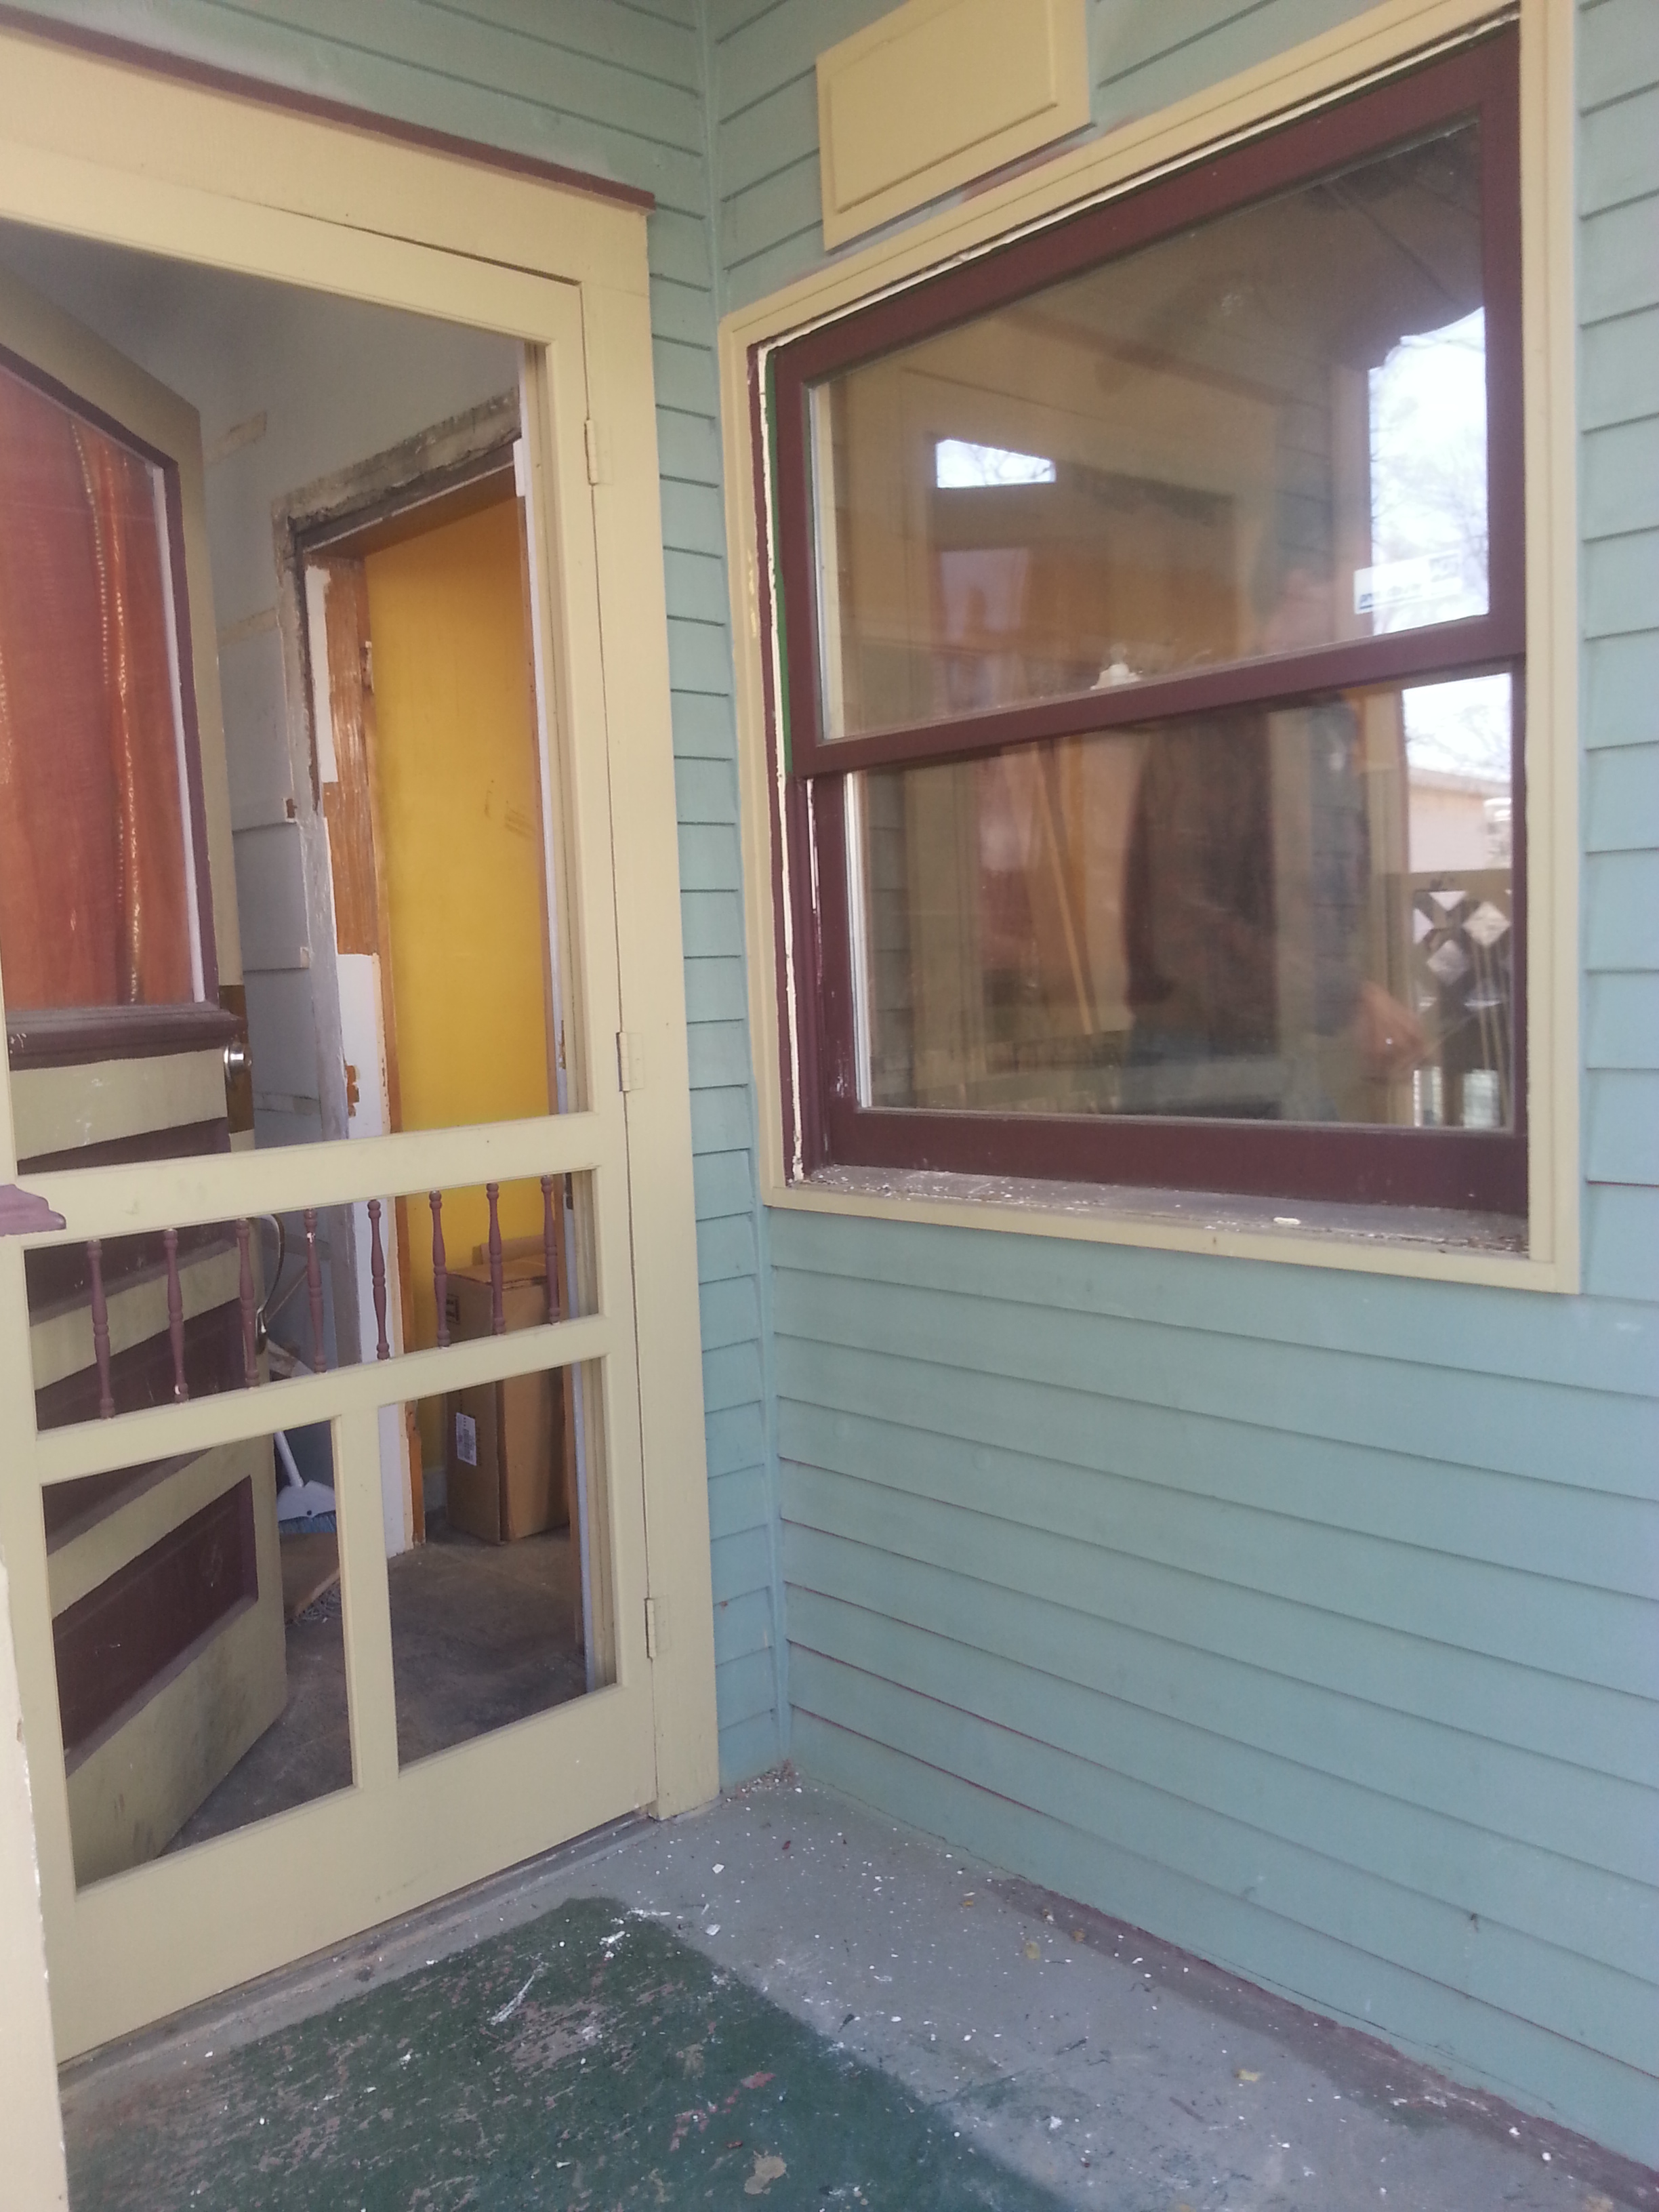
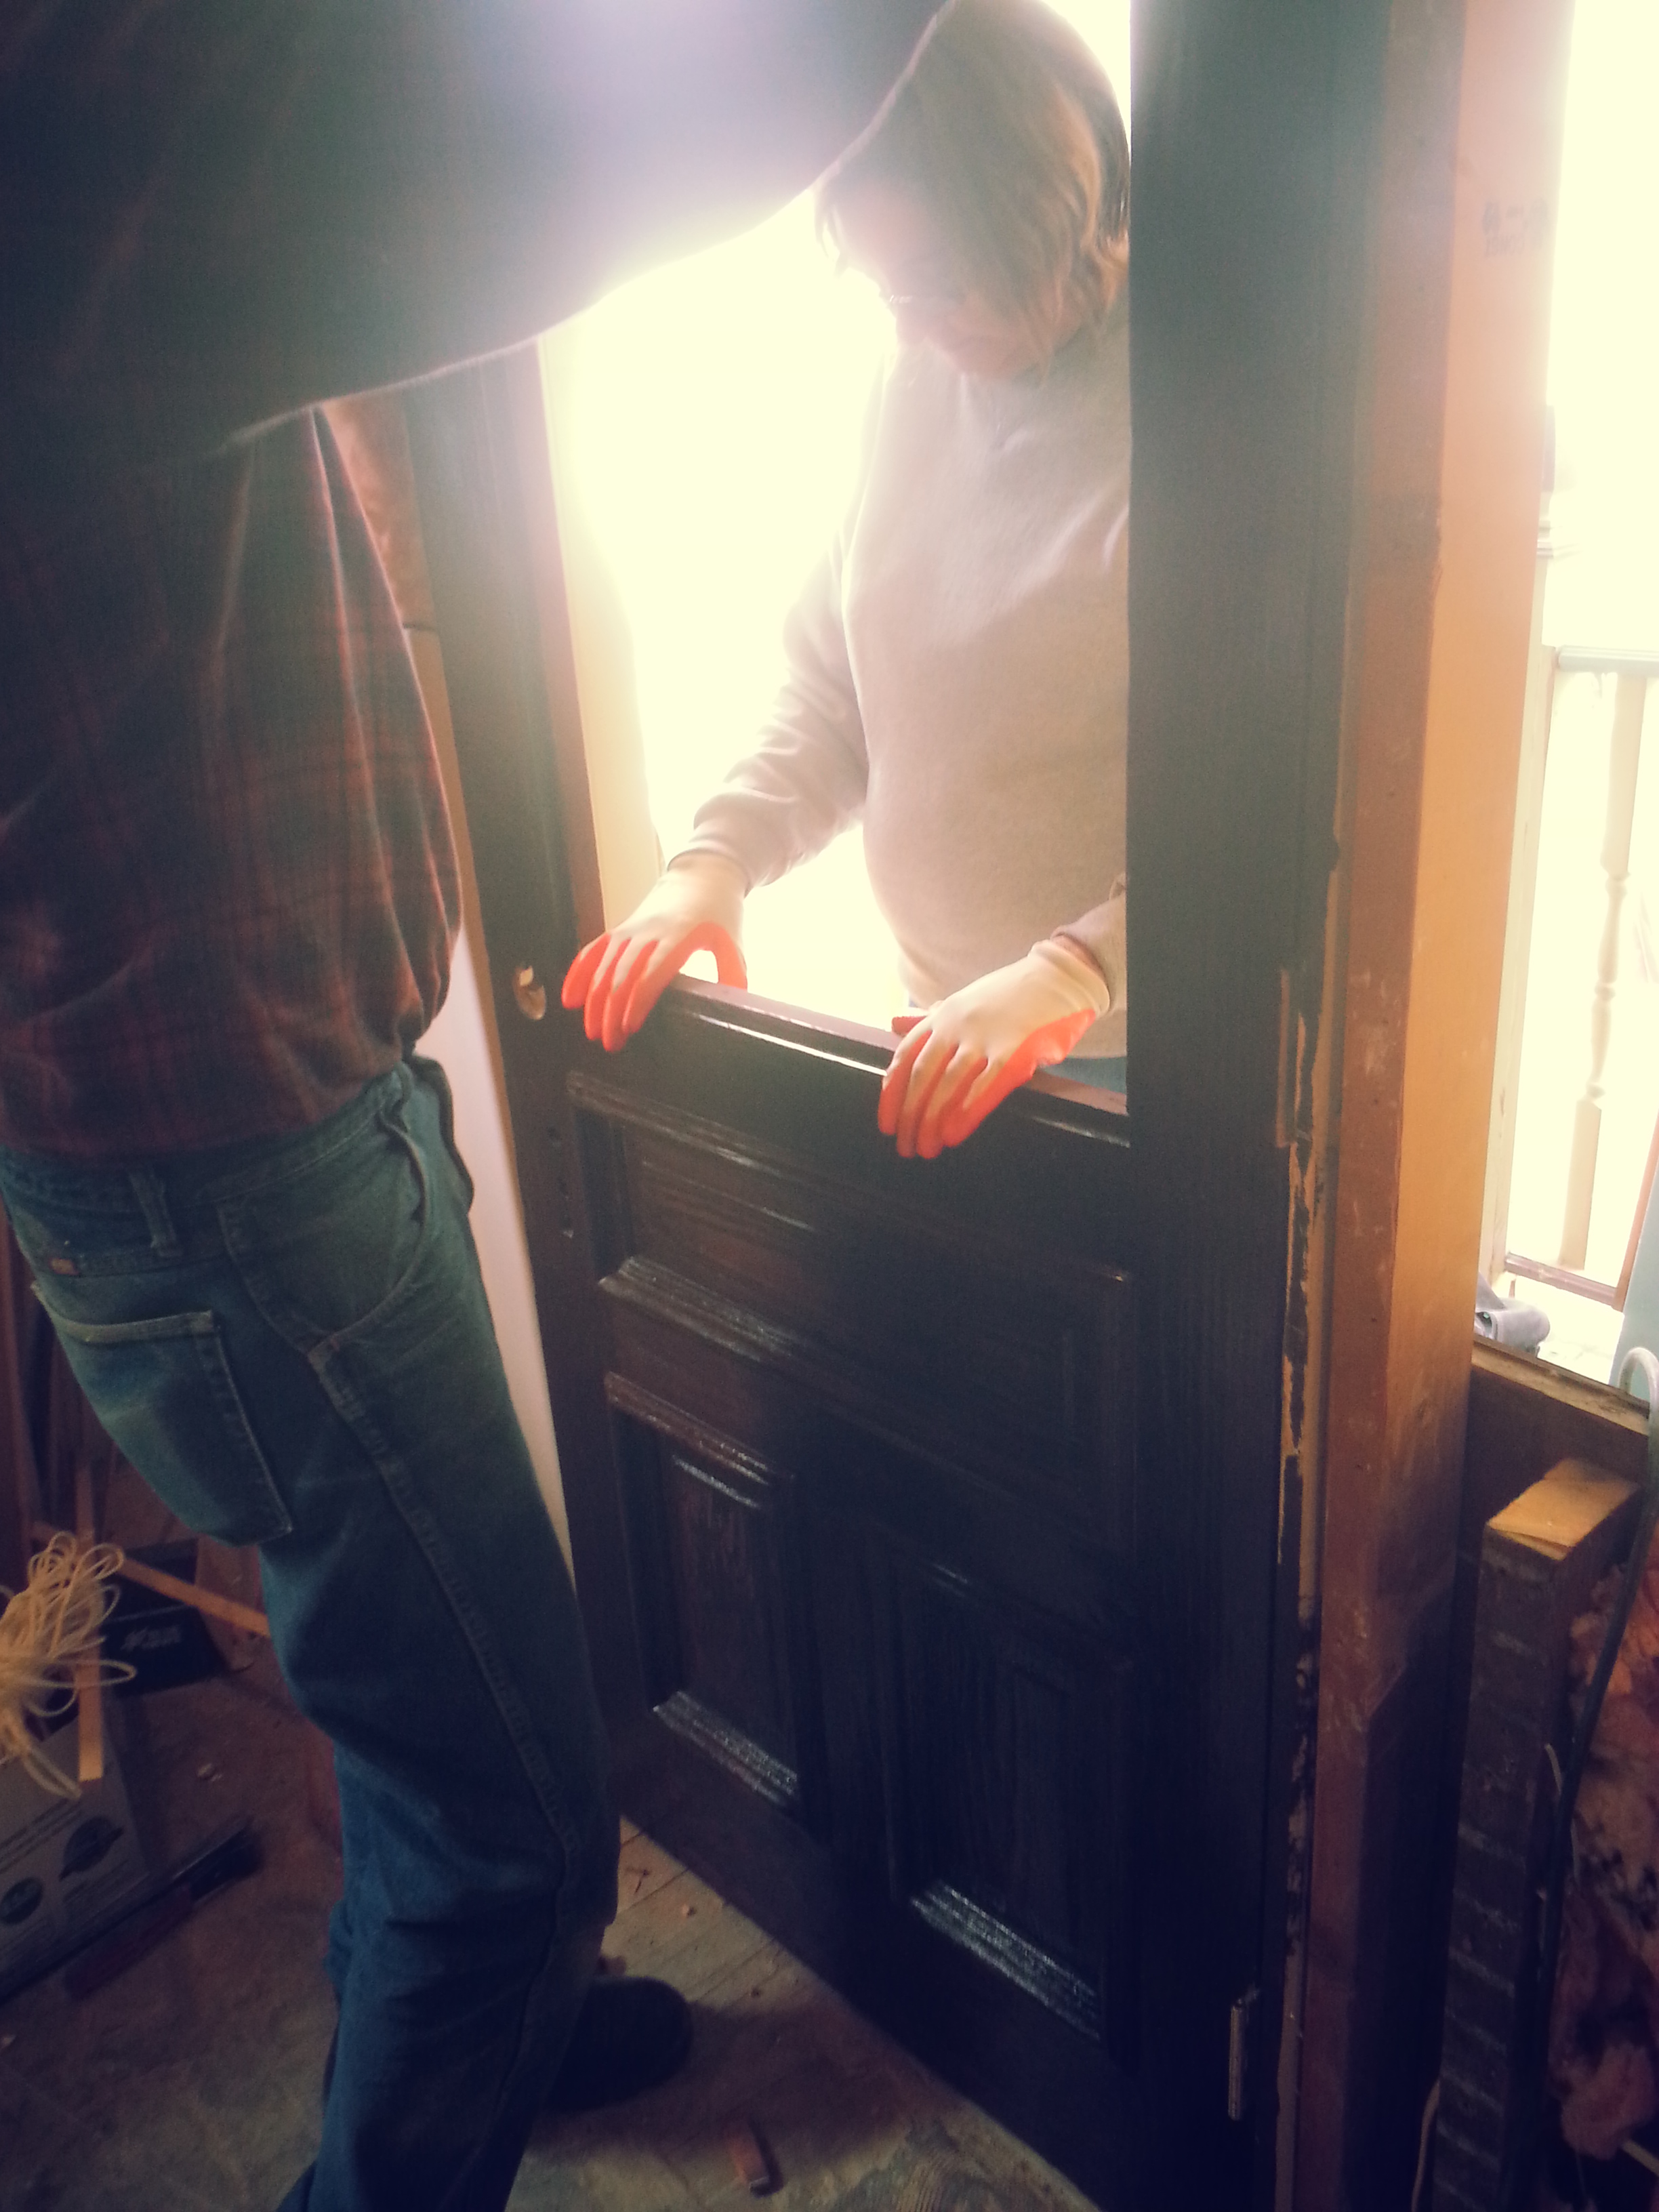
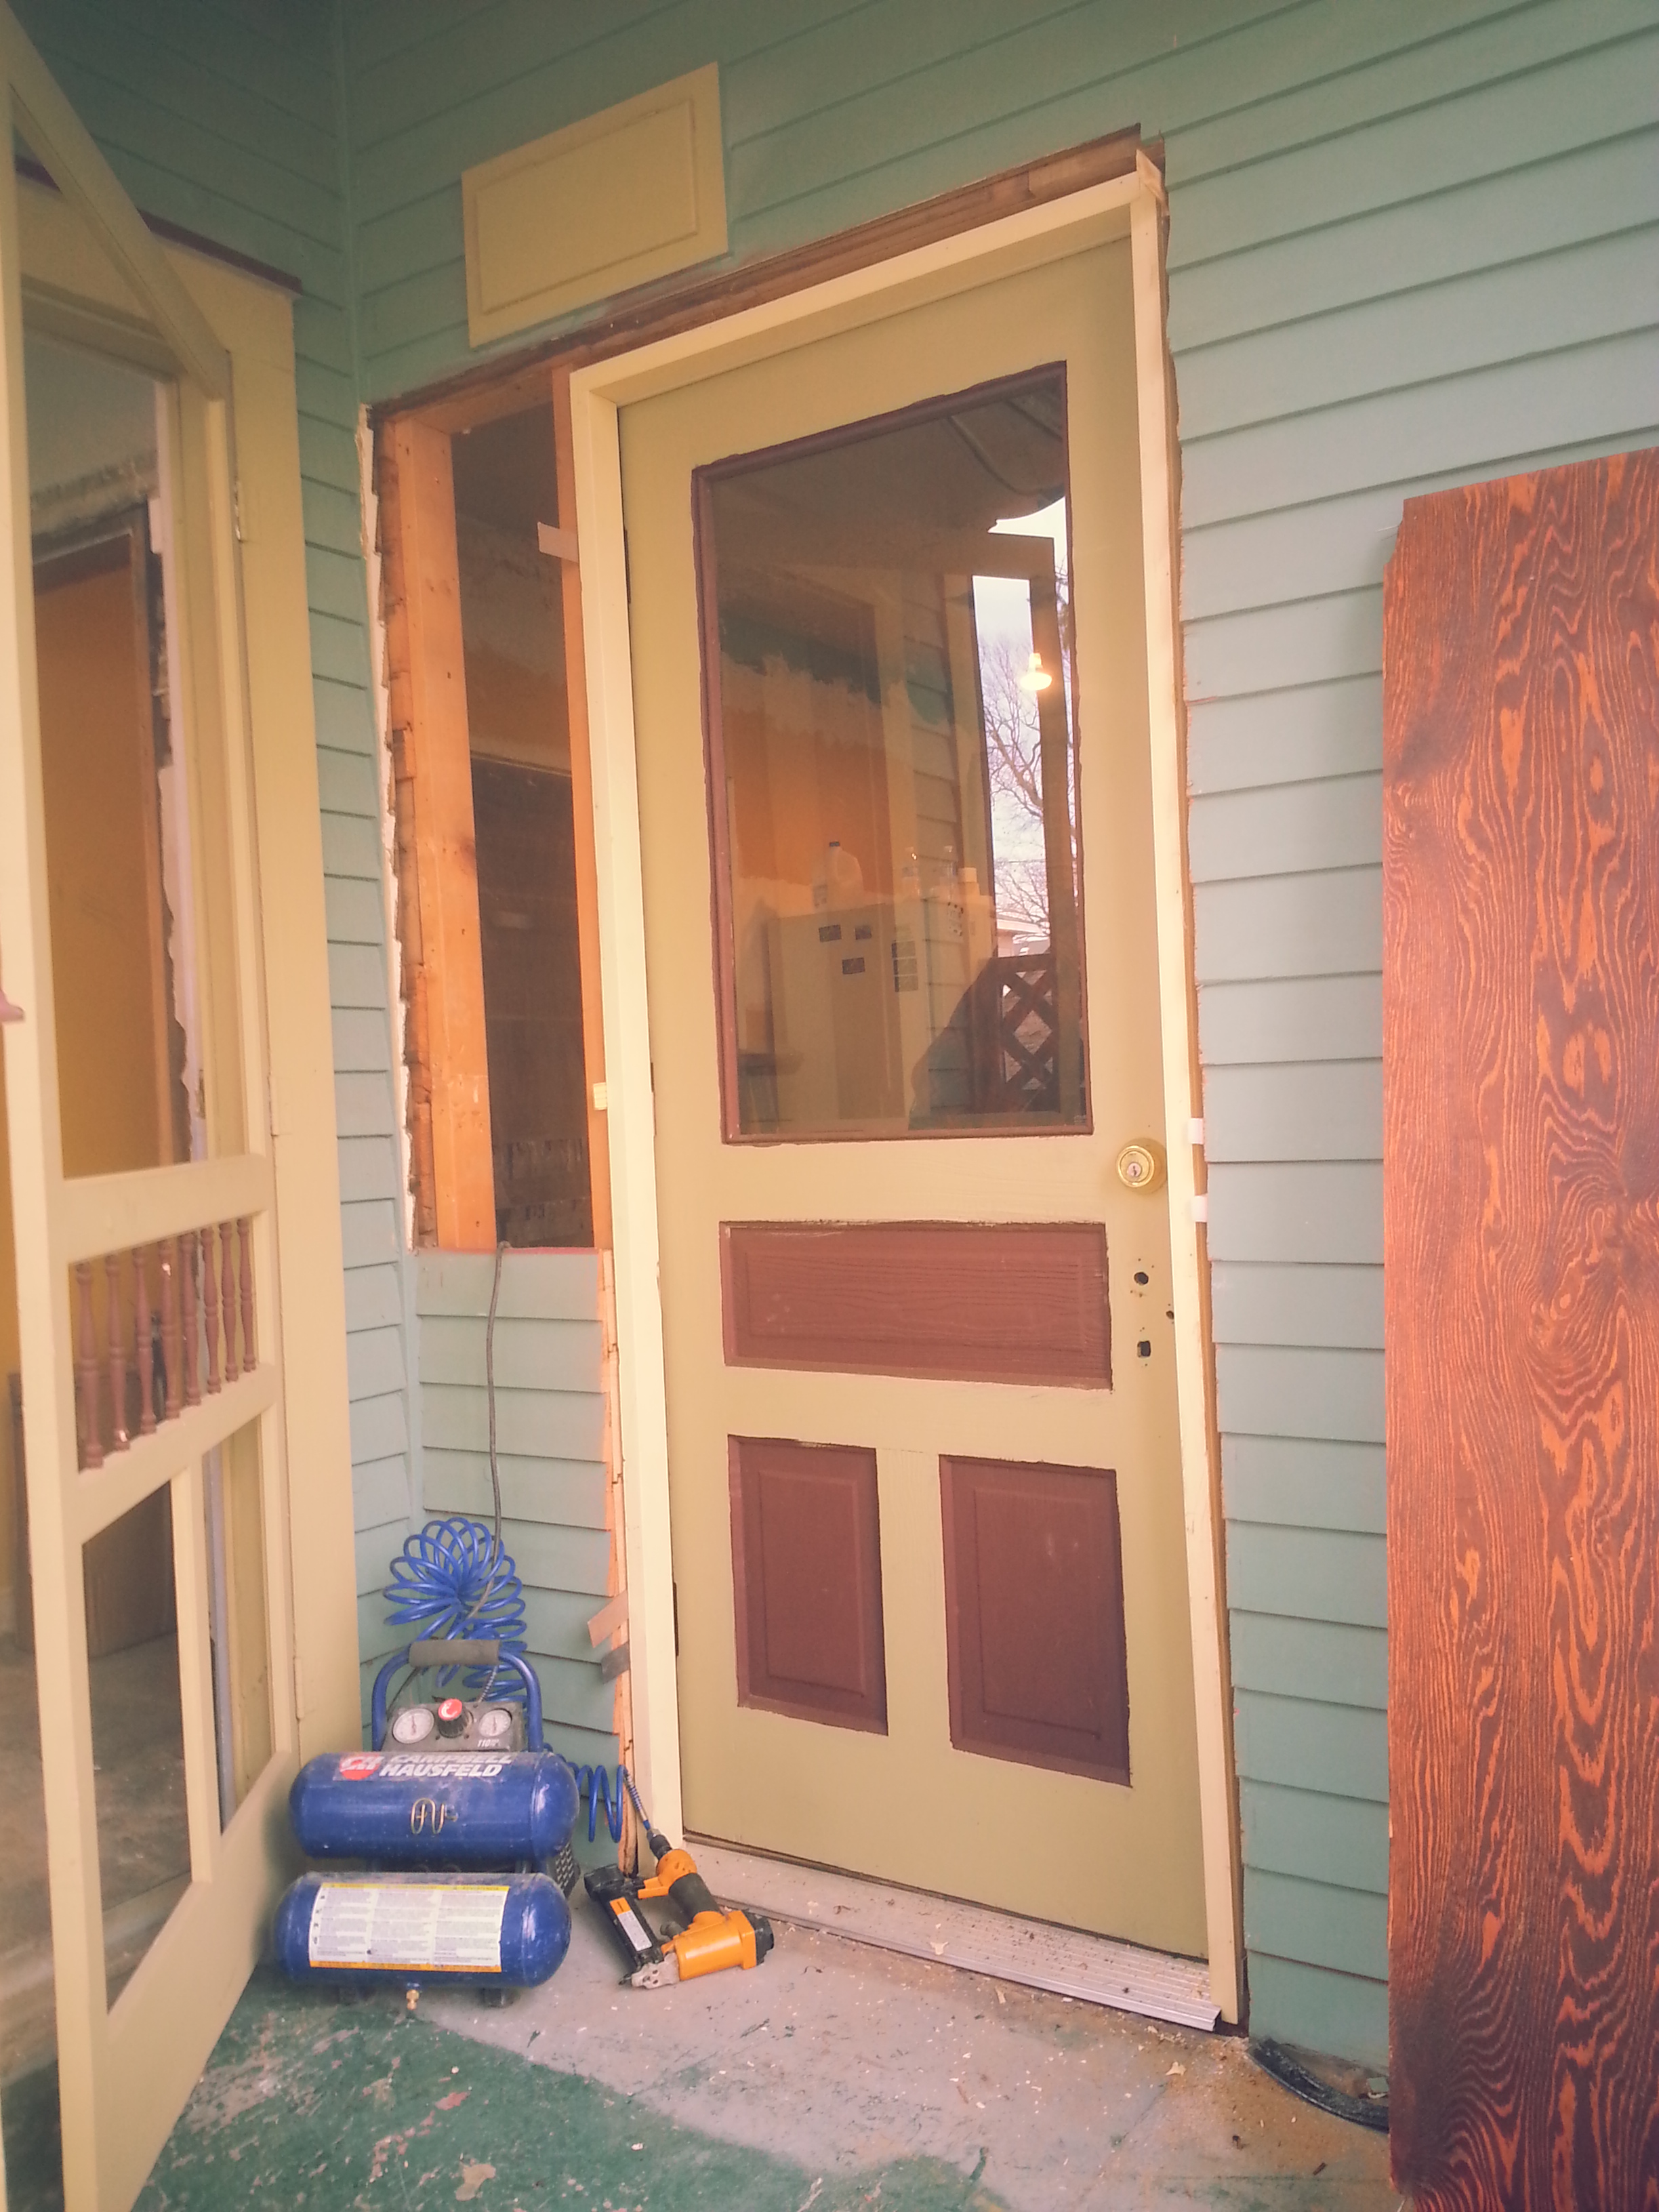
If you take a look at the picture below you will see the window on the right that we wanted to remove. In the space left by the window we will be installing an exterior door that will lead directly to the back porch. This is the door that I talked about in the post here. The door that you see on the left side of the photo currently opens into a utility closet off the back of the kitchen. We are converting that utility closet into our only downstairs bathroom and so, understandably, a door leading to the outside of the house has gotta go!
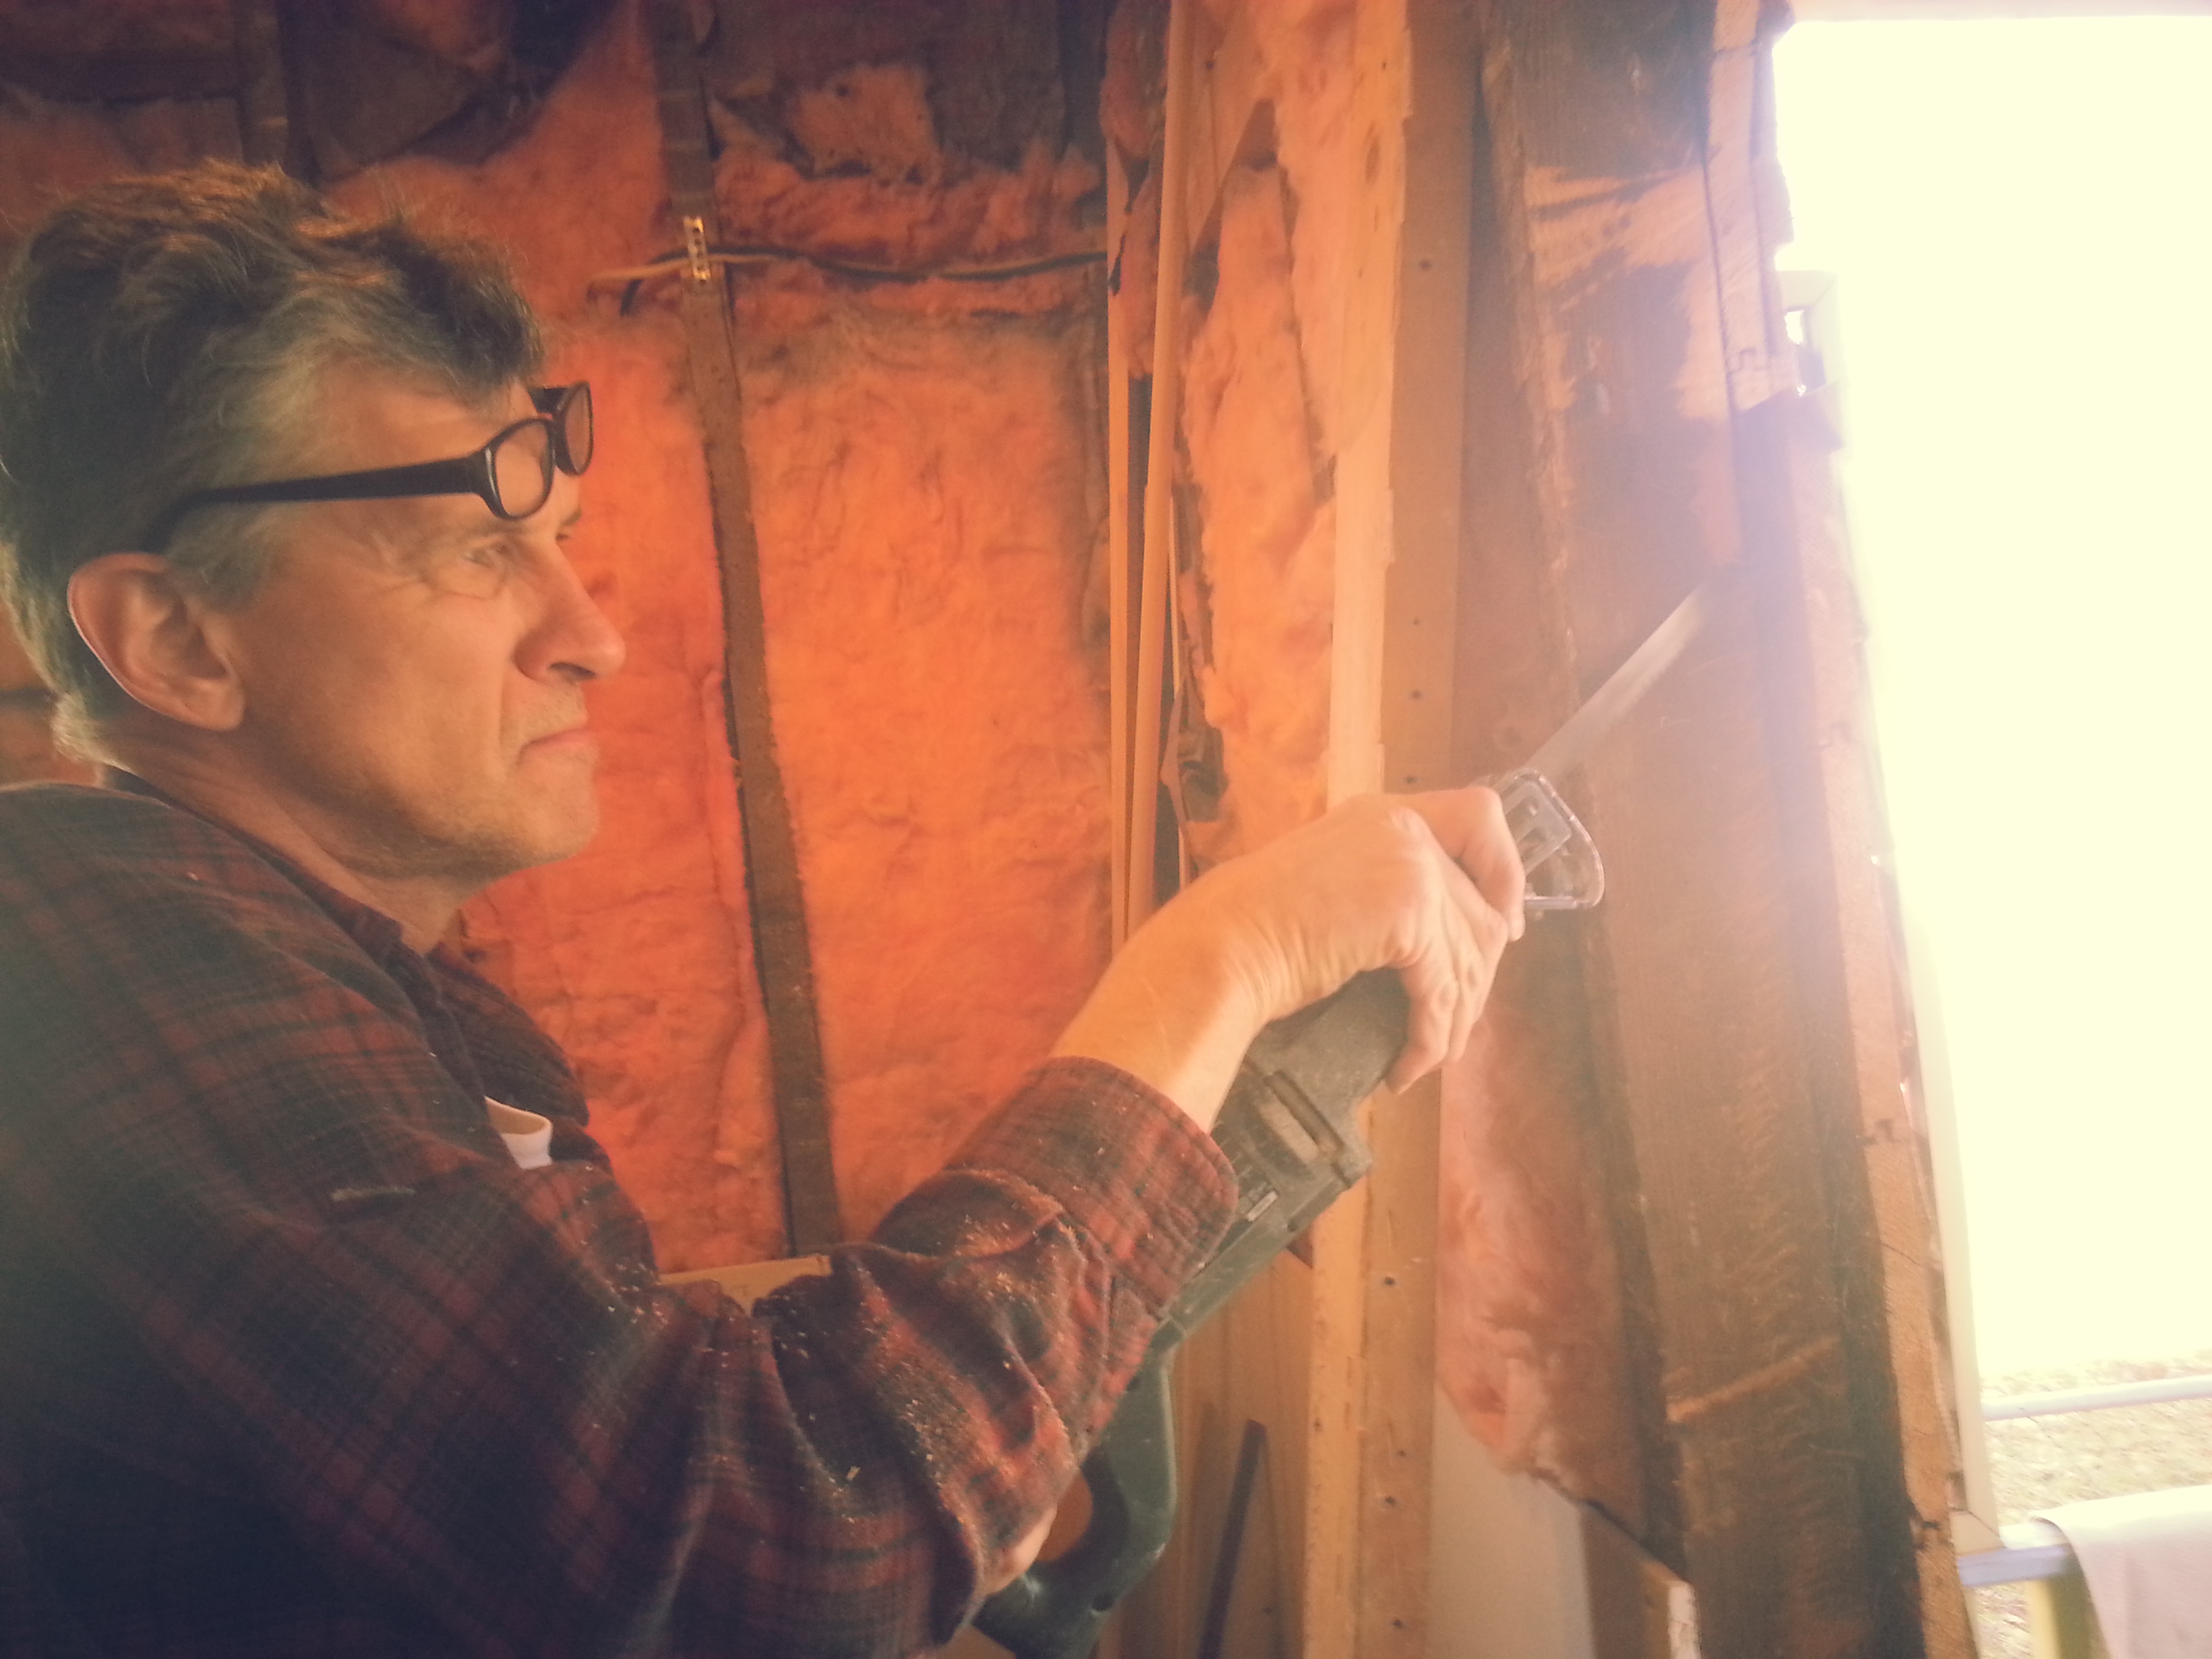
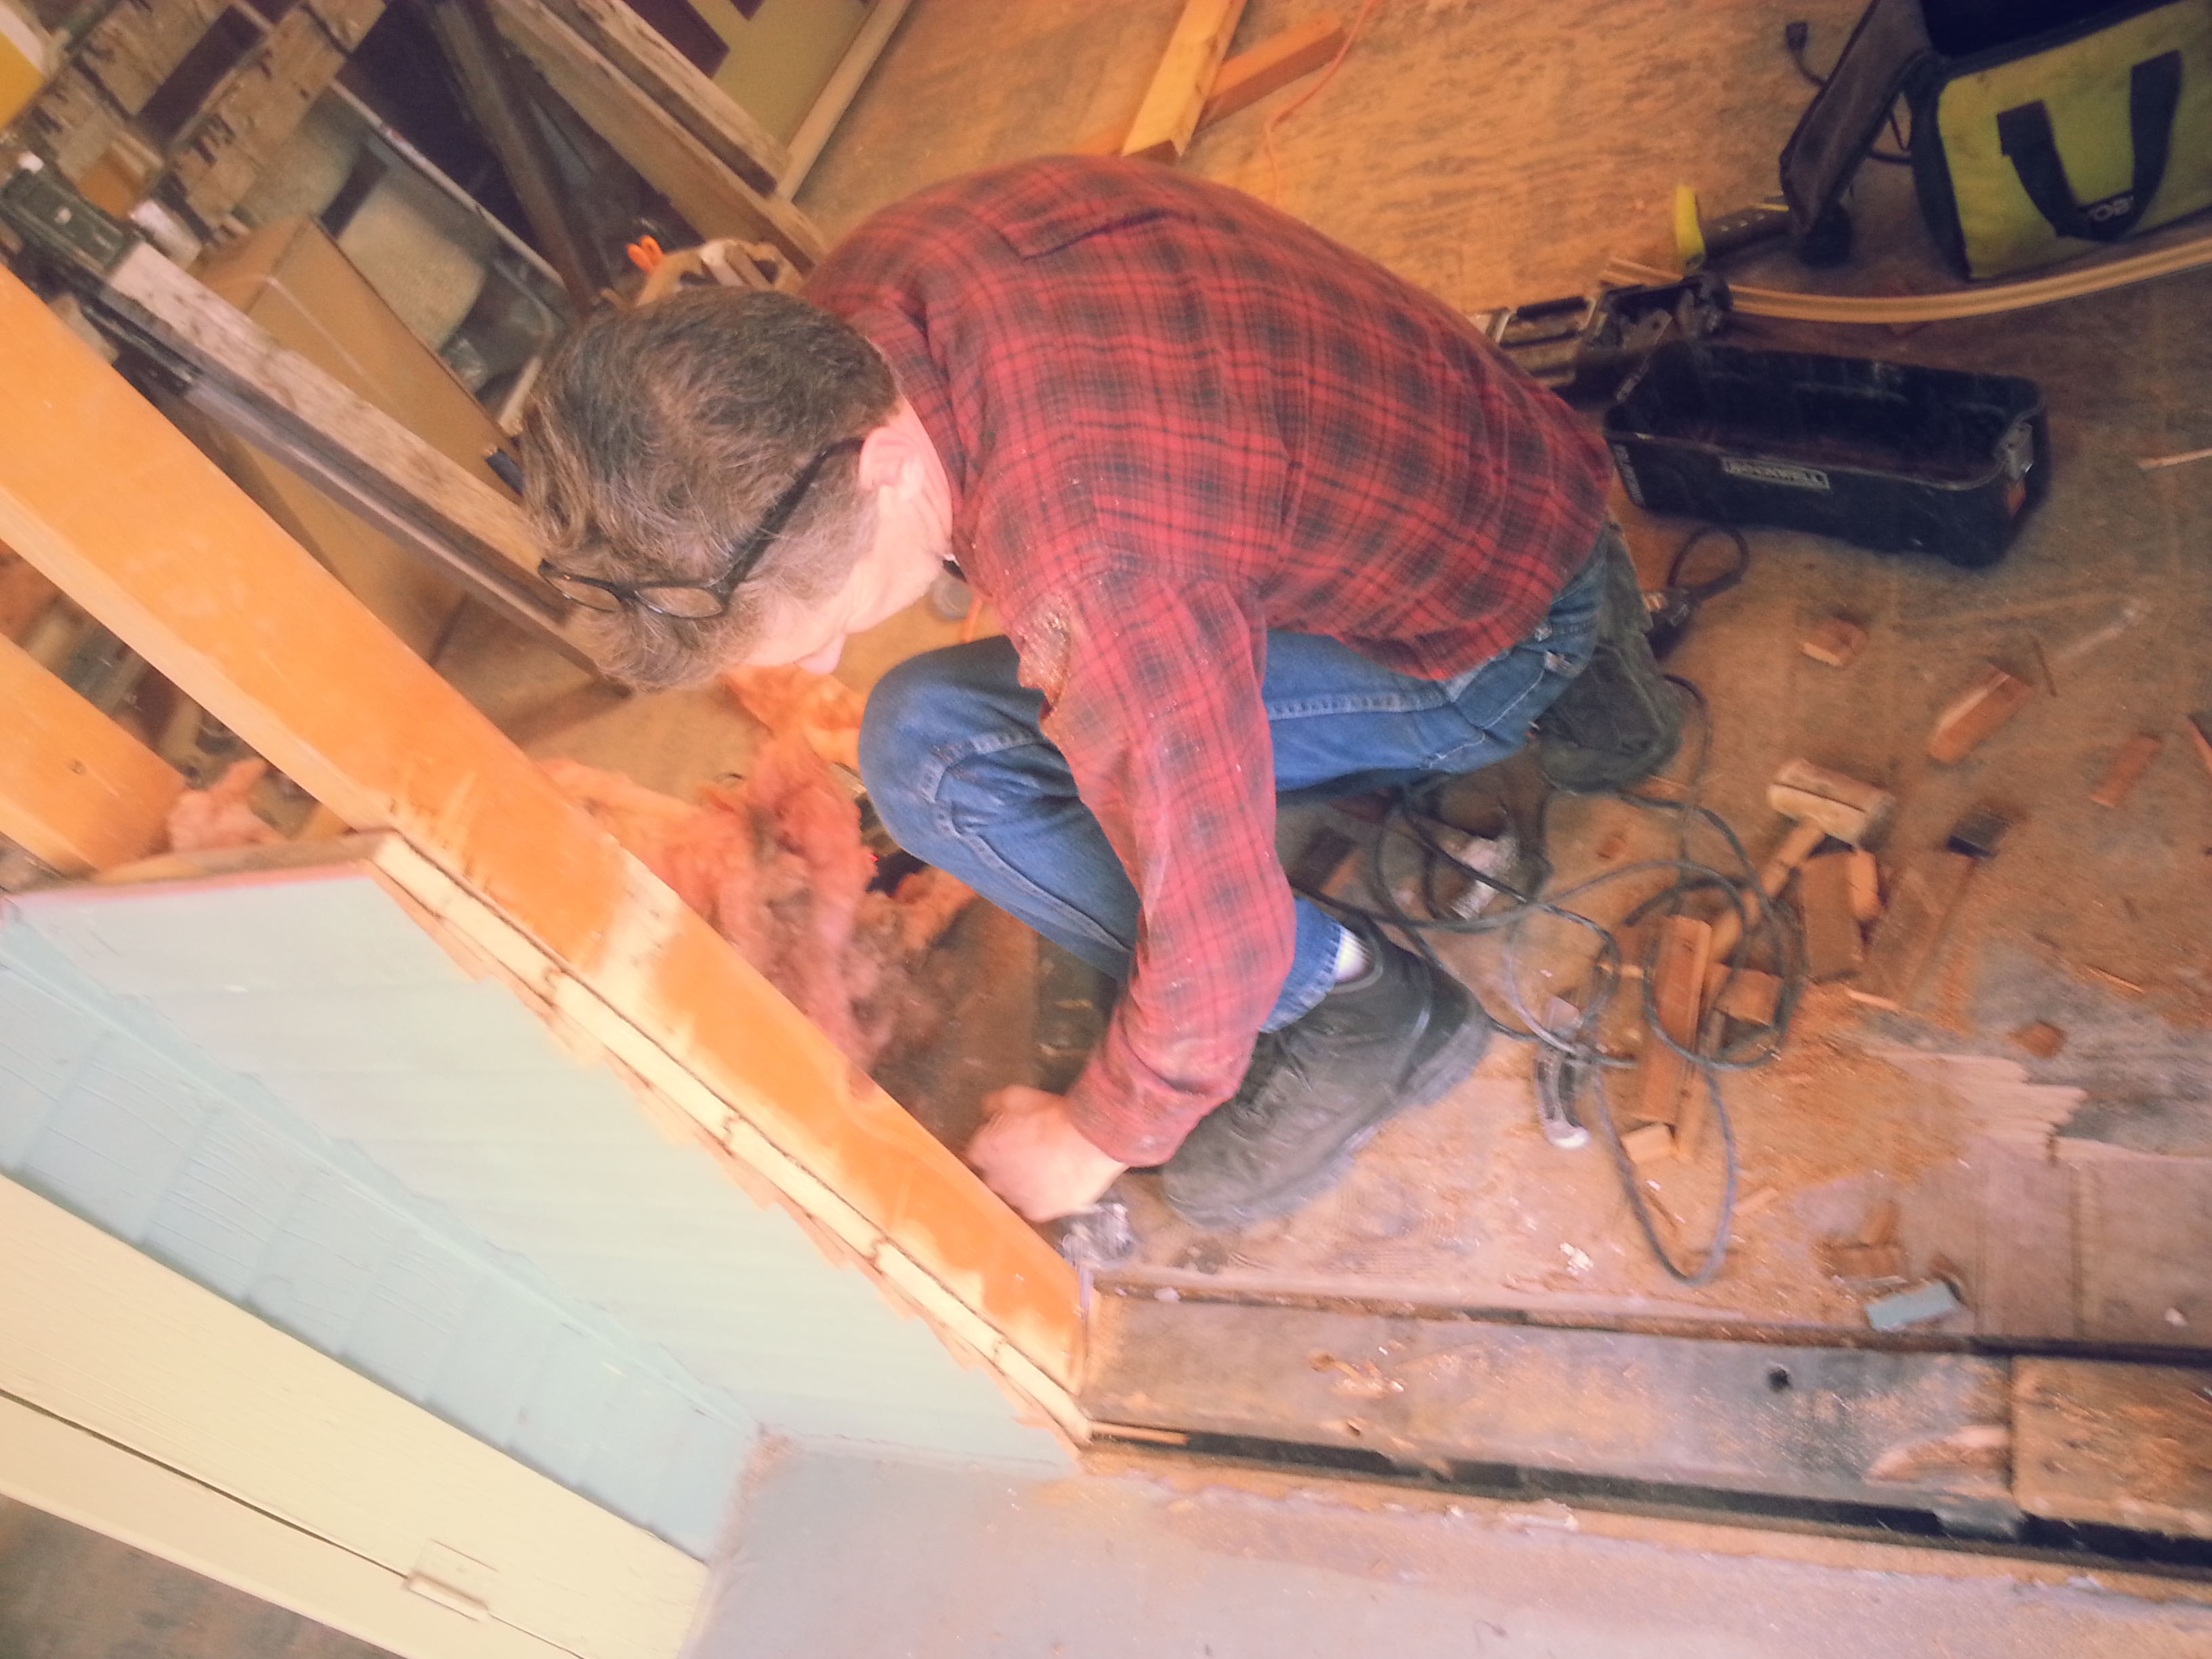
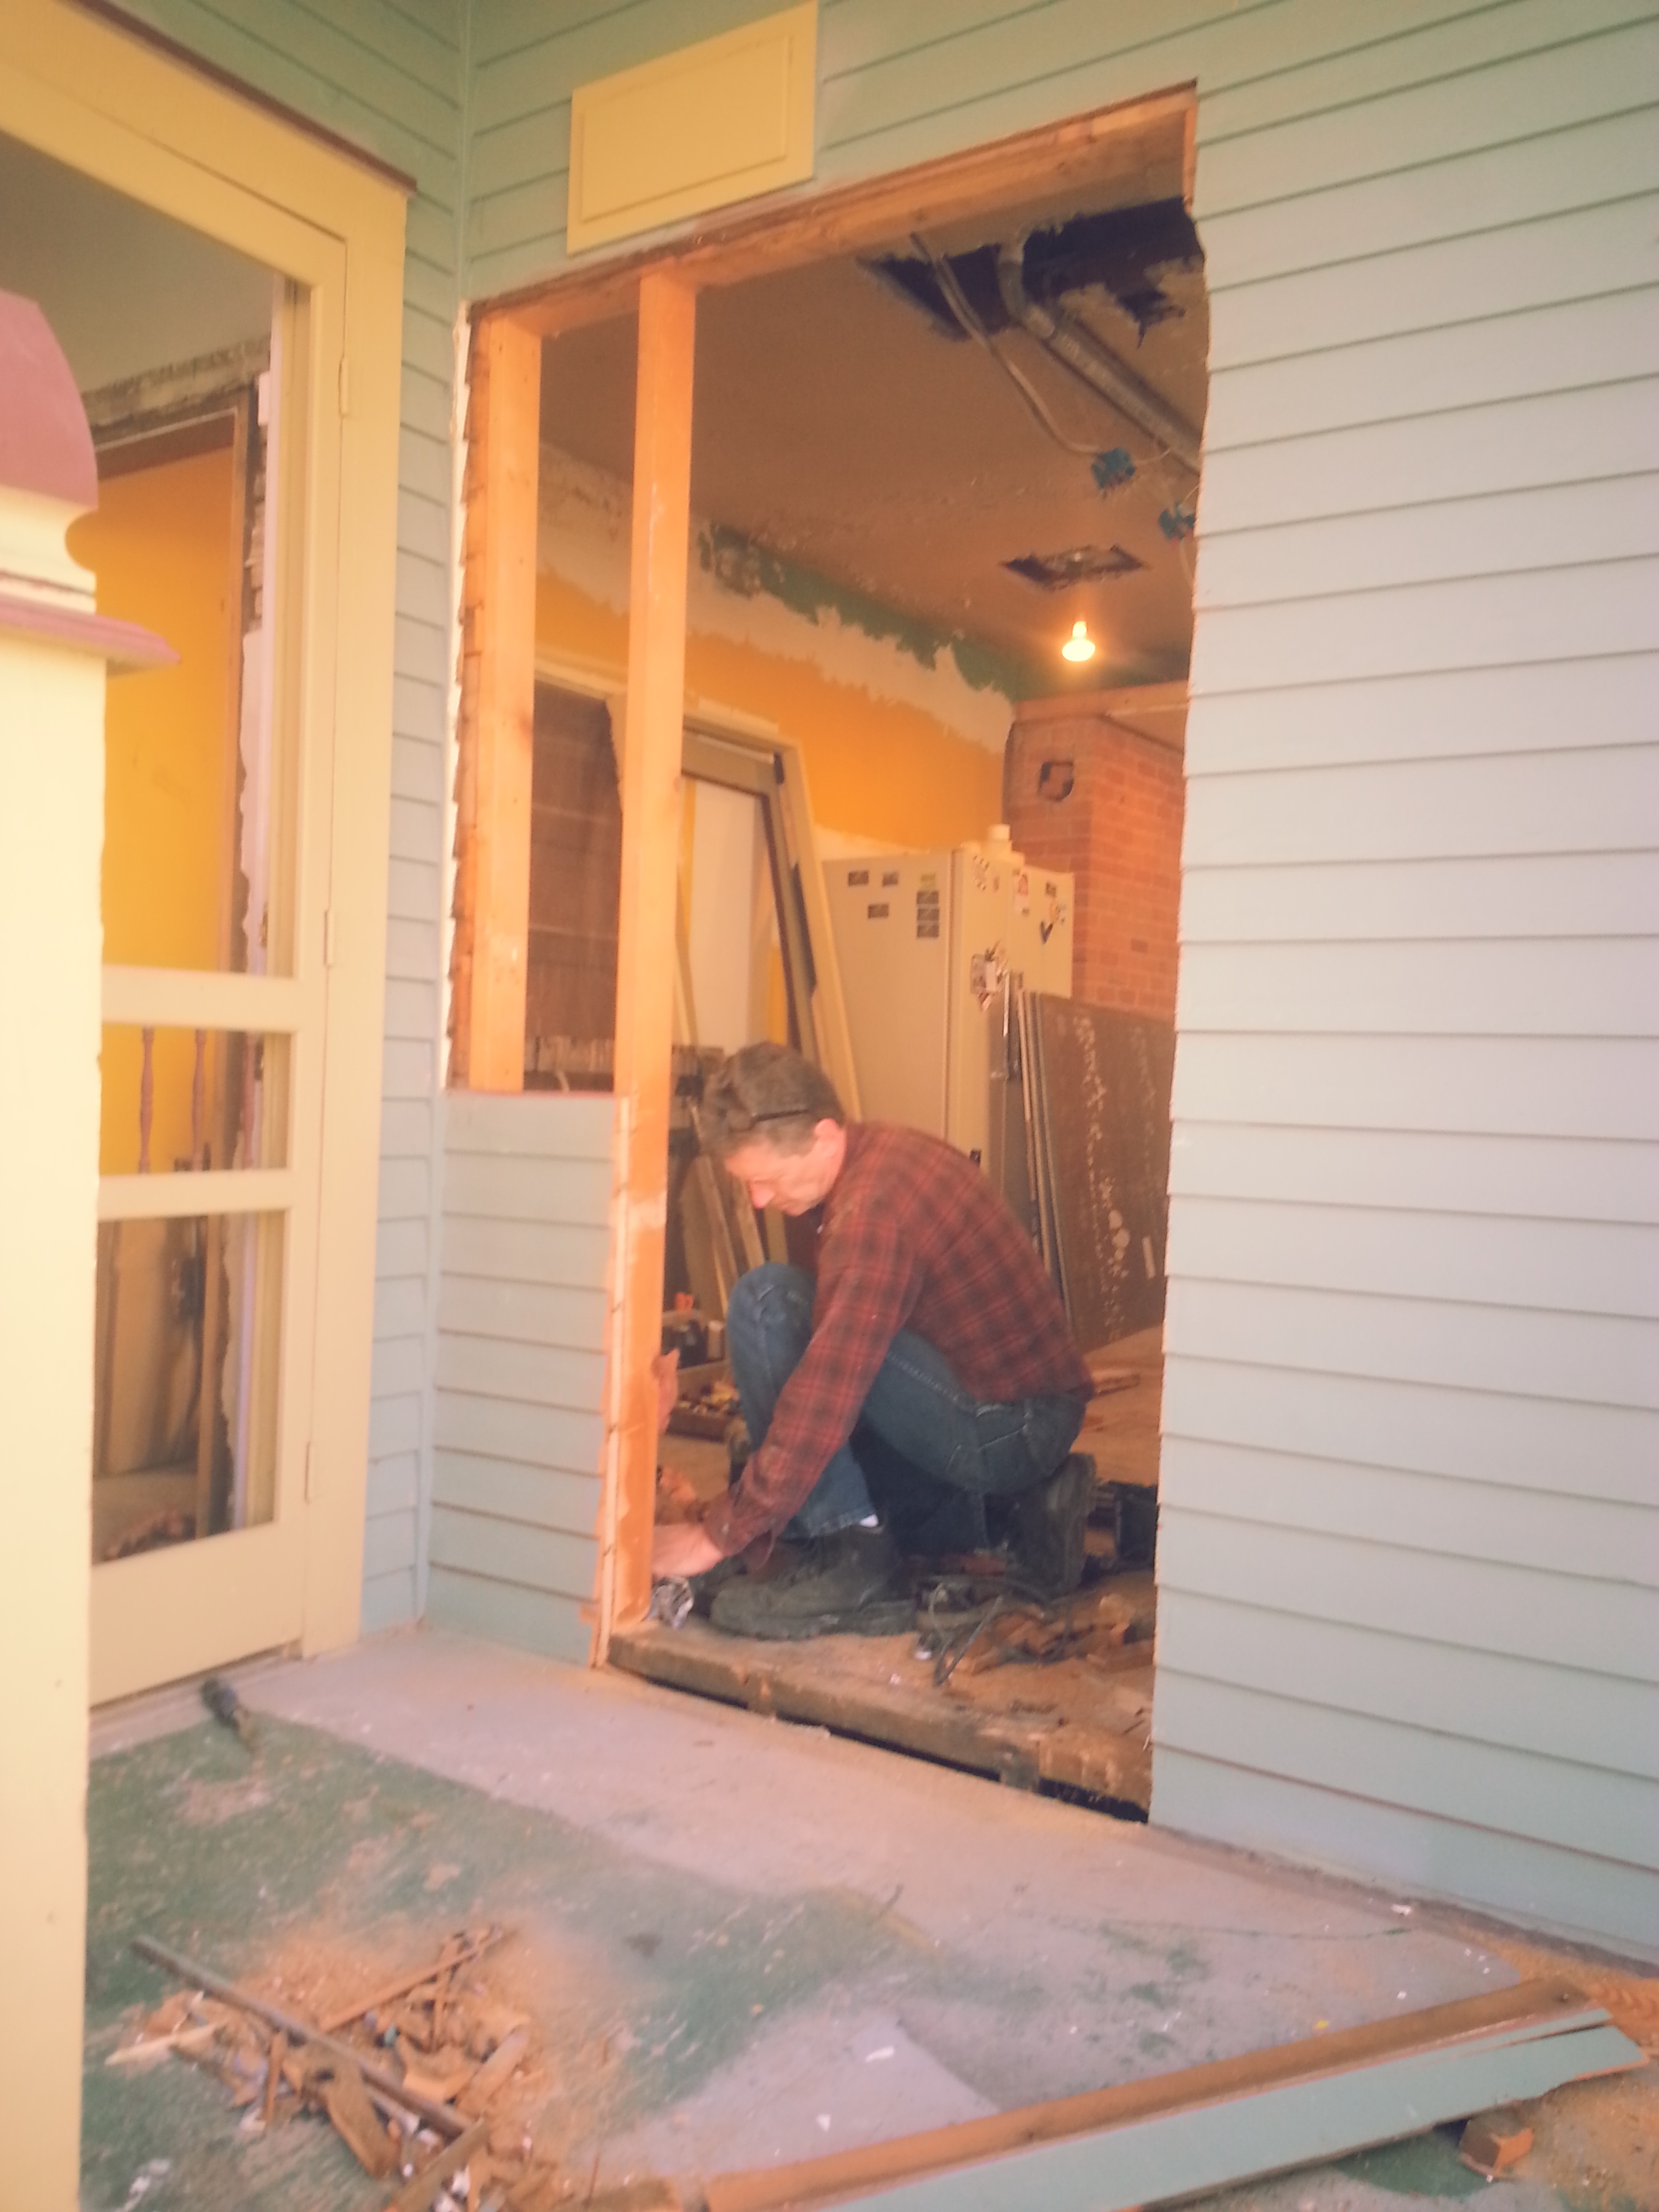
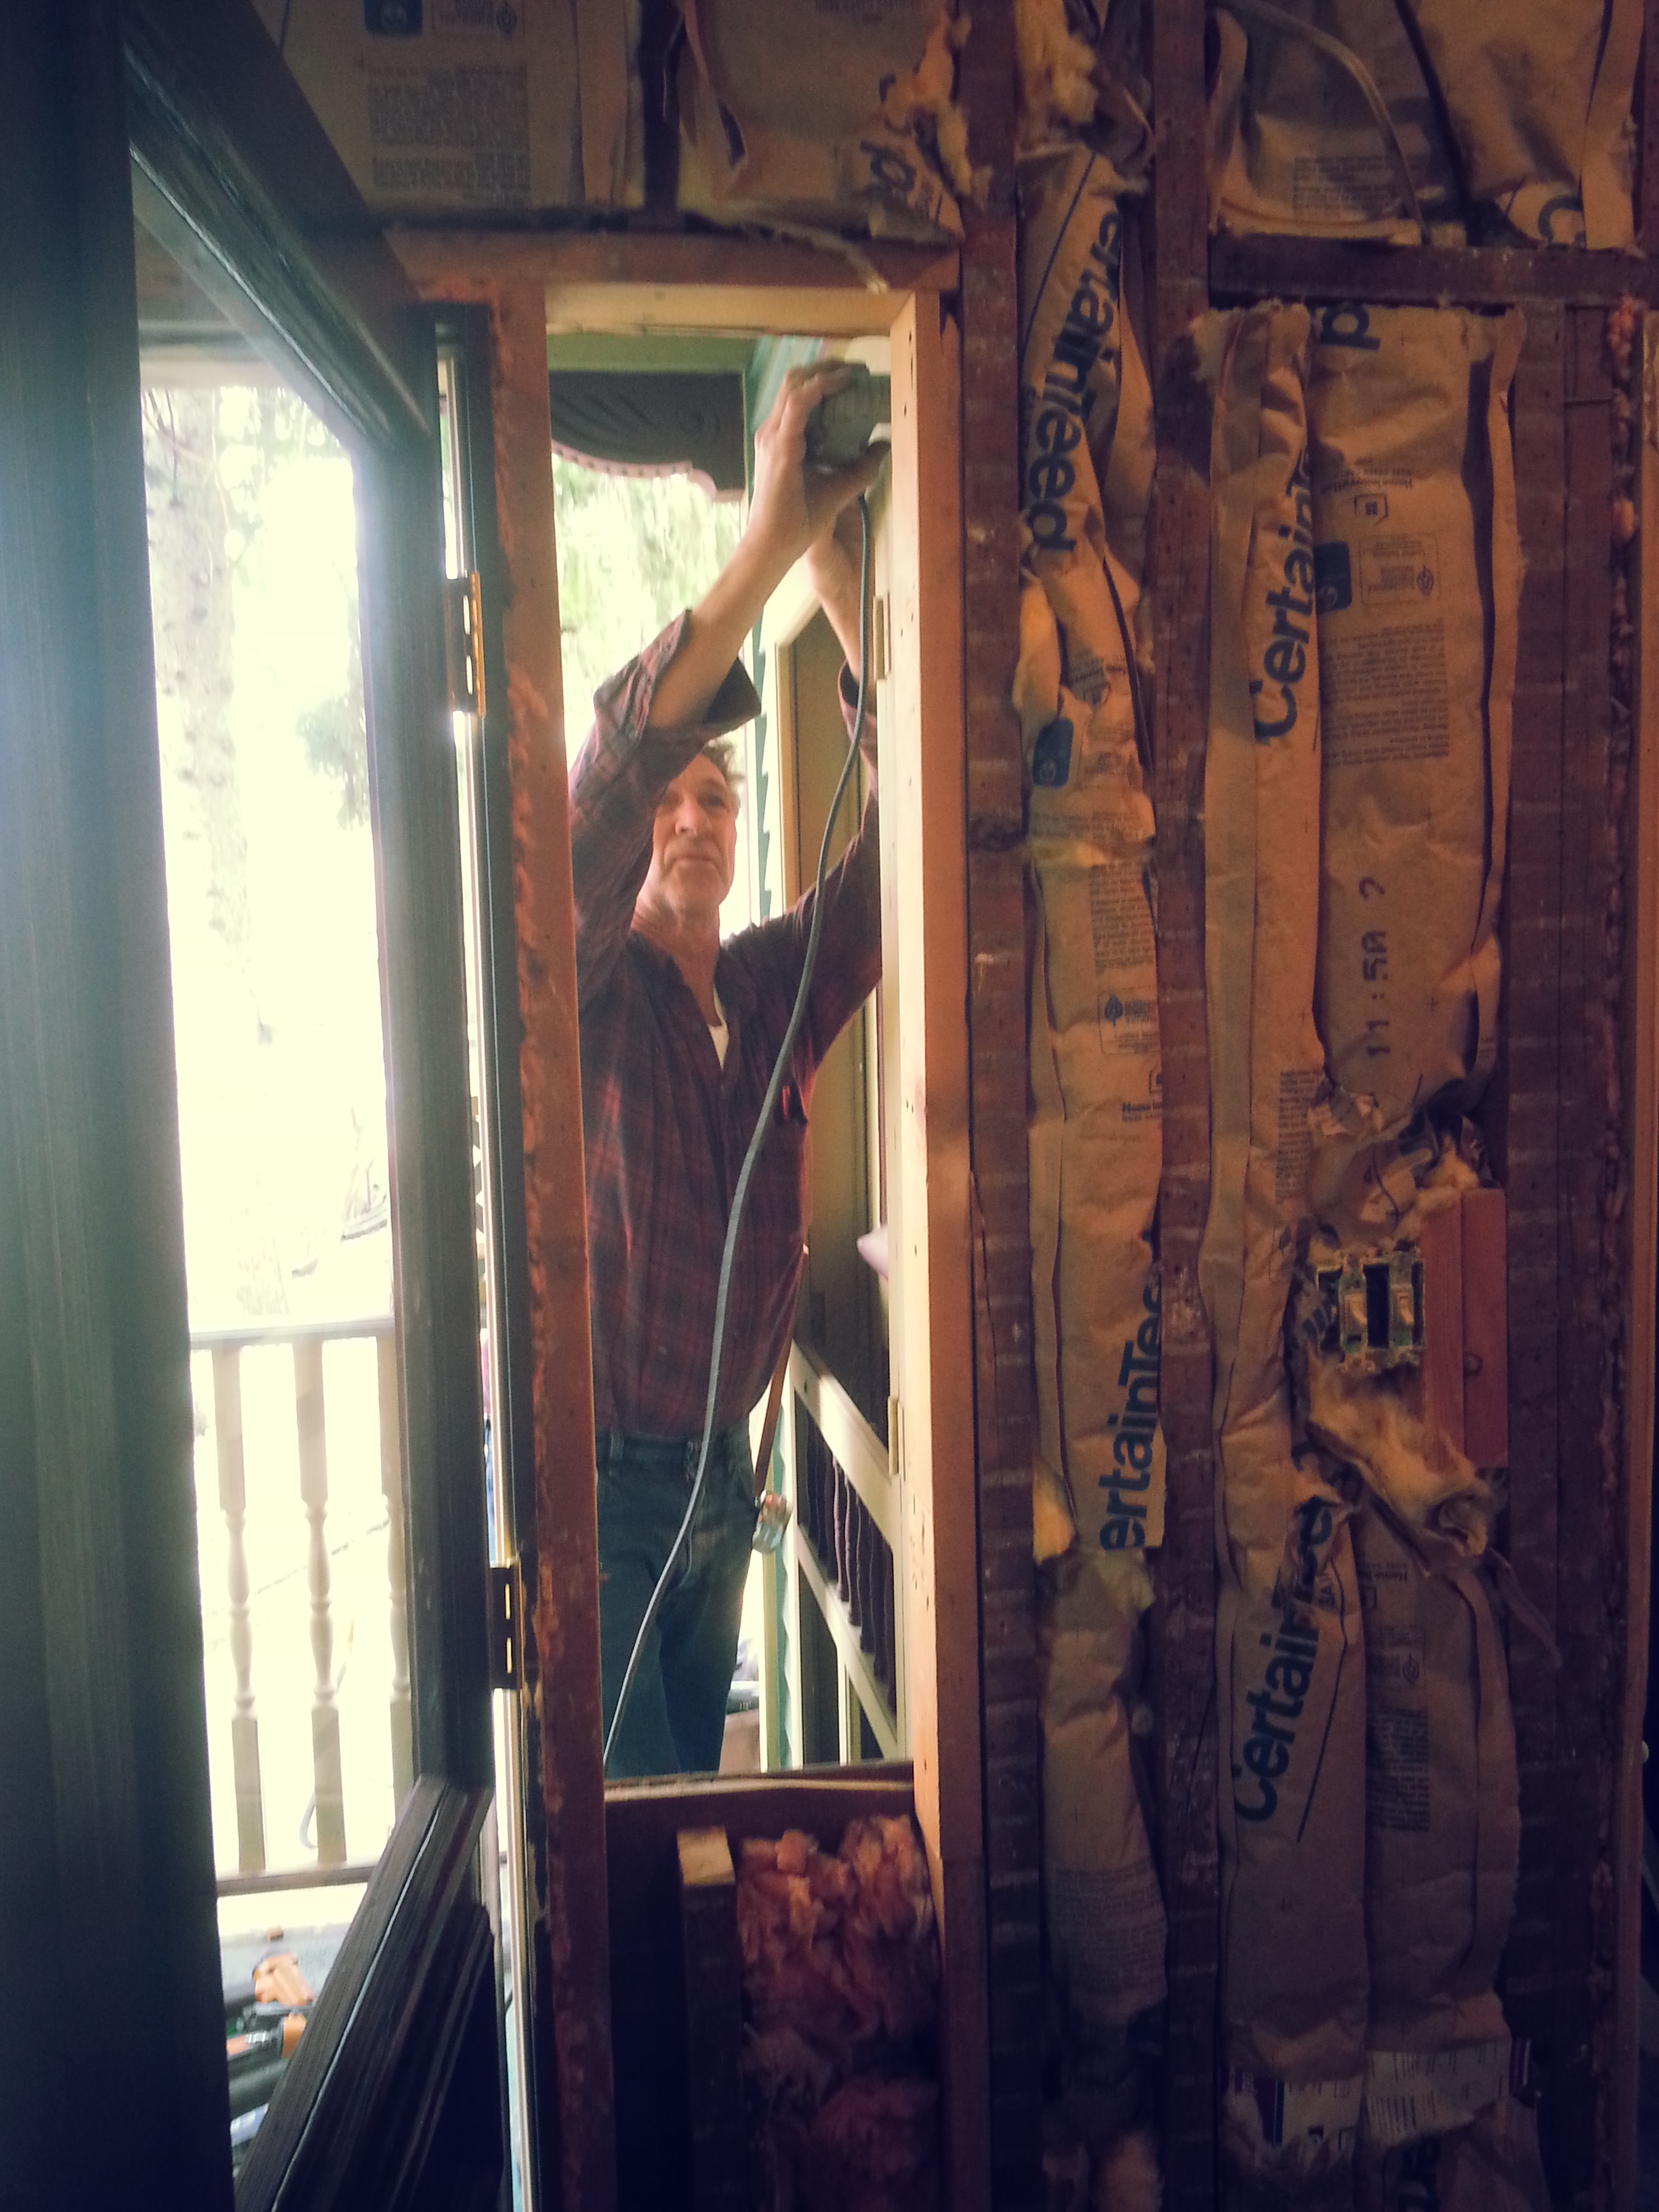
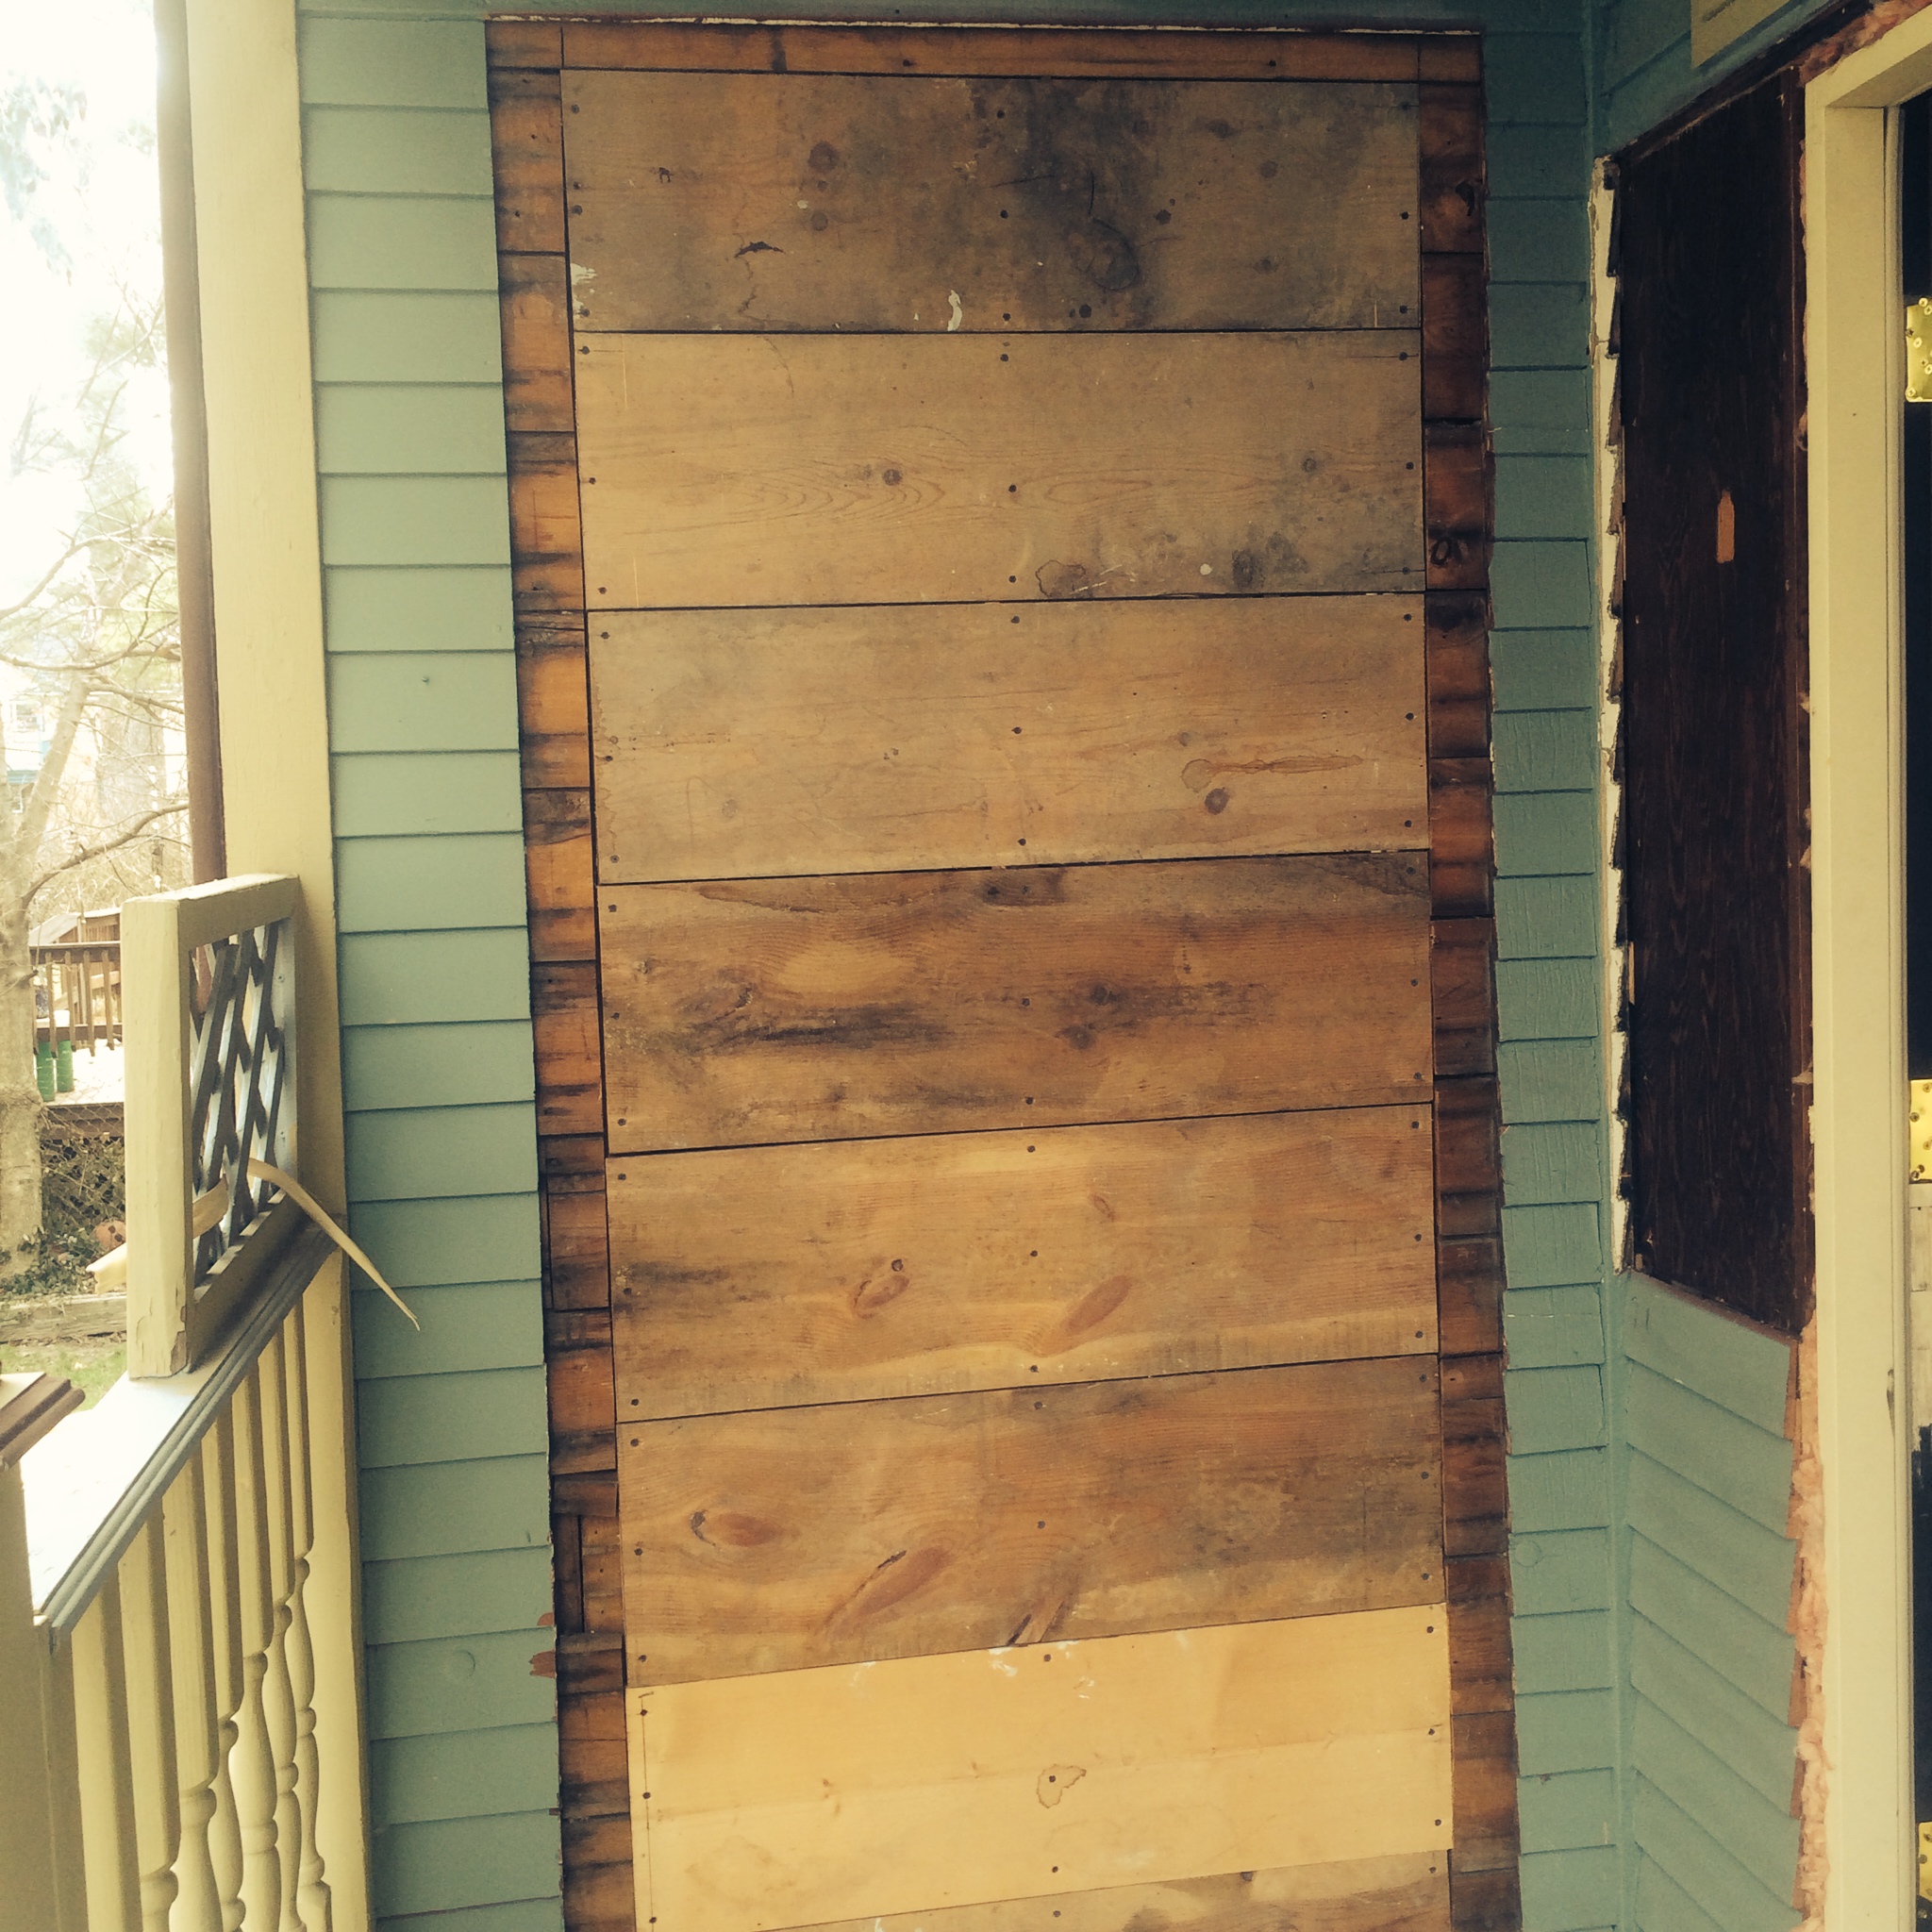
I’ll skip some of the boring details- this process of removing the 2nd window was pretty similar to the process of removing the first window. Wash, Rinse, Repeat. Once the window was out we had to remove additional siding and parts of the house below the window opening in order to expand the hole so that we could install a door.
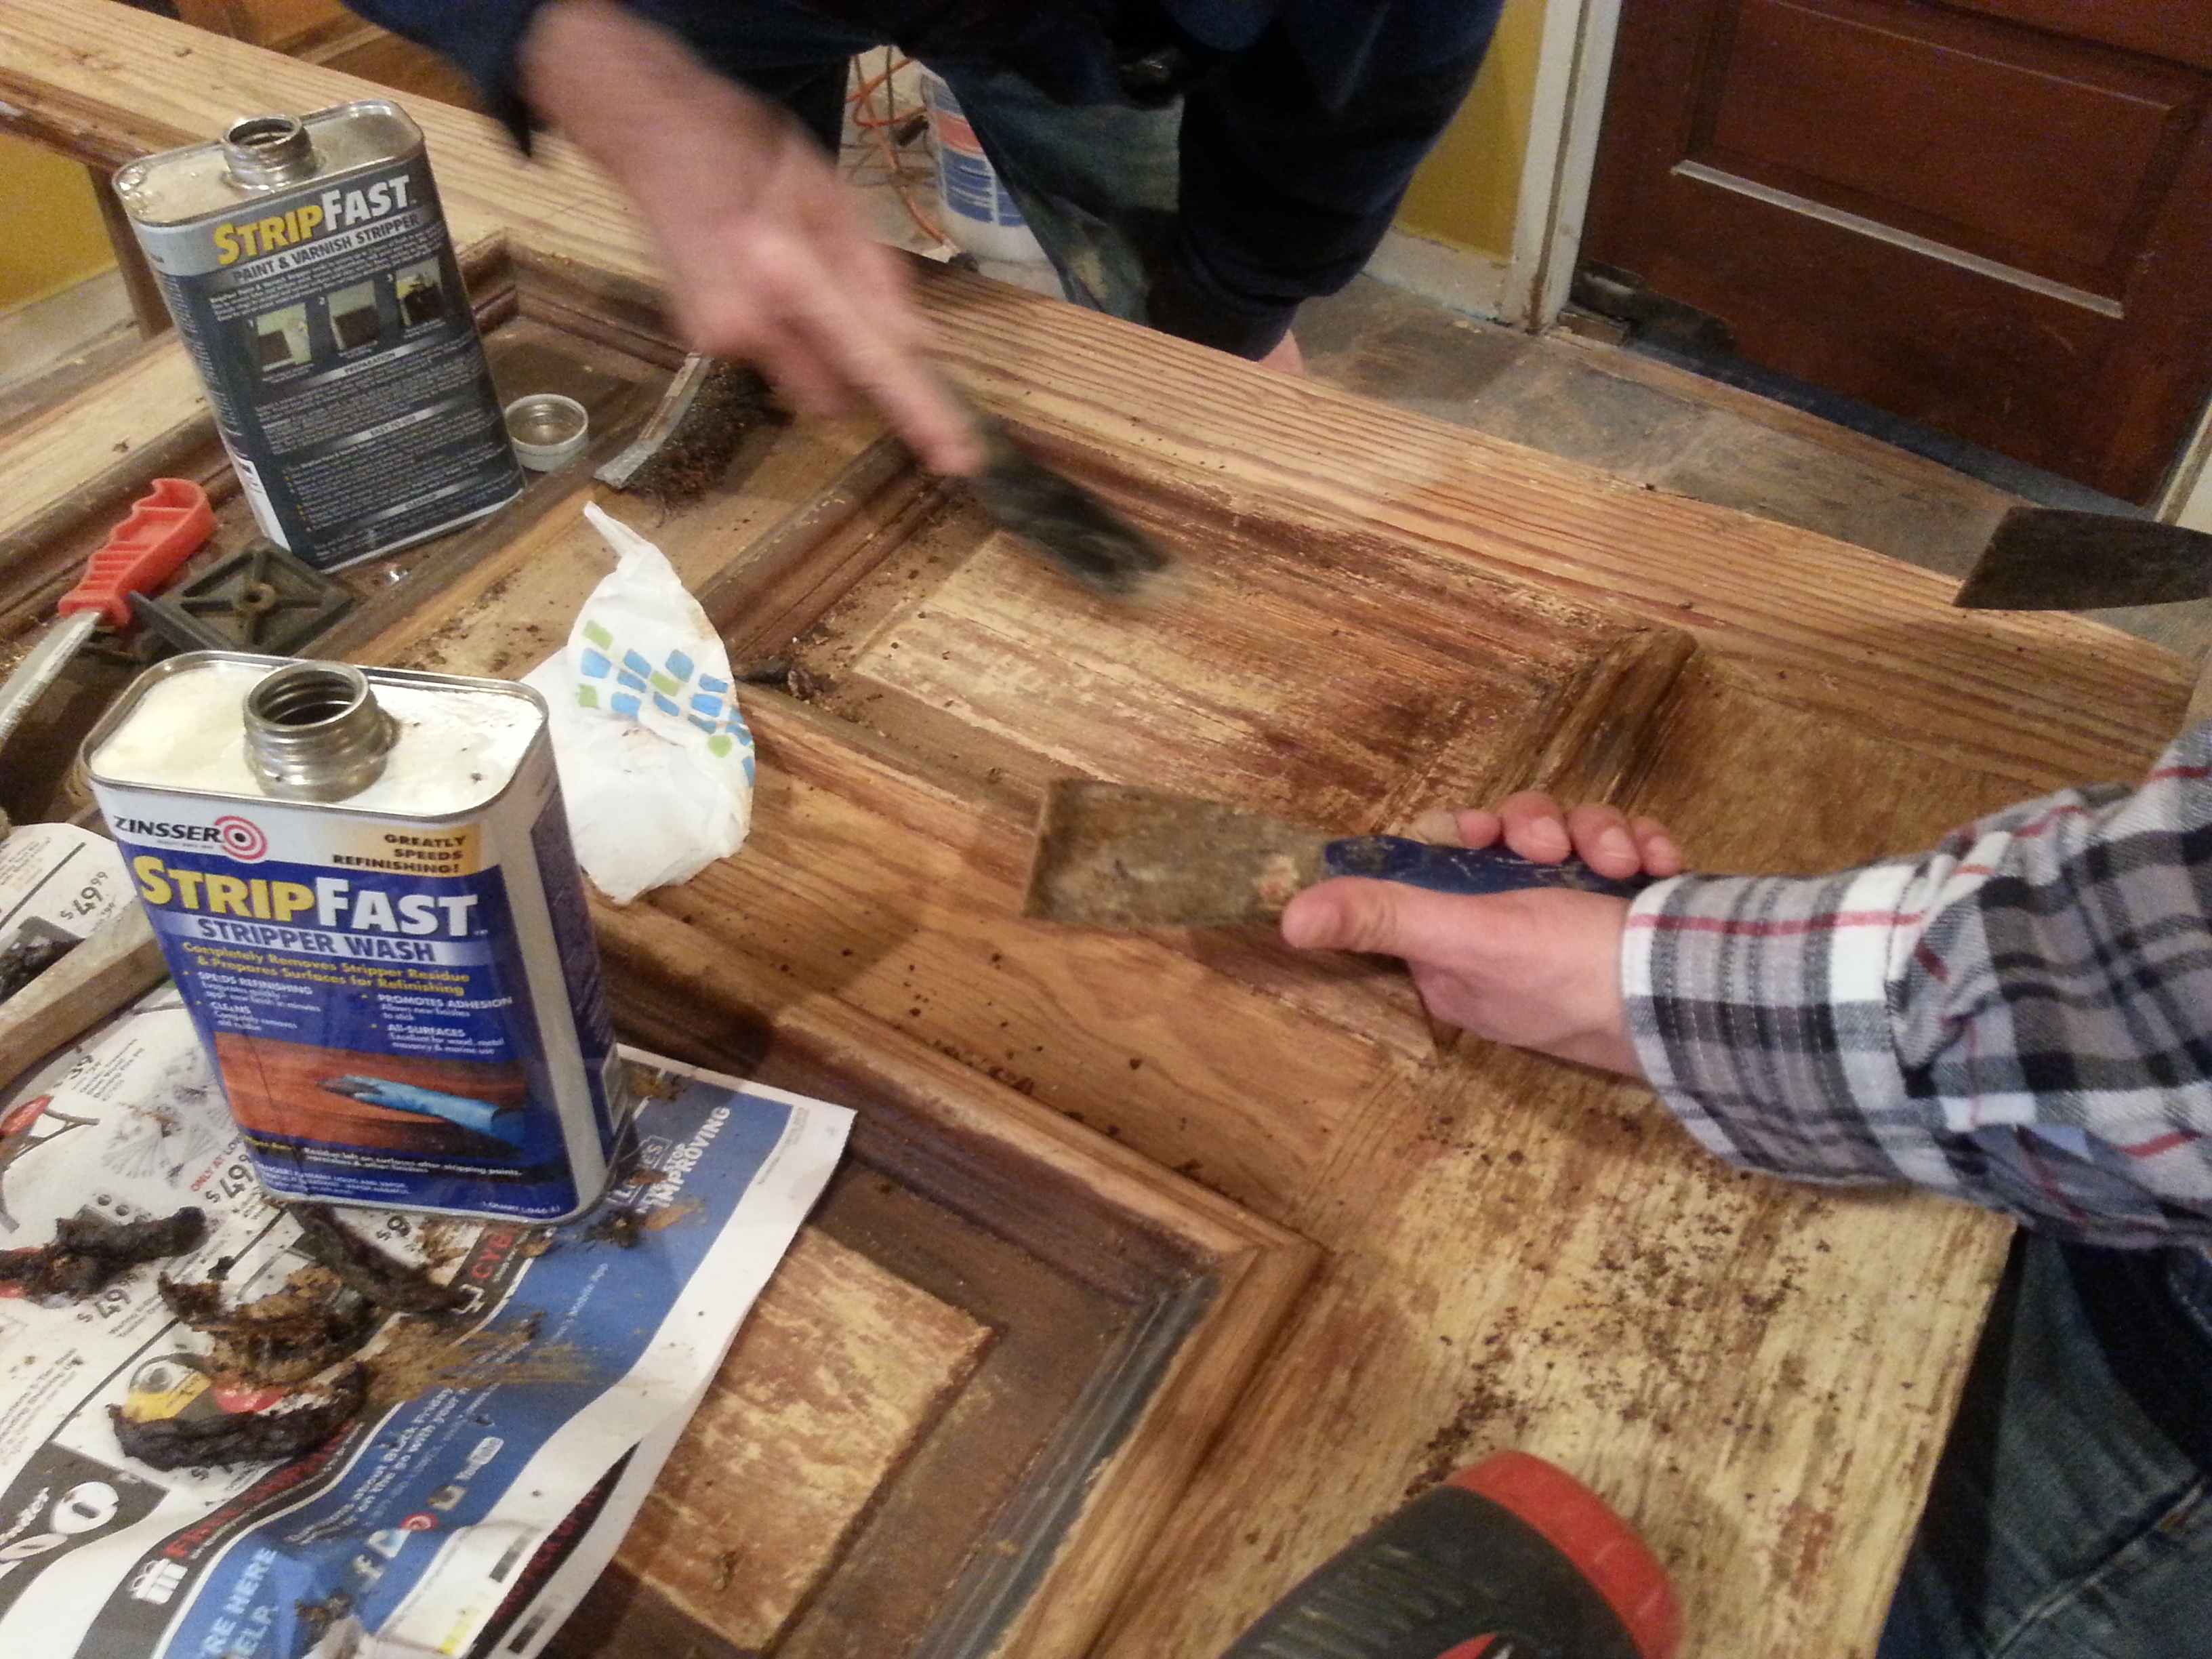
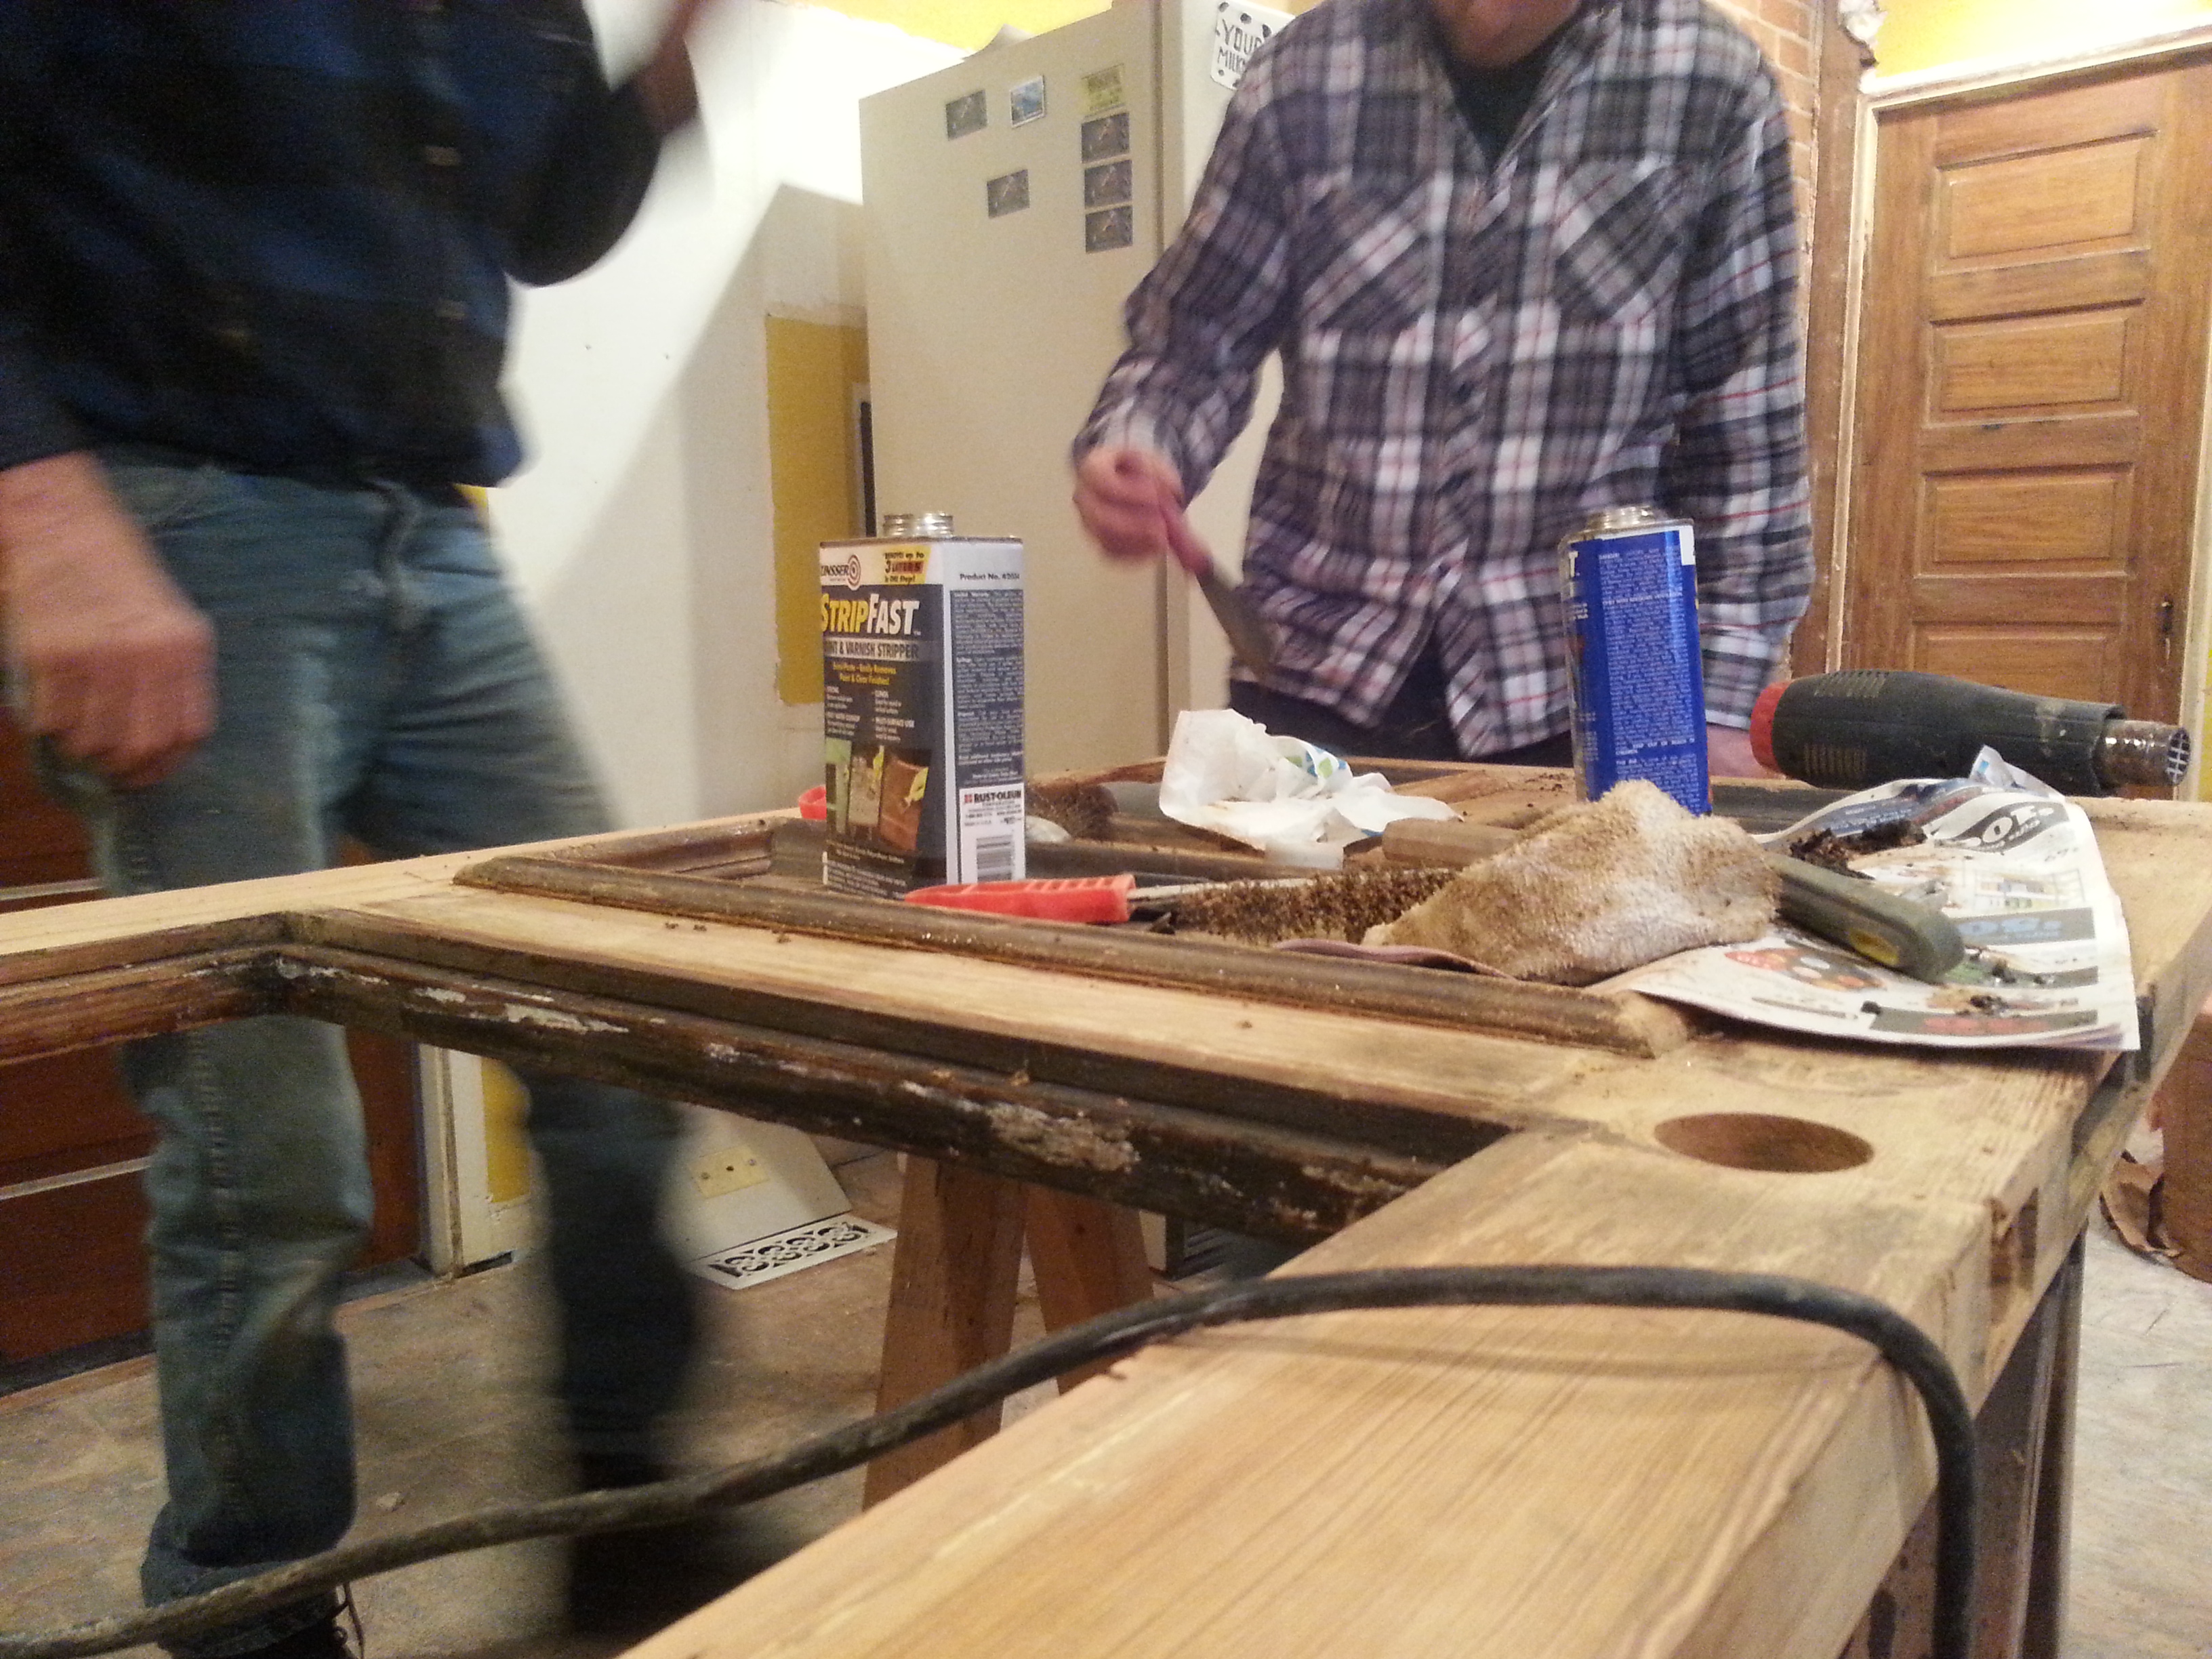
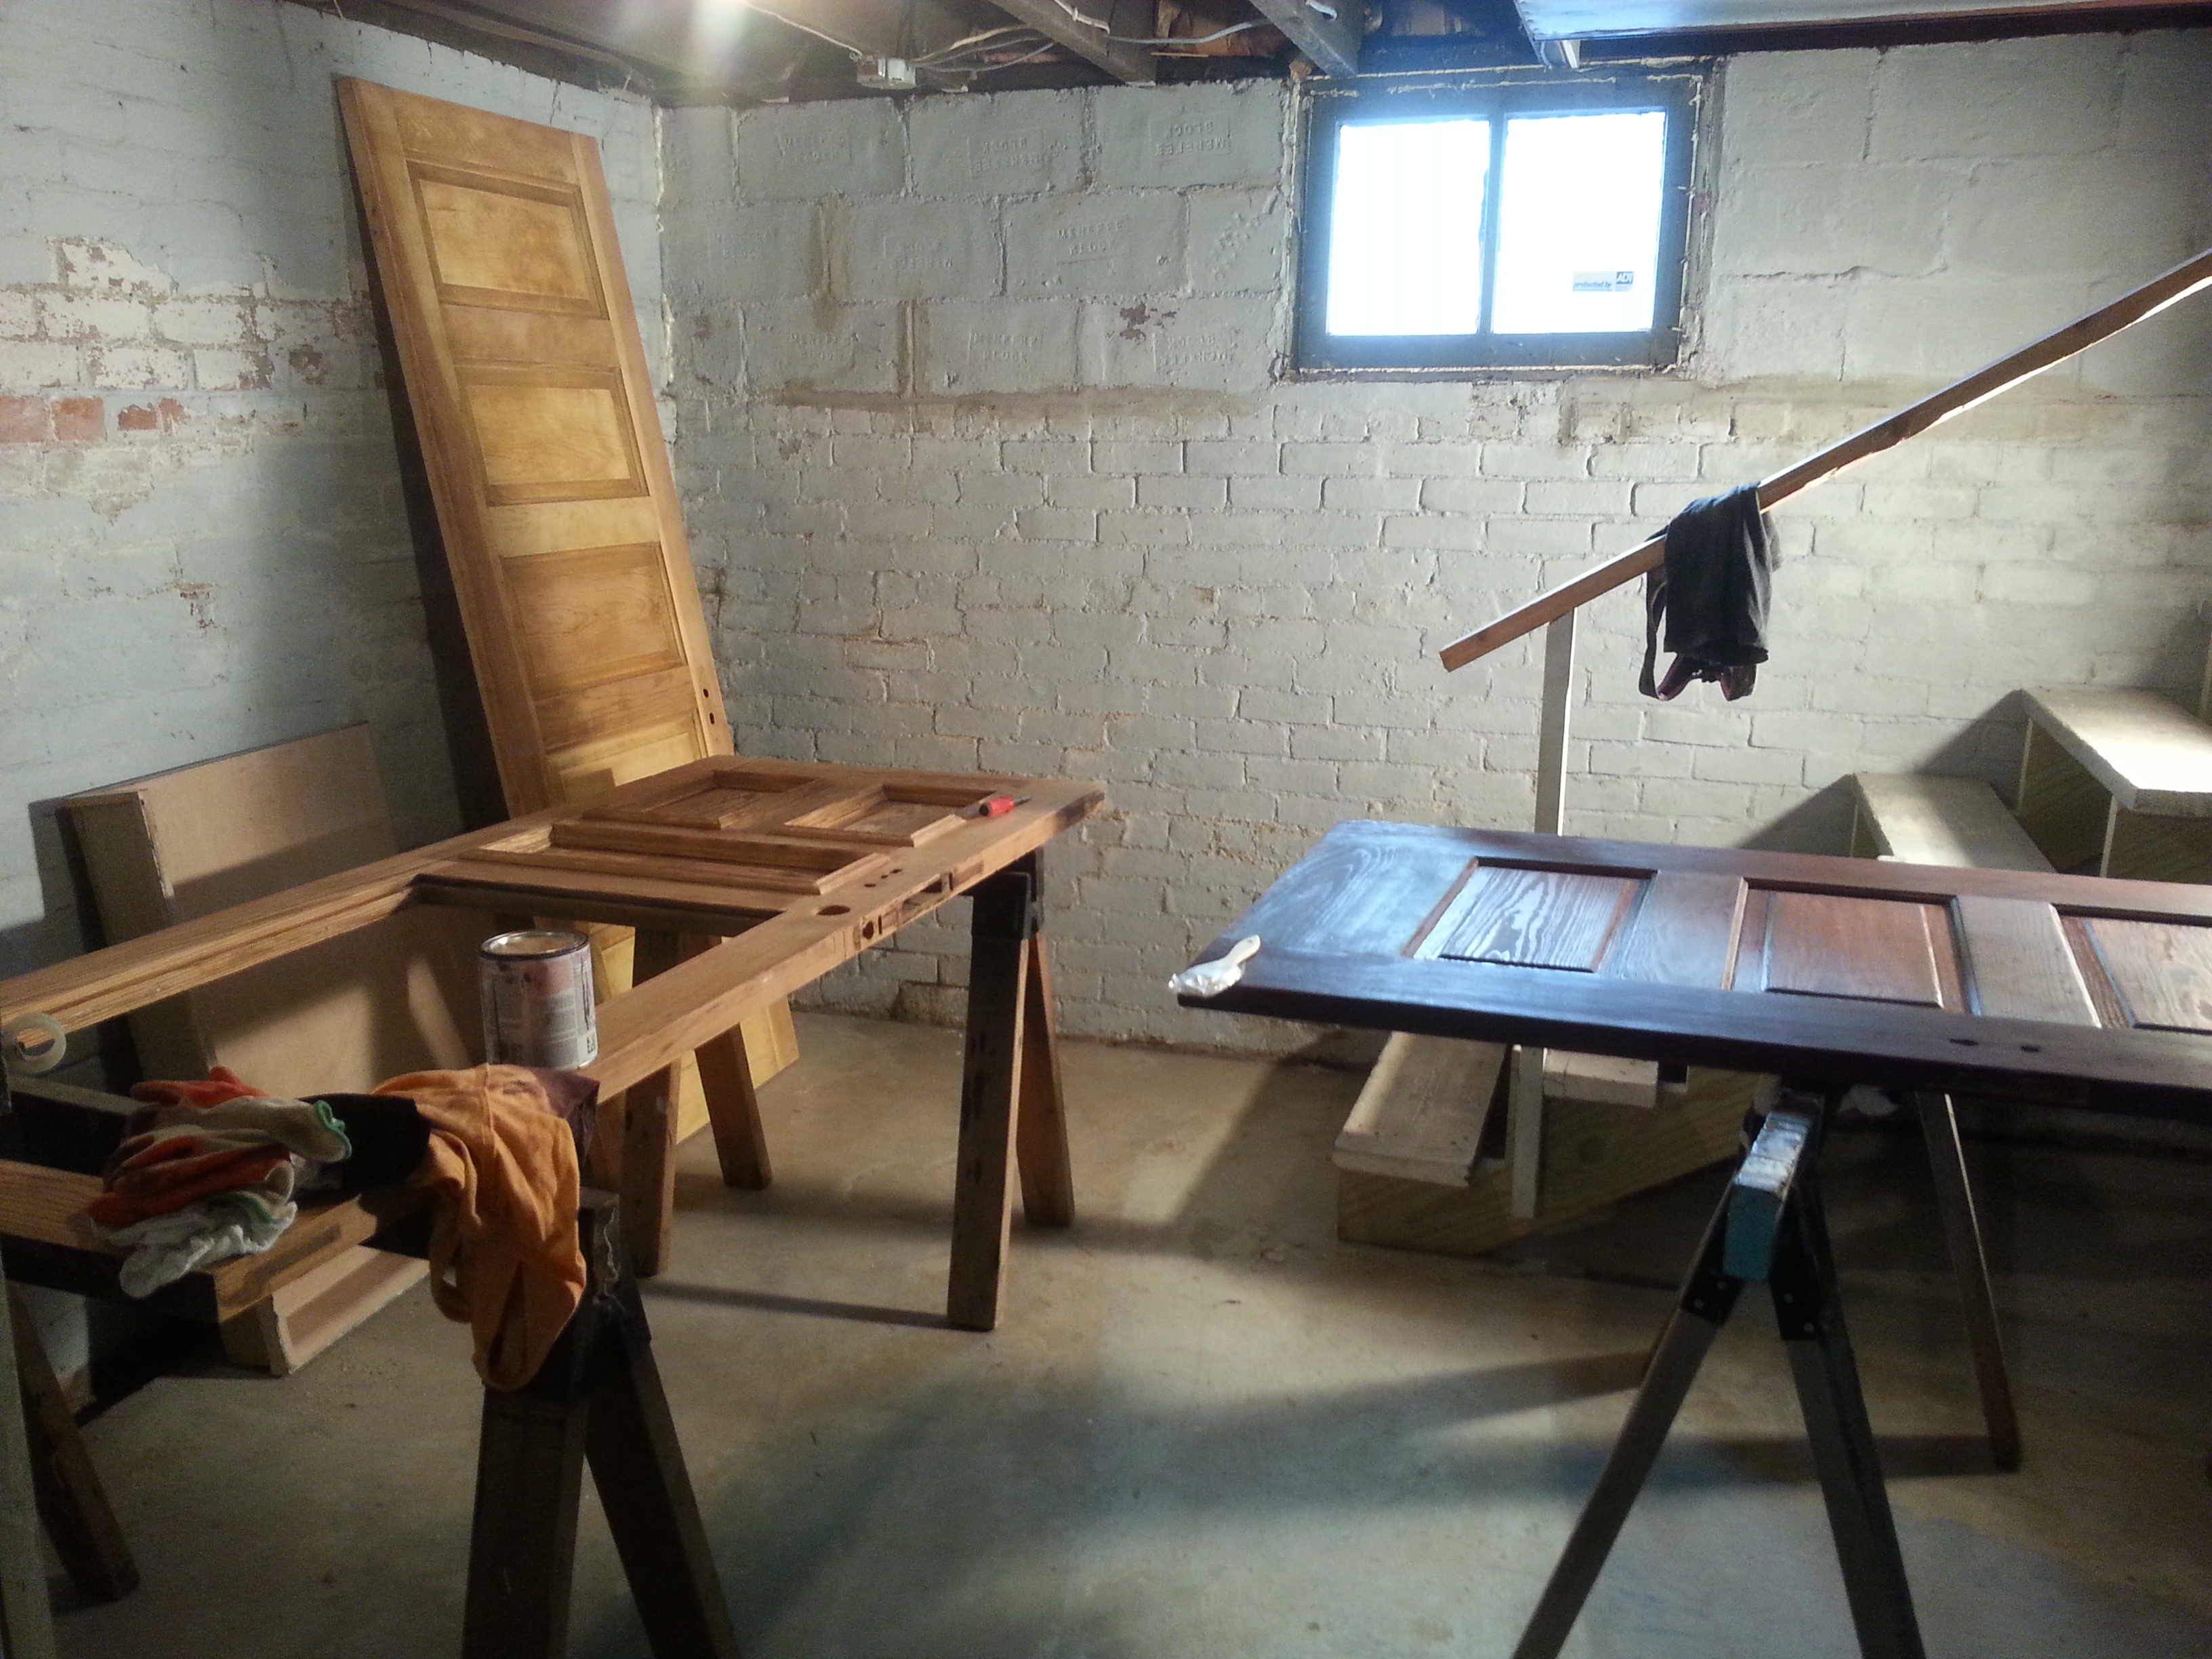
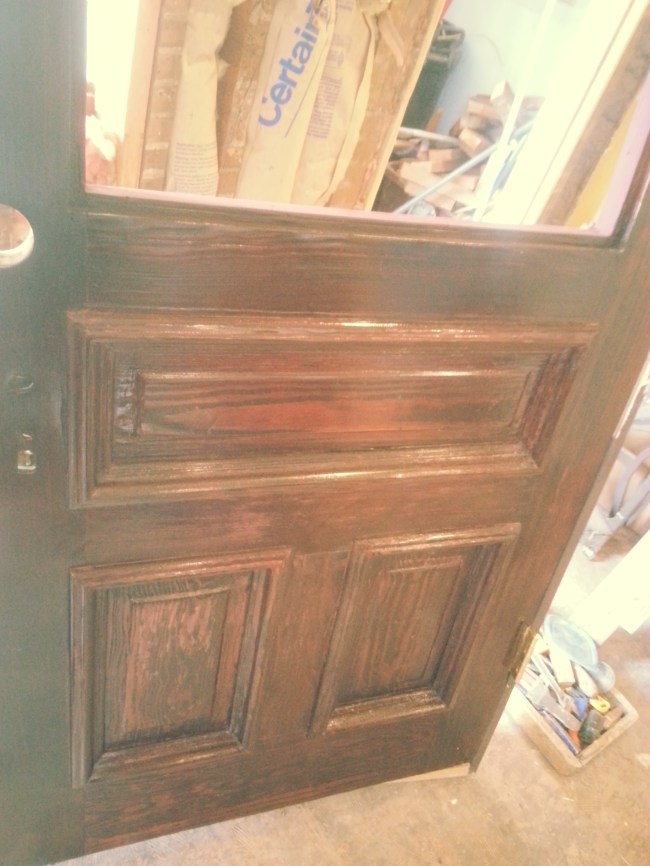
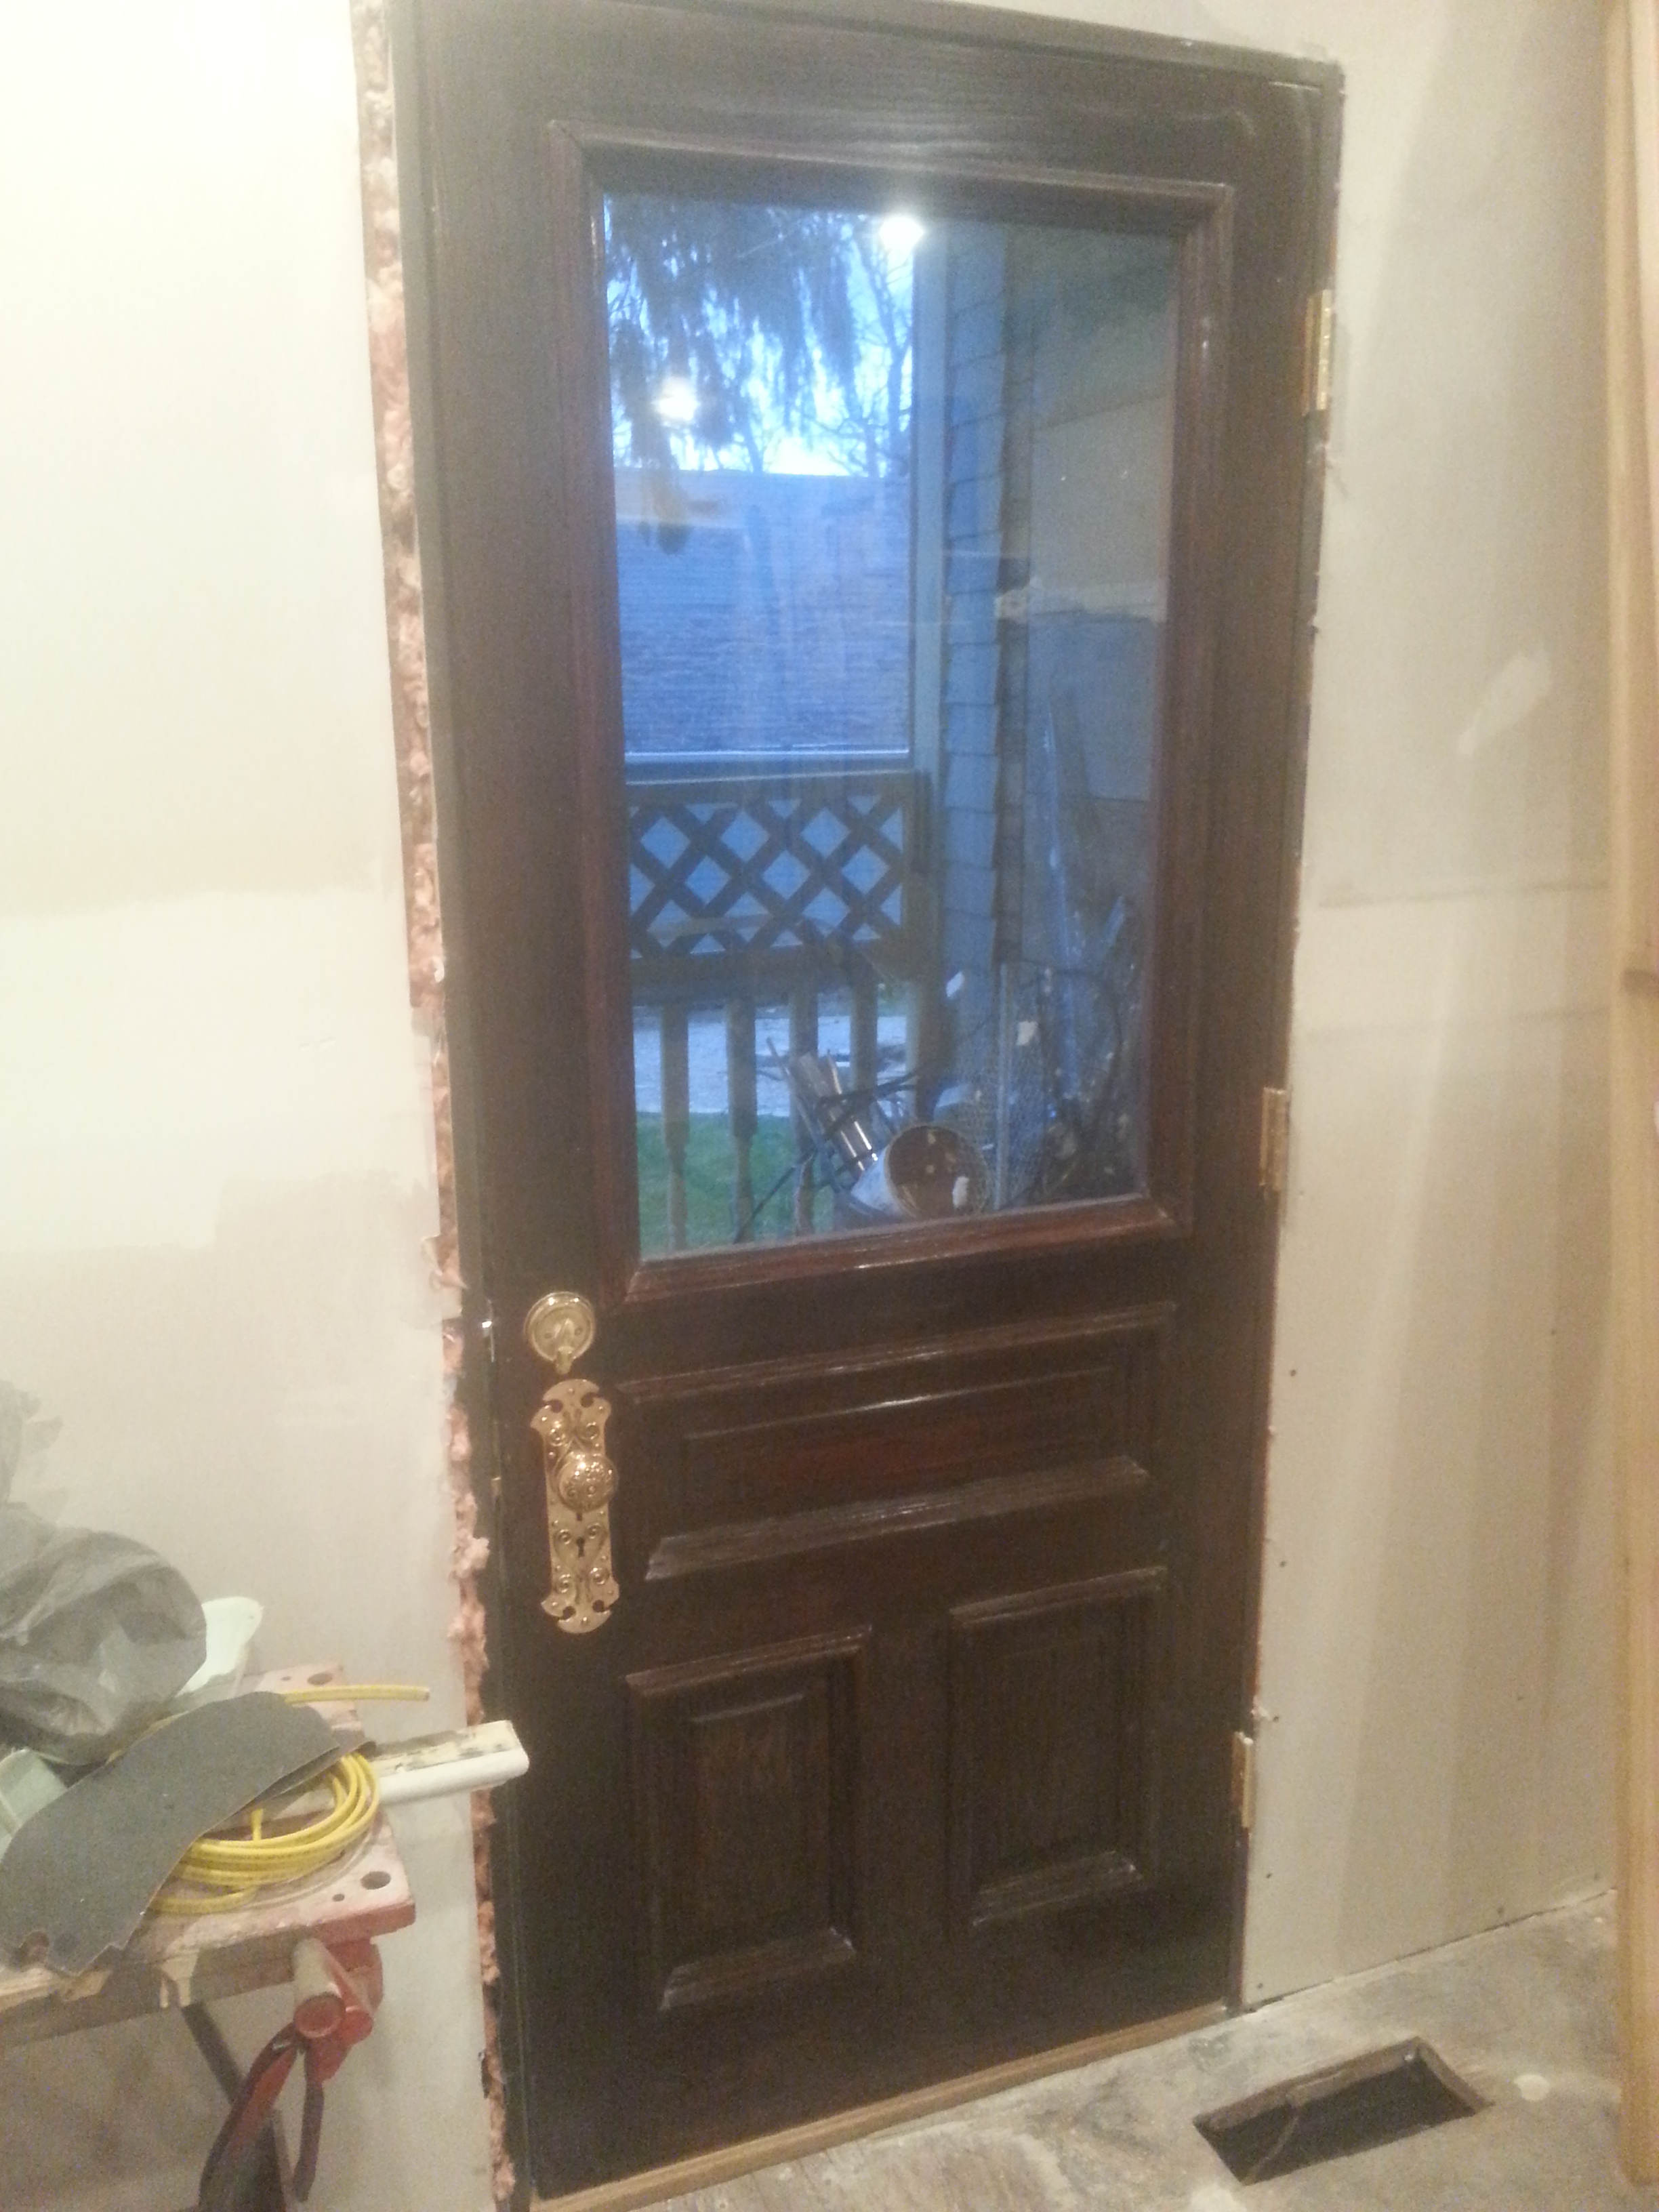
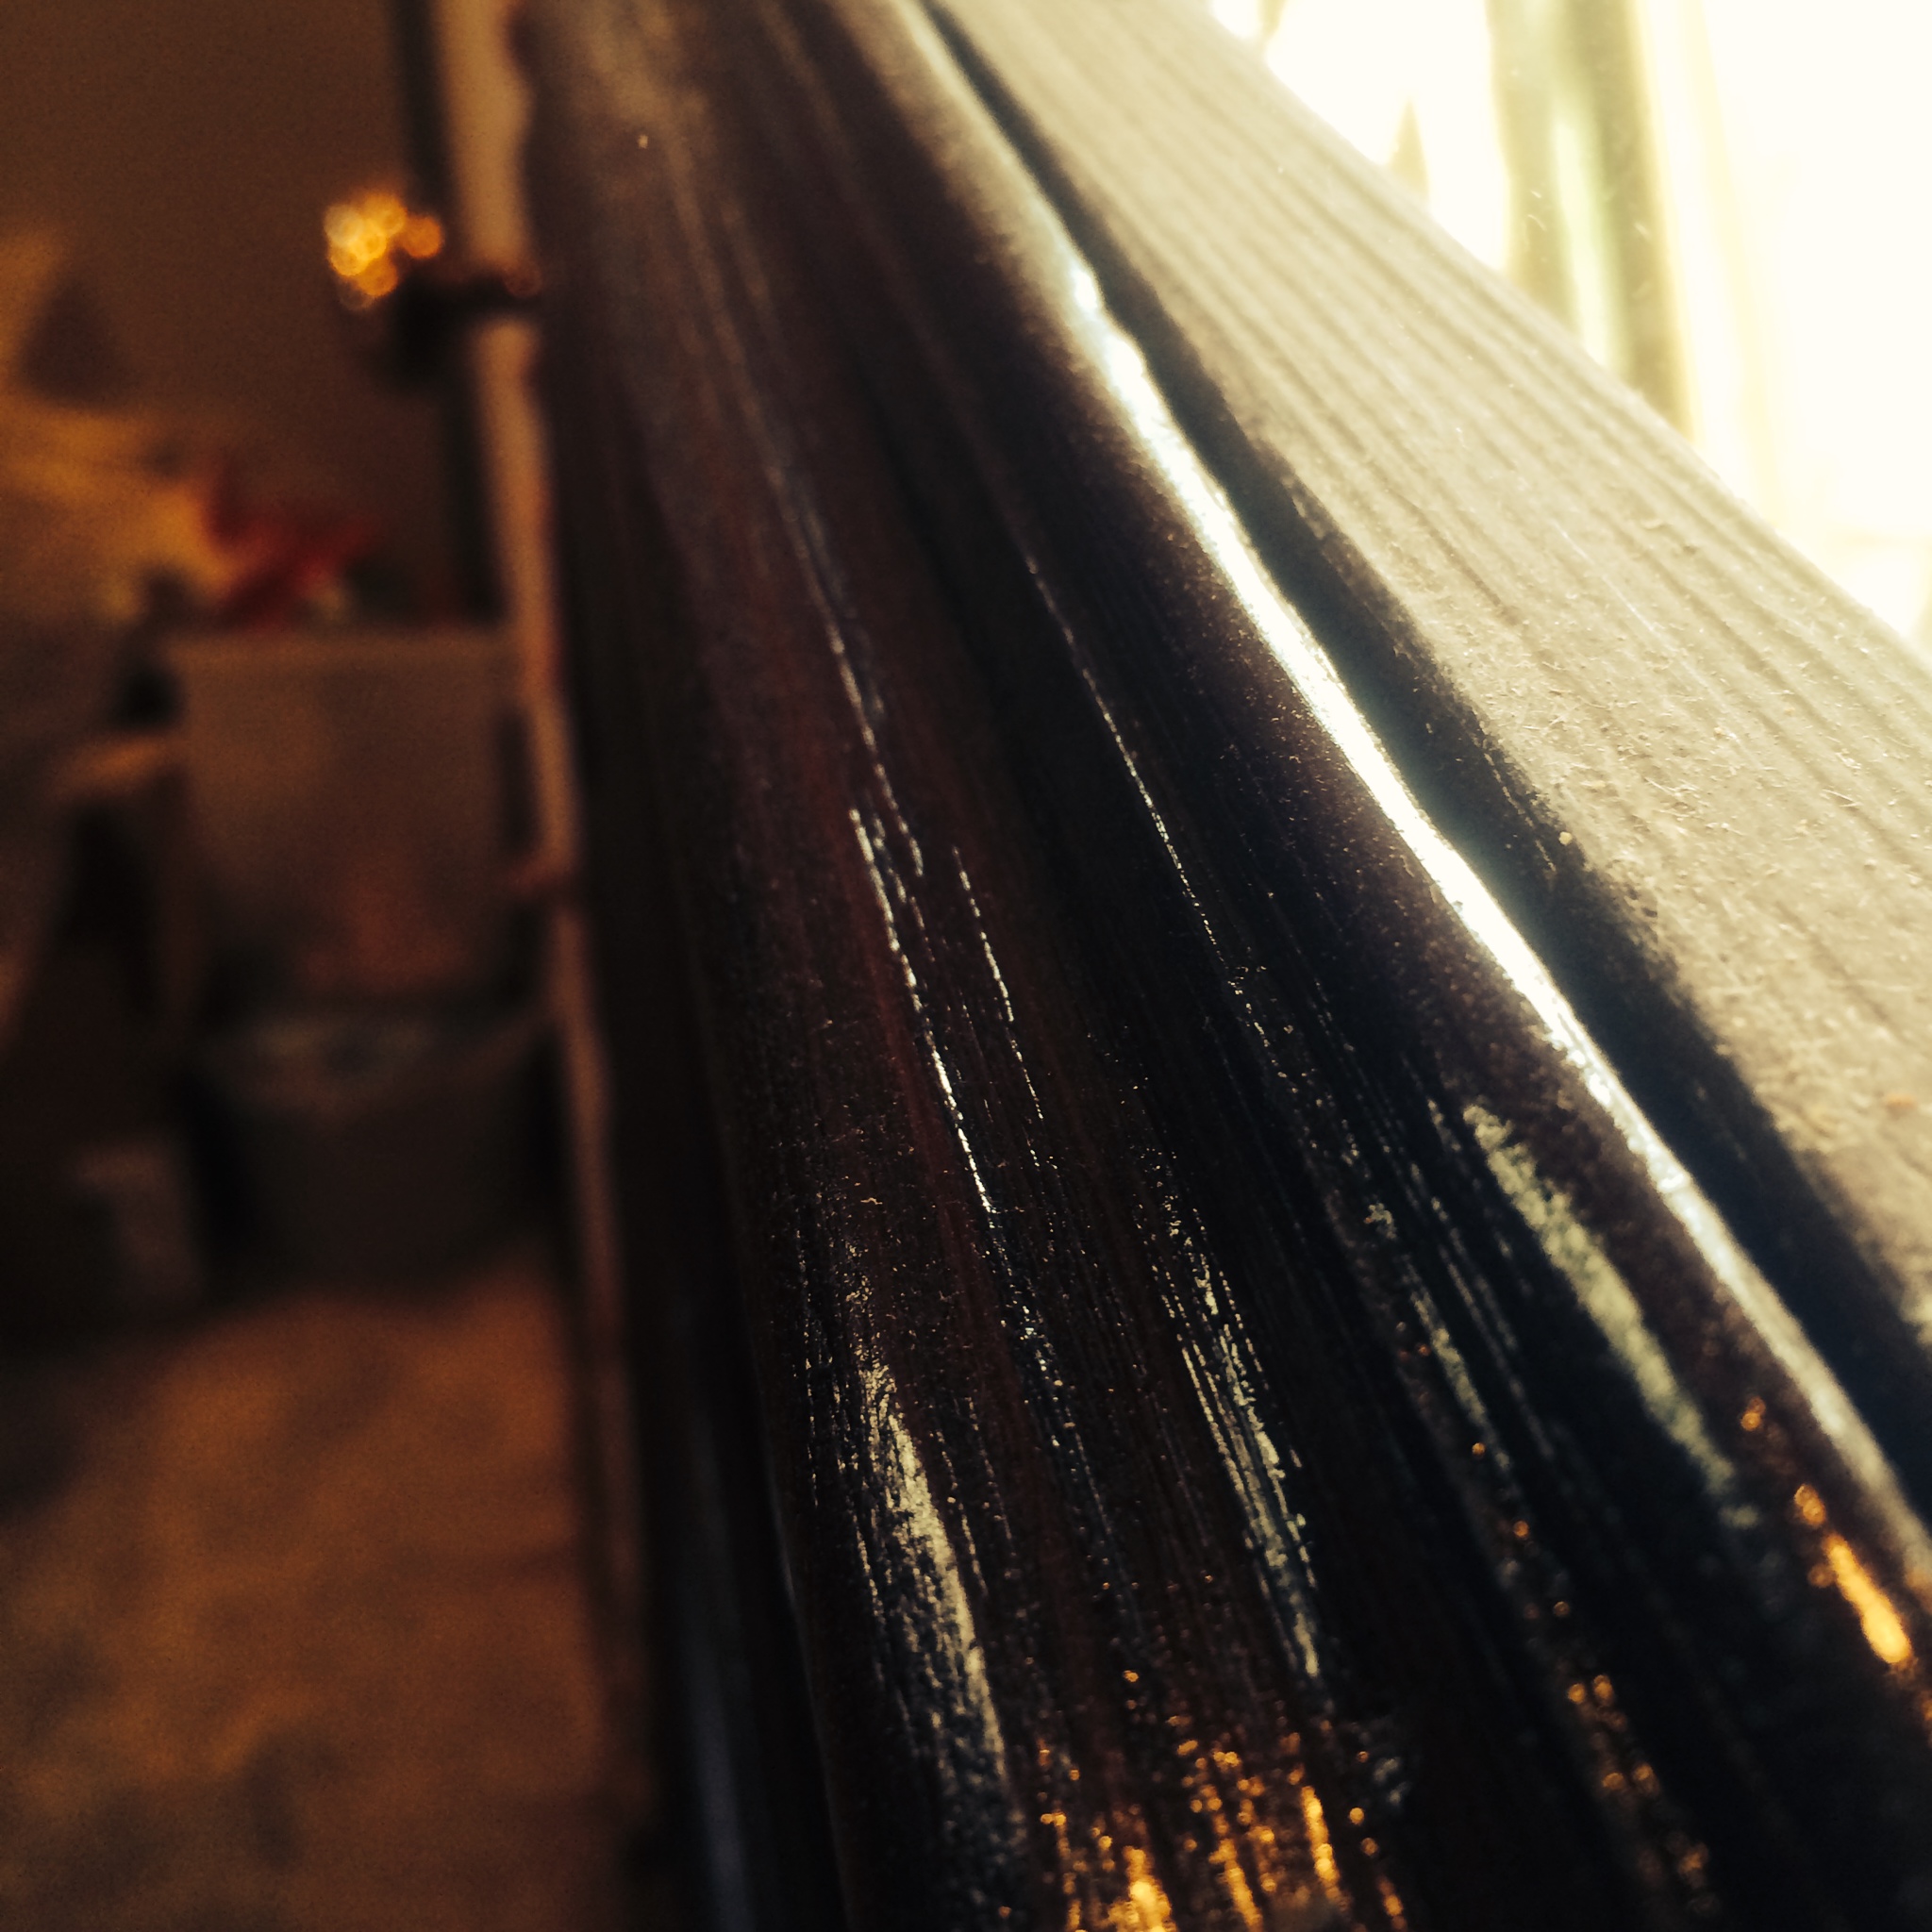
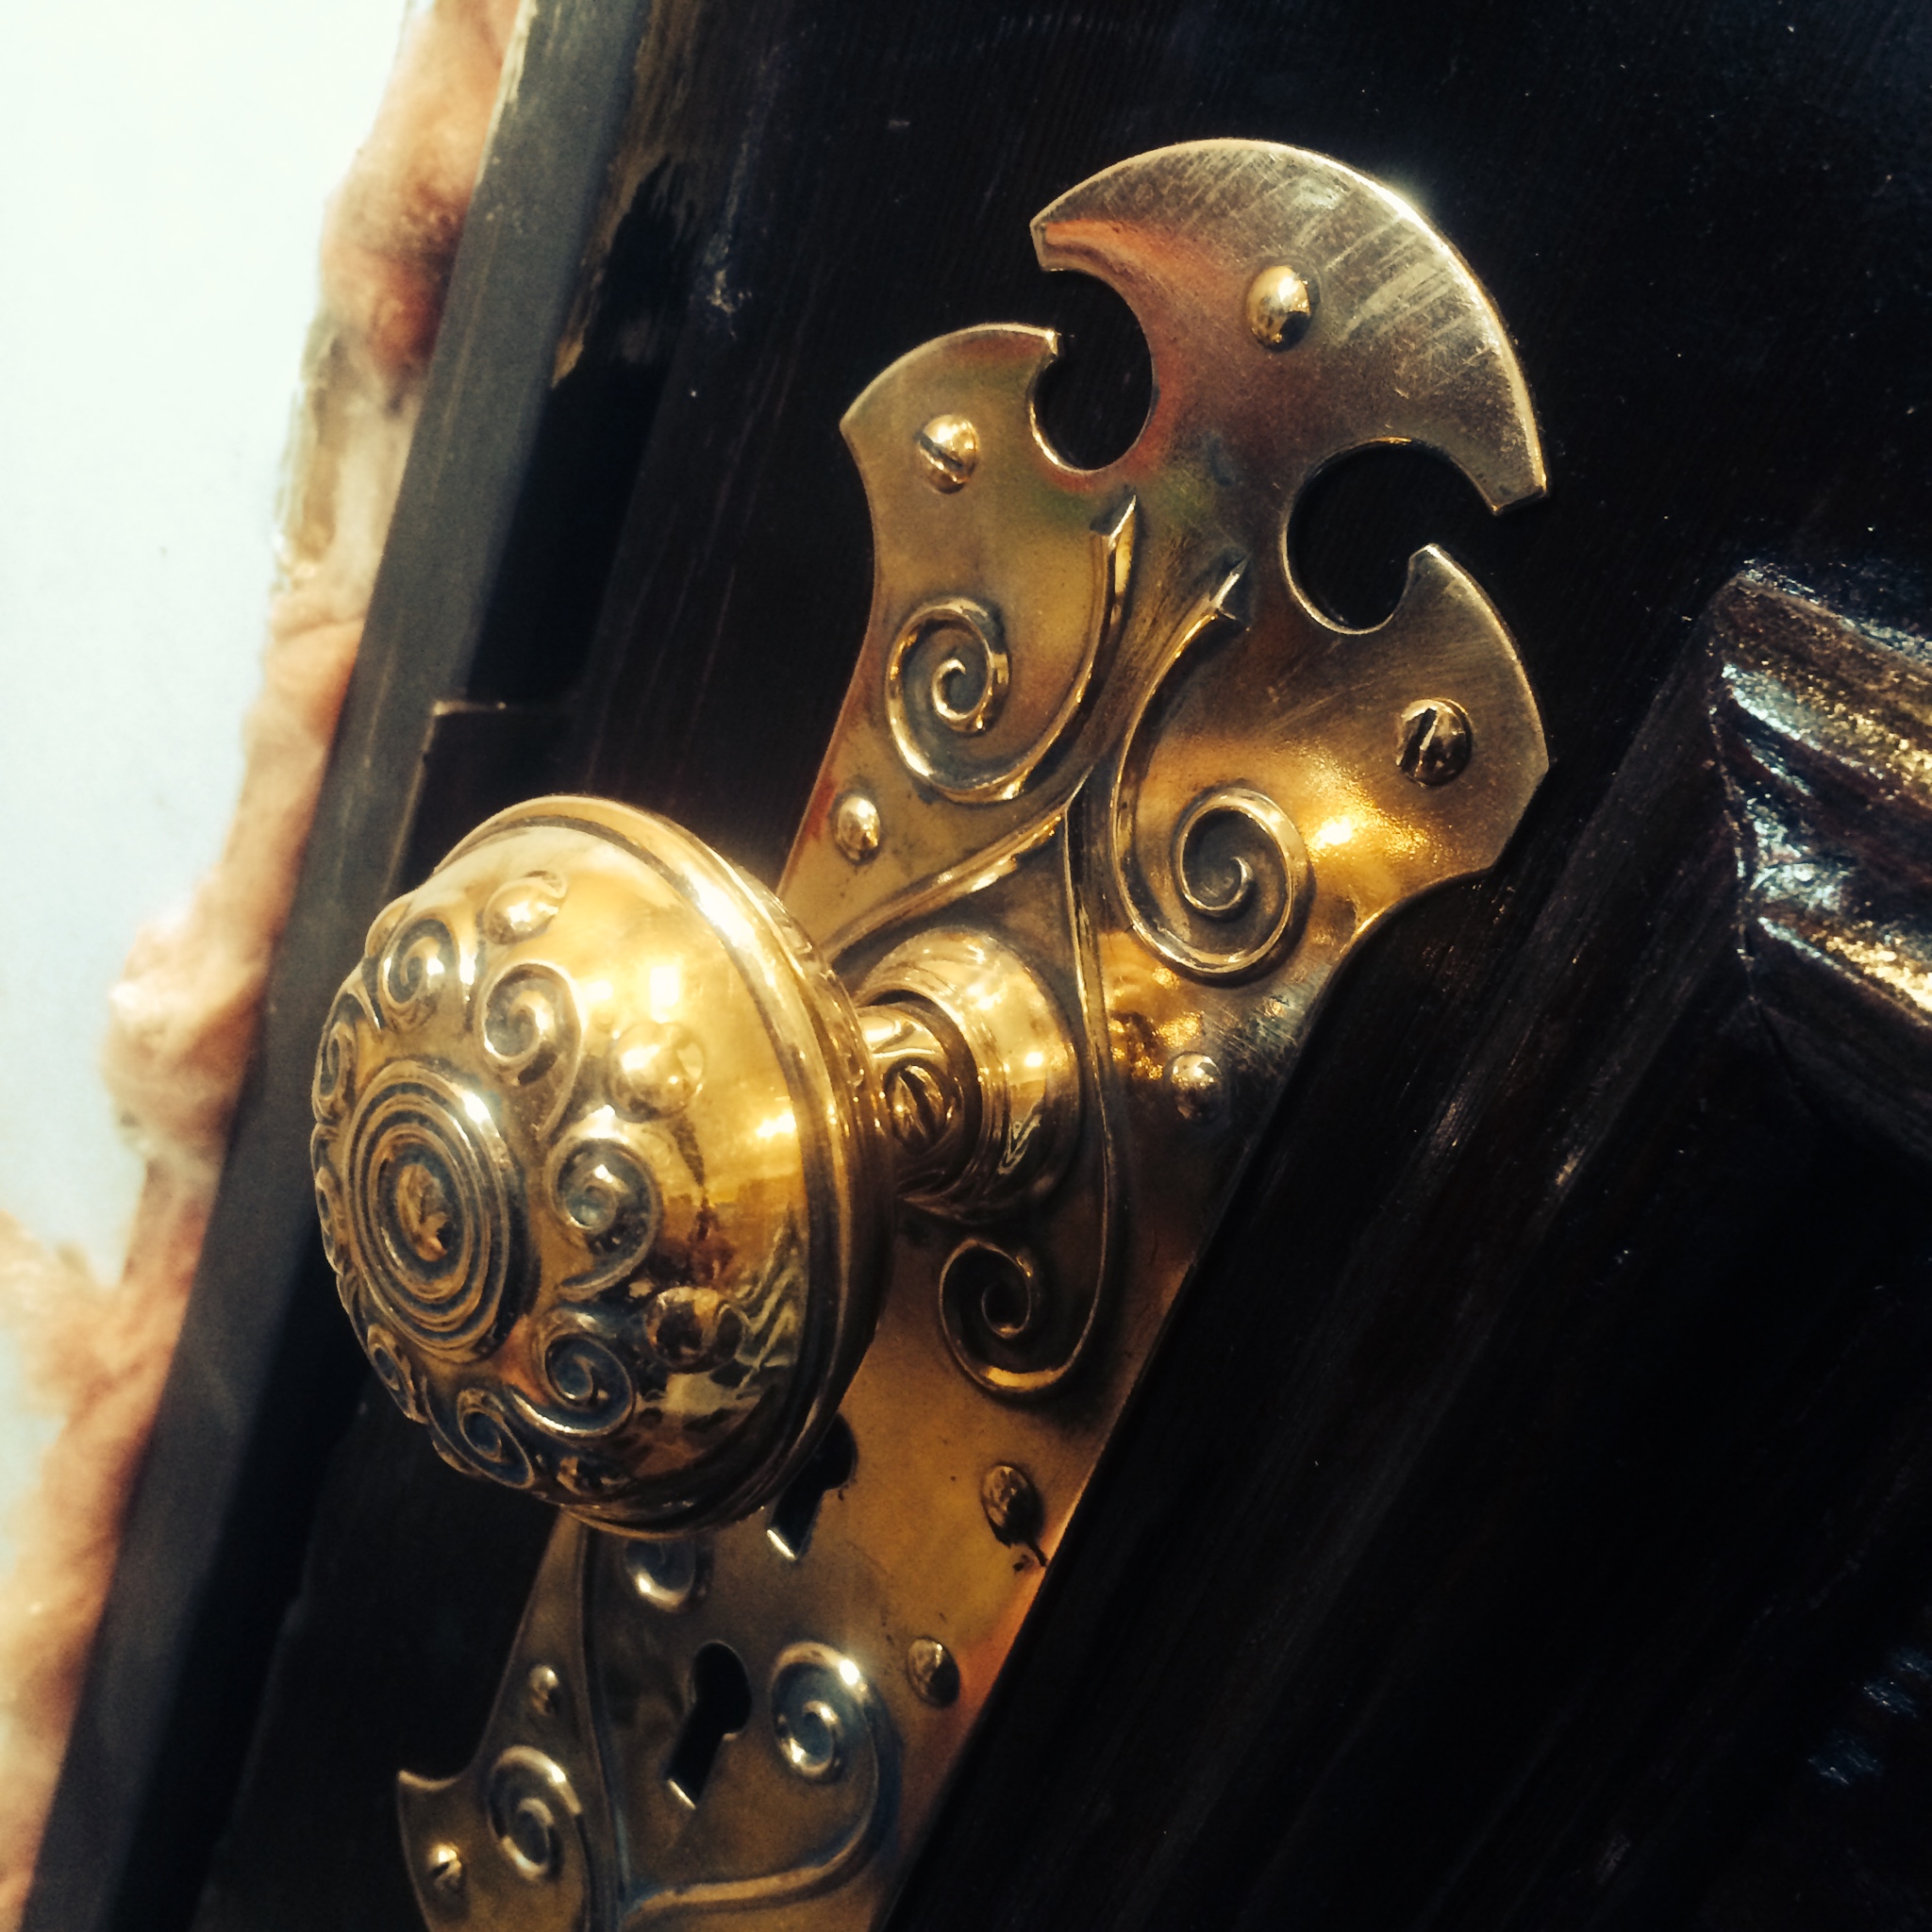
Now, let me rewind for a moment. I had been working on refinishing the door we purchased from The Woodshack for a couple of weeks. It took hours of stripping and sanding to get the door down to bare wood. I’m not sure of the exact age of the door but it was old enough that the finish that was on it was caked on and no amount of heat or chemical stripper would remove it. We resorted to scrubbing the entire door with a wire brush. The work was painstaking…but rewarding. I am so happy with the end result.

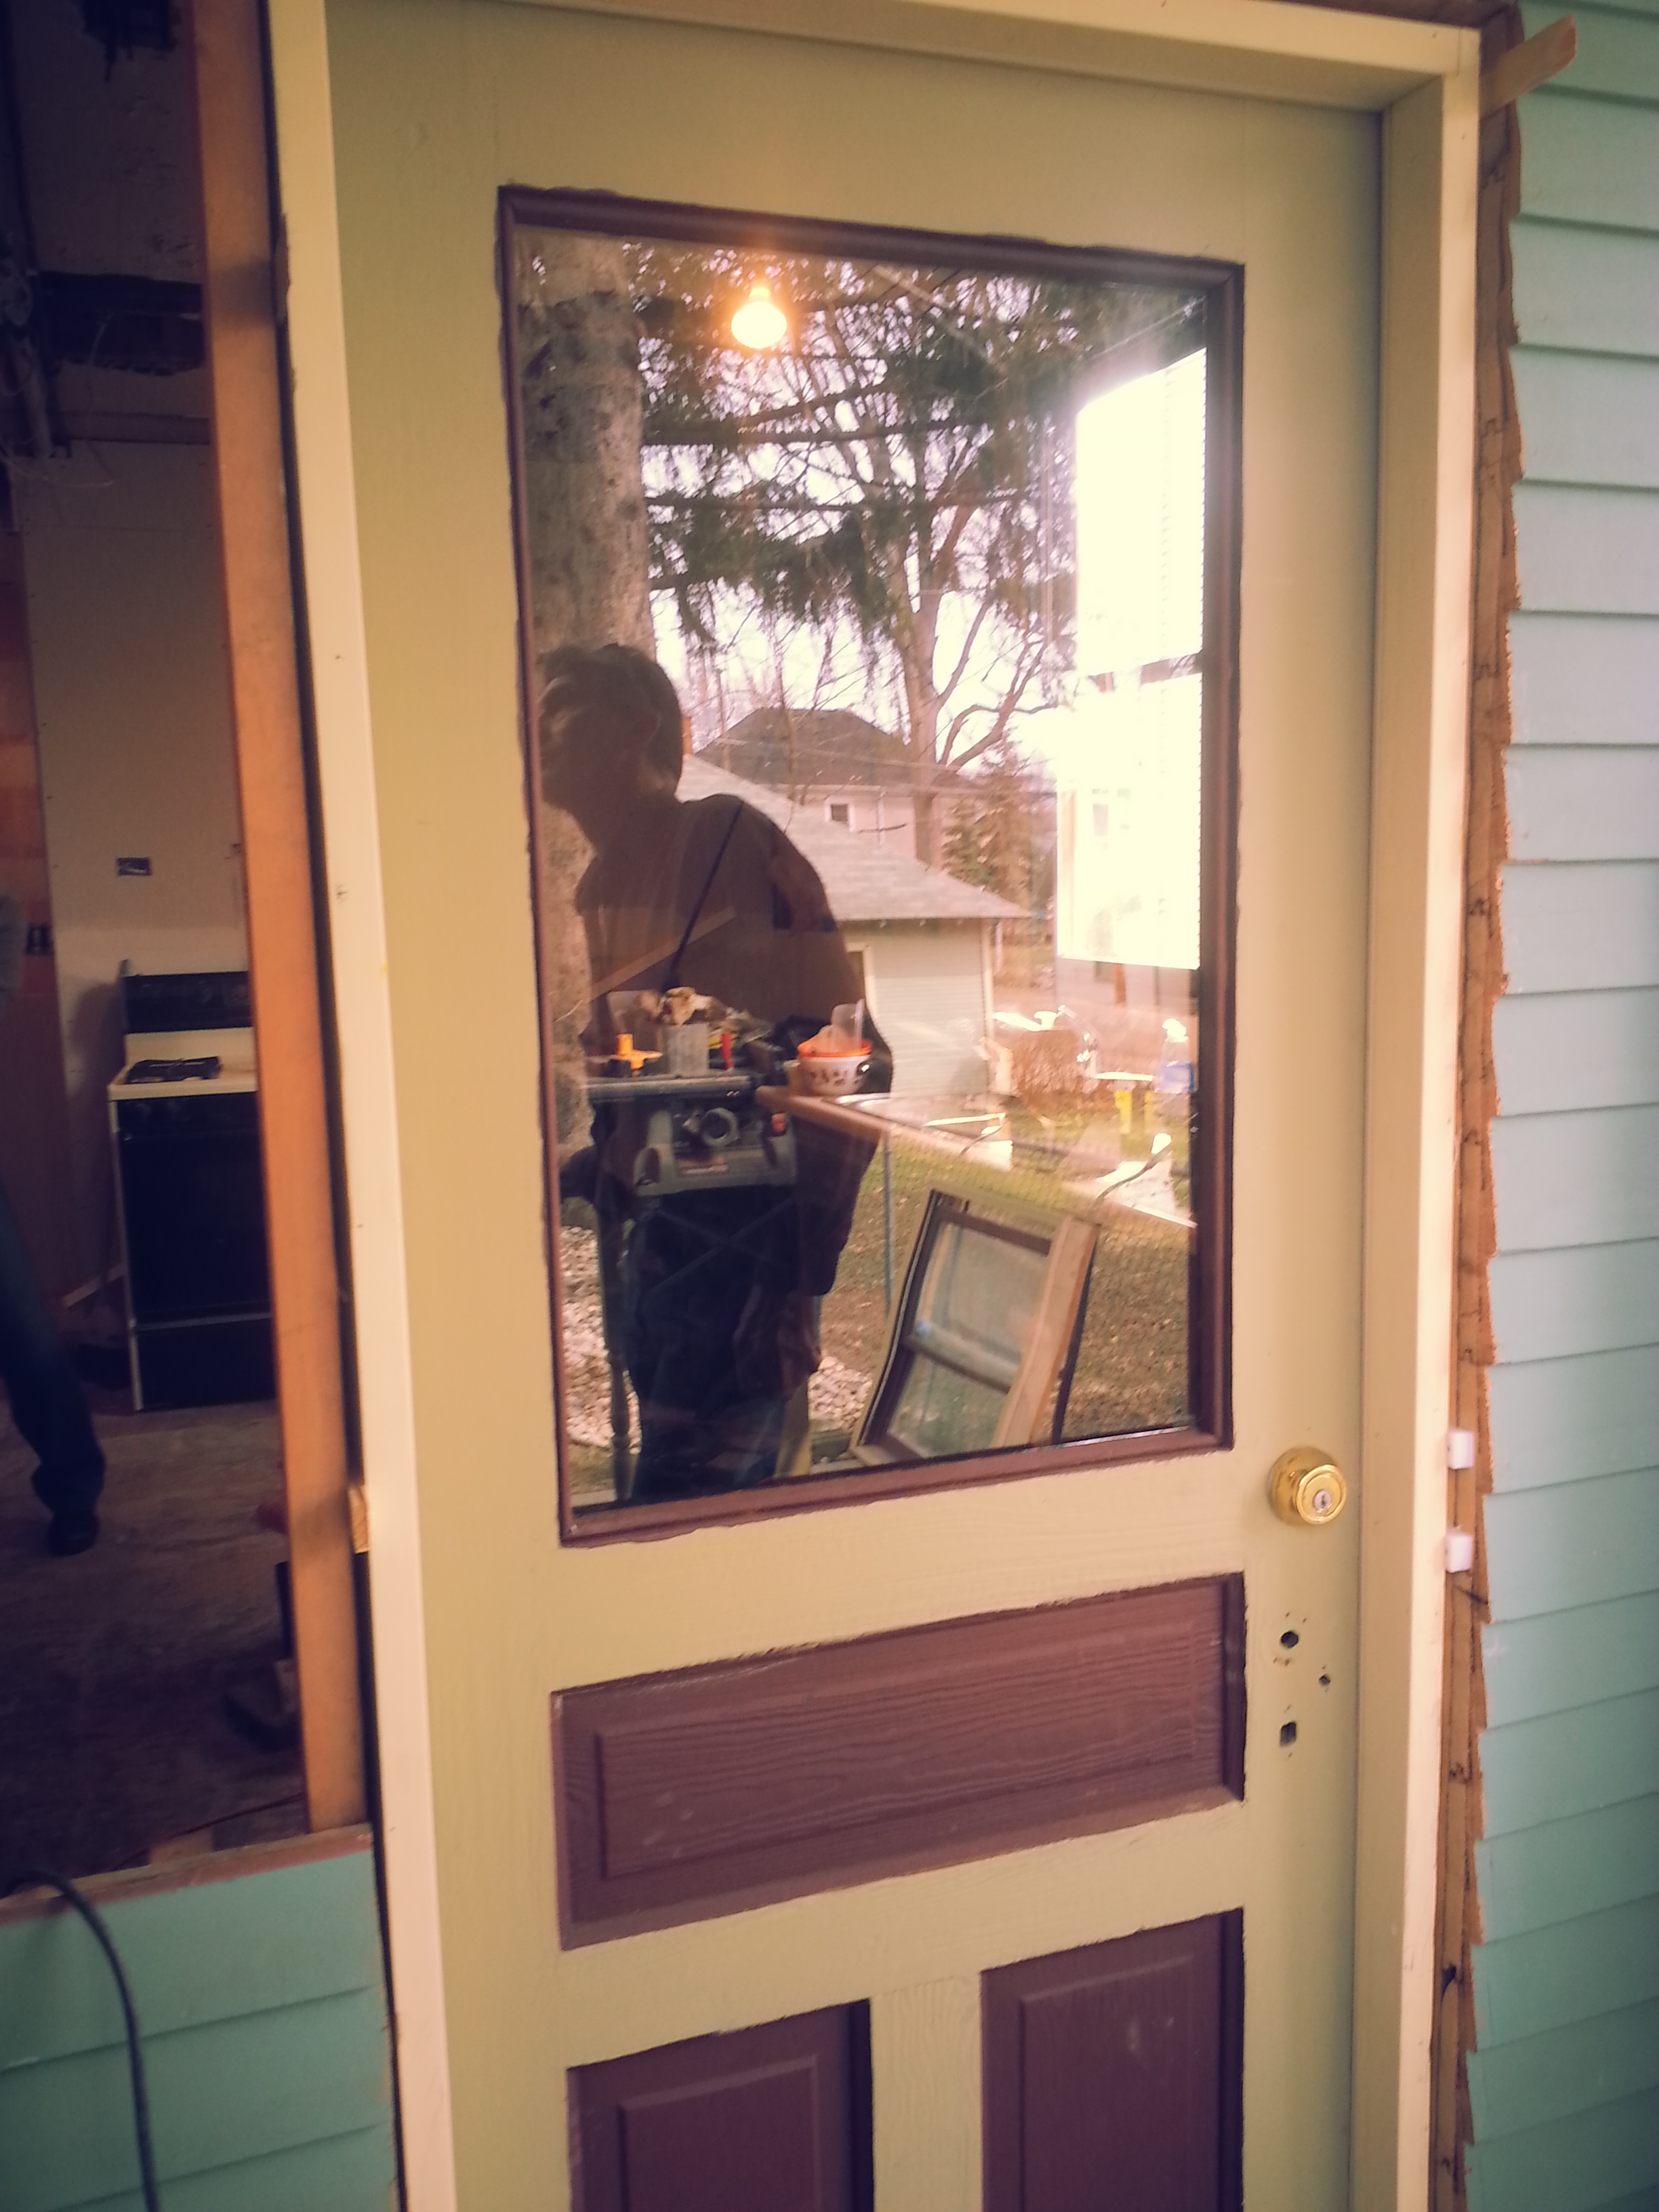
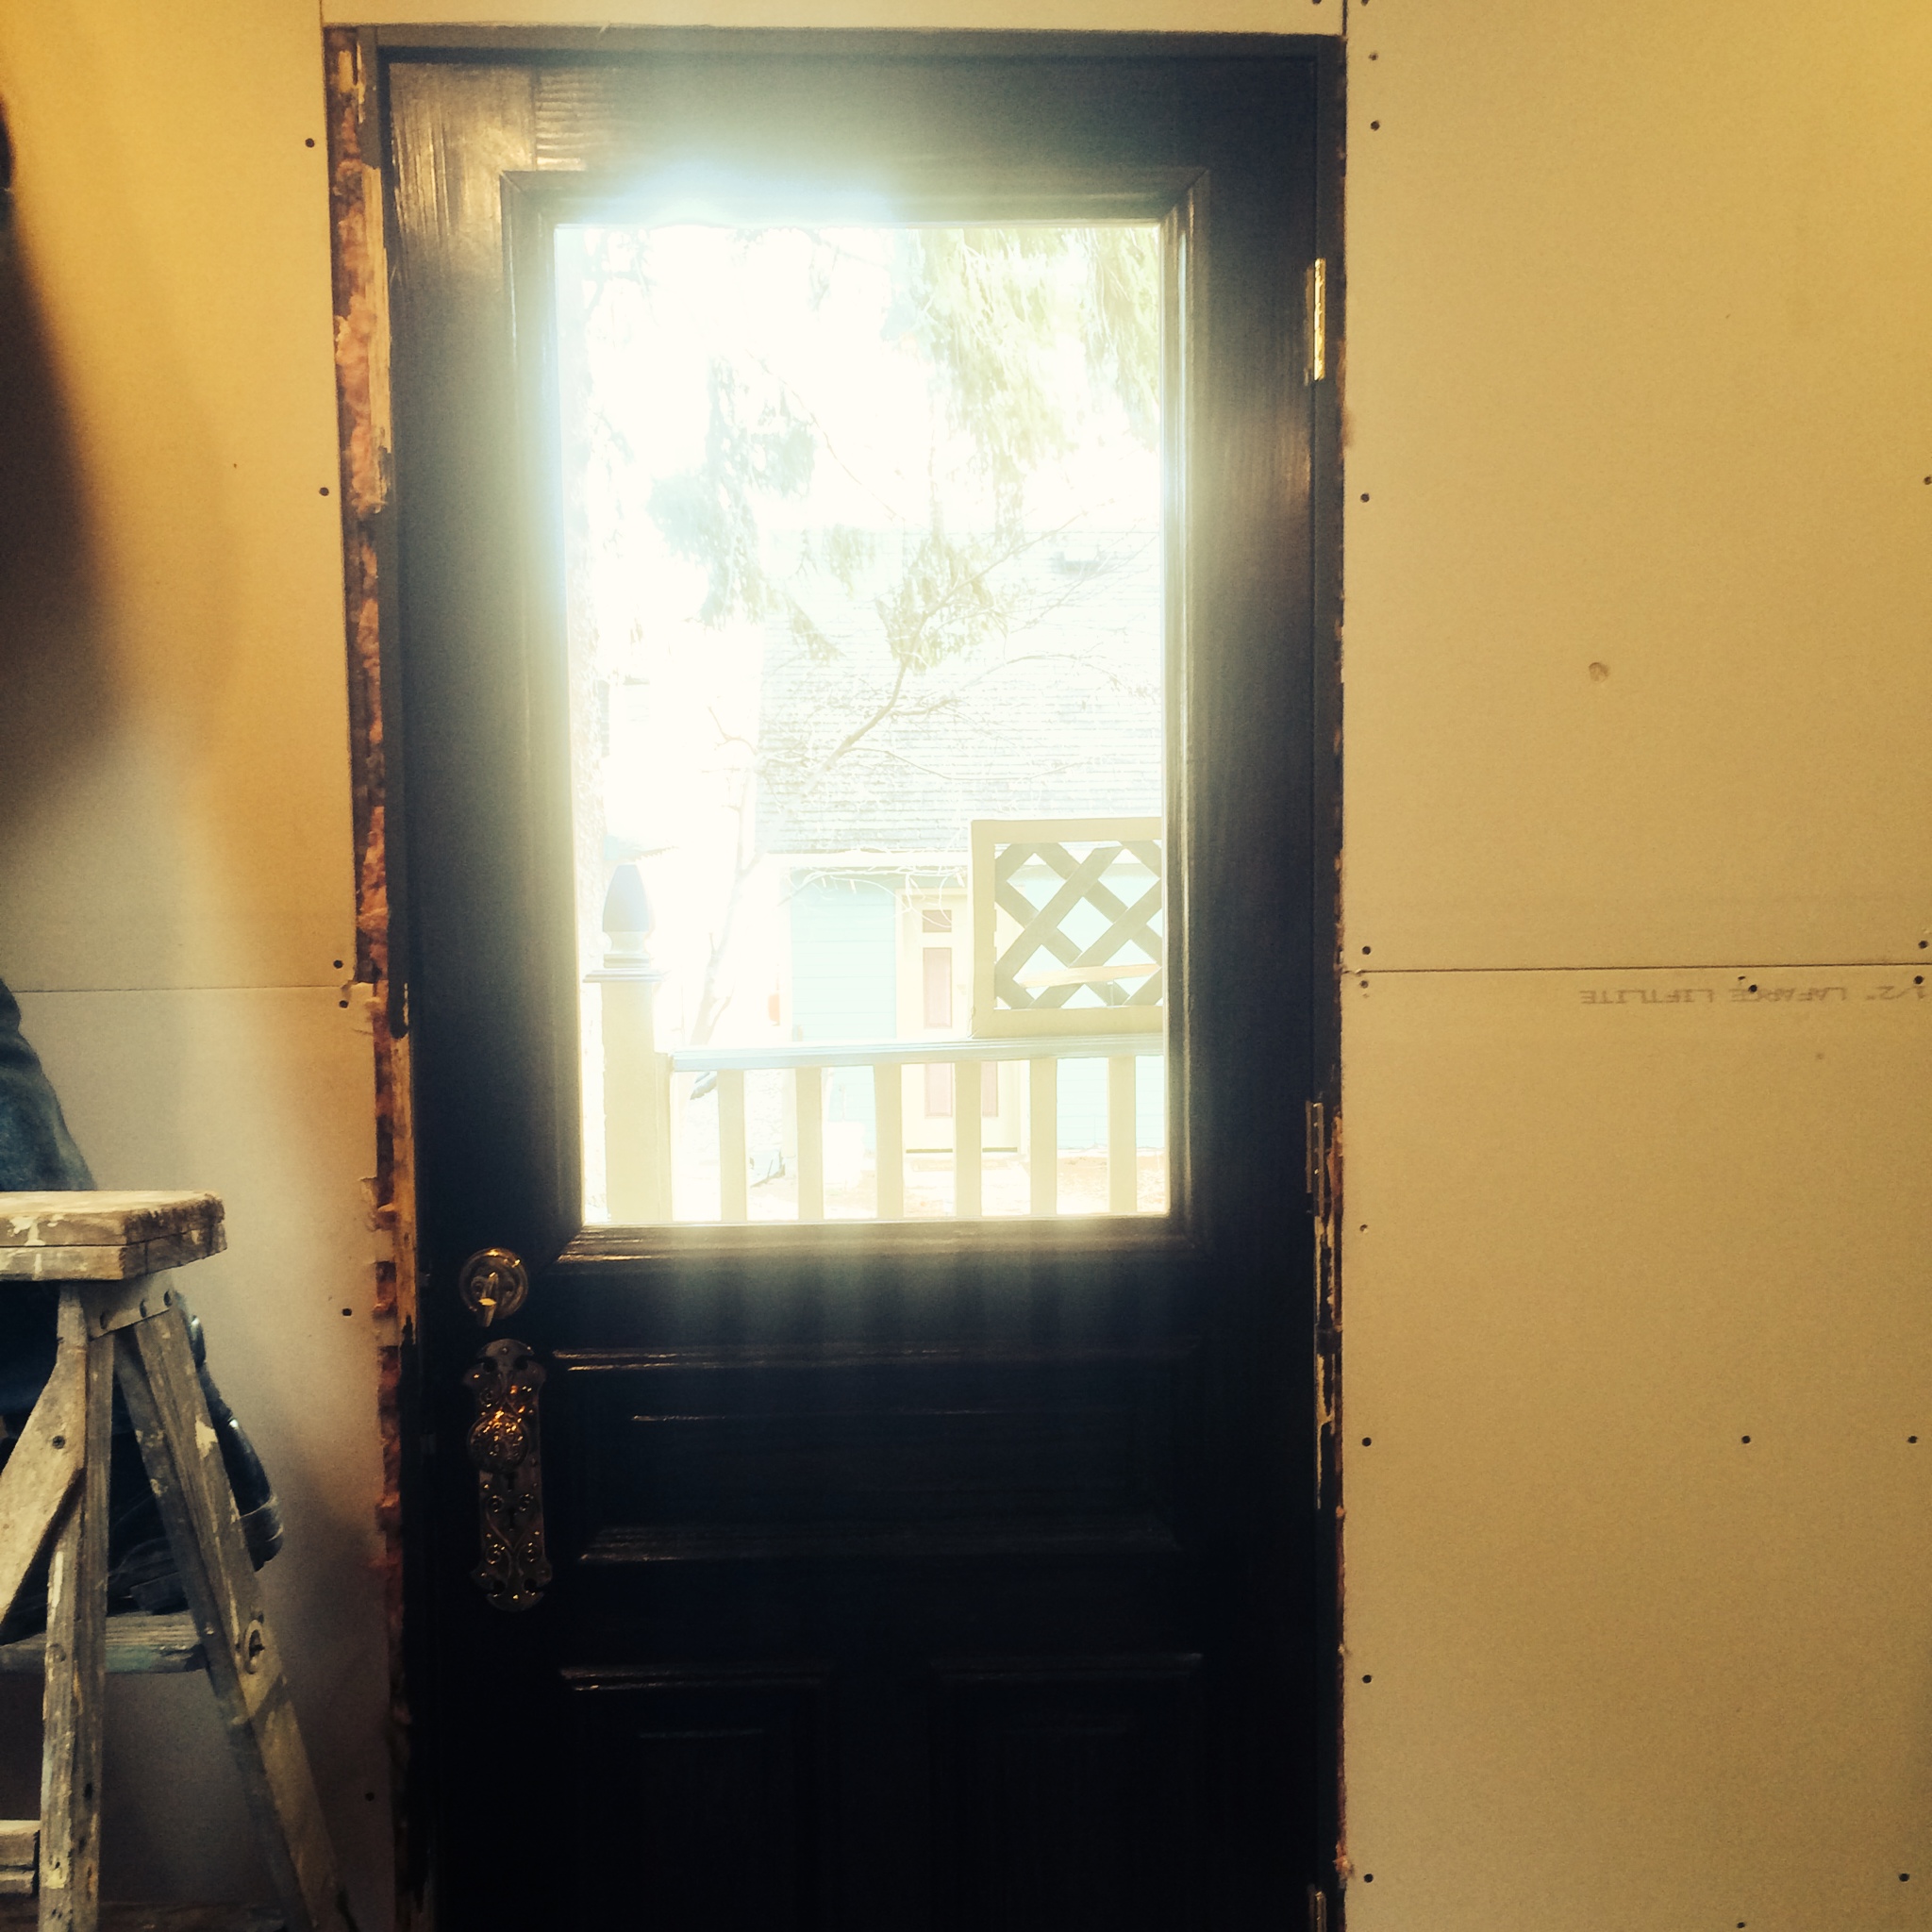
Once the door has been refinished we were able to bring it upstairs and install it in the opening created by my dad.
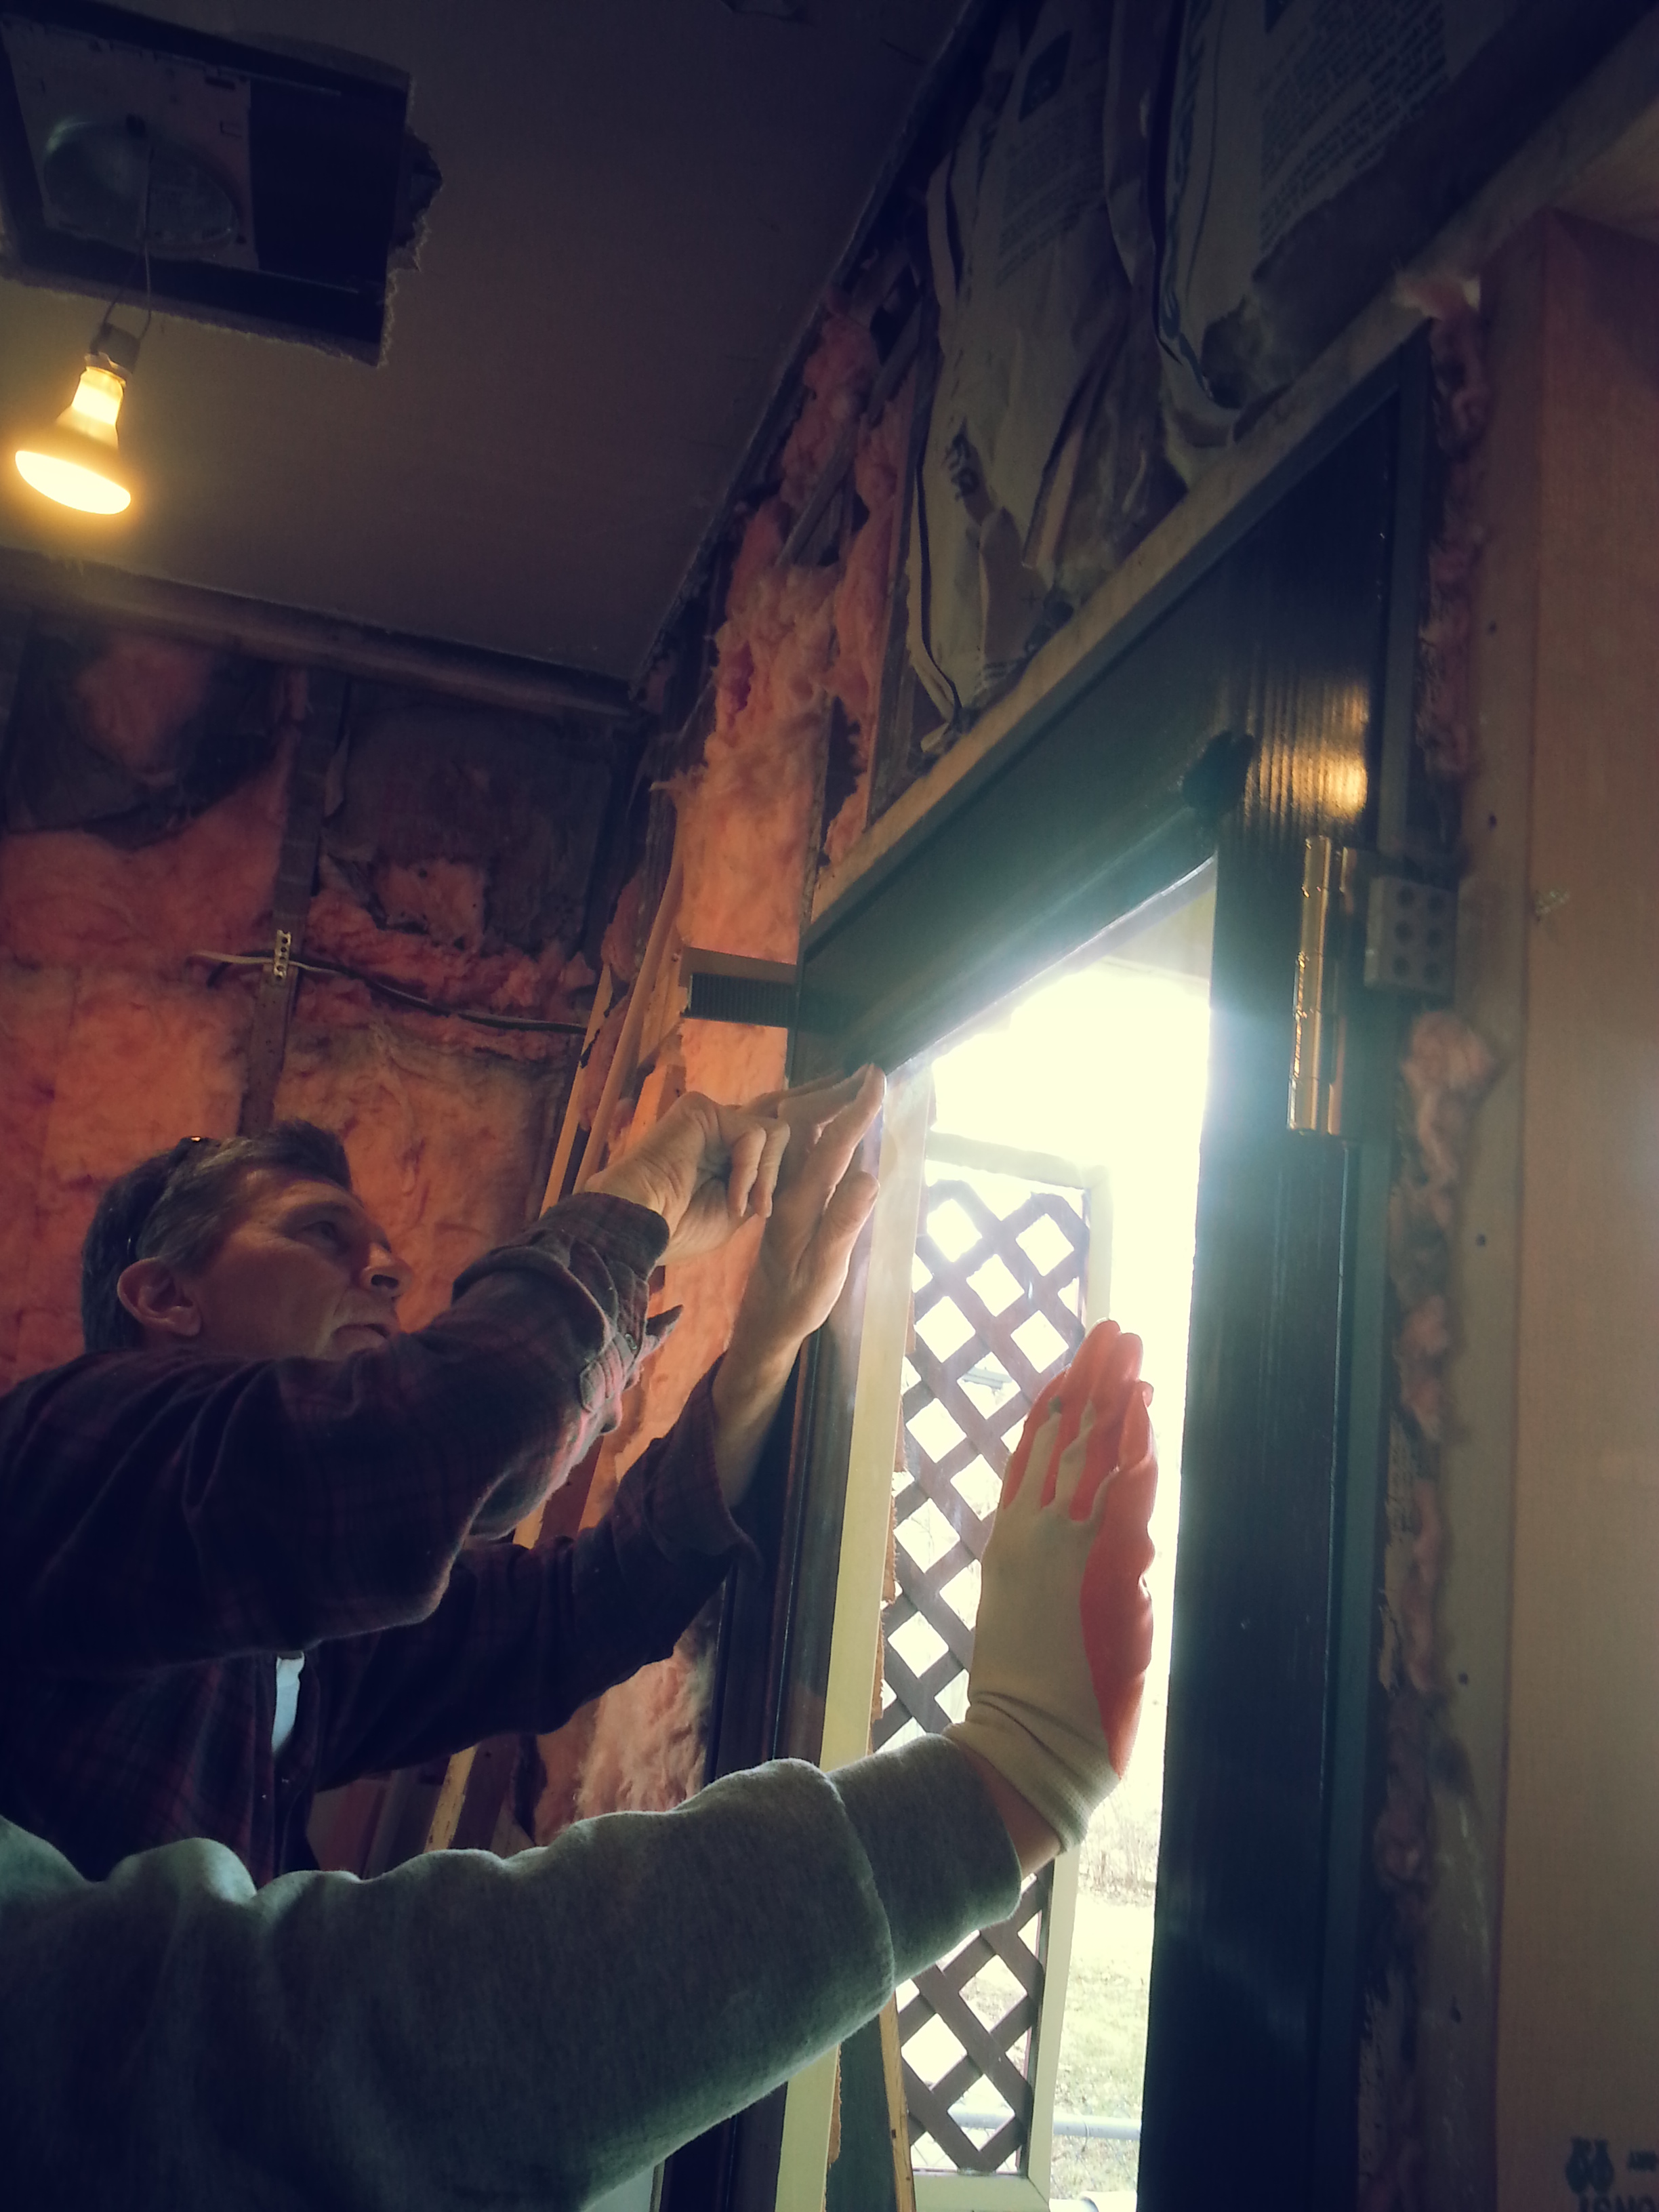
We were able to hang the door with only a few minor setbacks. We had some issues because after 100 years things just aren’t square anymore! After some adjustments we were able to get the door opening and closing properly. Then, the process of closing up all the holes started.
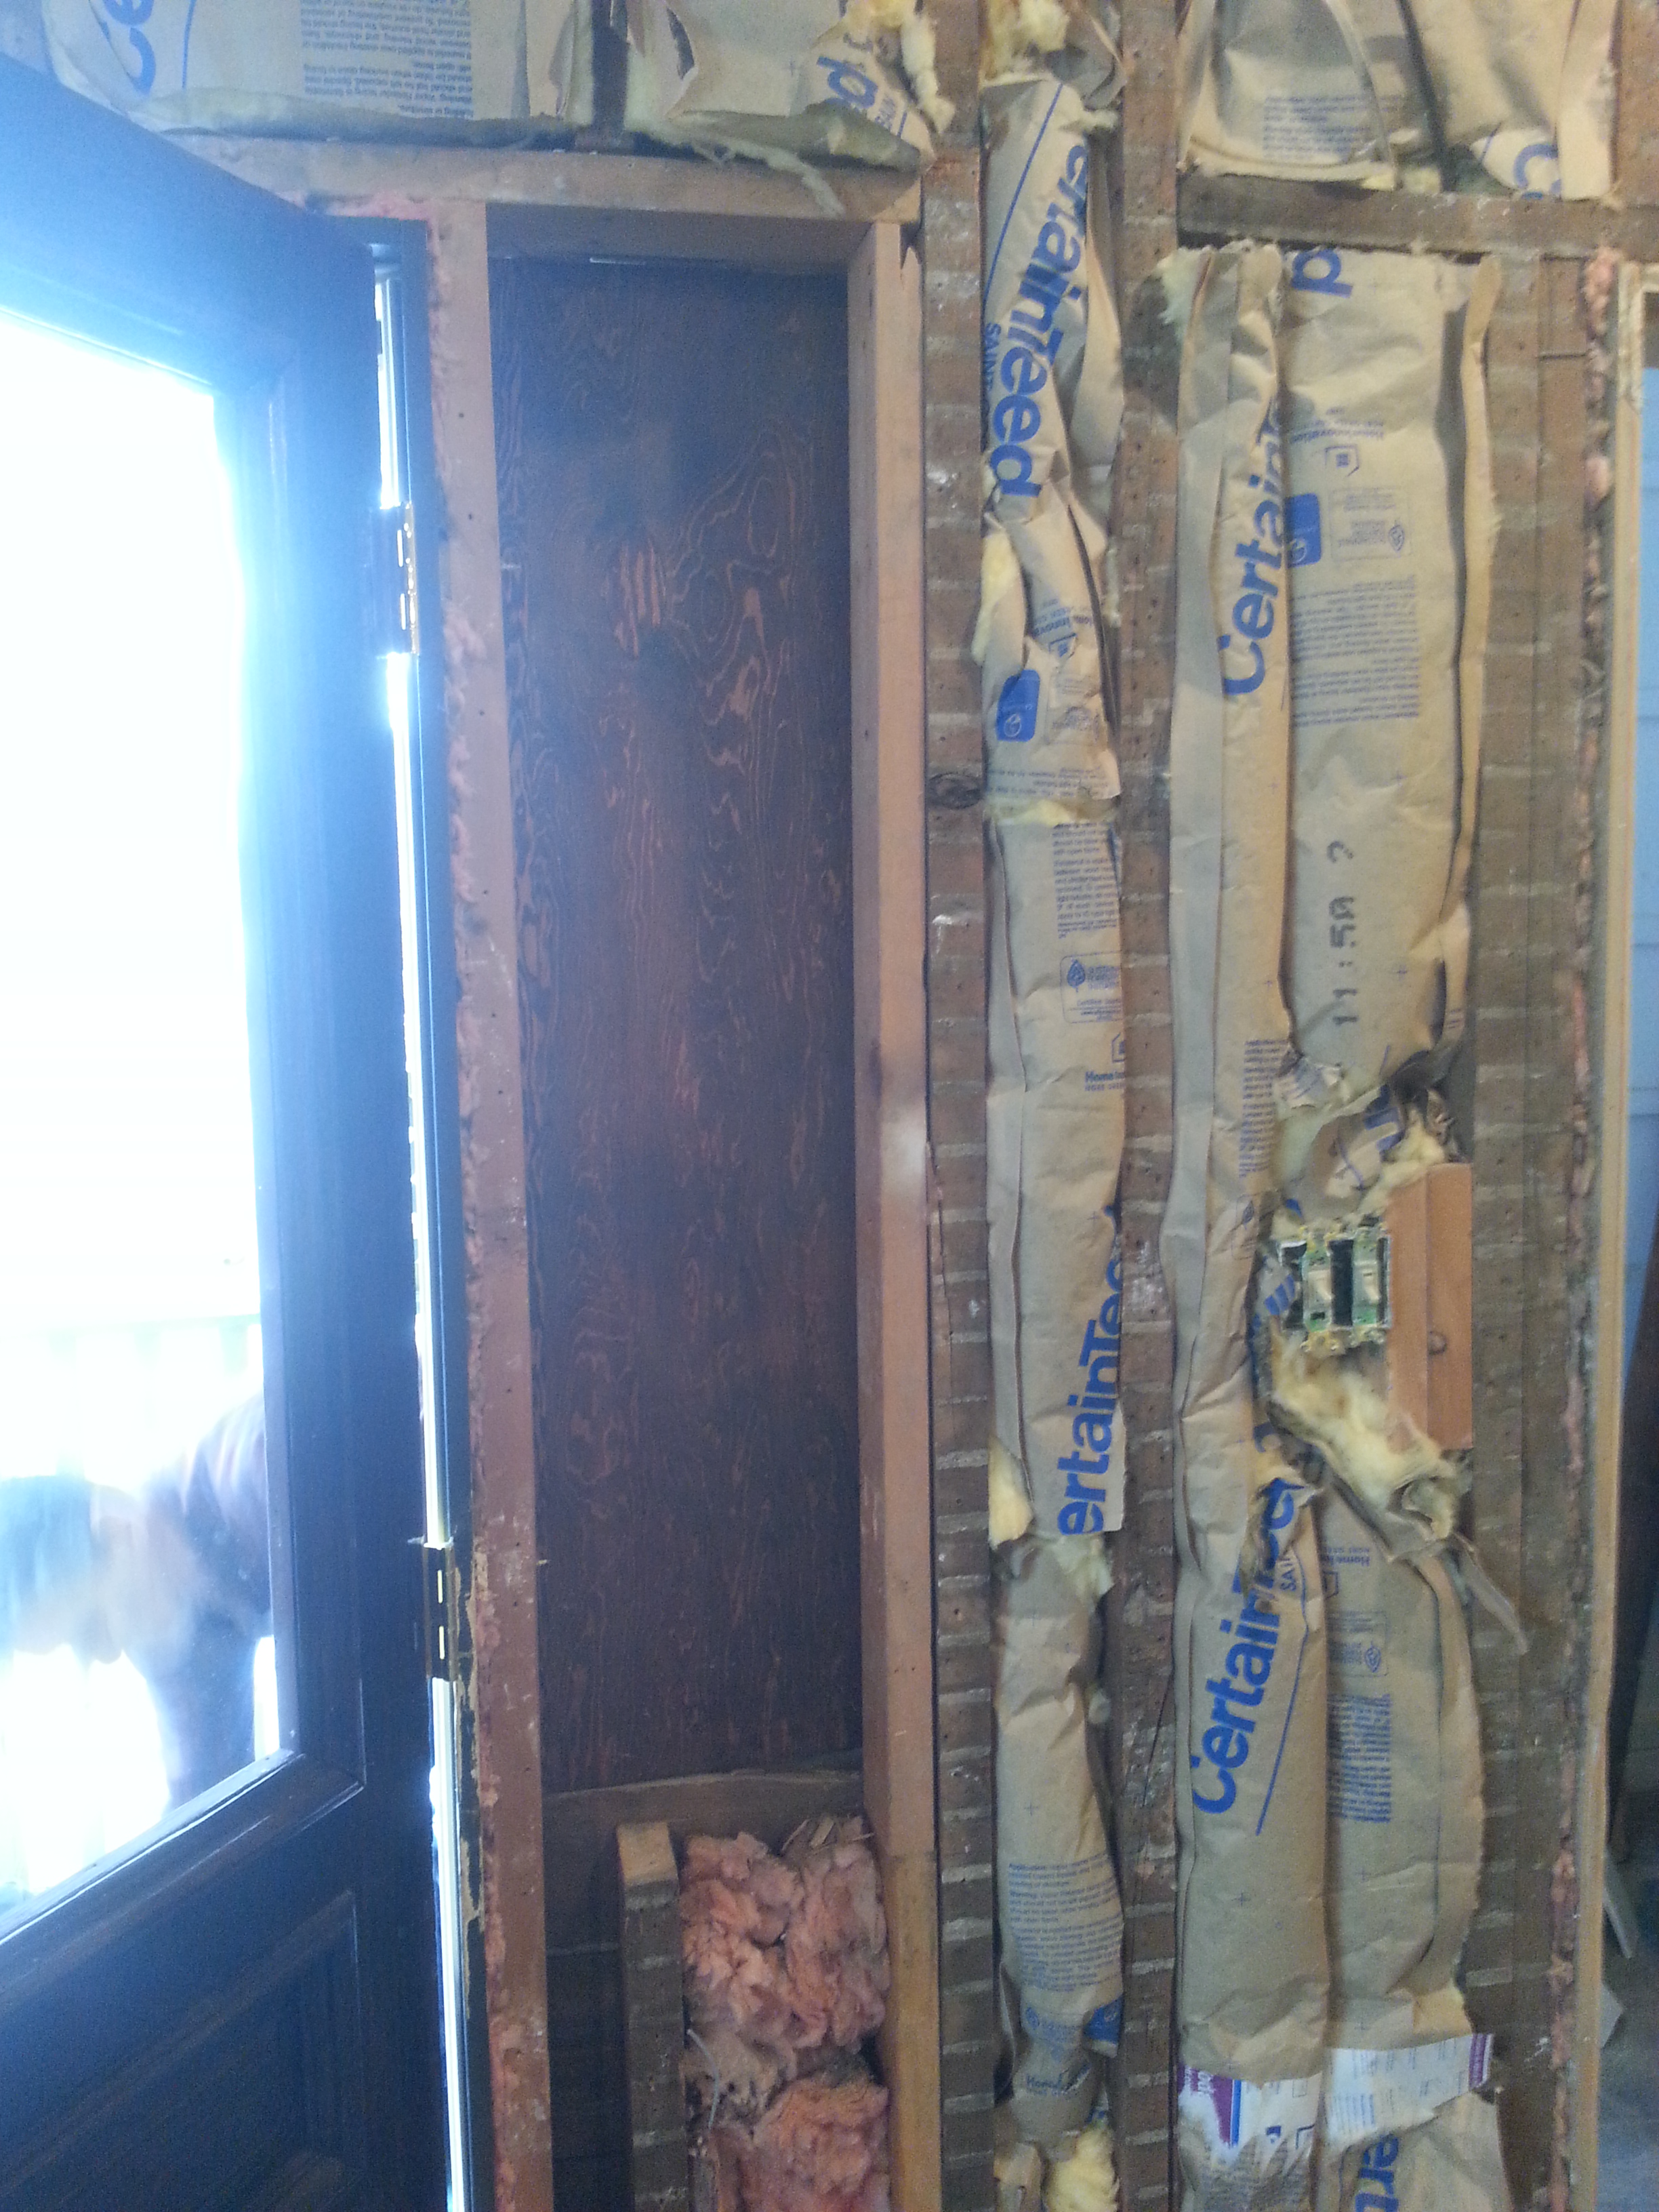
We removed the previous exterior back door and boarded it up. This area will be covered by siding to match the rest of the house.
I am so happy with the end result, this door is a truly beautiful (and functional) addition to our kitchen remodel!

Pingback: Adding a powder room! … The “Before” | ourvintagepleasure