
We are elbow deep in dust, dirt, and demolition here! And boy, am I ready for this part to be over!
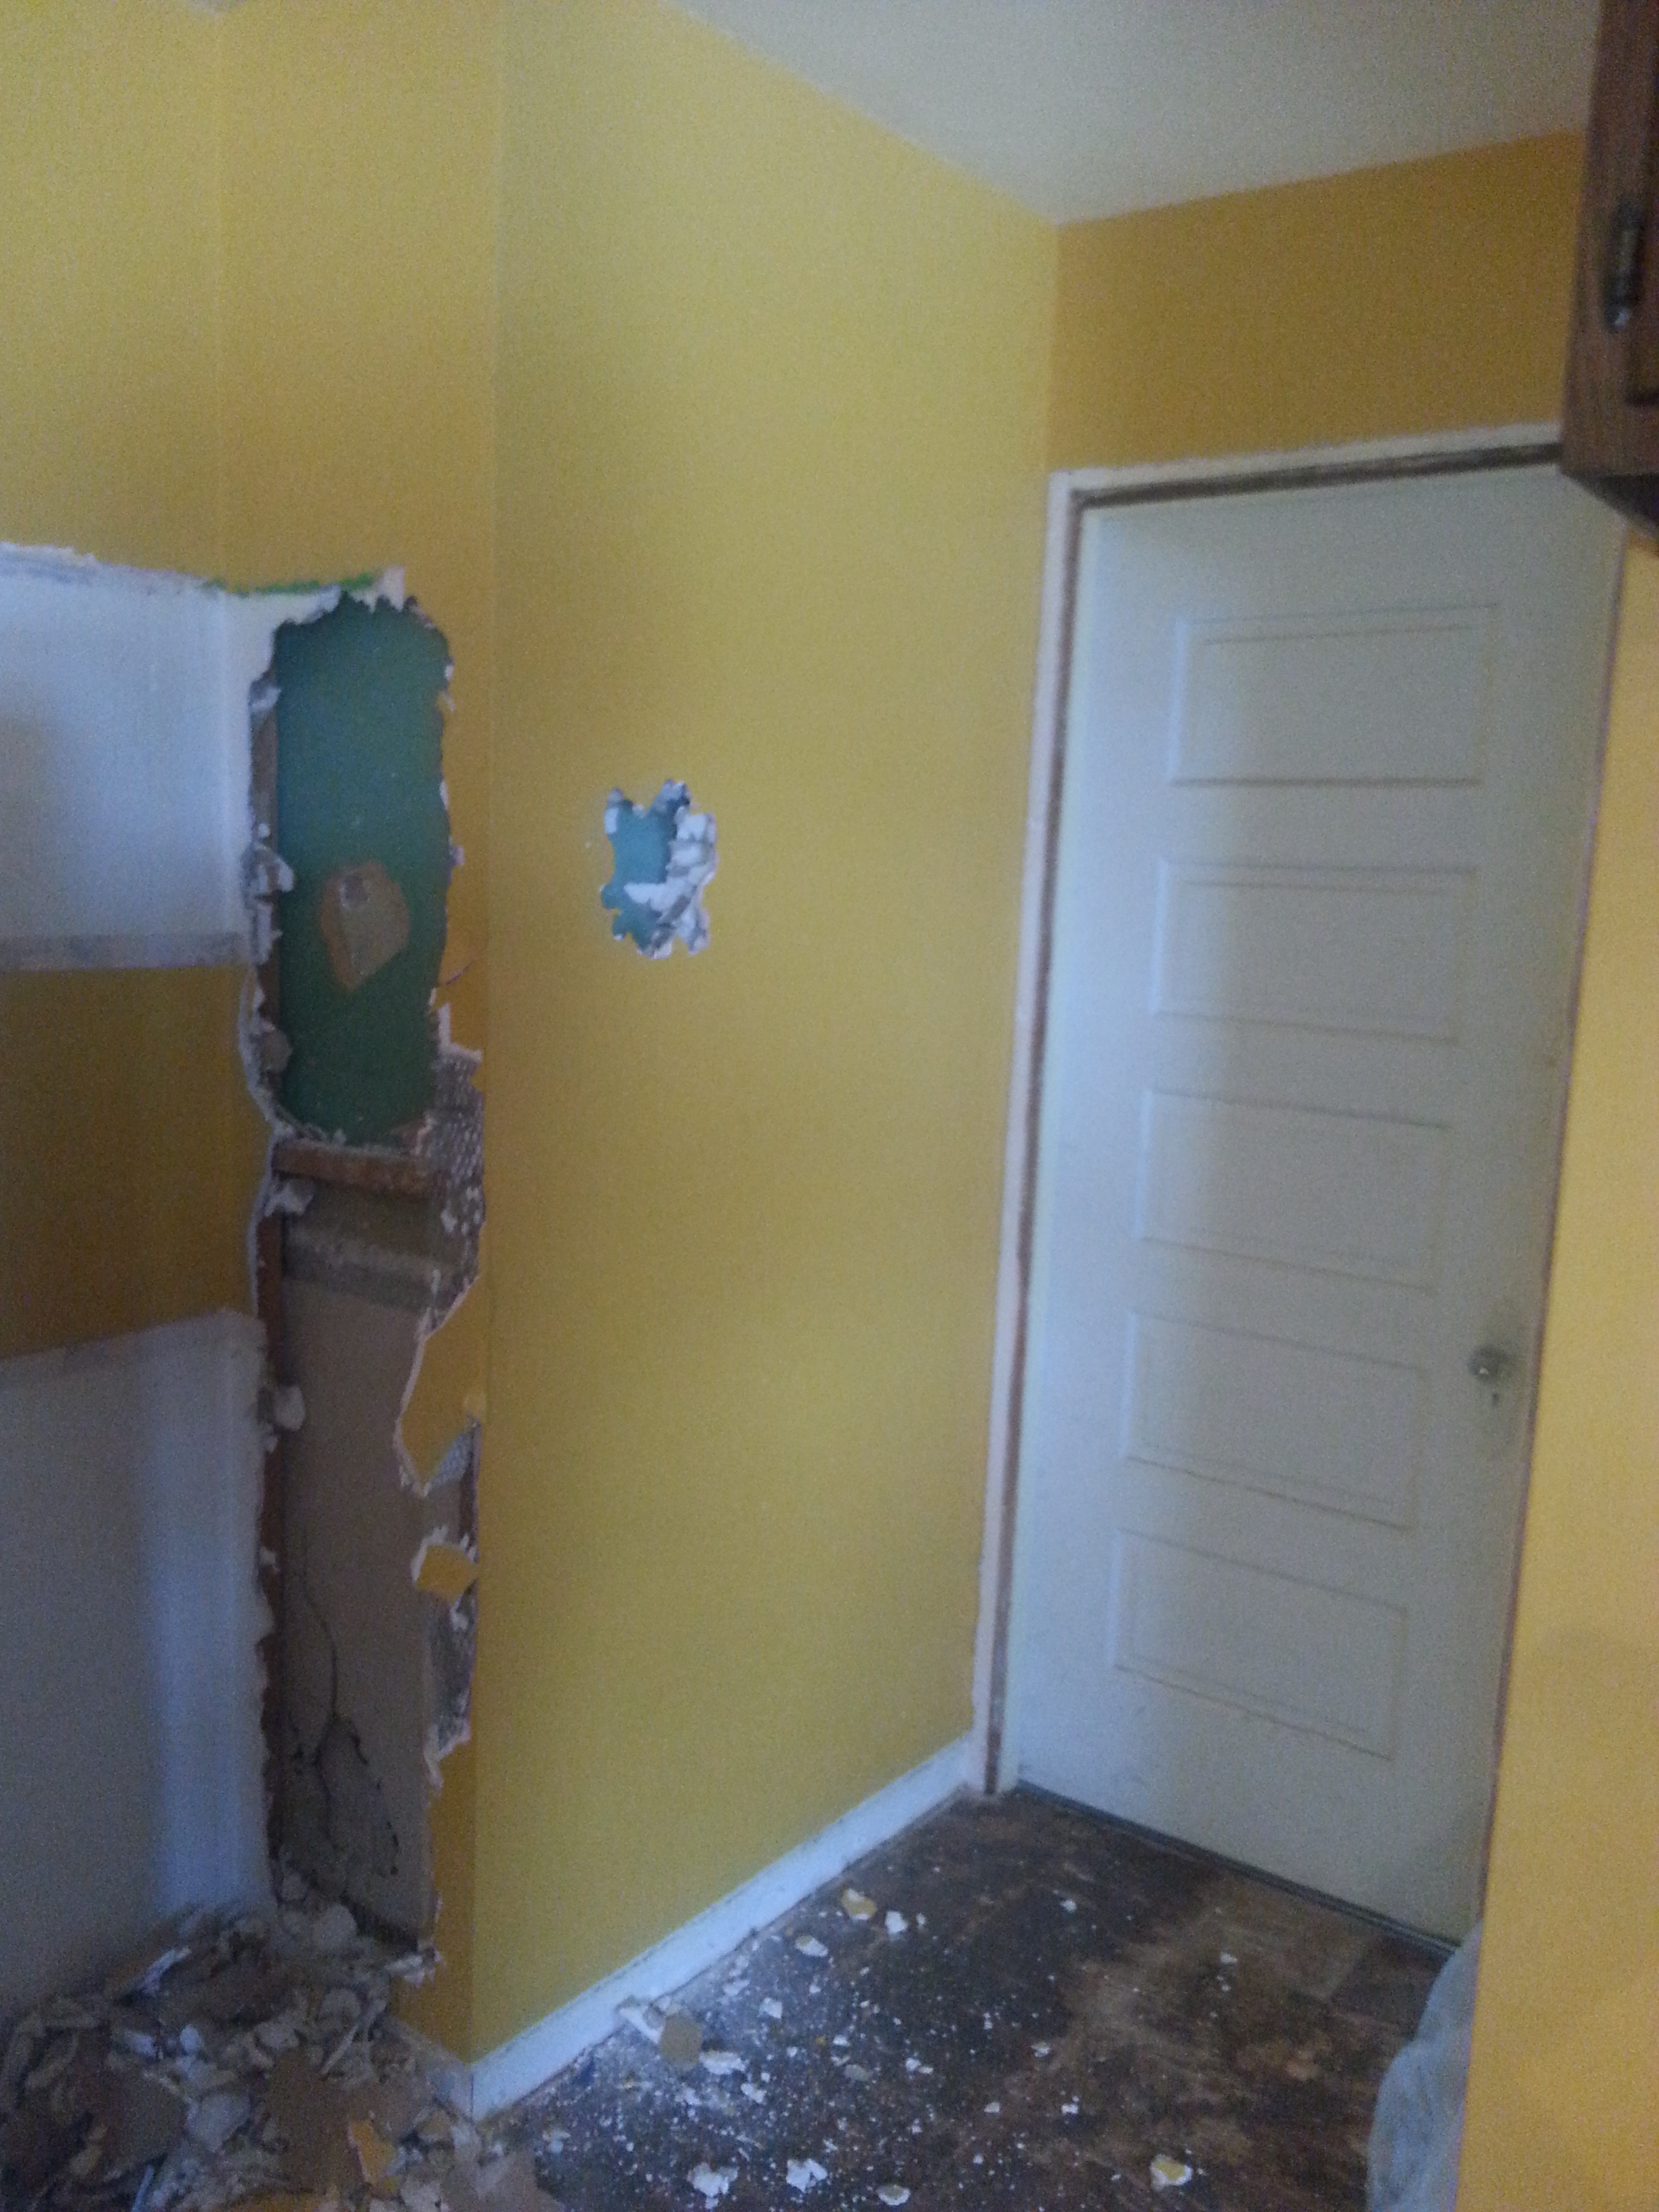
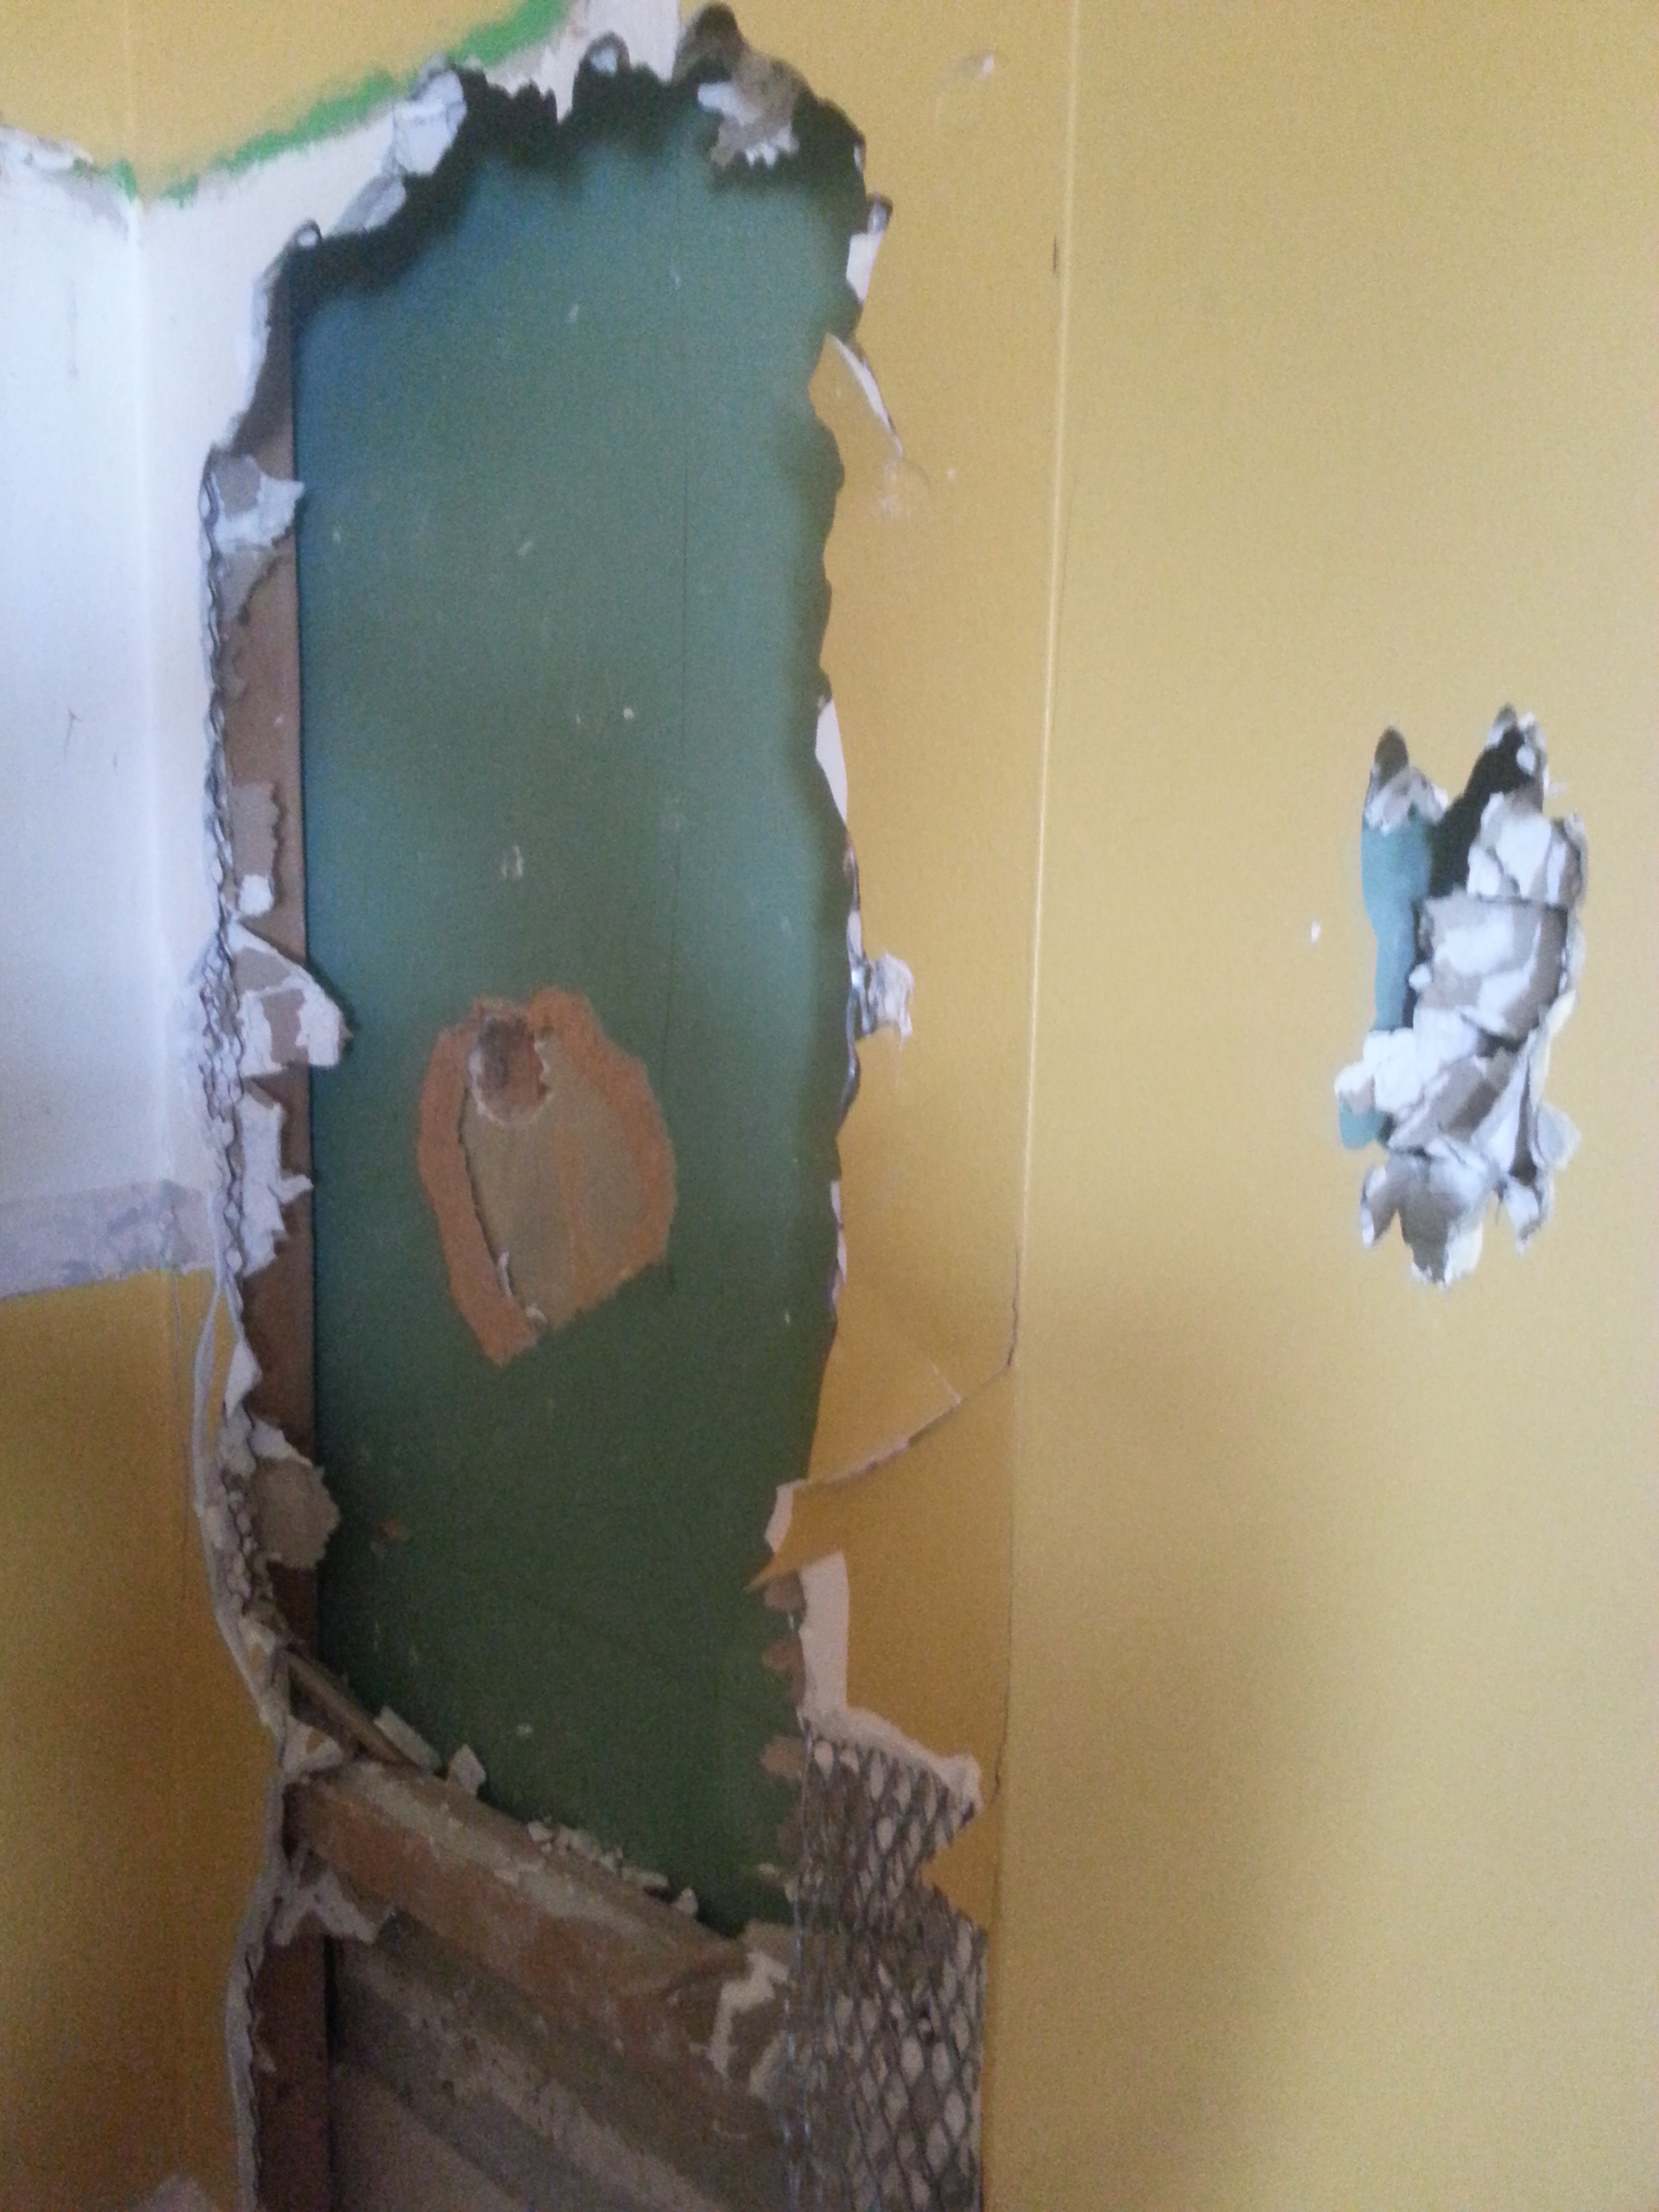
We have been slowly tearing the kitchen apart for a few weeks now. Raul is in his last semester of school (yay!) so he has been way too busy to help much with the process which leaves me and my parents to cram in as much progress as possible every Sunday. The tricky part is tearing things down and still trying to maintain some semblance of utility in the space we are currently calling the kitchen. All of the contents of our many cupboards and cabinets have been relegated to the dining room for now which makes preparing any meal very easy…not. We are currently operating with no ceiling and 2 out of 4 walls. Oh! And no dishwasher (the horror!) We have been surviving on mostly cereal and canned soup in order to avoid any kind of food prep which gets old, real quick.
Our first task was to remove the false ceiling that had been added at some point in time. We noticed the drop ceiling last year when we had to gain access to the plumbing due to a water leak coming from the upstairs bathroom. After I was able to poke my head through the access hole and determine that we were losing about 8-10 inches of space with the drop ceiling we began to form ideas of removing the ceiling entirely.
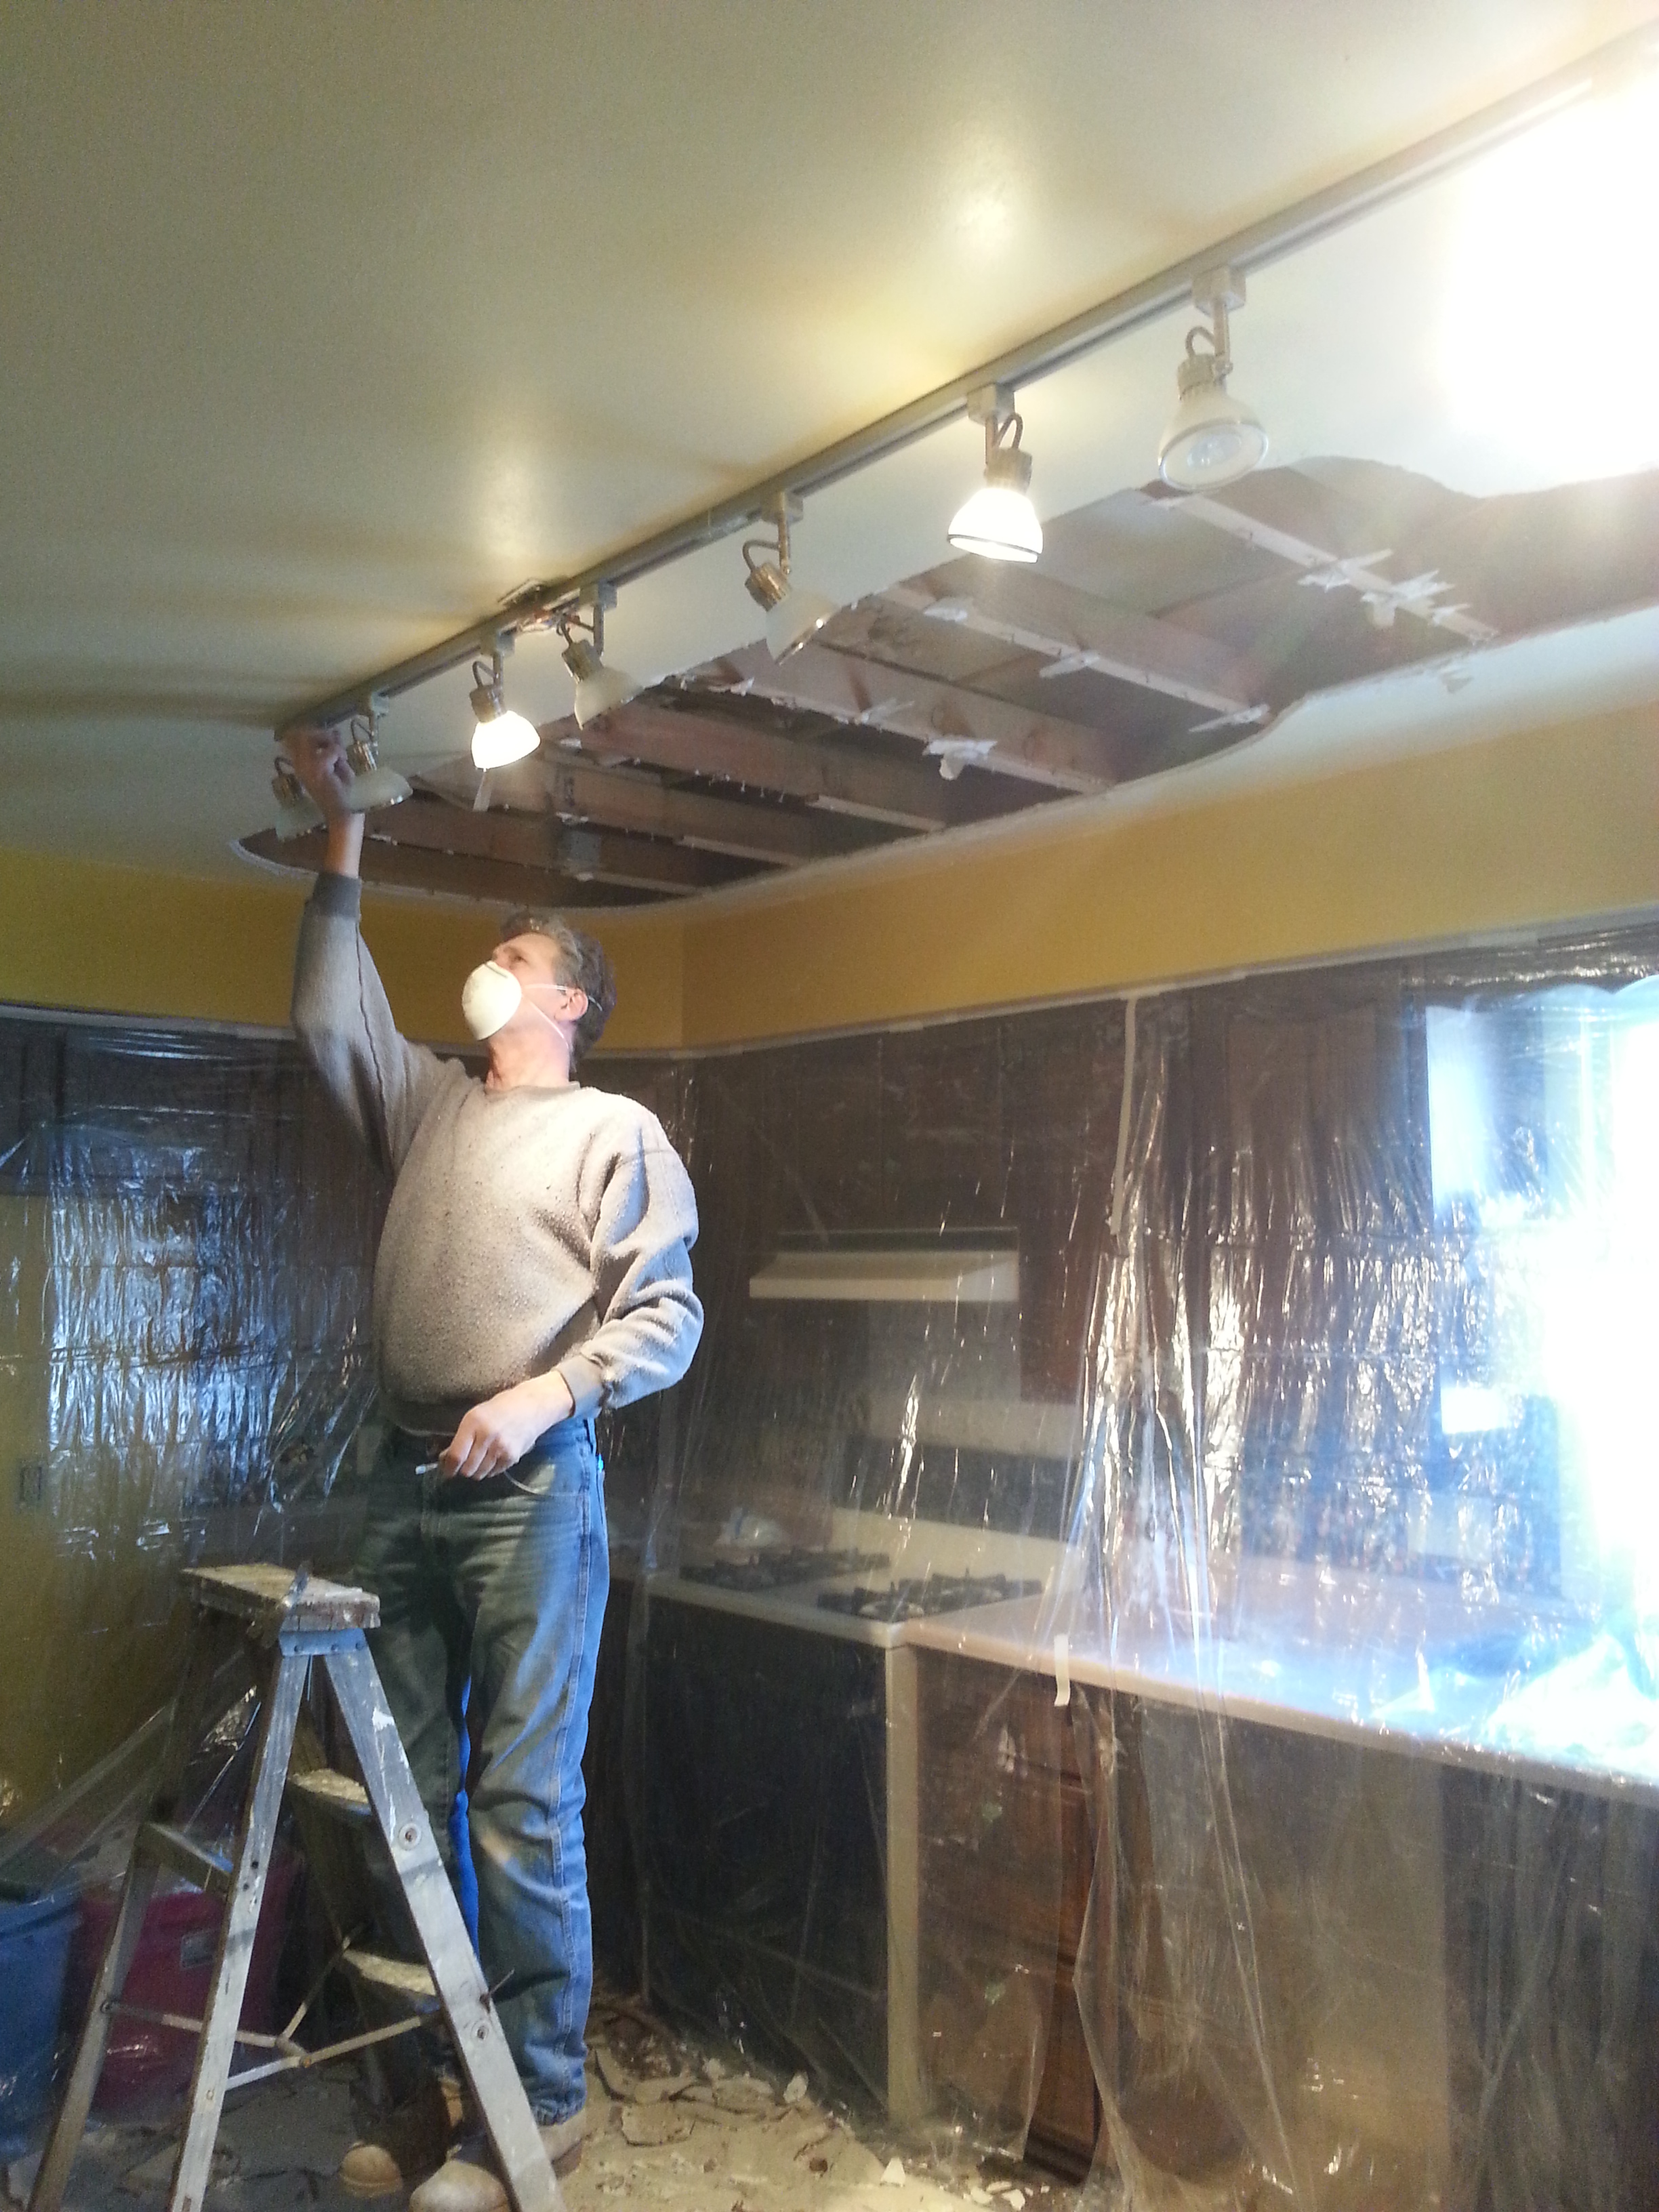
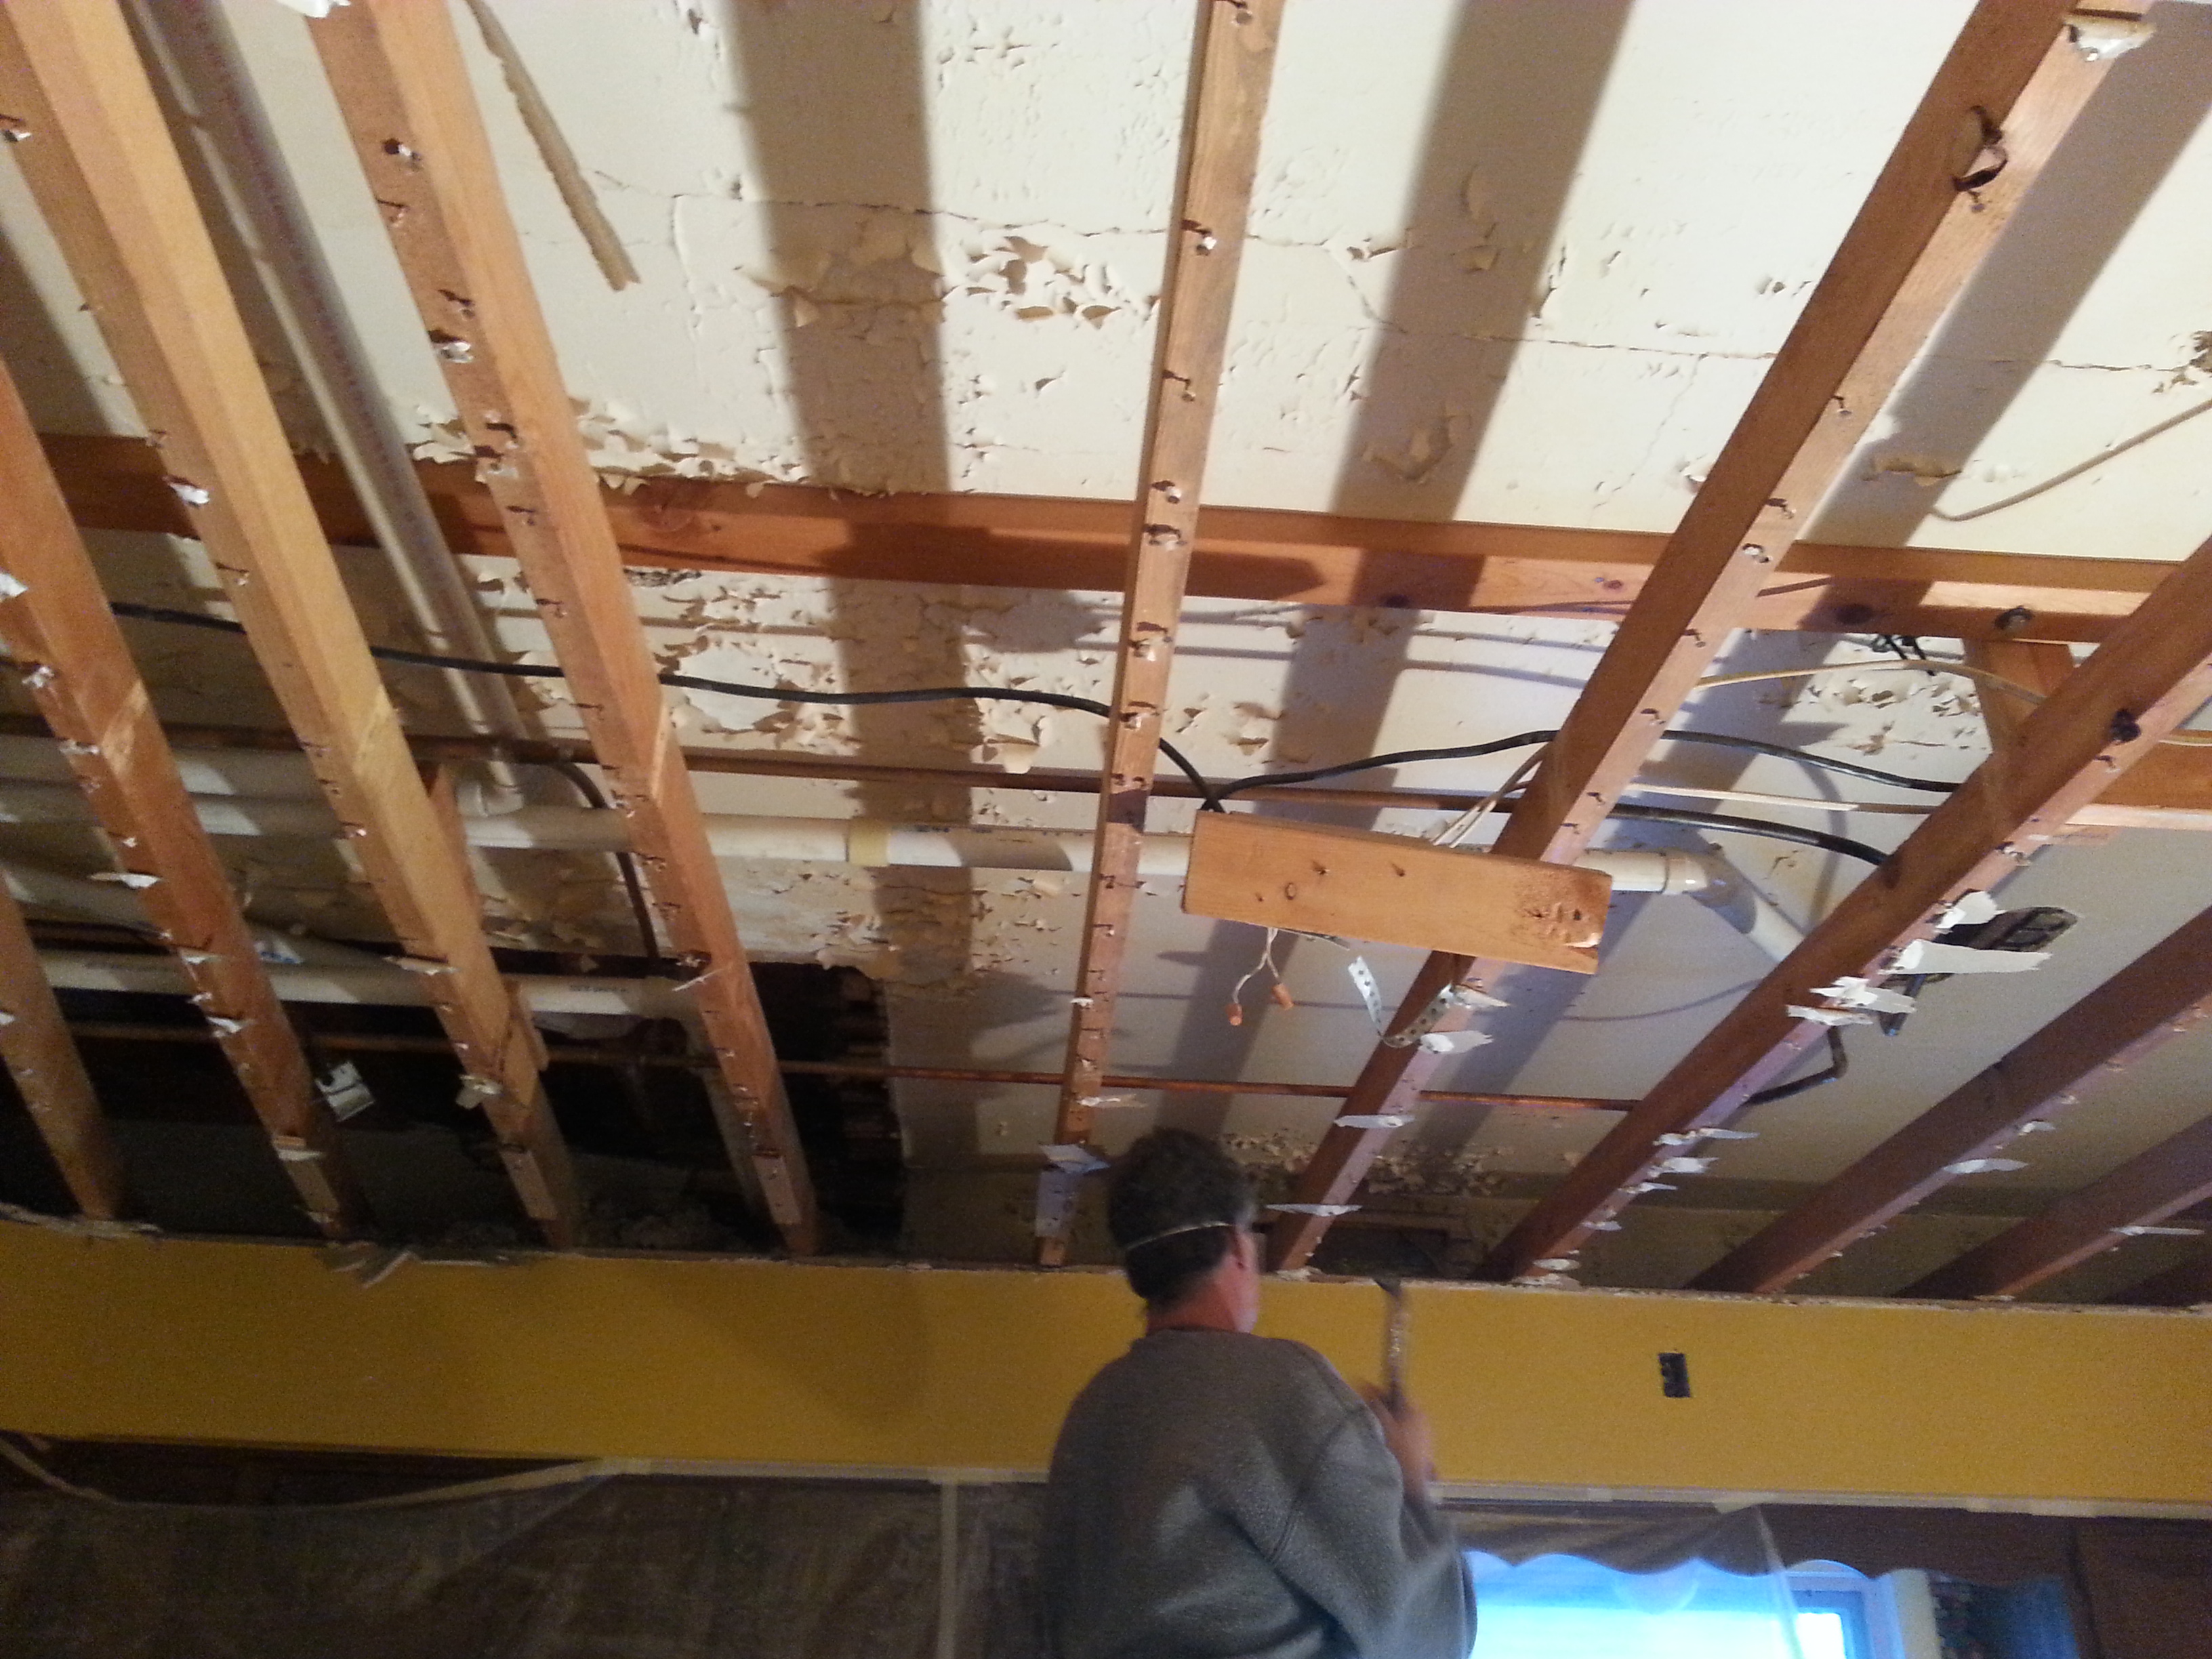
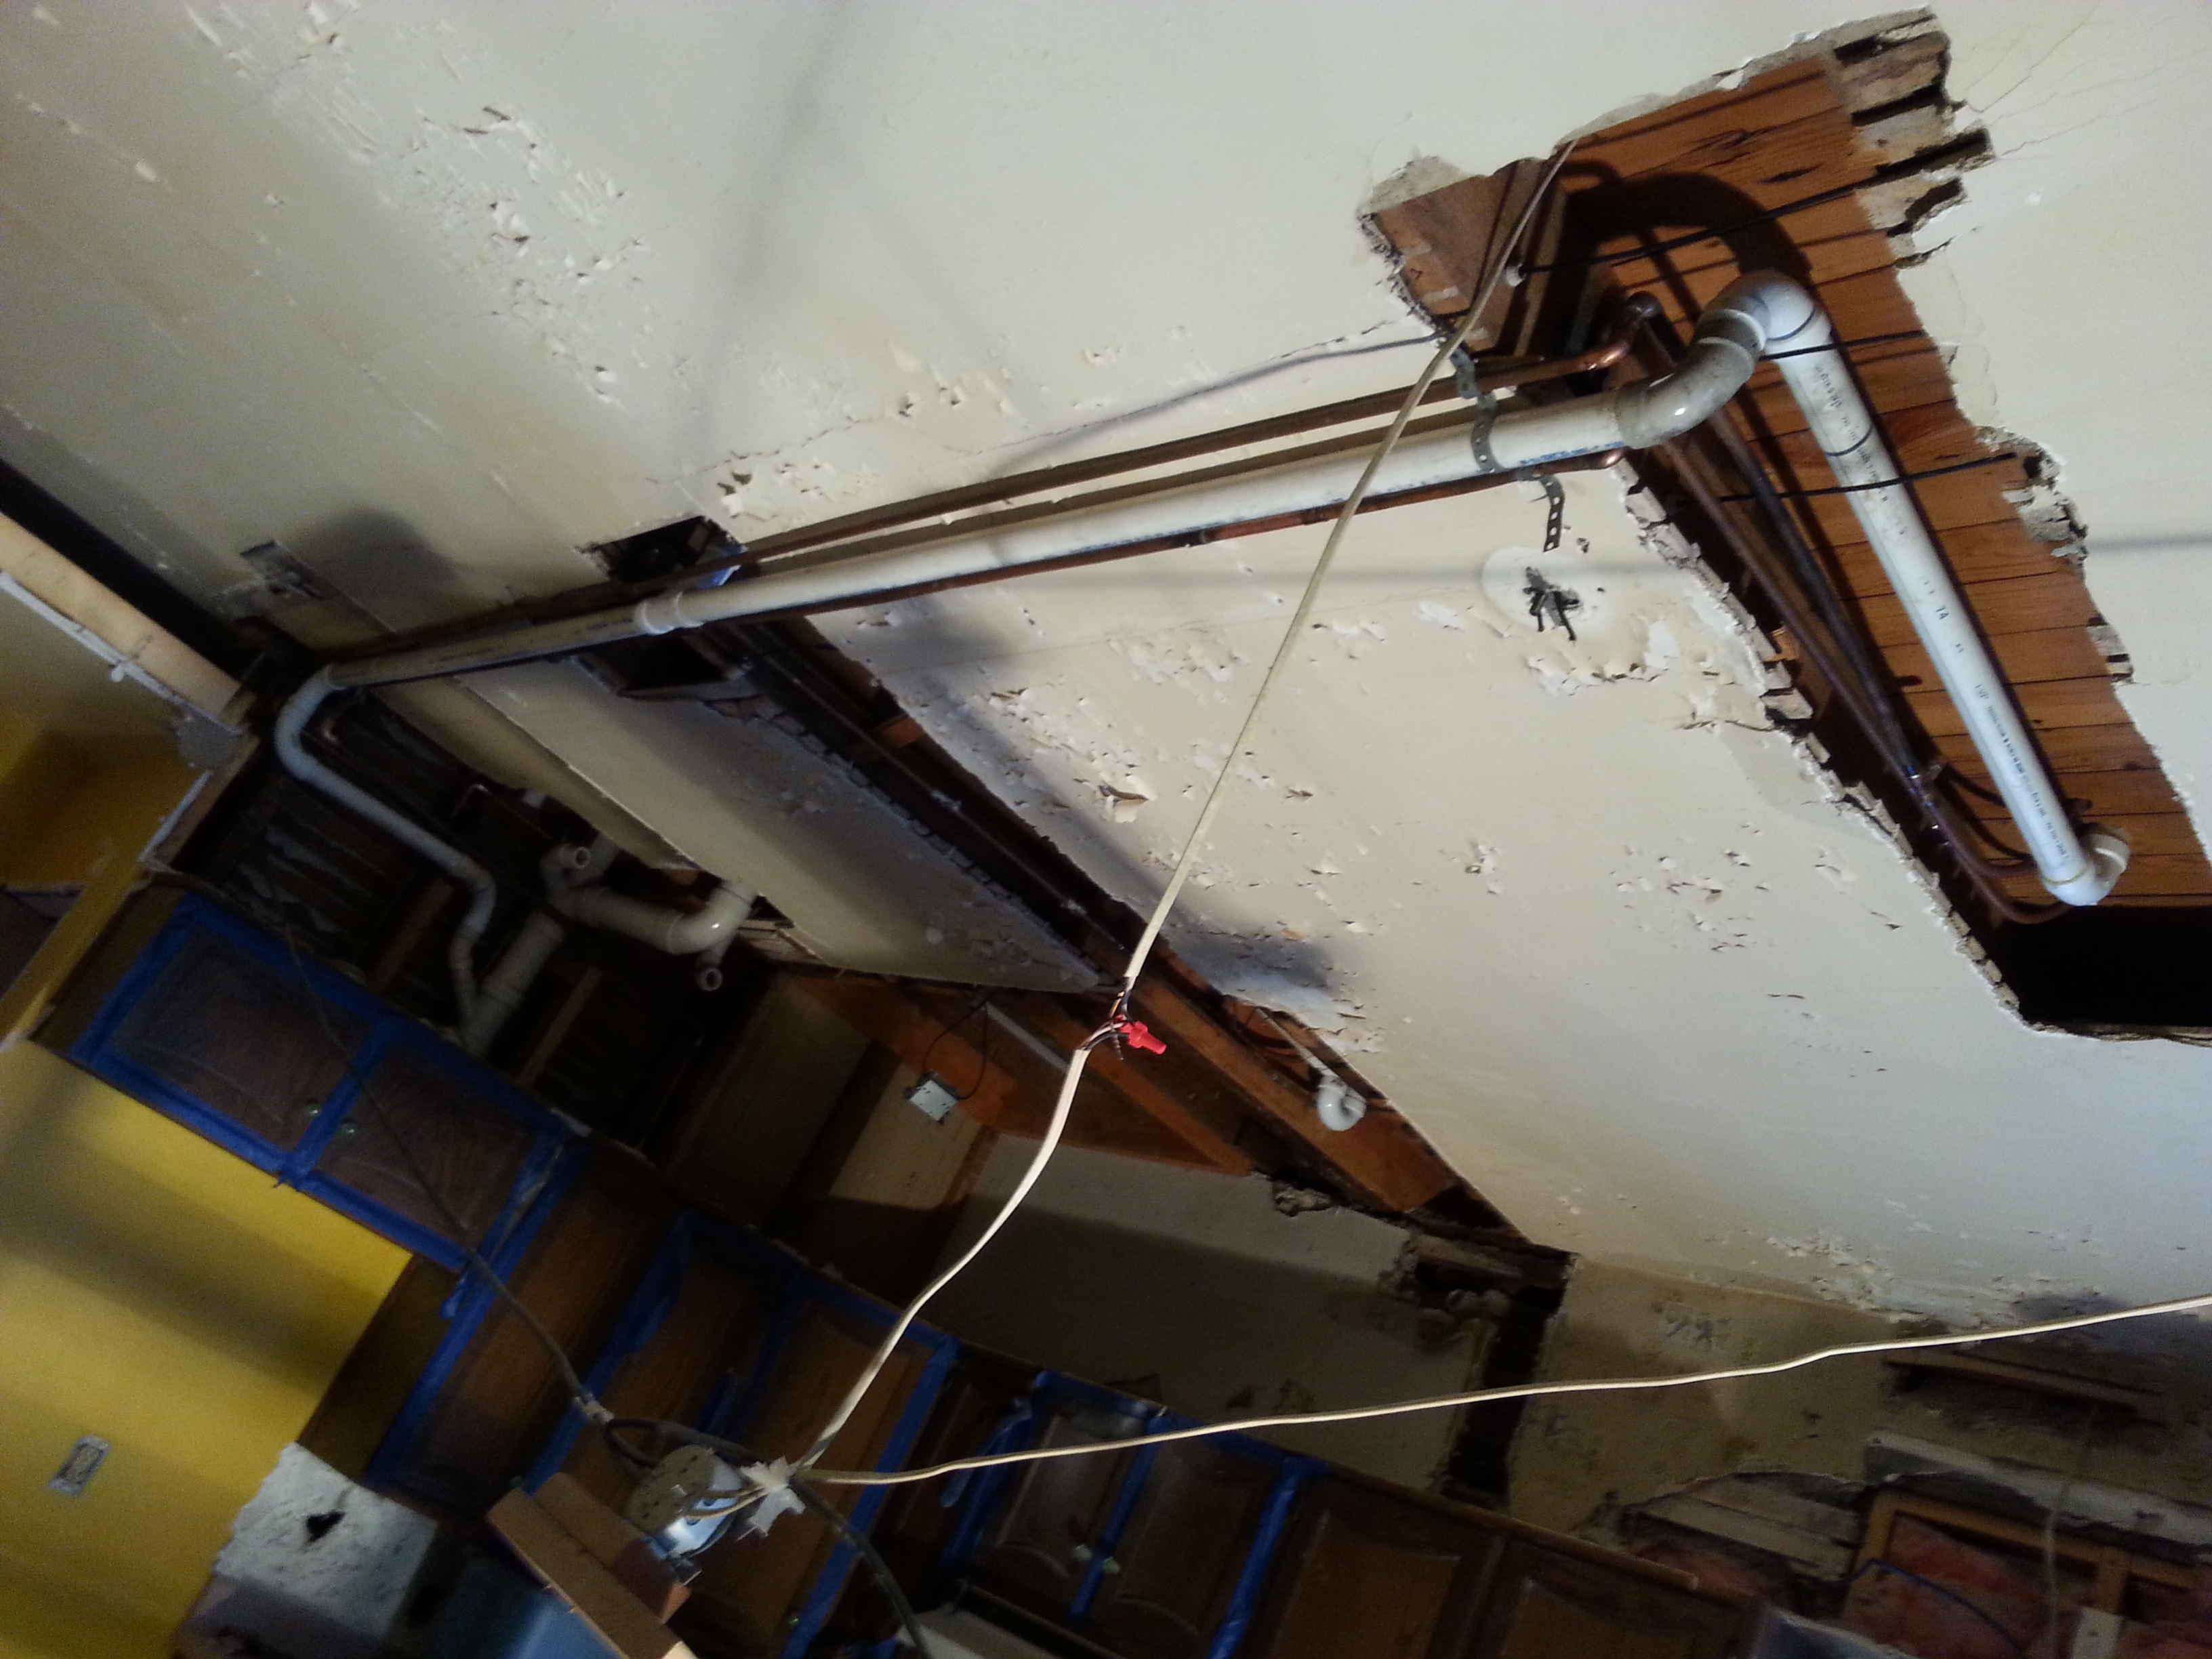
Once we got all of the plaster knocked out if was painfully obvious that the plumbing was an absolute mess. It looks like a sadistic game of Mousetrap up there, doesn’t it?!
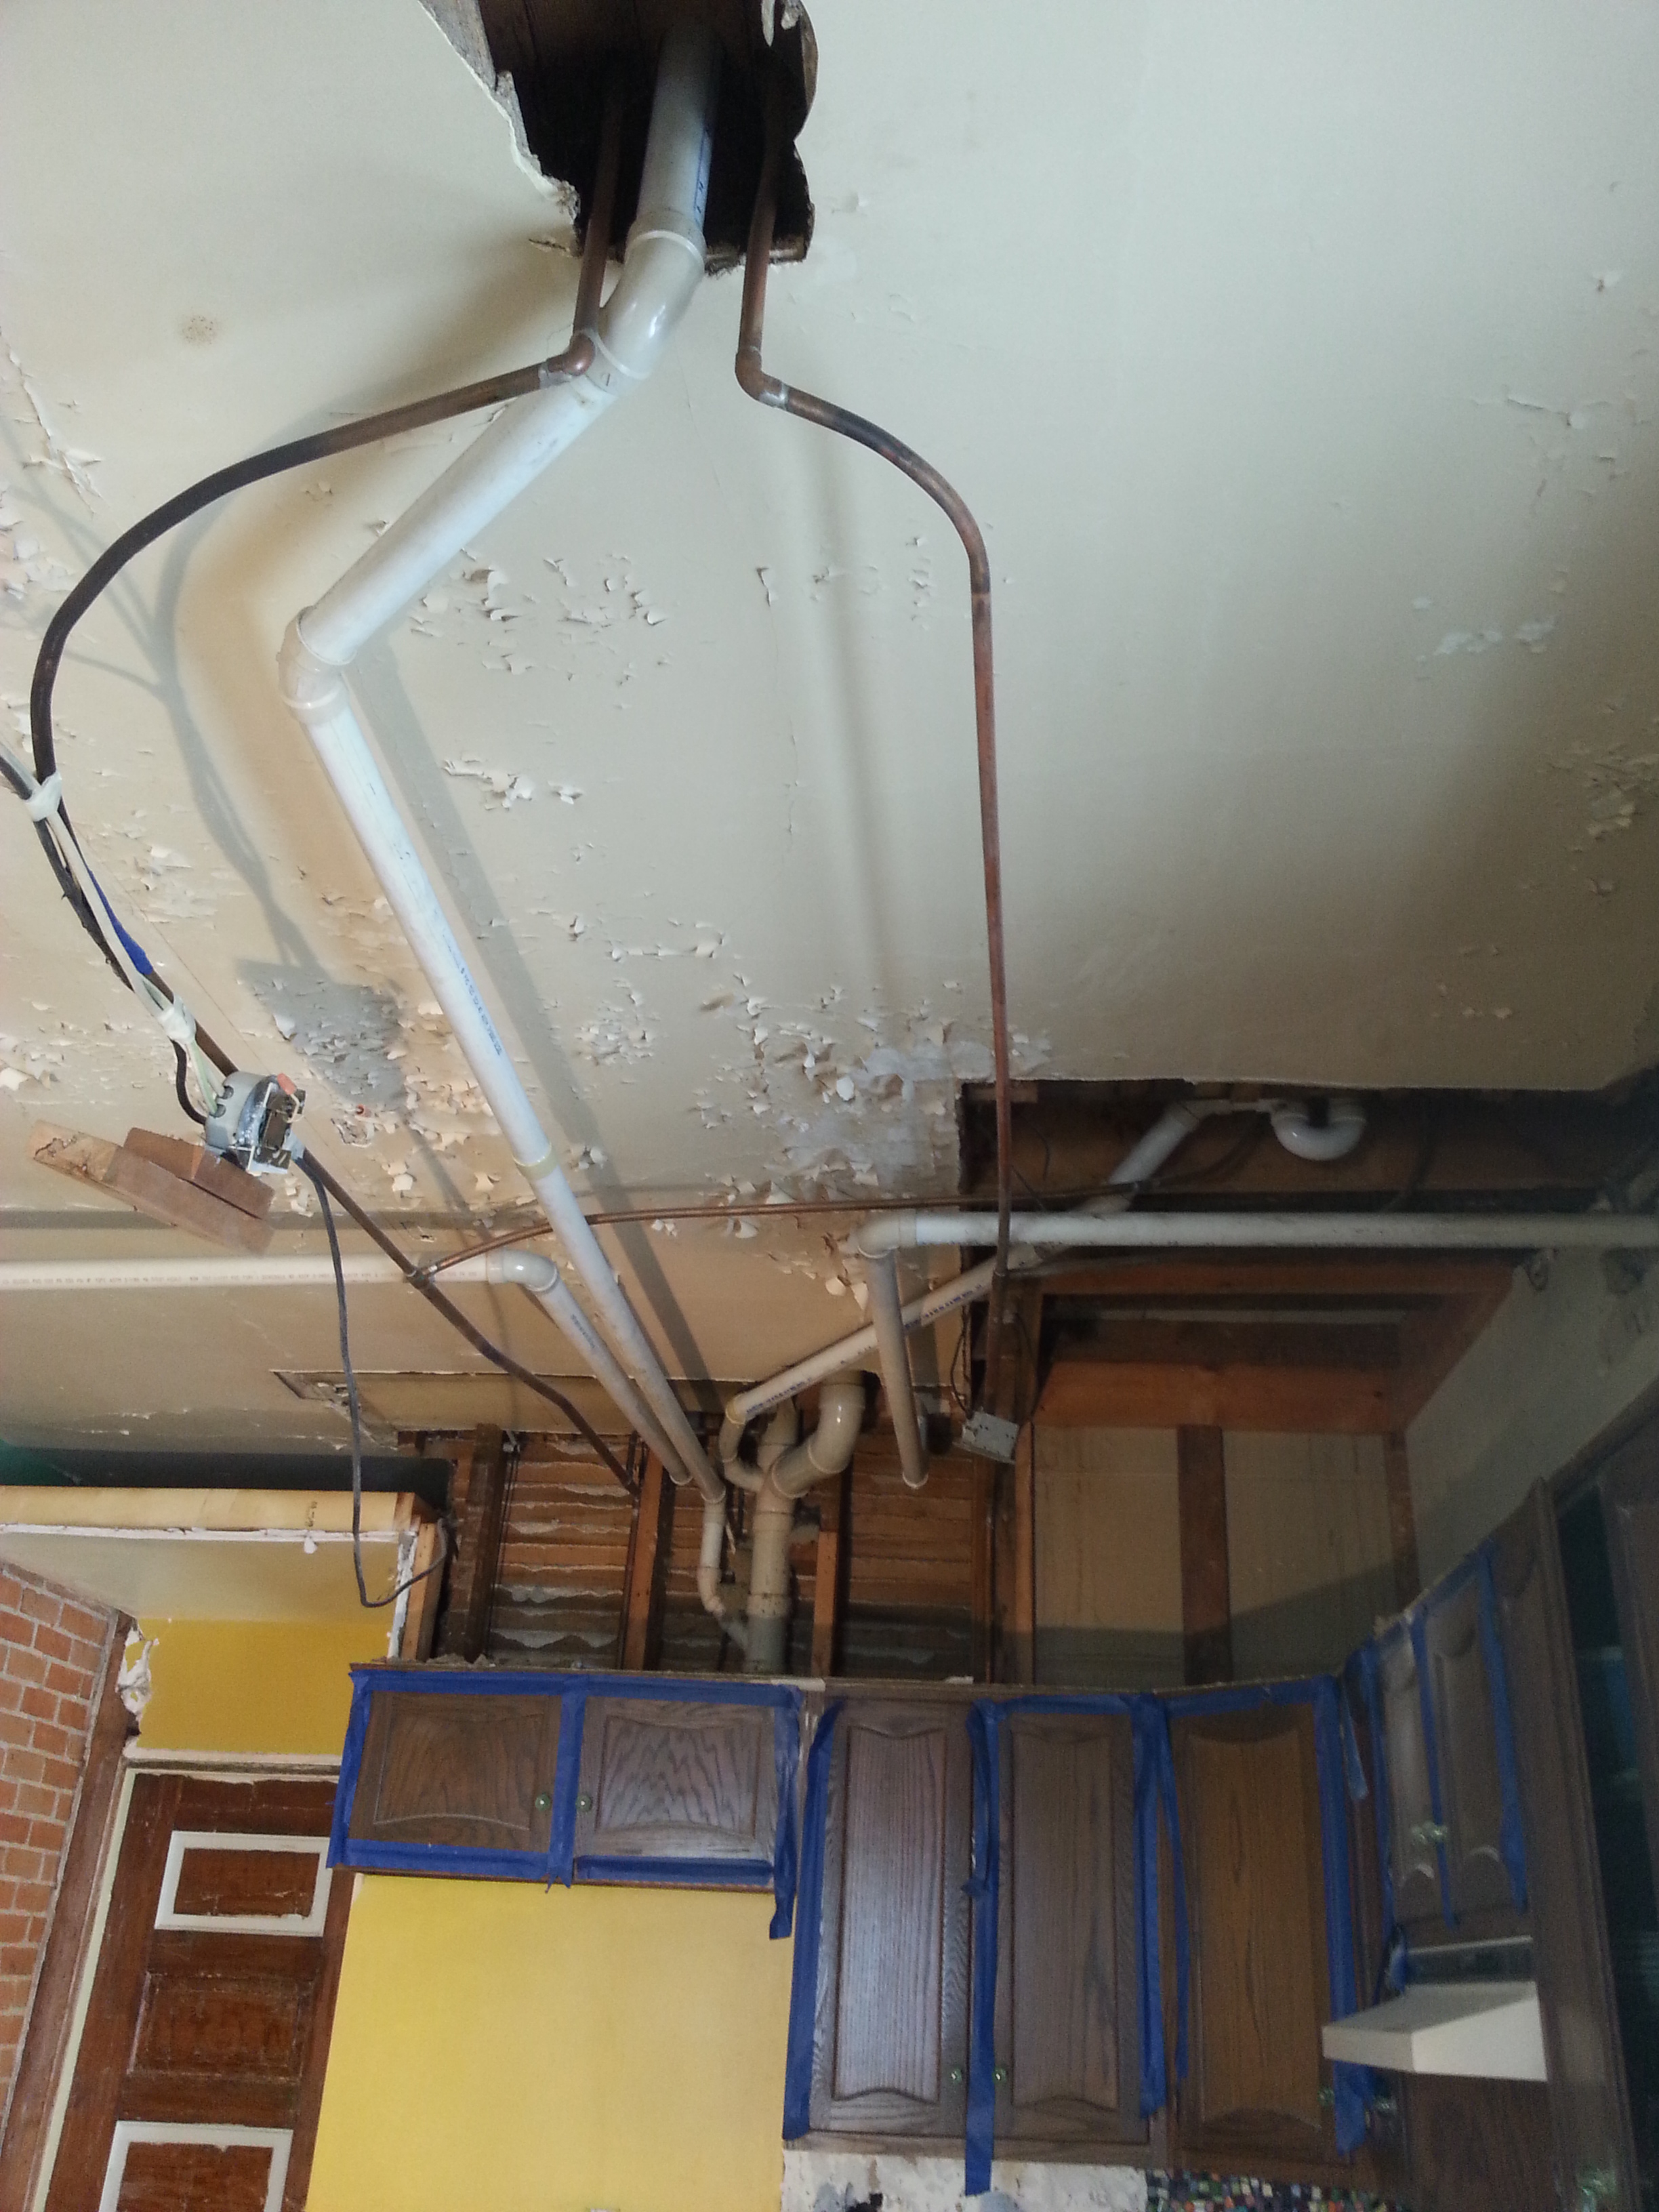
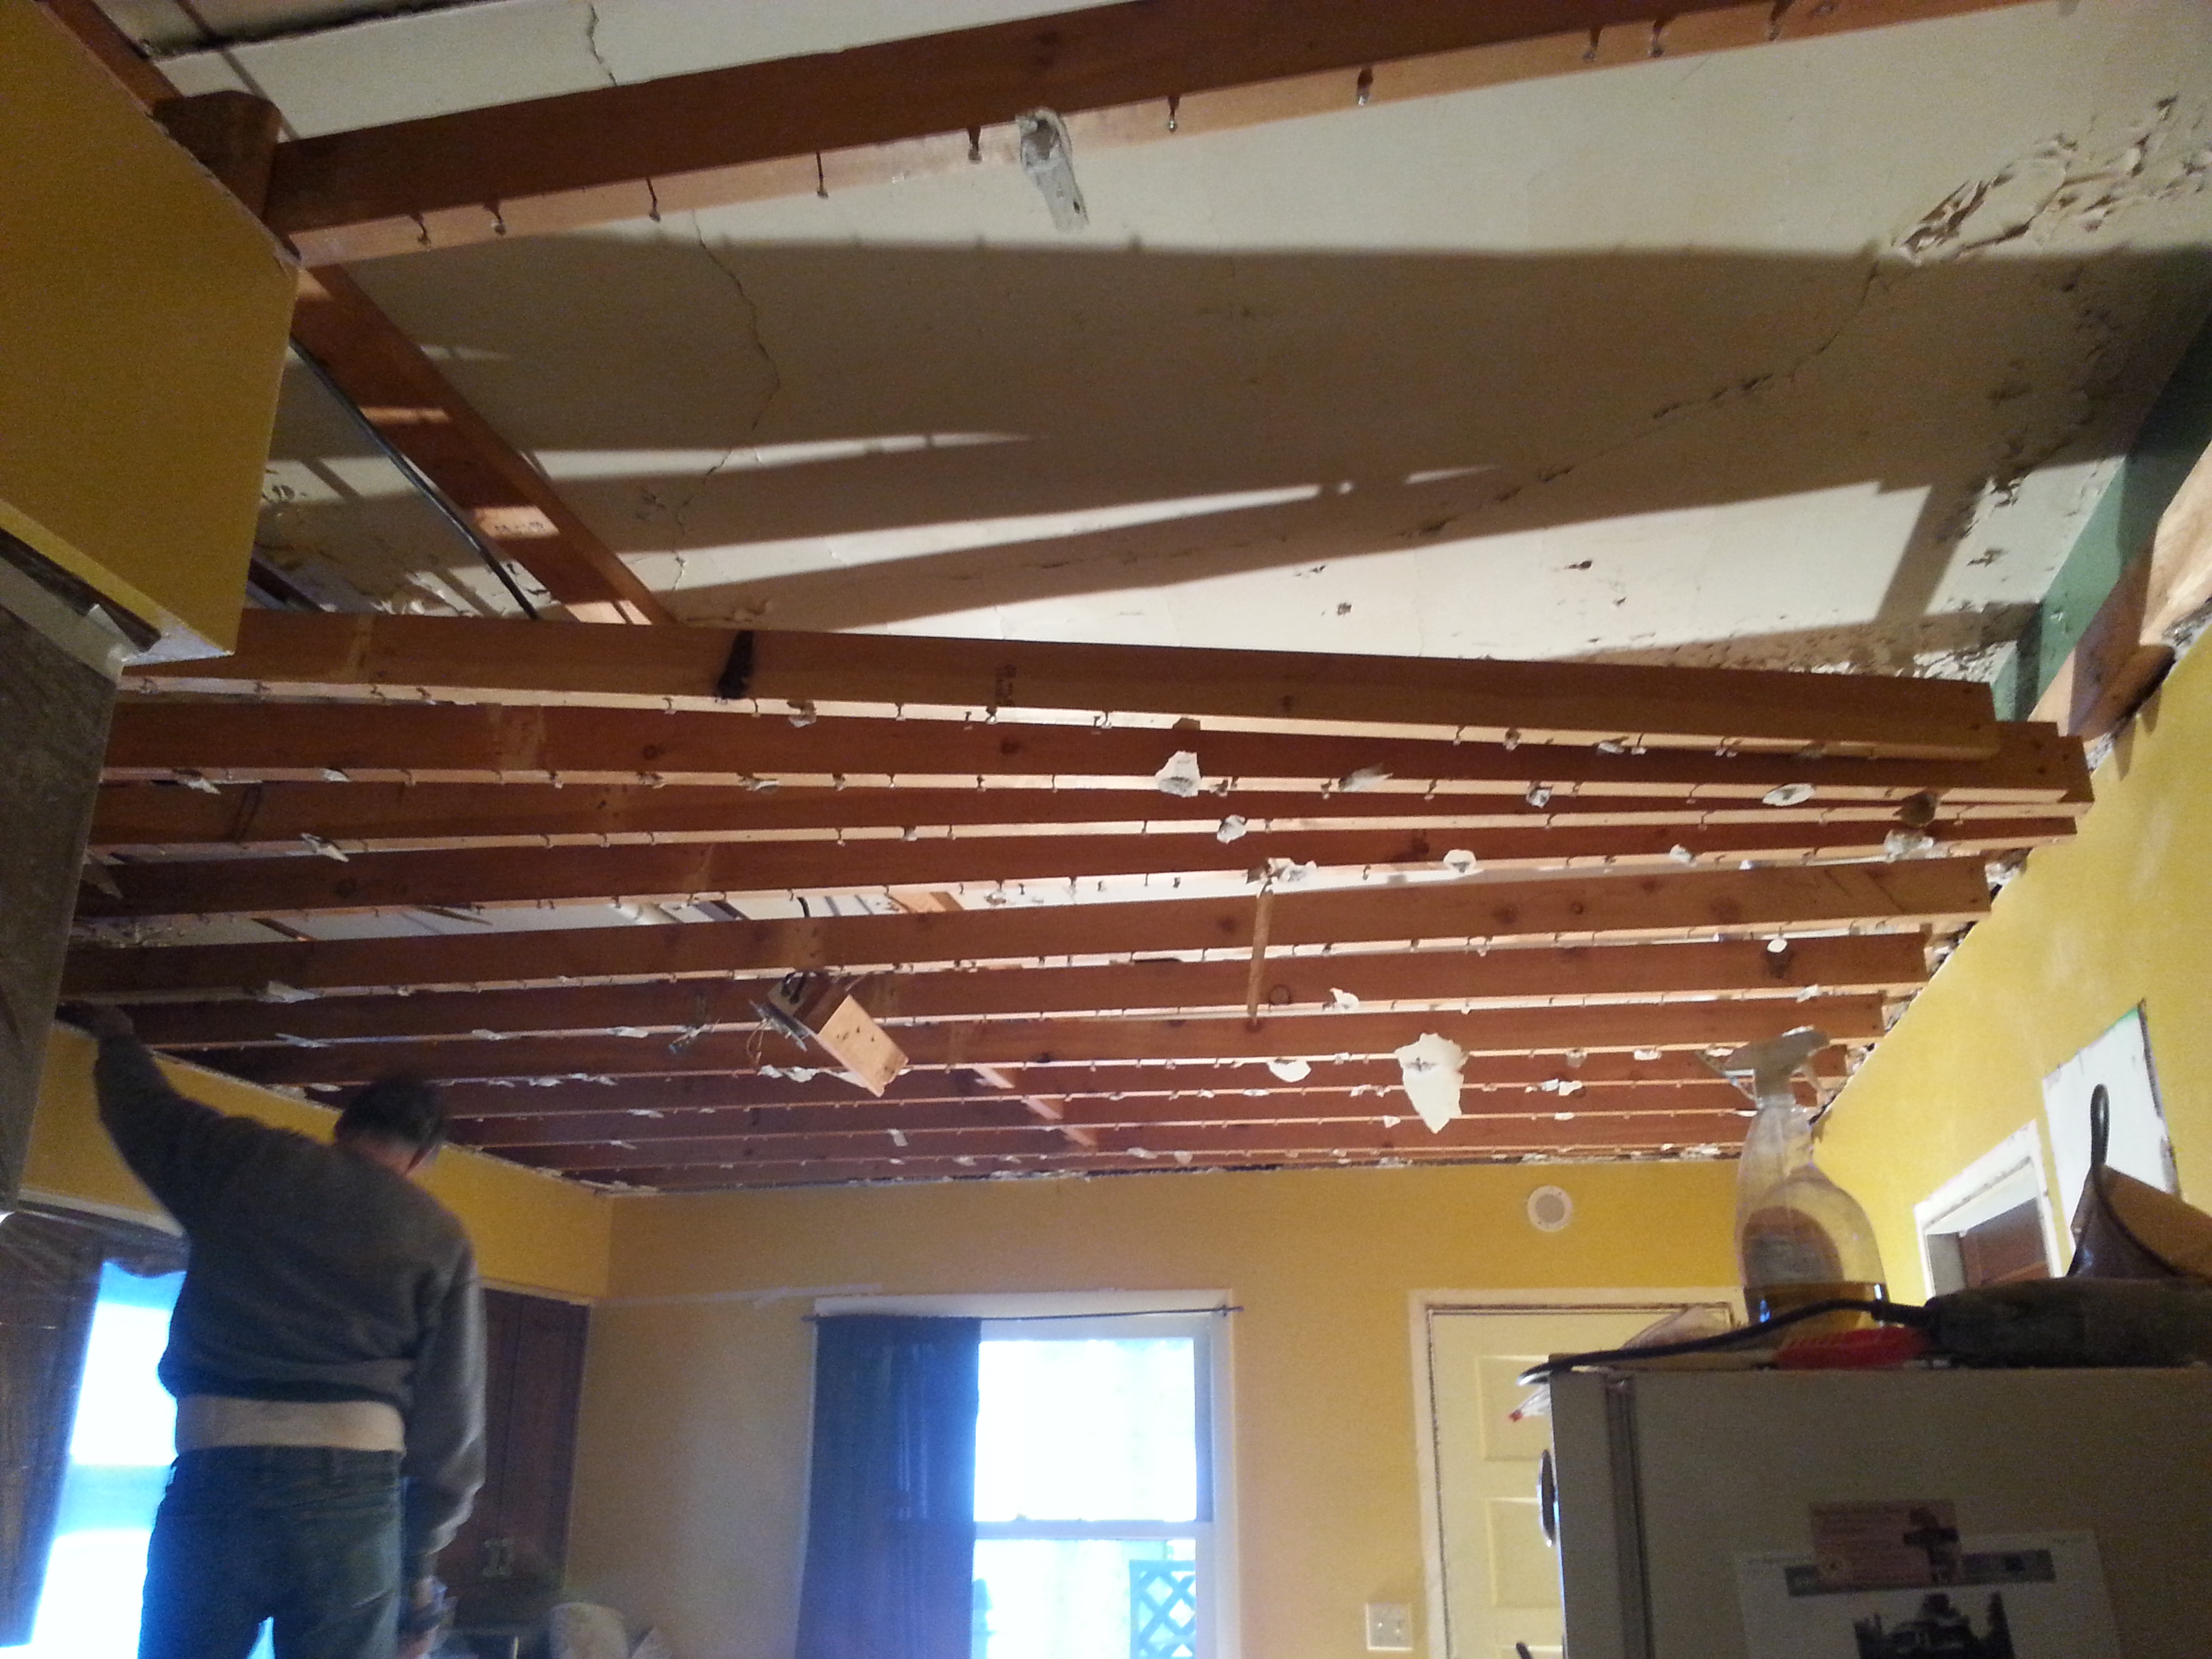
It took 2 days to reroute the plumbing but it was well worth it. We raised everything and either tucked it nicely into the original plaster ceiling or ran it in a horizontal line down the center of the kitchen. The plan is to add a beam to our new ceiling that will hide all of our plumbing and electrical. Now everything looks nice and organized 🙂 If you can’t tell the difference, no worries, a month ago I probably wouldn’t have been able to either. But now, after several hours on a ladder and even some burns on my hand from dripping solder I can see that this setup is much better!
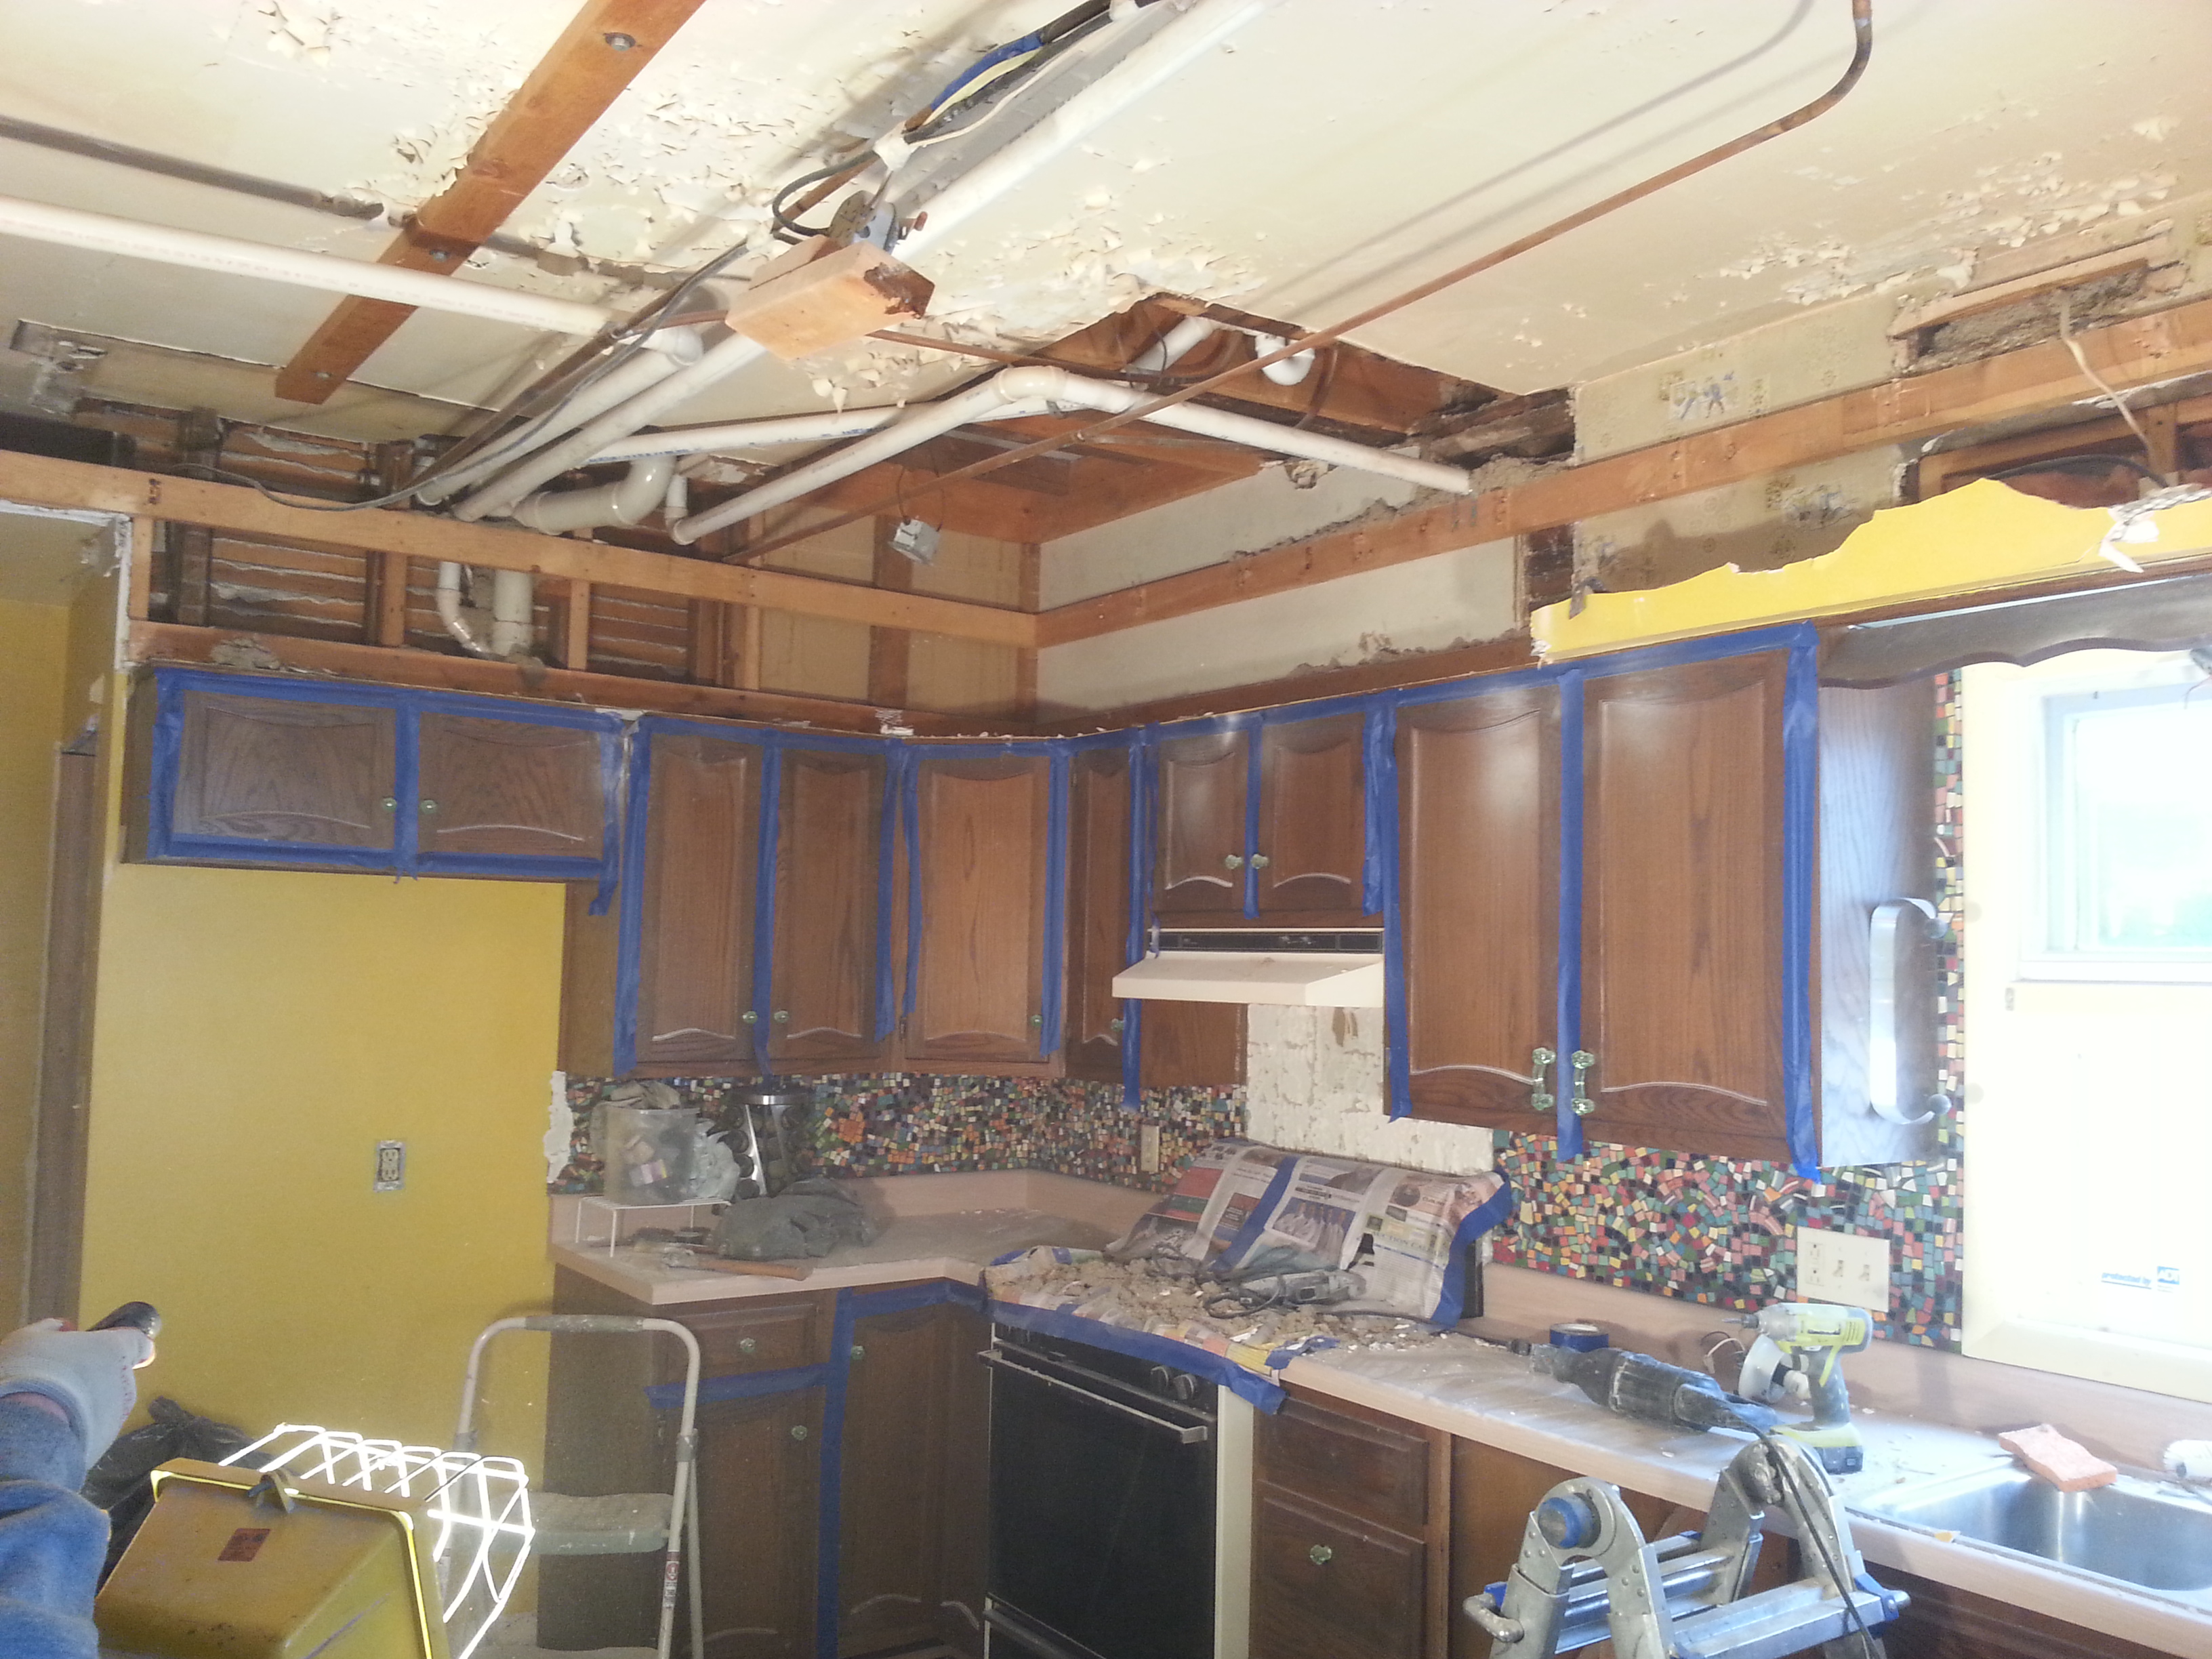
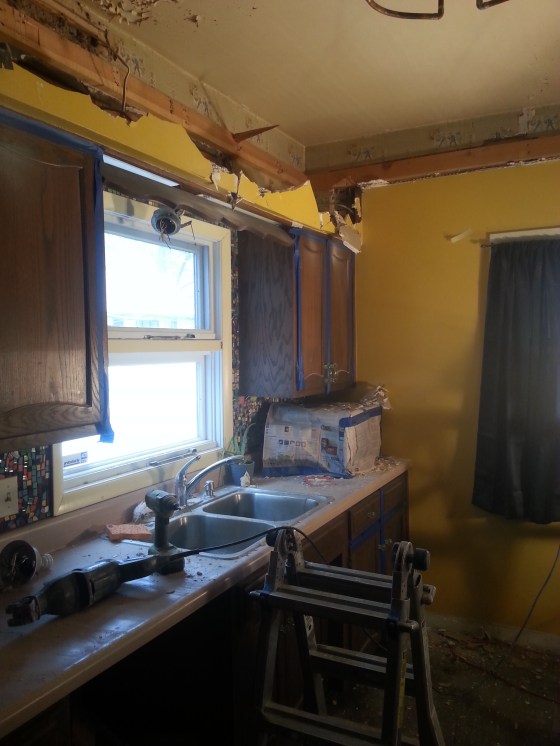
Next up, bye-bye soffit! Since we plan to install new cabinets that extend all the way to the ceiling then there is no need for this bad boy anymore!
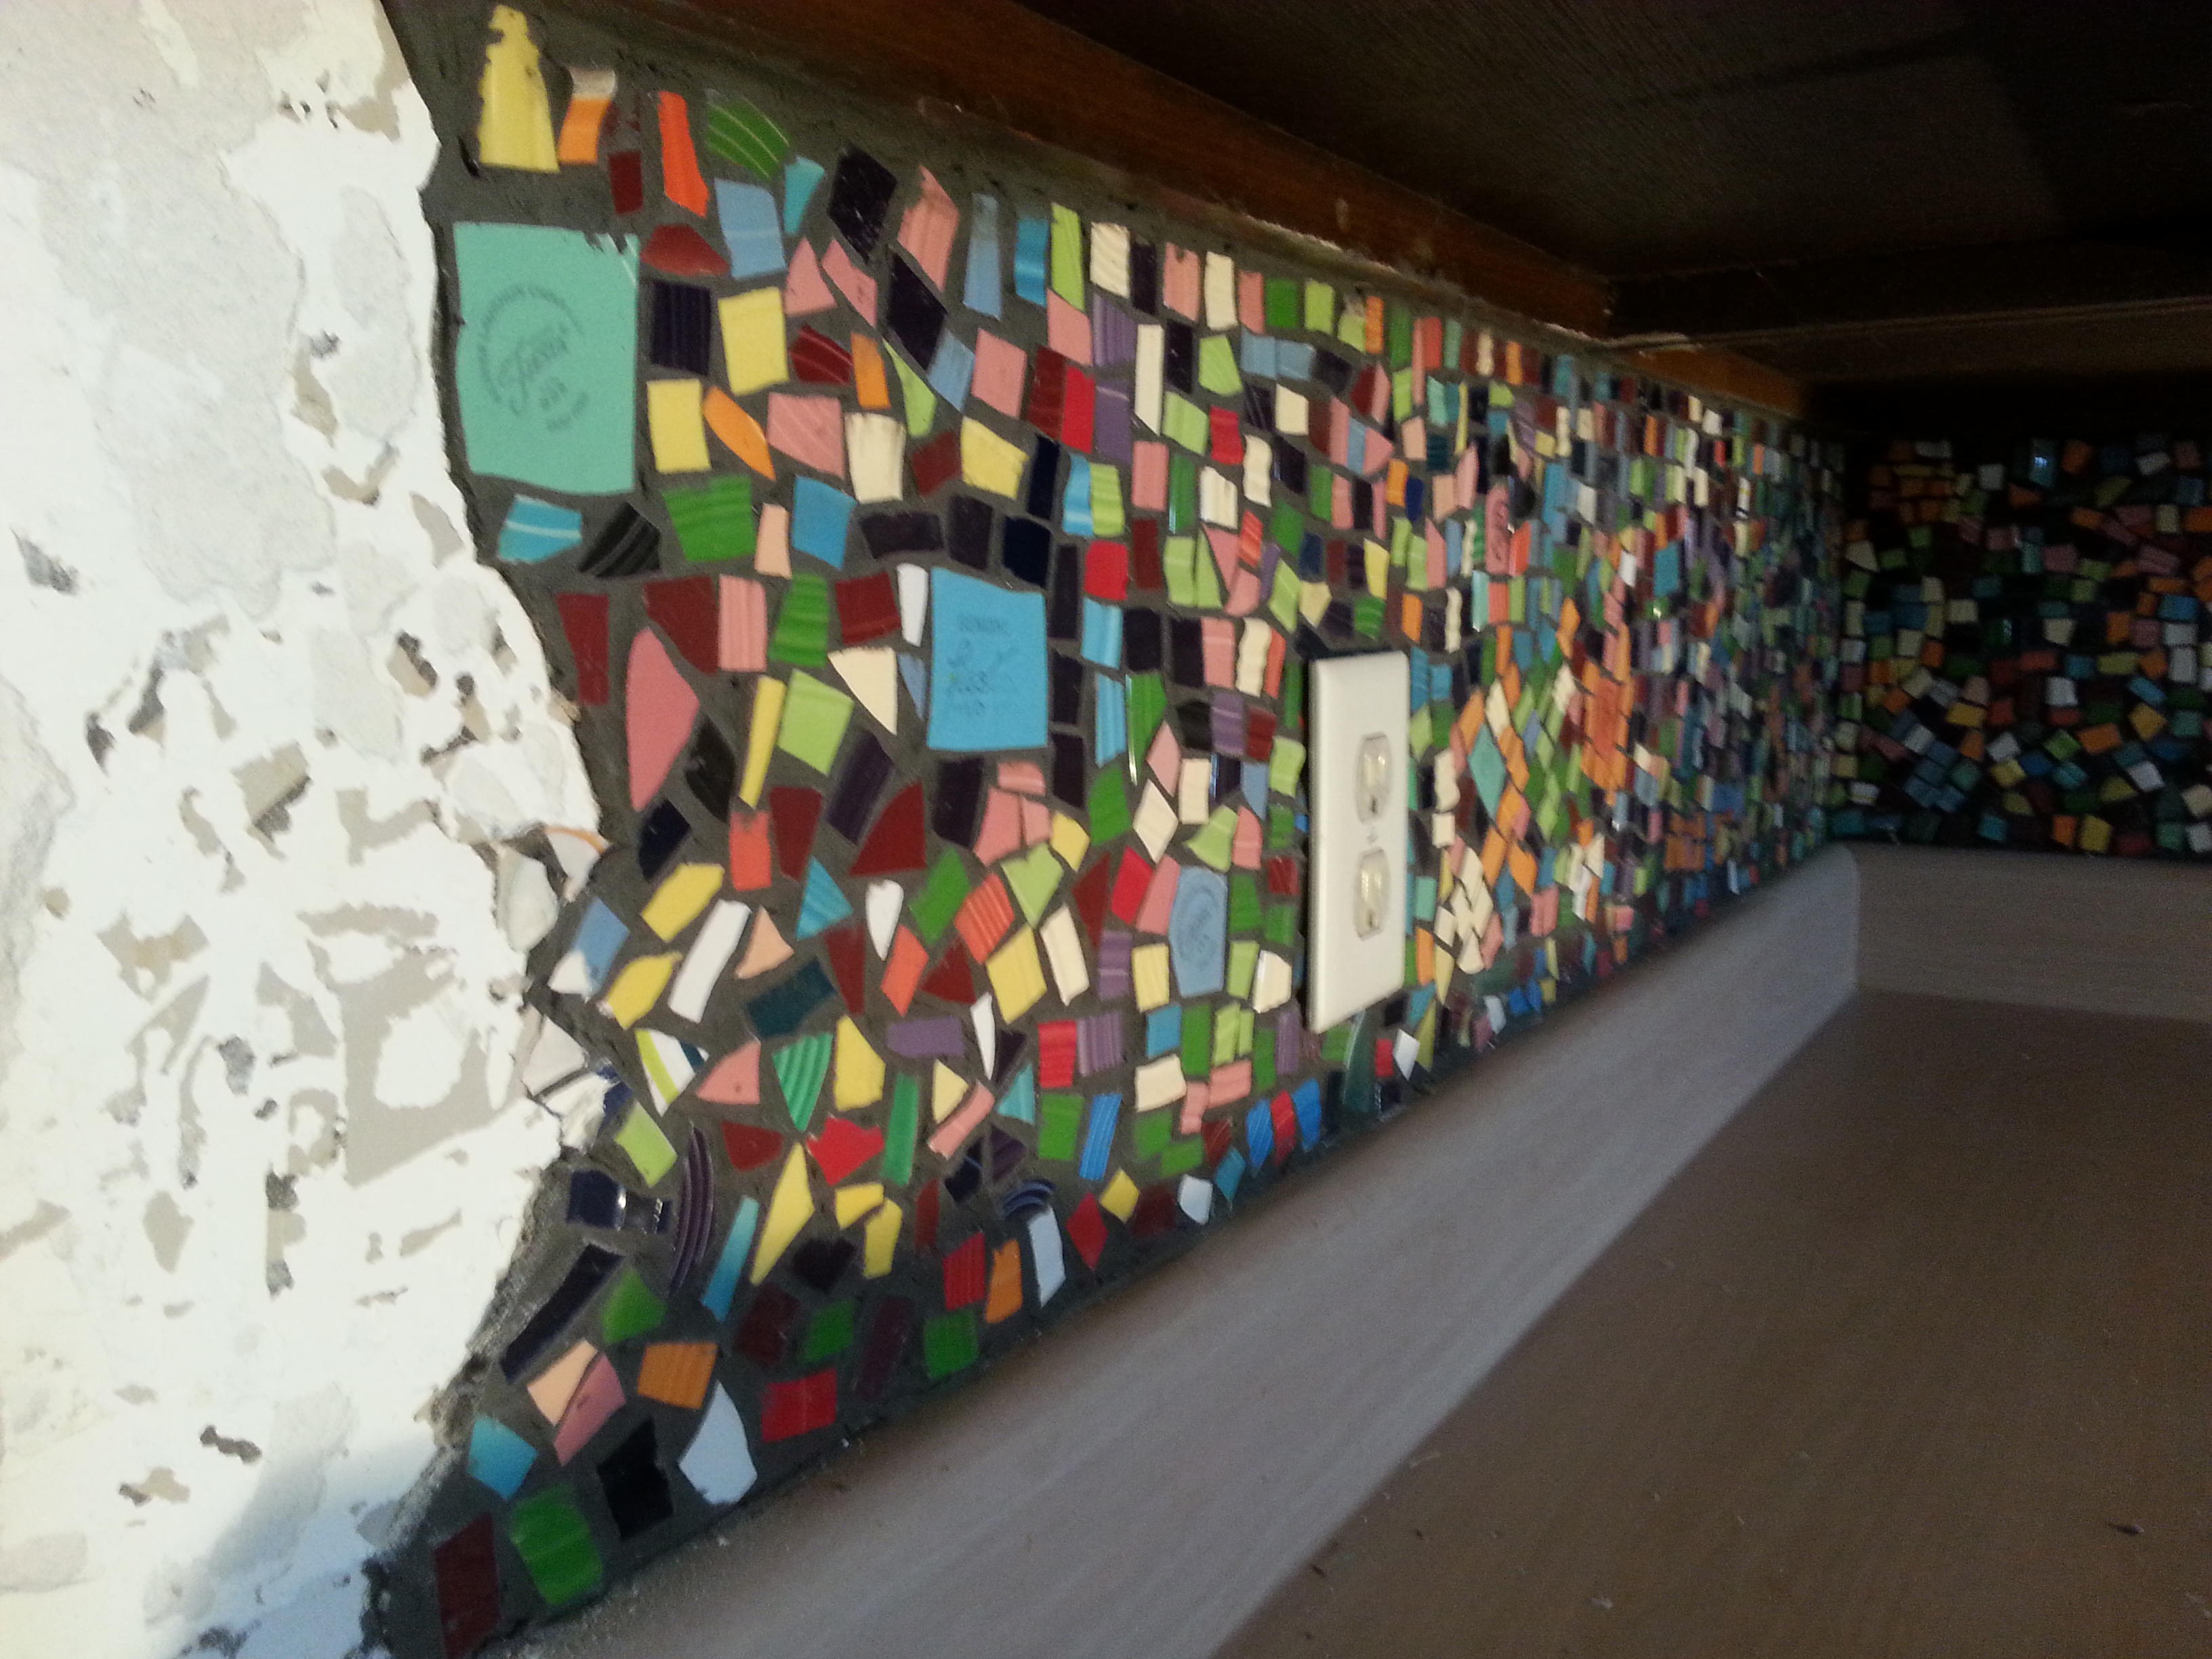
Here is an up close look at the Fiestaware backsplash that I had mentioned previously. Because of the way this was installed and also due to the nature of the “tile” itself, removing this backsplash was tedious work.
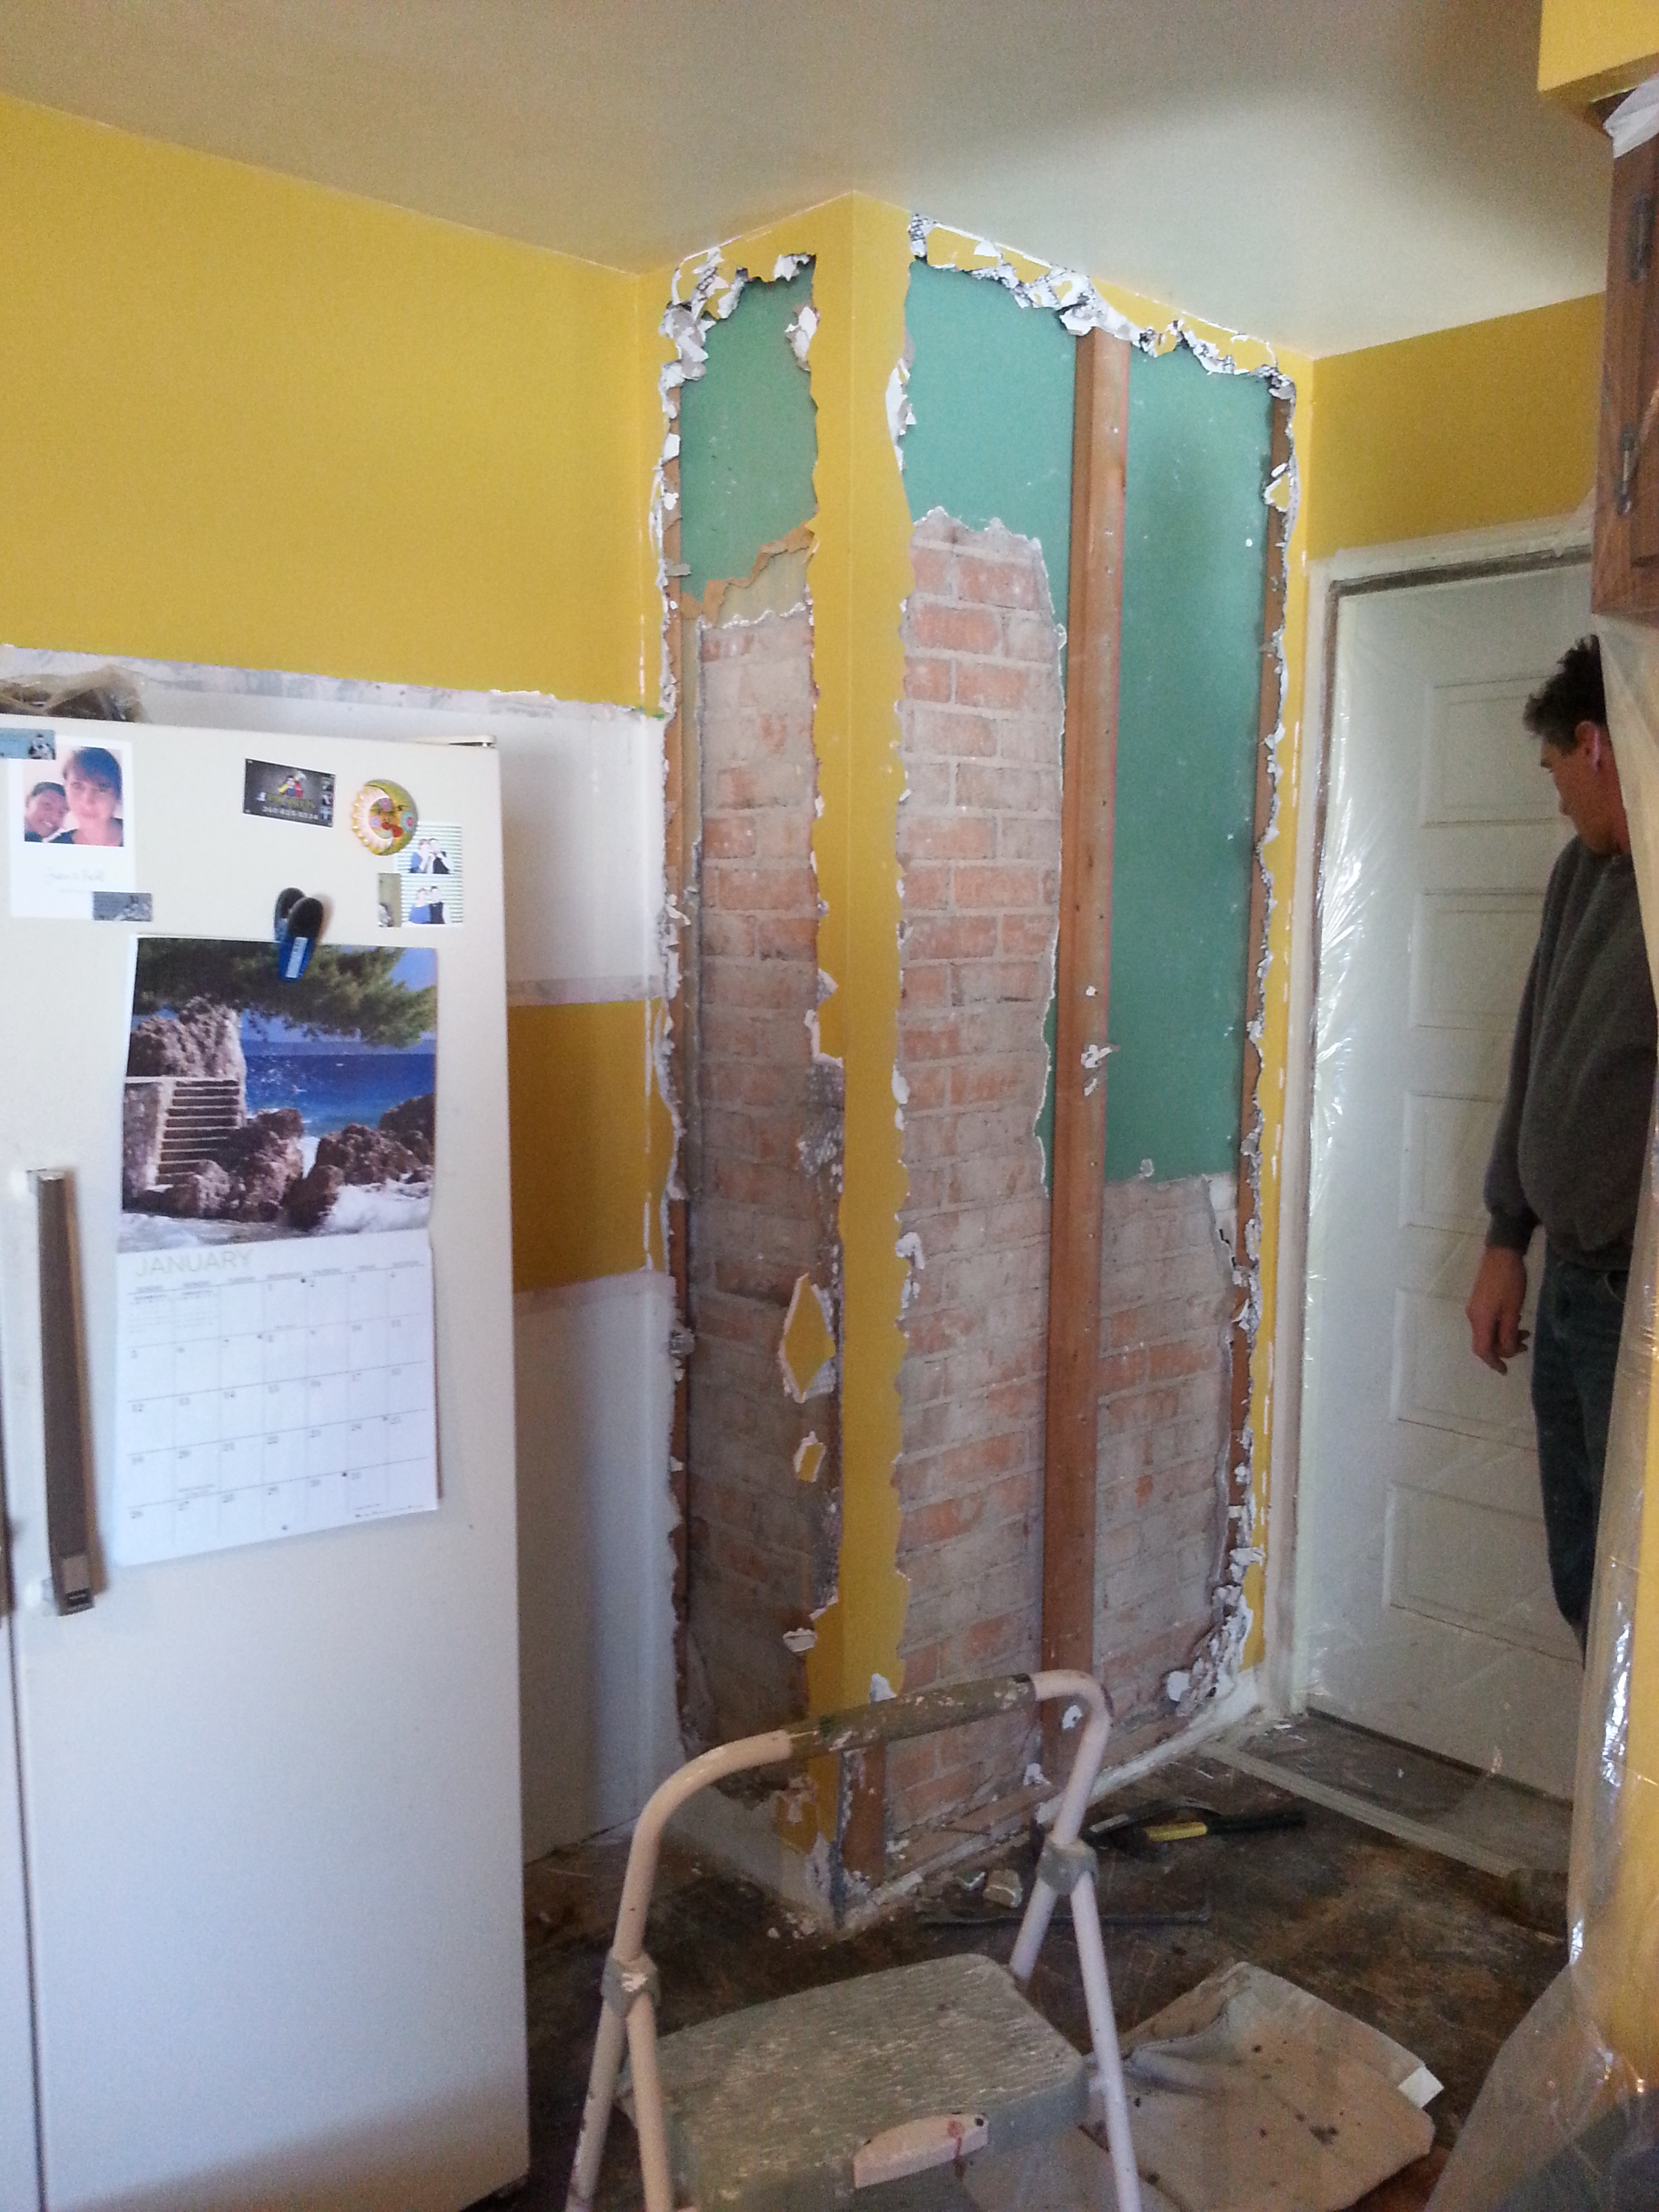
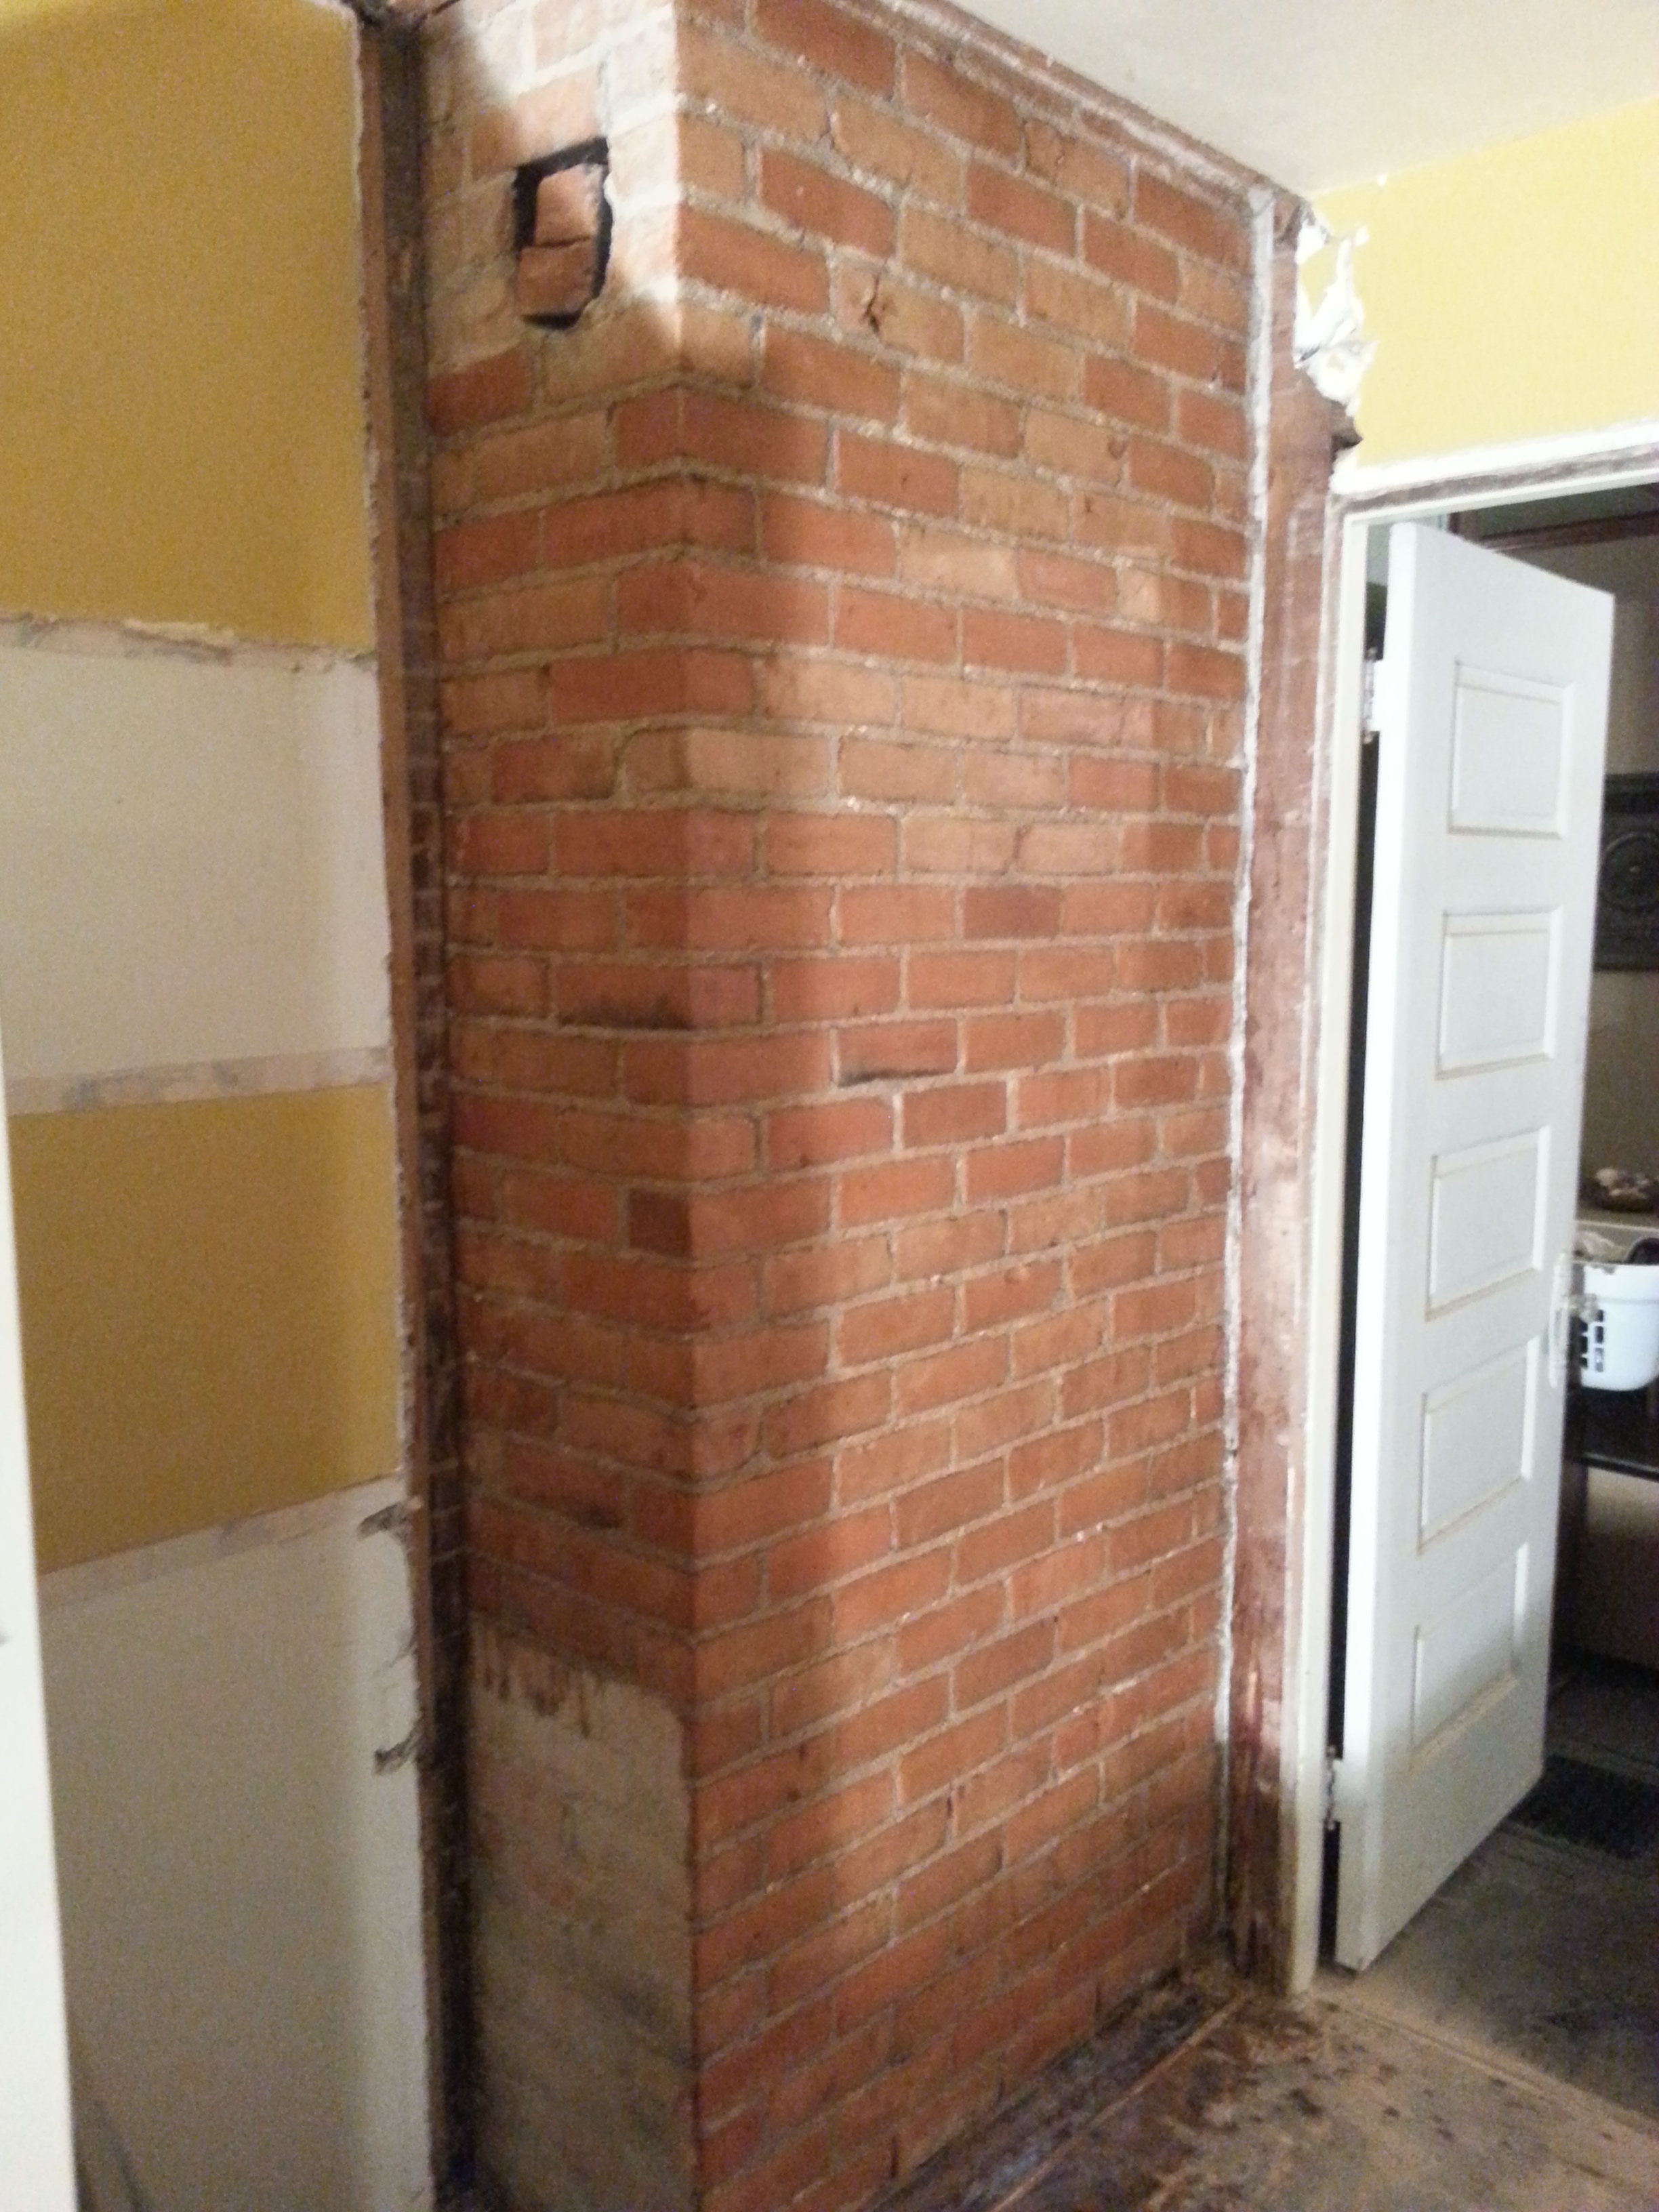
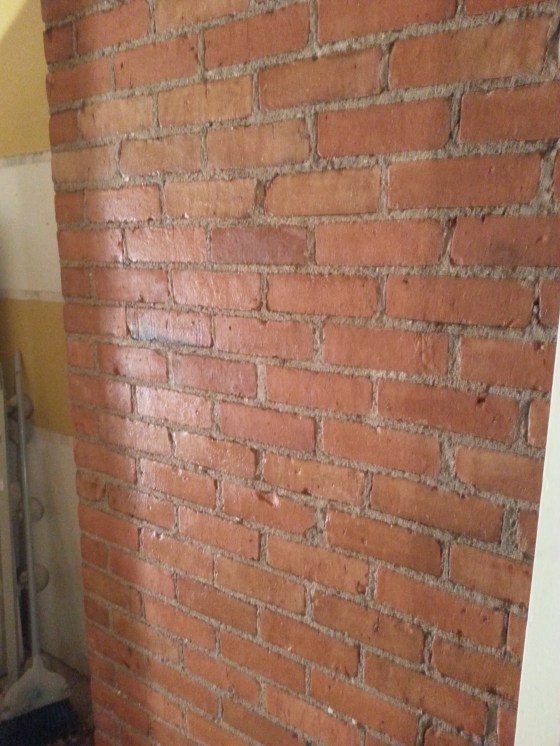
We decided to go ahead and remove the 2 layers of plaster from around the chimney to have a portion of exposed brick in our new kitchen. Basically, we are looking at the backside of the fireplace that is in one corner of our living room. I think the exposed brick wall looks awesome! I added a satin finish concrete sealer (3 coats) and I am really happy with the way it looks…also, one project completely done (yessss!!!).
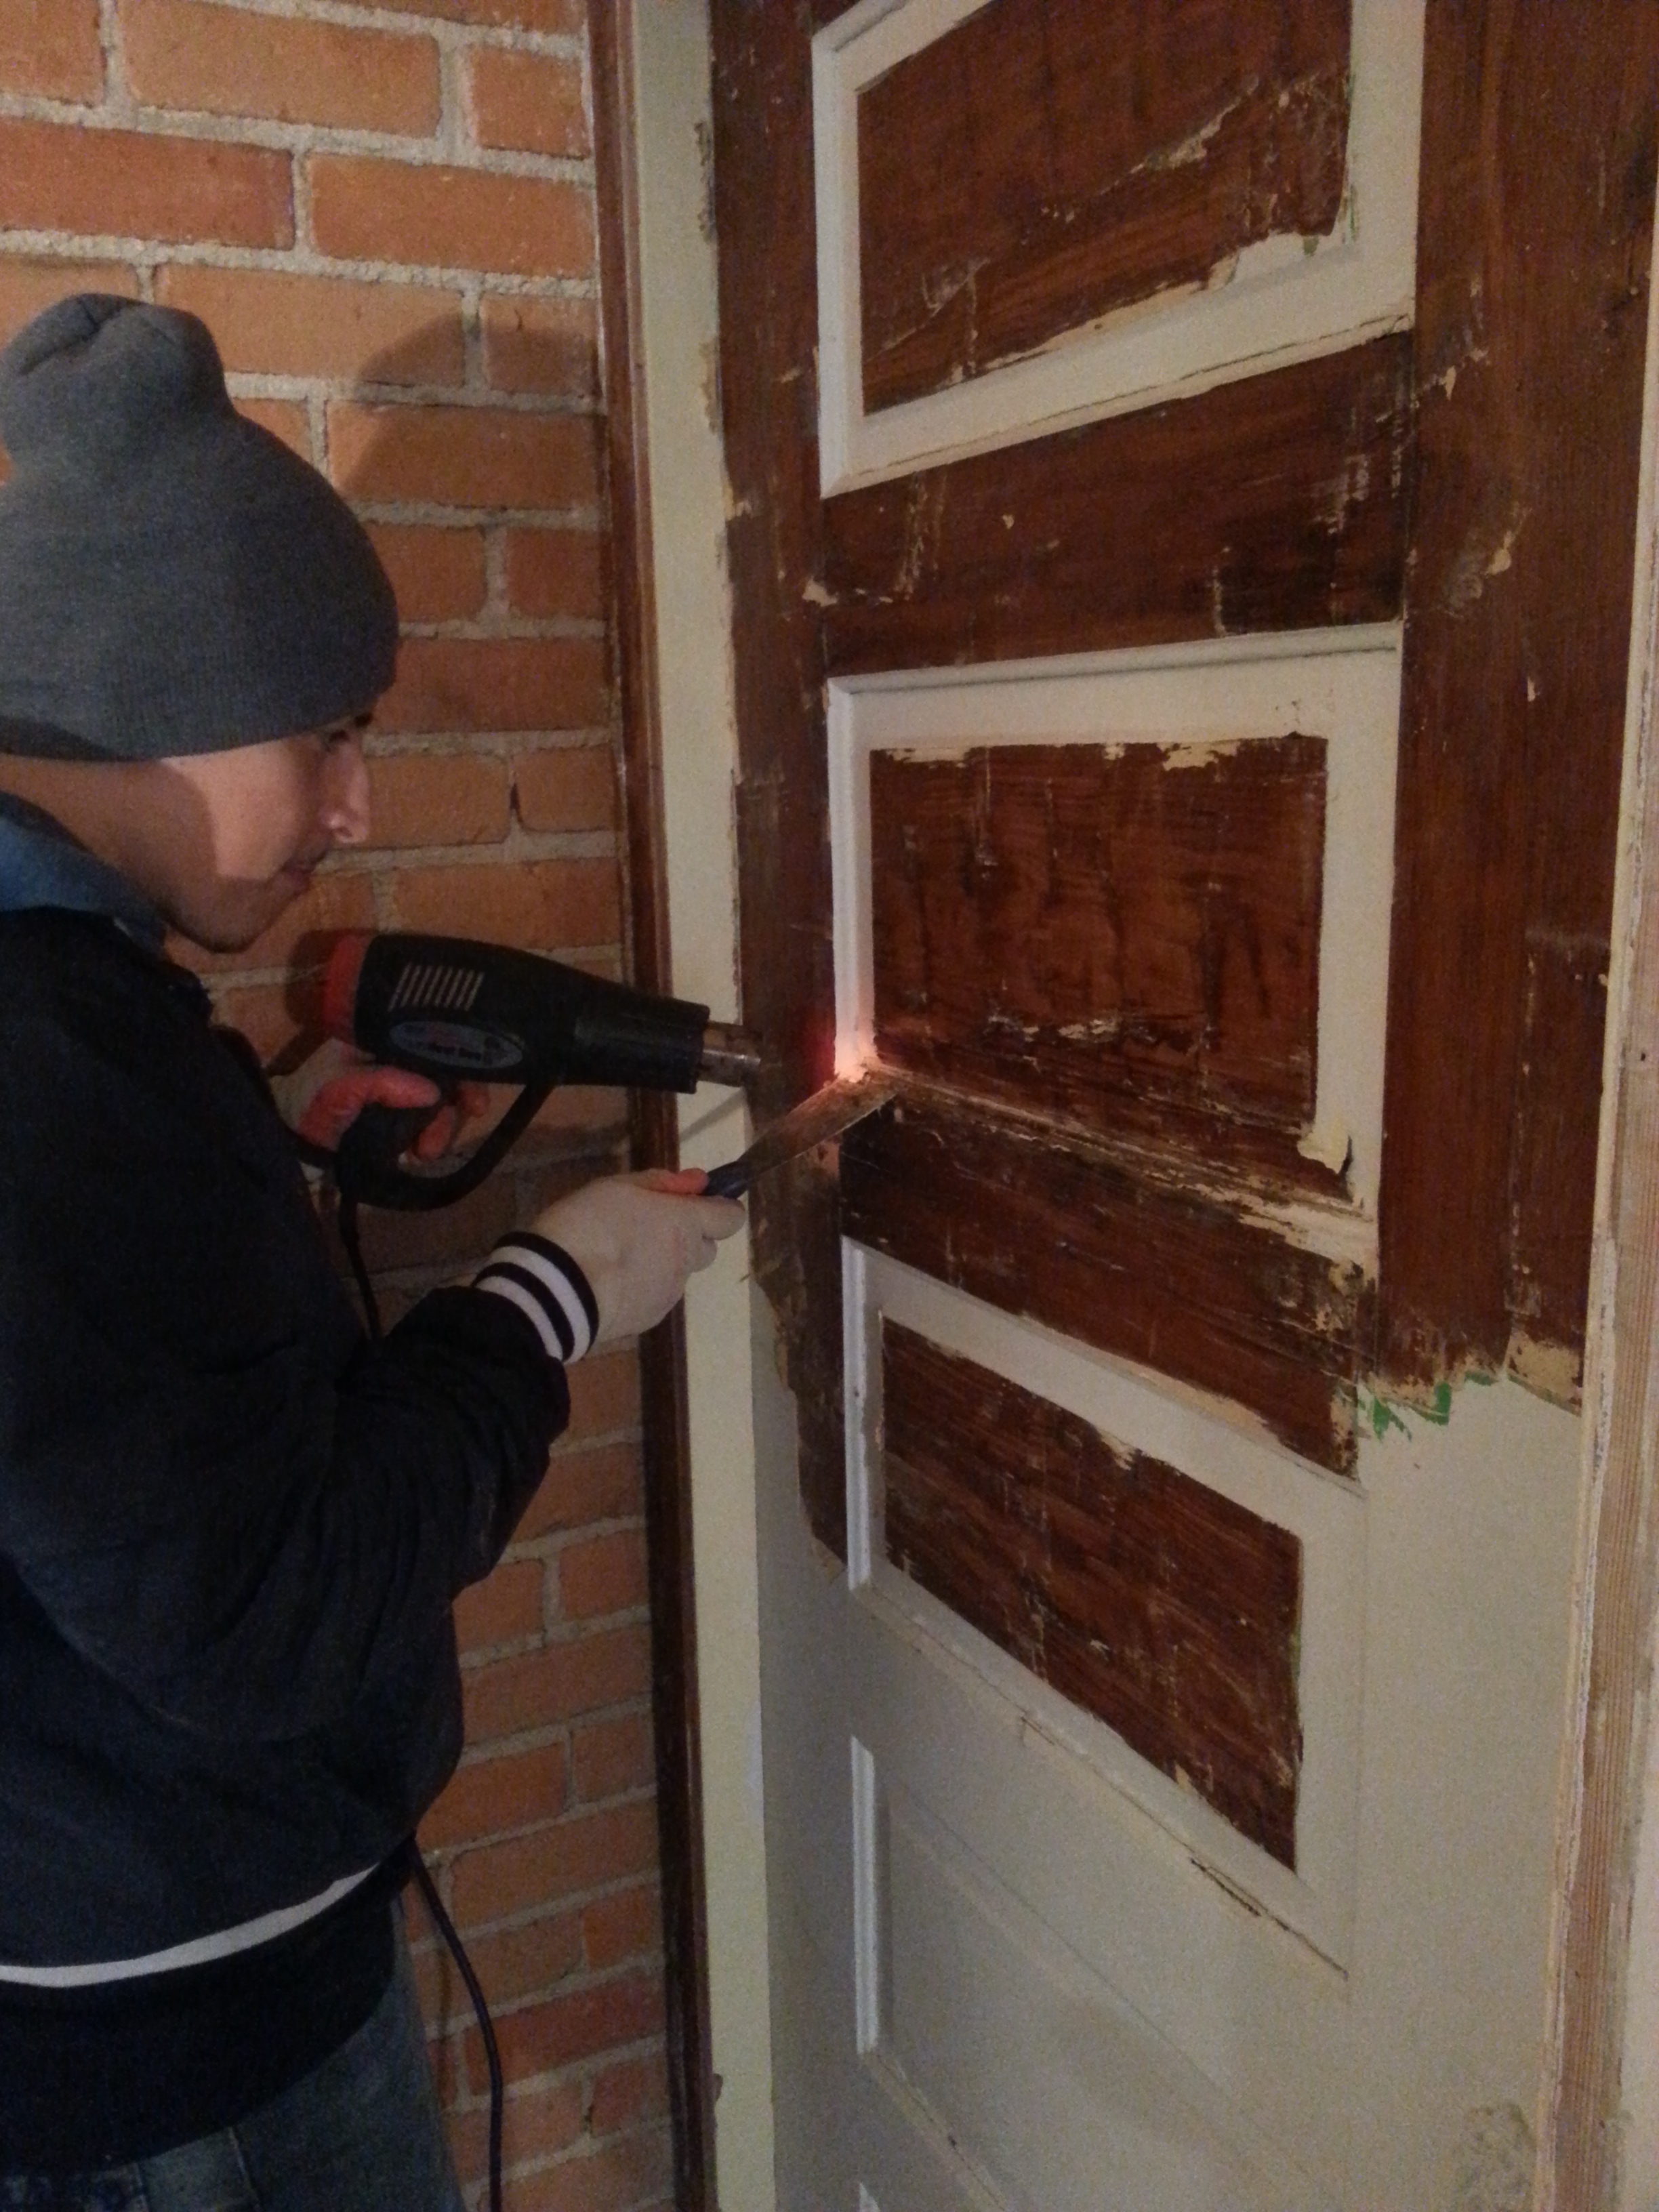
Unfortunately, we were also forced to strip the paint off more doors! I swear, this is the one job that continually tests my patience the most…but I am becoming somewhat of a pro at it. Here’s a picture of Raul modeling the proper usage of a heat gun which I have concluded is great for simultaneously removing 3 layers of paint but not so good for getting old varnish off. If you look closely in the bottom right corner of this picture you will see the 3 colors of paint that used to be on this door- white, tan, and lime green (WTH!?!…just, WHAT?!).
This weekend we are back at it again tearing out more plaster and hopefully finishing the sanding on the 3 doors I have stripped over the last couple of weeks. I have my fingers crossed that we will be putting up new drywall in 2 weekends (and the extended forecast even shows temperatures in the high 50’s, I know you are all ready for Spring, too). Here’s to a productive Sunday! Thanks for following along!
